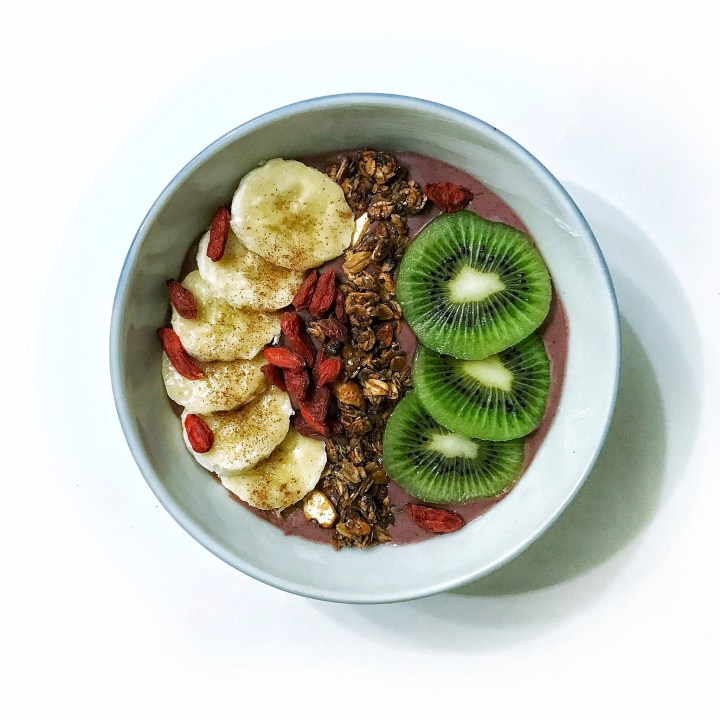
Sundays have become my favorite day of the week, mostly because I get to experiment with new prep ideas to keep my meals fun and interesting. Late last week as I was browsing Whole Foods (admittedly scoping out the Halo Top selection) I came across Sambazon frozen acai smoothie packets, which contained pure acai berry and no added sweeteners. I obviously impulsively threw these packets, along with Justin’s almond butter, into my basket (which was already full of Halo Top) and headed to the register. Fast forward to Meal Prep Sunday, and I realize I’ve been thinking all weekend of the amazing smoothie bowl possibilities for this week. But what’s a smoothie bowl without a sprinkle of granola on top, am I right? I’m often disappointed with store-bought granolas, as they are loaded with unnecessary ingredients and calories. So I decided that this week’s experiment and featured prep item would be homemade granola.
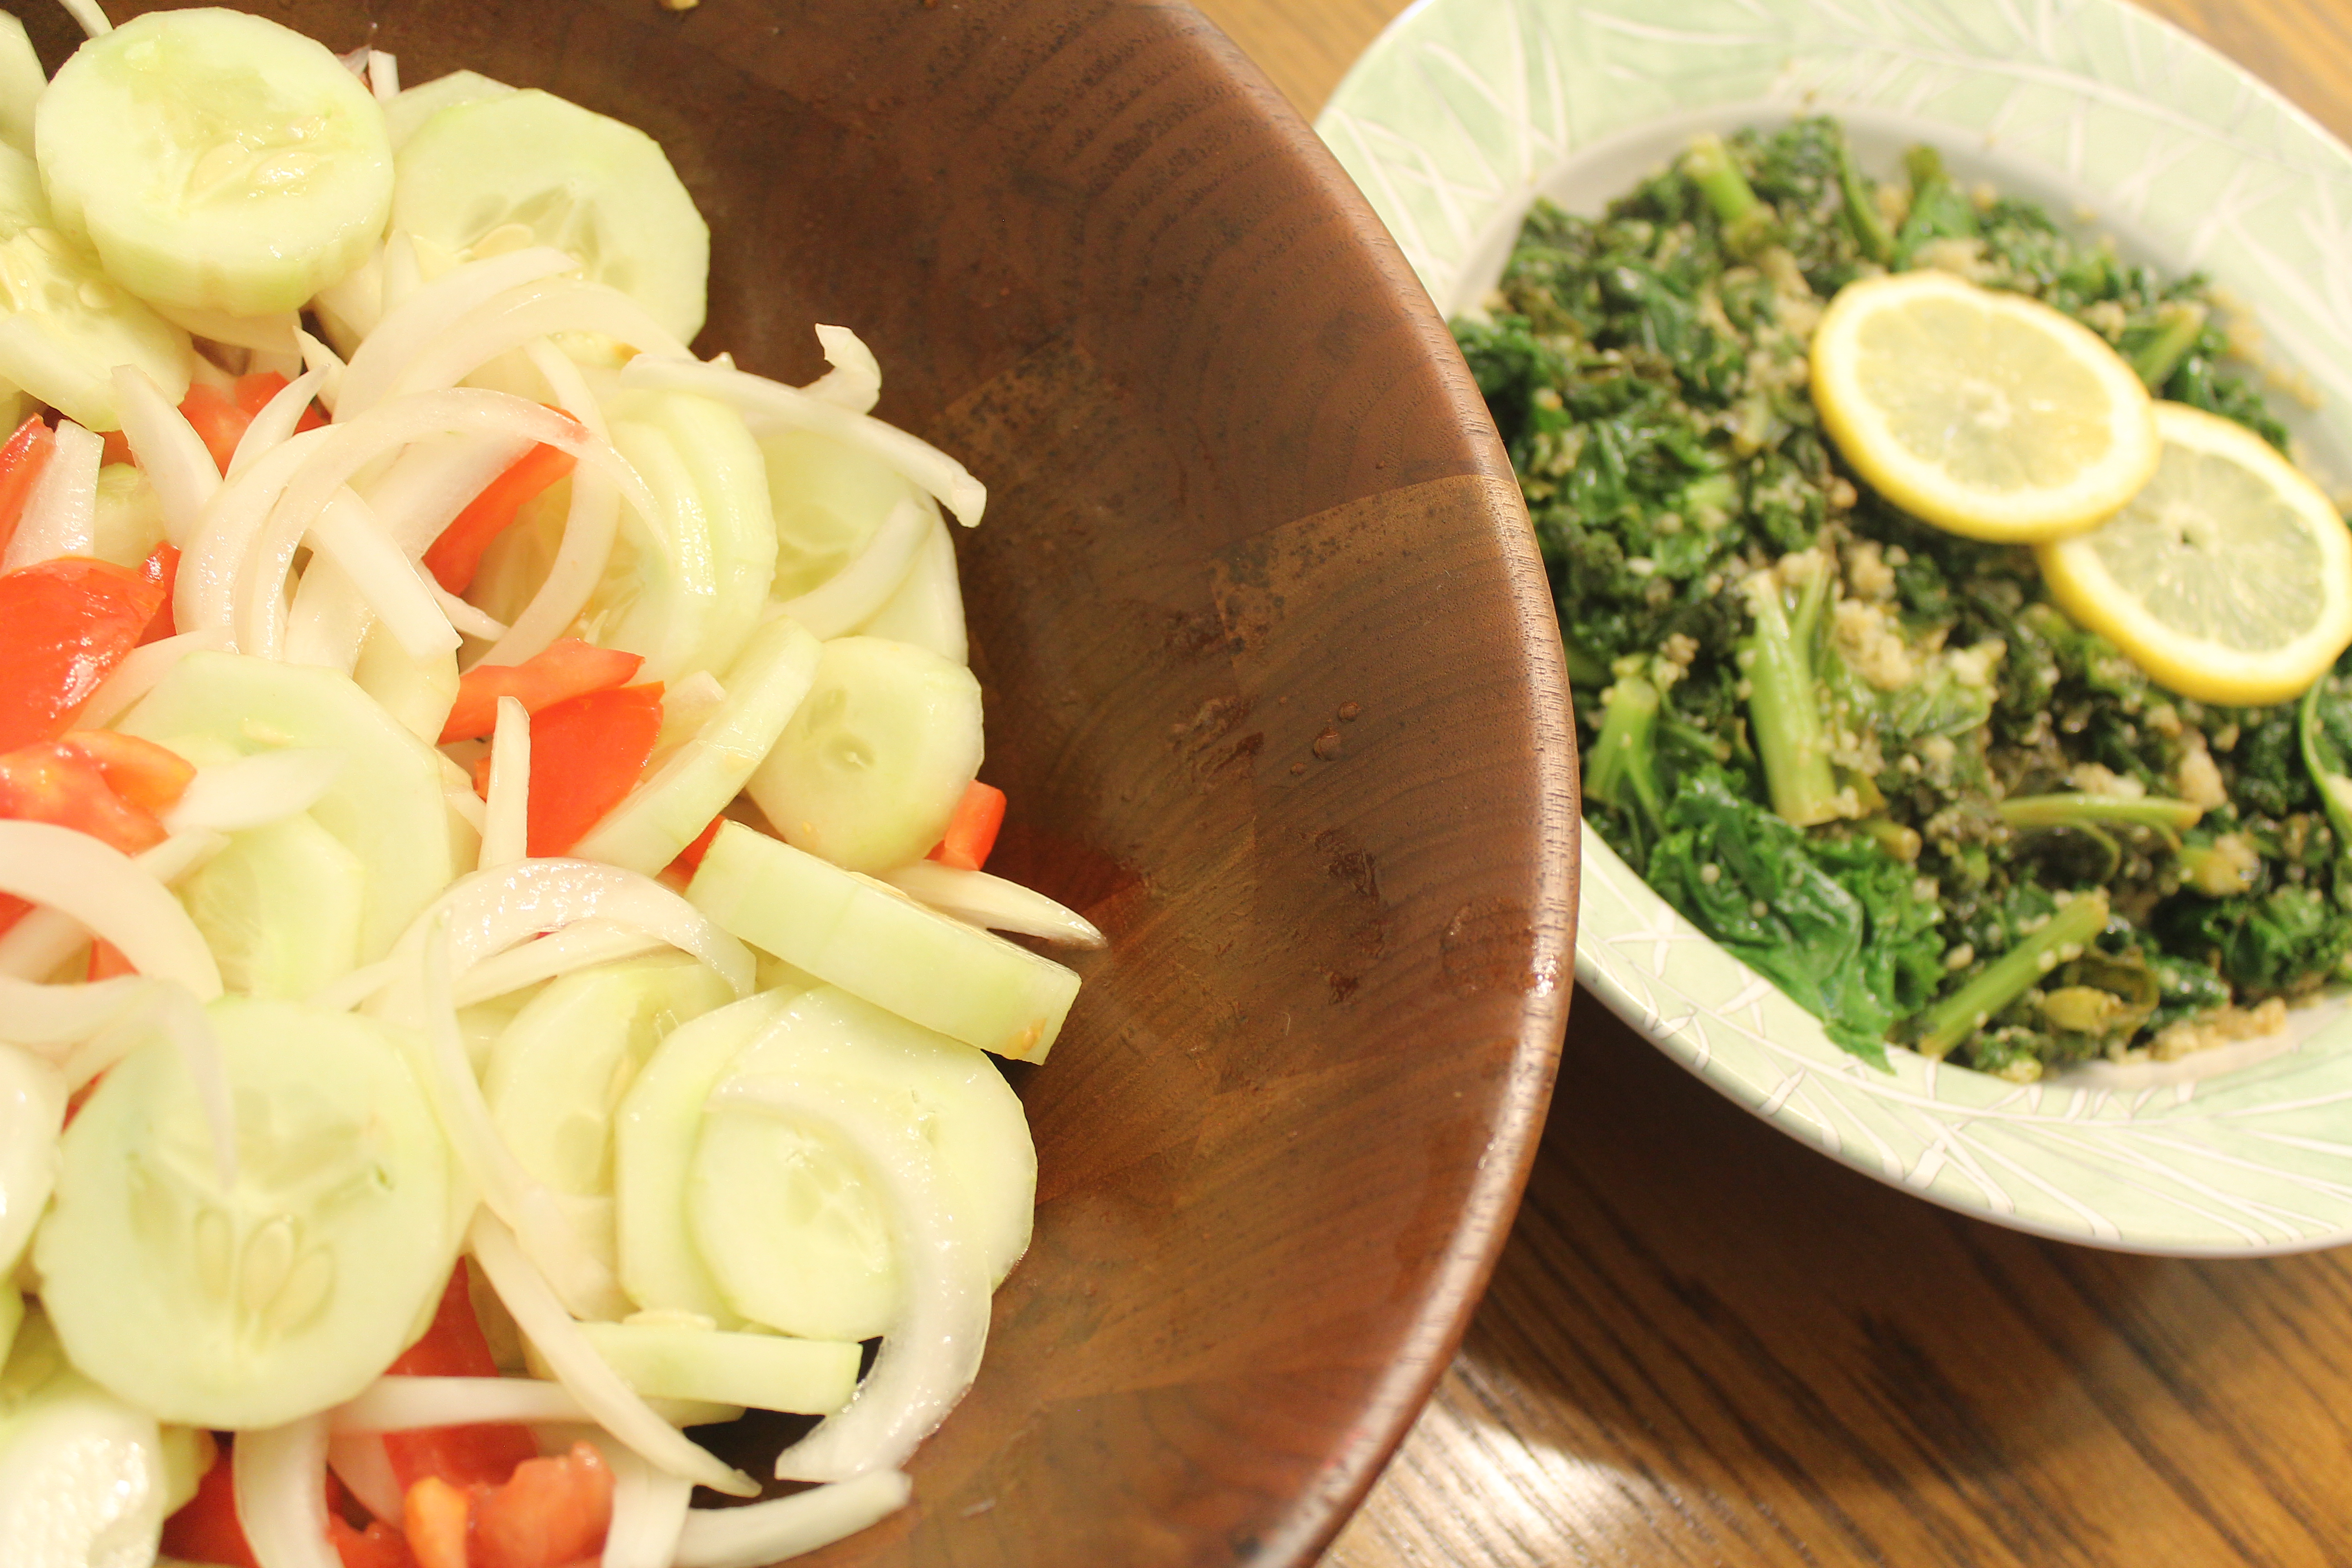
For each week’s prep I try to incorporate a new recipe for a snack item in addition to the standard breakfast/lunch/dinner. Since time was limited this weekend, my meals are looking like this: breakfast will be a protein shake or a pre-prepared portion of baked apple oats; lunch will be a salad with a turkey ‘muffin’ (inspired by Jamie Eason’s recipe on Bodybuilding.com); and dinner will be a smoothie bowl (with Greek yogurt being the source of protein).
I’ve never tried making granola before, so step one was Googling “how to make granola.” And of course, I wasn’t disappointed. I stumbled upon a really great article by Anna Stockwell on Epicurious.com, in which Anna offers a foolproof granola making ratio, which is more of a guideline than a recipe. I loved this because it gave me the opportunity to use my own preferred ingredients and build my own recipe, while still using Anna’s guidelines and suggestions. The key takeaway from this article is the following ratio:
“6 parts dry to 1 part wet”
That’s it! Simple and easy. Your parts can be whatever measurement you choose (in other words, you can make as much granola as you like in one sitting), but as long as you keep it within that ratio, it should turn into the crunchy and delicious granola you know and love.
A couple of additional helpful points from the article:
- Wet ingredients will ideally be split between fat and sweet
- A good addition to wet ingredients is an egg white, as a binding agent to get those crunchy clusters
- Don’t forget to add spices as well to your dry mixture (or flavor extracts to your wet). These add a really rich dynamic to the flavor palette of the finished product
- The addition of dried fruit should be added after the granola is cooked, and doesn’t count towards the 6:1 ratio.
Let’s get to it!
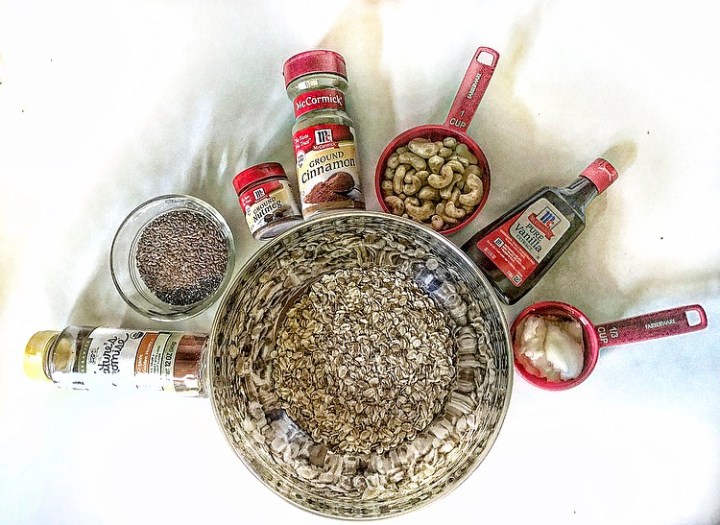
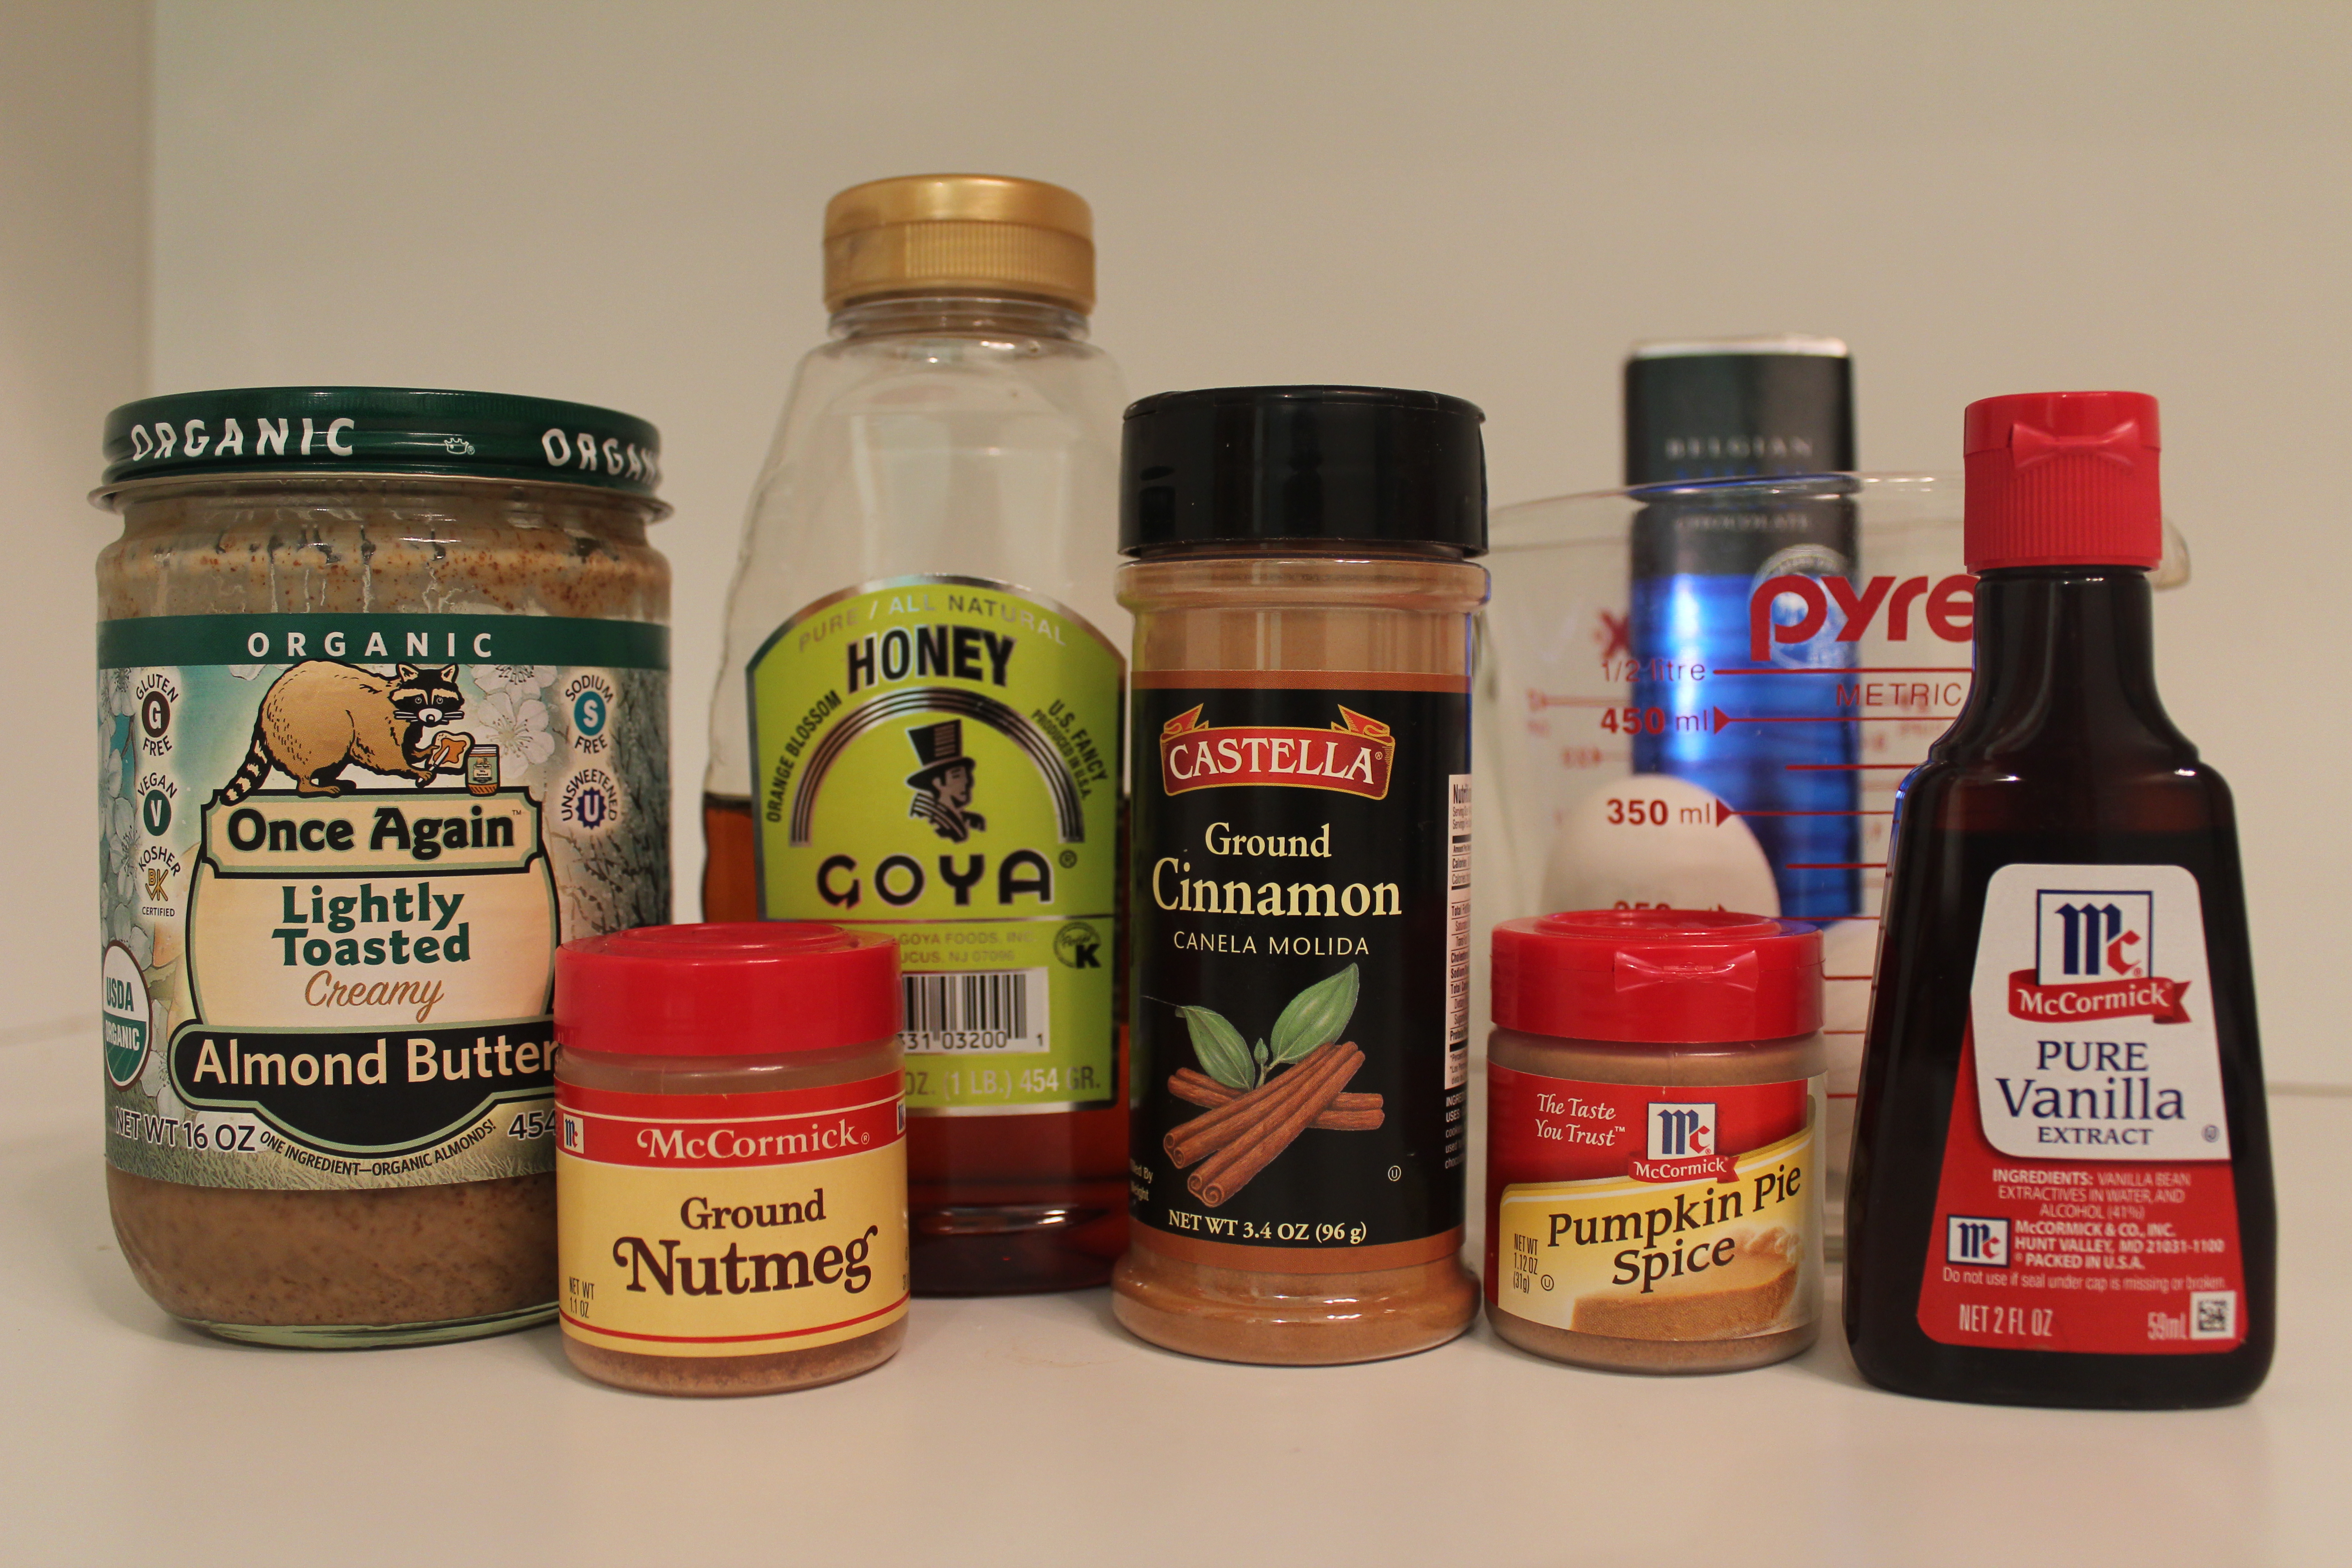
Ingredients:
- Oats (1.5 cups)
- Flax Seed (1/4 cup)
- Chia Seed (1/4 cup)
- Cashews (1 cup)
- Coconut Oil (1/8 cup)
- One Egg White
- Honey (1/4 cup)
- Cinnamon (2 tsp)
- Nutmeg (1/8 tsp)
- Vanilla Extract (1.5 tsp)
- Salt (1/8 tsp)
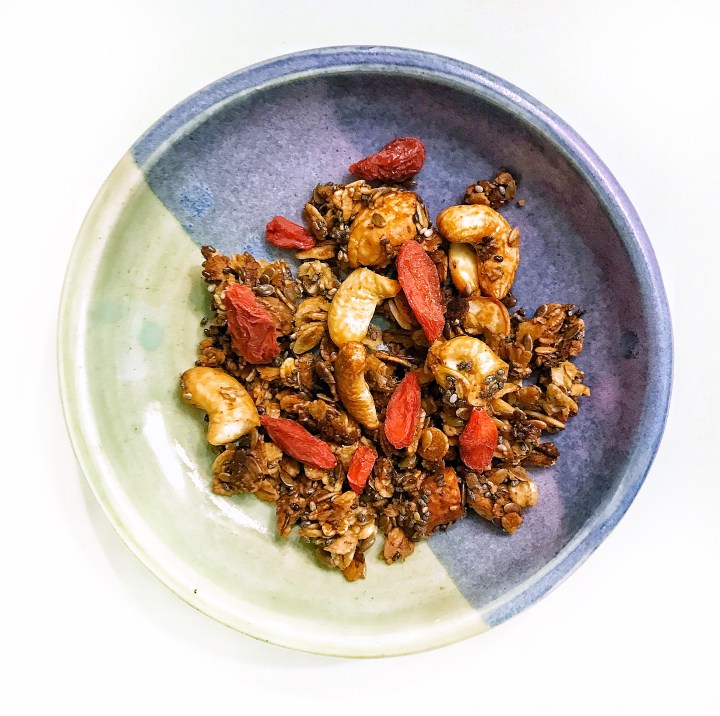
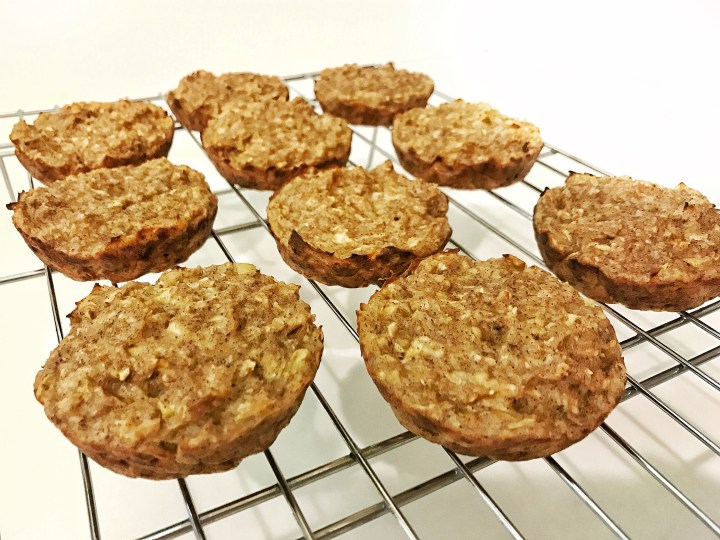
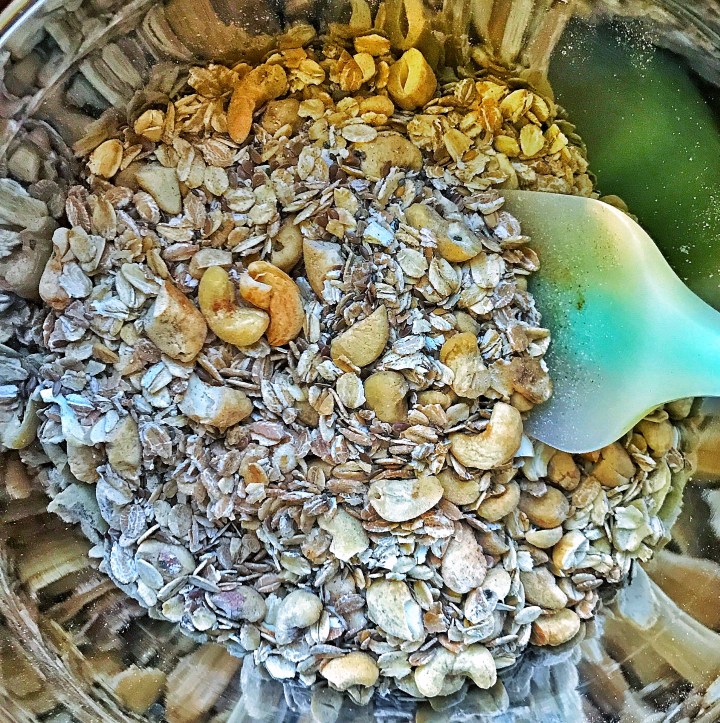
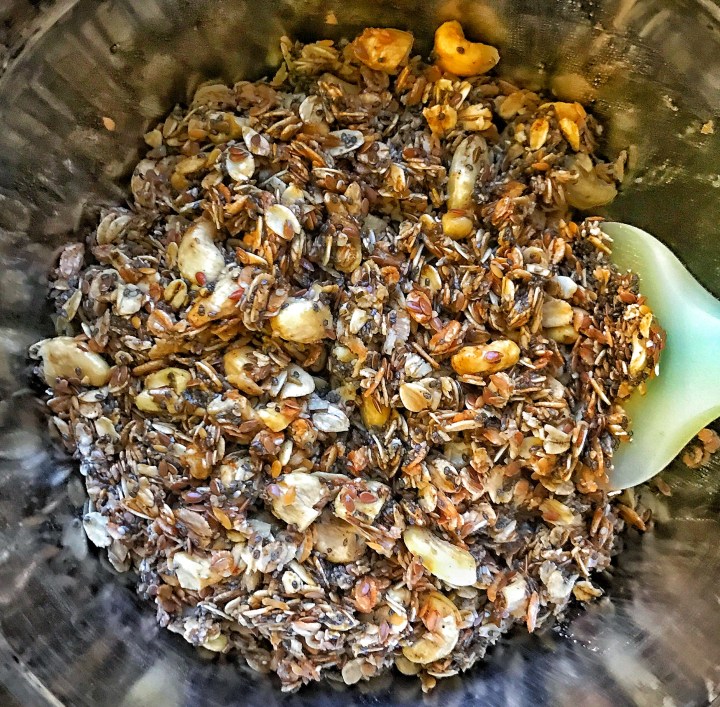
Instructions: Preheat your oven to 350 degrees. Combine the dry ingredients, and then mix in the wet. Once everything is well combined, place the uncooked granola on a baking sheet (I greased my sheet very lightly with coconut oil, but you can also use parchment paper). Make sure the granola forms a thin layer across the sheet. If need be, split the mixture across two different pans. Bake the granola until golden brown and dry, stirring and checking on it every 8 minutes or so. Once fully cooked, allow the granola to dry completely before placing in an air-tight container or jar for storage.

With the ingredients and amounts that I mentioned above, this came out to 4 cups of granola, and the macros per tbsp are:
- Protein – 1
- Carbs – 4
- Fat – 2.5
- Calories – 45
Remember that this recipe is only a guideline, and as long as you stick to the original ratio you can use whatever ingredients you like! Vary it up across your grains, nuts, and seeds to find the recipe that suites your tastes best. You can also experiment with various oils and sweeteners. If you choose to use an egg white in your recipe, make sure you factor that into the one part of wet ingredients (in other words, the egg white isn’t extra).
For an added nutritional benefit as well as another layer of texture and flavor, I added some Goji berries to my granola. Another option (and personal favorite) is banana chips. Just beware of sweeteners and additives in your dried fruit – try to find brands that keep it clean and basic.
I hope you all try this recipe, it’s super easy, and granola is a great staple to have in the pantry. Let me know what you think of this recipe, and what you’d like to see next in the comments! Stay fit and fab, all!