NSCA Certified Strength and Conditioning Specialist (CSCS) | NYC
Author: Maddie
I'm a Brooklyn girl with NYC flair, and am looking to bridge the gap between "fit" and "fab" through informative and inspirational posts.
My fitness journey has really been a lifestyle that I have embraced for as long as I can remember. Growing up, I always loved to be active, and I have been horseback riding ever since I could walk. In high school I participated in sports recreationally, including tennis and track. Later on in my high school years I started doing P90X because I wanted to incorporate weight training into my lifestyle. When I got to college, I maintained my P90X workouts that I could do in my dorm, and continued doing activities that I could perform outdoors, like tennis and running. During my junior year of college I started going to the gym at my University, and this was a turning point for me because it's when I really started getting into lifting and pushing myself with heavier weights. It was during this year that I was so interested in learning more about the different types of weight training, following bodybuilders on social media, and developing plans and goals around working out. Another turning point in my fitness journey happened later on in 2015, when I was introduced to the world of nutrition and macros. I was always a proponent of "clean eating," but I never had actually put the time or effort into developing a nutrition plan with goals and macro targets. When I started counting my macros, I felt as though so many new opportunities had opened for me. I switched my lifting over to a powerlifting style (as opposed to the bodybuilding split I had been accustomed to), and my lifts were flourishing because I was finally consistently getting the proper ratios of macros. Since then, my knowledge has broadened, my lifting and nutrition goals have evolved, and I have had so much fun along the way playing with my food and messing around at the gym while on this journey. I'm always excited to see what comes next, and equally as excited to share it with you!
“Ichi-go ichi-e” is a Japanese idiom that translates directly to “one time, one meeting.” It describes the cultural concept of treasuring the unrepeatable nature of a moment, or a “once in a lifetime” experience. It is a reminder to cherish the moment you are experiencing currently because it cannot be repeated.
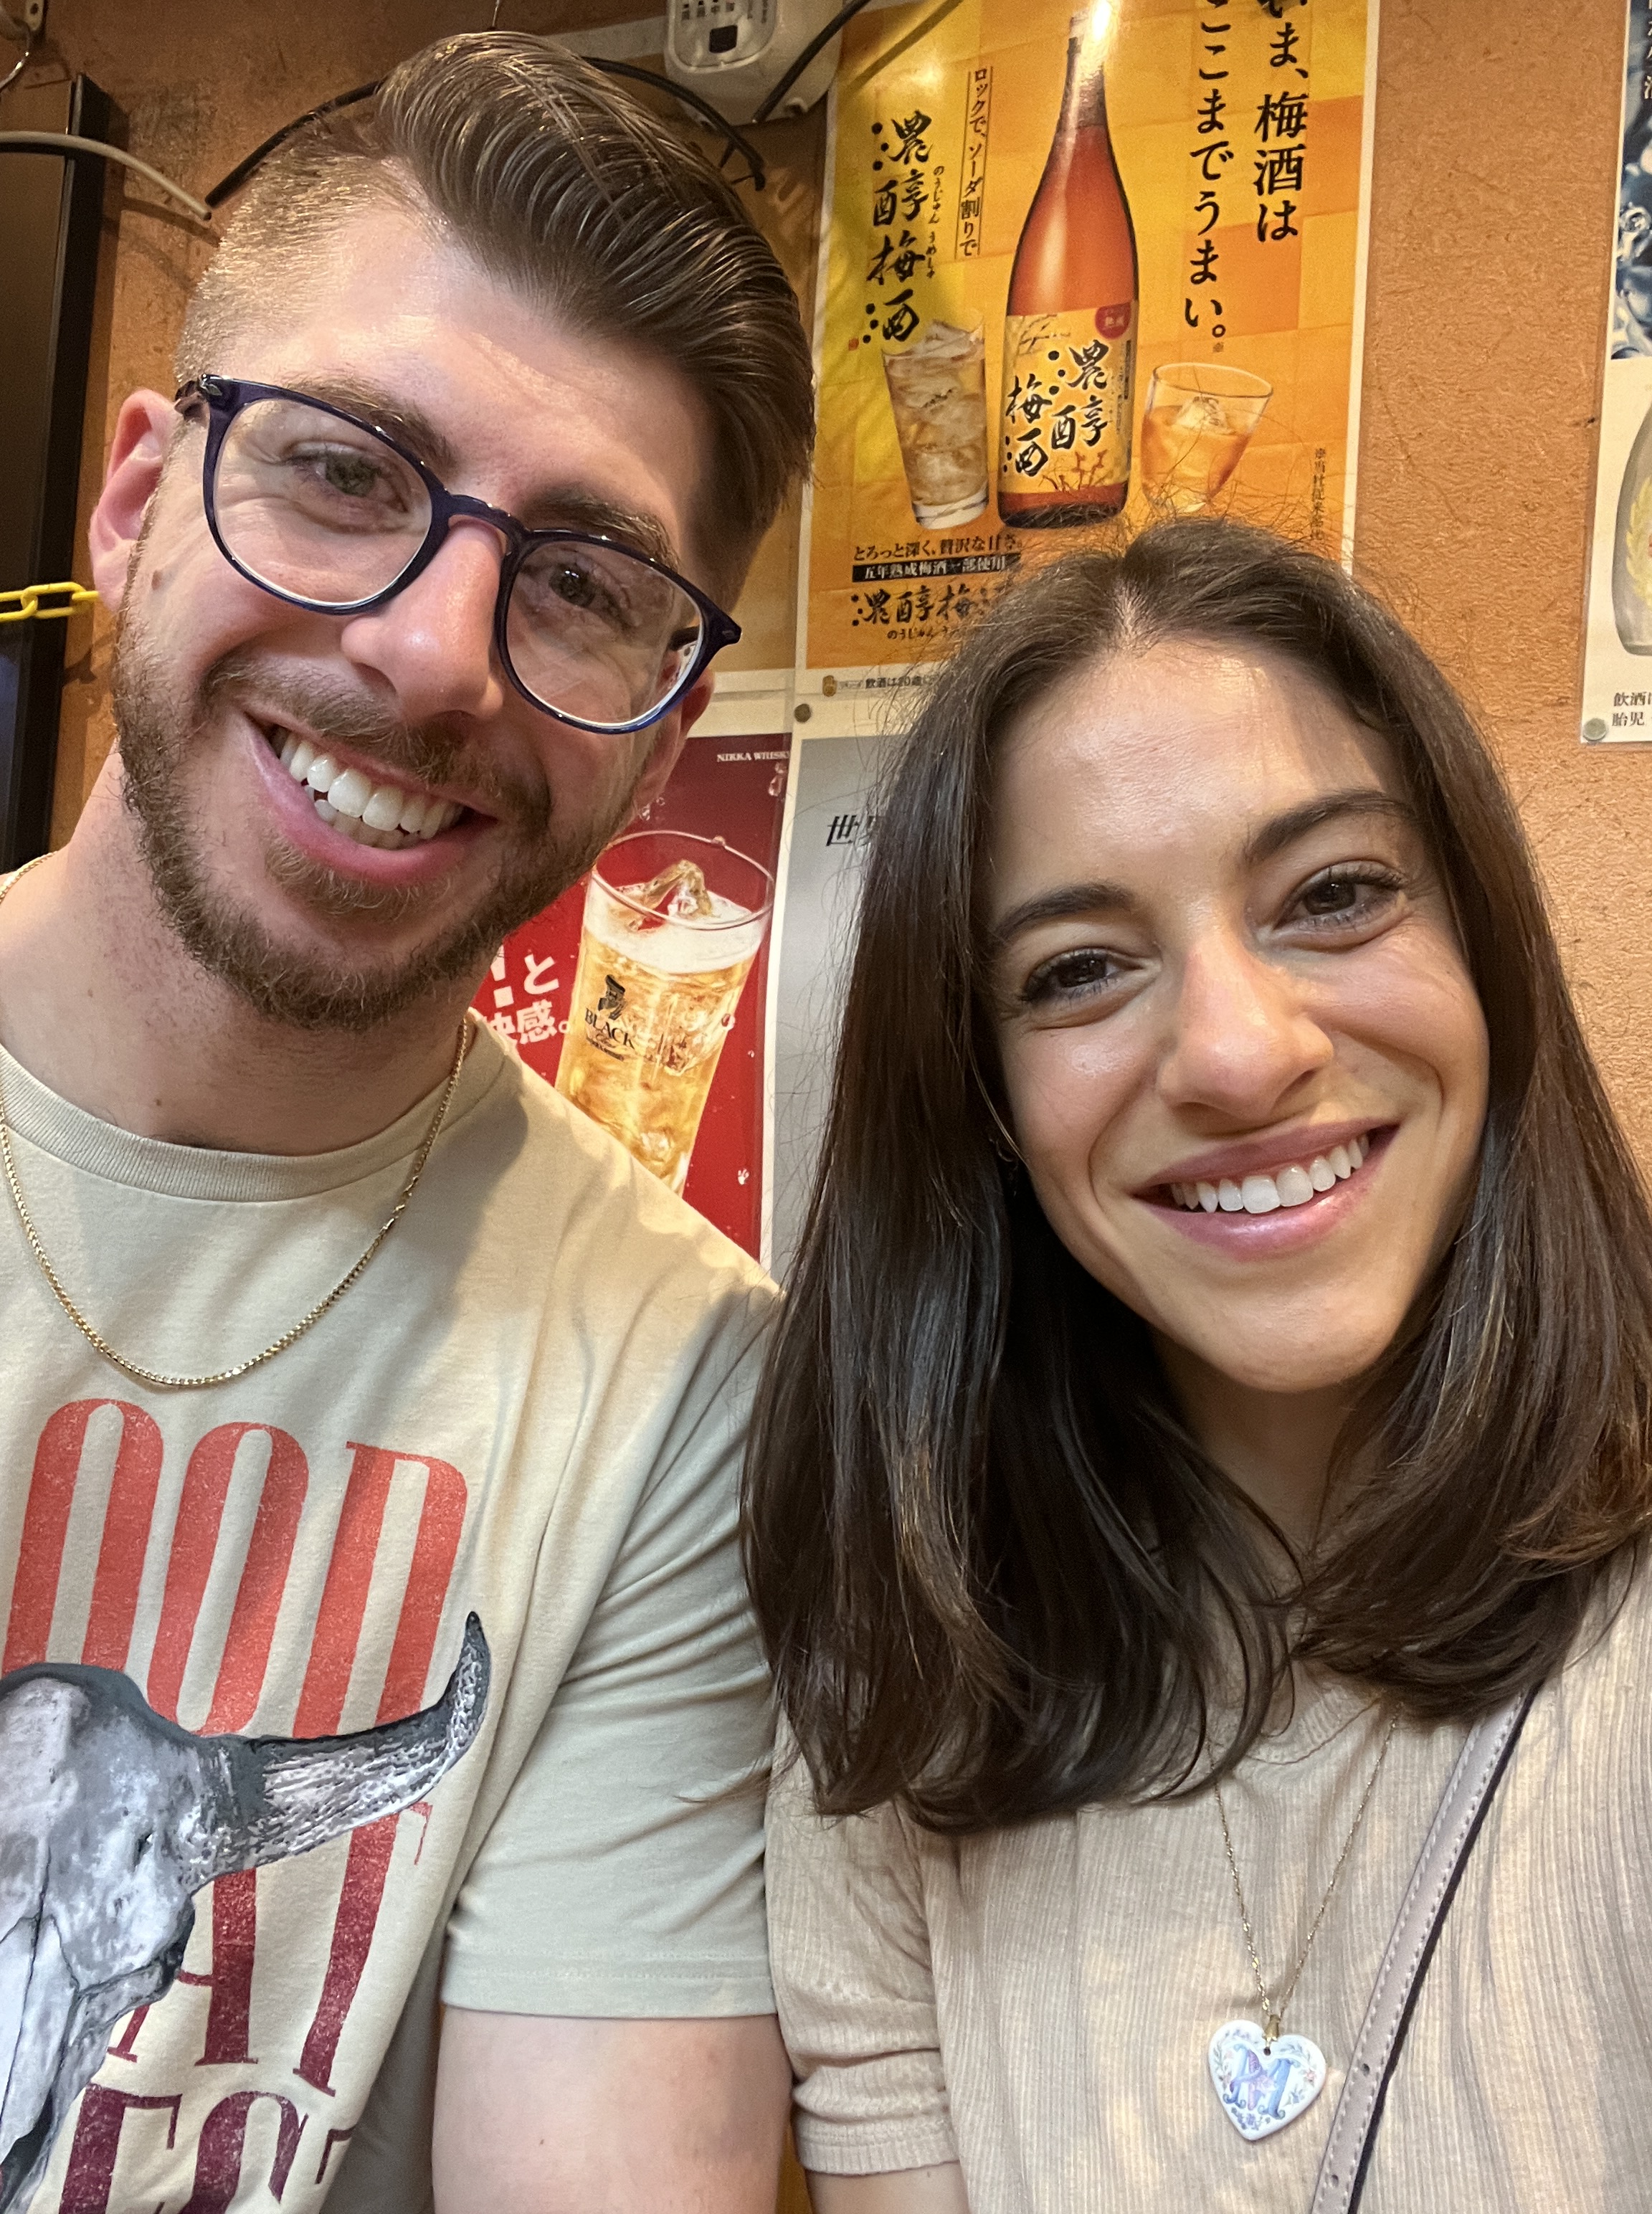
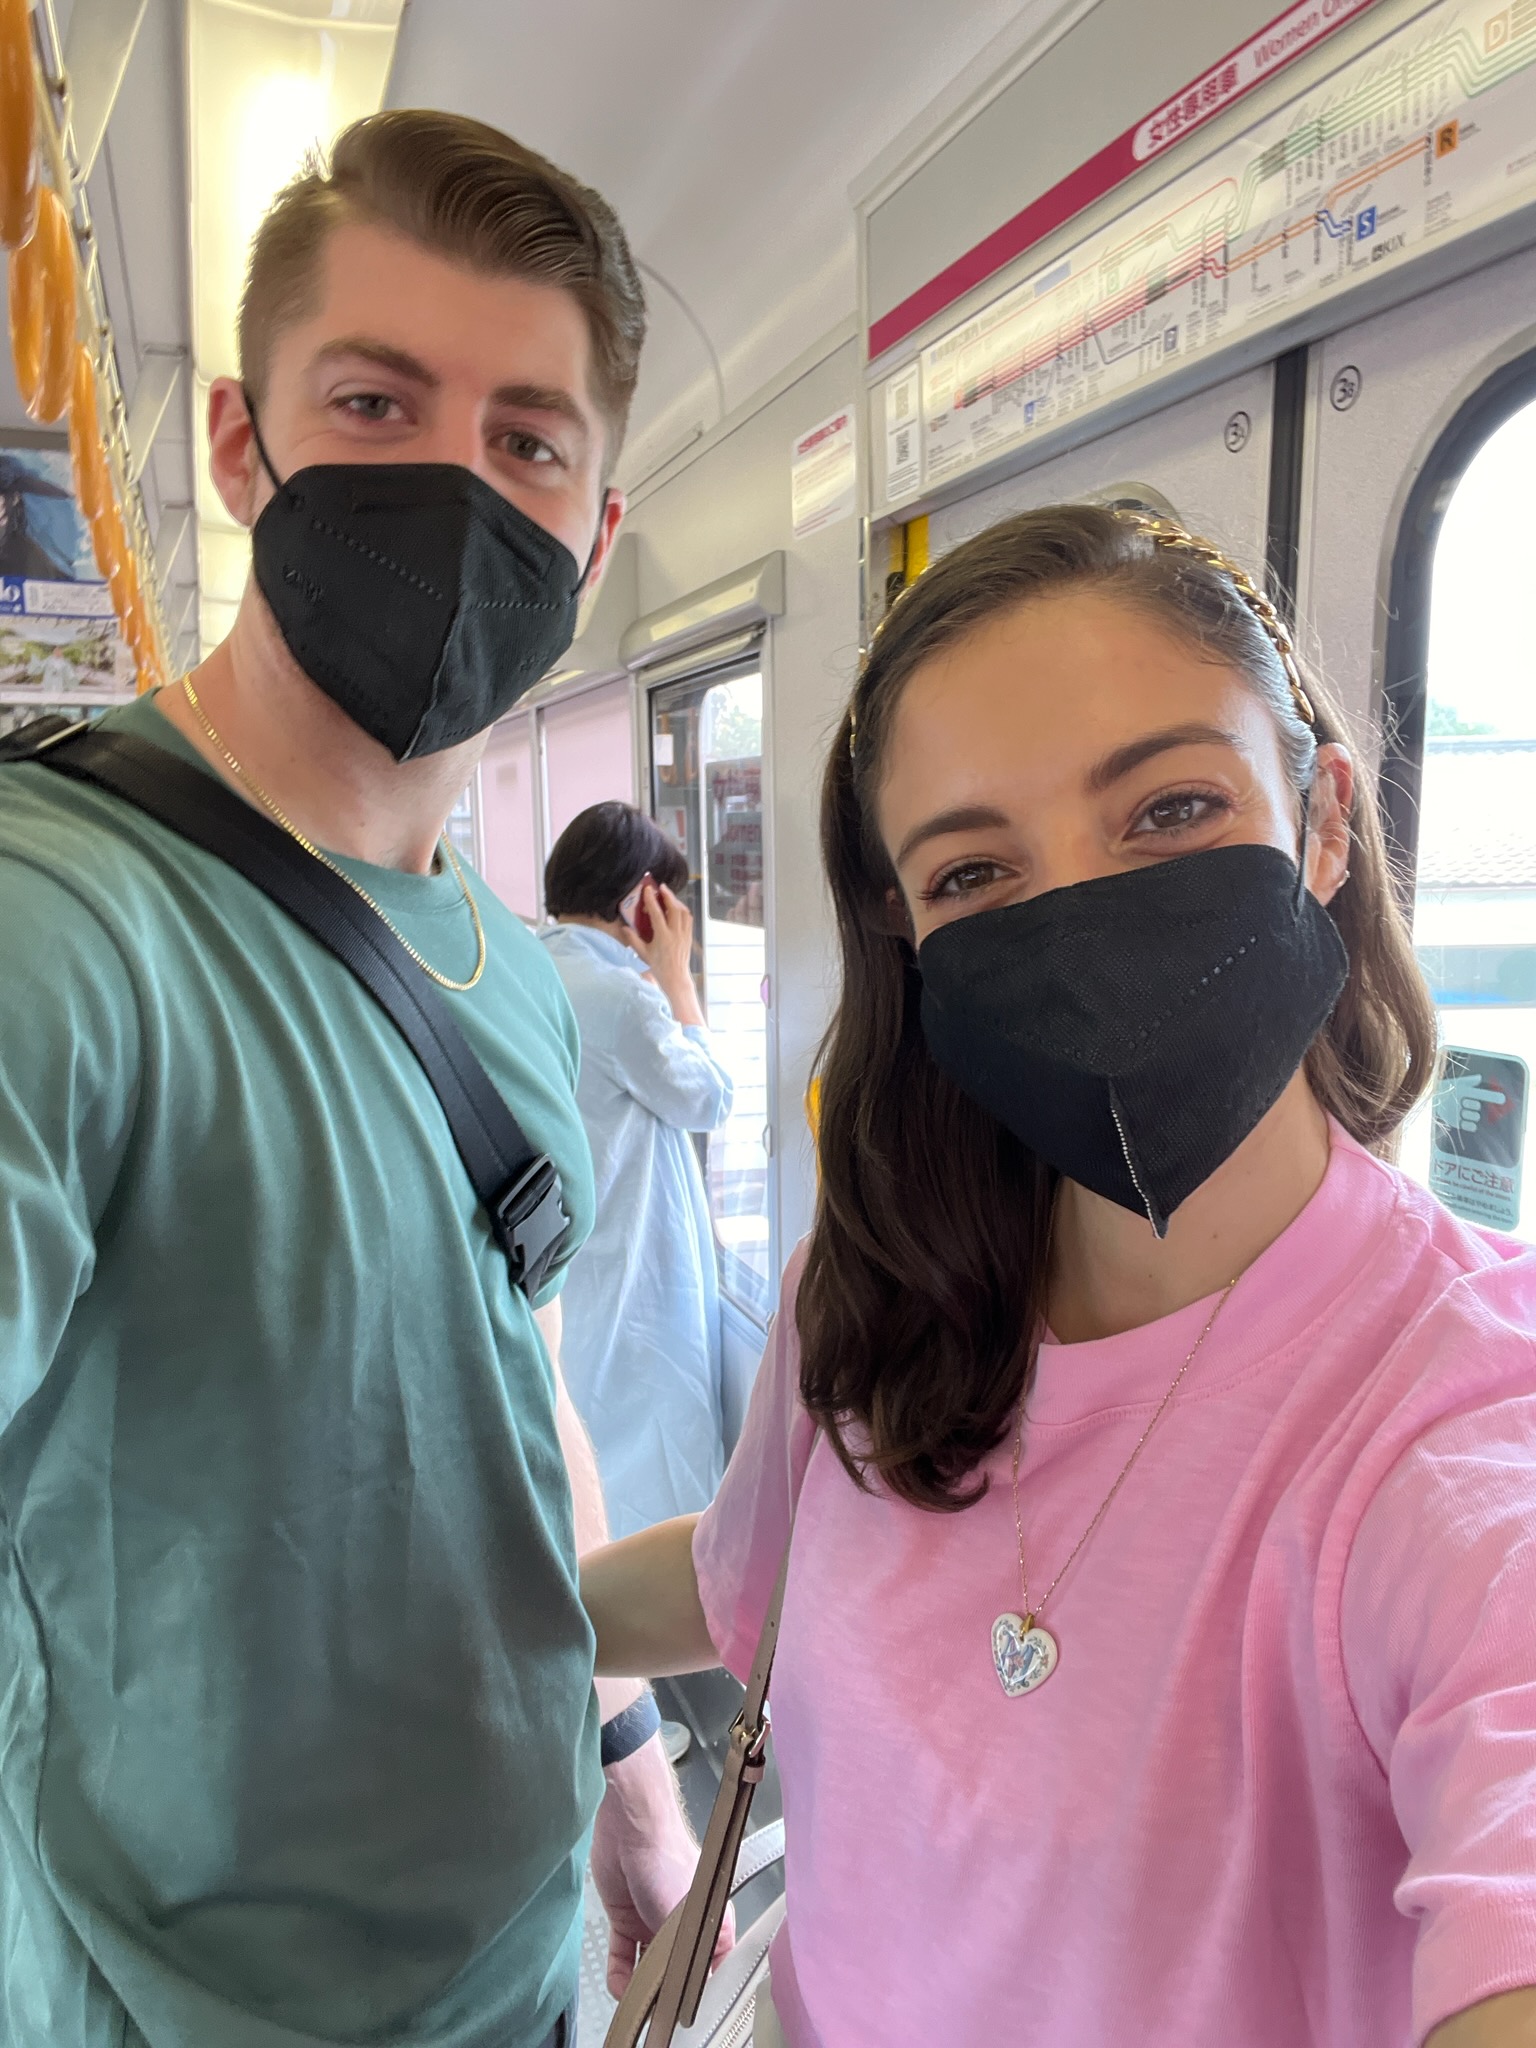
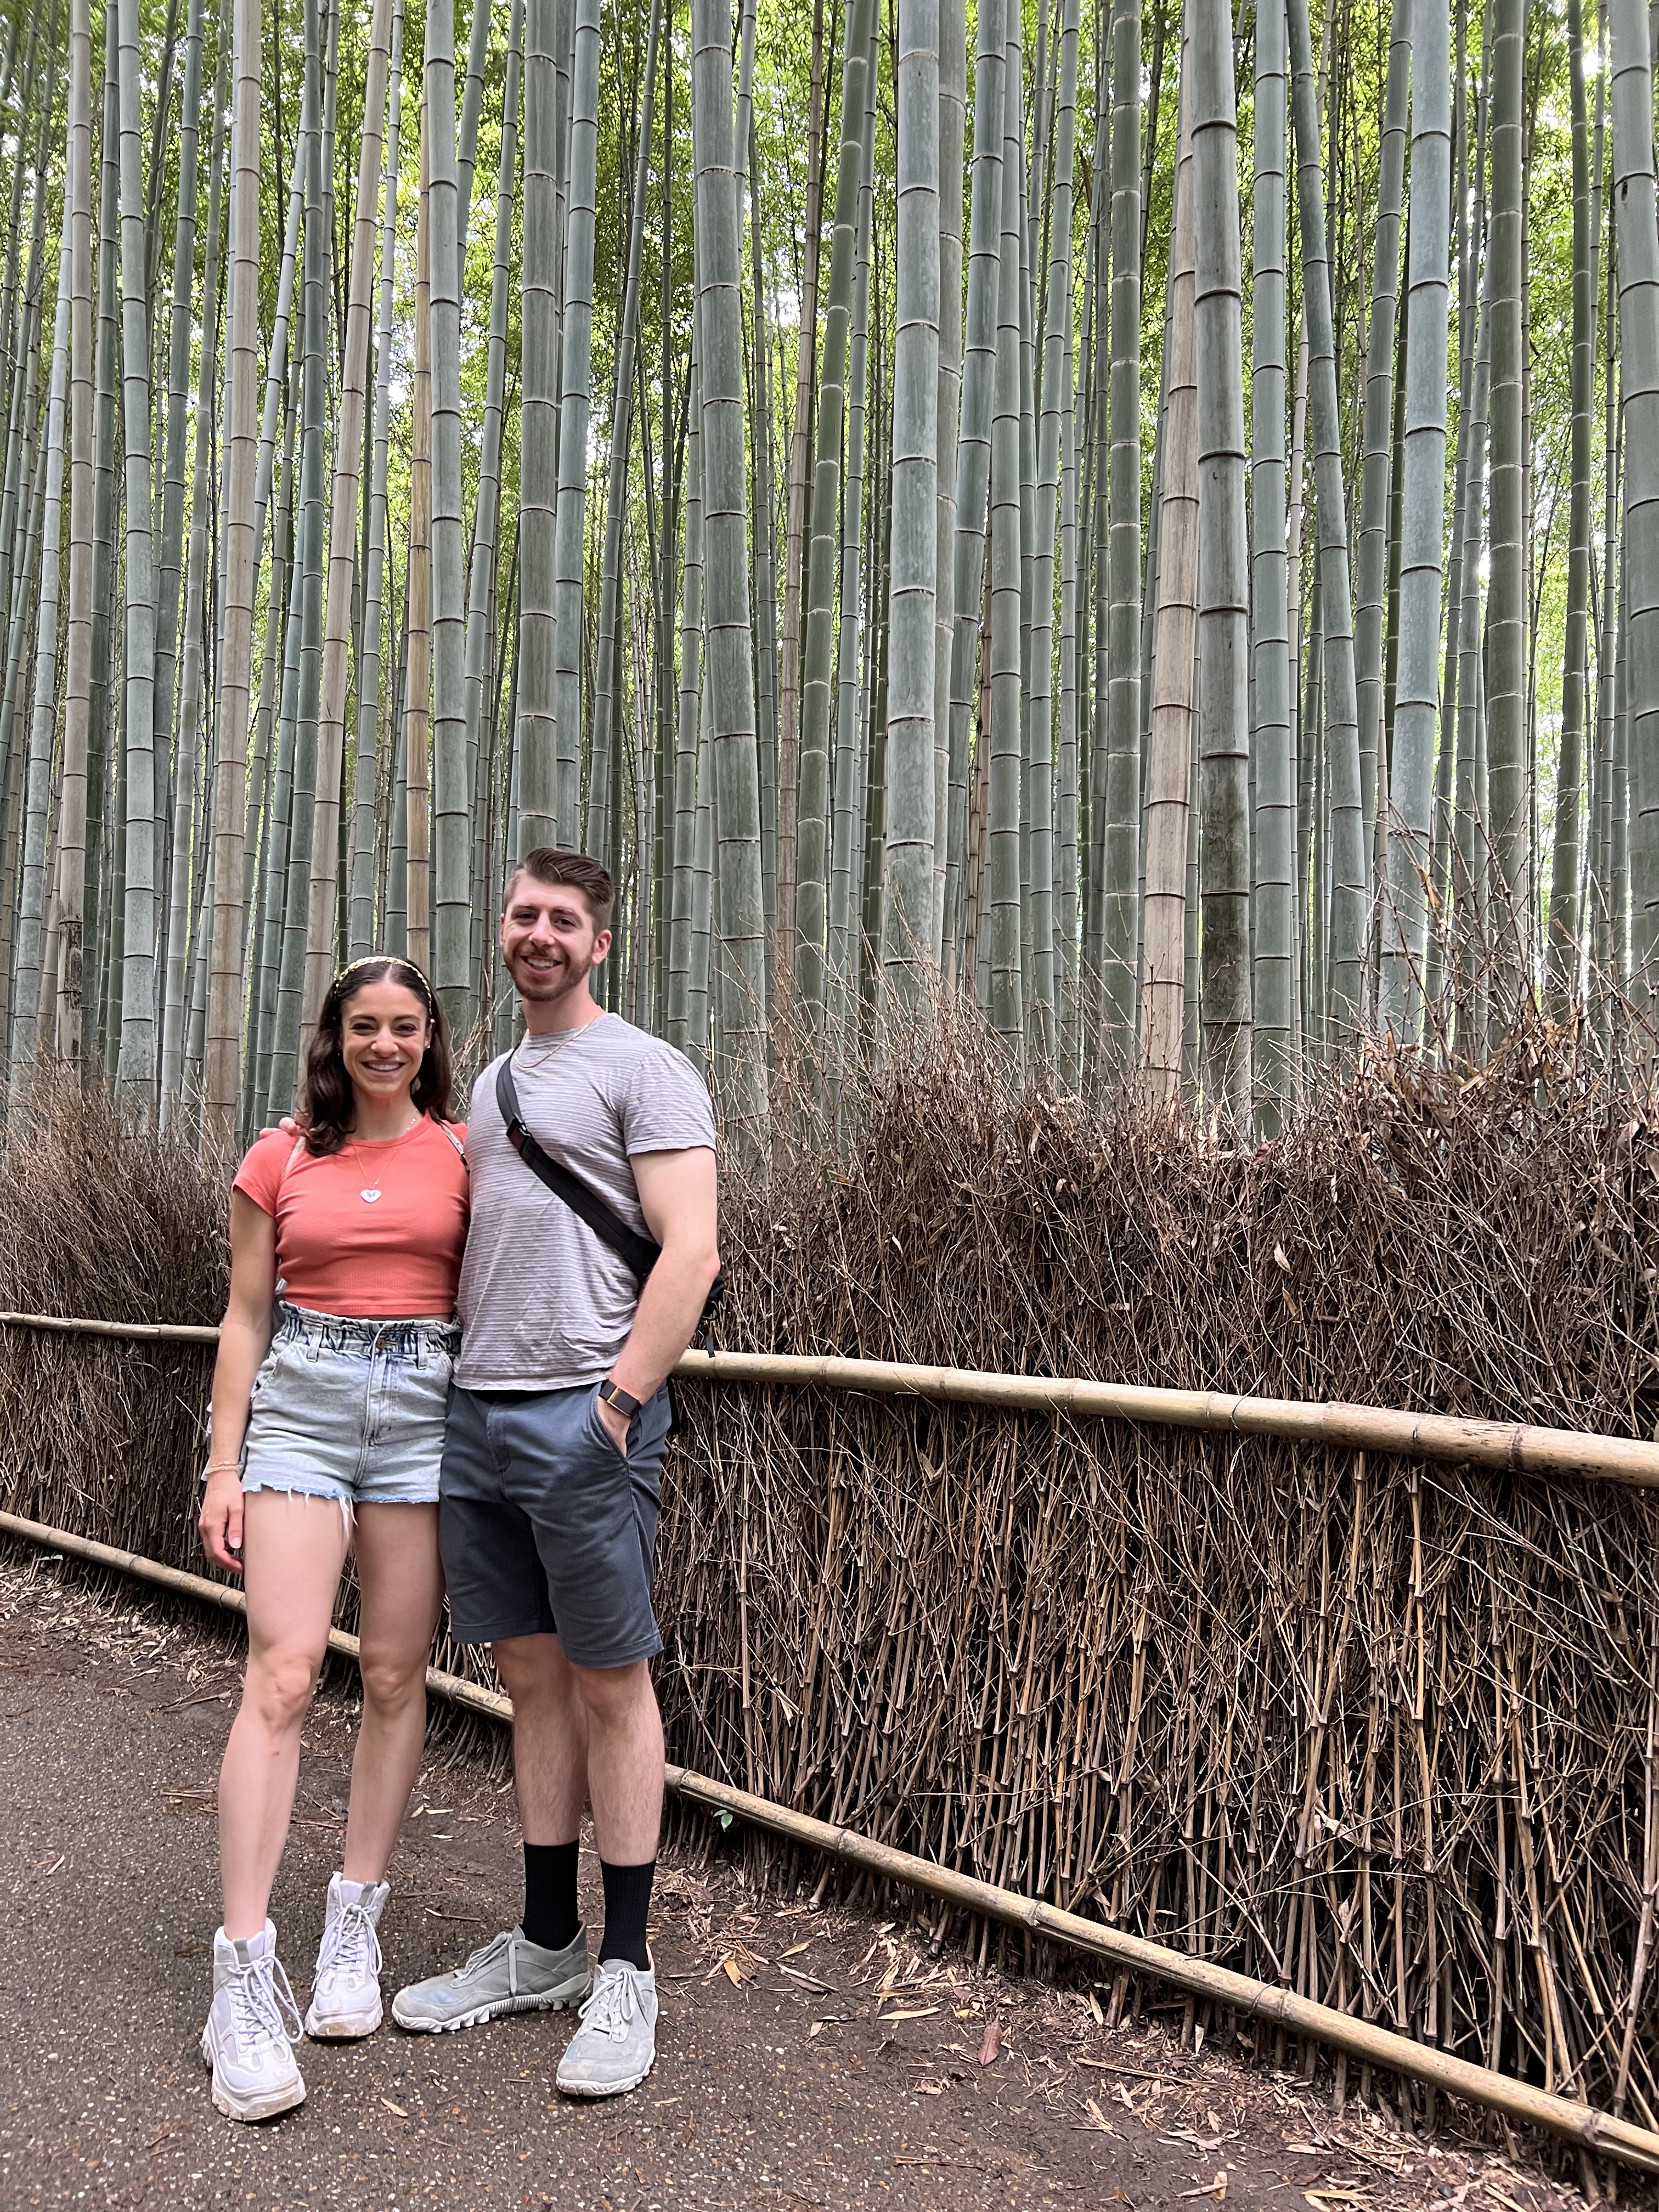
This year has been a whirlwind so far with a lot of “ichi-go ichi-e” moments (although technically every moment should be categorized as such in the spirit of the idiom). To catch you up to speed if you are not already following me on Instagram, I got married this year and my husband and I took our first trip as a married couple (AKA our honeymoon) to Japan!
Planning this trip was challenging, to say the absolute least. I knew very little about the culture, customs, and even the food going into it (there is so much more than just sushi and ramen), so quite a bit of research was required. Even having done days of research up front and putting together a nearly 15 page itinerary, I still learned a ton while attempting to execute the trip. I have organized my monologue into three separate posts:
Itinerary highlights (the post that you are currently reading) – these are our favorite things that we did in Japan. This will be helpful if you are planning a shorter trip than two weeks, or if you are just looking for advice on some absolute must-do activities.
Our full itinerary – every single thing we did with helpful details and photos, including sight-seeing, tours, meals, whether we got tickets up-front, whether or not we recommend the activity, etc.
Our trip to Japan was truly a life changing experience and I hope this post helps you to plan yours. Without further ado, I’ll get started! This is post 1 of 3, itinerary highlights.
Tokyo, Kyoto, and Osaka Itinerary Highlights
As always, my full two week itinerary in all its glory is detailed in Part 2 of this series, but if you are planning a shorter trip, I have detailed here my favorite itinerary items that you can look into as a higher priority.
As I was doing my research it seemed that instead of there being specific destinations that we needed to hit in particular locations, there were experiences that we just needed to have with opportunities all over Japan. Here are some more general experiences to look out for in Japan and, when applicable, I have given a recommendation on where you can best find it:
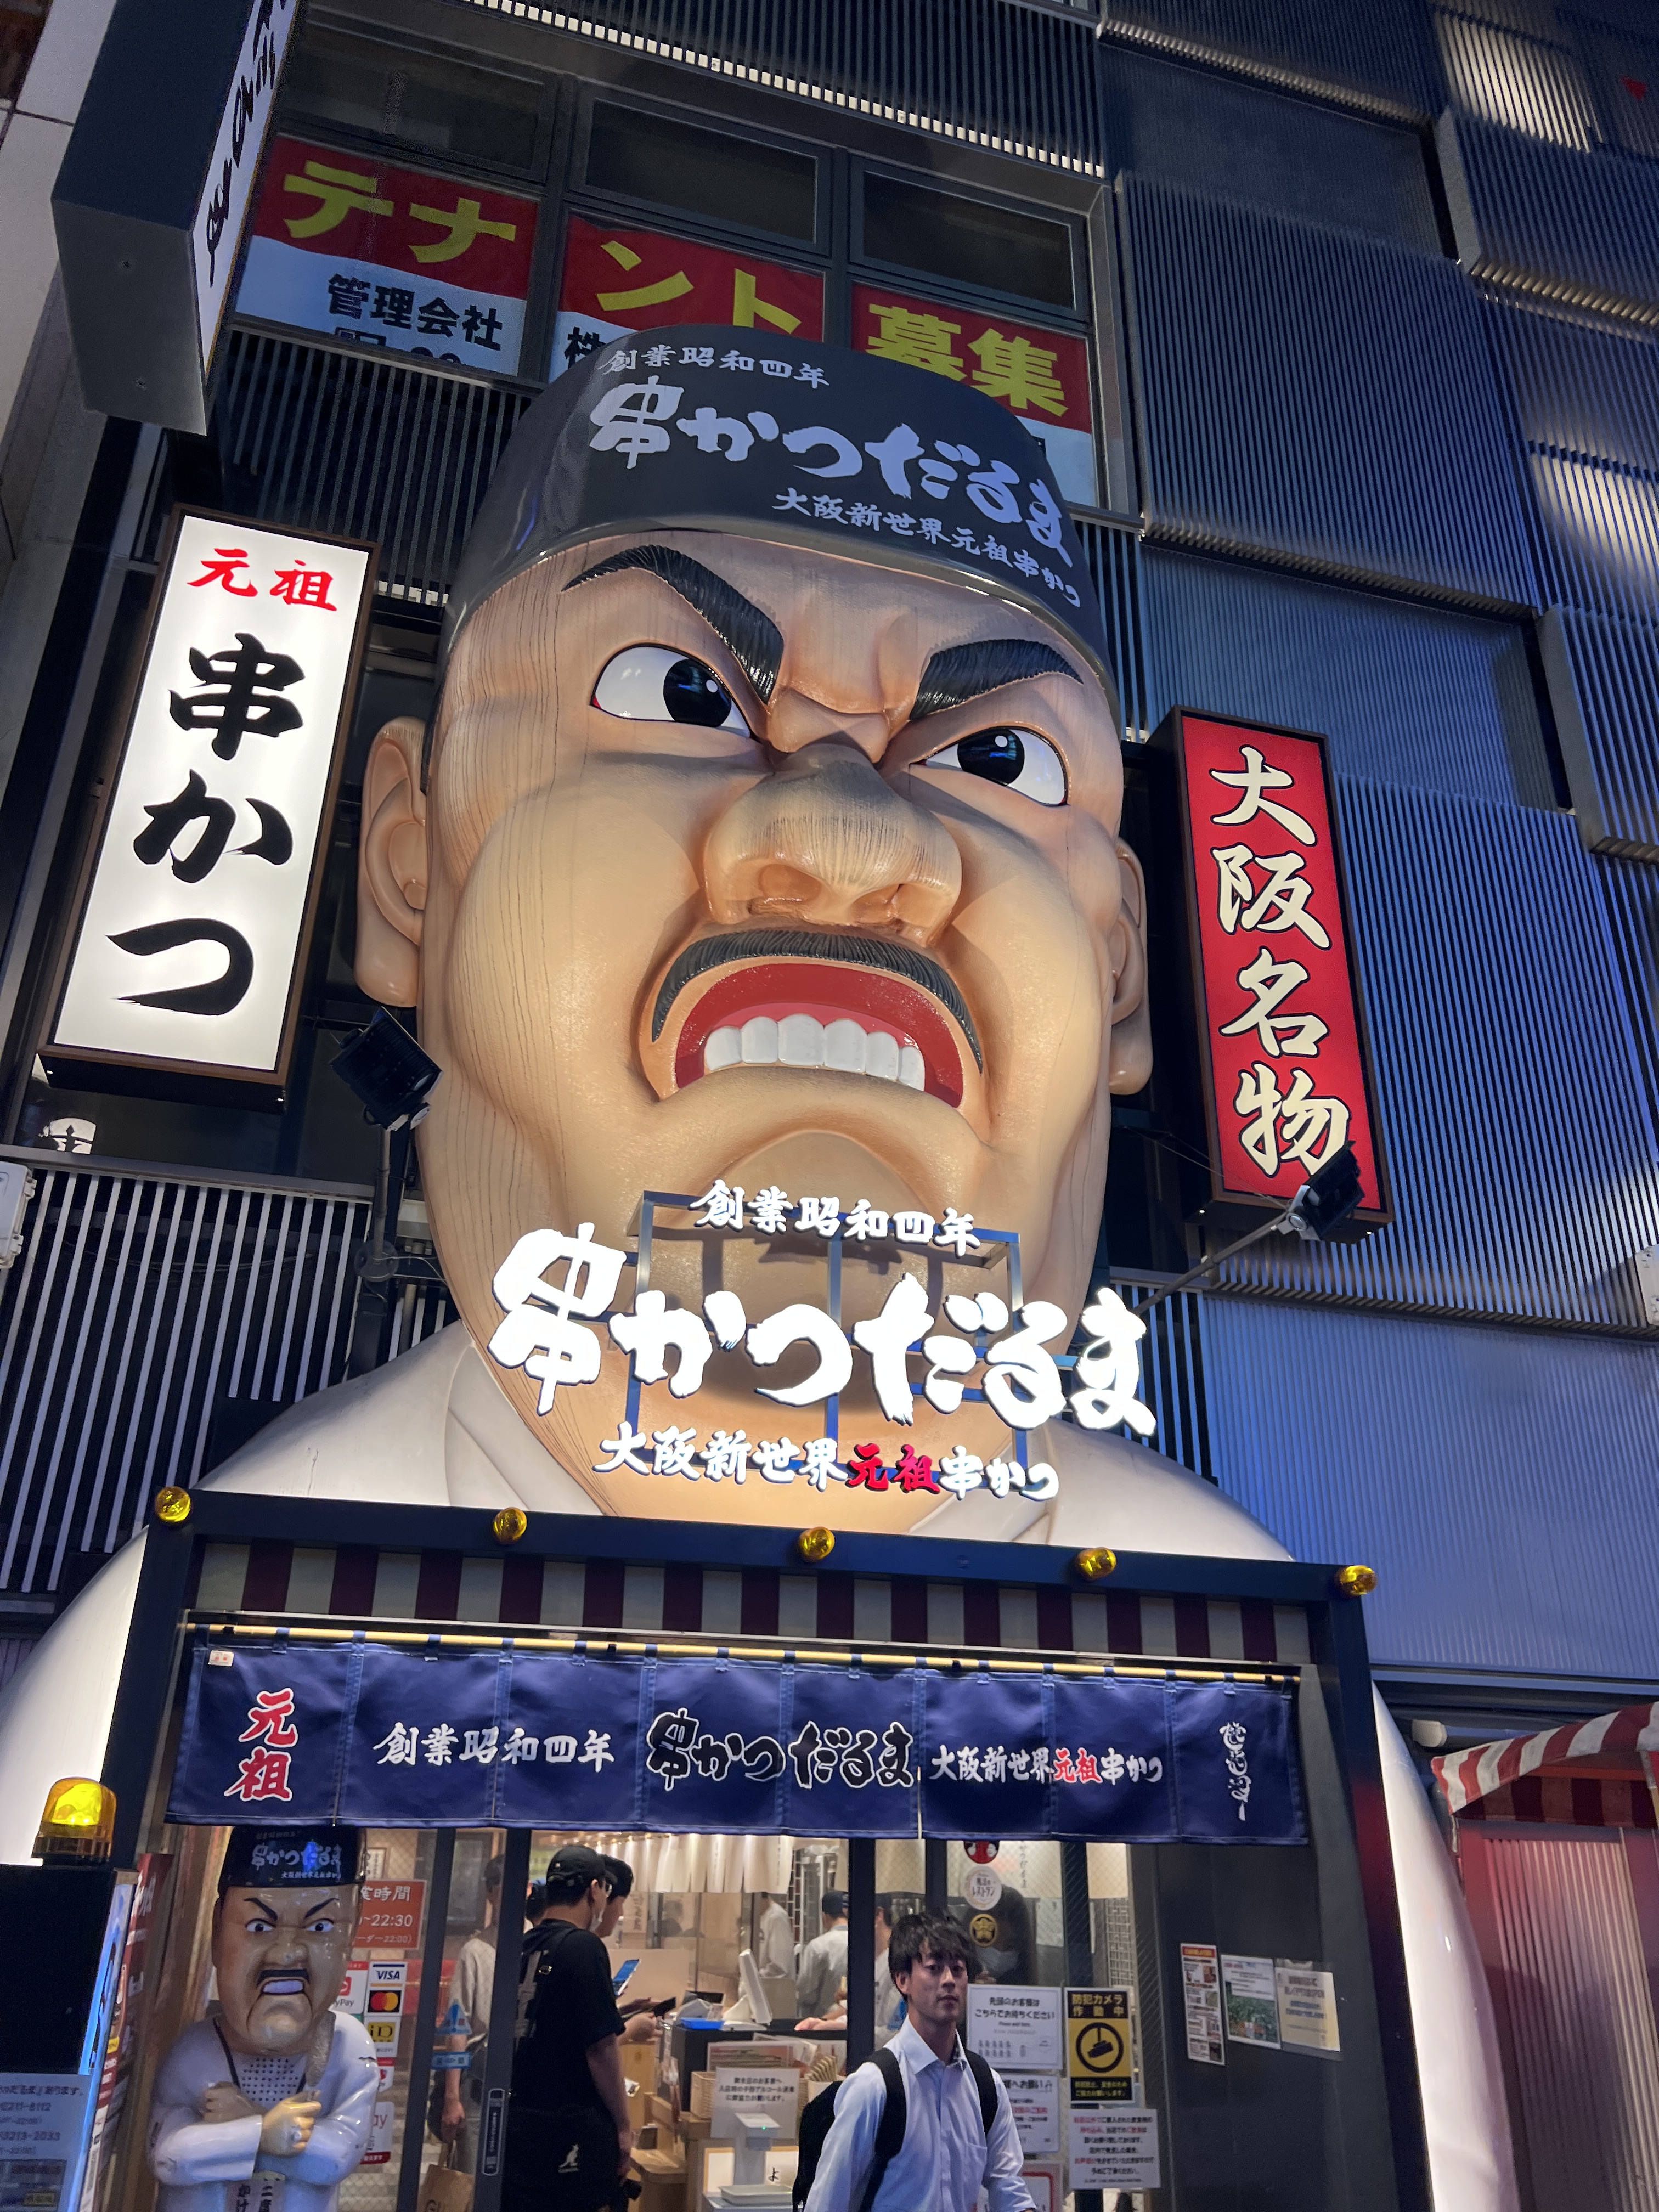
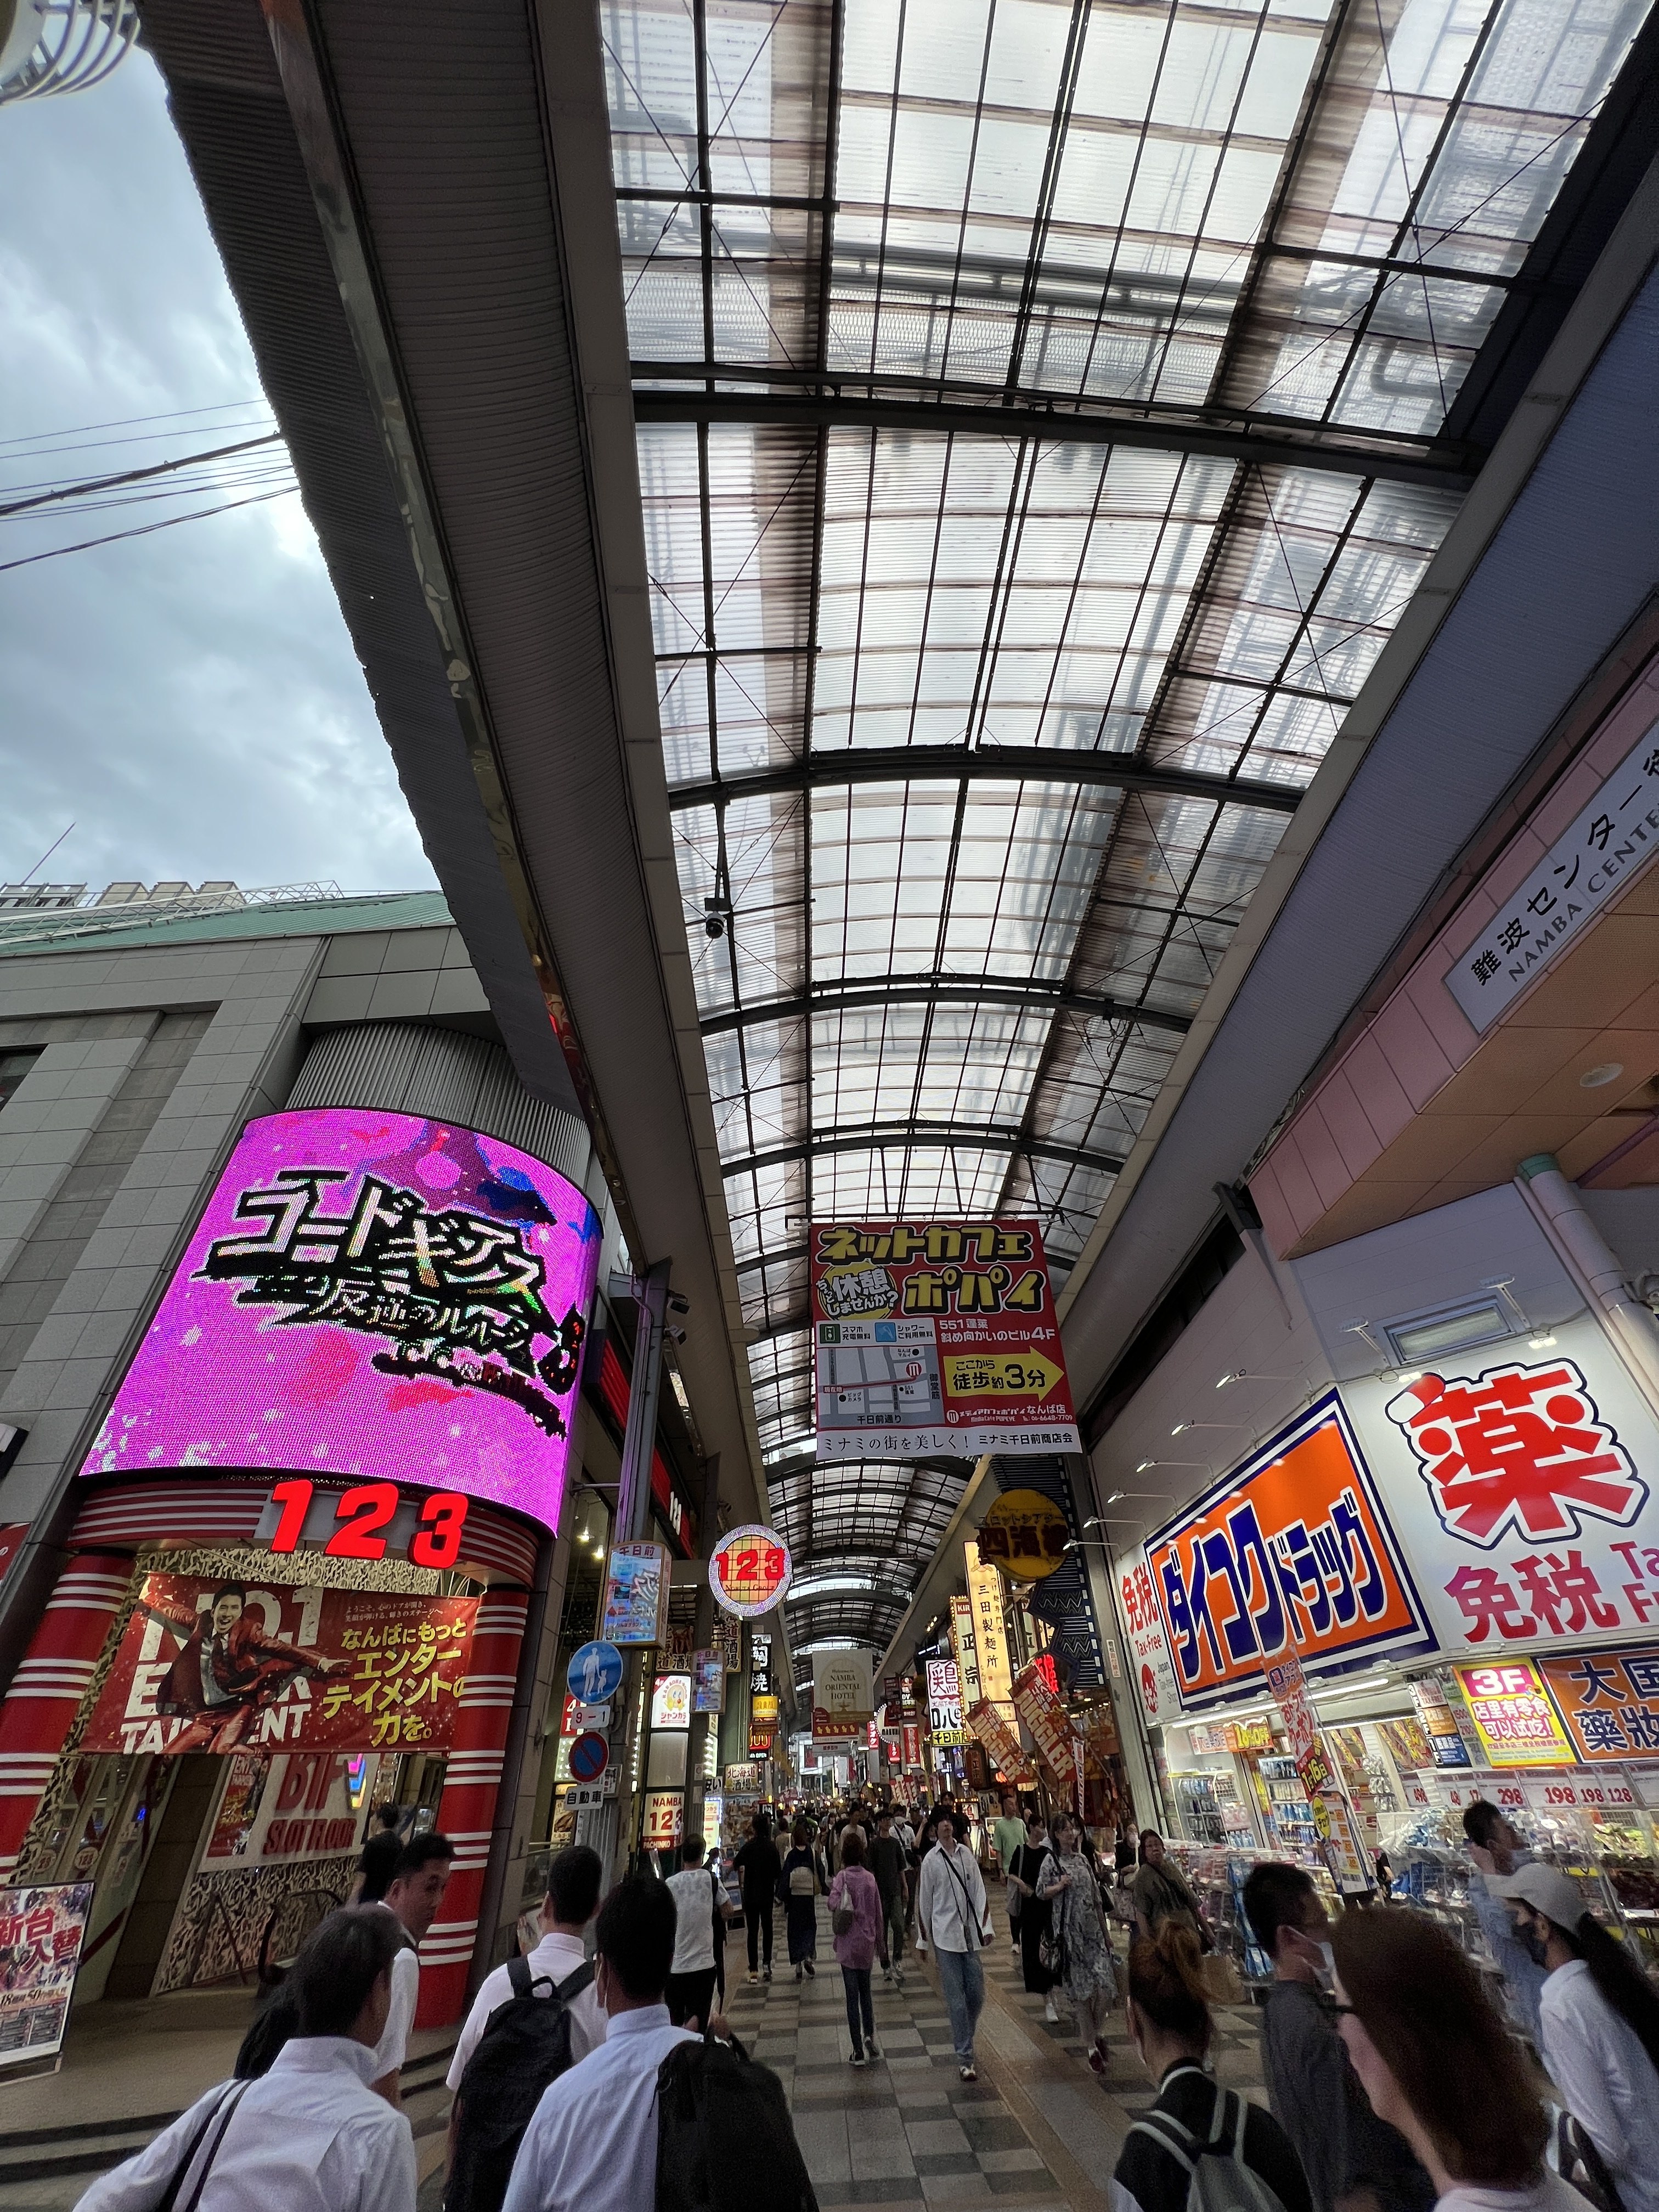
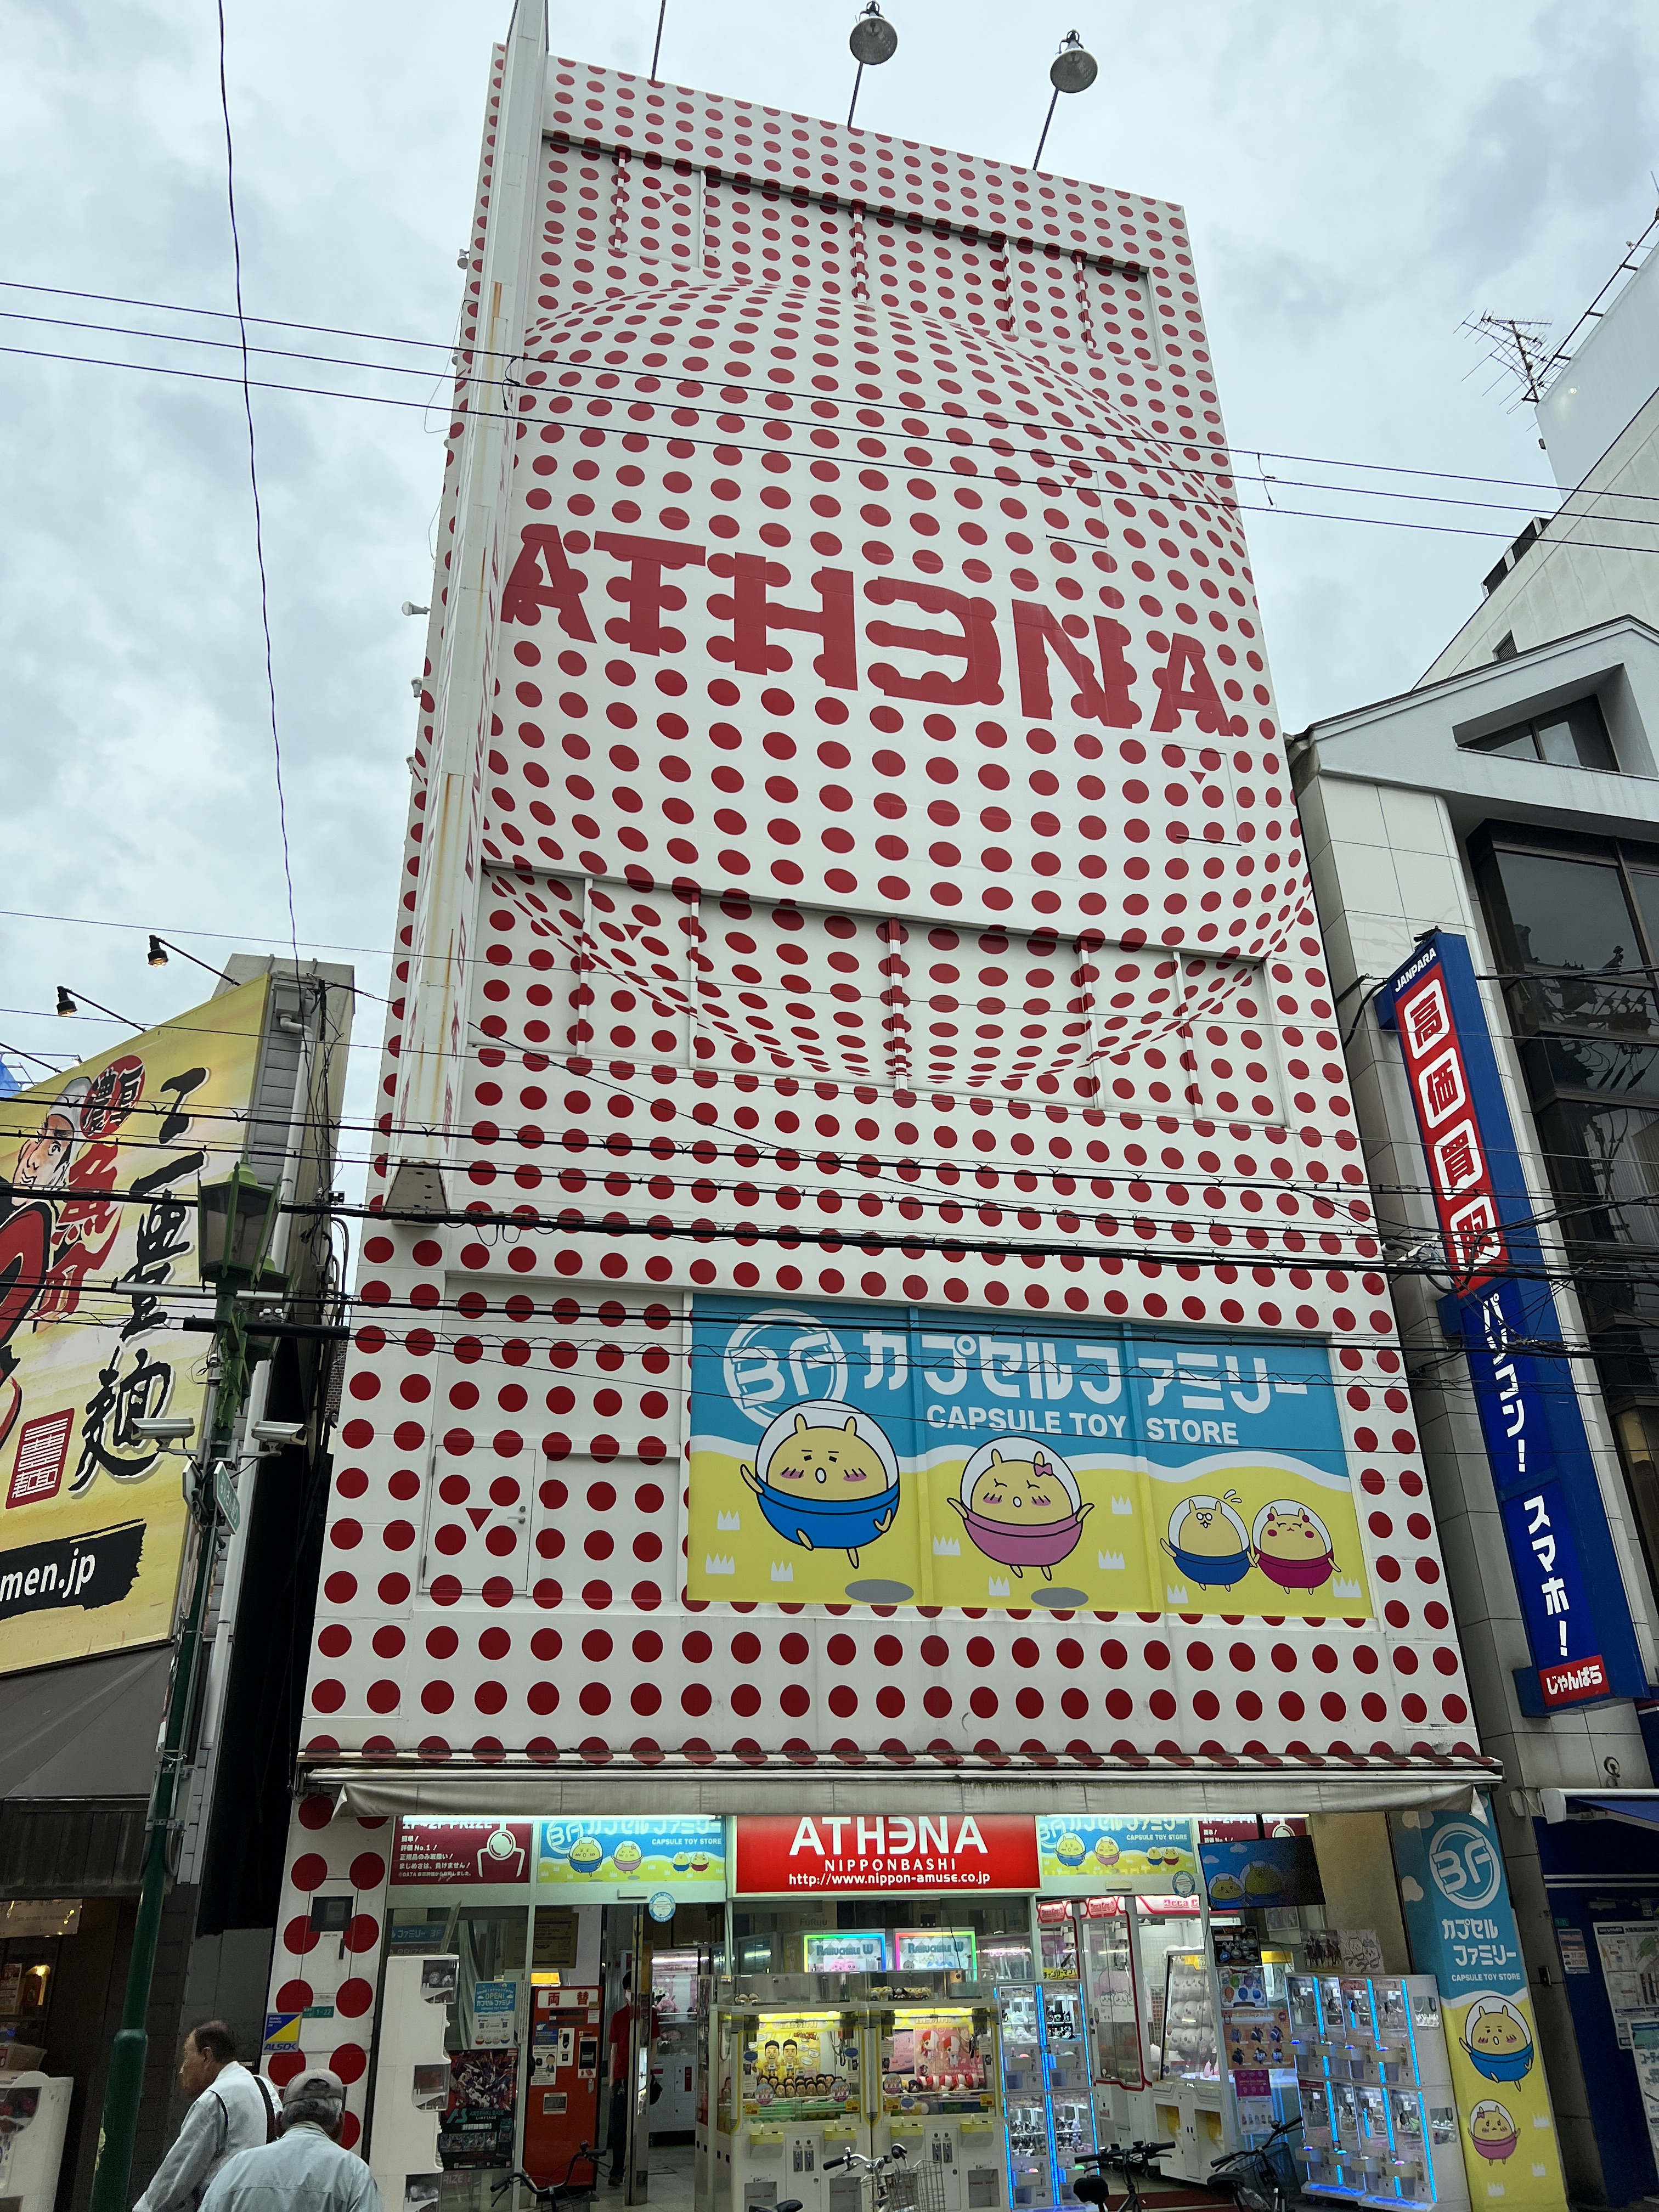
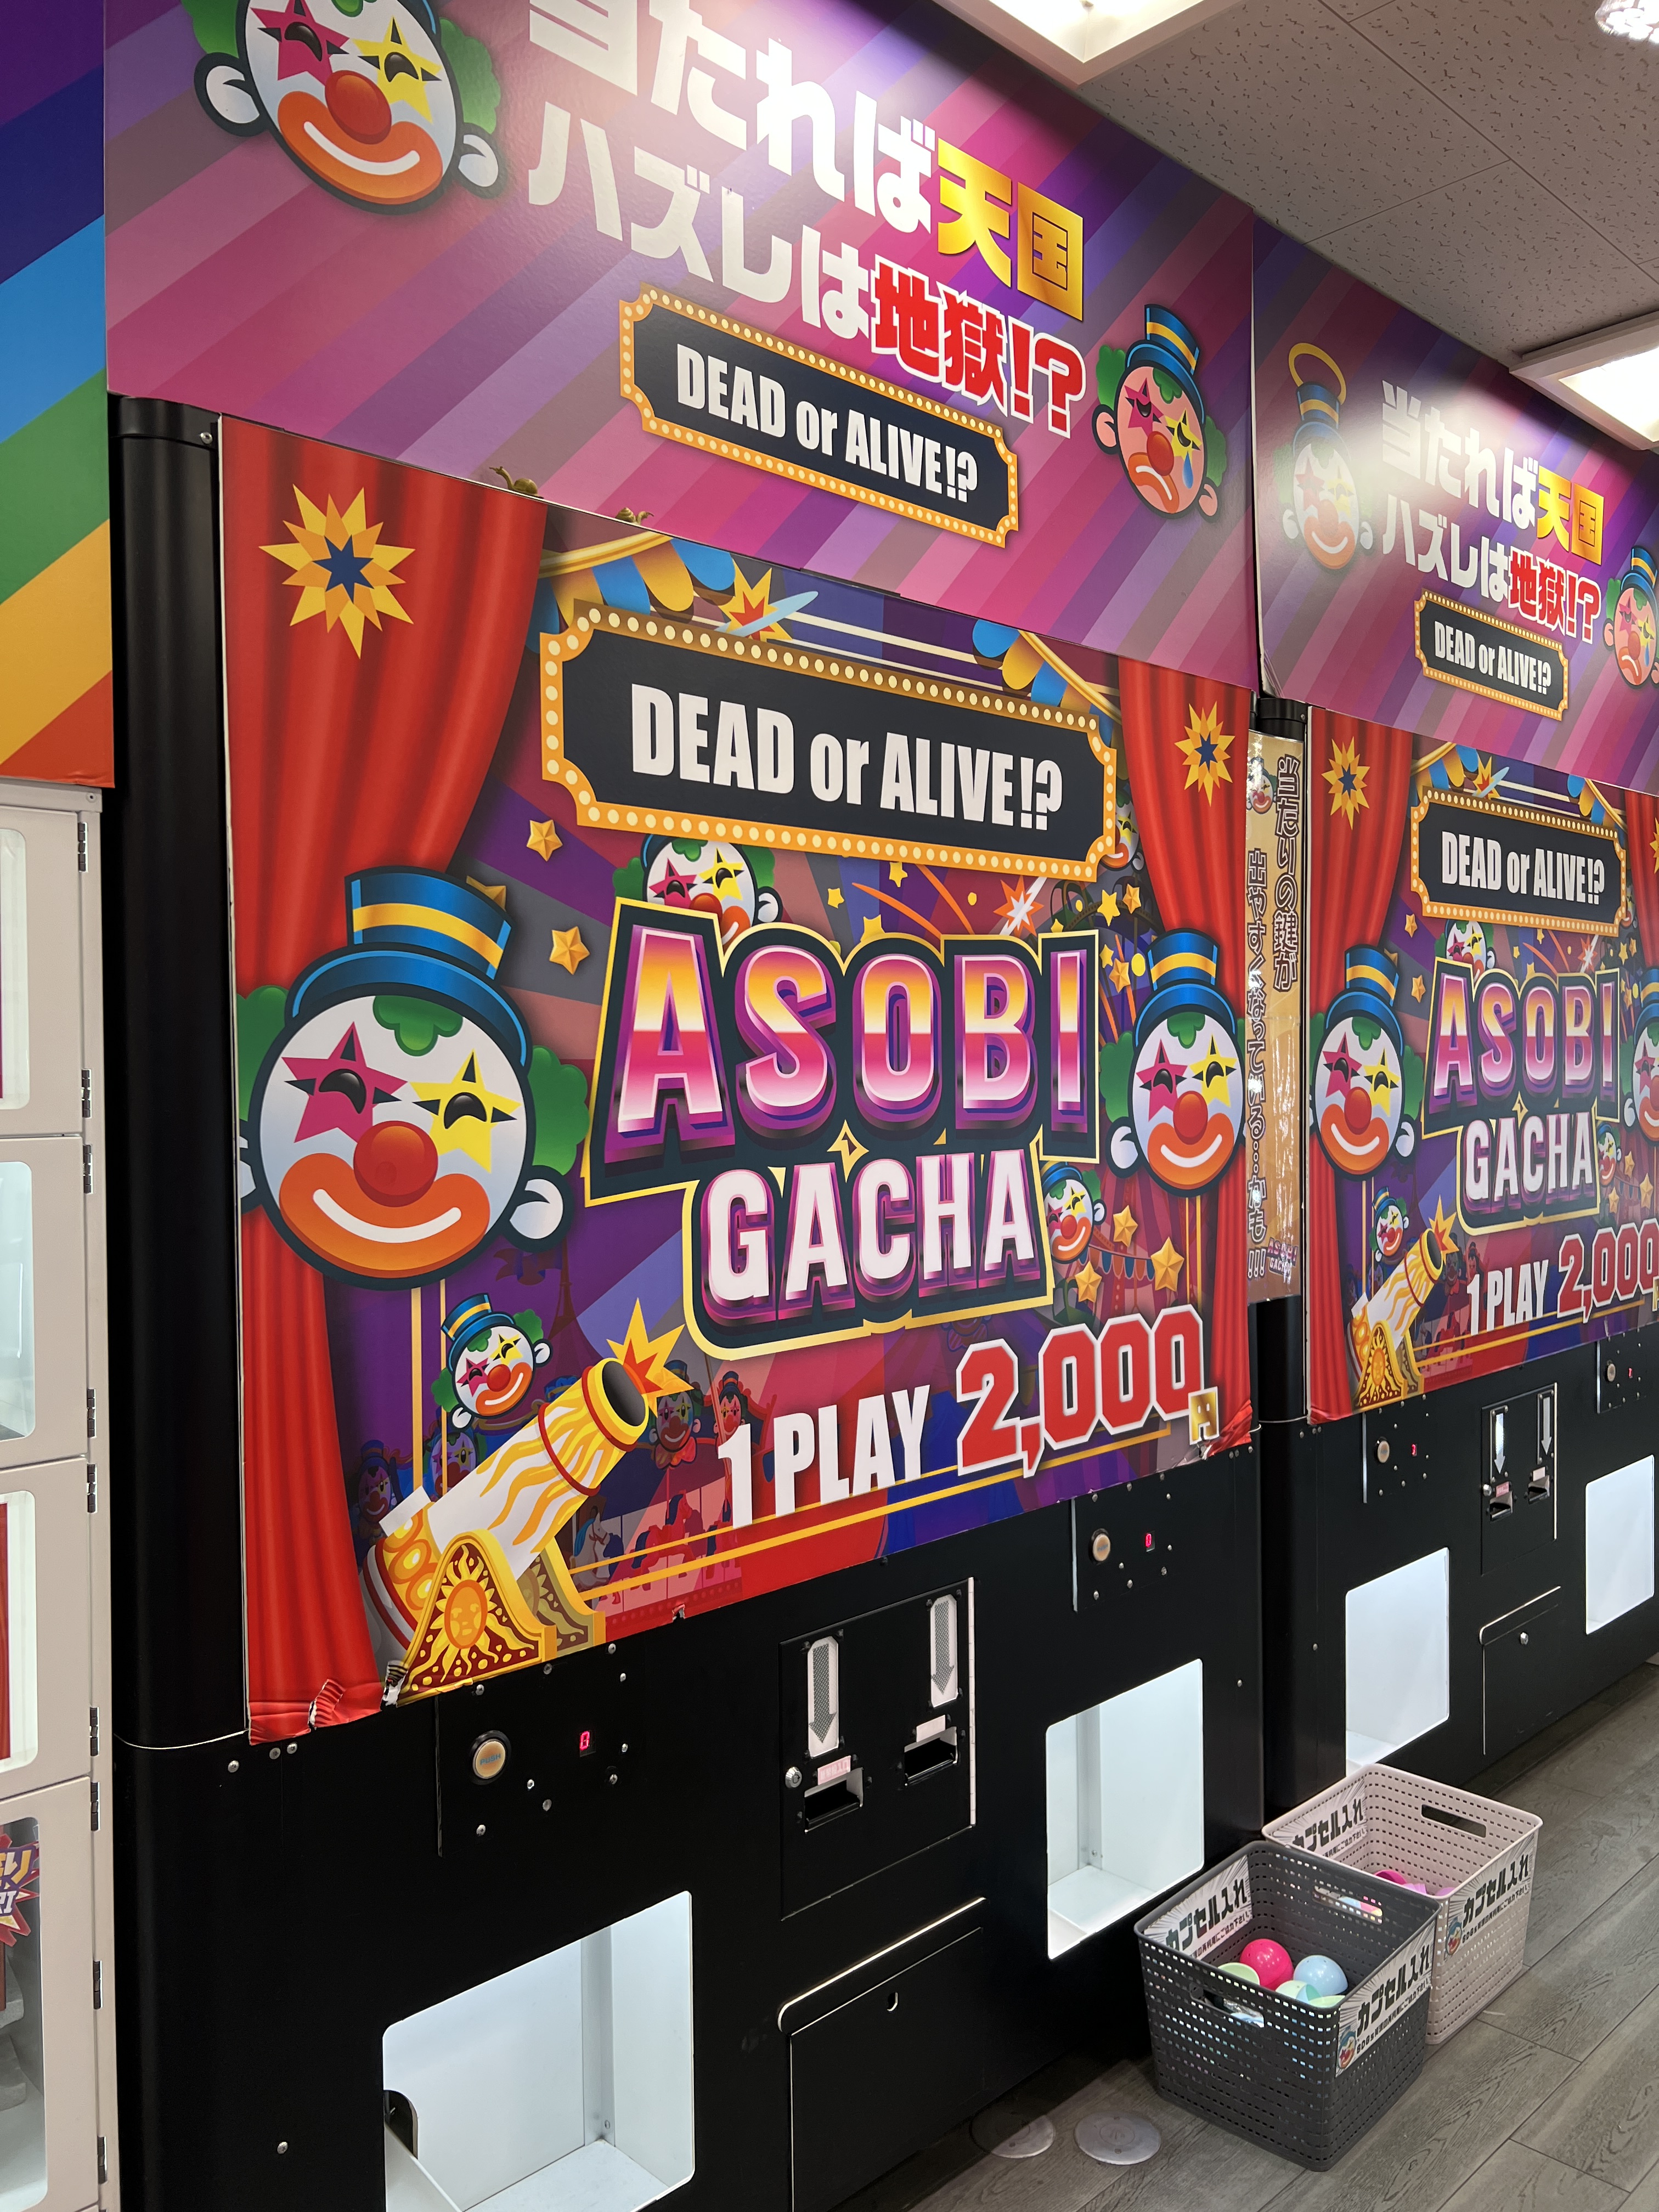
Get into the culture by hitting up at least one major “animated” strip. These are more common in Tokyo (recommended Akihabara) and Osaka (recommended Dotonburi), where you can play games and shop souvenirs, normal non-souvenir clothes and things, anime paraphernalia, and electronics. Even if this is not normally your thing, it is cool to see the energy of the neighborhoods and experience the gaming culture. Try Pachinko and slots, crane games, and capsule machines! The Taito Station is a multi-level arcade, and is a great spot to find most of the games (pretty much everything aside from Pachinko and slots, which have their own facility).
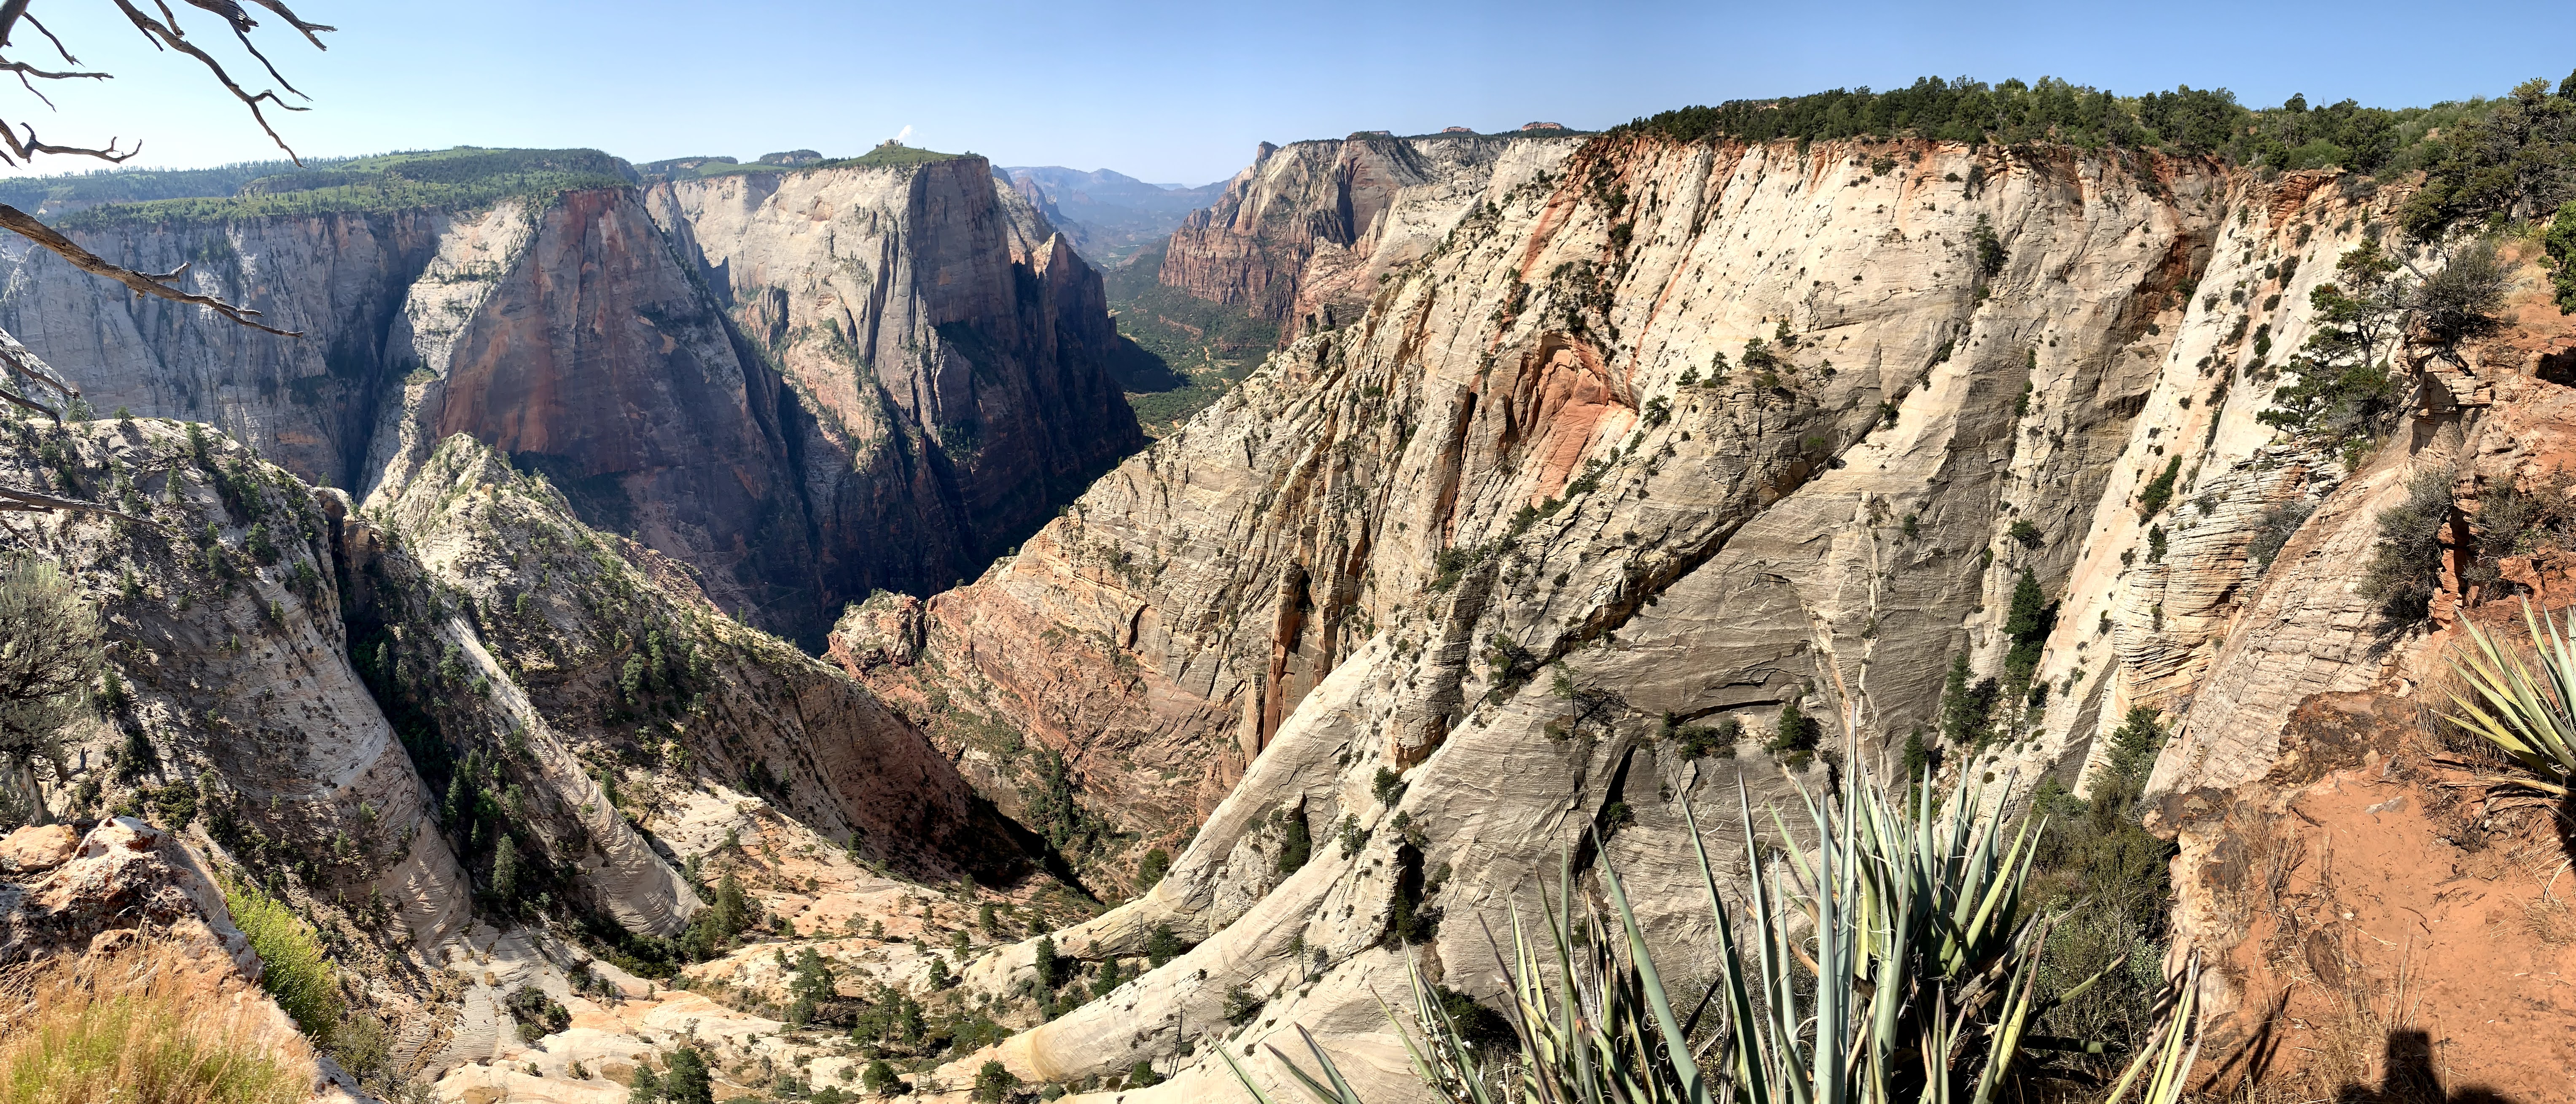
Japan’s landscapes are absolutely incredible, so if you can plan for at least one day with a hike, I would absolutely recommend it. Here are the ones we did on our trip:
Kurama (between Kurama temple and Kibune shrine – this took about a half day, and does require you to leave the Kyoto city center. Full itinerary for this half-day excursion can be found in part 2 of this series)
Nanzen-Ji (we did not get to finish it but it would have been an estimated 40 minute hike in one direction through the woods with a shrine at the end. Since we did not do it we cannot guarantee firsthand that there would be anything noteworthy at the end, but this did look like a fun one that you did not have to leave the main city area for. From what we saw, the path is a little bit rugged and steep – it is through the woods so there are rocks and roots along the path to watch out for). There is actually a whole network of hiking trails behind Nanzen-ji that we did not explore, so this would be a great choice if you are looking to do a day or half-day hike but not looking to leave the main city area.
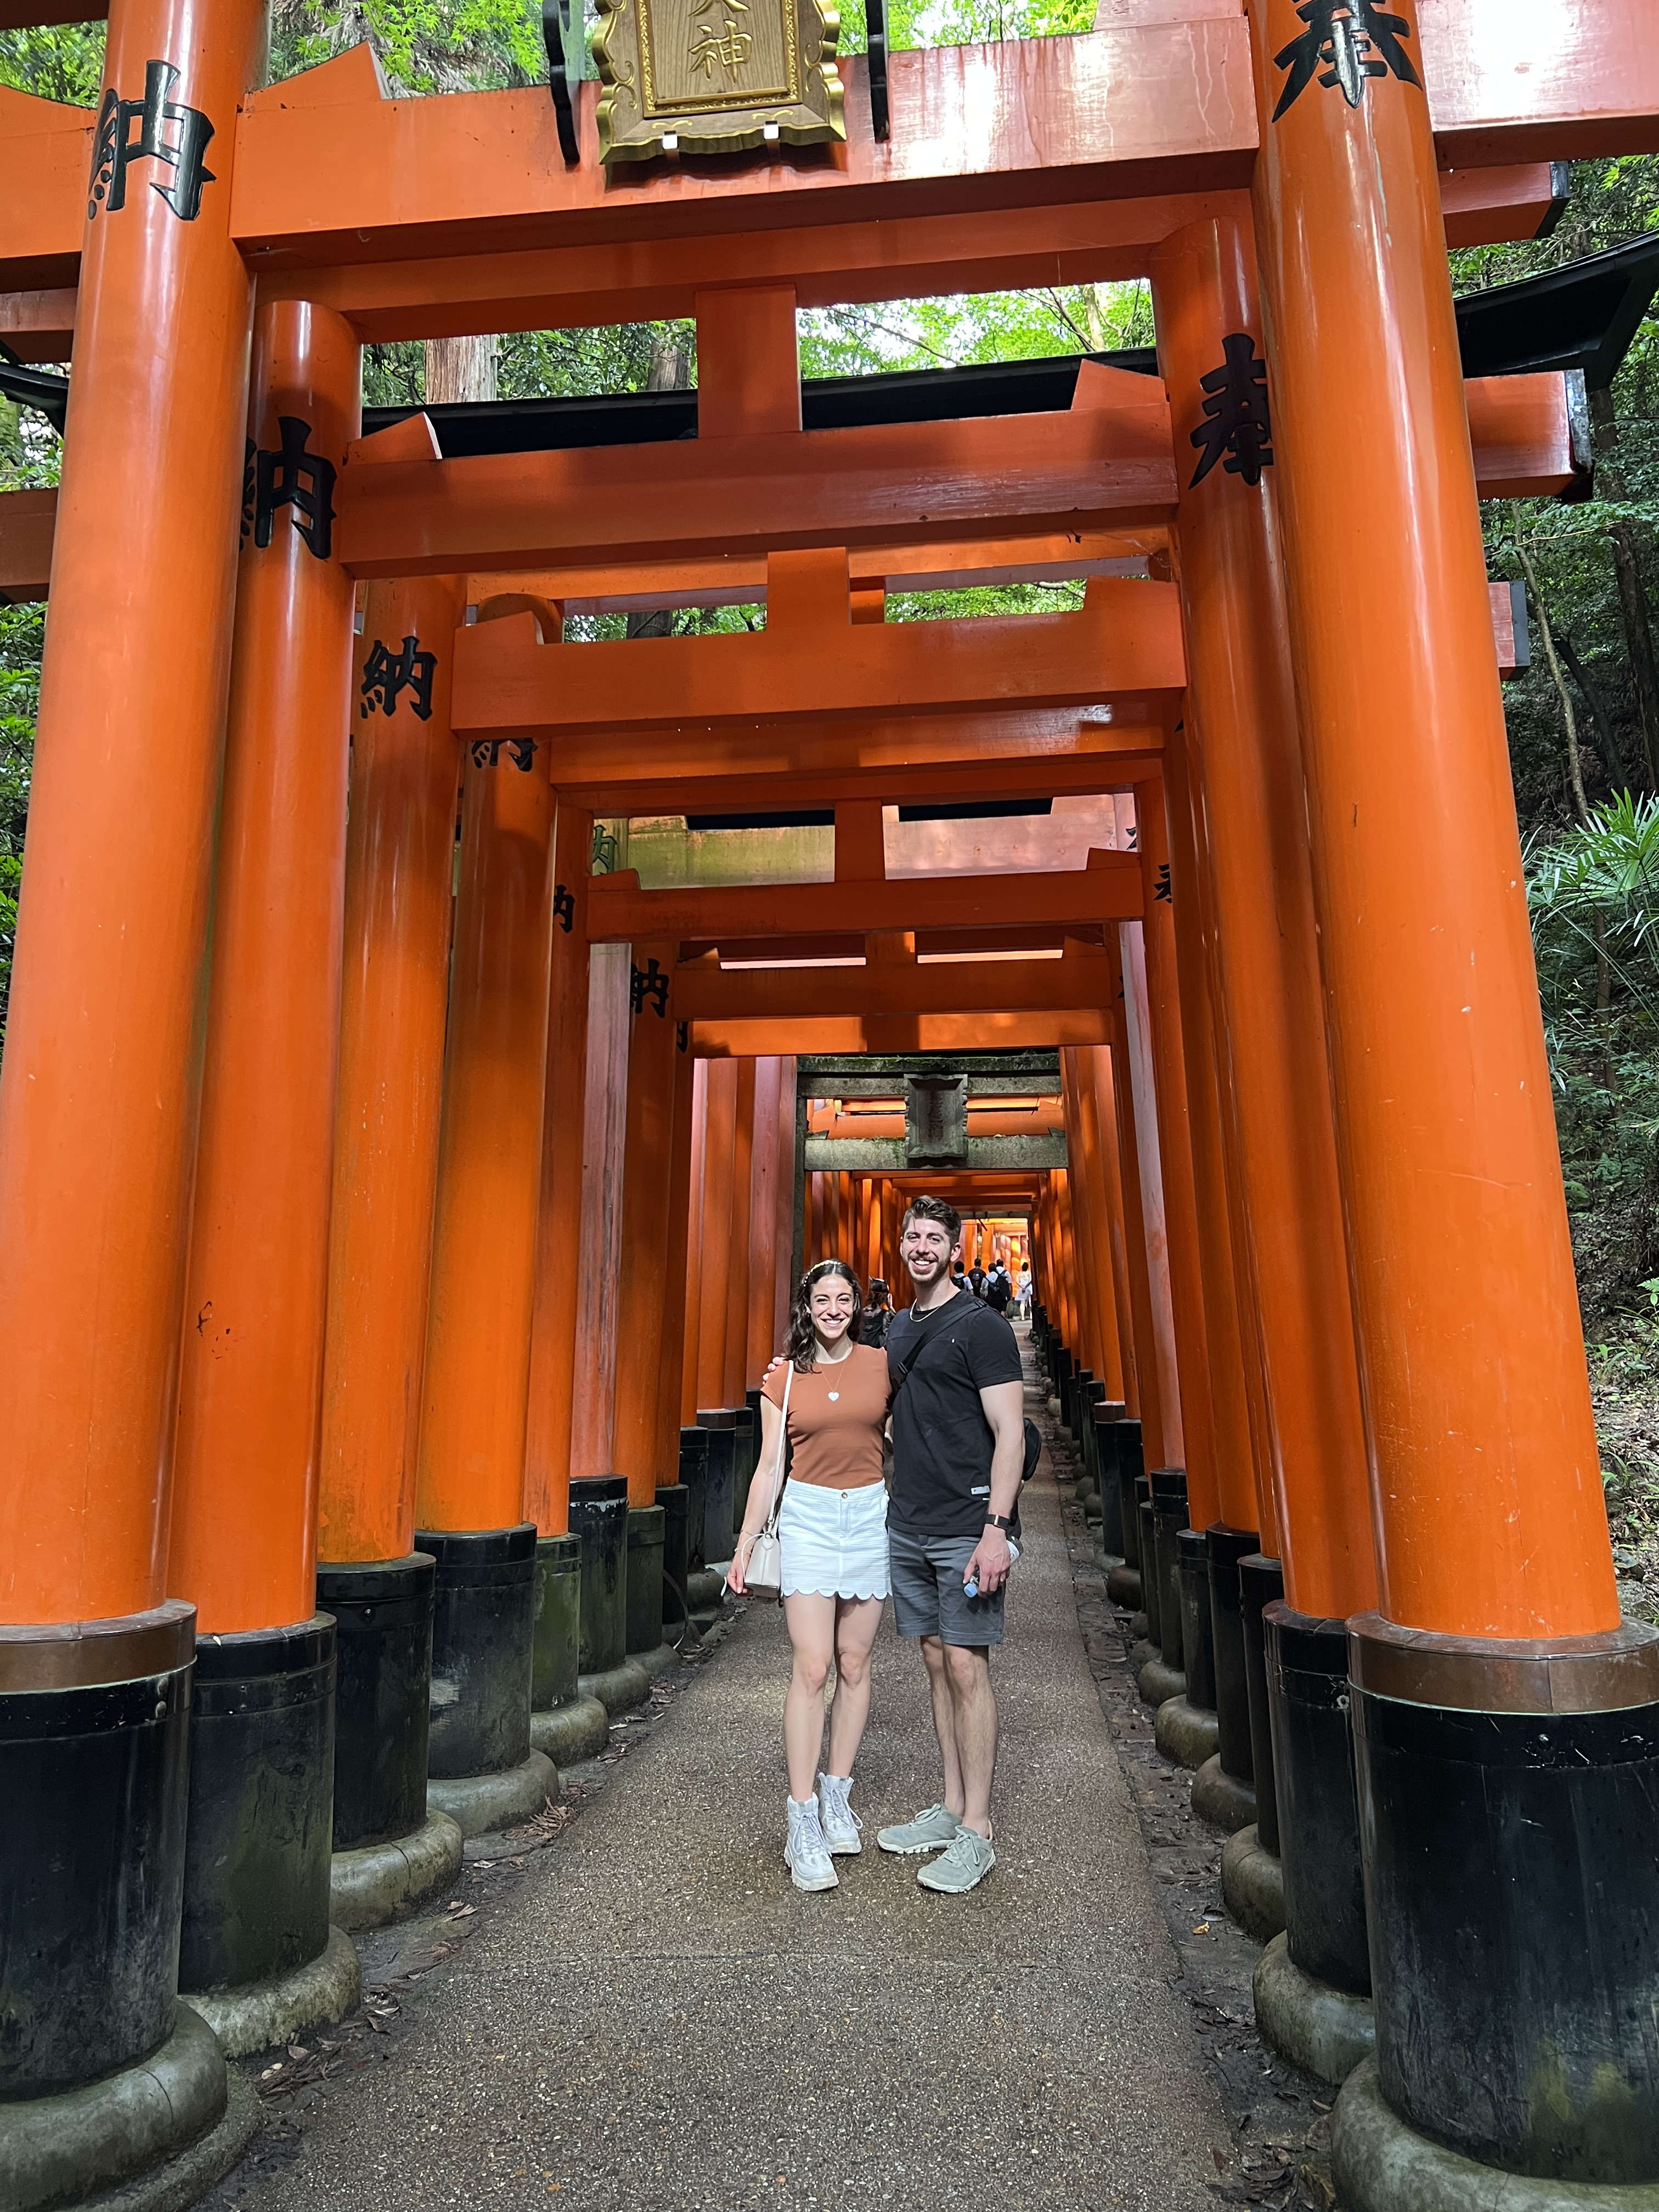
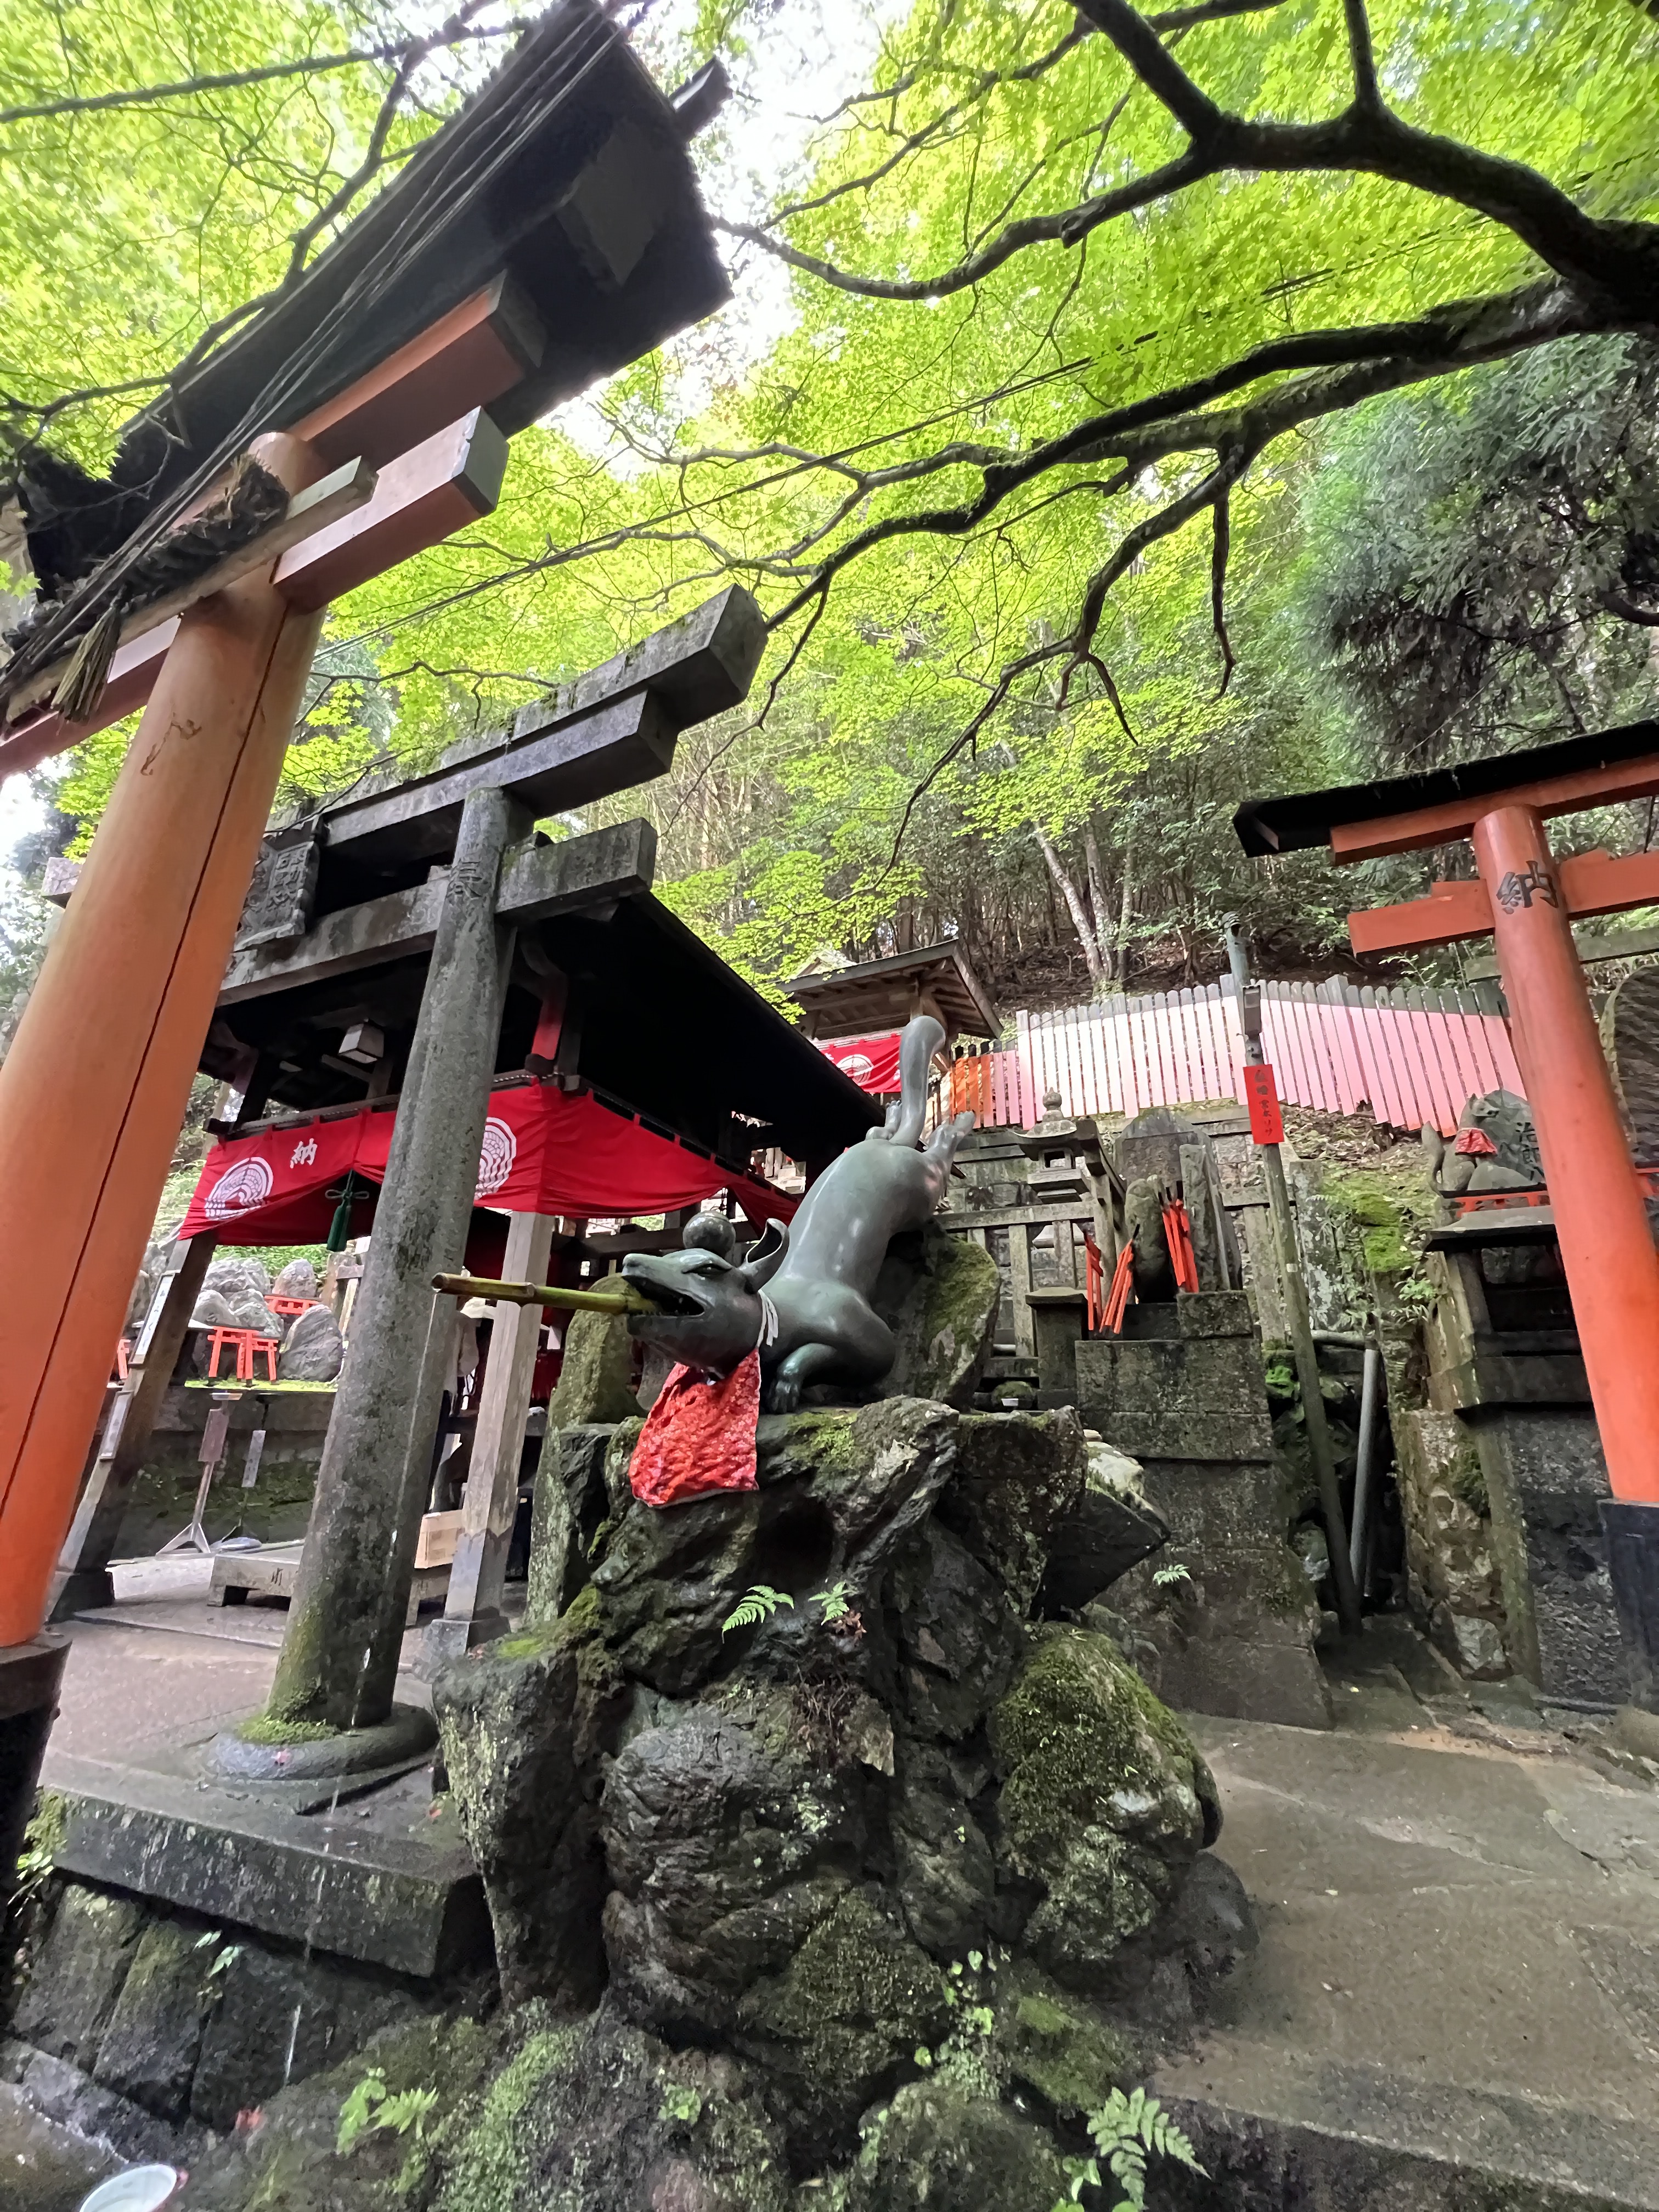
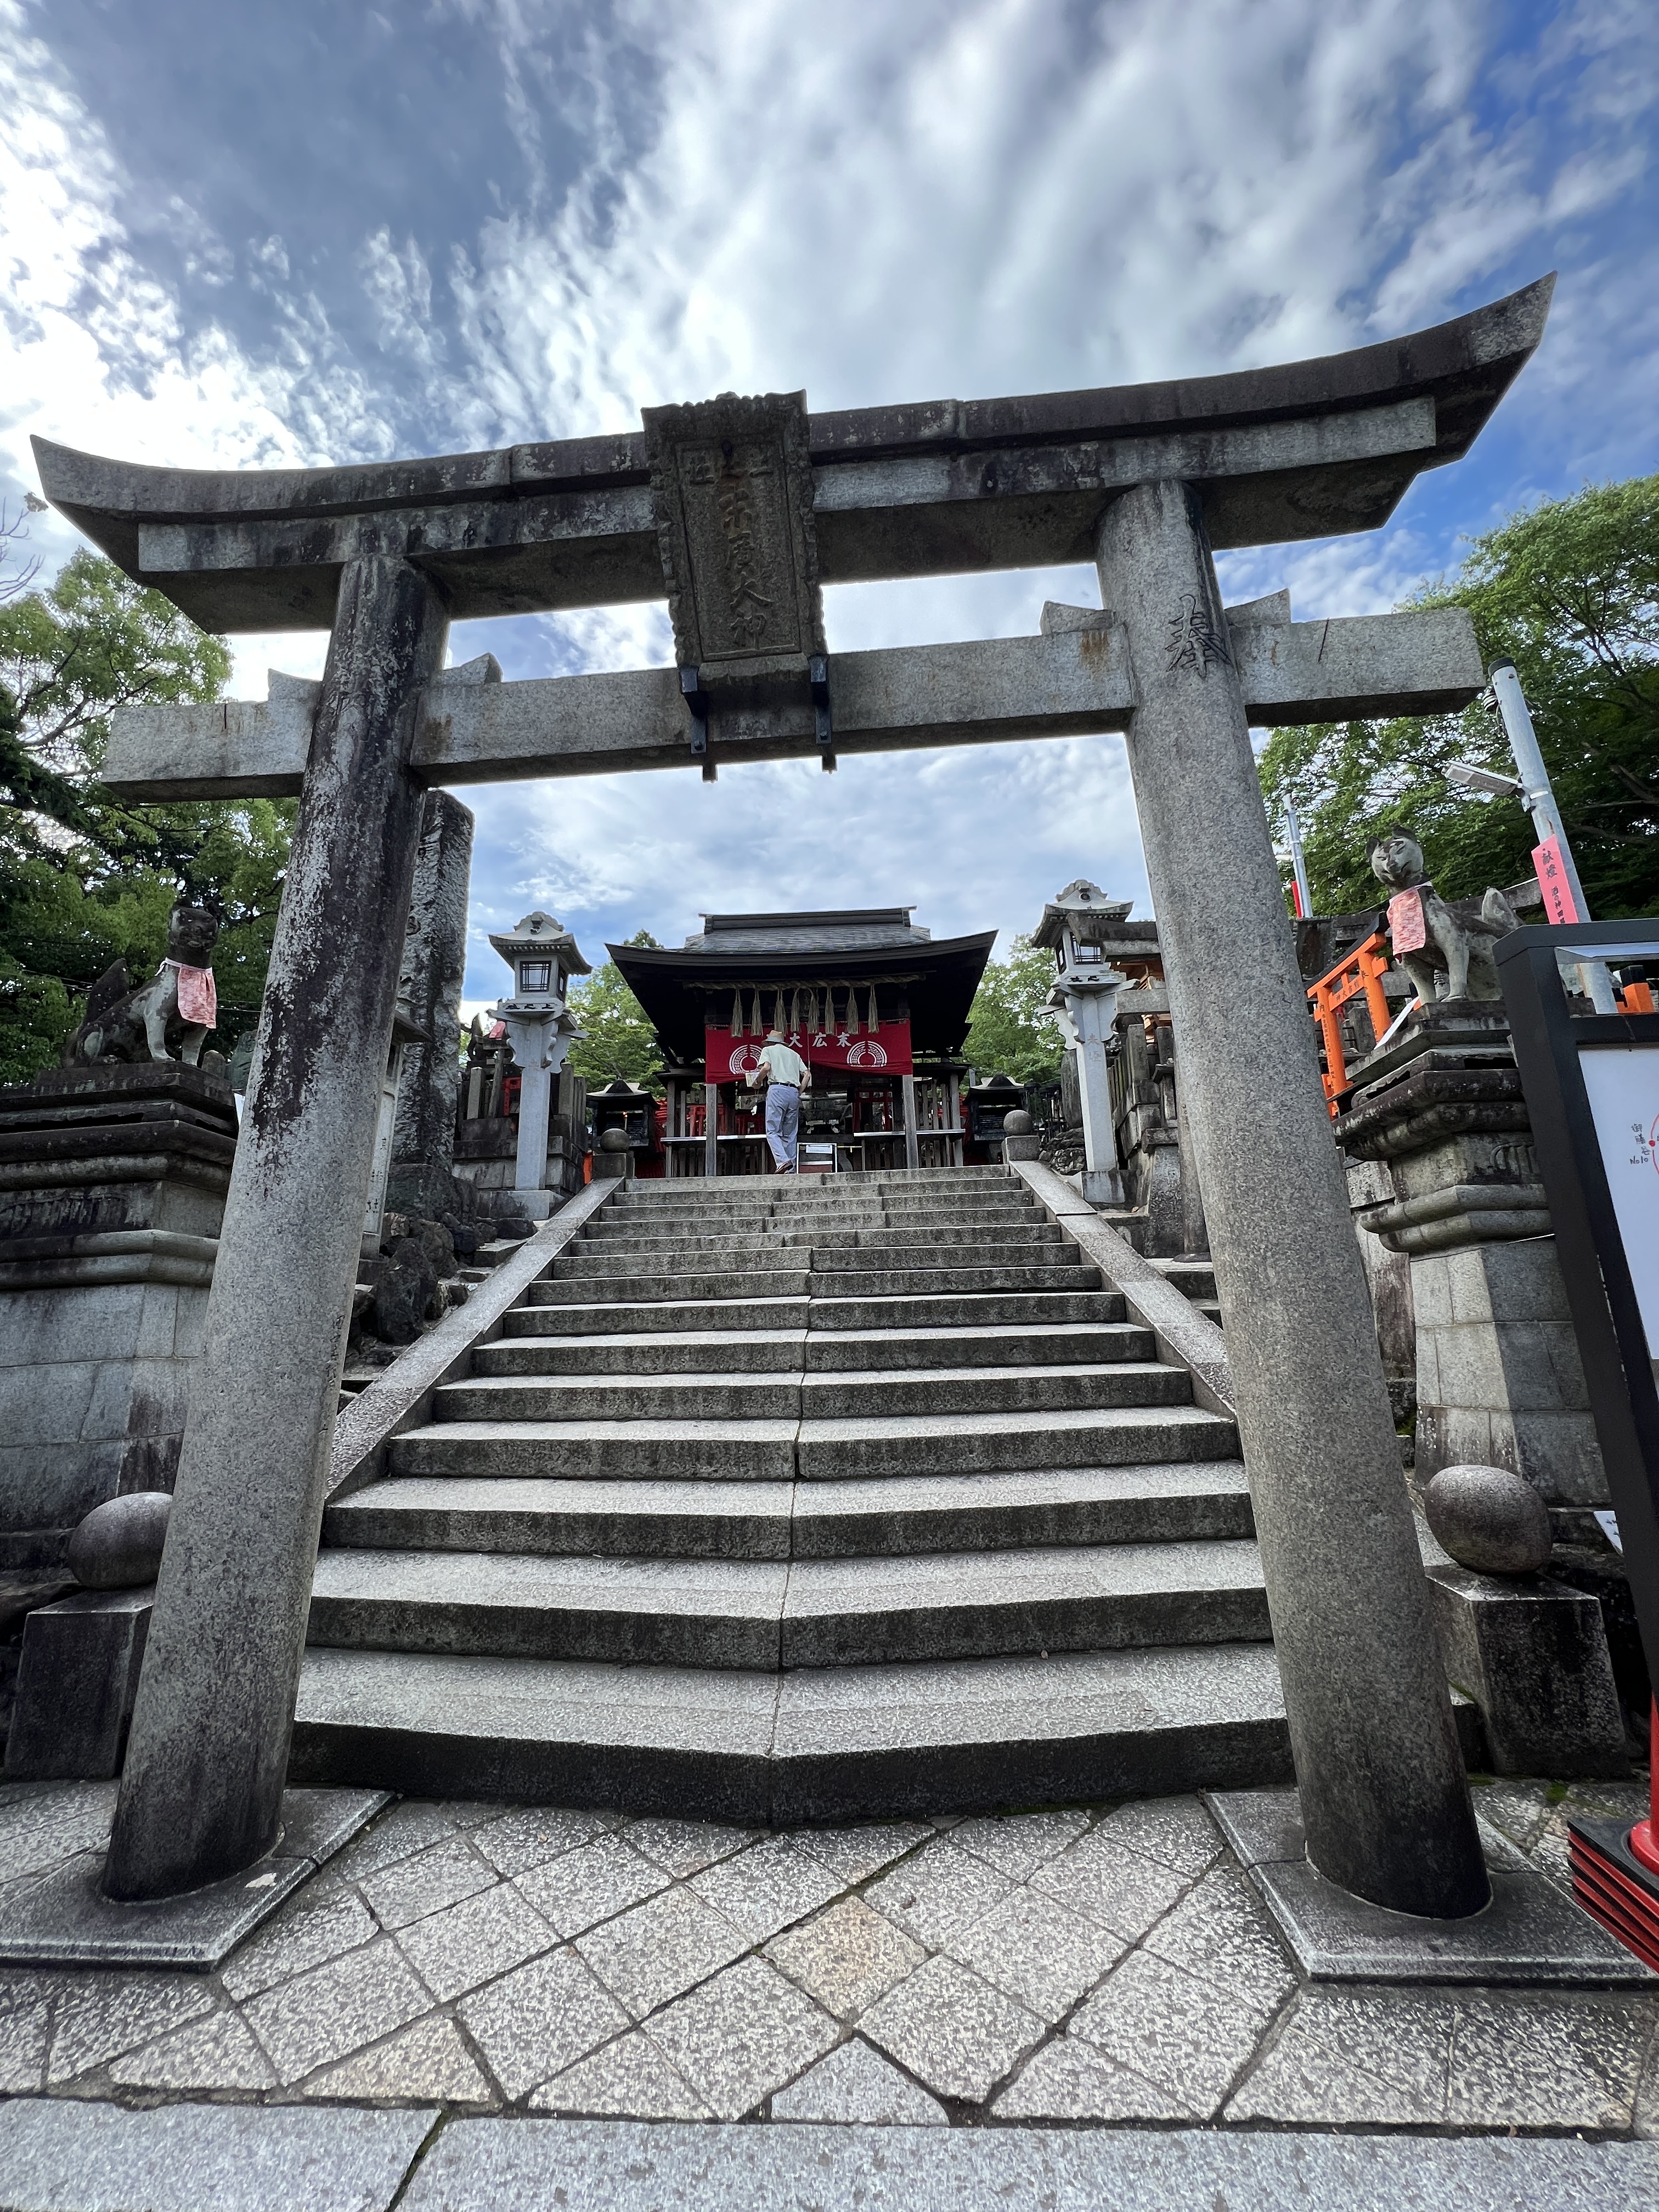
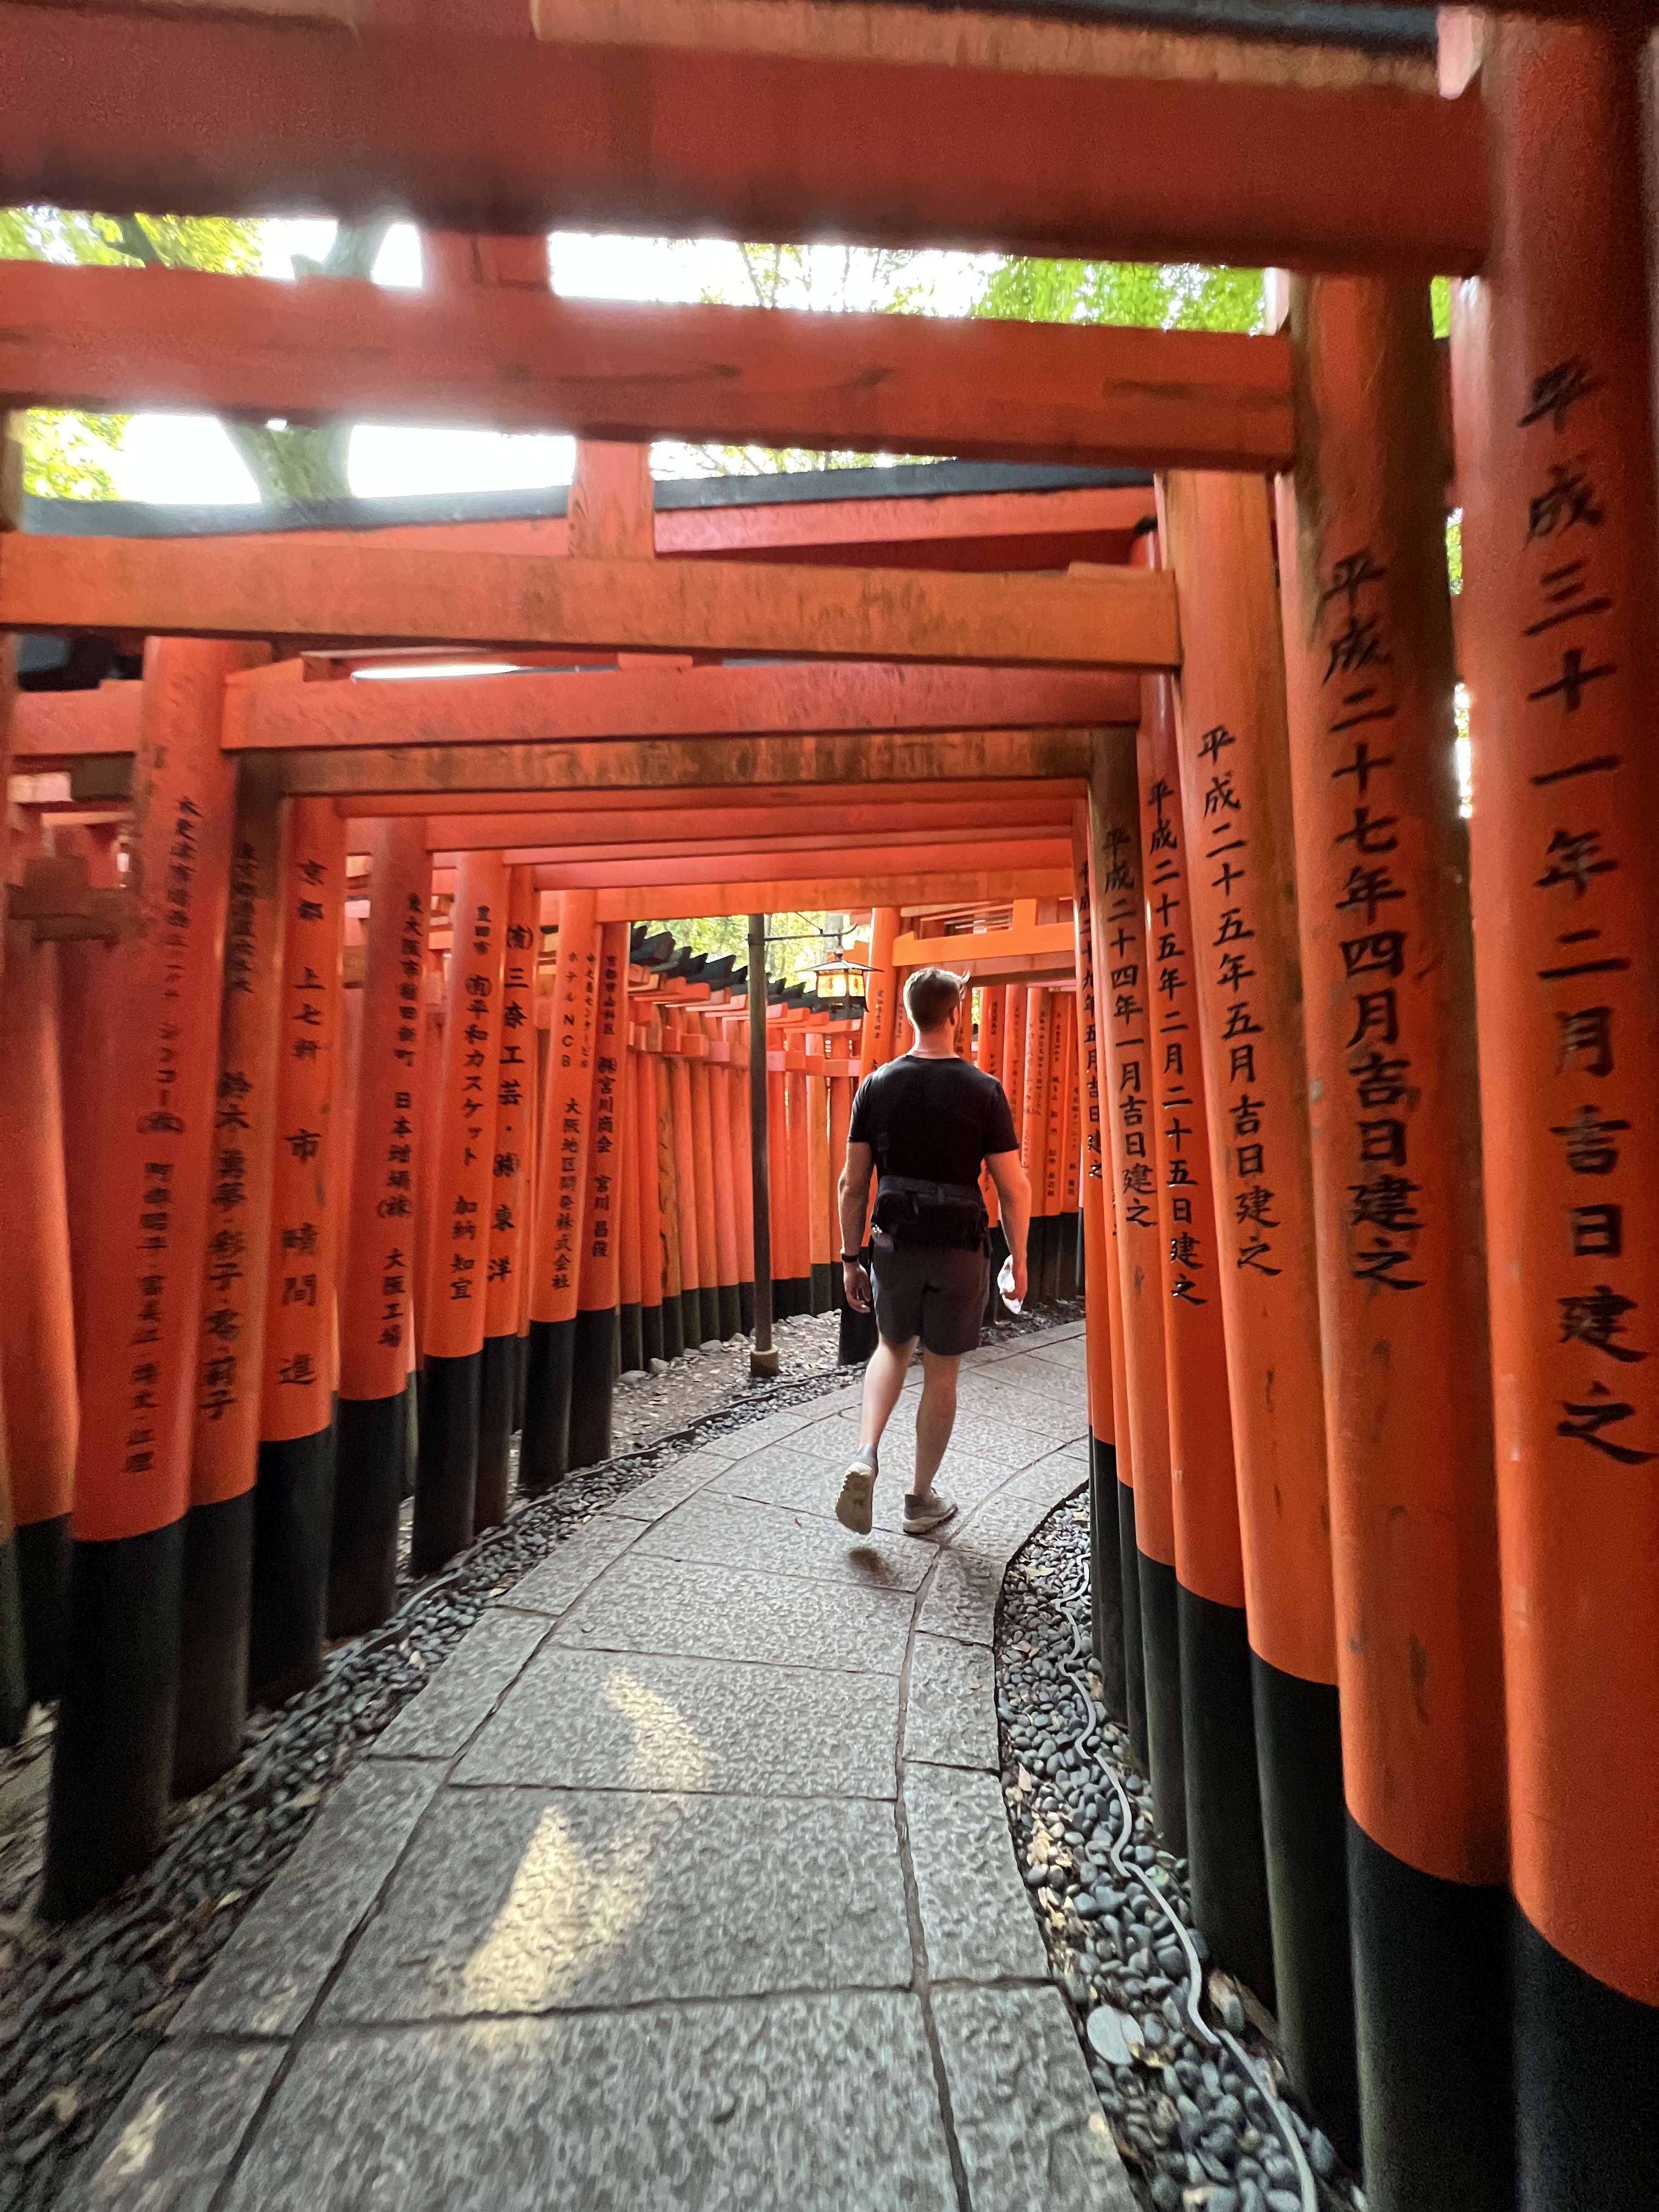
Fushimi Inari Shrine (See the highlights in the Kyoto section below and the full itinerary for this day in part 2 of the series. I would recommend visiting this shrine even if you do not do the extra little hike attached to it)
Kiyotaki River (Arashiyama Park) (See the highlights in the Kyoto section below and the full itinerary for this day in part 2 of the series. This was probably our favorite hike of the trip)
There is SO much good food in Japan and you do not want to miss all the classic and iconic dishes. Here are the major foods to look out for and where you can find it:
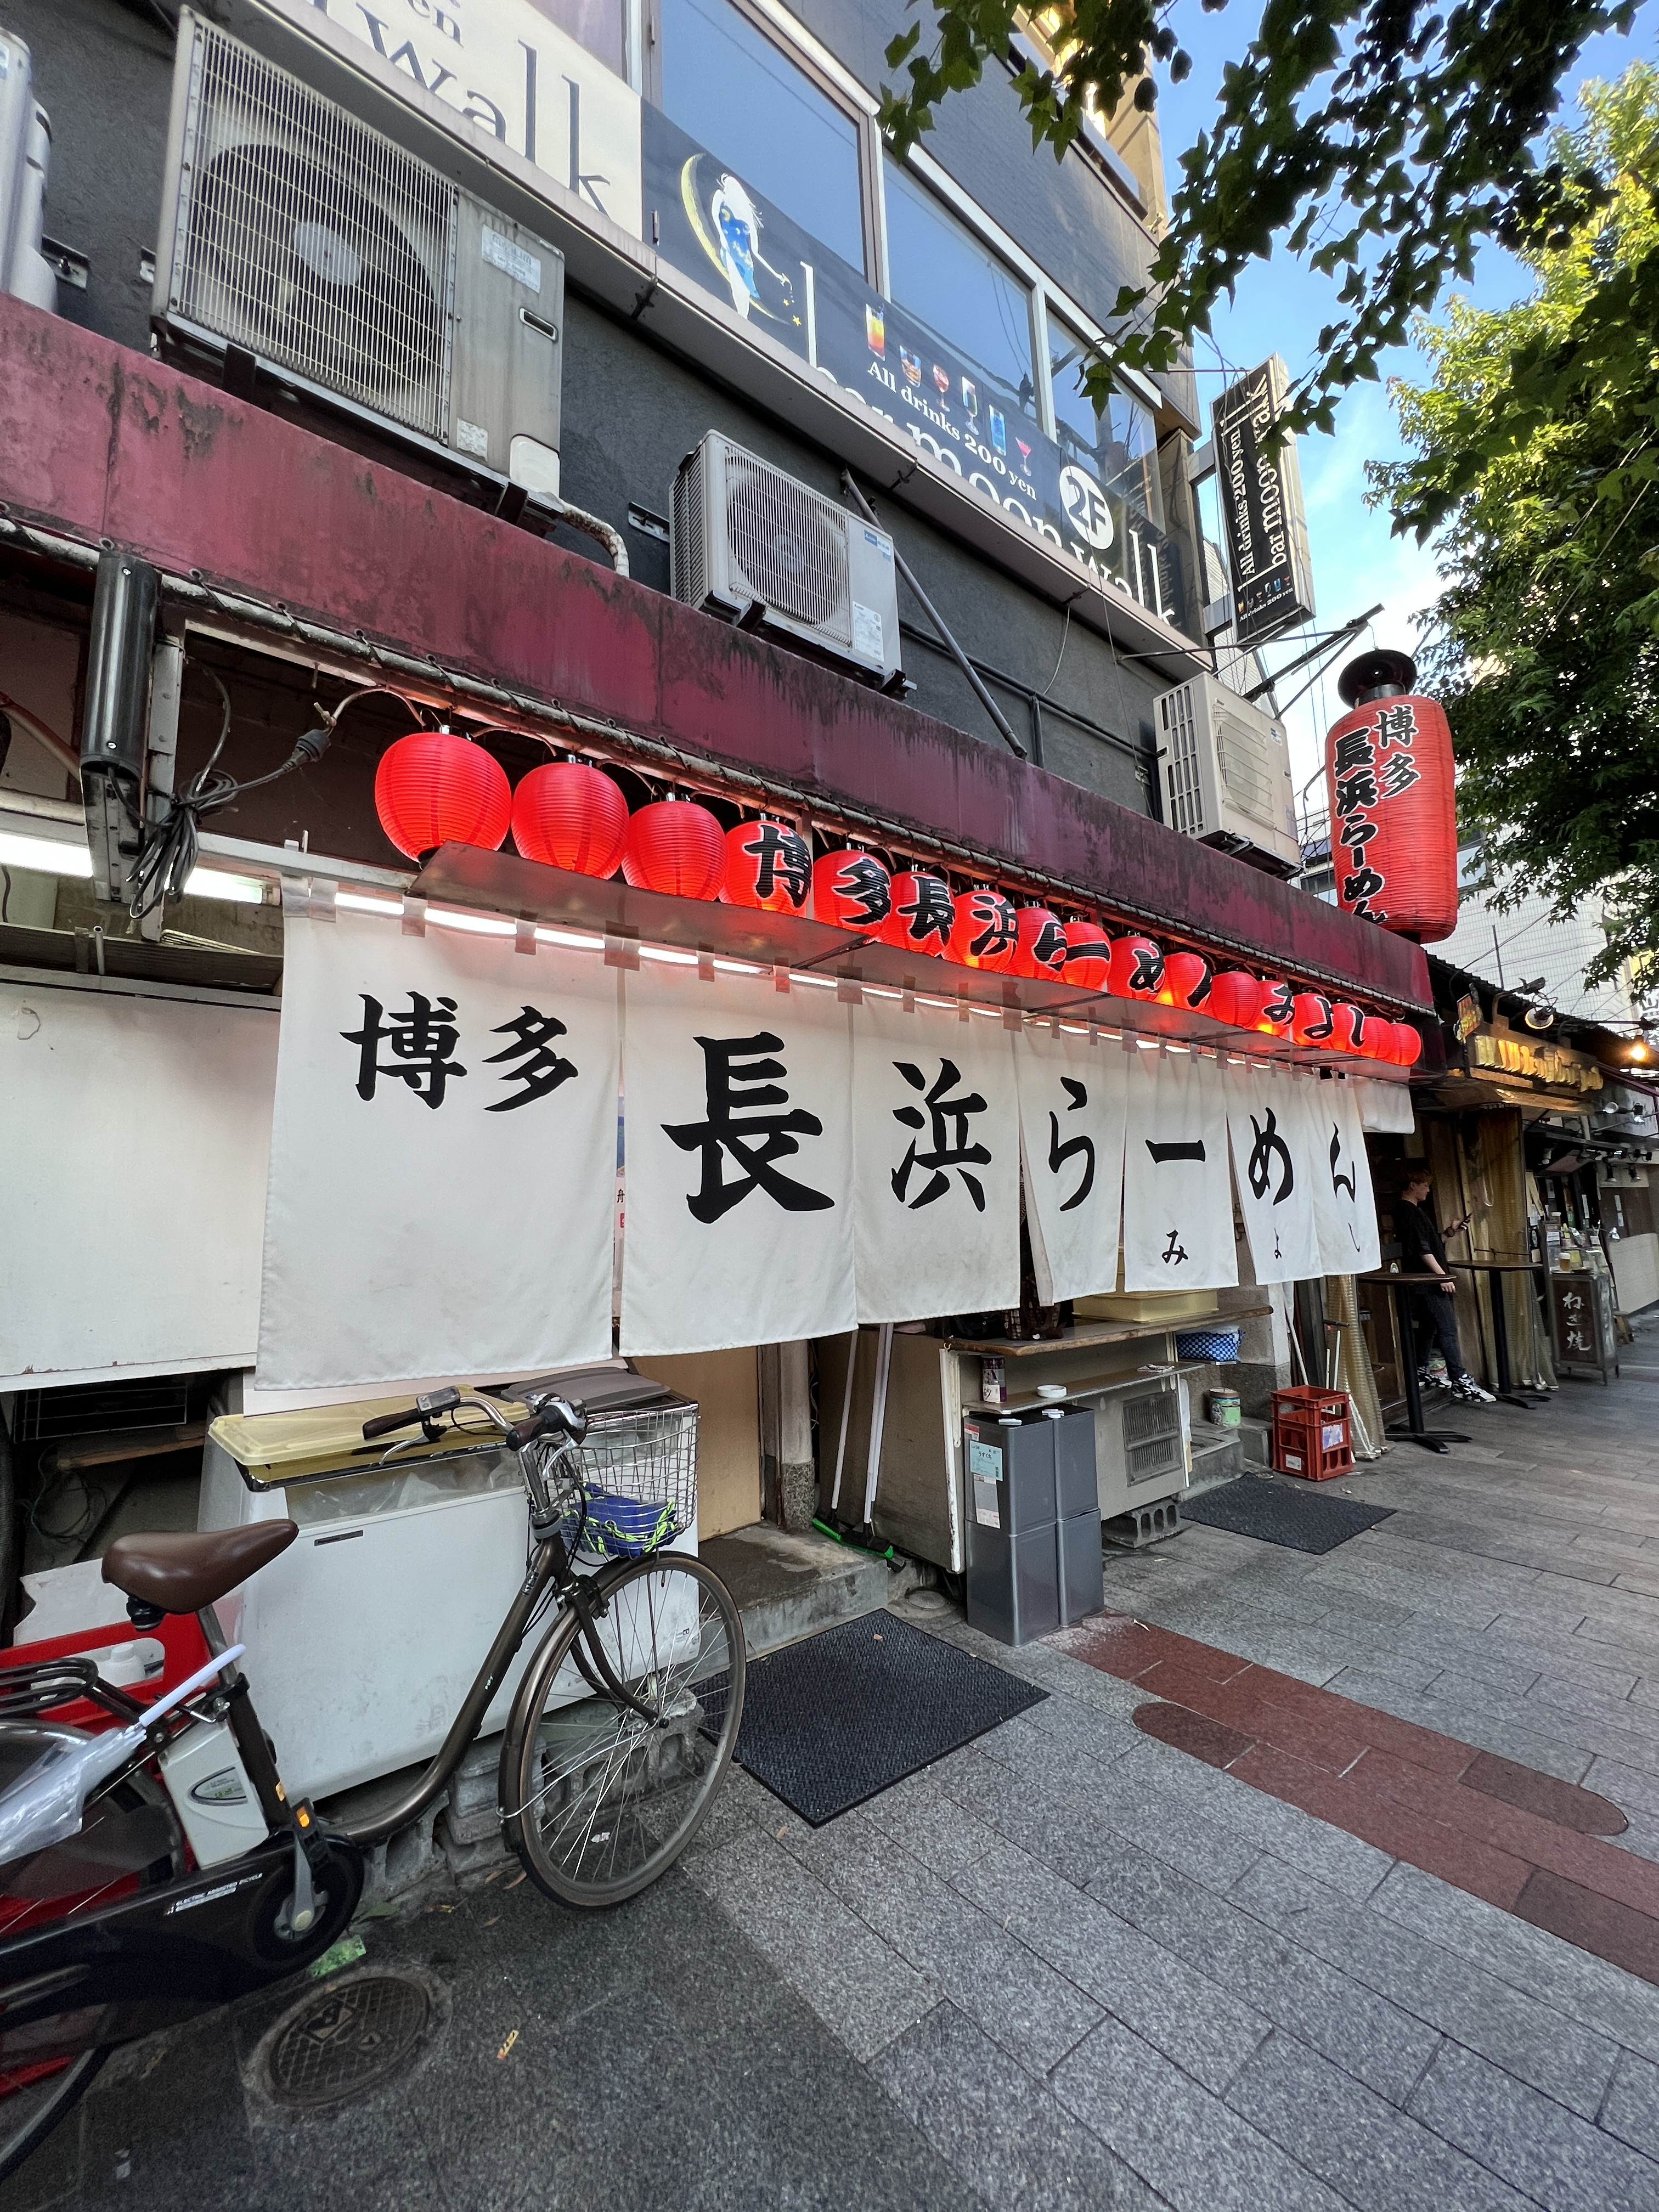
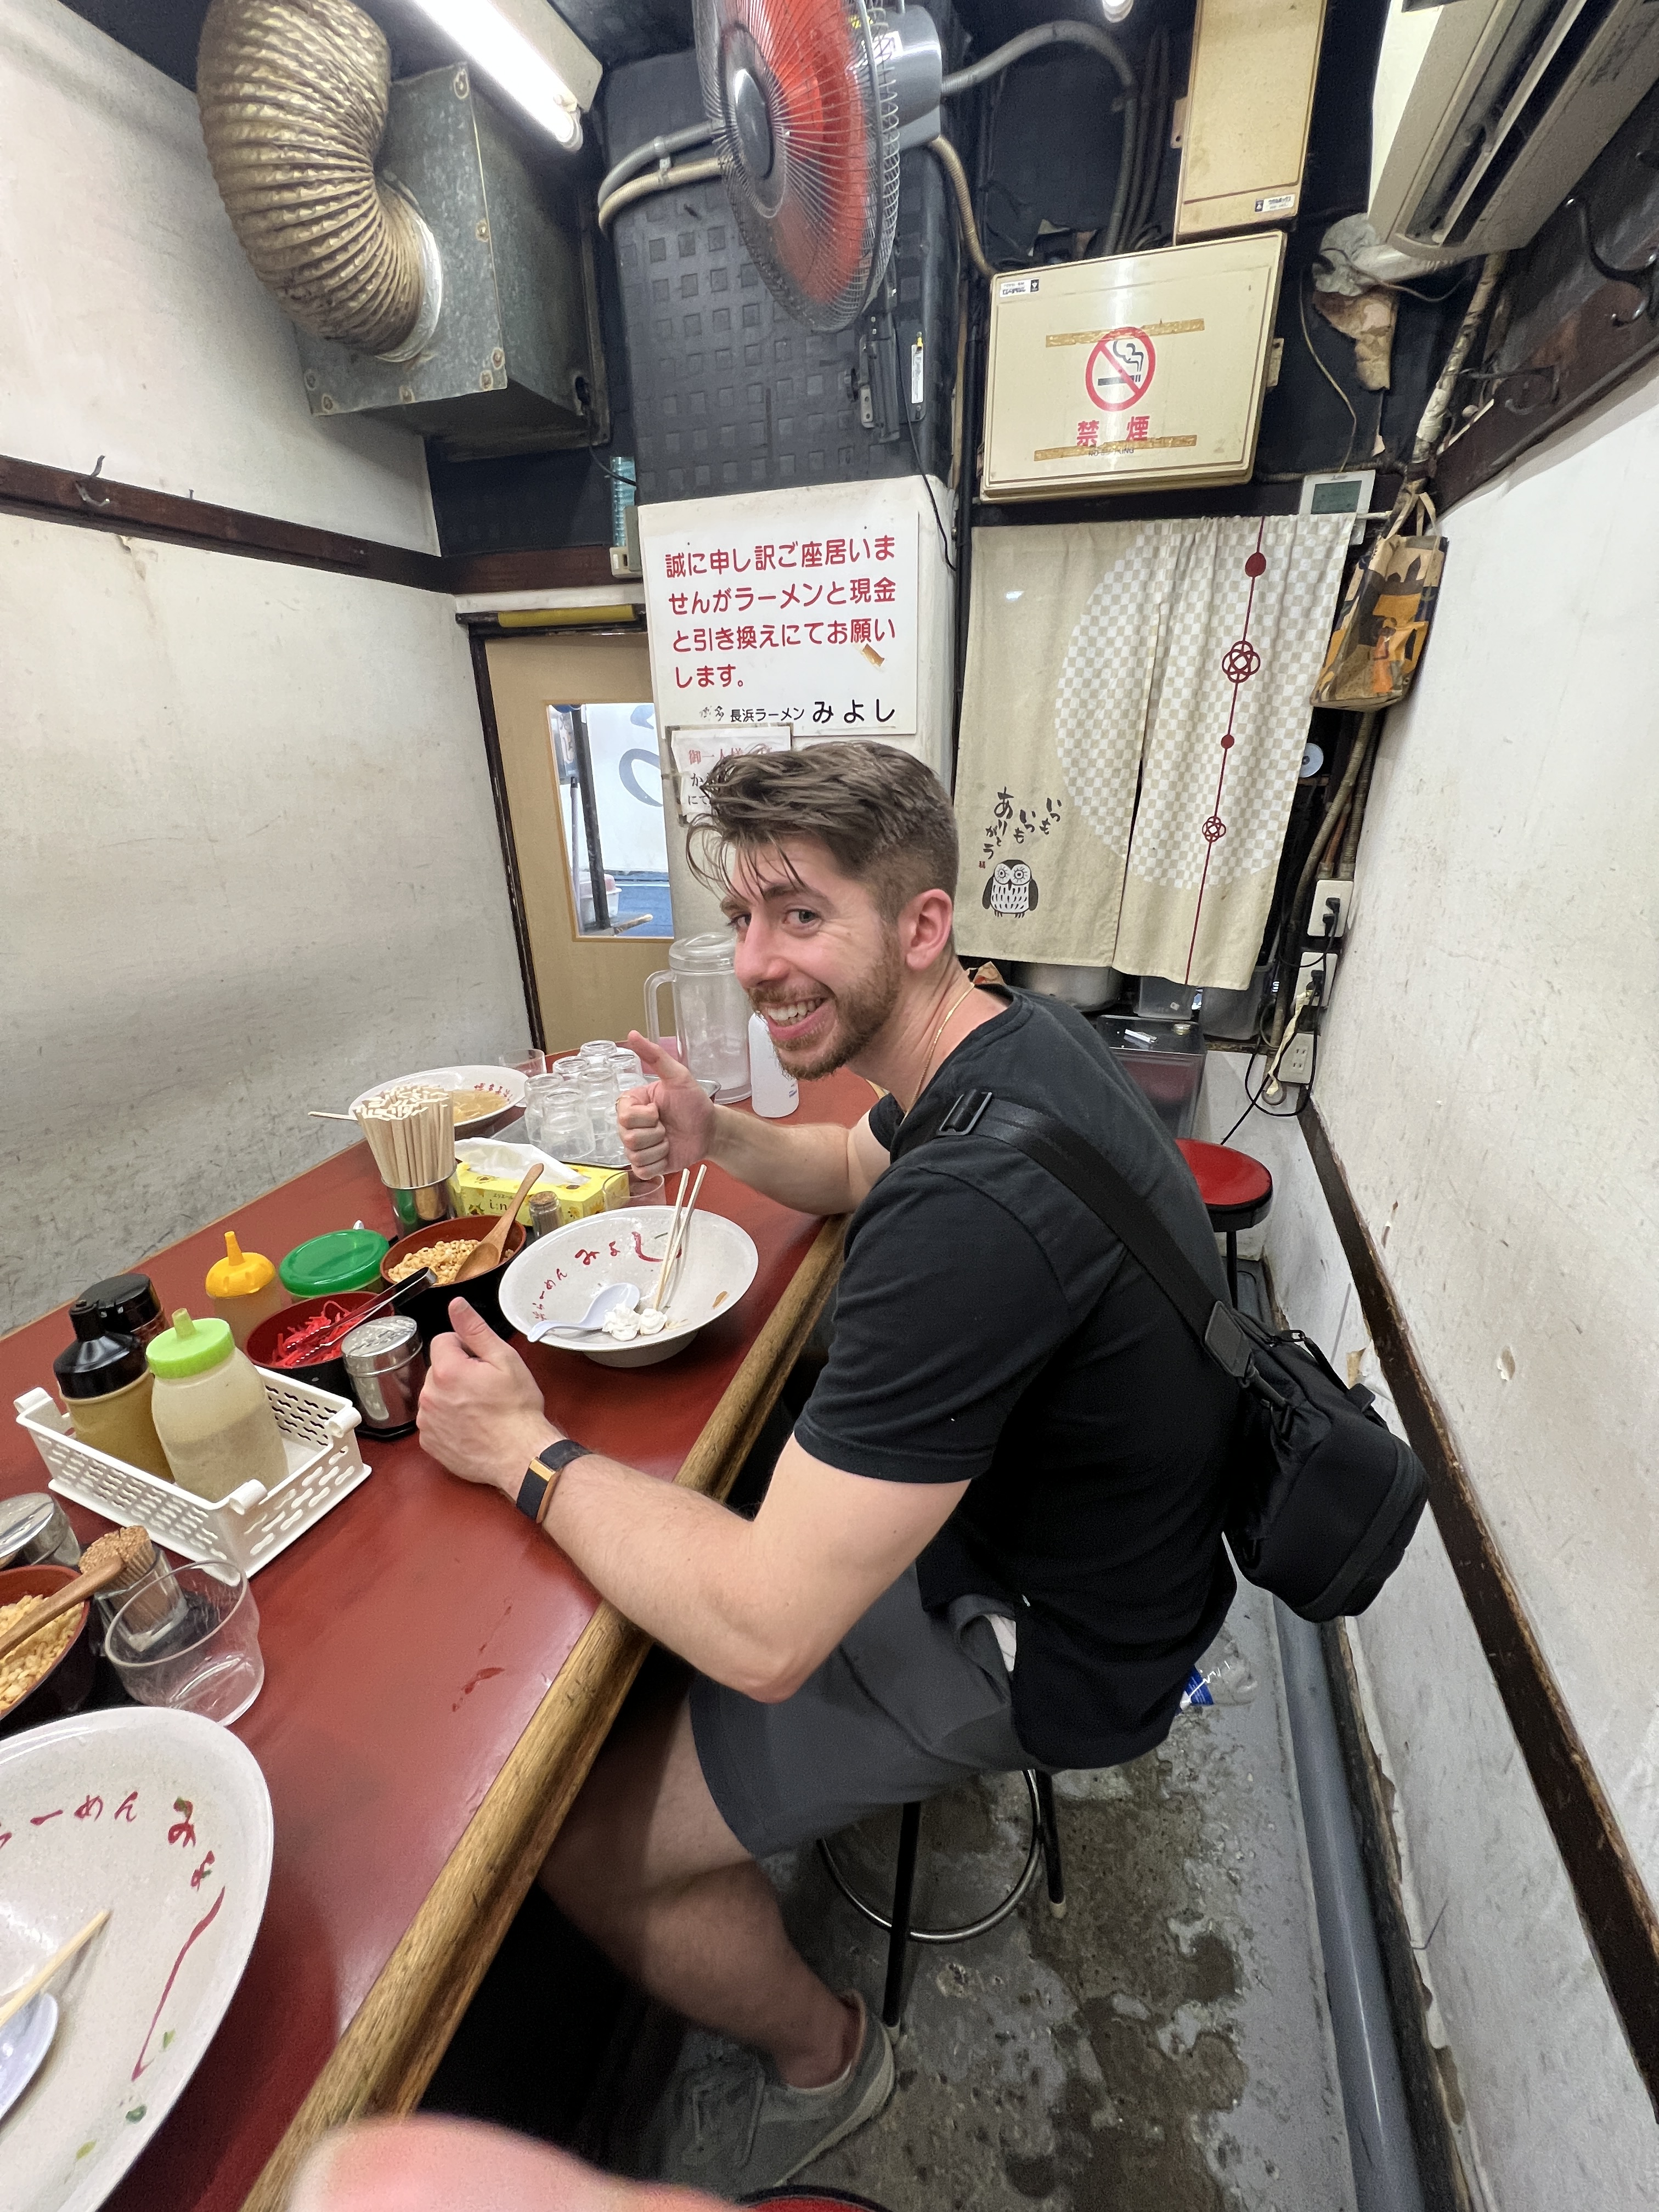
Ramen (anywhere. There is a “Ramen Street” in Tokyo which is a good place to start)
Udon (anywhere)
Soba (anywhere, but recommended Kyoto)
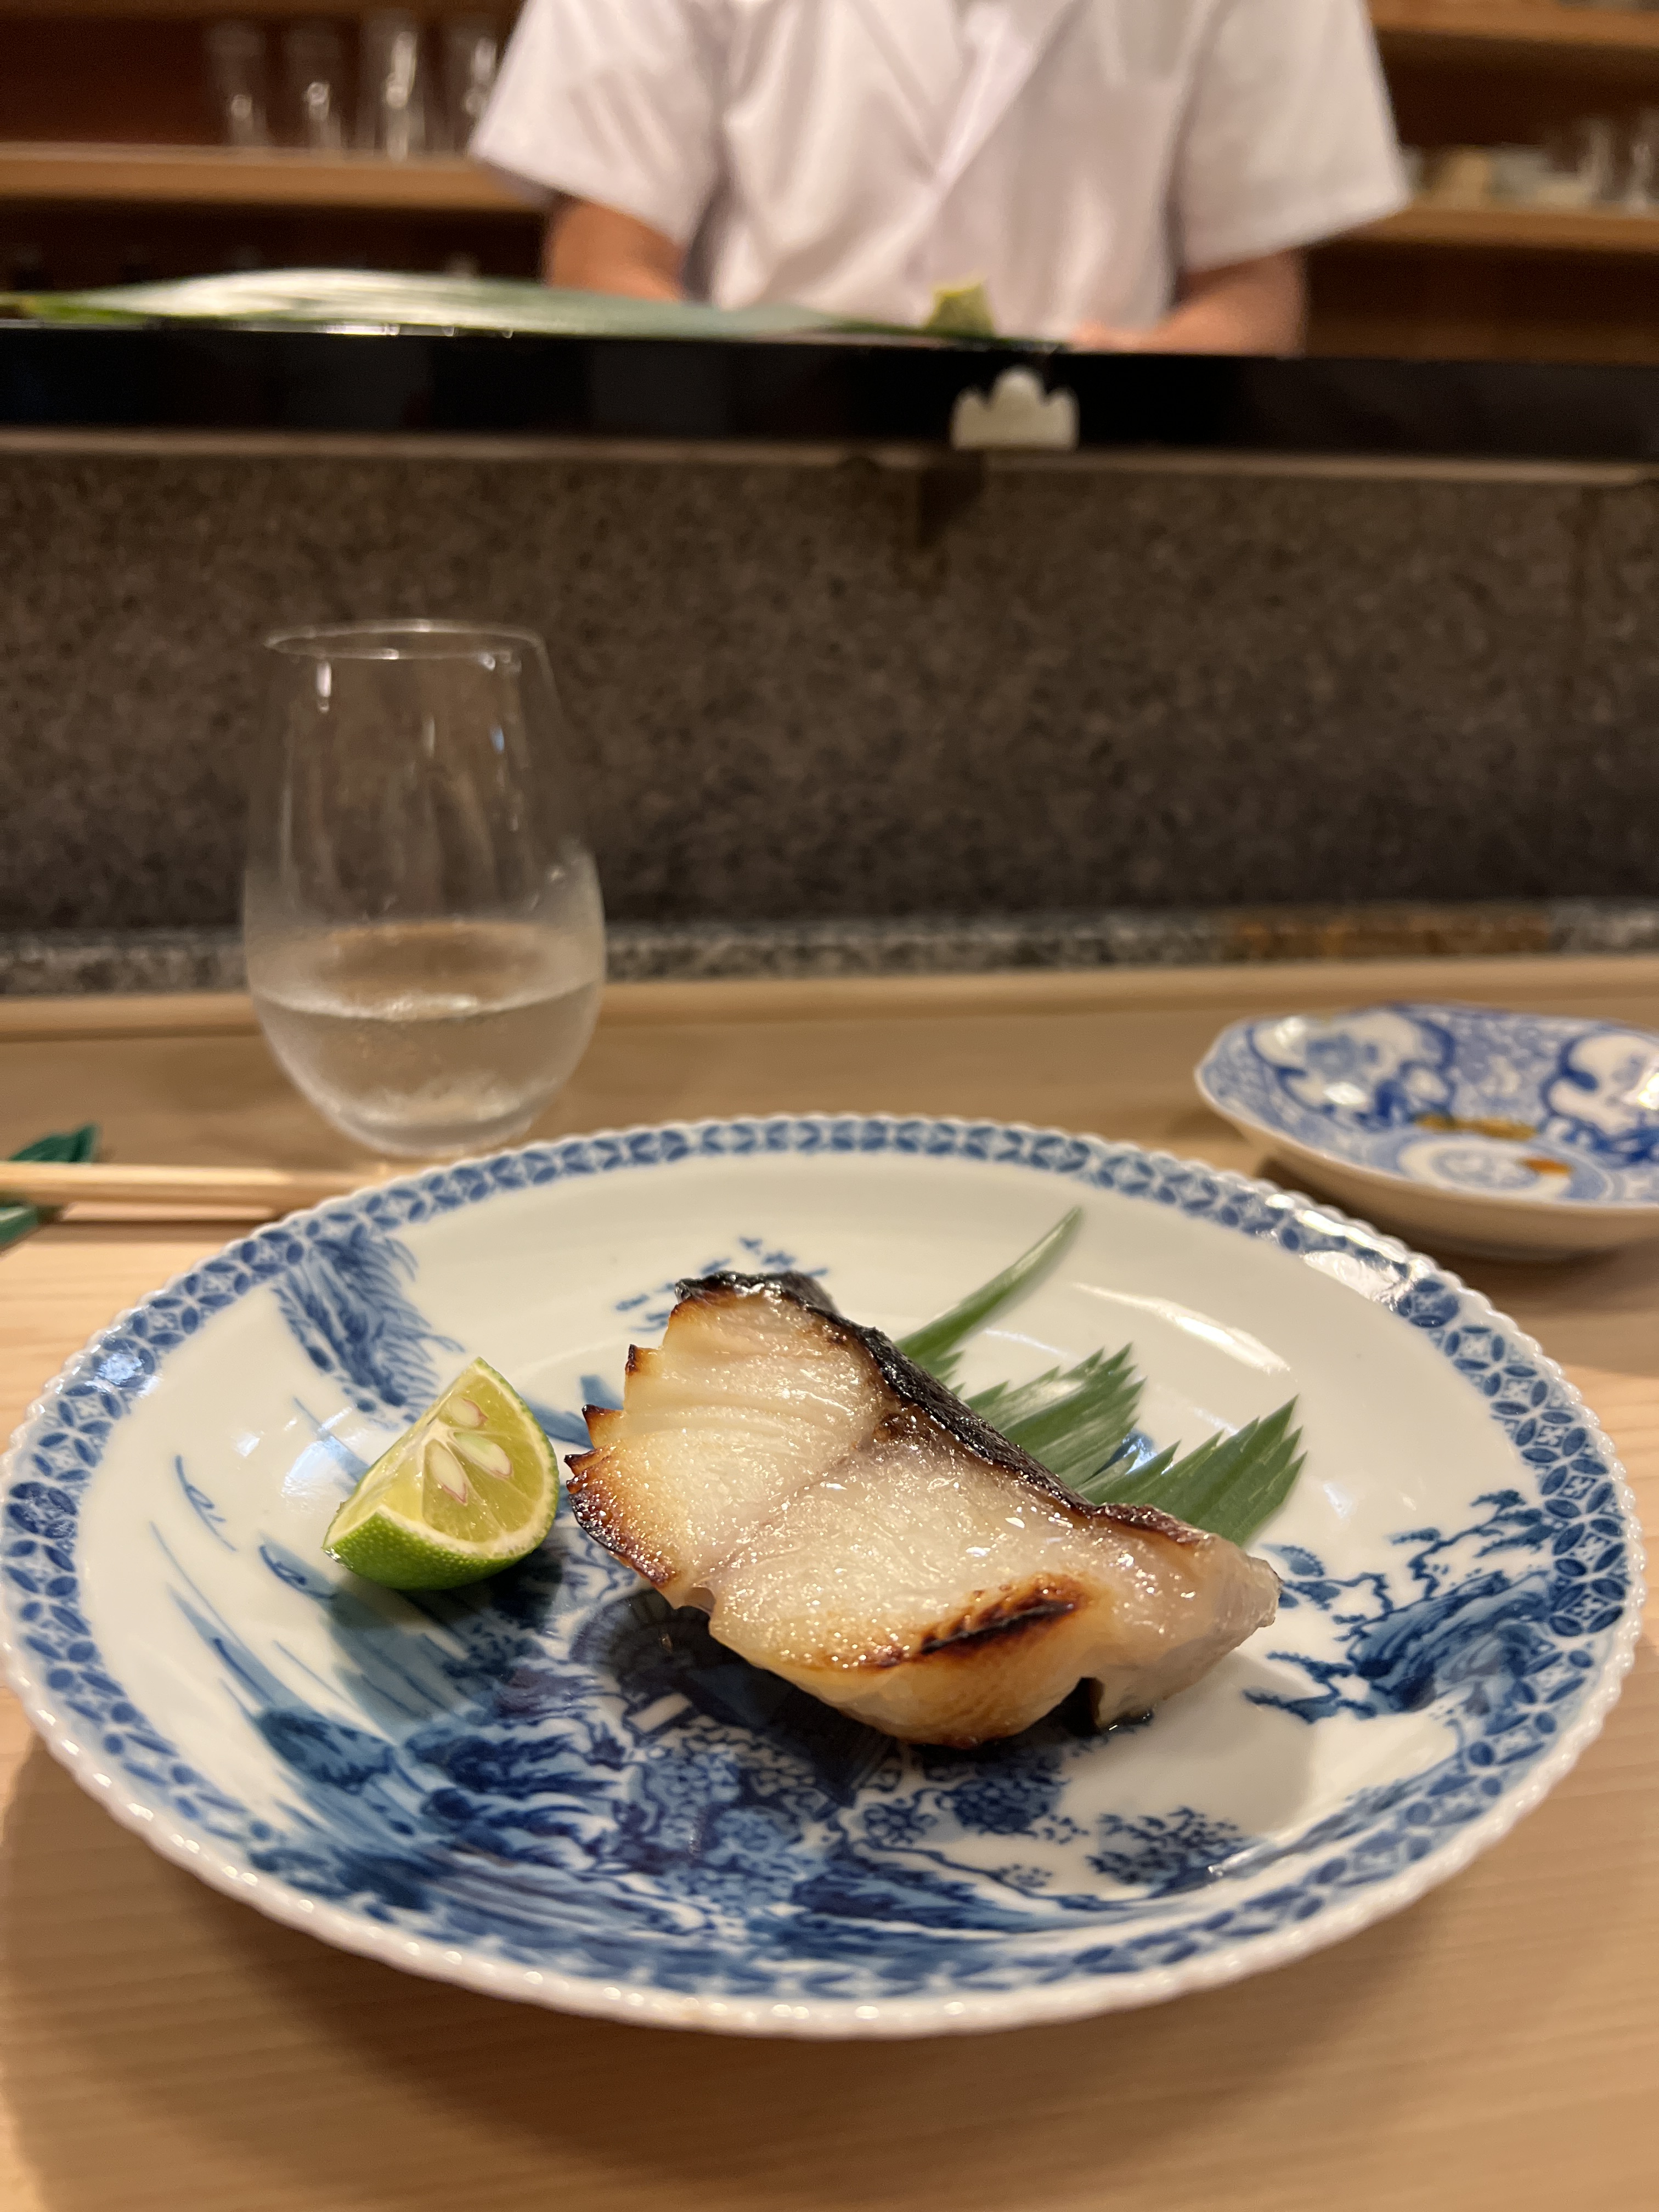
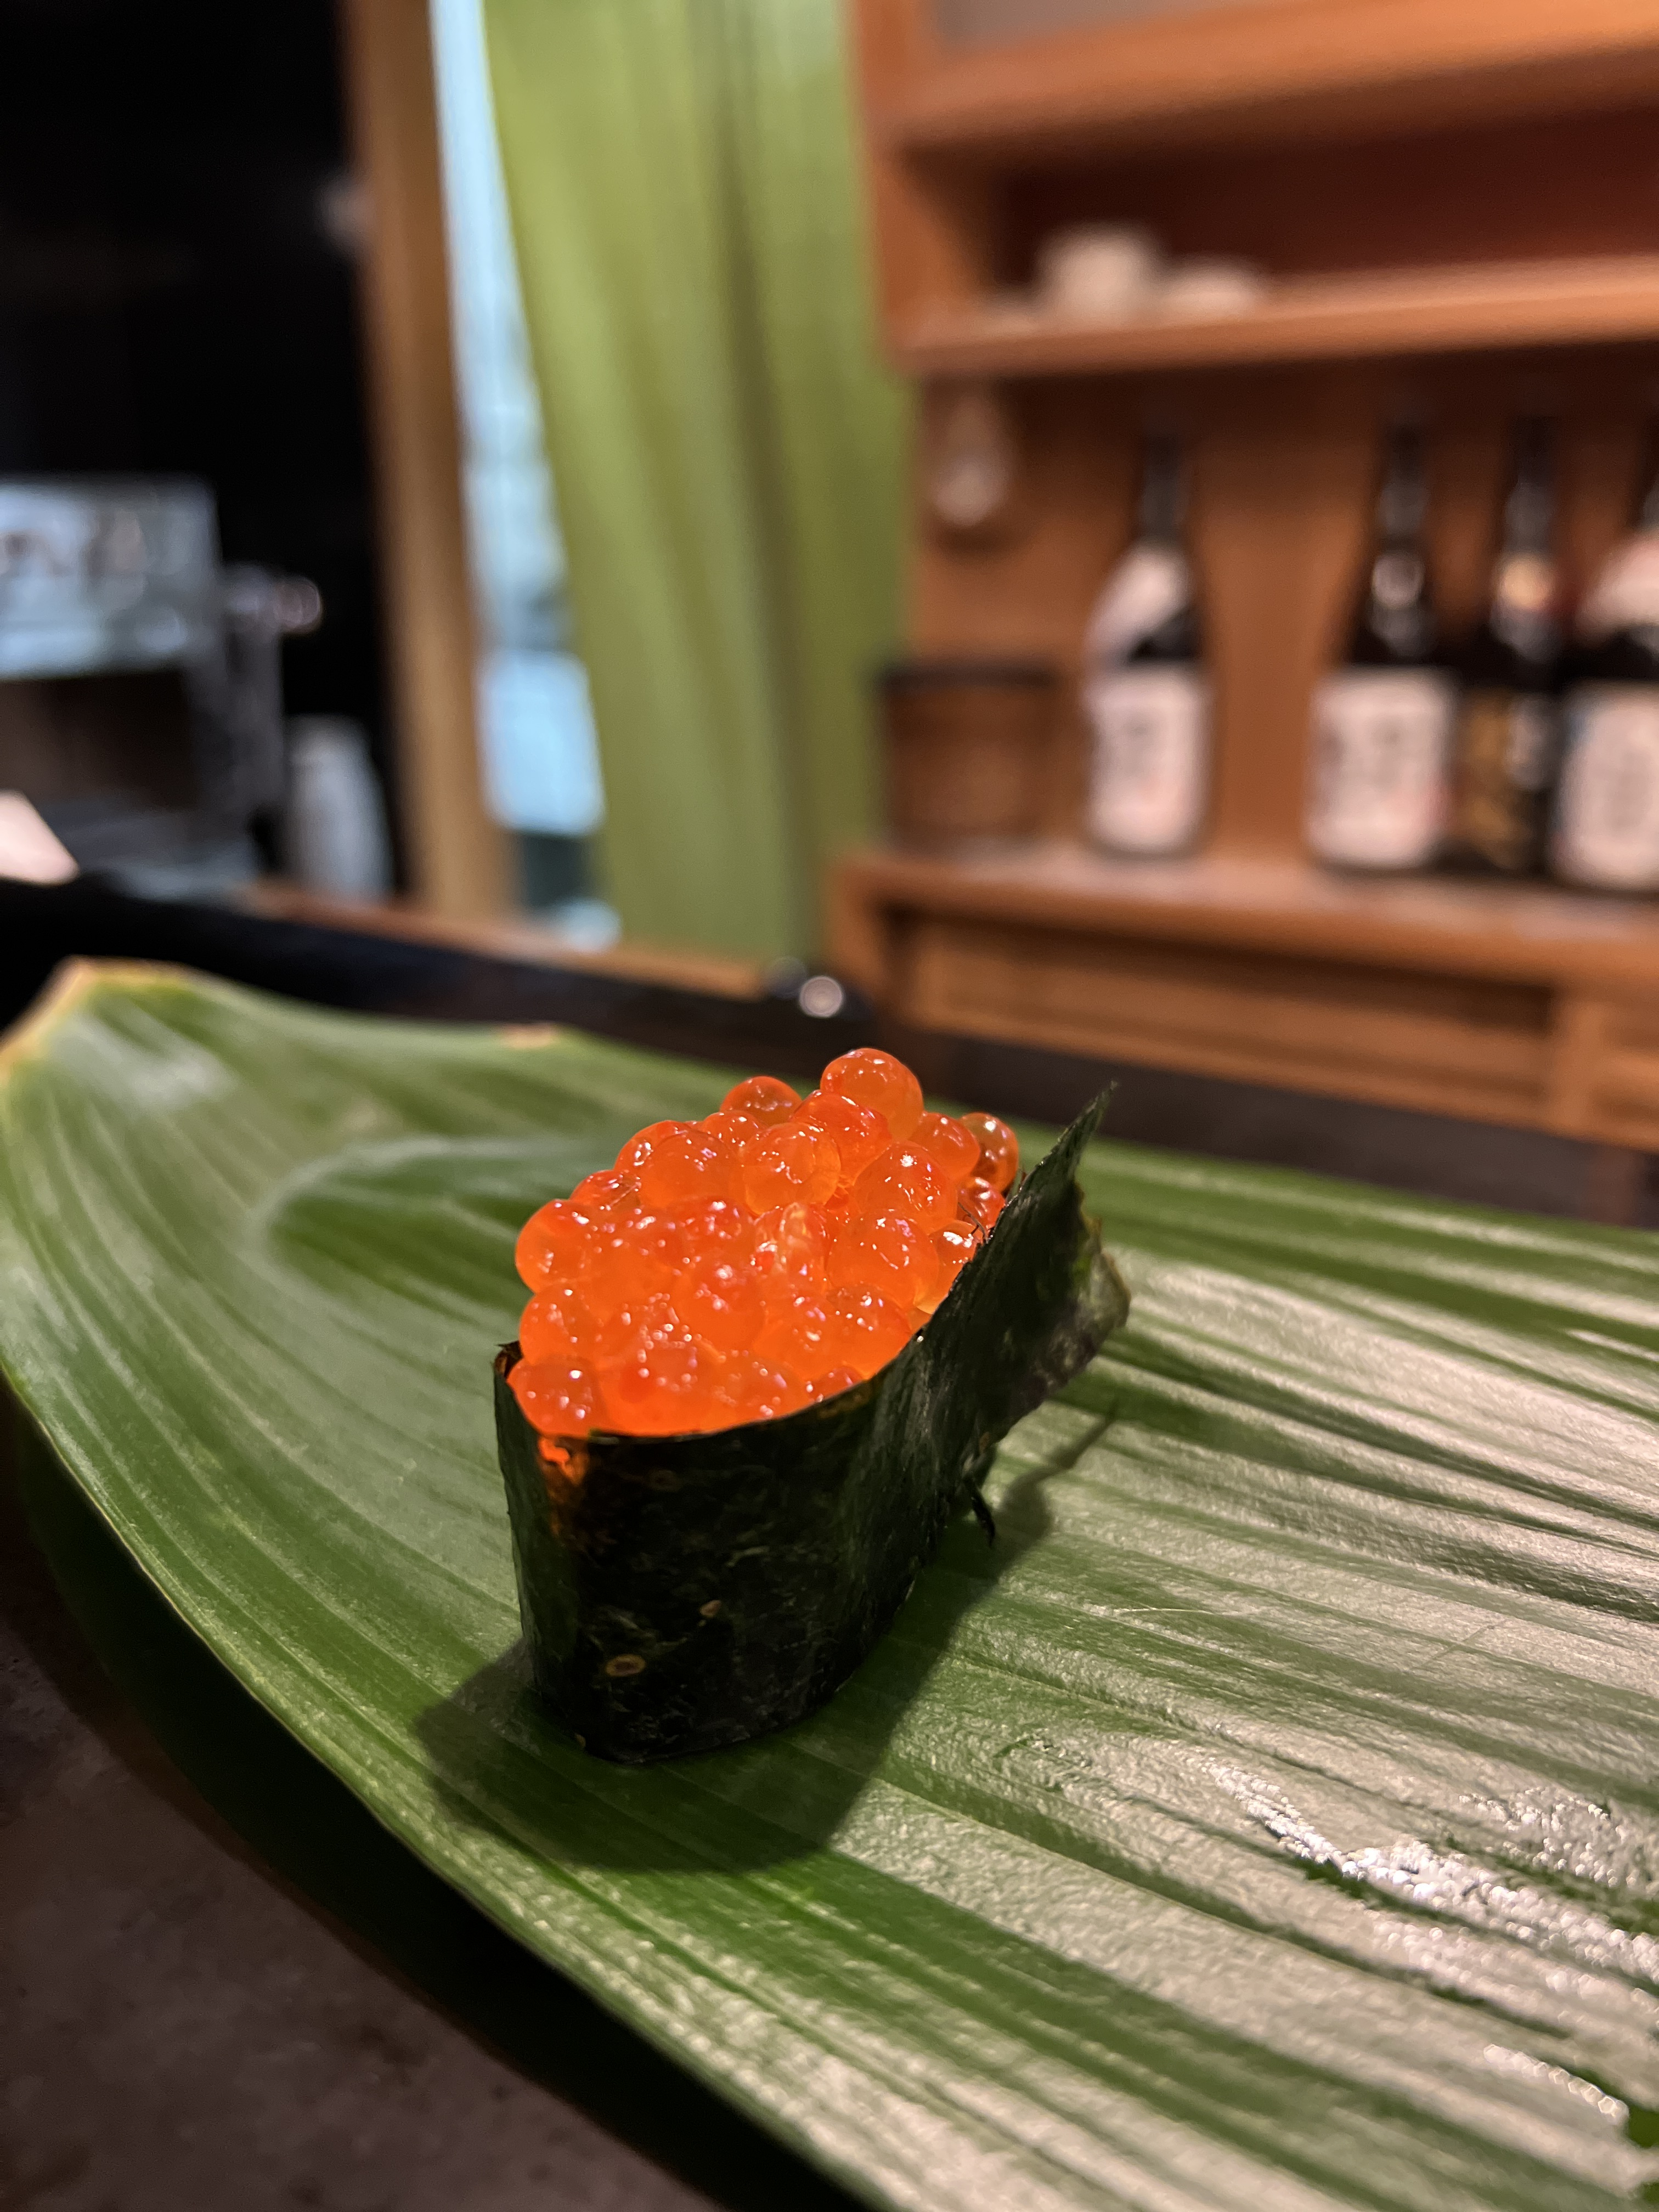
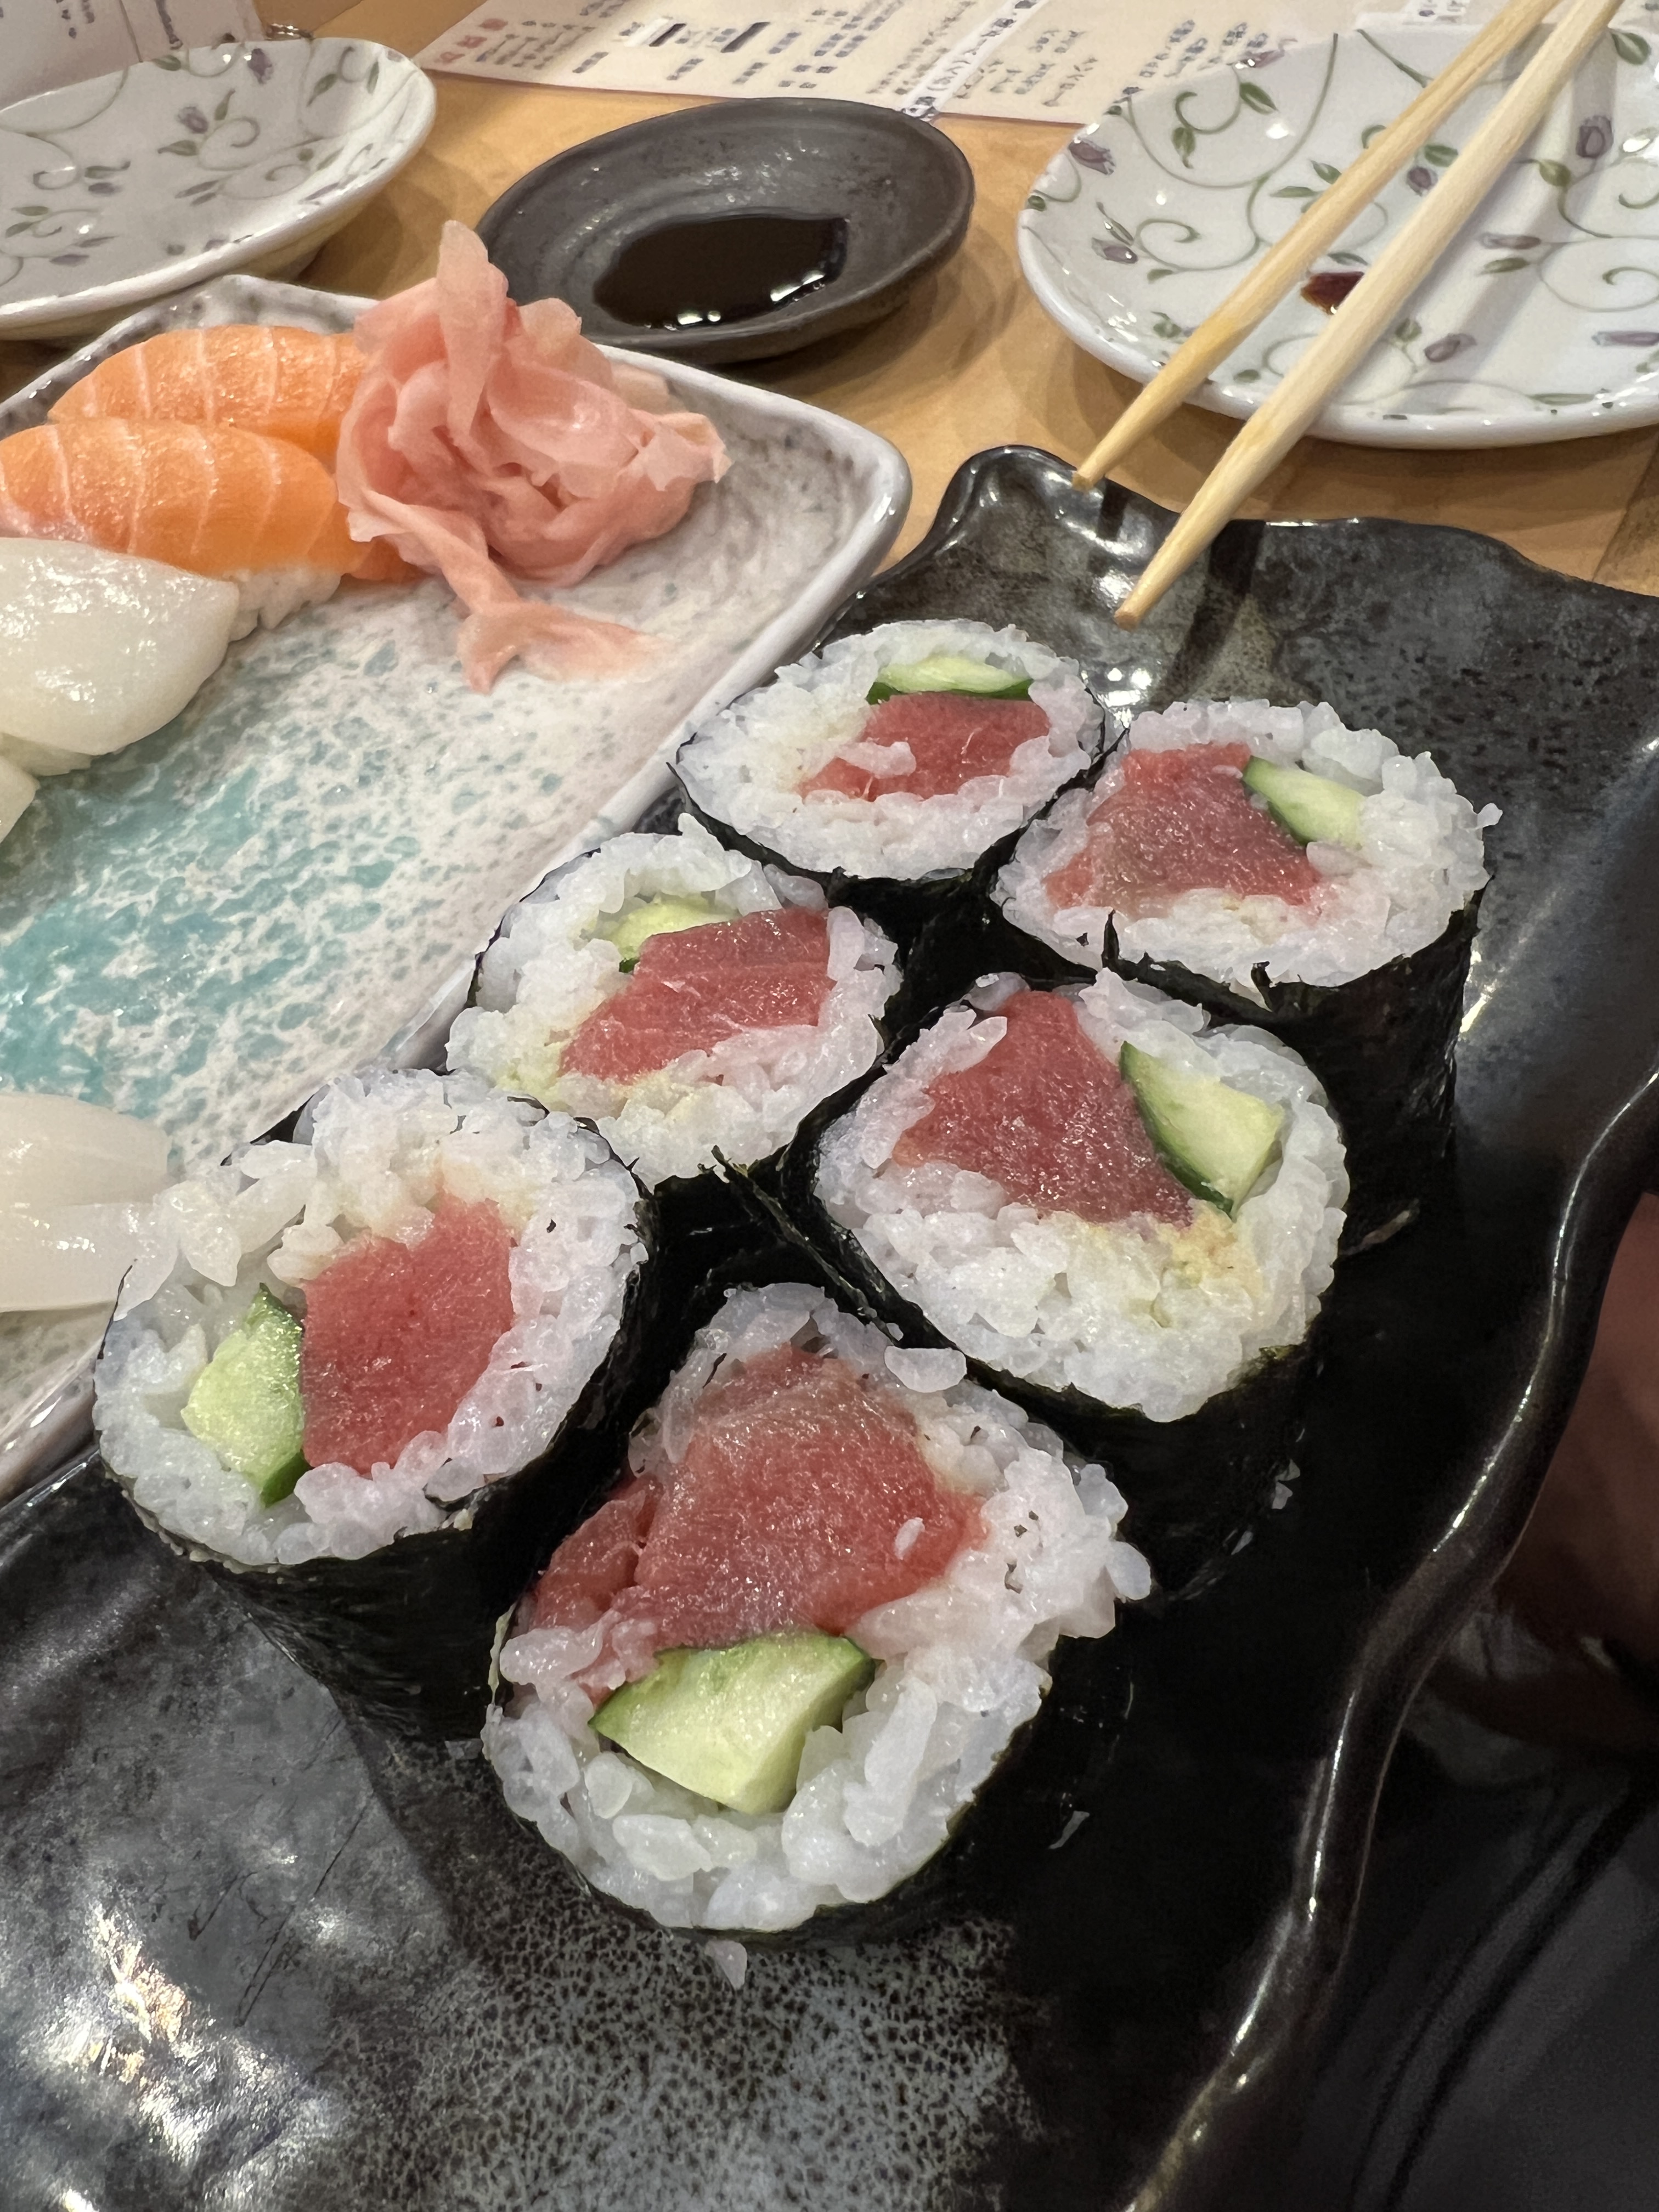
Sushi (anywhere – recommended to do the chef’s tasting wherever possible)
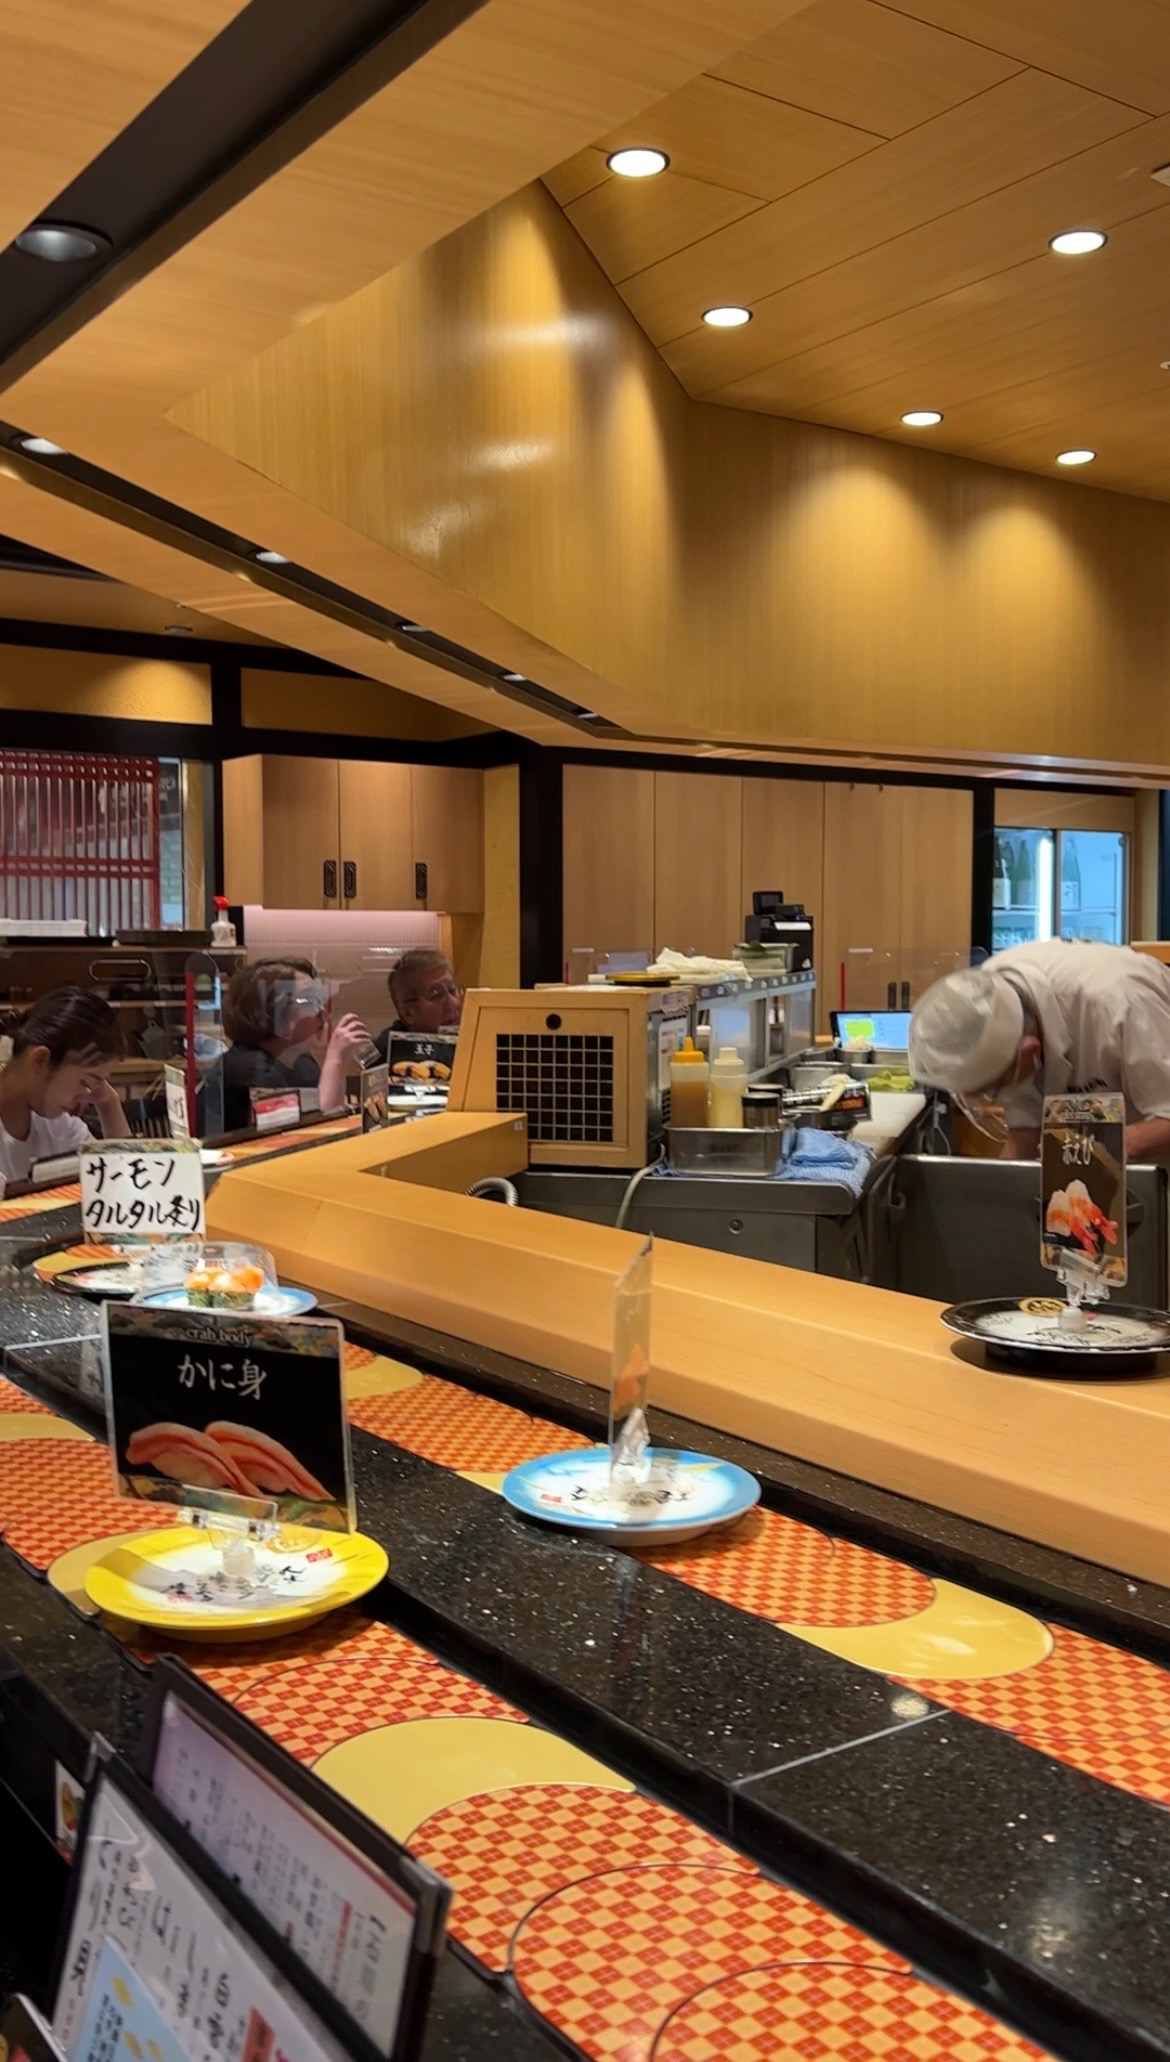
Conveyor belt sushi (this is less about the sushi itself or the ambience of the restaurant and is just a really unique experience that you can do anywhere – Kura Sushi is a chain of these that is highly rated)
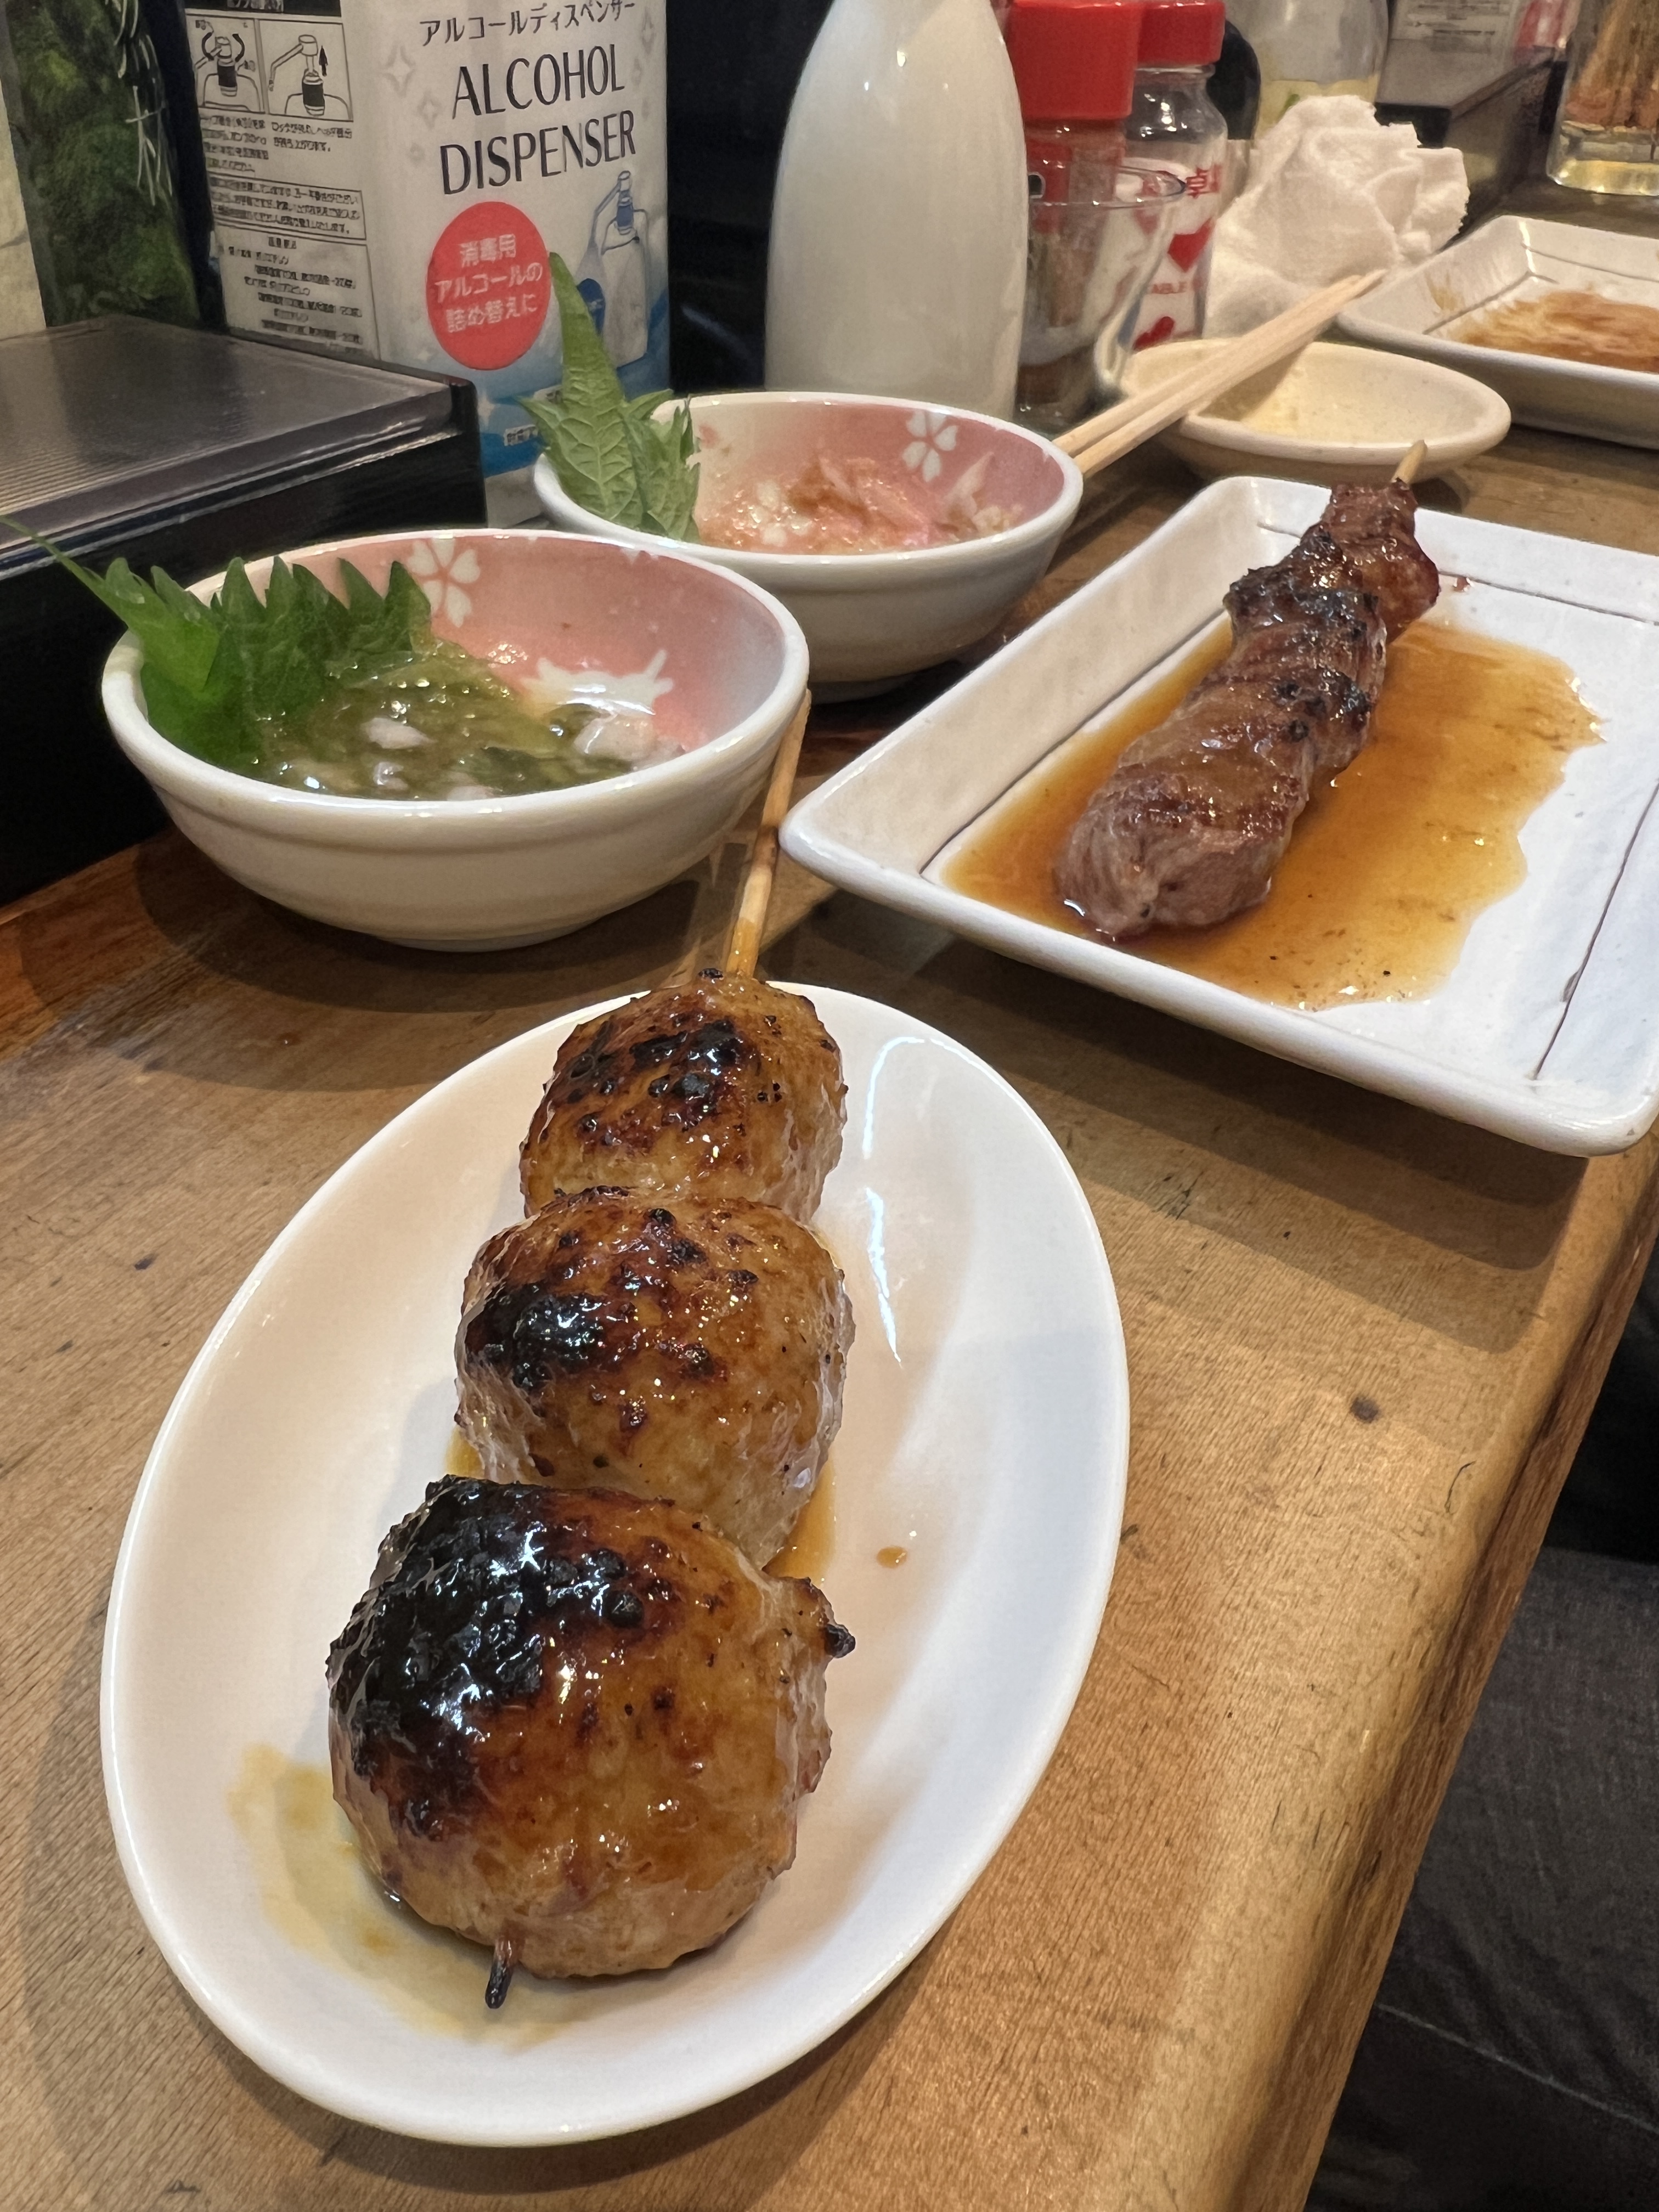
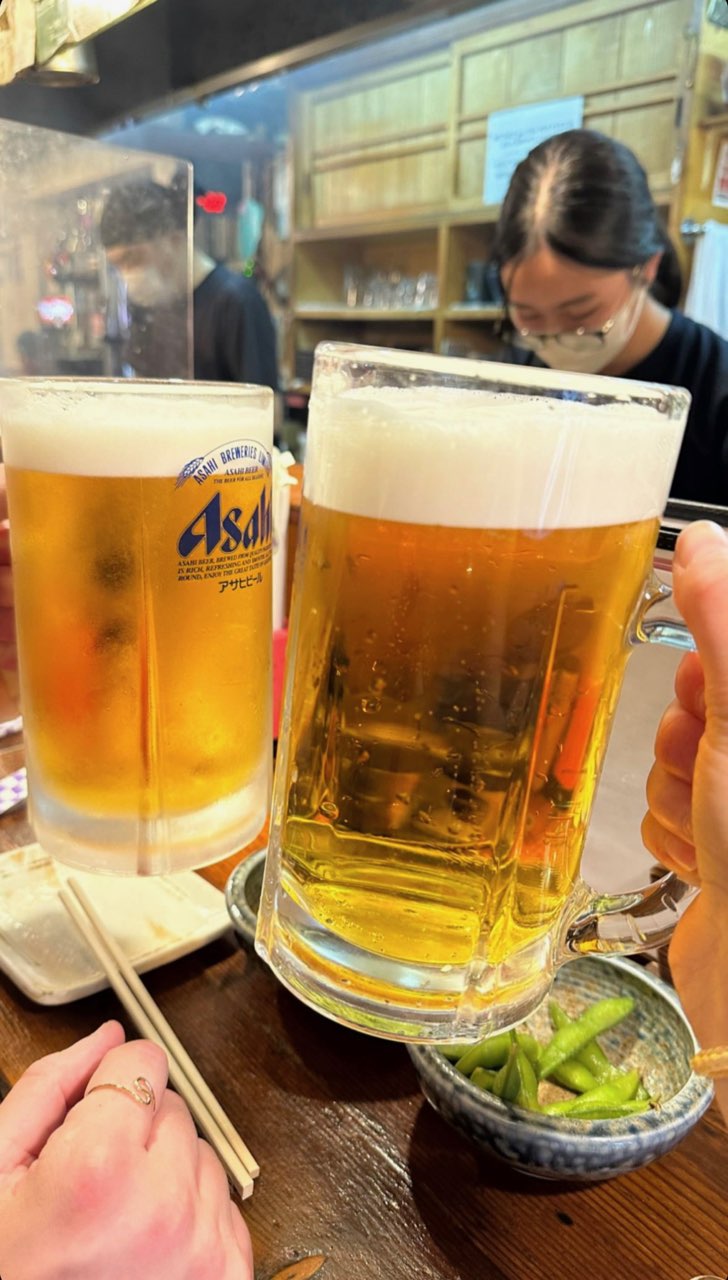
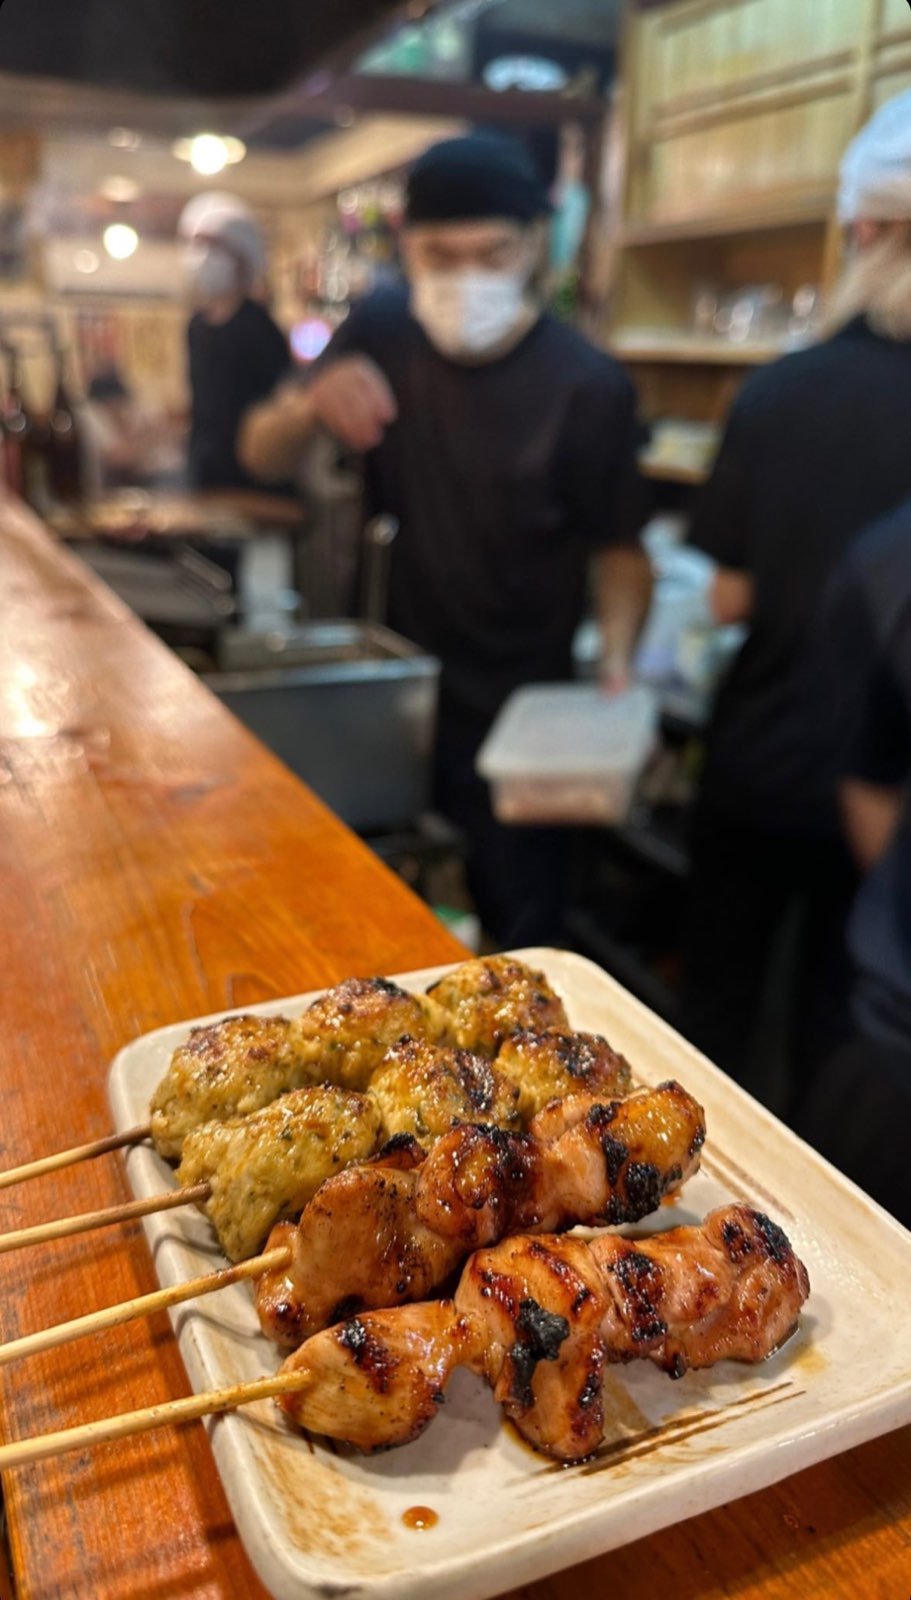
Yakitori (anywhere, but recommended doing this on Memory Lane in Tokyo)
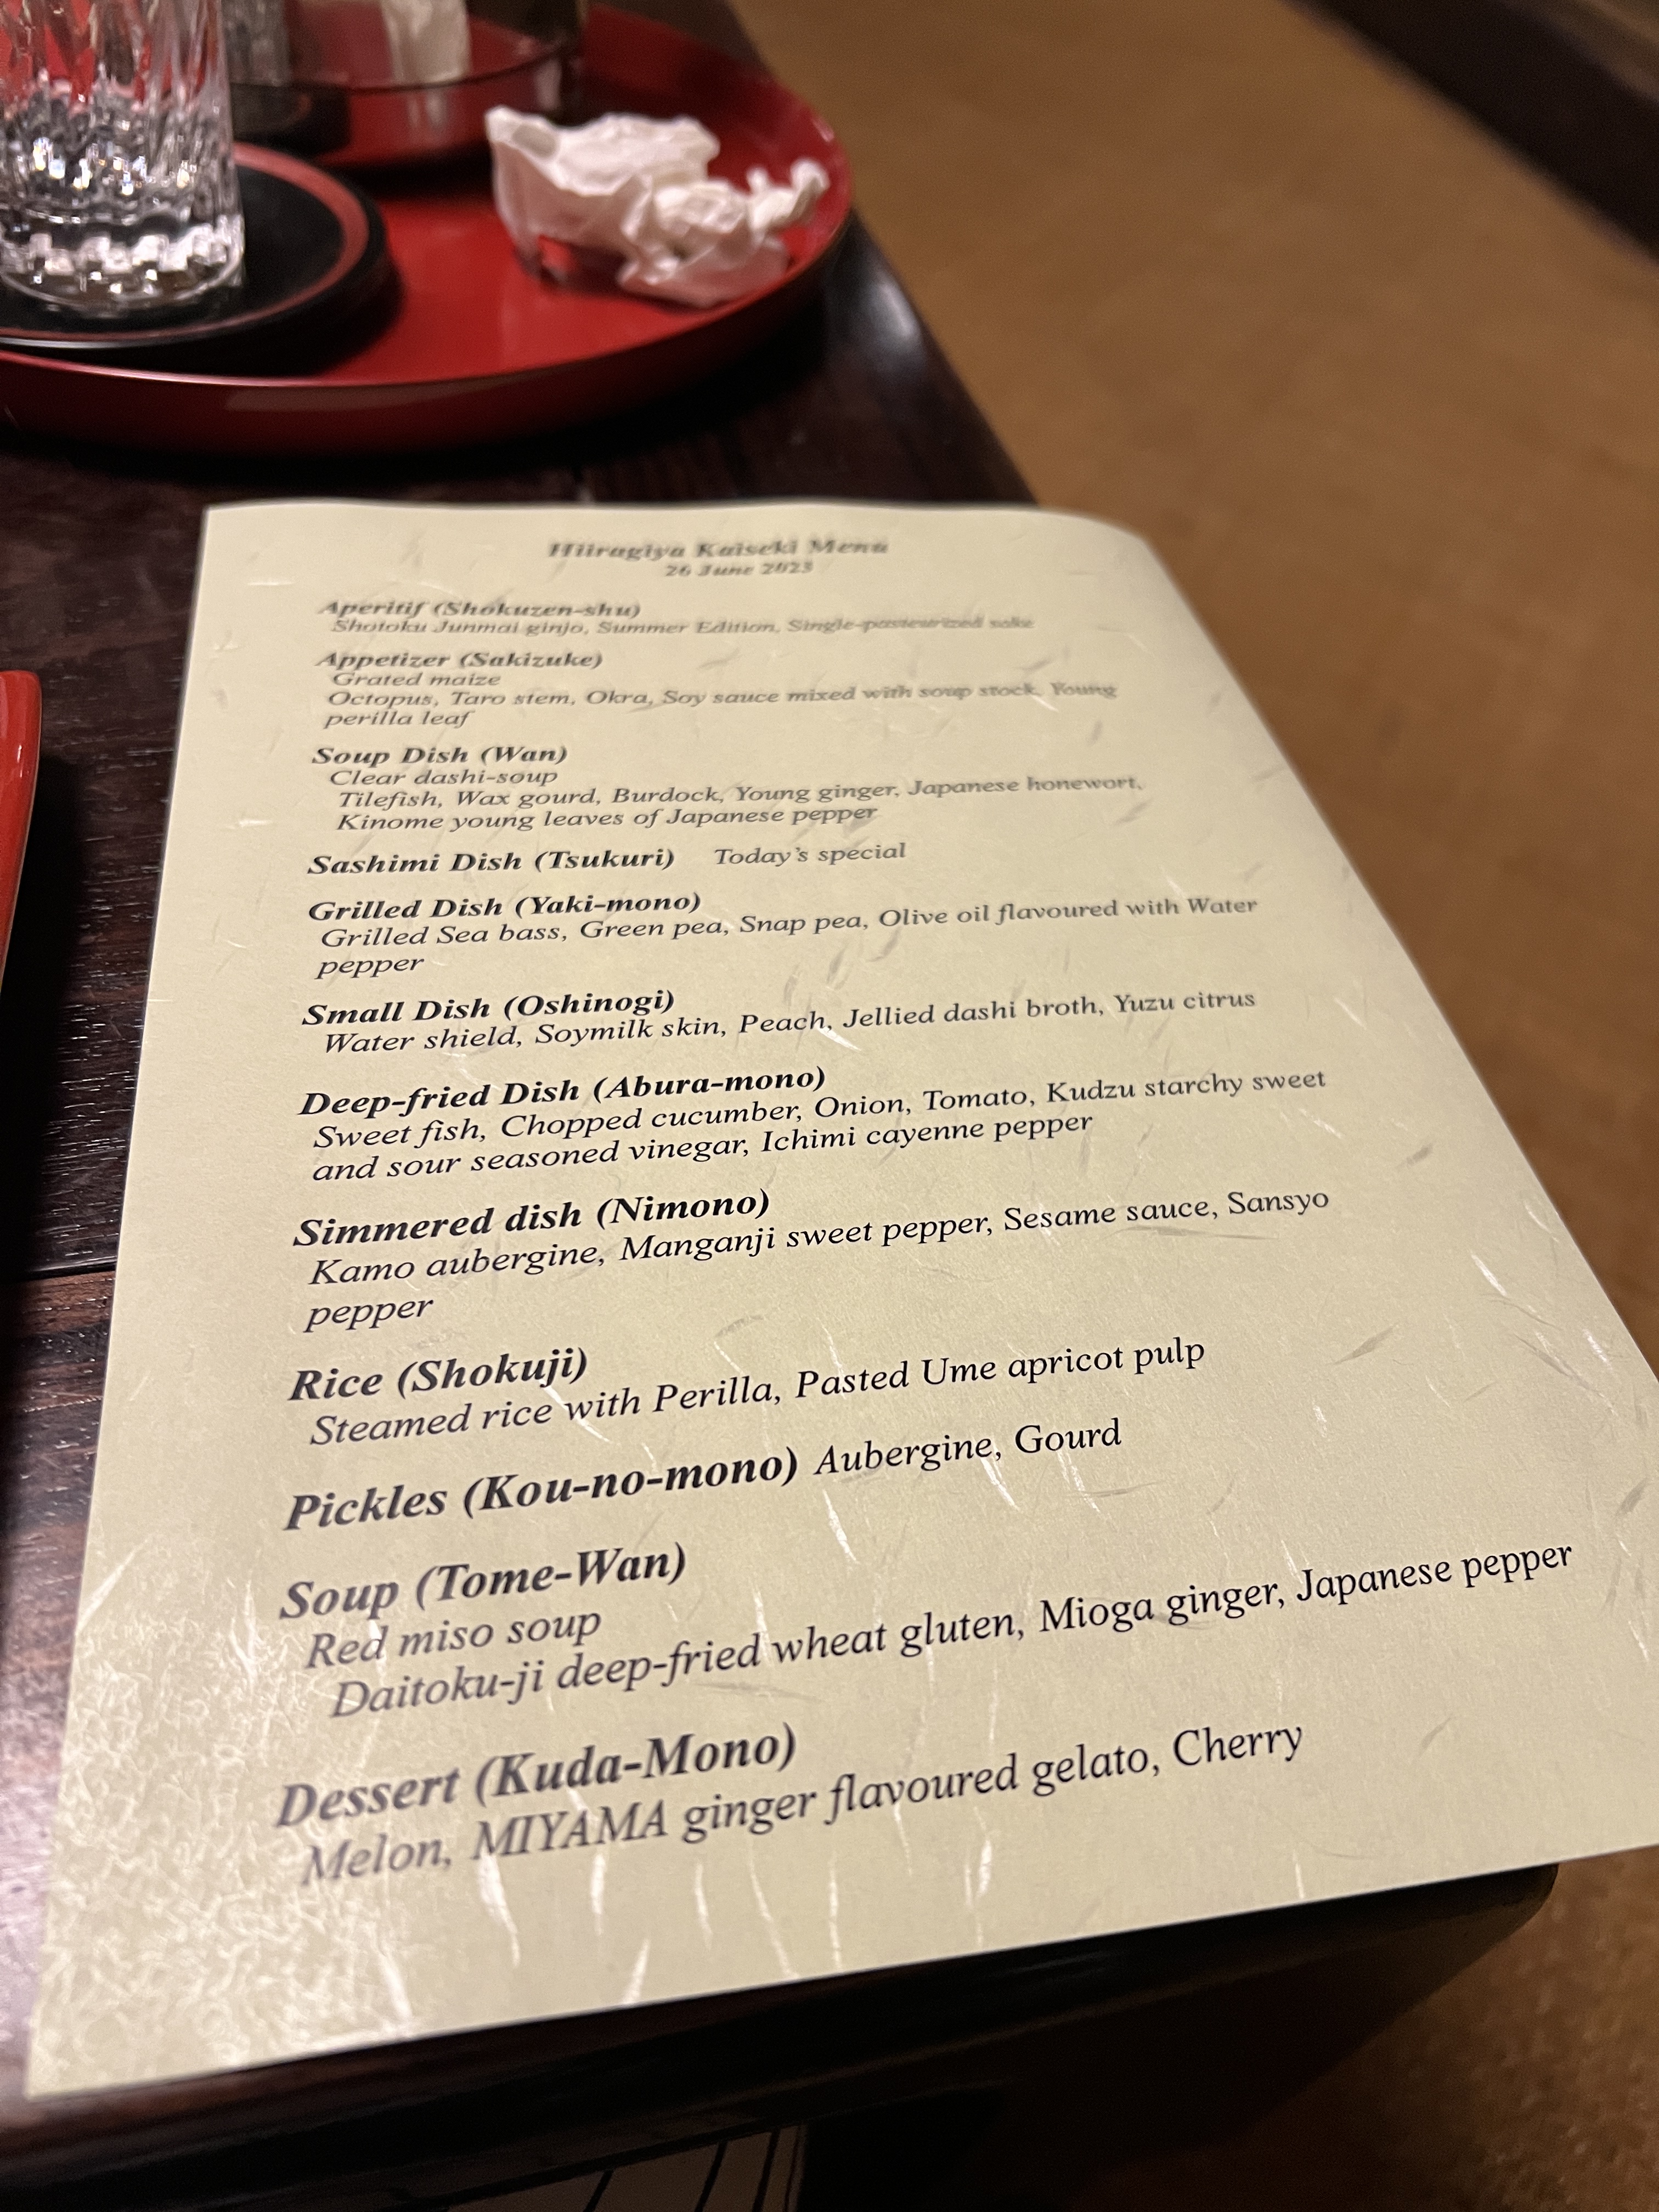
Kaiseki meal (anywhere, but would definitely recommend doing this in the traditional way at a Ryokan in Kyoto)
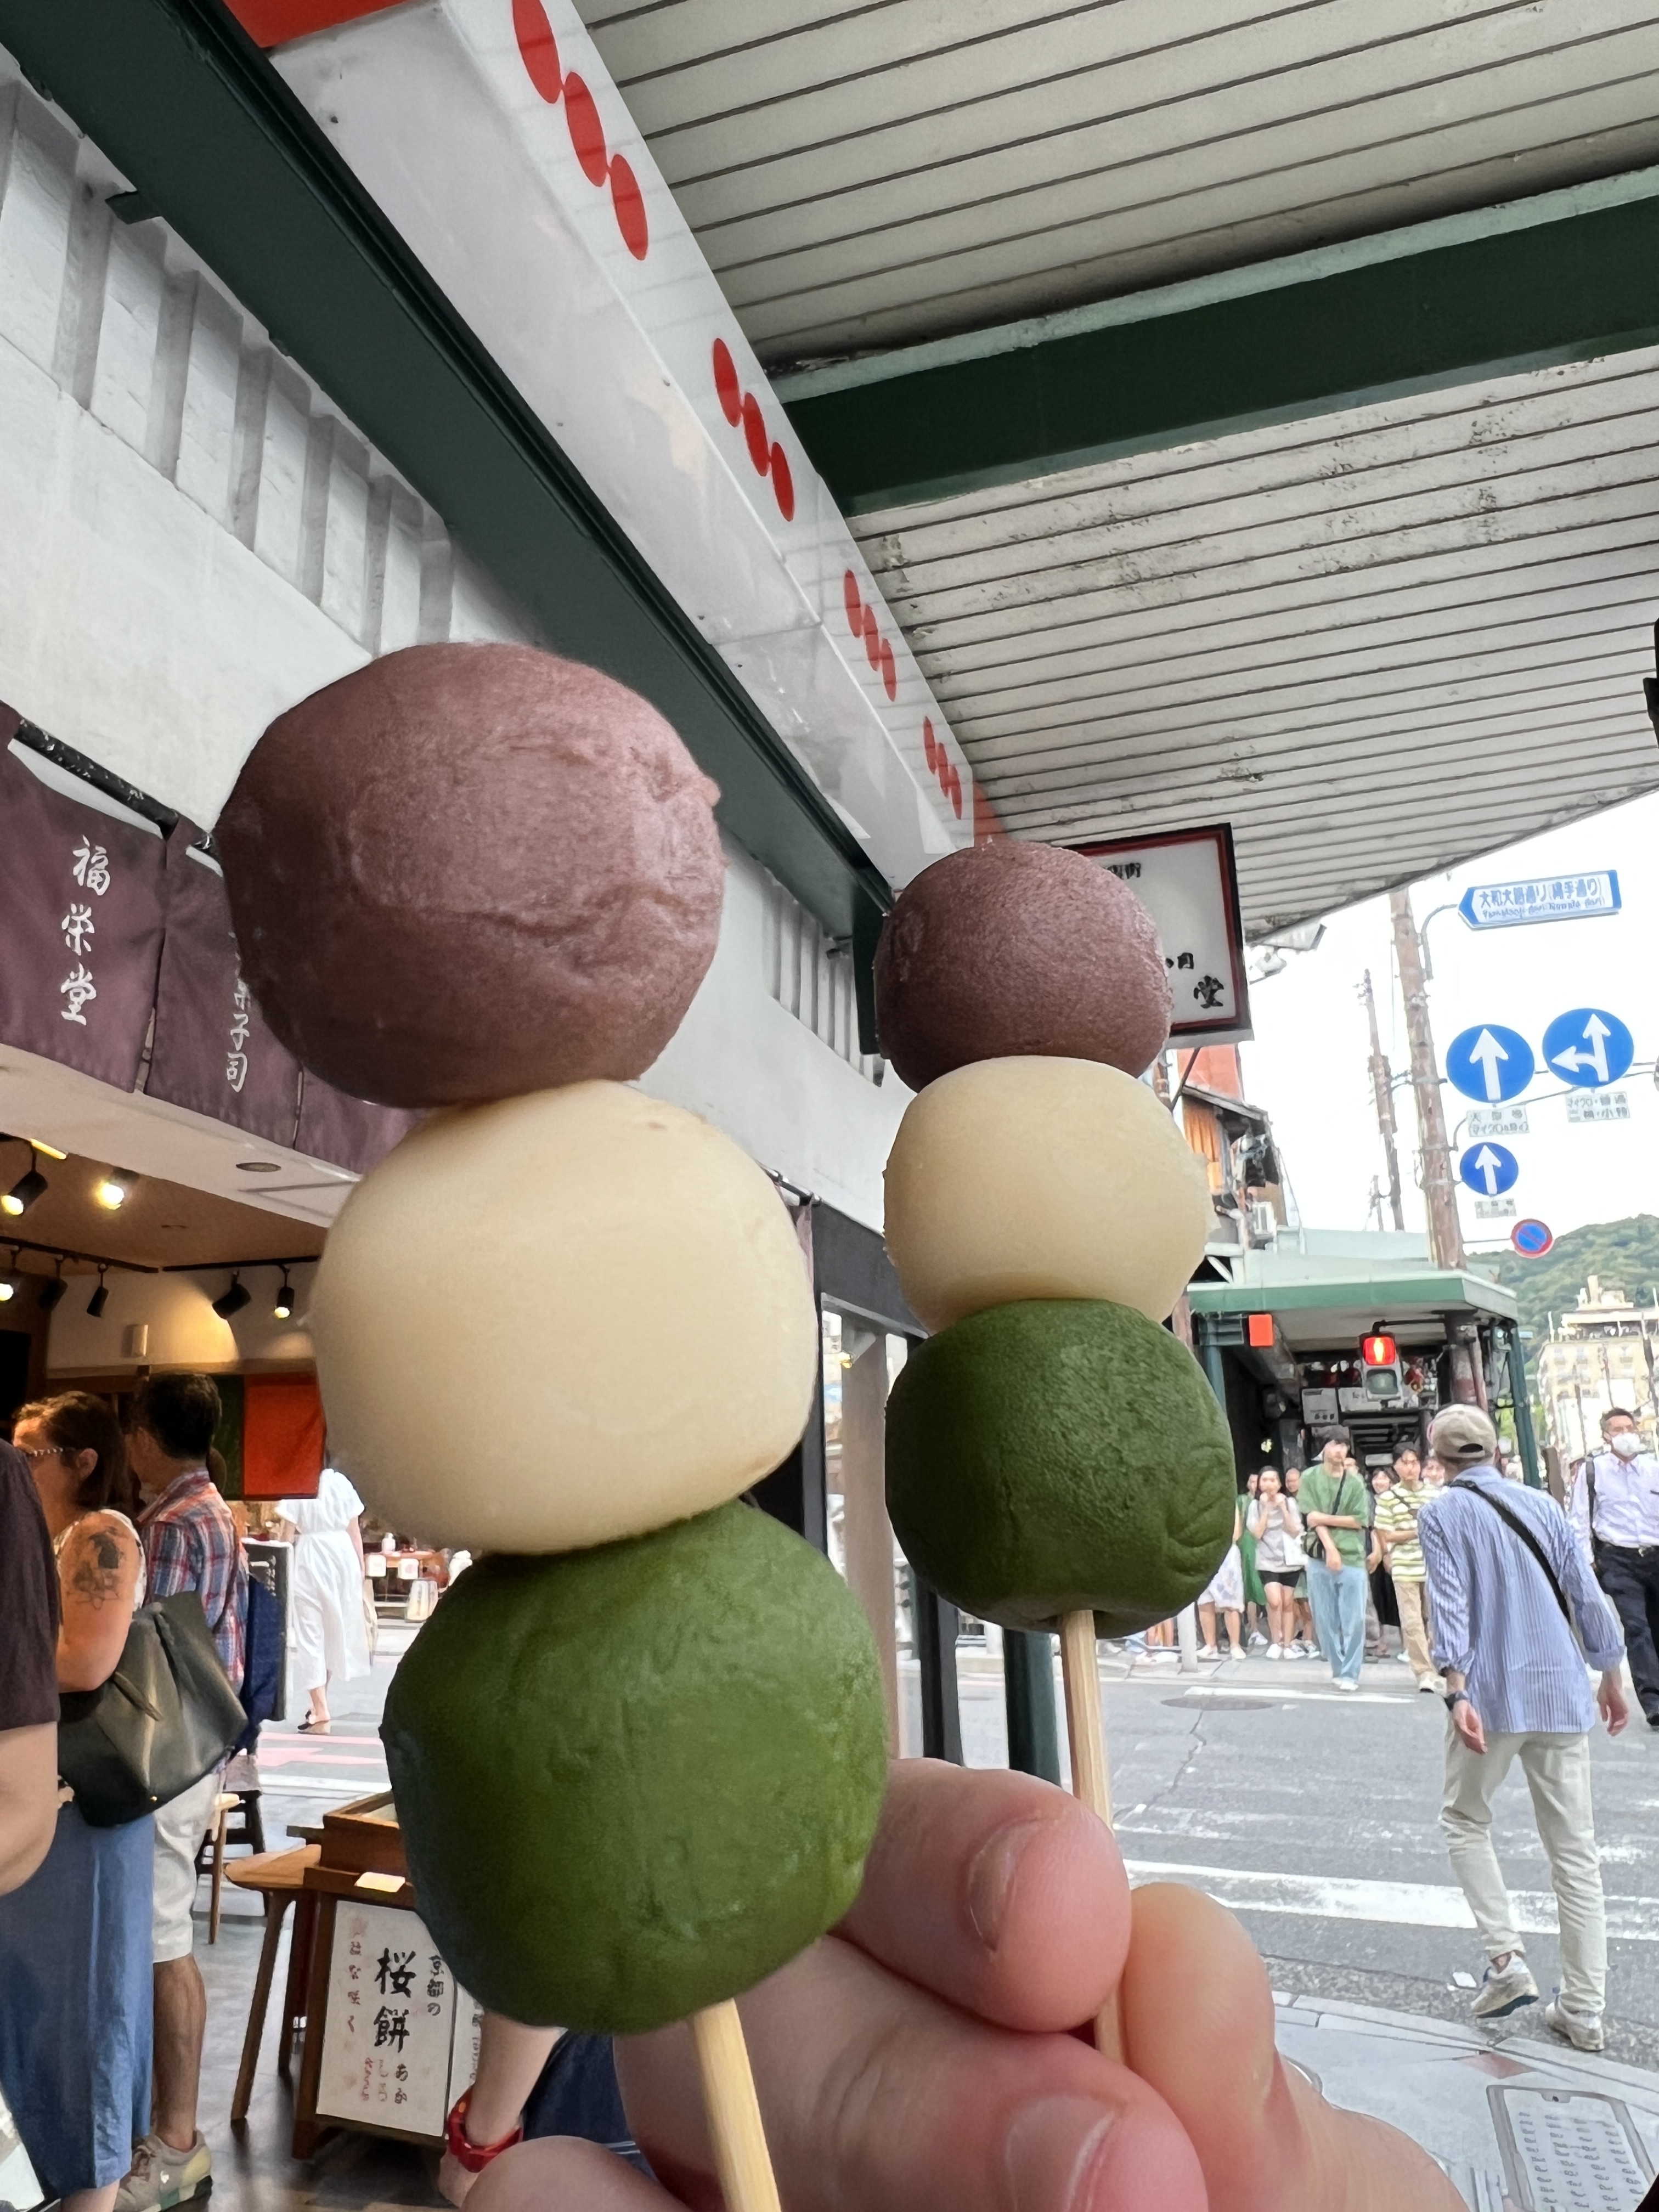
Mochi (anywhere, but definitely recommended to try this fresh in Nara if you go there)
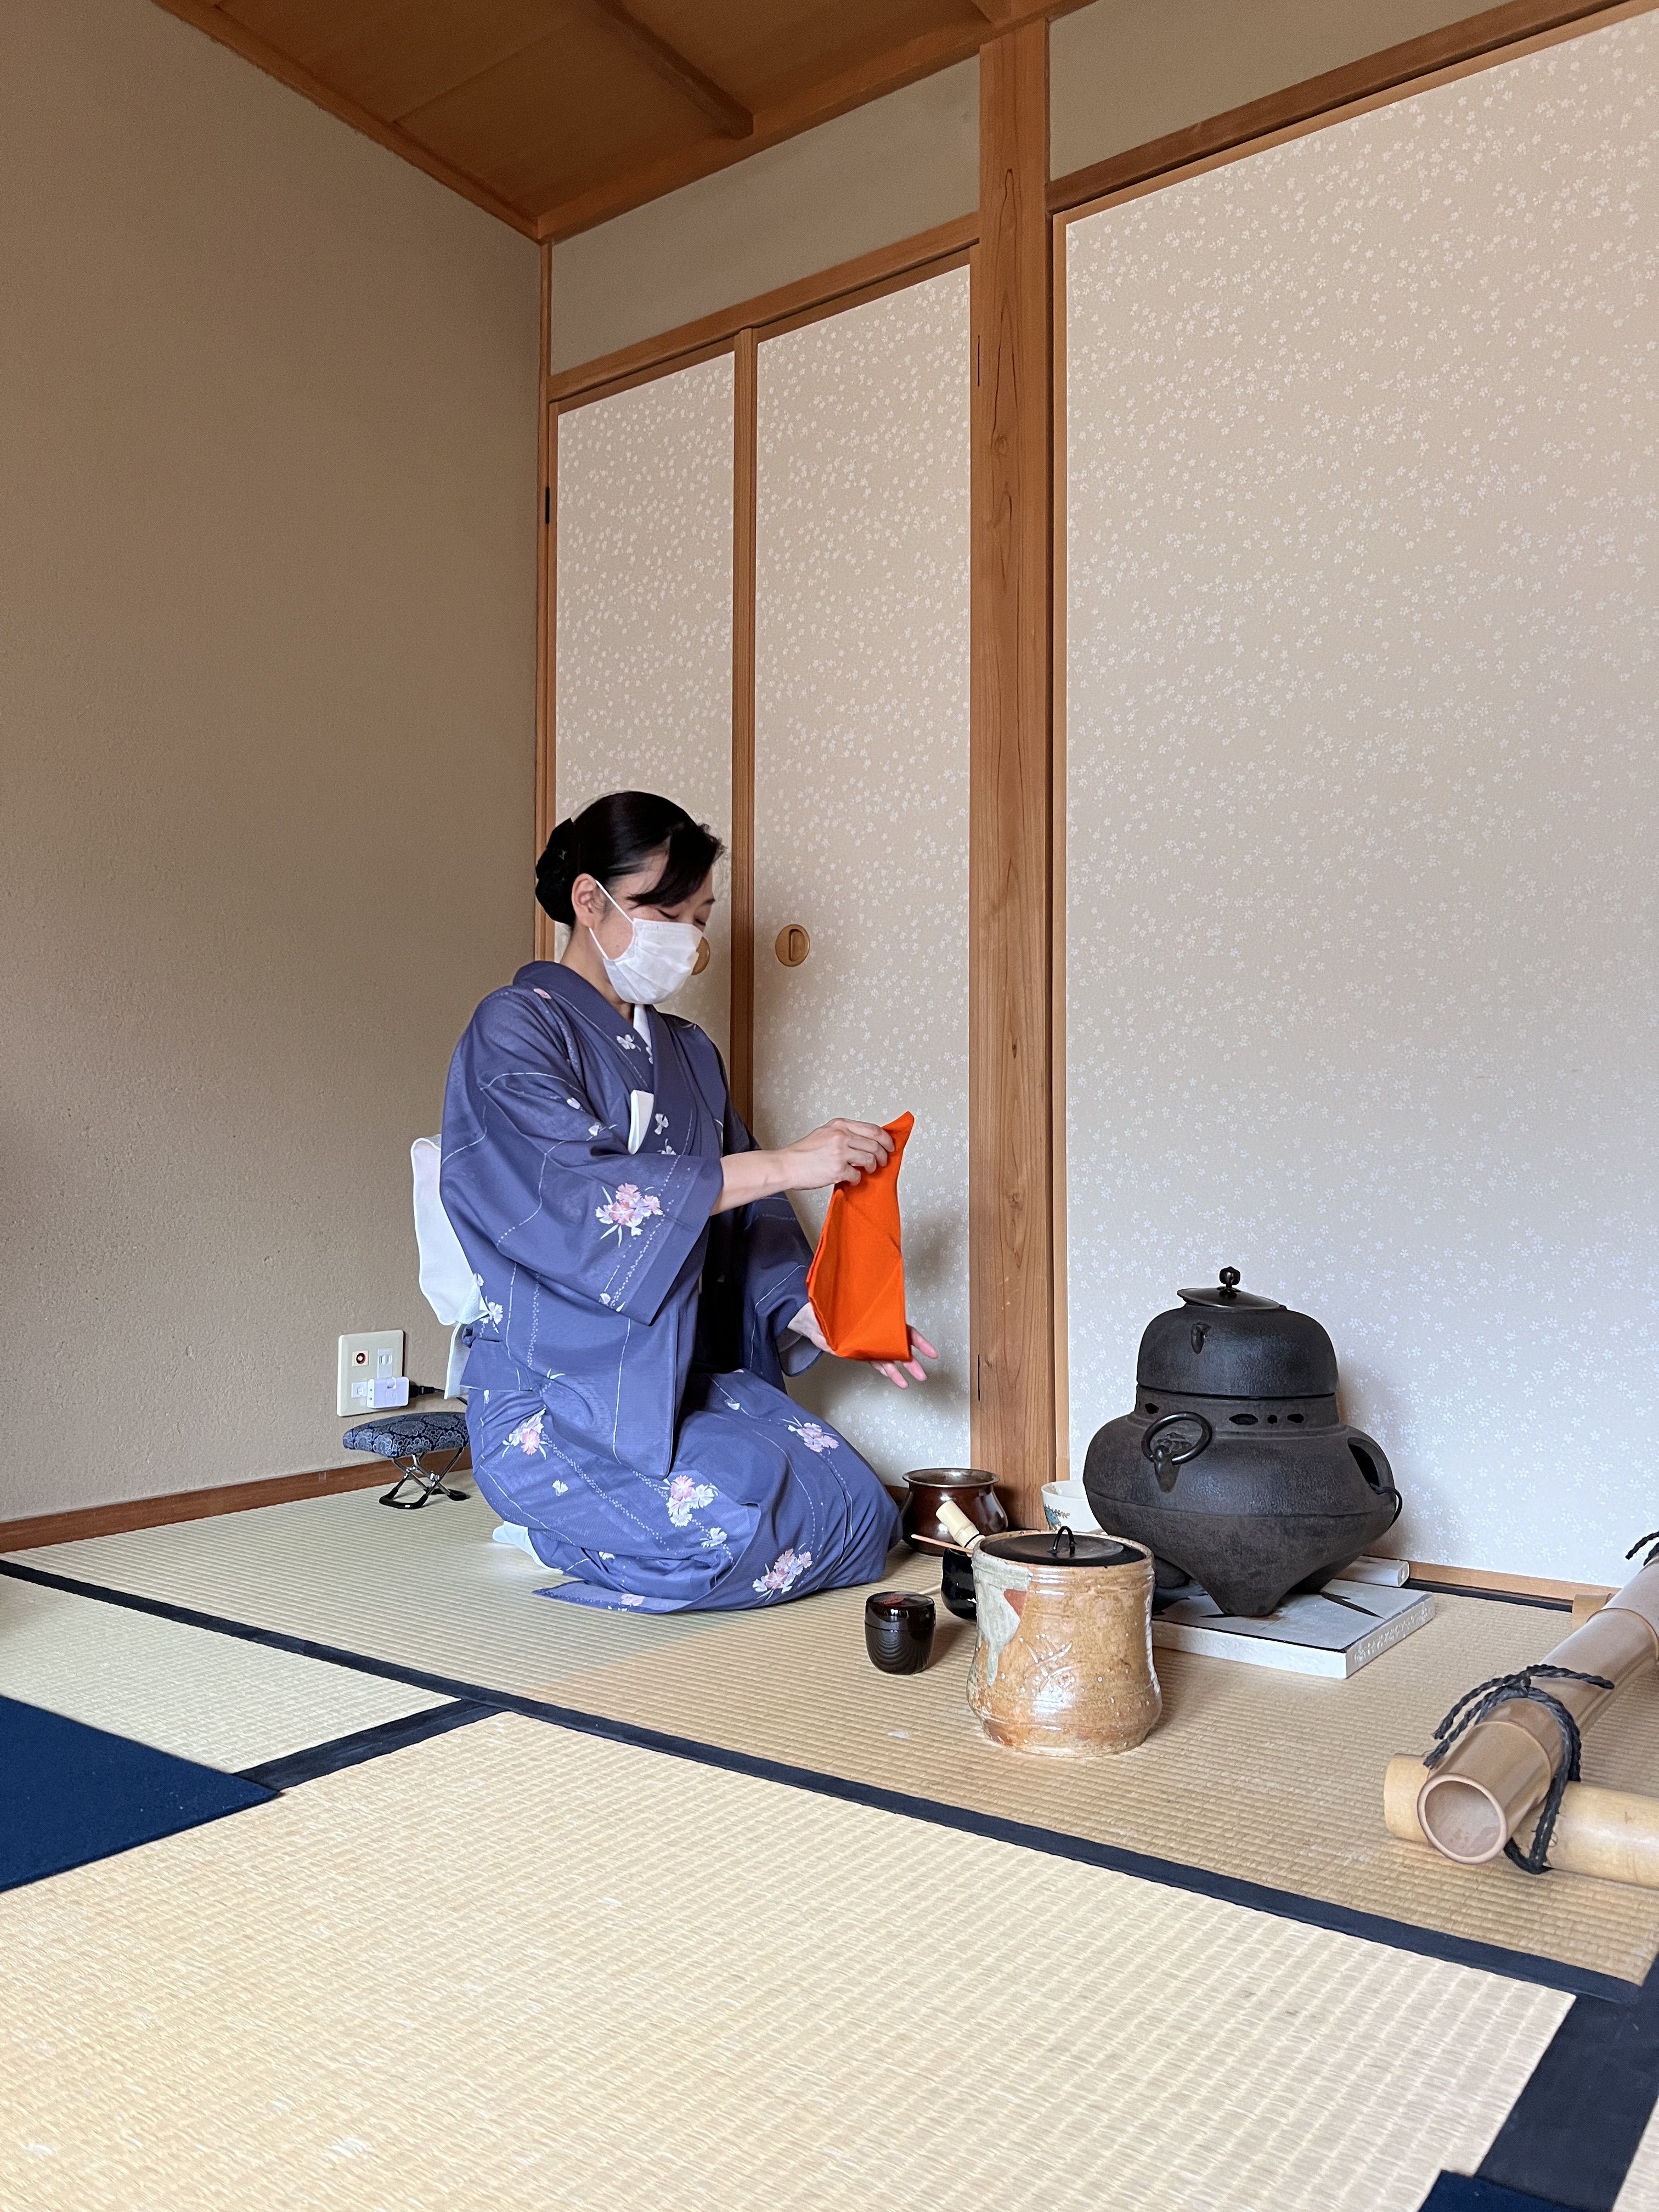
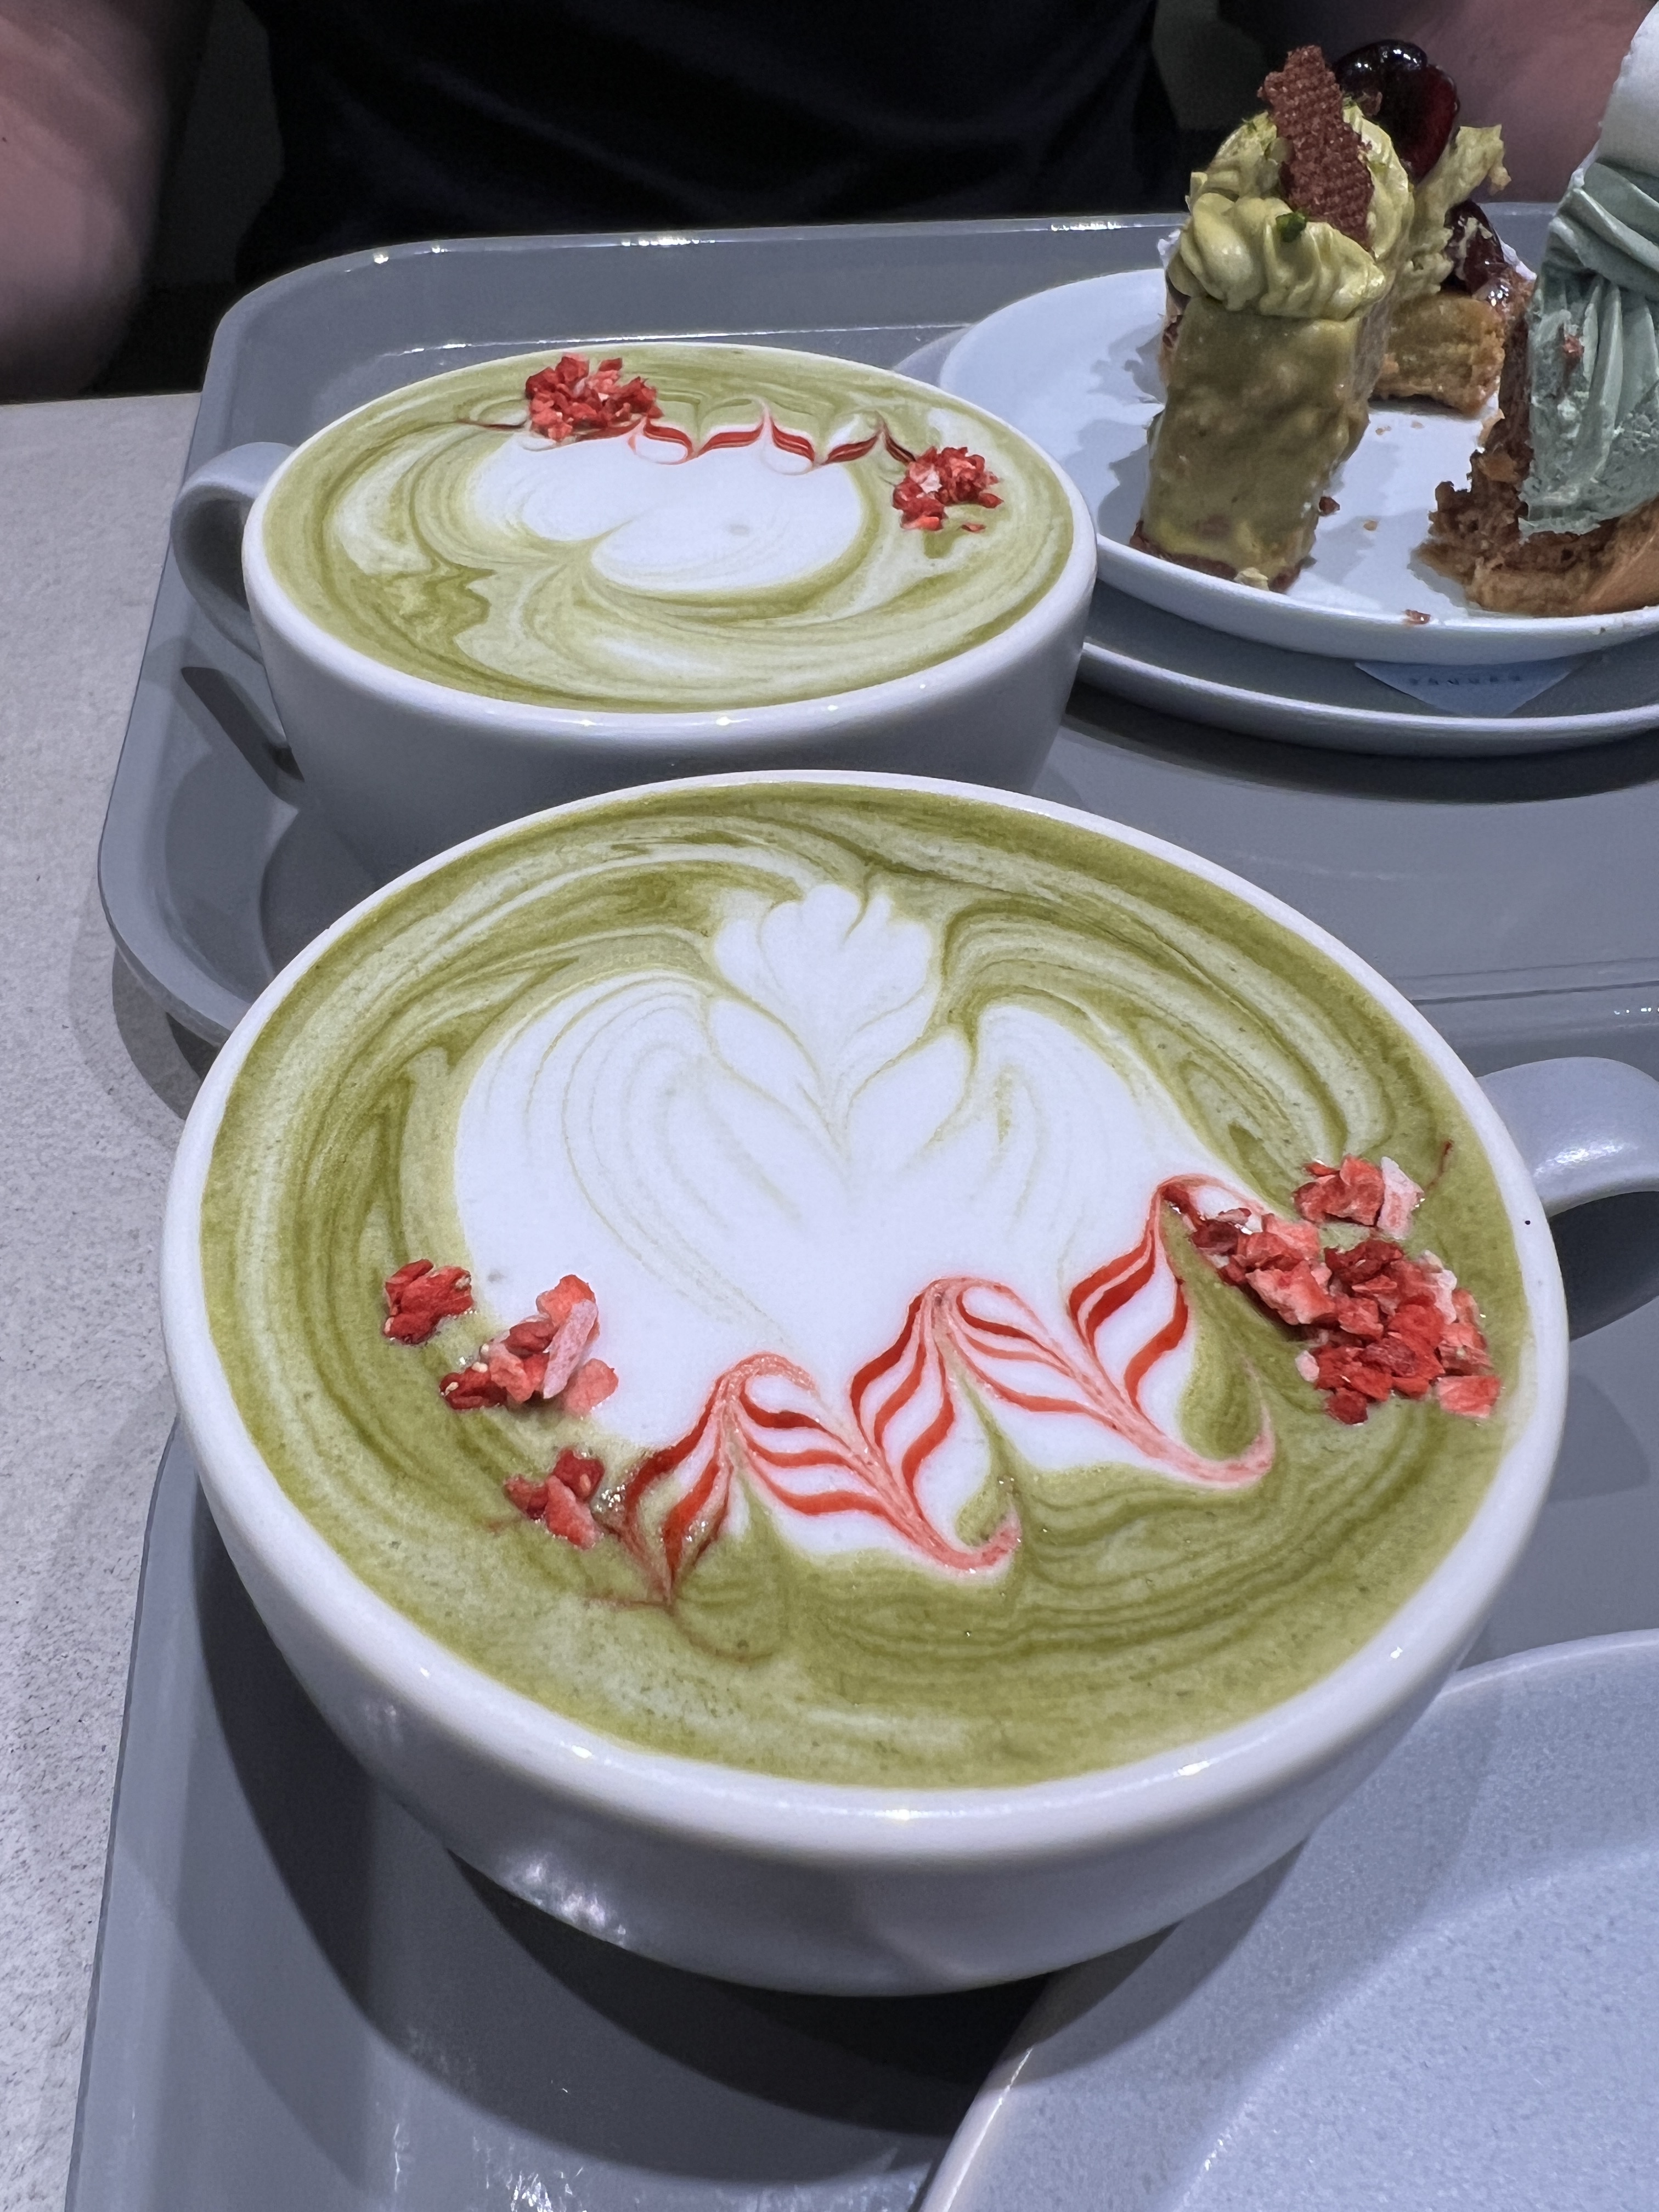
Matcha (the traditional way at a tea house – recommended to do this in Kyoto)
Shaved ice (anywhere)
Tempura (anywhere)
Katsu (anywhere, and bonus if you can find katsu curry!)
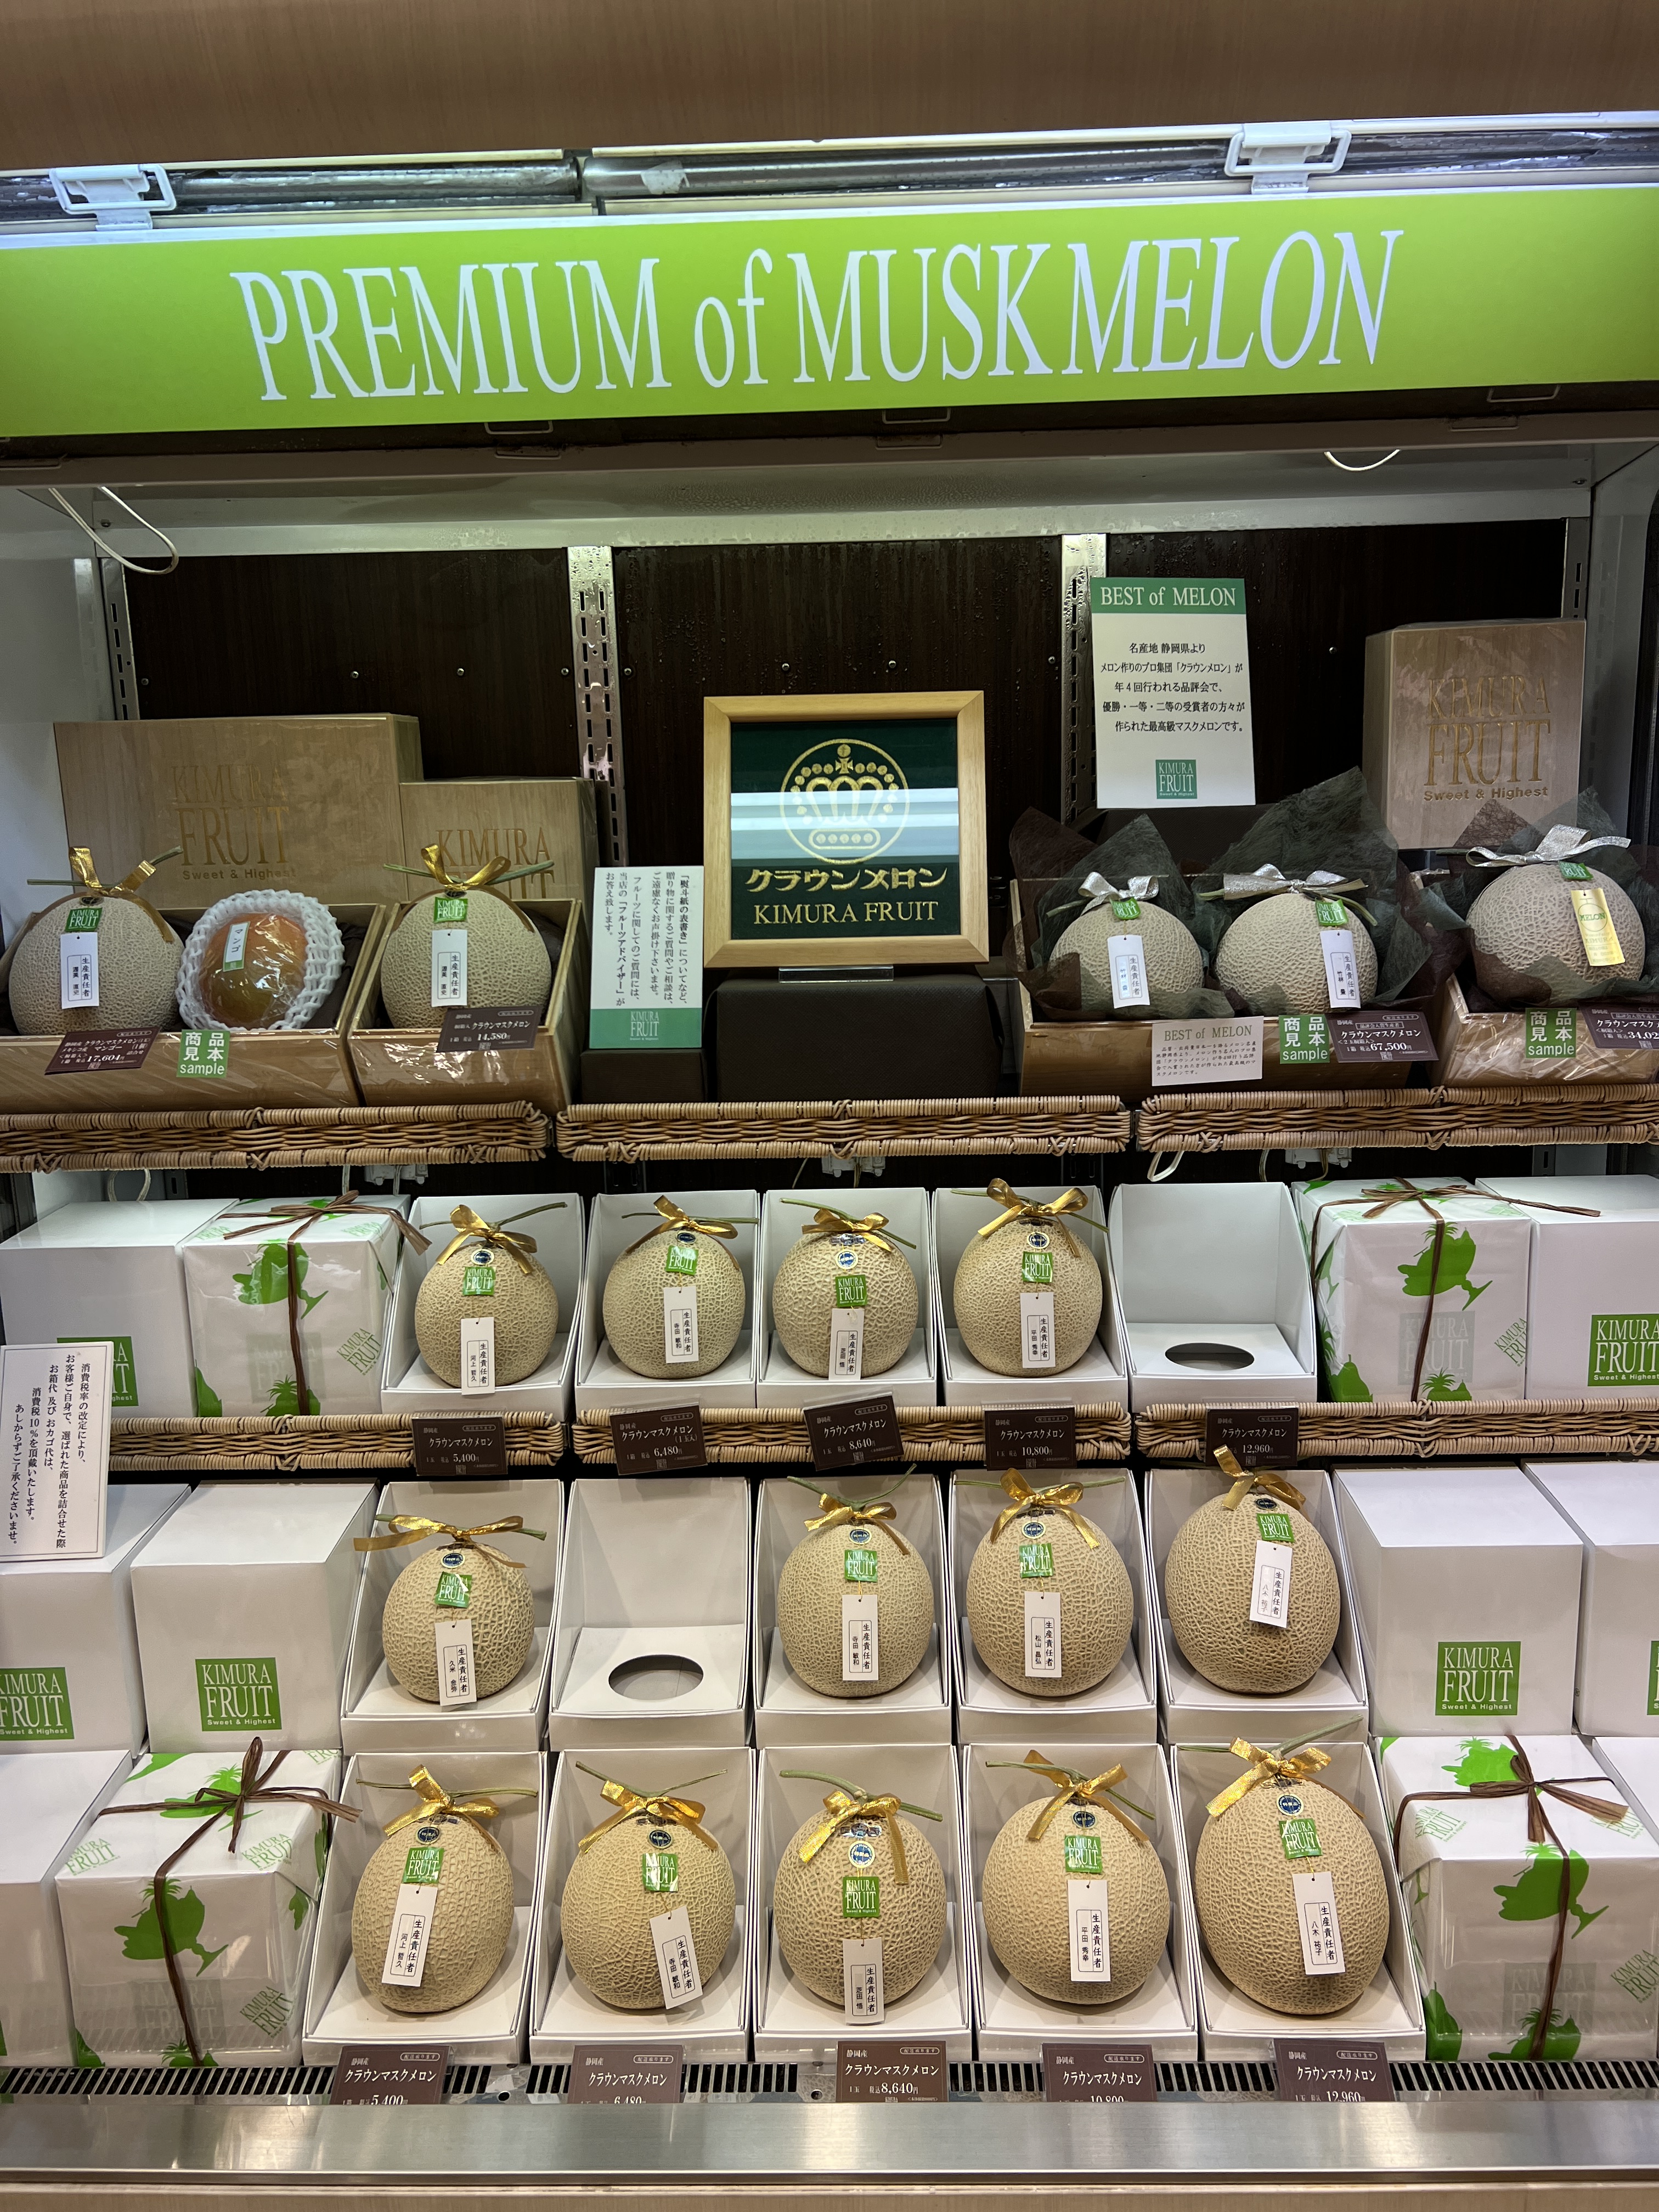
Grapes (anywhere, but make sure they are the big special ones. The best ones we had were from the Hankyu market in Osaka)
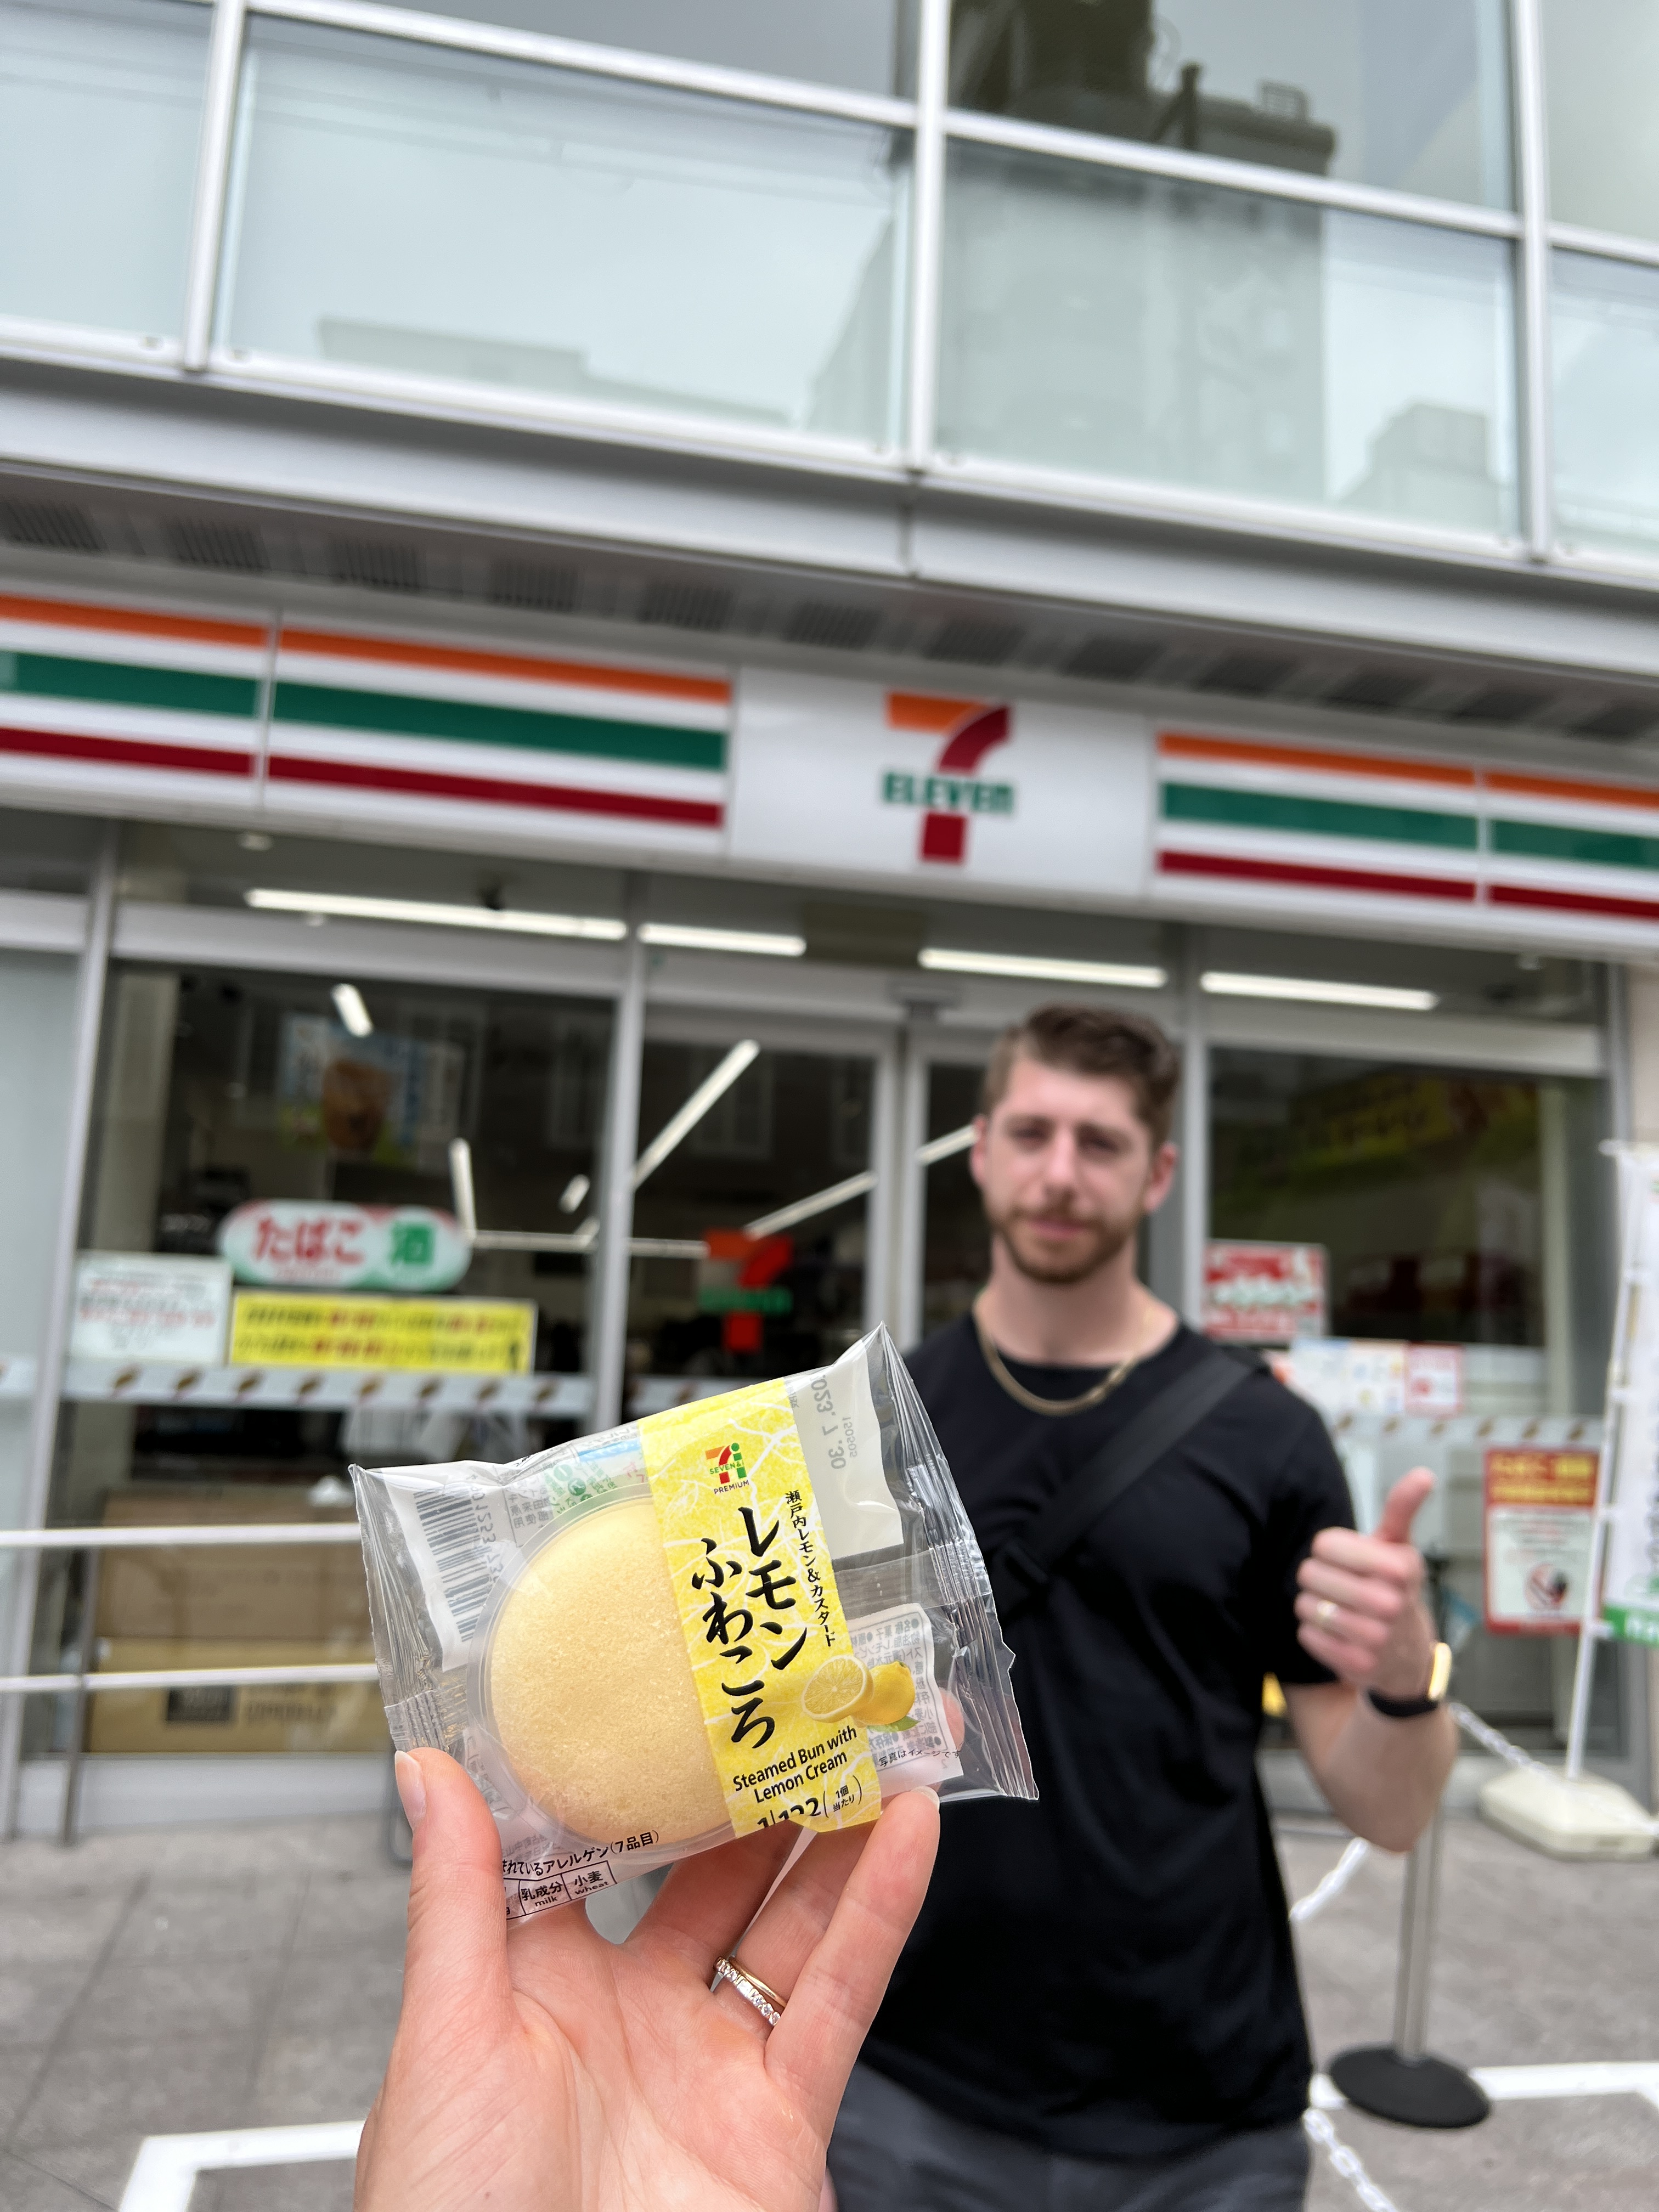
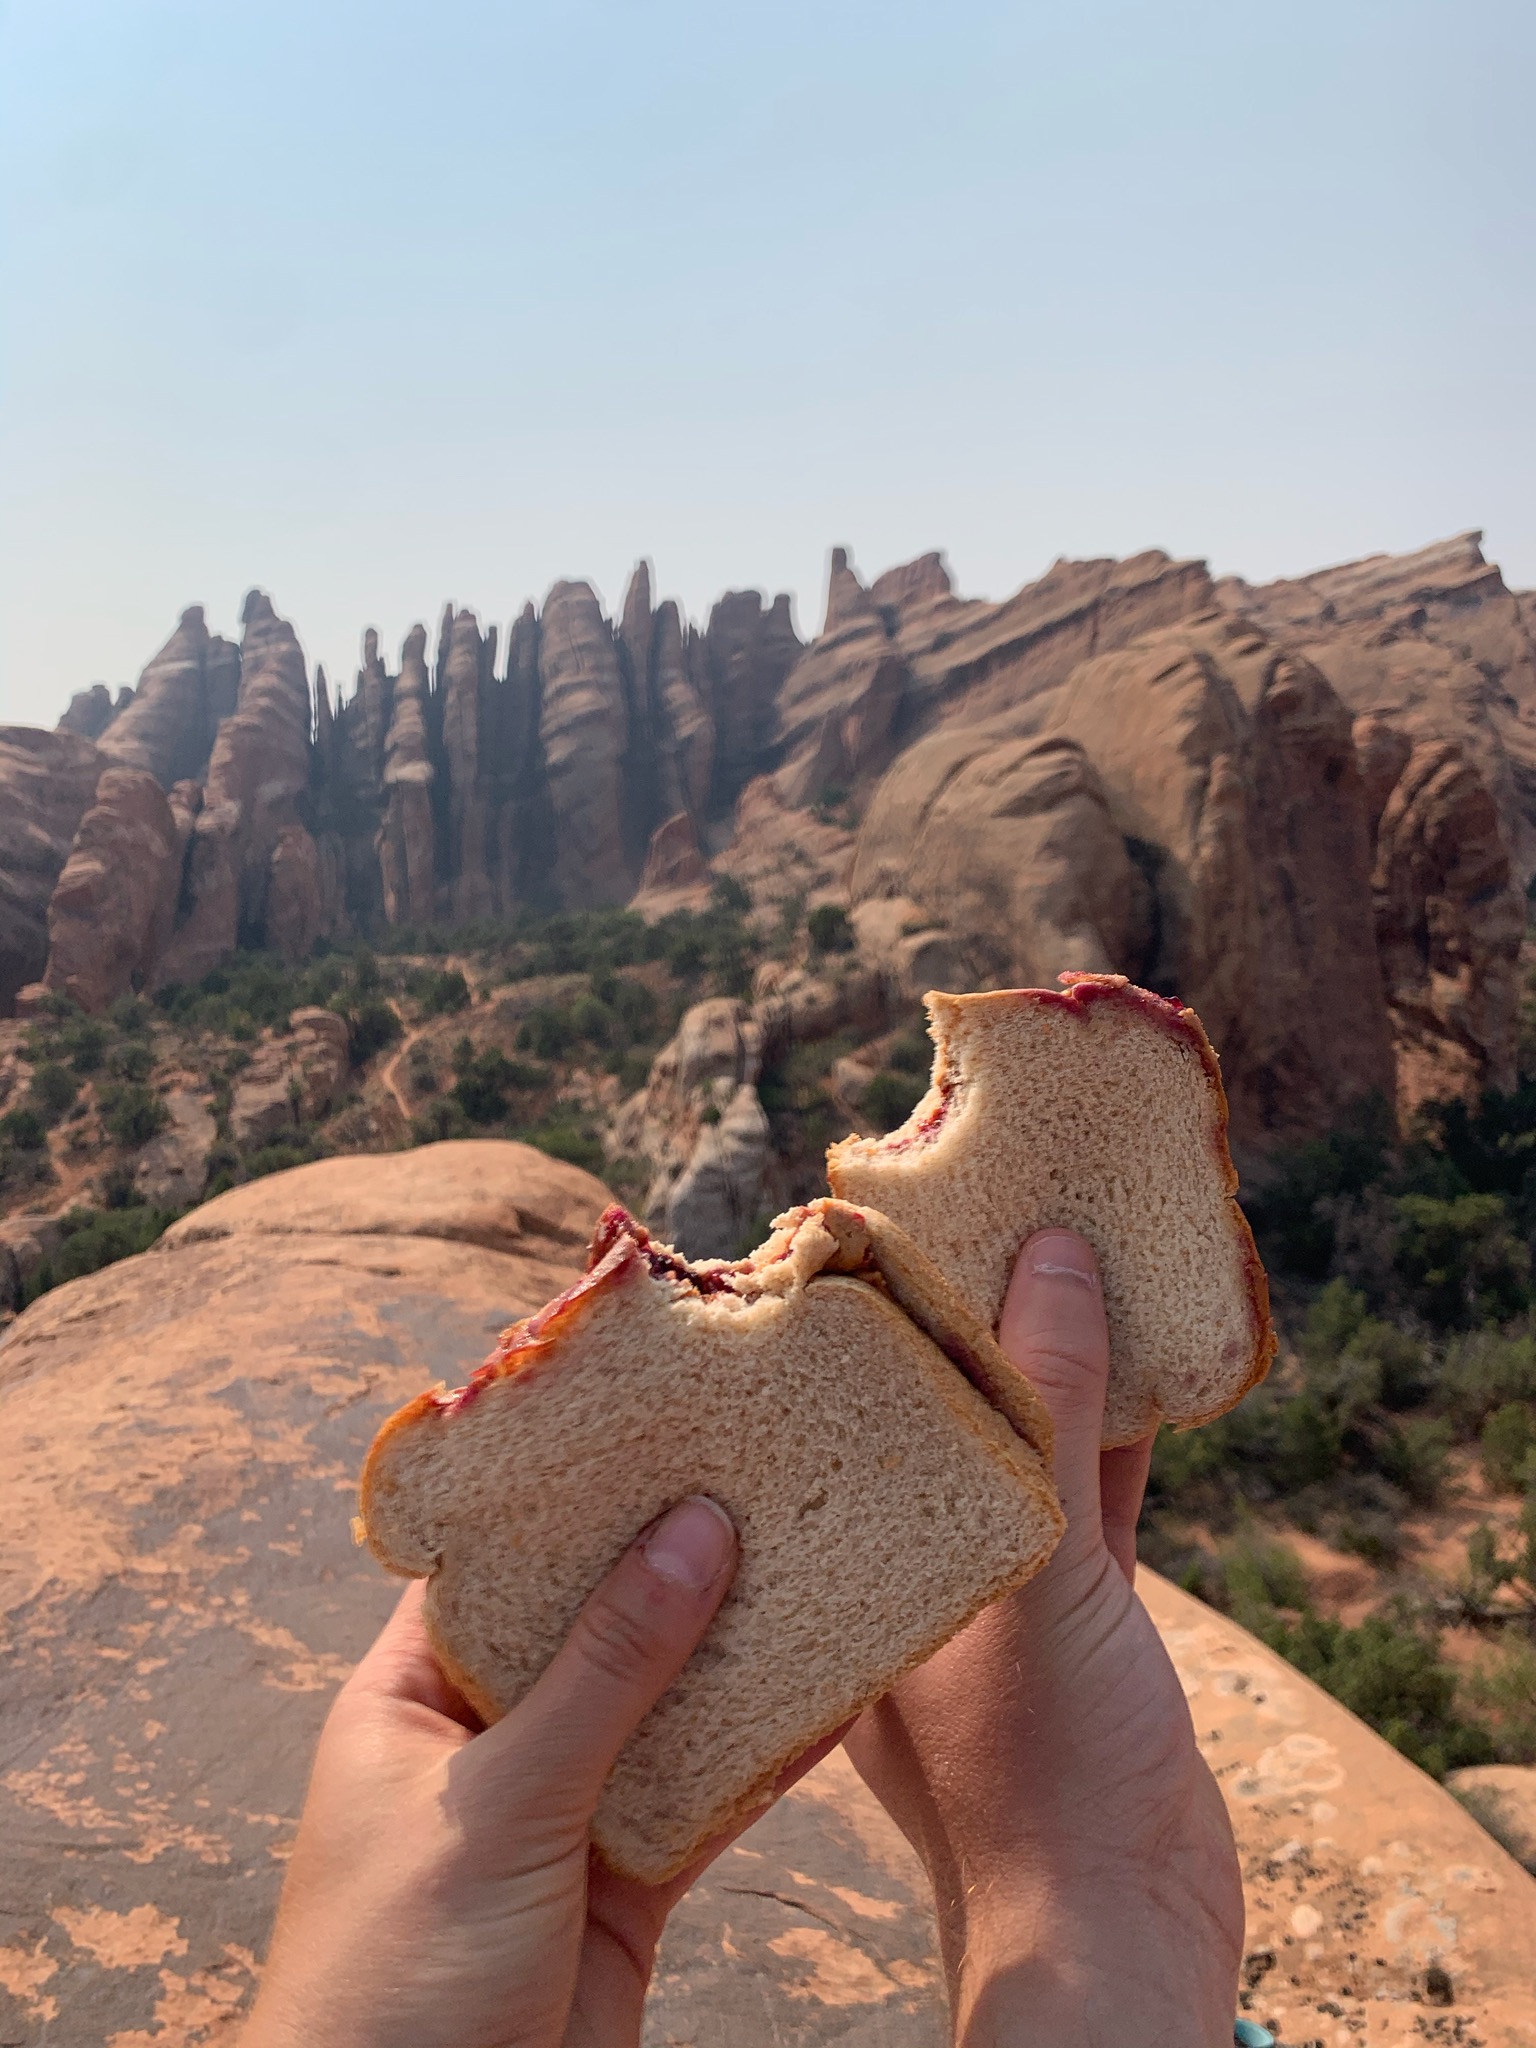
Fluffy bread and buns (anywhere, but it is the best on sandwiches for breakfast or snacks at the Family Mart and 7-11)
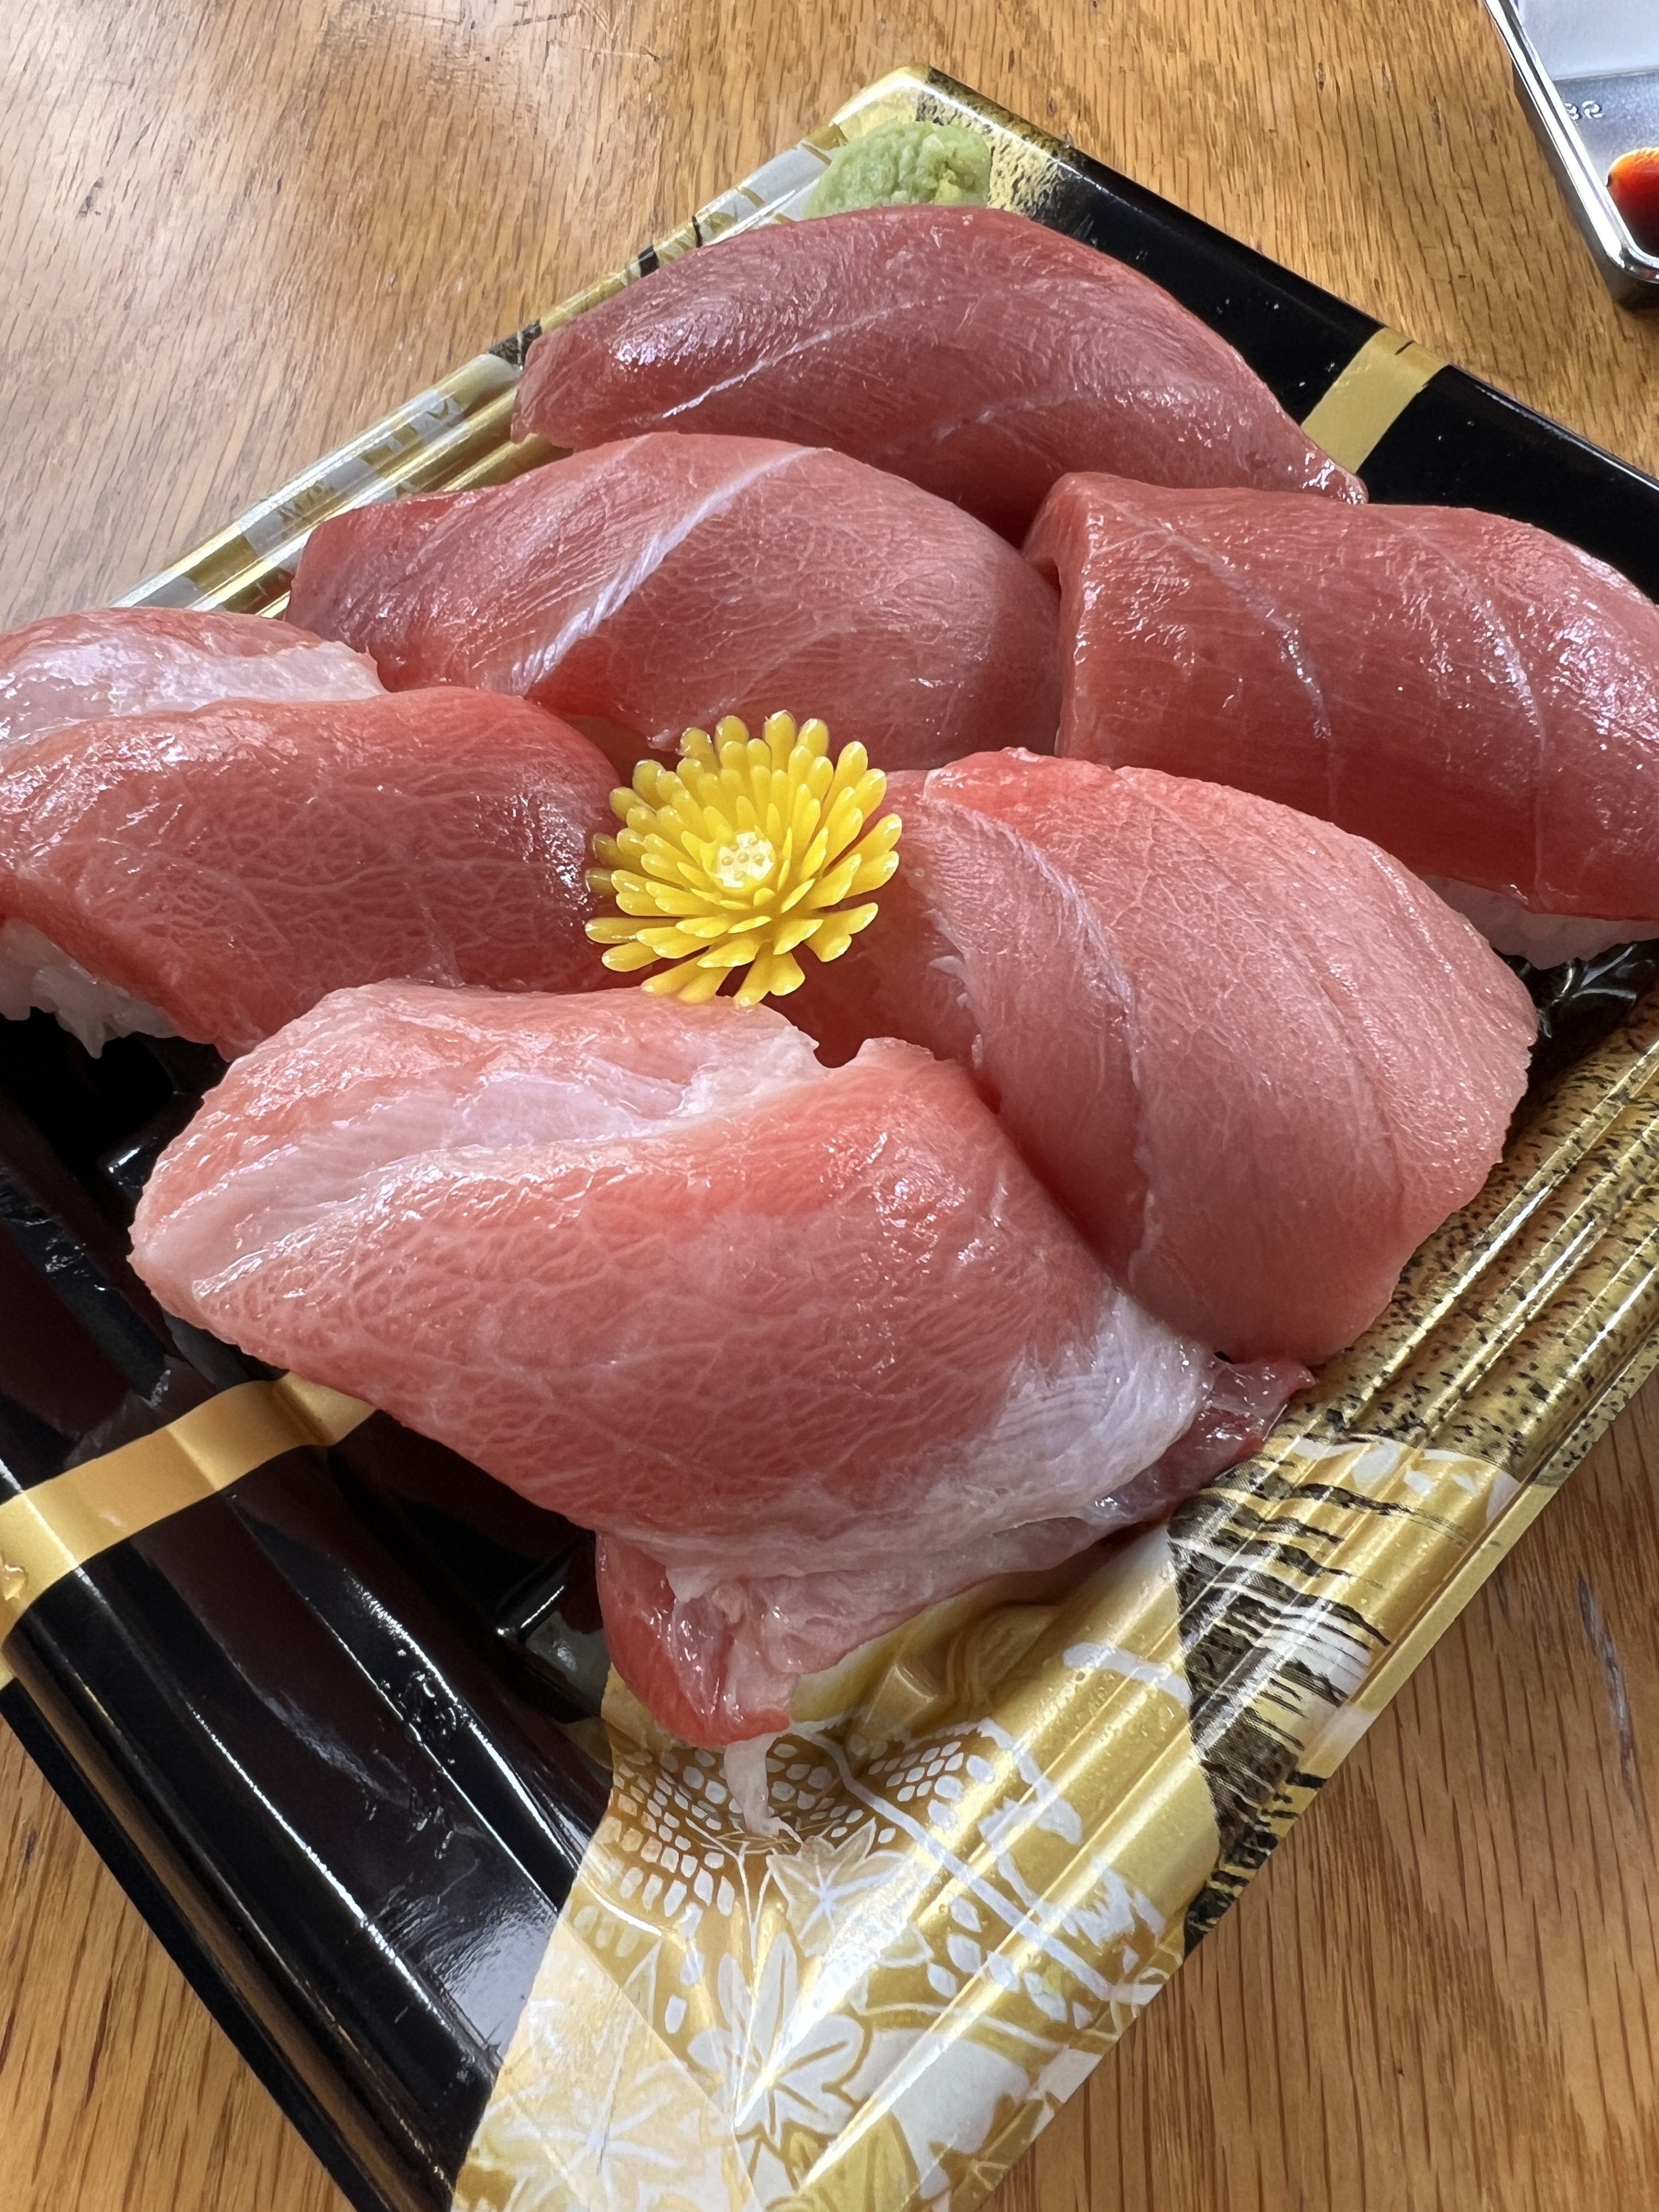
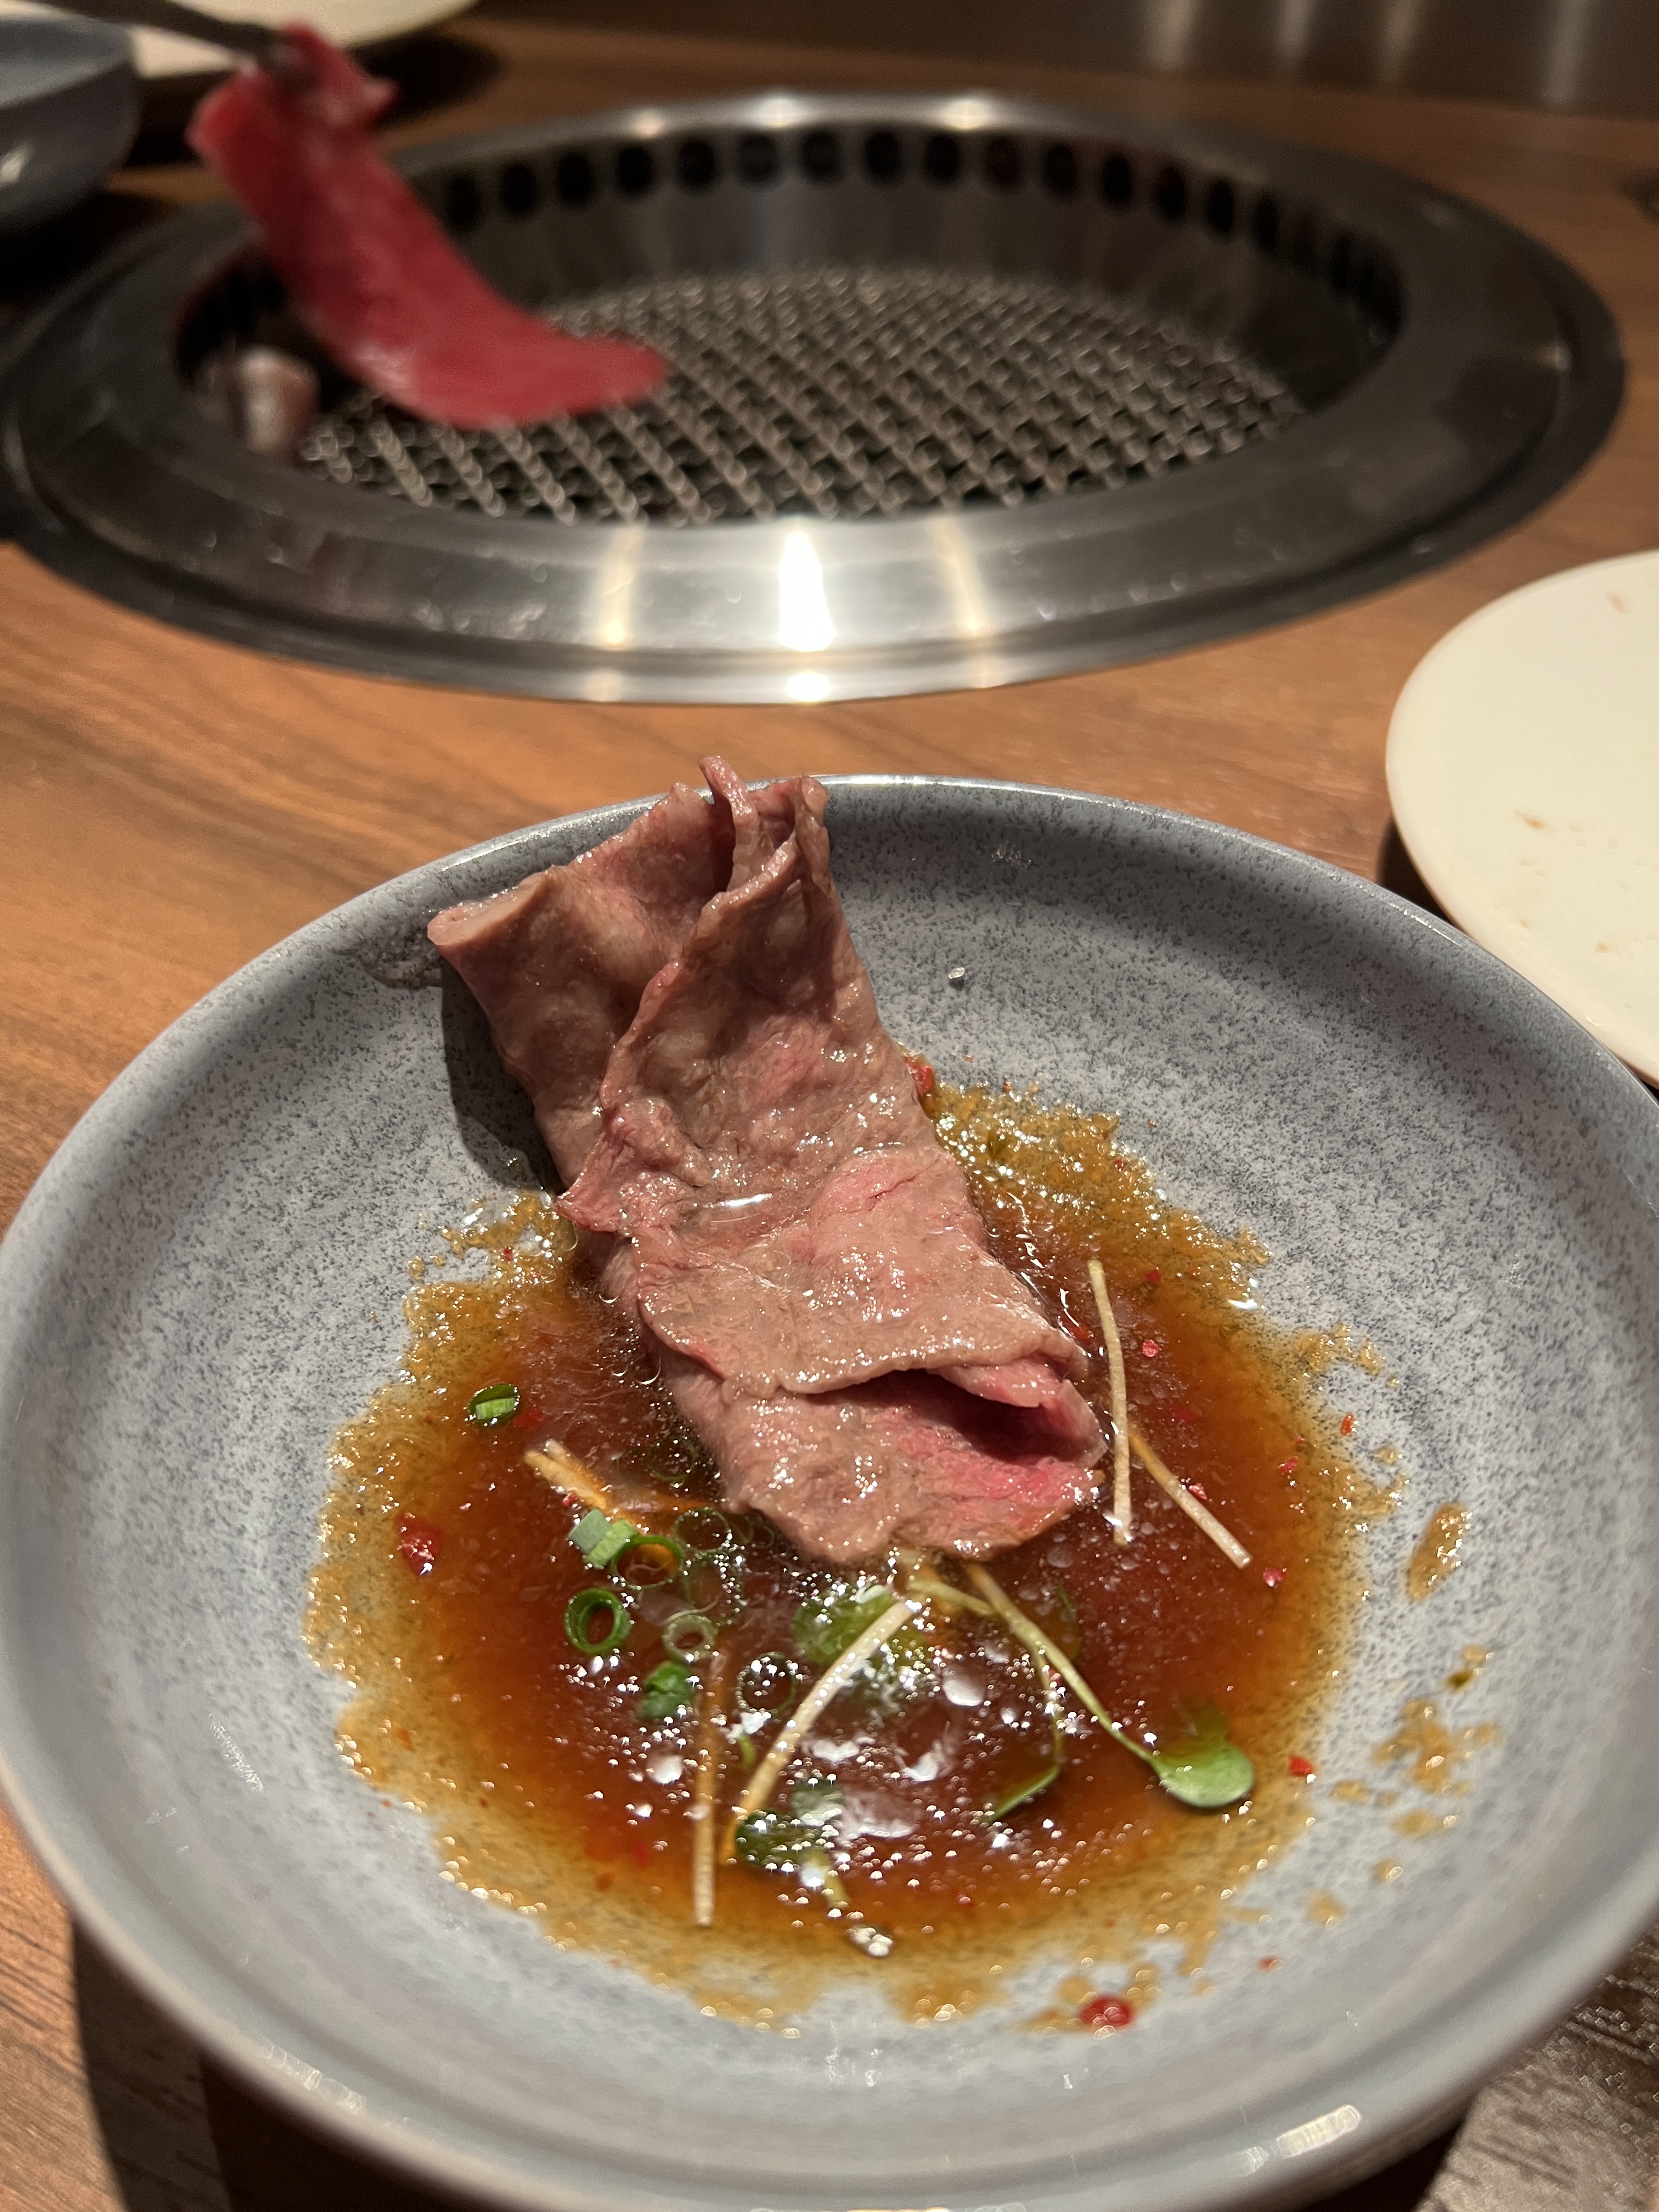
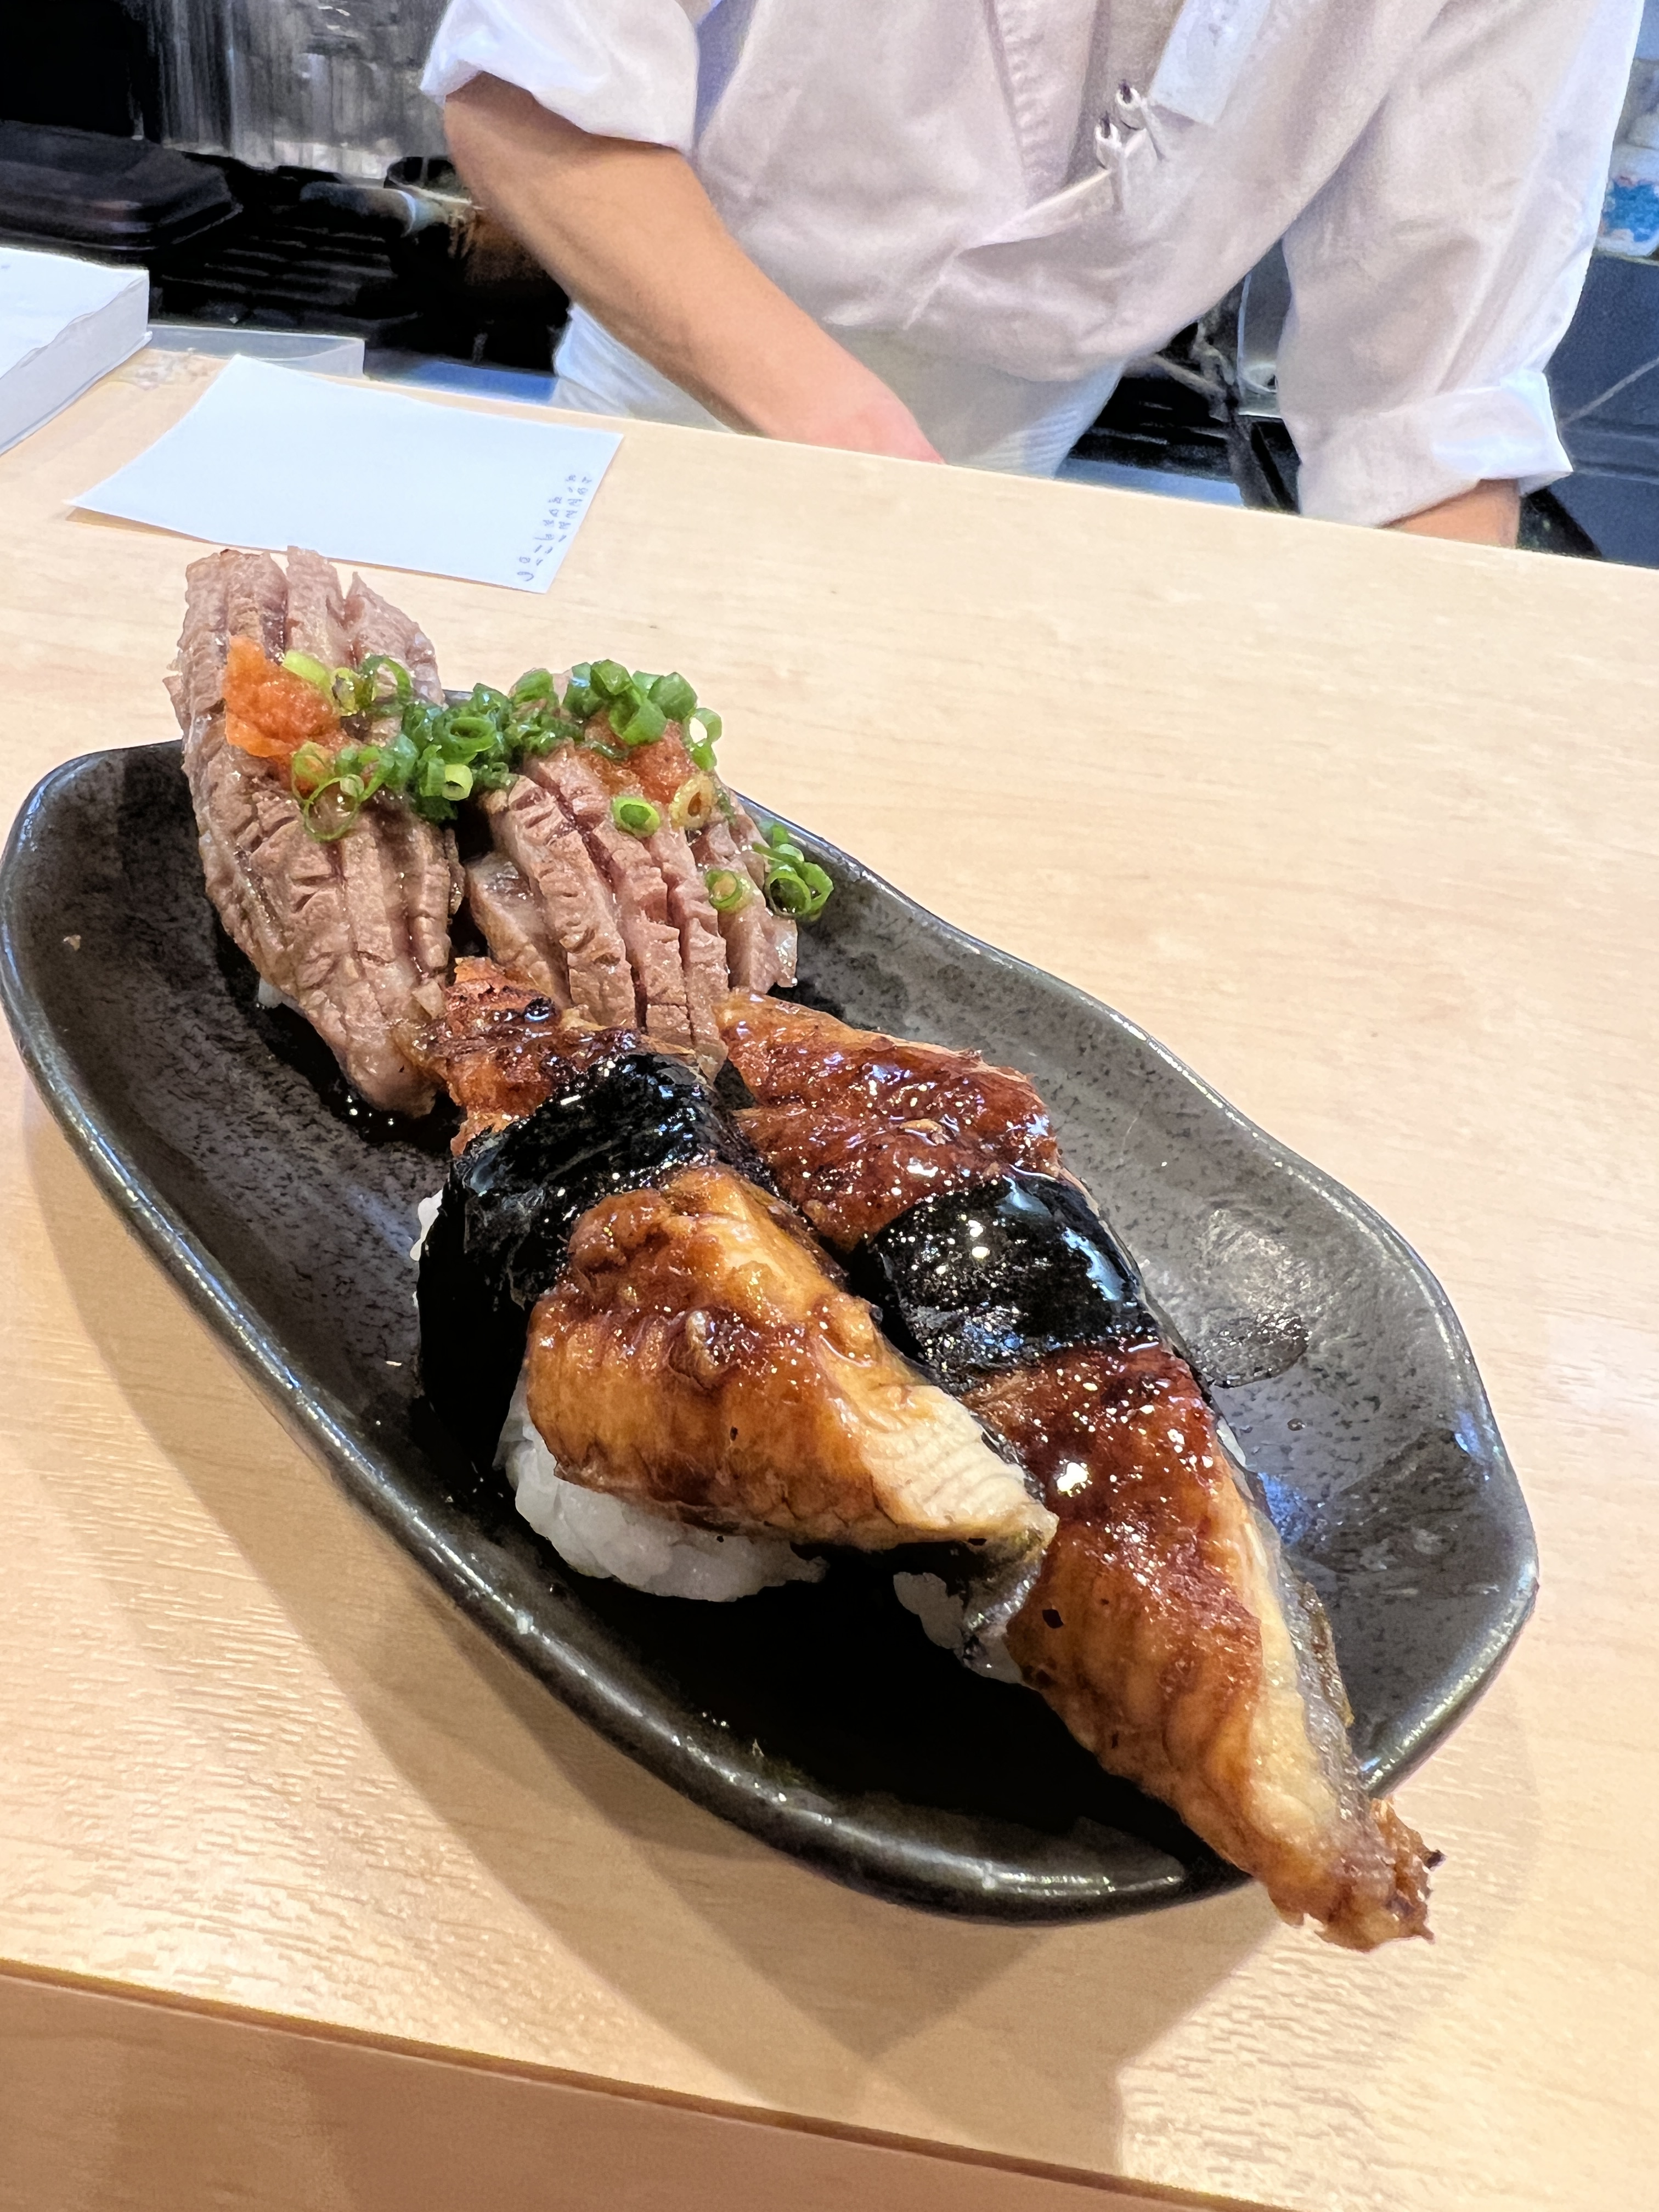
Wagyu (anywhere – recommended to try wagyu nigiri sushi, but also to go to a restaurant where you cook the meats yourself)
Souffle pancake (anywhere)
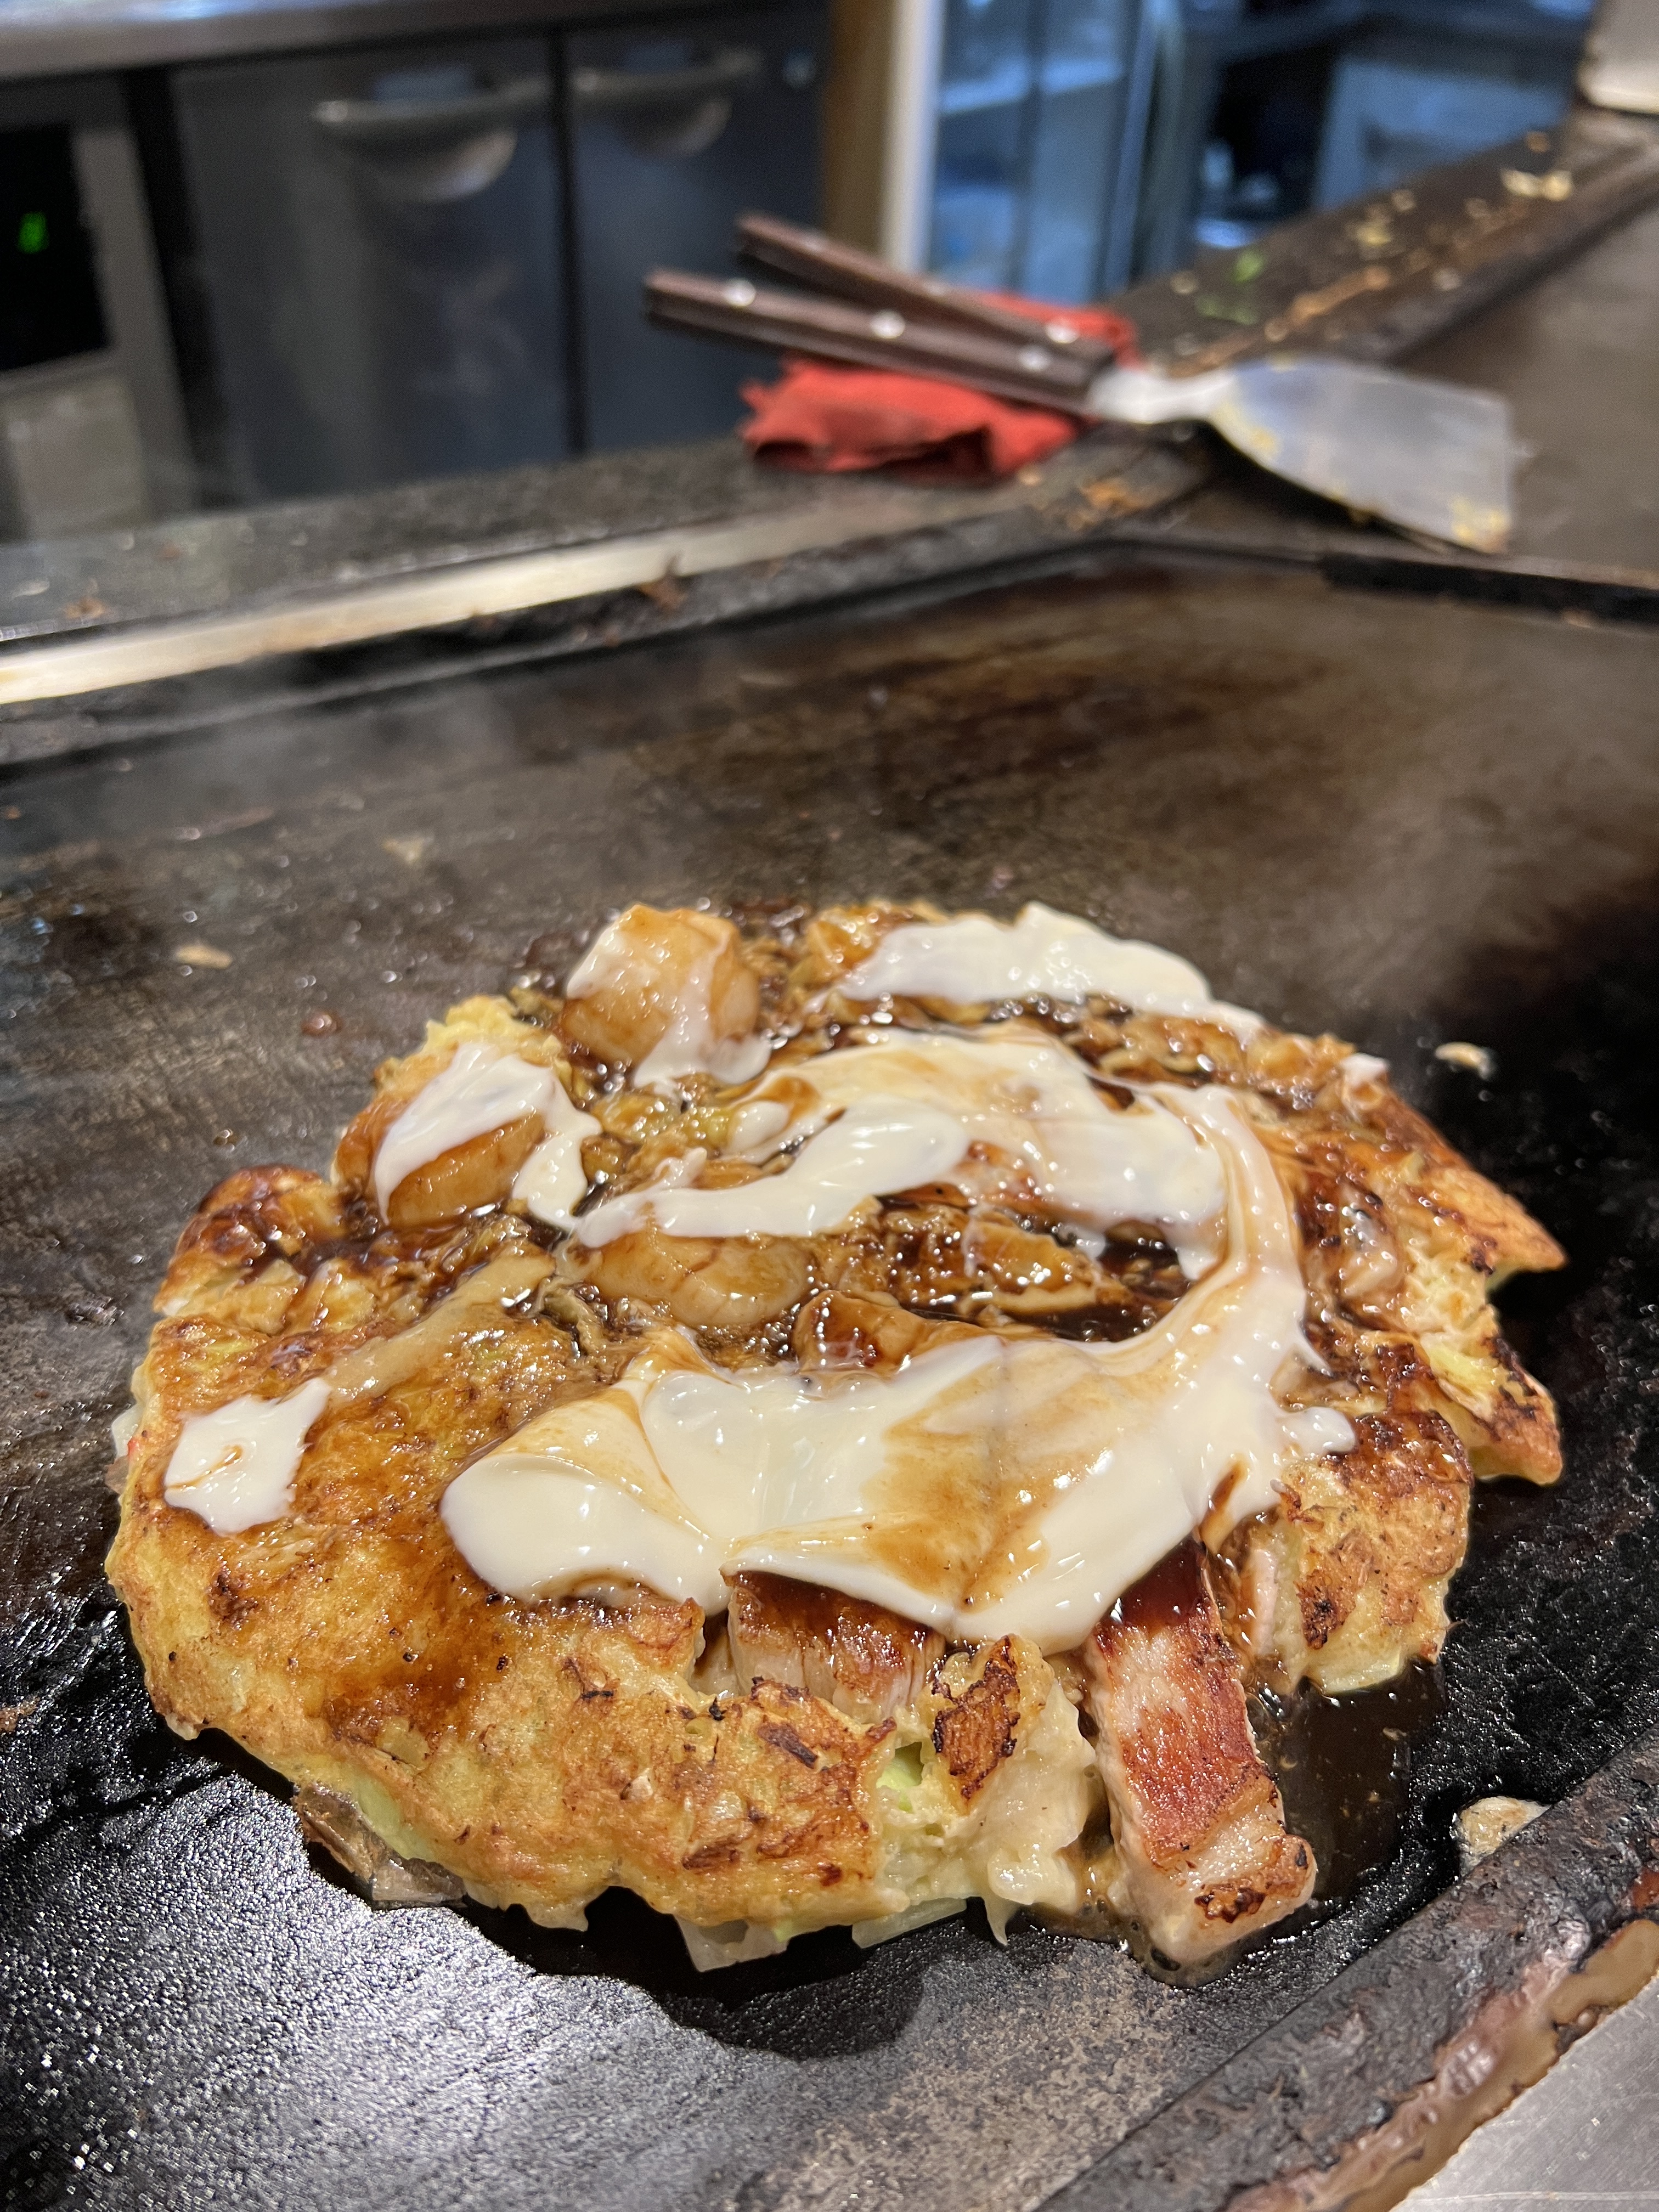
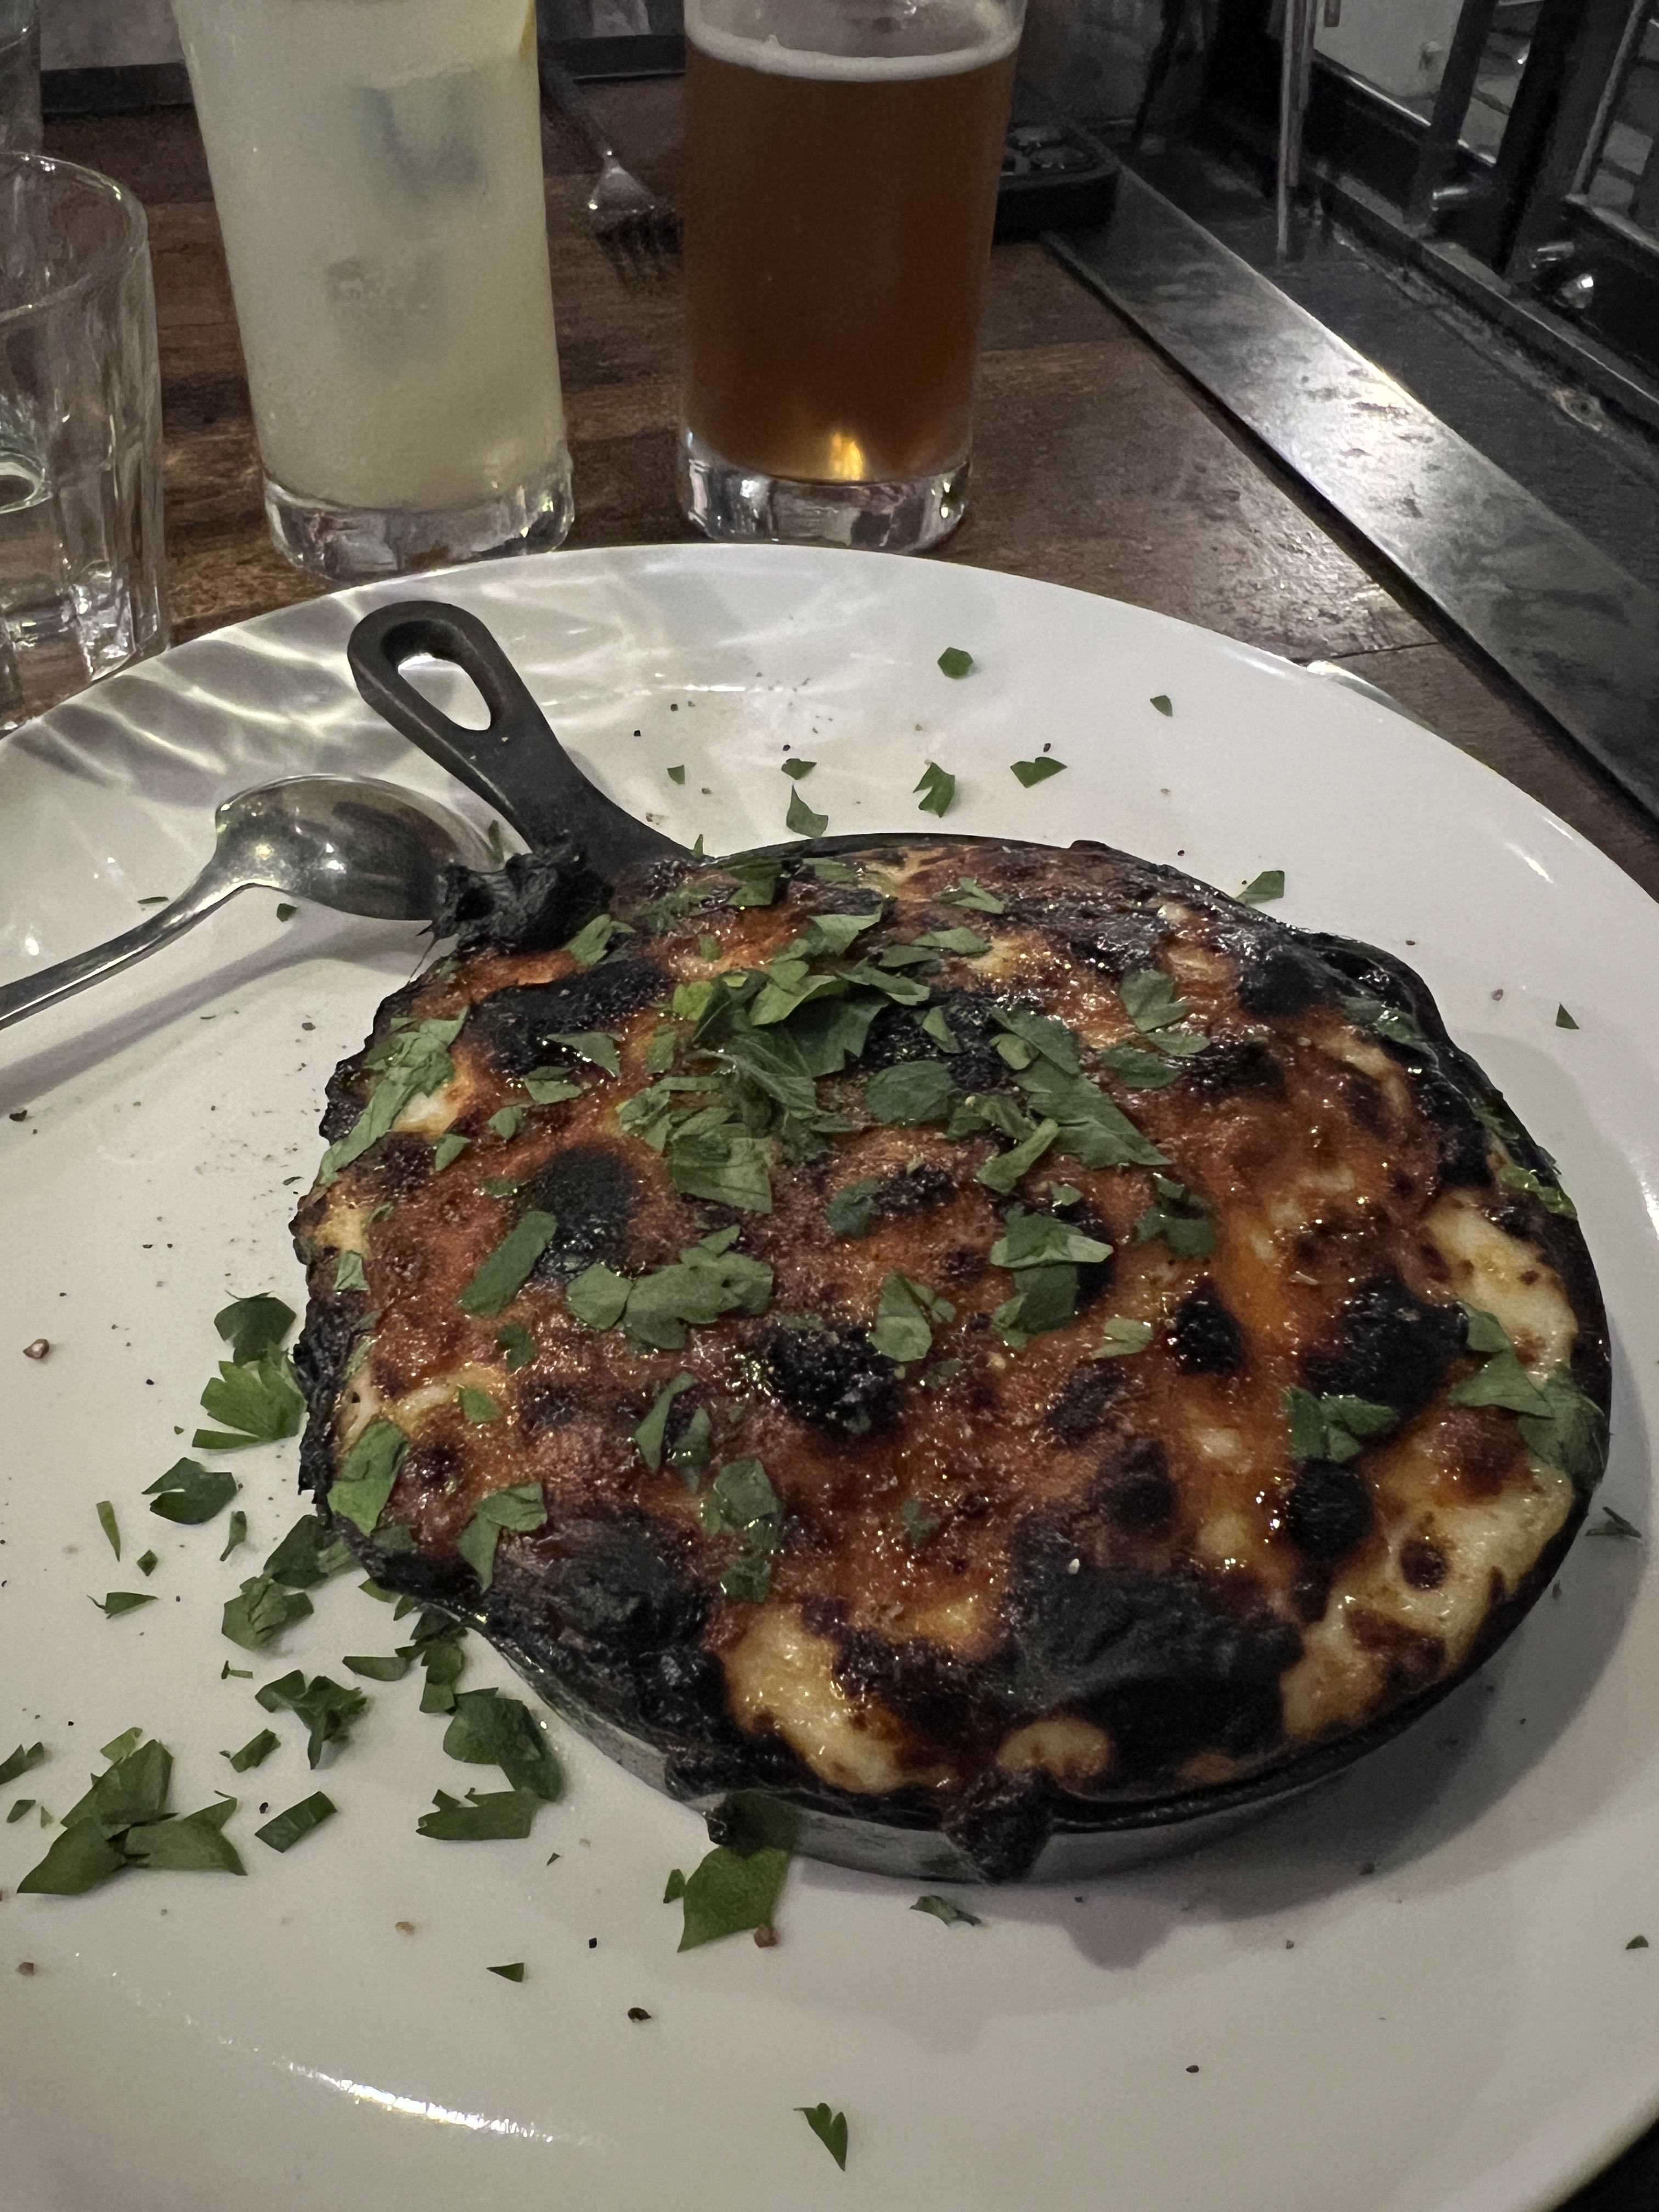
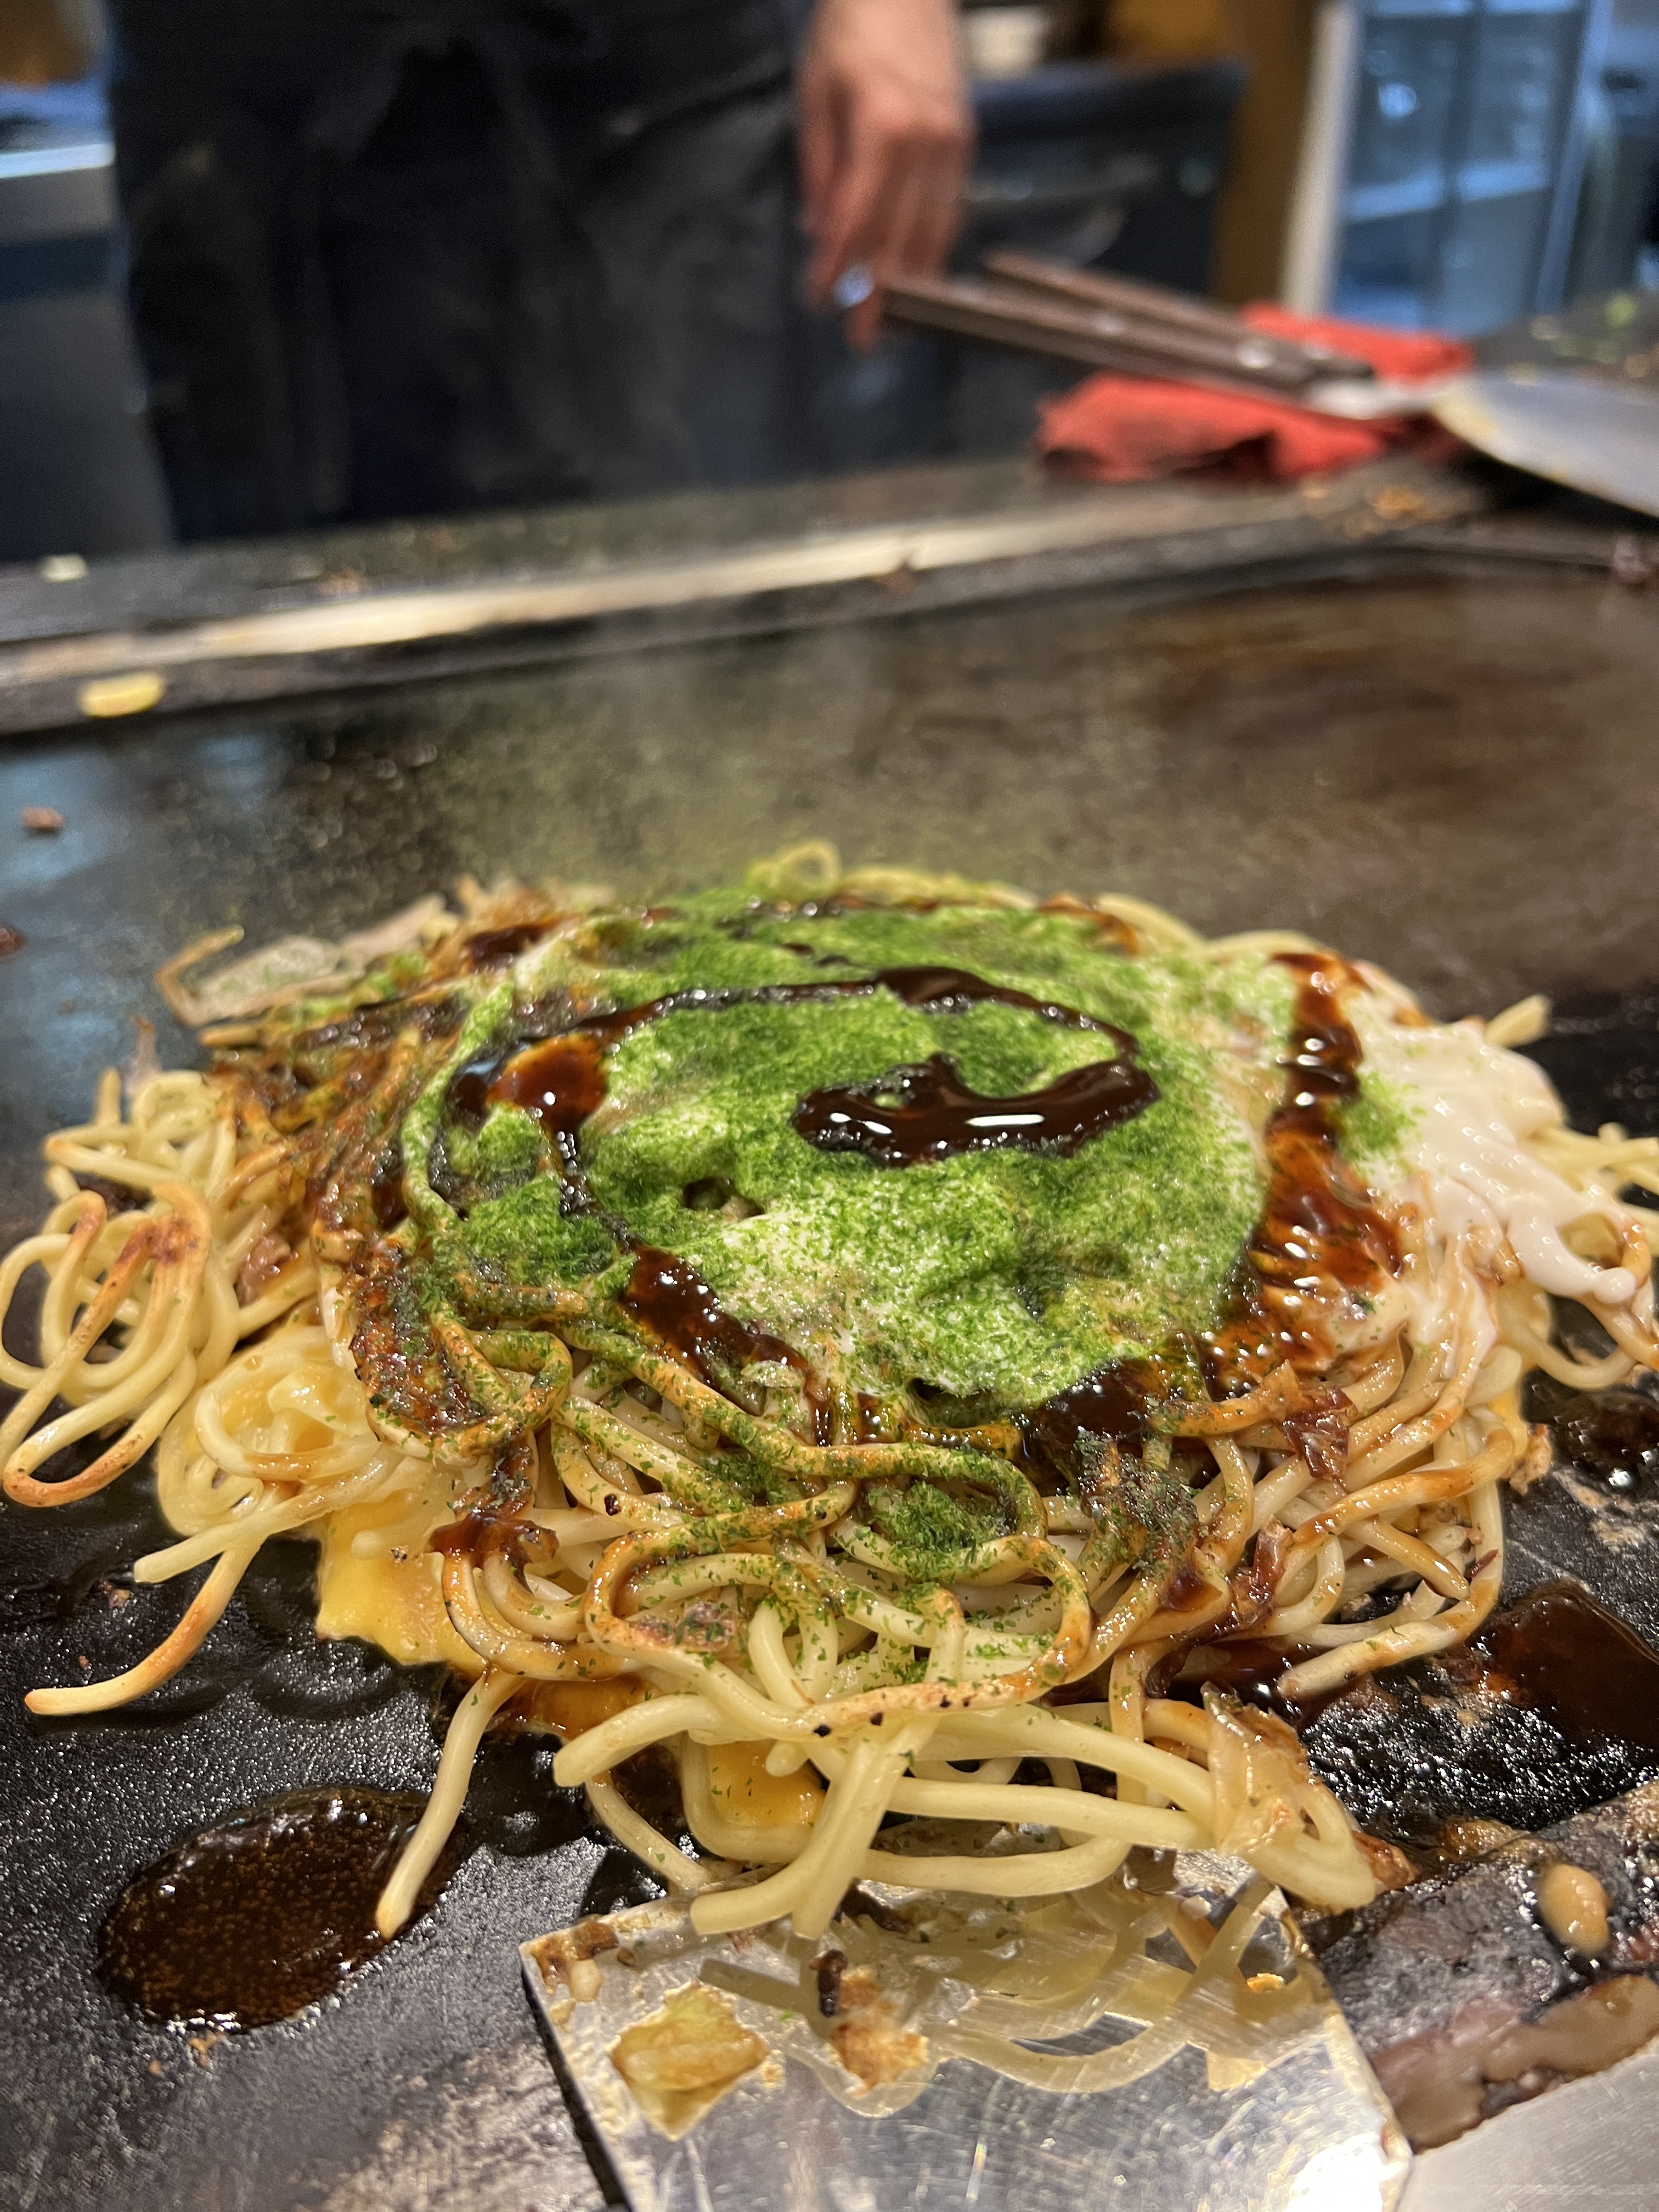
Okonomiyaki (Osaka) – This one is tough to describe but it is basically a cast iron griddle cooked bbq “pancake” filled with veggies and choice of protein and the Osaka specialty is also topped with noodles. This one is a must-try!
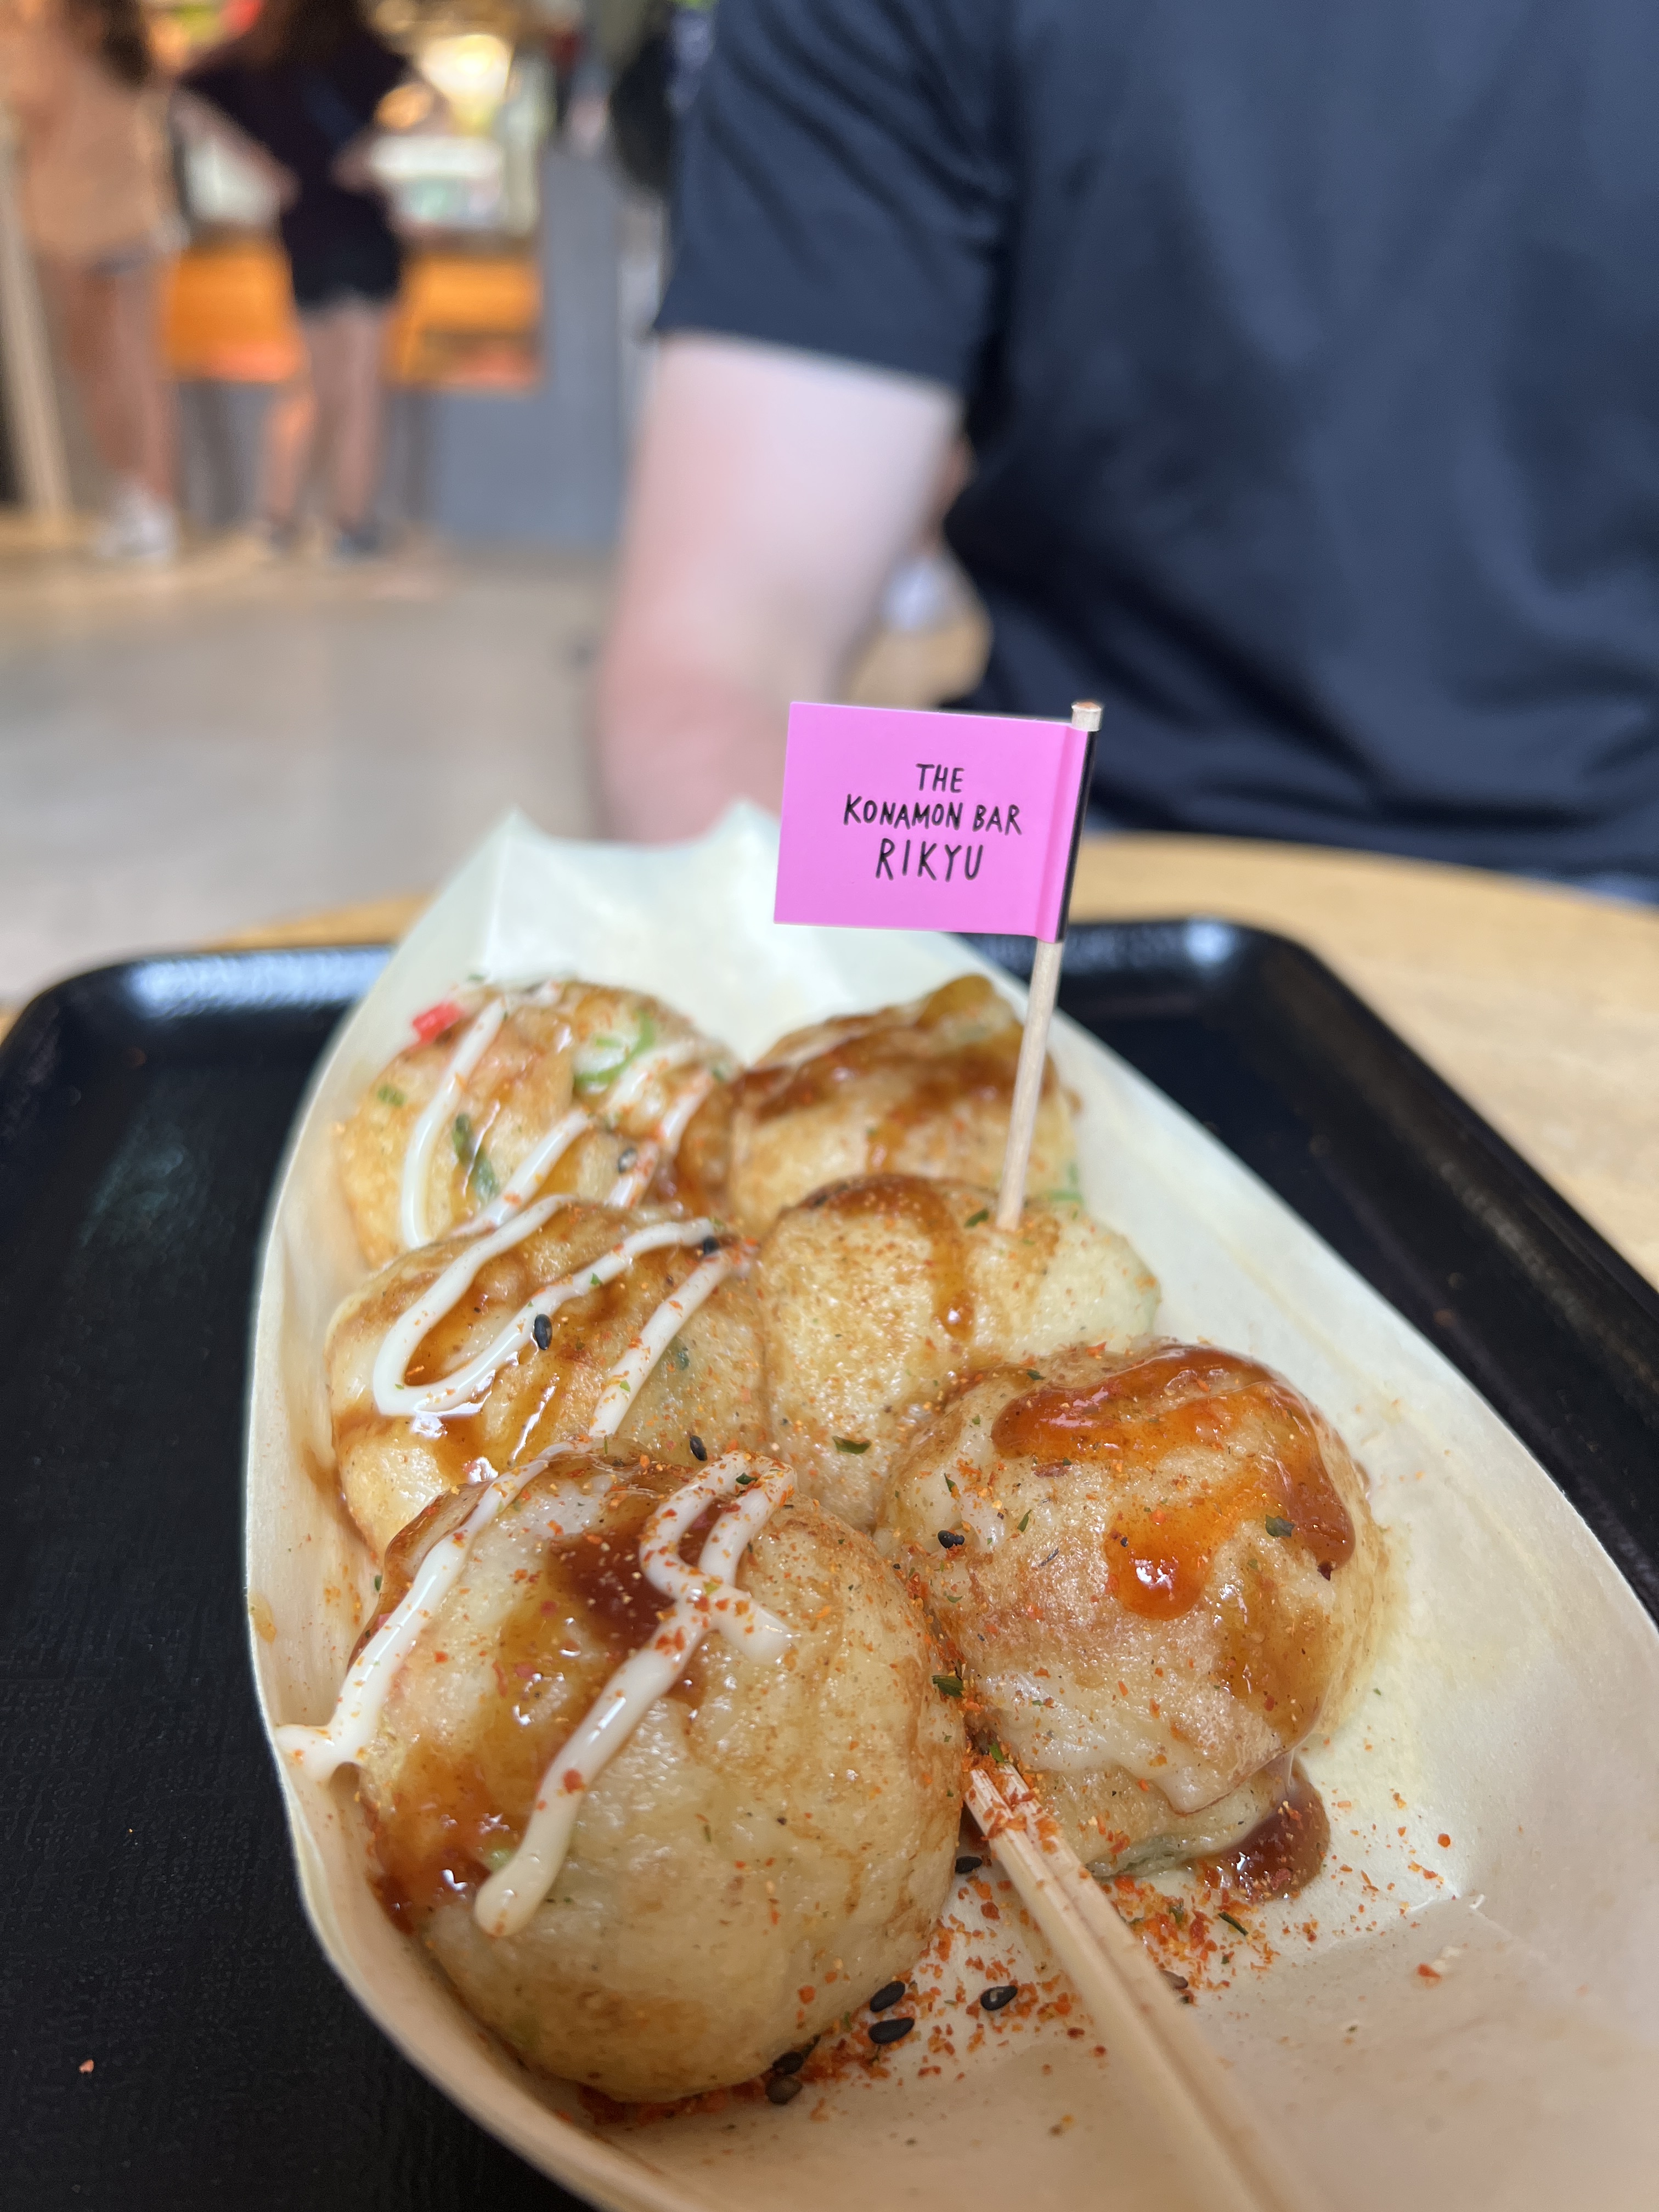
Takoyaki (Osaka) – These are bubble-griddle cooked octopus balls. You can find them EVERYWHERE in Osaka served right on the street (though you can also find them in Tokyo) and they are tasty!
You might have to travel a bit out of the way for this next one but trying out an Onsen was an unreal experience that I highly recommend, and is also a very traditional Japanese experience. Onsens are natural hot springs and the heat and high mineral content of the water is believed to have many health benefits. Most onsens are outside the city centers in the mountains (by nature, since they are natural hot springs), so this might require a bit of planning in advance. They are often located at inns so if you plan to stay overnight at an inn that has one then you will likely have private access. If you are planning just a day trip, look into whether the onsen that you want to visit allows day visitors because some are reserved for inn guests only. Traditionally you enter these completely naked so plan accordingly!
Tokyo Itinerary Highlights
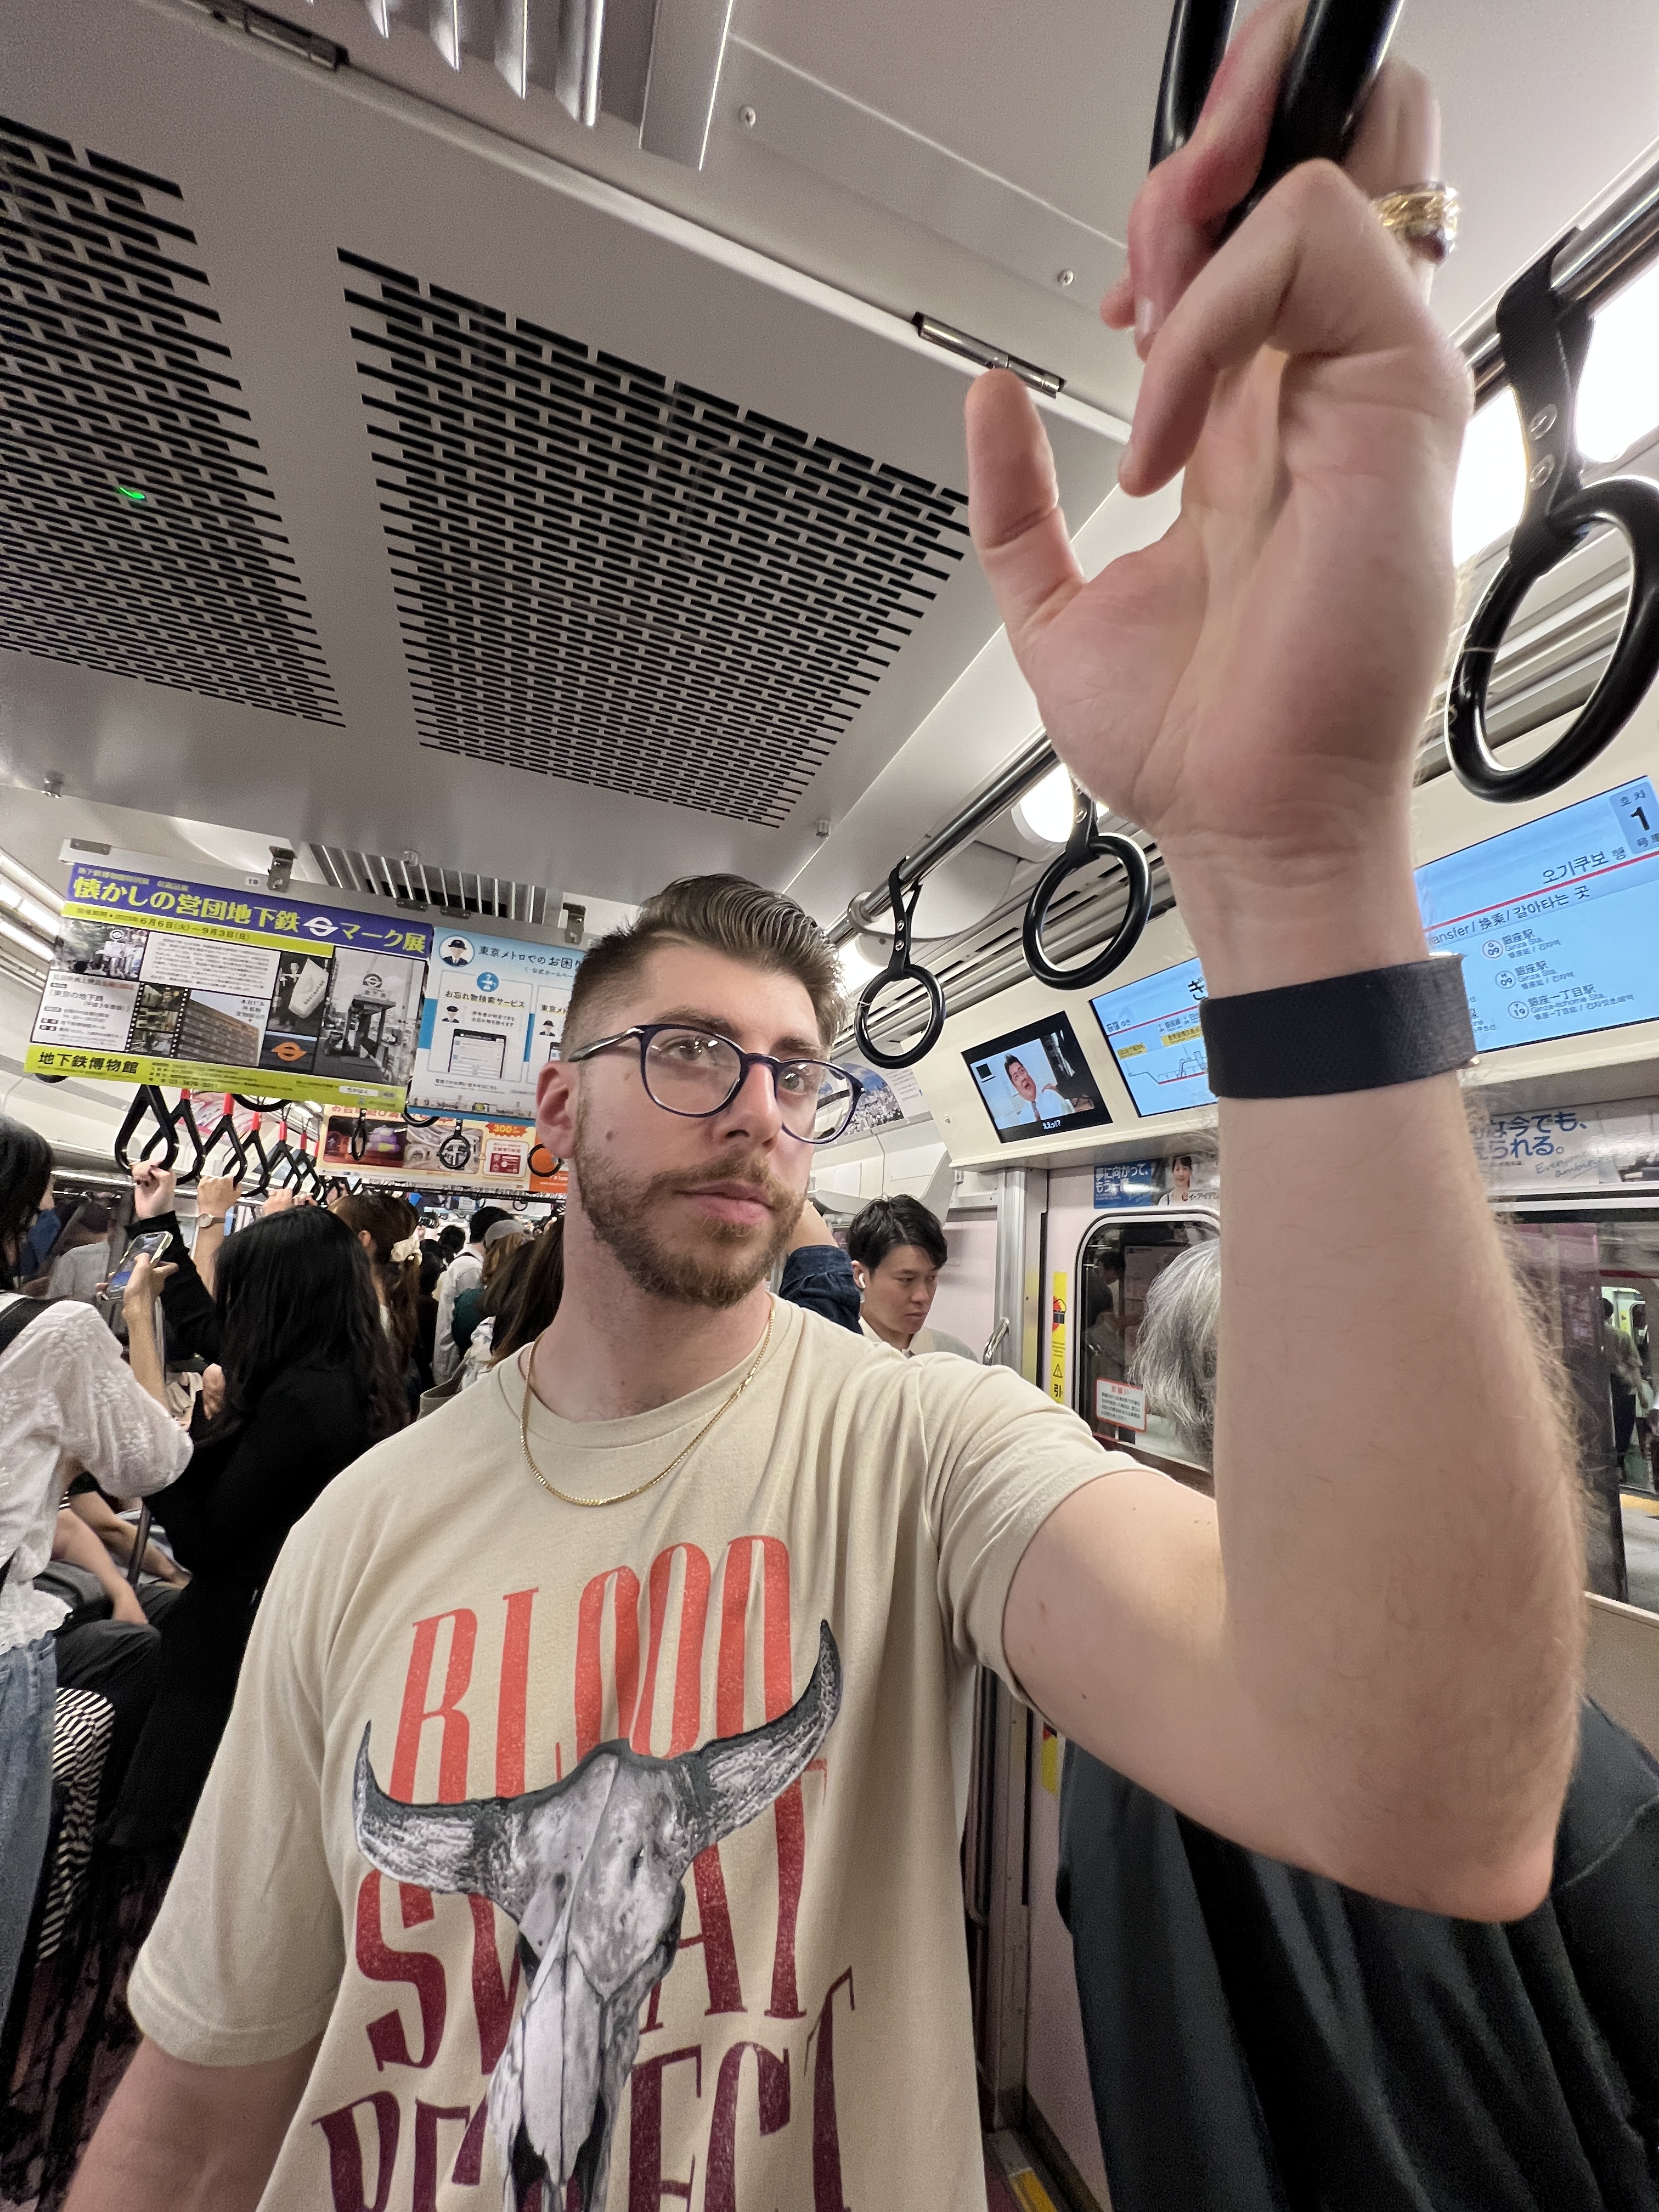
If I could sum up Tokyo in one word it would be OVERHWELMING! Coming from New York City I honestly did not think a city would ever make me feel overwhelmed by its sheer size and energy, but Tokyo did just that. Everything was big, bright, and full of energy! Here are some of our favorite stops in Tokyo:
Memory Lane, or “Piss Alley” – The cute nickname for this narrow alleyway comes from the post WW2 roots of the street when there were no toilets. There are in fact toilets now and the street has been converted into a ton of restaurants and bars serving up yakitori. This is a great place to try yakitori and you will not go wrong no matter where you decide to sit down. We chose randomly and the food was delicious.
Takeshita Street – This is a short strip that is comparable to a street fair with shopping, games, and street food. Save some room in your belly for snacks like crepes, ice cream, and candied strawberries.
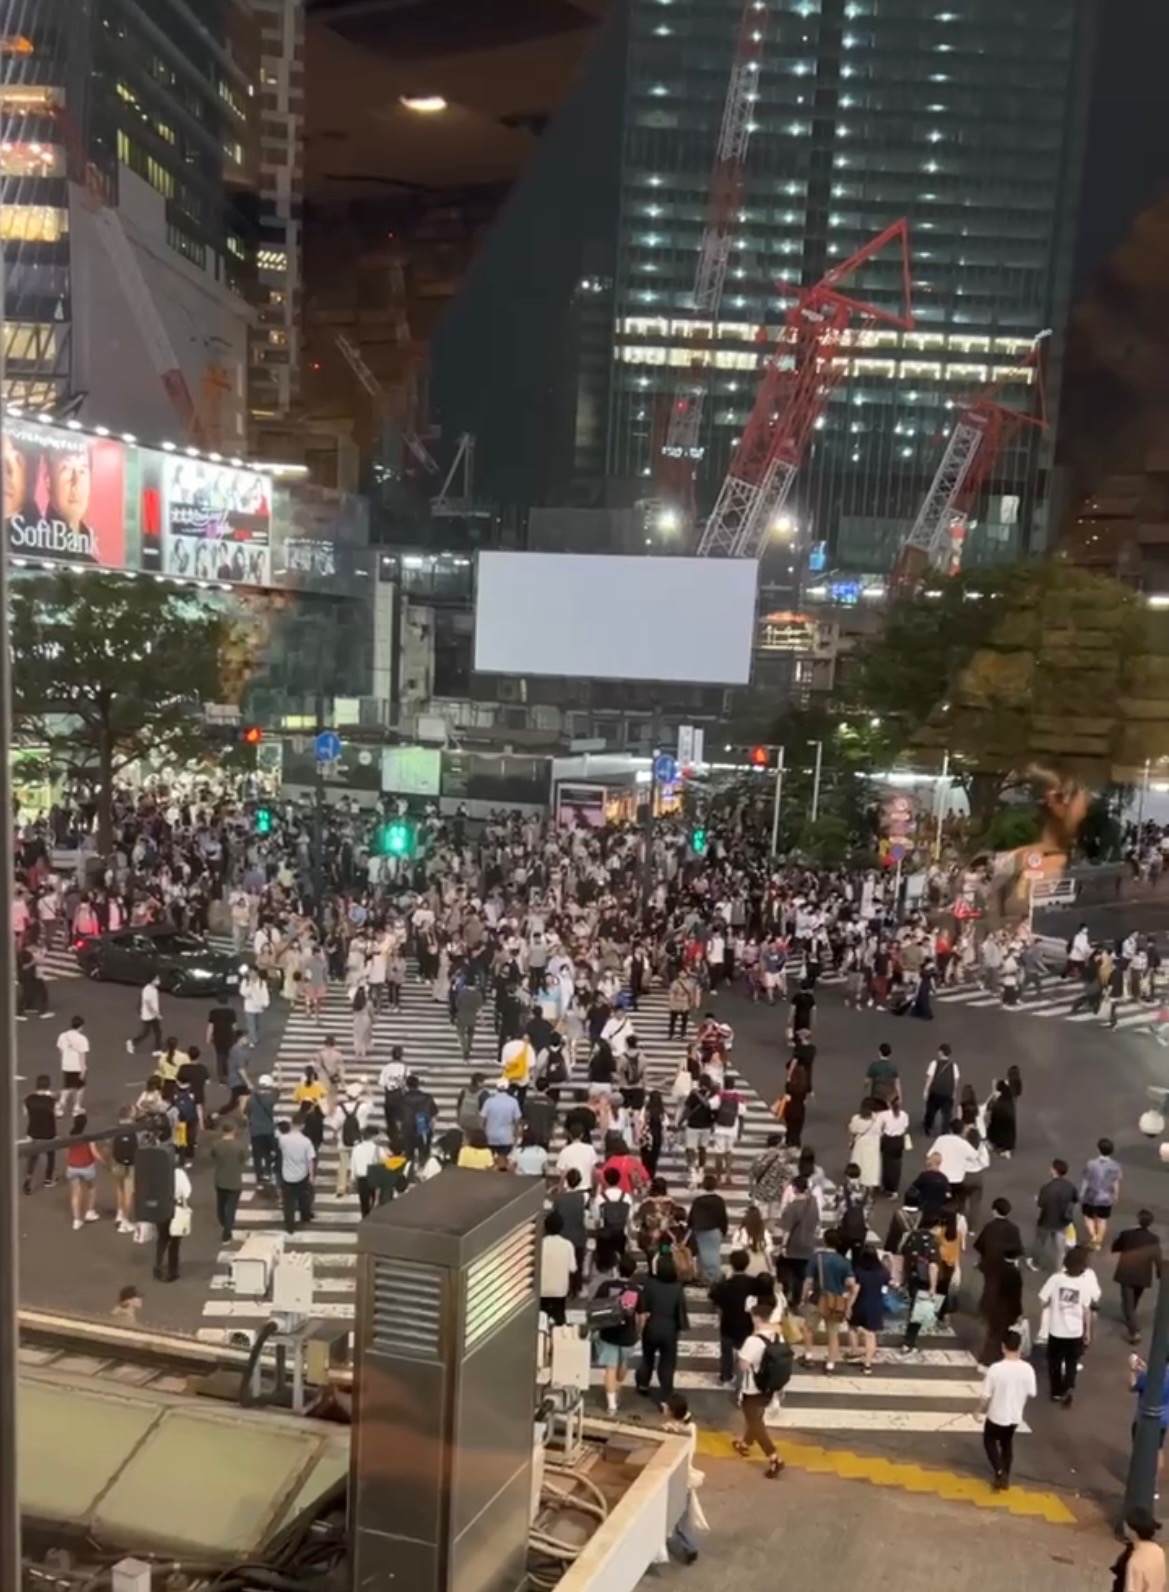
Shibuya Crossing – This is the largest crosswalk in the world with thousands of people crossing at every light change. You should cross this street yourself, adding to the madness, but you can also head upstairs in the Starbucks on the corner to see it from above.
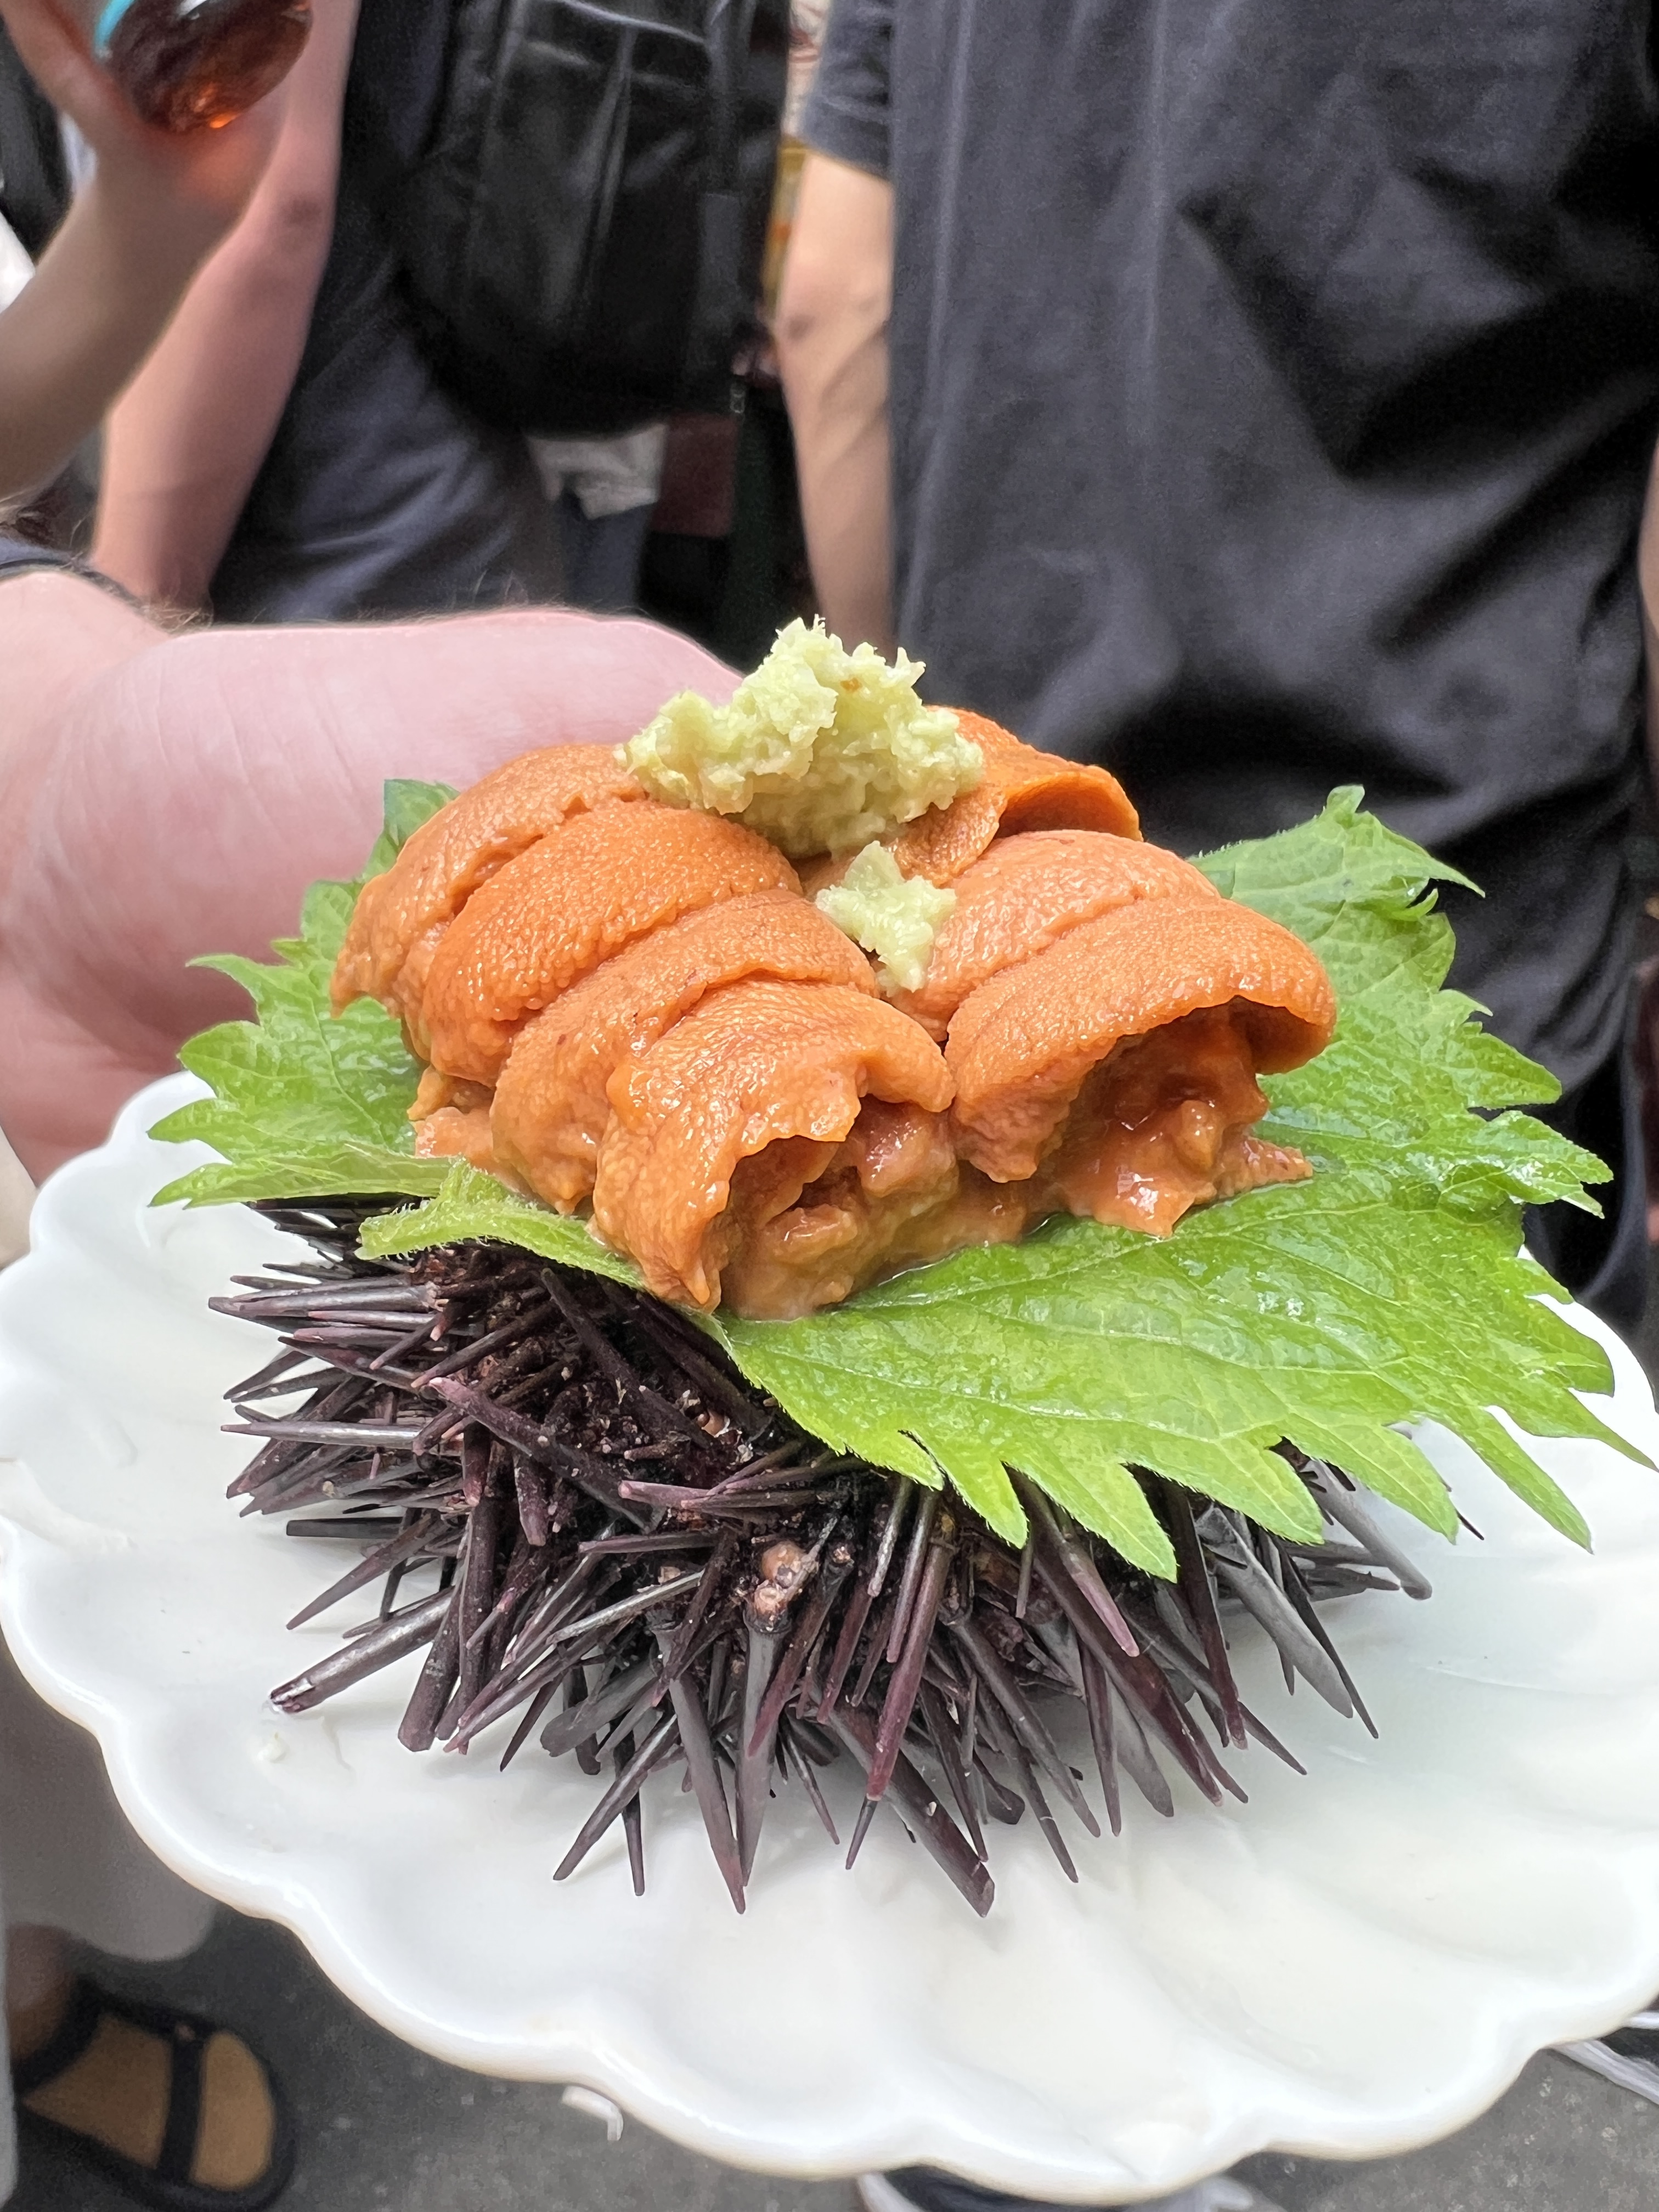
Tsukiji Outer Market – This is a giant multi-street market where you can get just about any Japanese food you can imagine, savory and sweet. You have to try to the fresh fish especially in the morning when the fish has been just recently caught and delivered (there is a first time for everything and Japan is a great place to hit your first “breakfast sushi” milestone)
Akihabara – This neighborhood is famous for electronics shops and also for diehard fan culture, anime, and manga. Walk down the main strip to be engulfed in bright lights, an overwhelming amount of shops, and a full experience of the energy that I promised. This is a great spot to try arcade games at the Taito Station or the Pachinko and slots.
We had planned three day trips outside of the Tokyo city center which are explained in detail in part 2 of this series. Depending on your personal preference, at least one day outside of the Tokyo city center would be highly recommended. Hakone was a great one to try to catch a glimpse of Mt. Fuji, but Nagano was a close second favorite experience because of the onsen visit and snow monkey park.
Kyoto Itinerary Highlights
Coming from Tokyo, Kyoto felt much tamer and quieter. This is a more traditional and old-school city and felt more like real life, as opposed to Tokyo which felt almost like a movie. In Kyoto, we got to try a lot of the more traditional Japanese cultural experiences which we really enjoyed.
Here are some of our favorite stops in Kyoto closer to the city center:
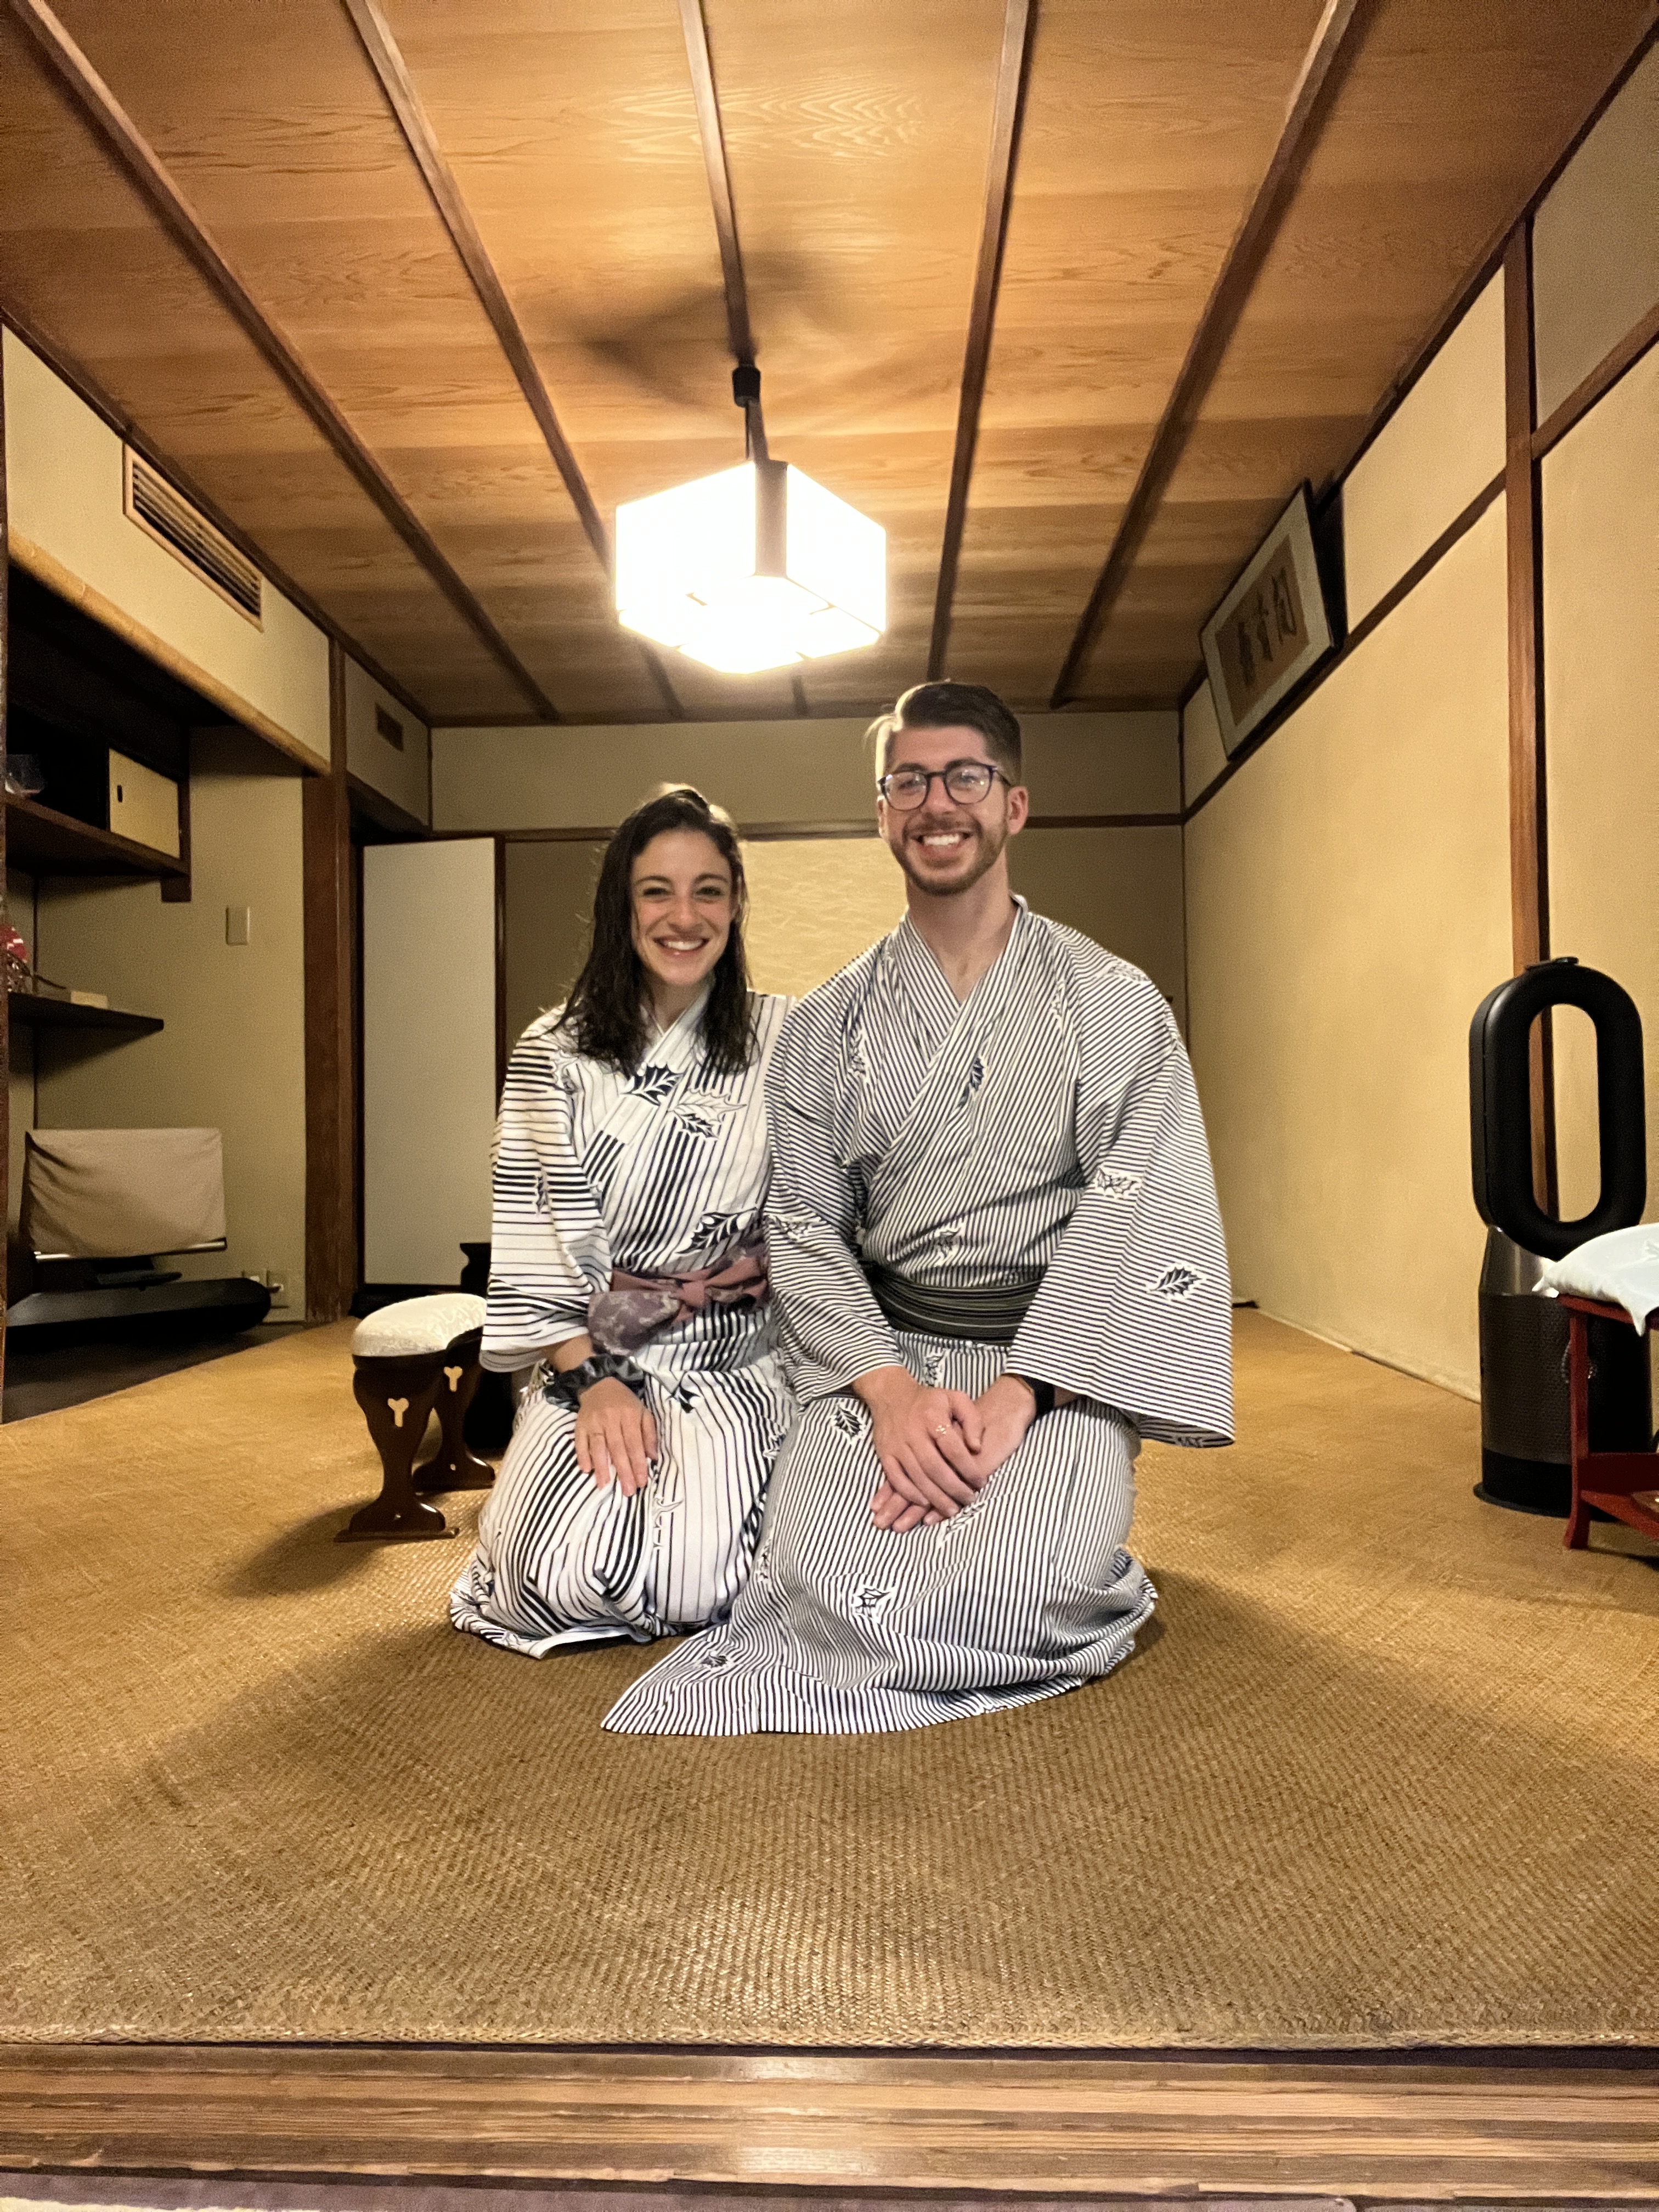
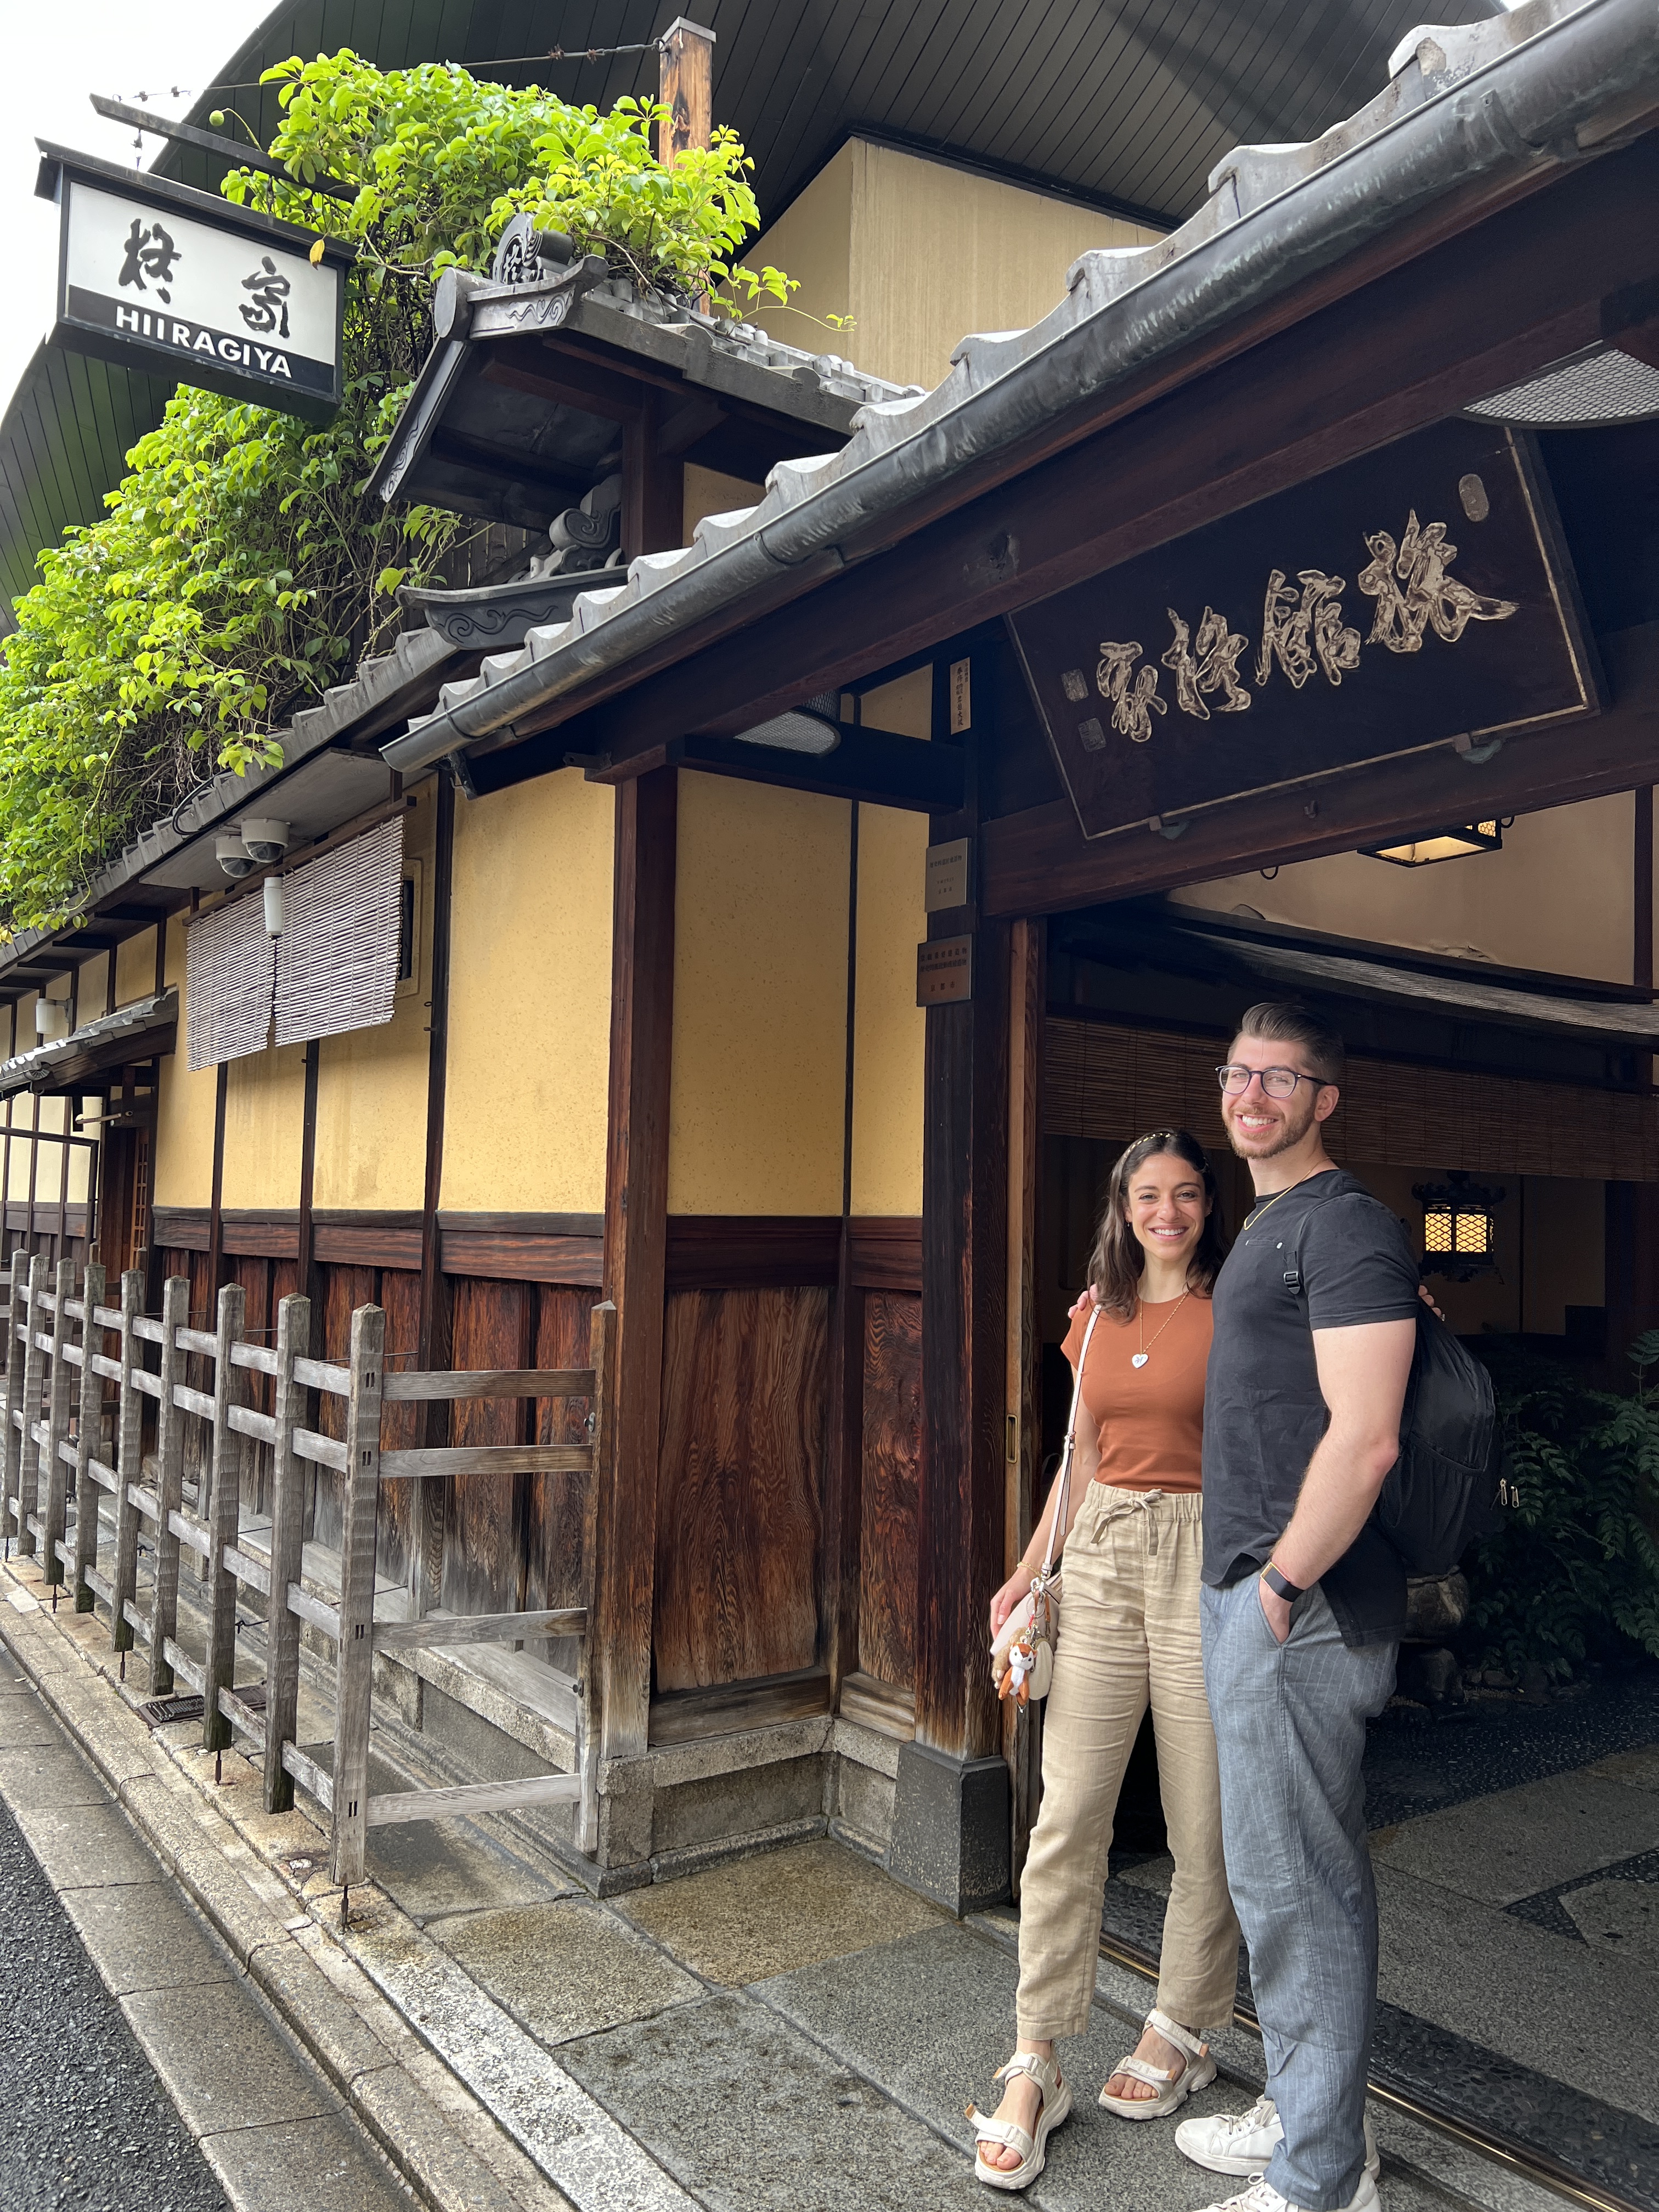
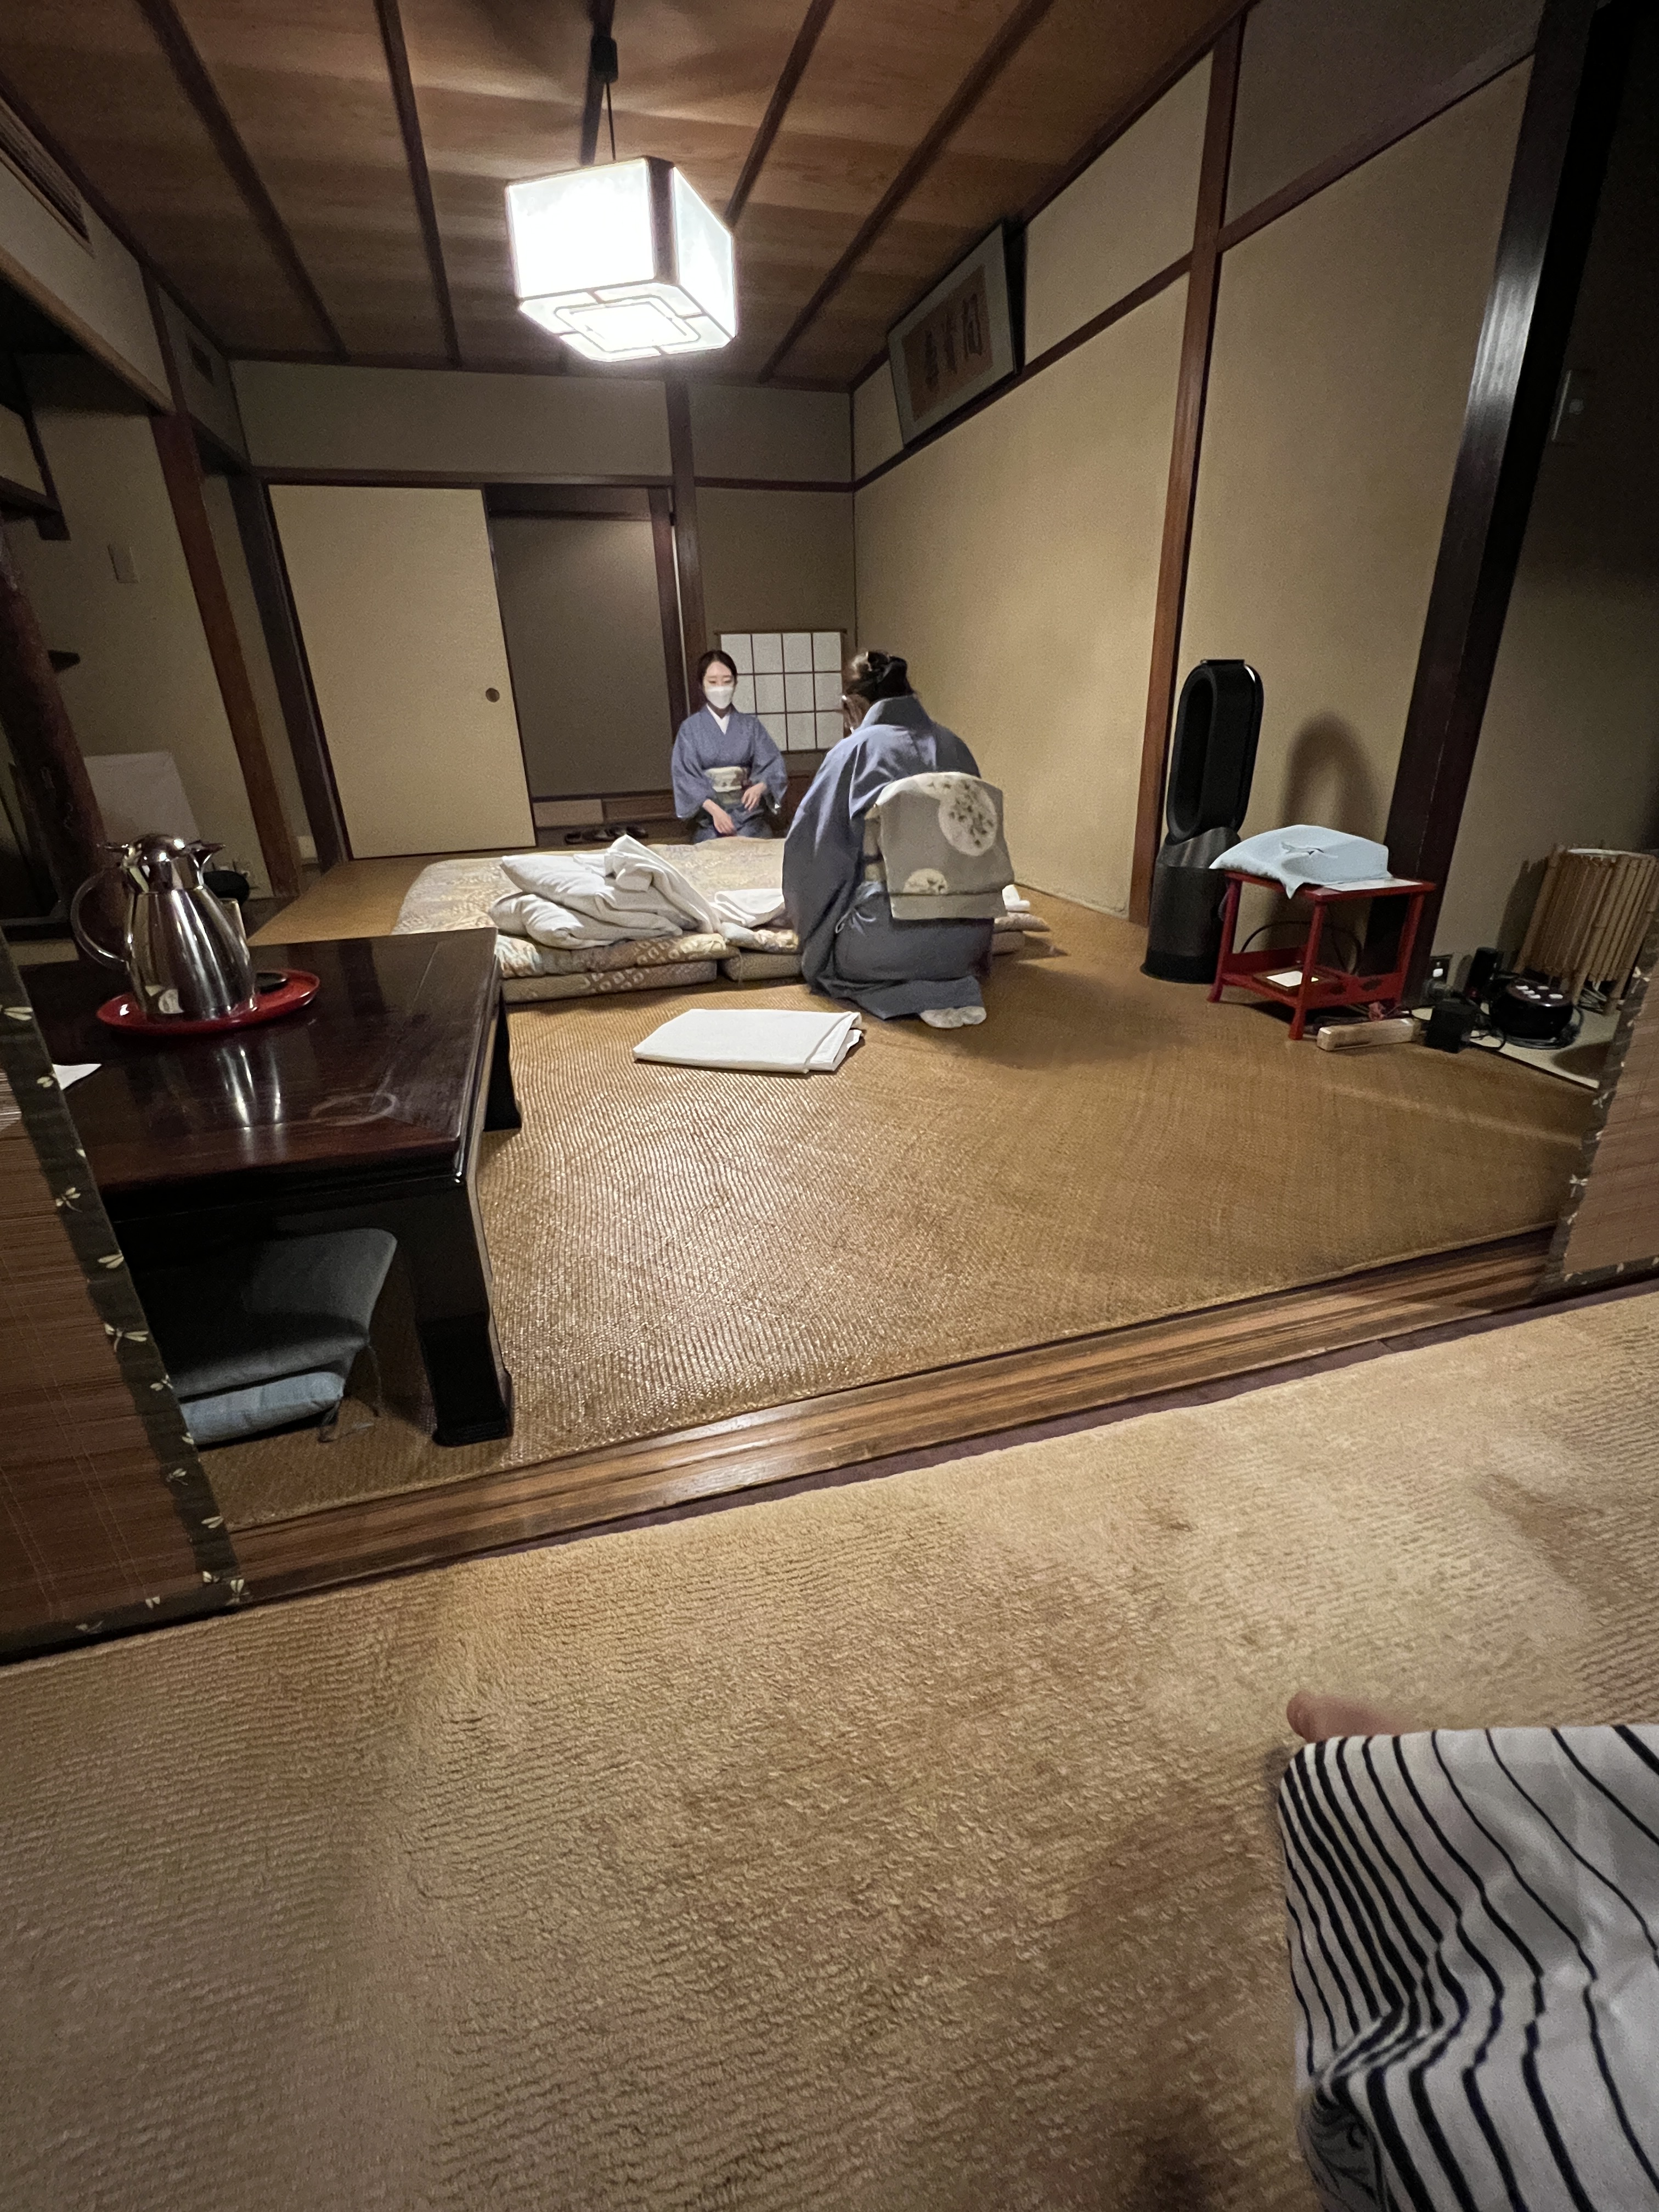
Ryokan and Kaiseki dinner – A Ryokan is a traditional Japanese inn and I highly recommended staying at a Ryokan at least one night while in Kyoto. Take note that Ryokans exist all over Kyoto, some closer to the city center and some pretty far out in the mountains. In order to accommodate our itinerary we had selected a Ryokan closer to the city center, the Hiiragiya Ryokan. It is very traditional, the Madame came to our room to greet us and thank us for staying there, and we had our own private zen garden right outside our window. If you stay at a traditional Ryokan, your kaiseki dinner is served to you in your room, and then after your meal the attendants flip your dining area into a bedroom in a matter of 10 minutes. They come back in the morning to flip the room back into a dining area to serve your breakfast in your room. The whole Ryokan experience is a cool one especially for the meal and for the bath. Some Ryokans out in the mountains will be set around the hot springs and will have access to onsens. The Hiiragiya Ryokan was closer to the city center for convenience in our itinerary but it still had a traditional bath setup with a cedar bathtub and spring water. It was recommended to us by the inn-keeper to soak in the bath before dinner and it was definitely a great pro-tip!
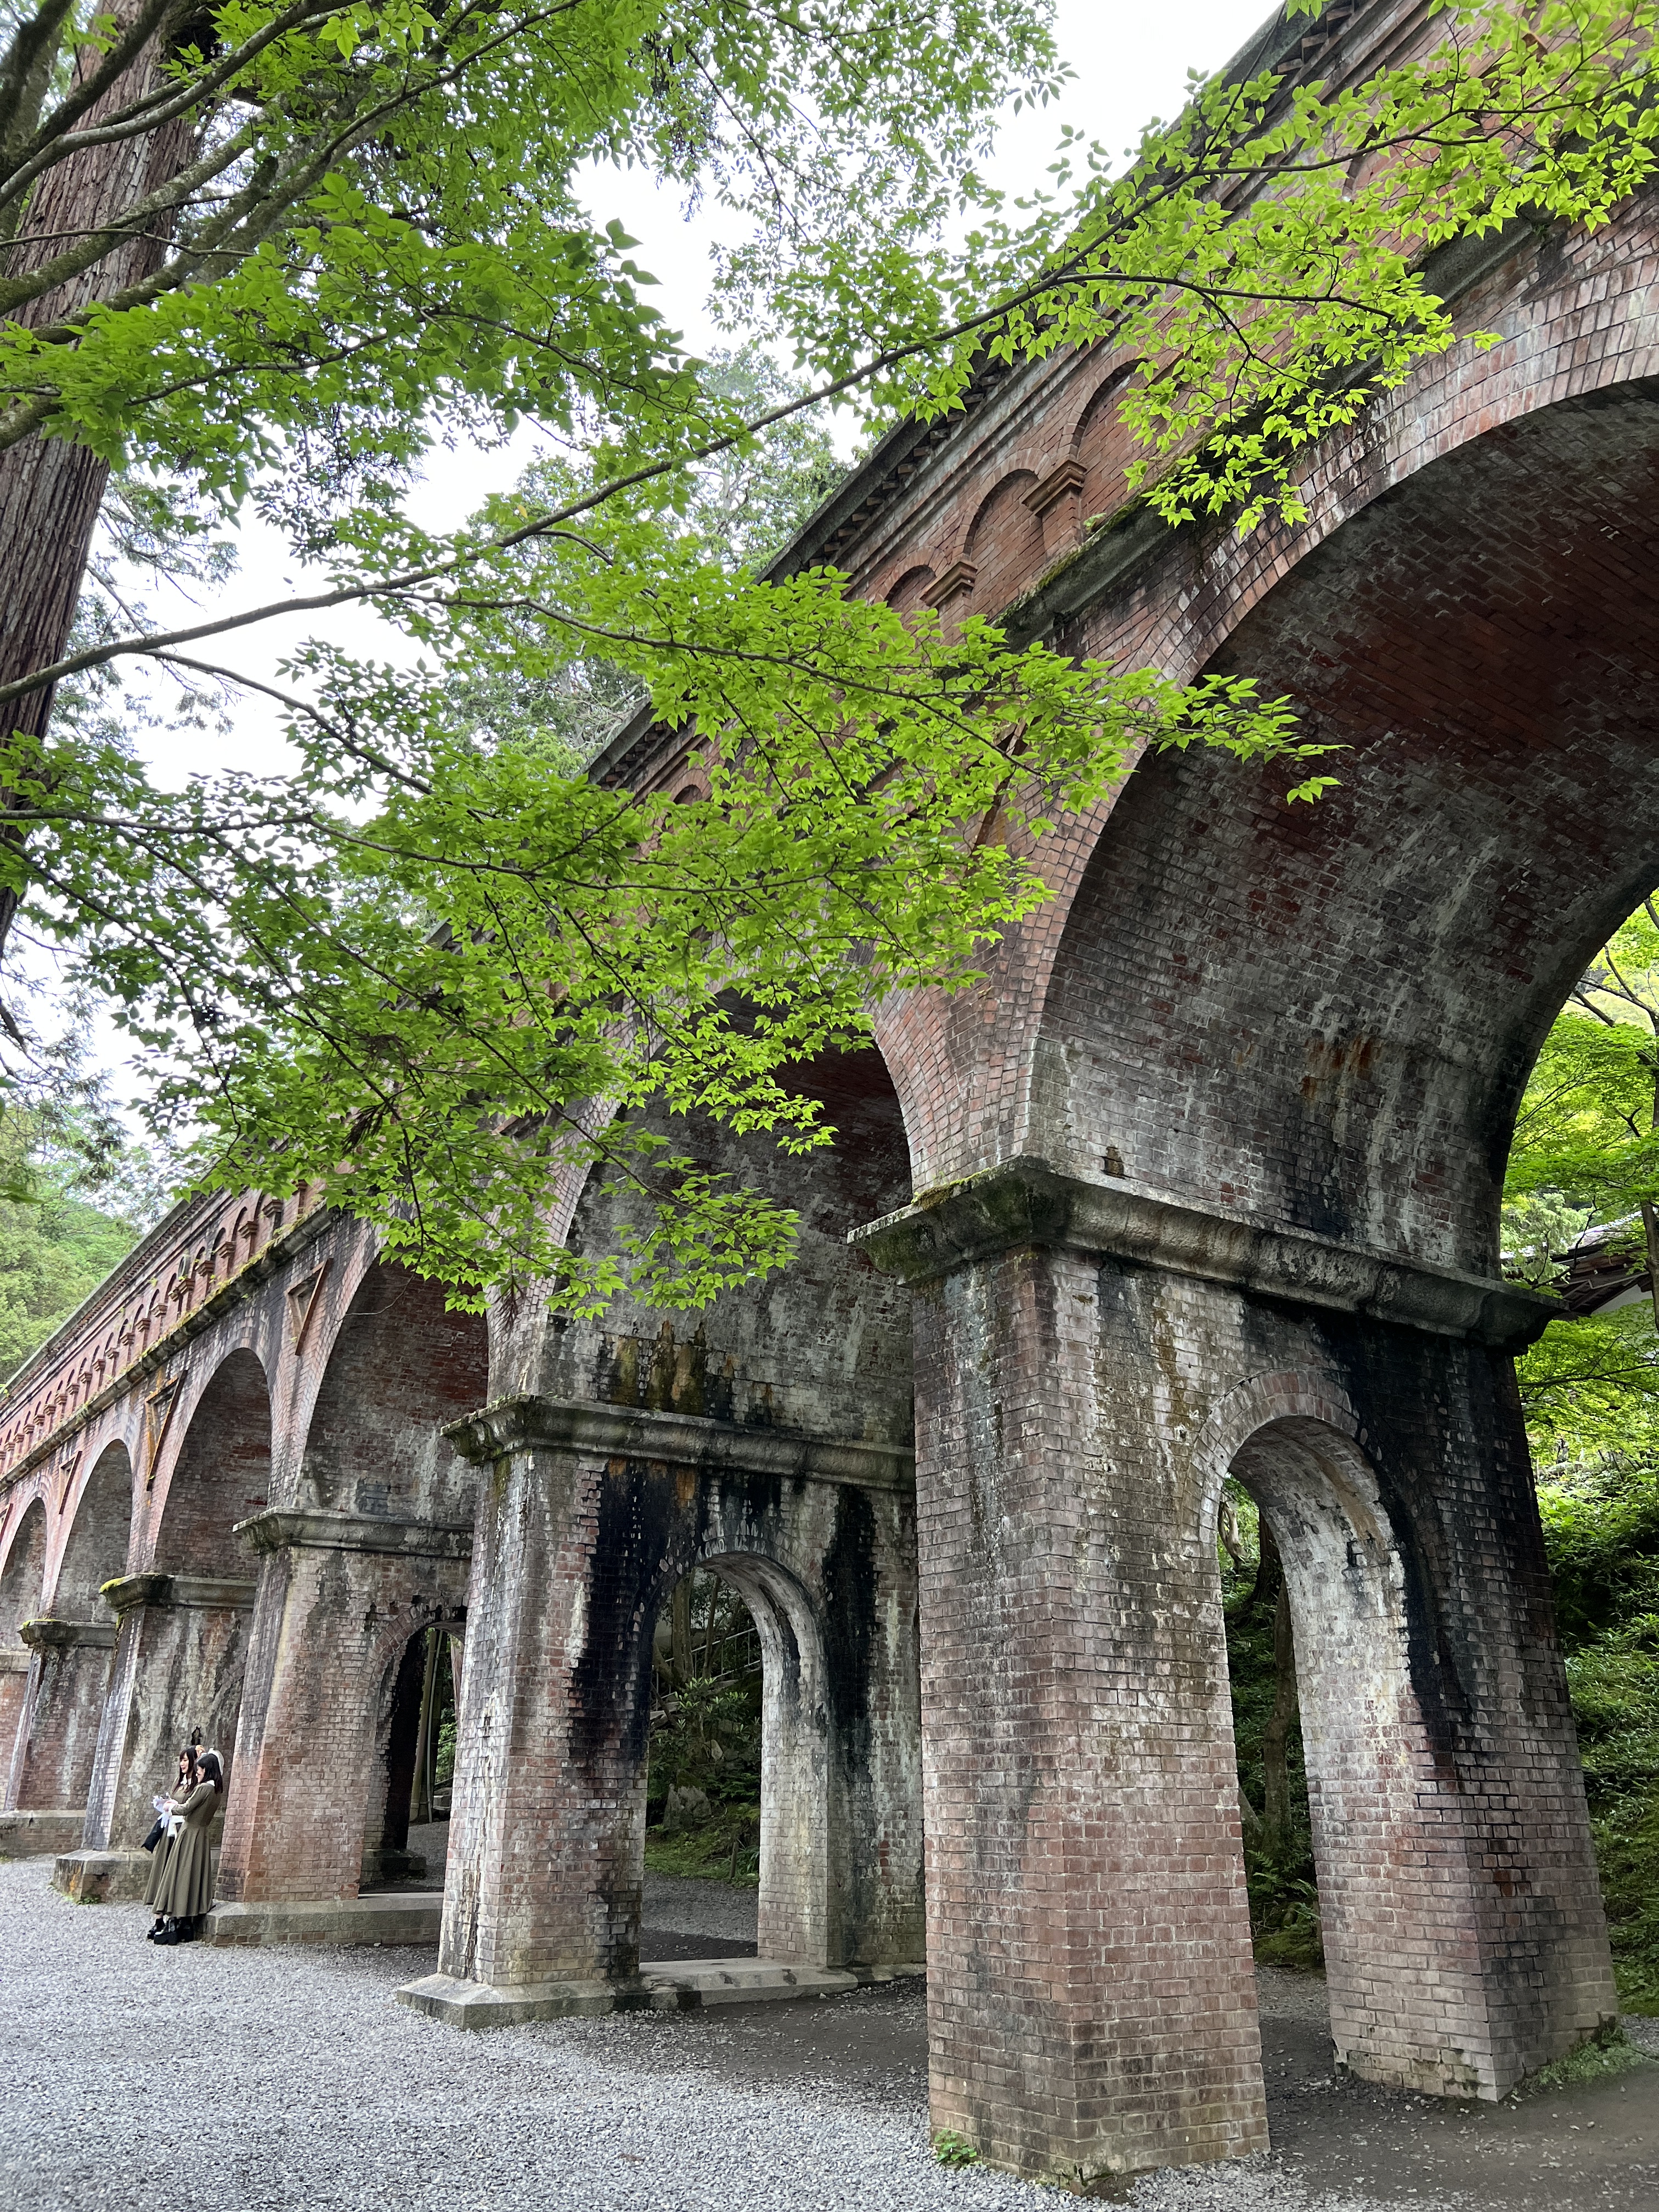
Nanzen-ji Temple – This is a really special temple. It has a garden that you have to pay a separate fee to get into but it is absolutely worth it. There is also an aqueduct, a hiking trail to a waterfall and shrine, and a really beautiful main hall with a painting of dragons on the ceiling. There is so much to do in this complex and it has such a beautiful main building that you would not want to miss this one. The hiking trail also connects to whole network of hiking trails up the mountain so if you wanted to make this a half- or even full-day event you could do it all here!
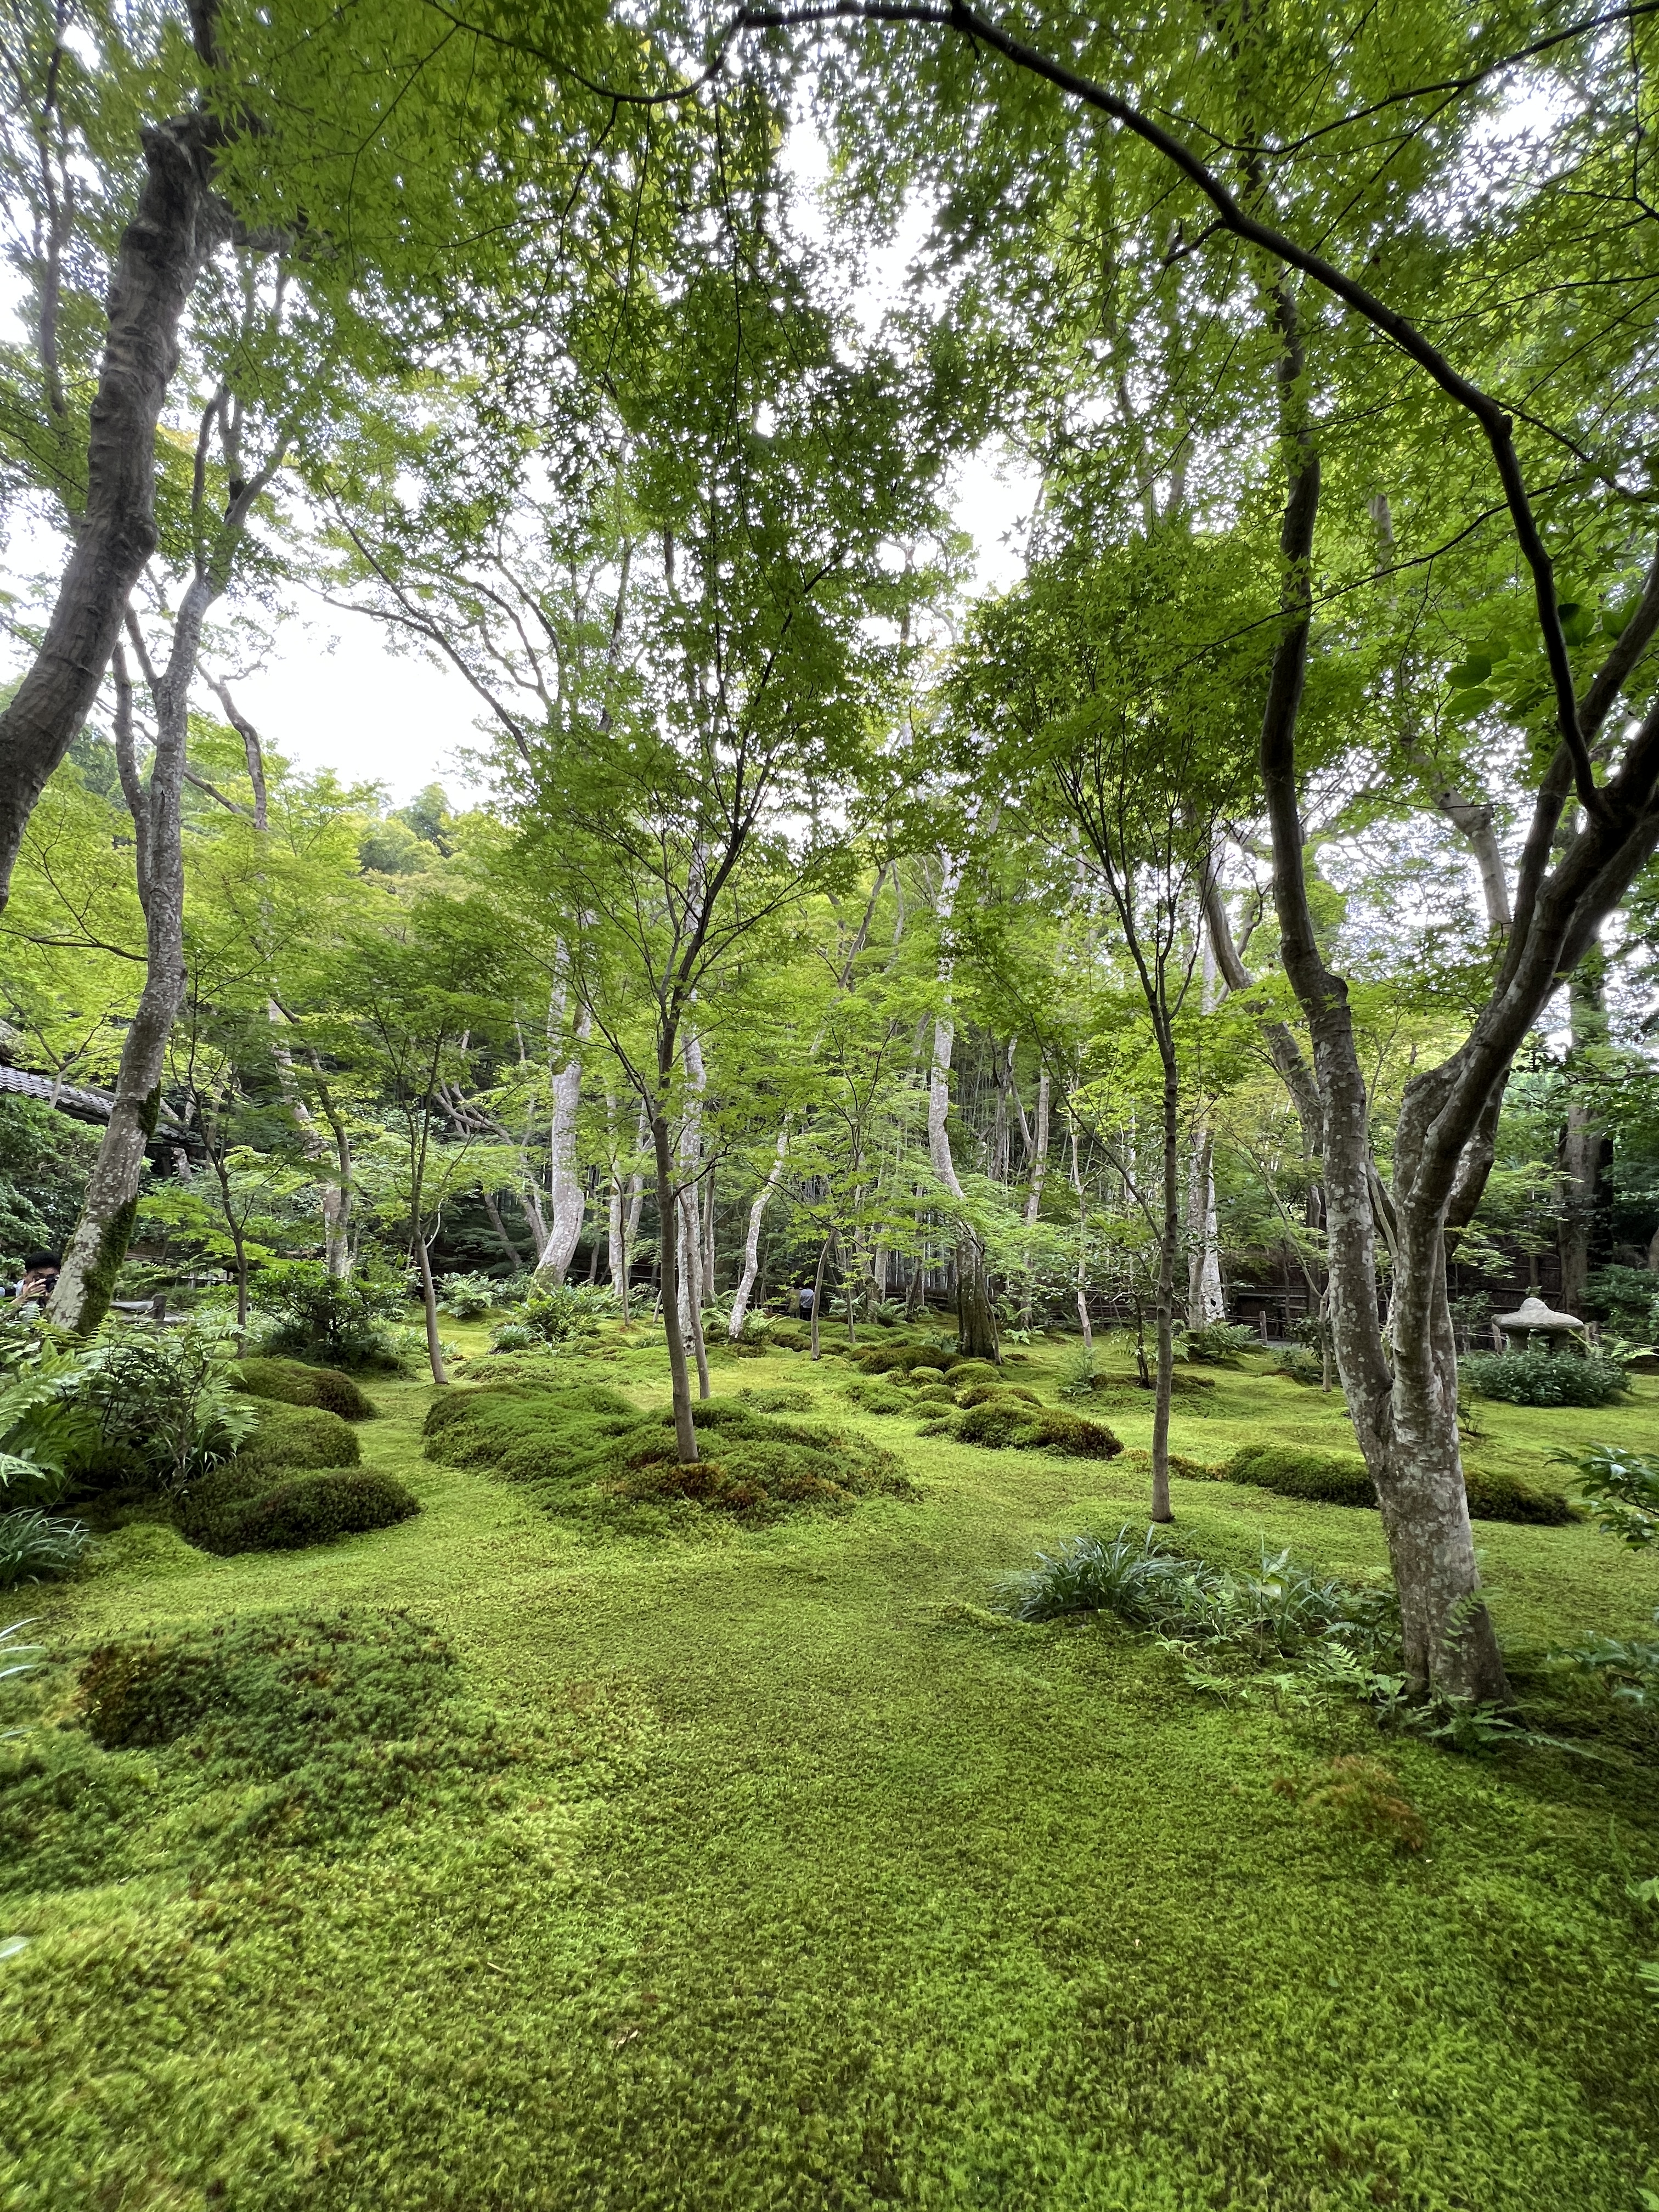
Kodai-ji Temple – This is a nice temple, the highlight of which is the small bamboo grove attached. It is also directly near and associated with another temple, the Entoku-in, which has really incredible artwork. These two together are a worth-it experience.
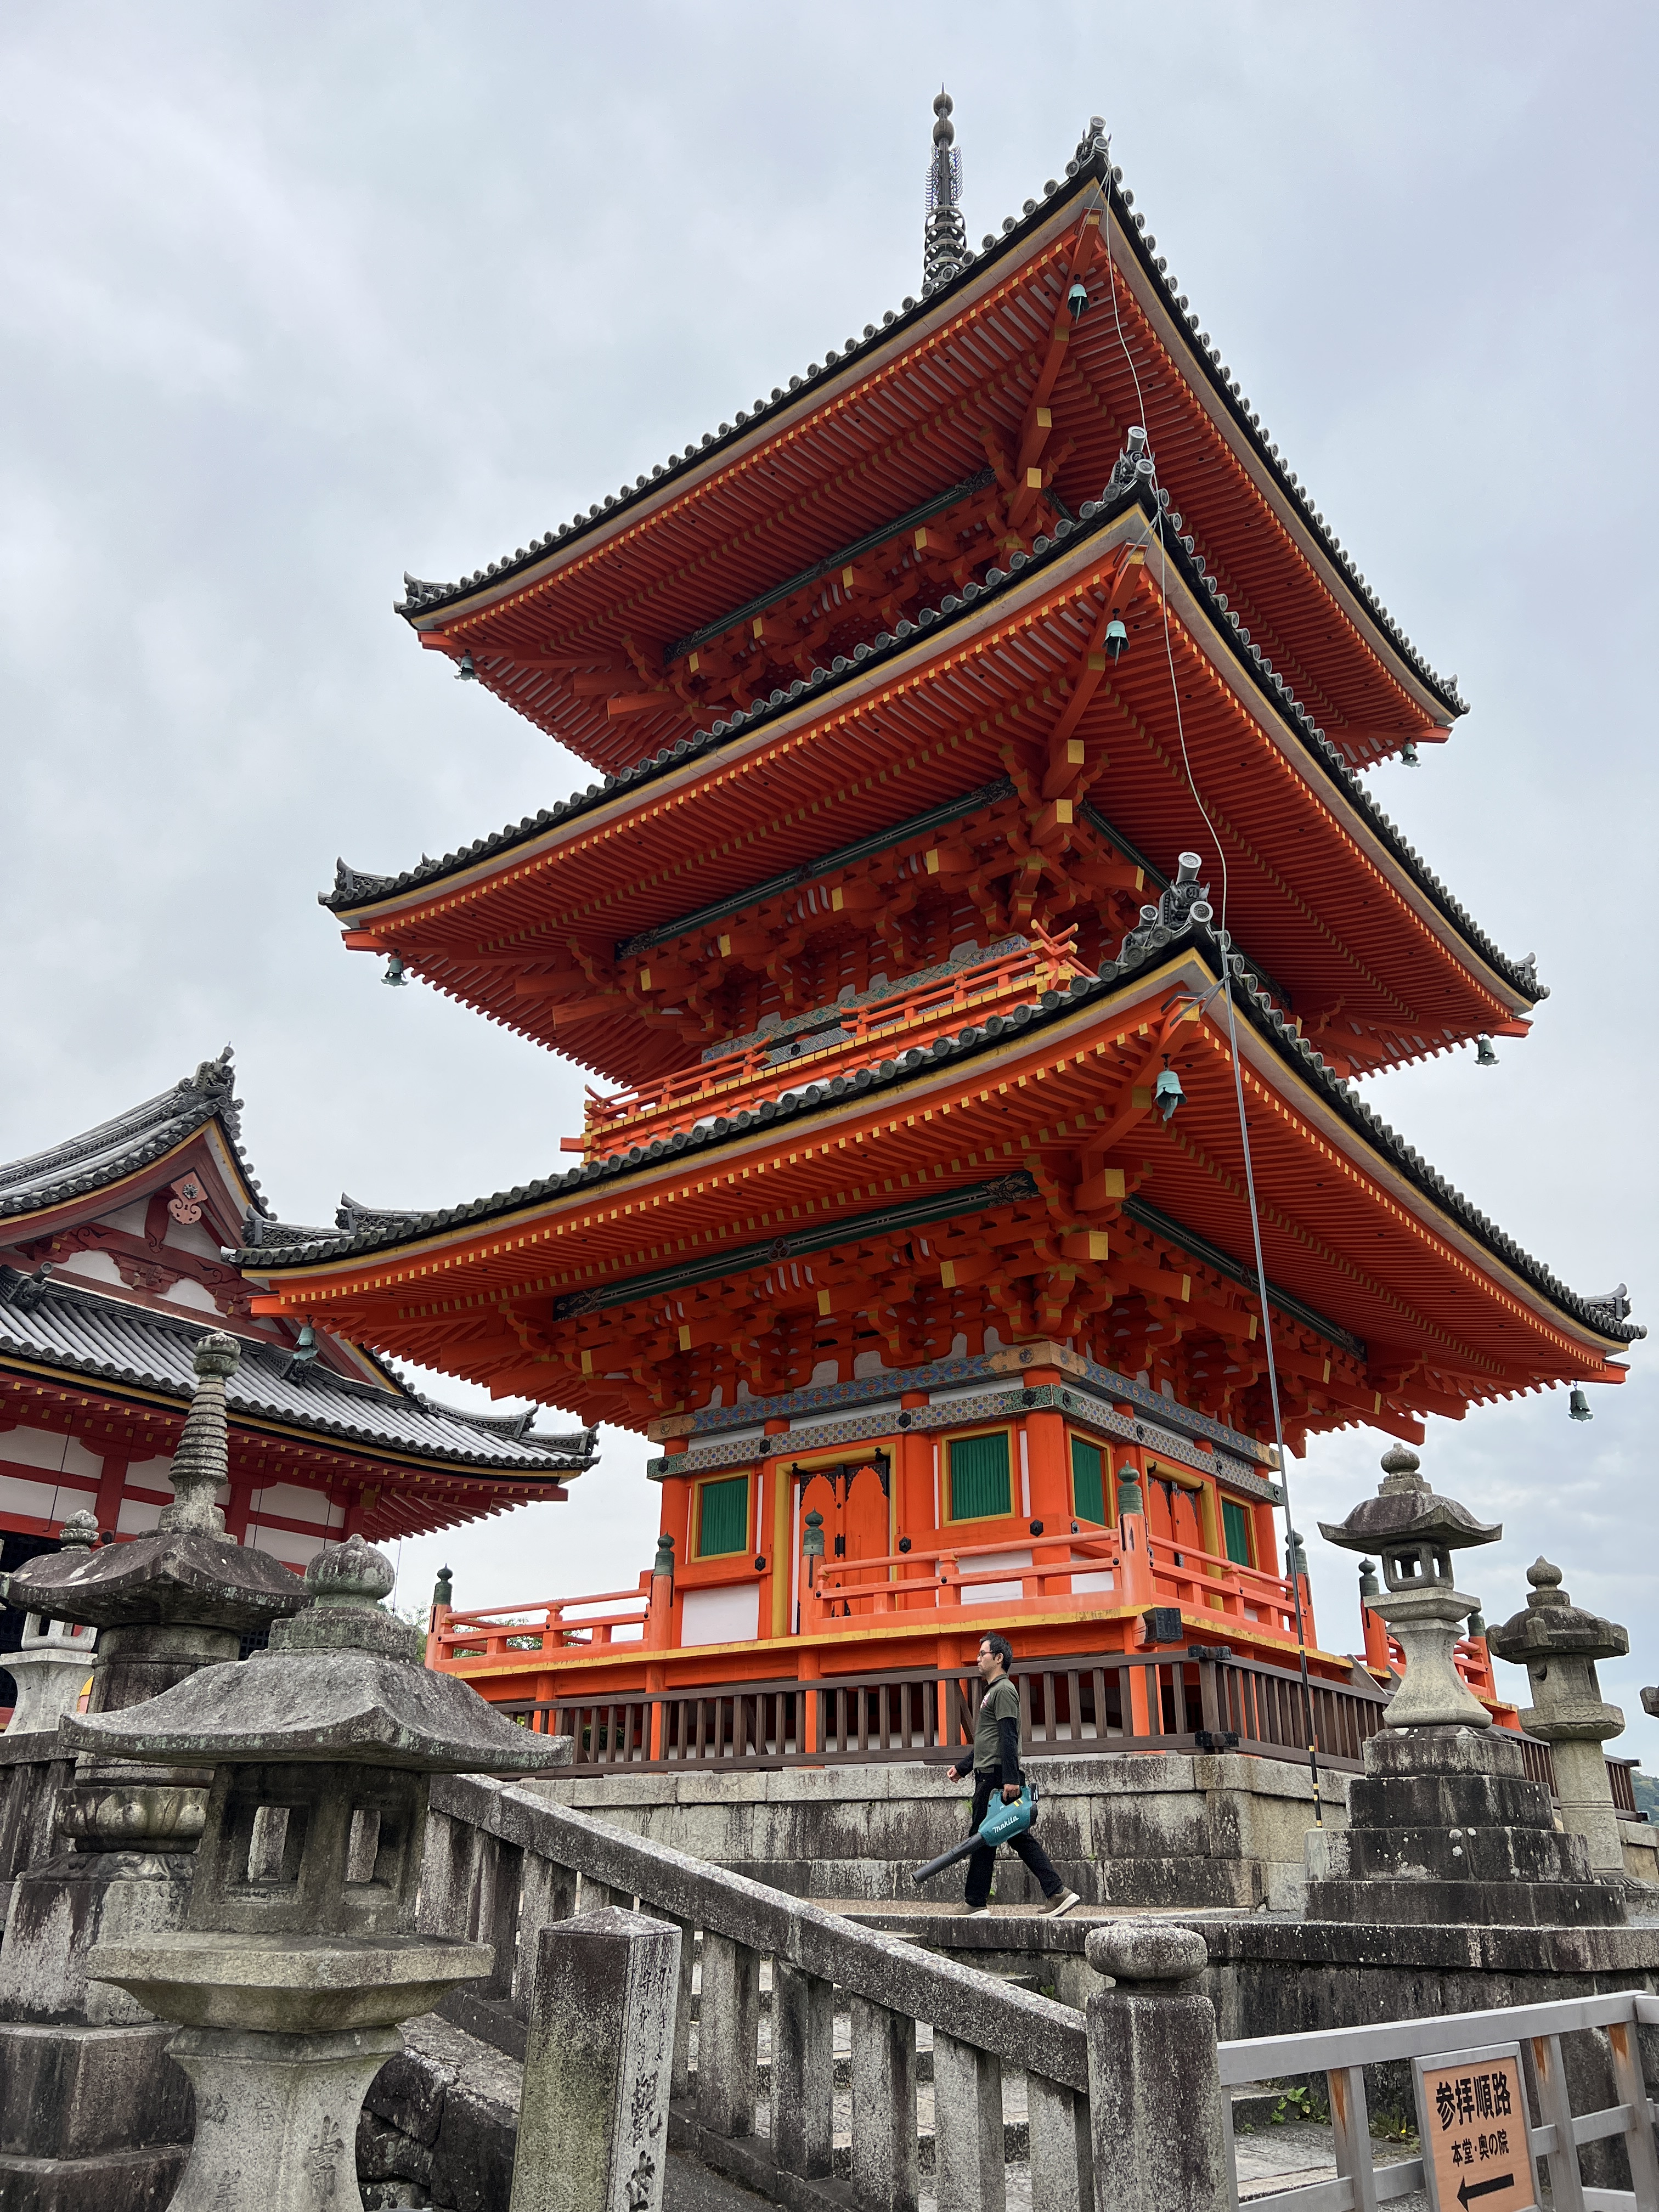
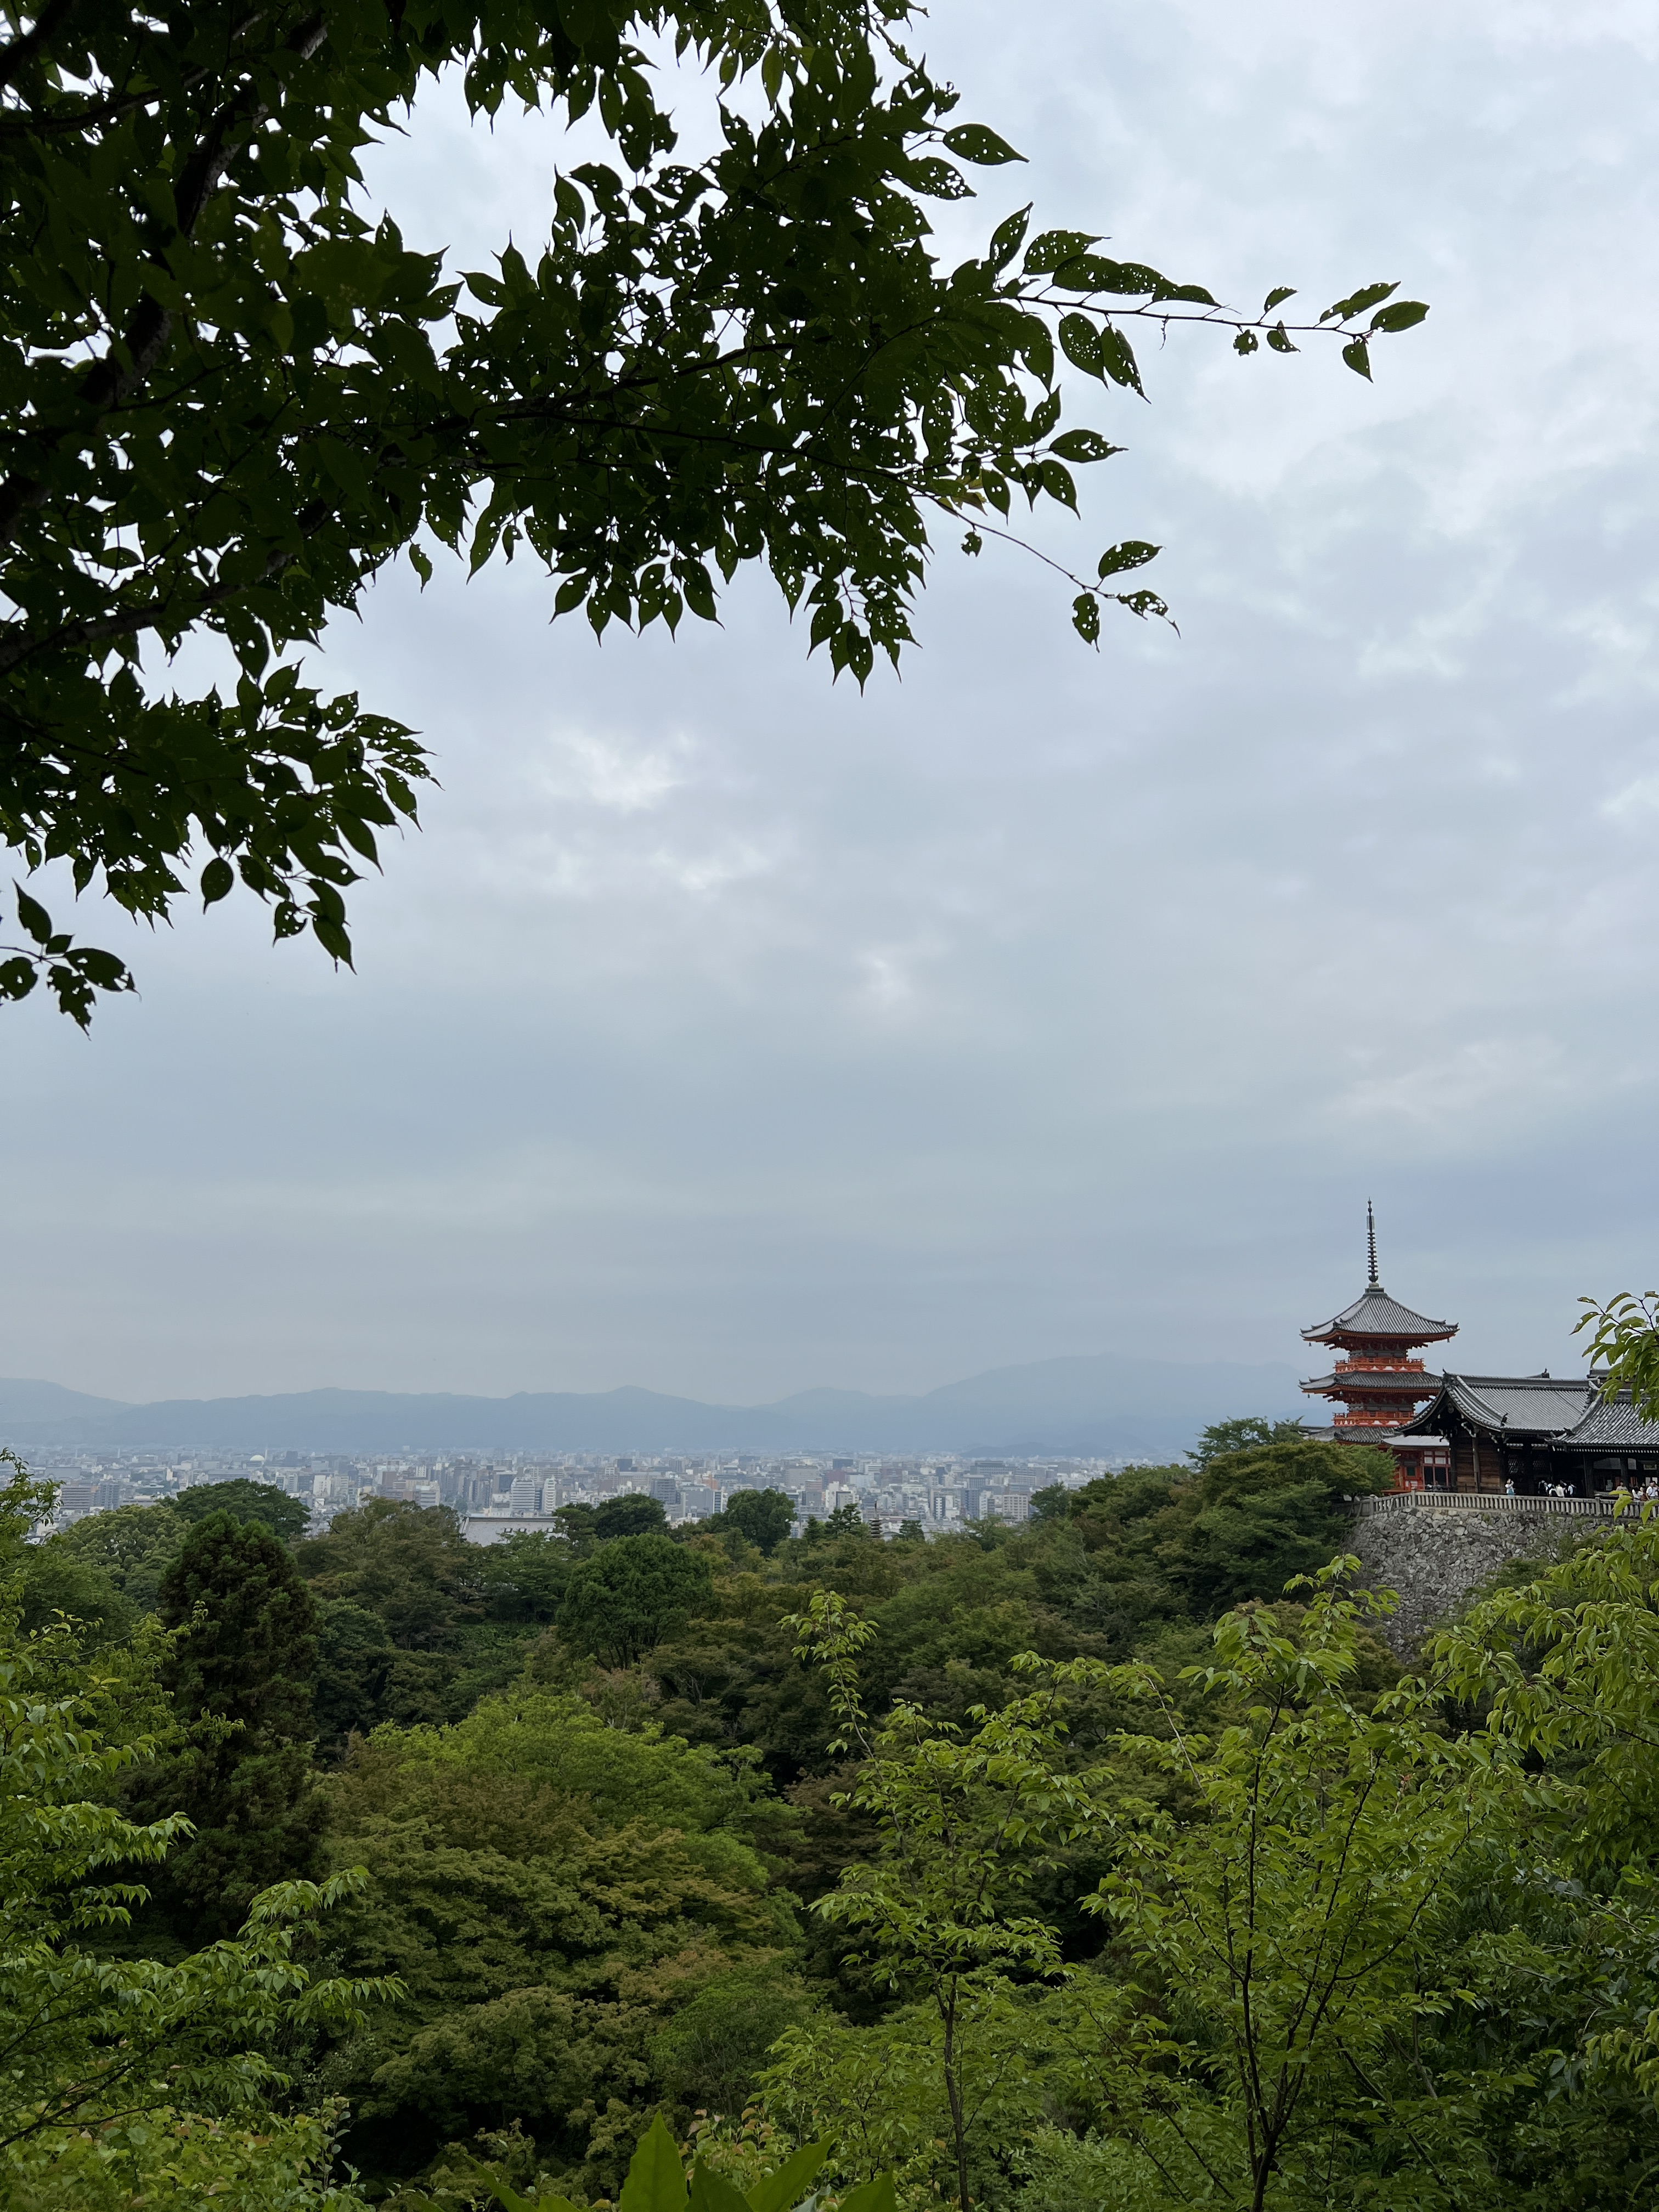
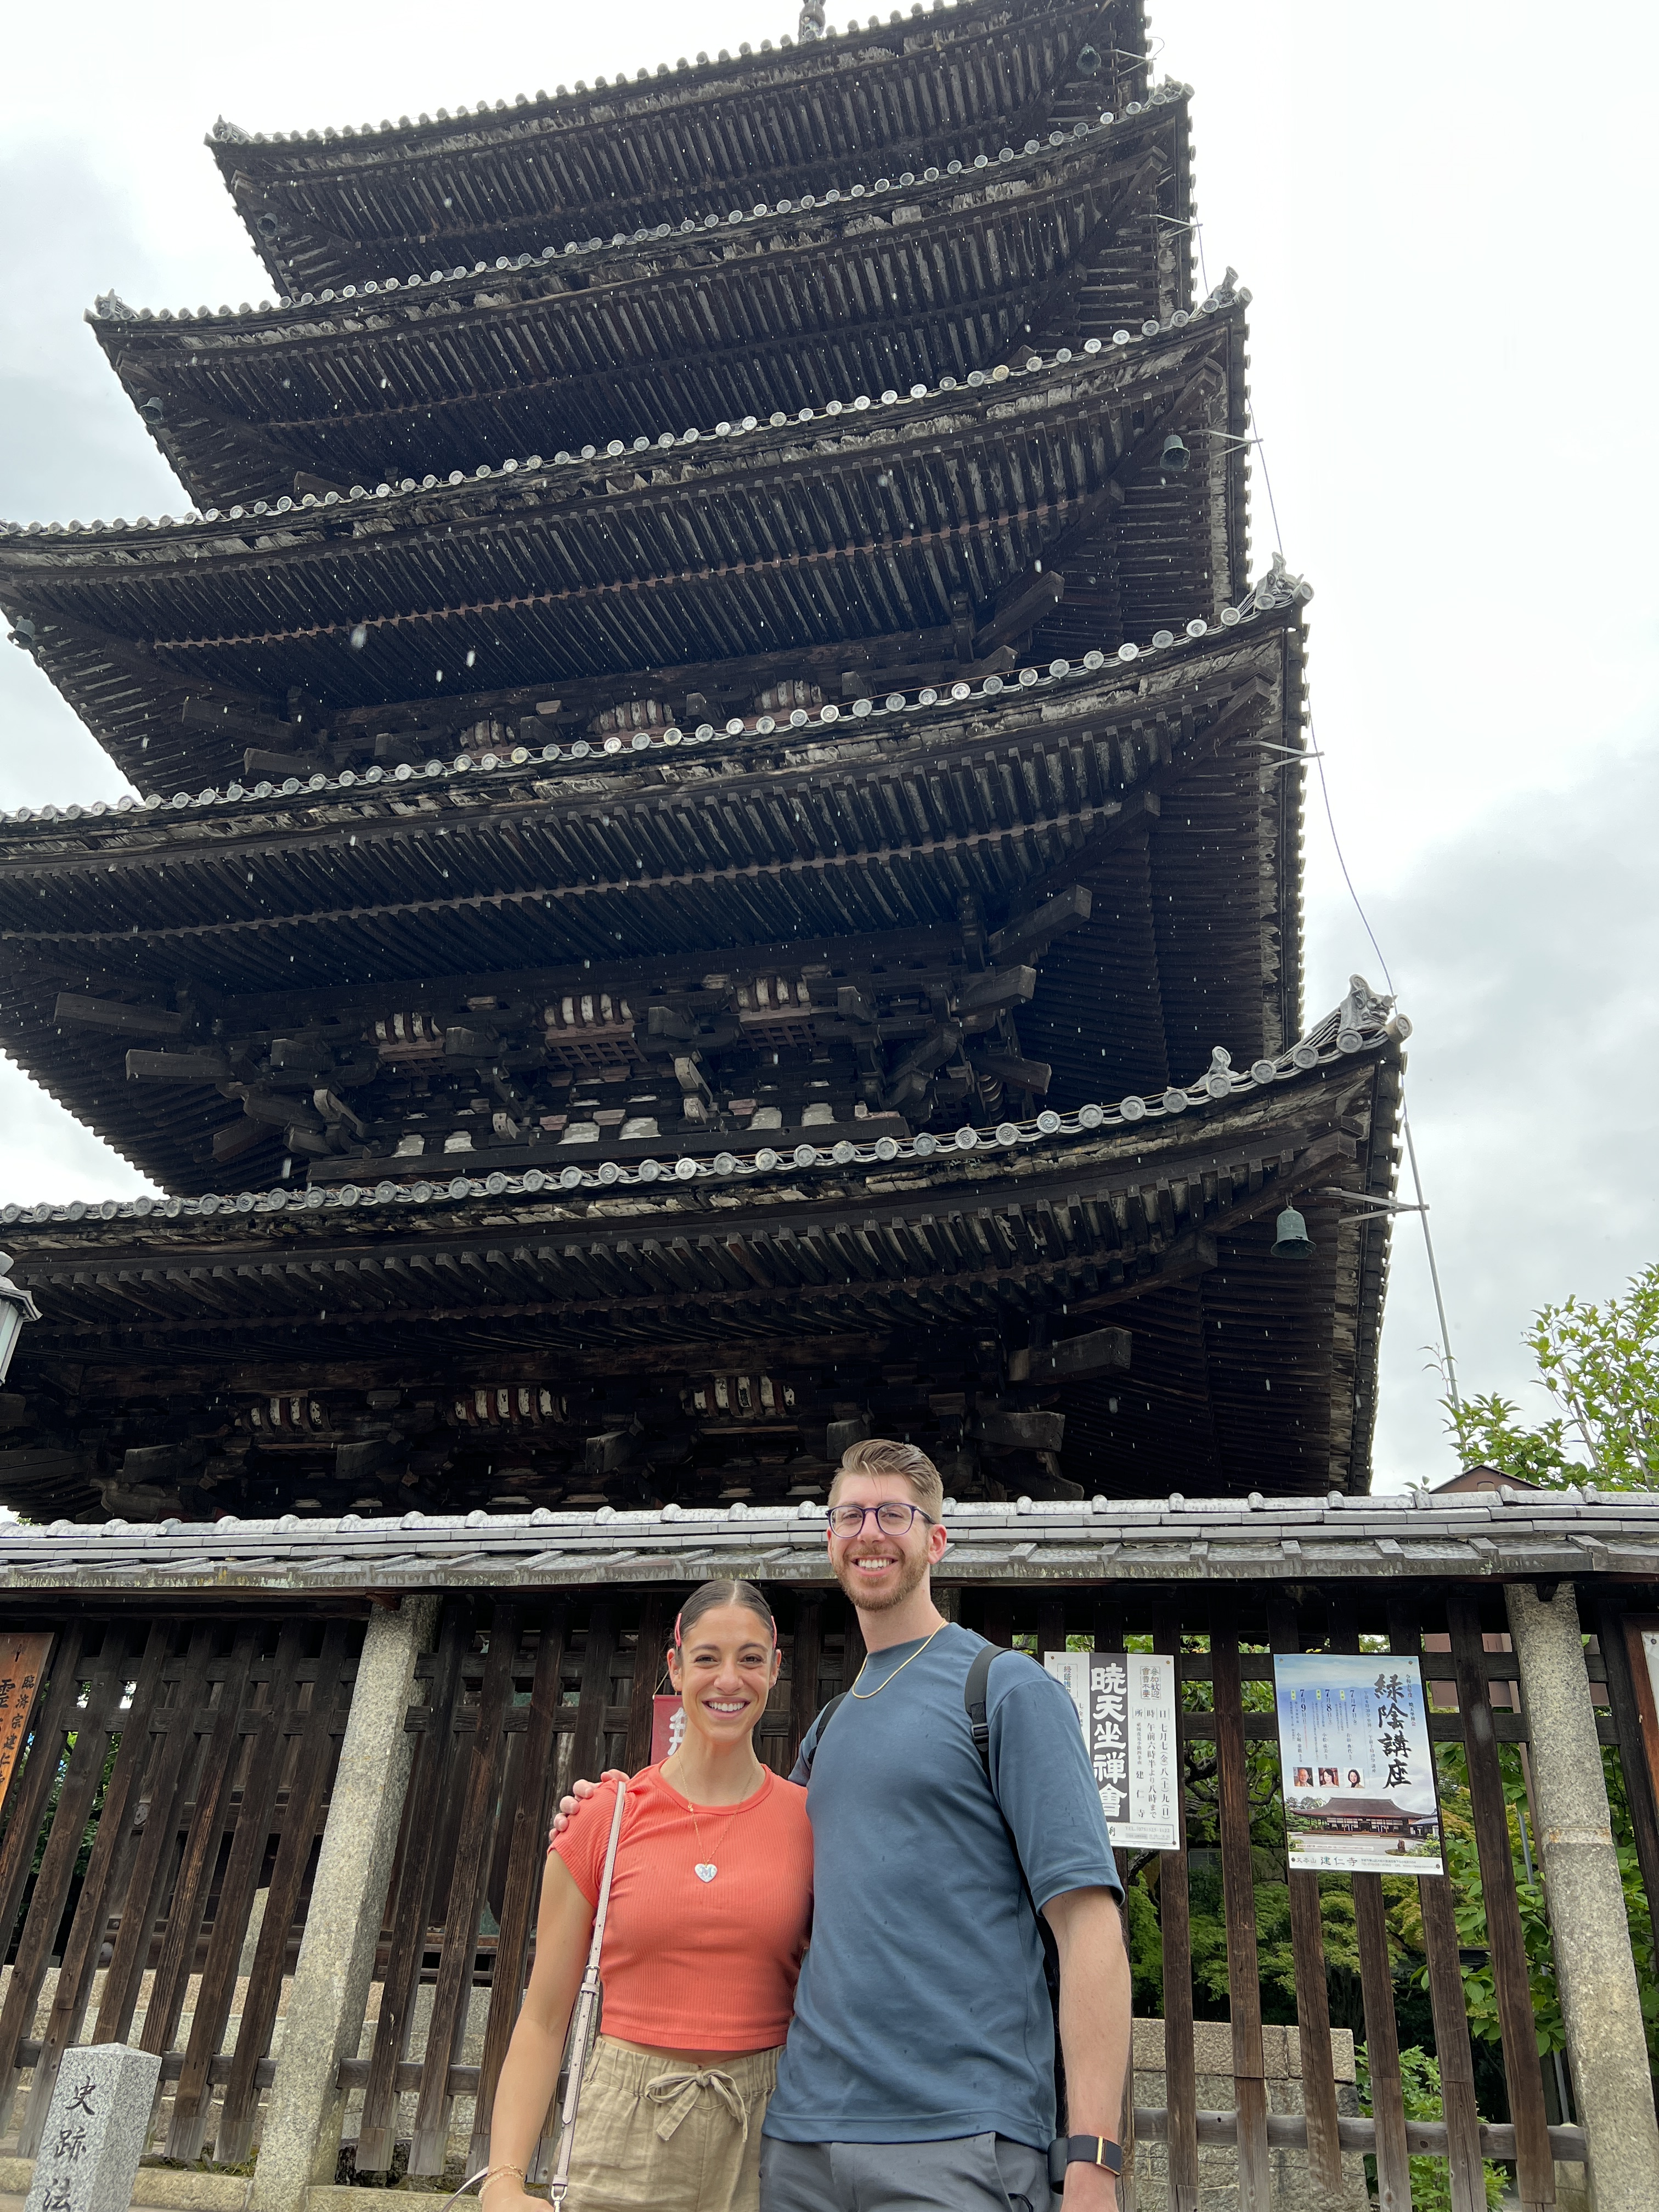
Kiyomizu-Dera Temple – This temple sits on a huge complex with multiple buildings, and is a fun one! The main temple building is particularly beautiful and ornate. The colors are also vibrant (it is one of the few temples we saw that is orange as opposed to dark brown or black). There are multiple buildings, each with its own unique view of the surrounding countryside.
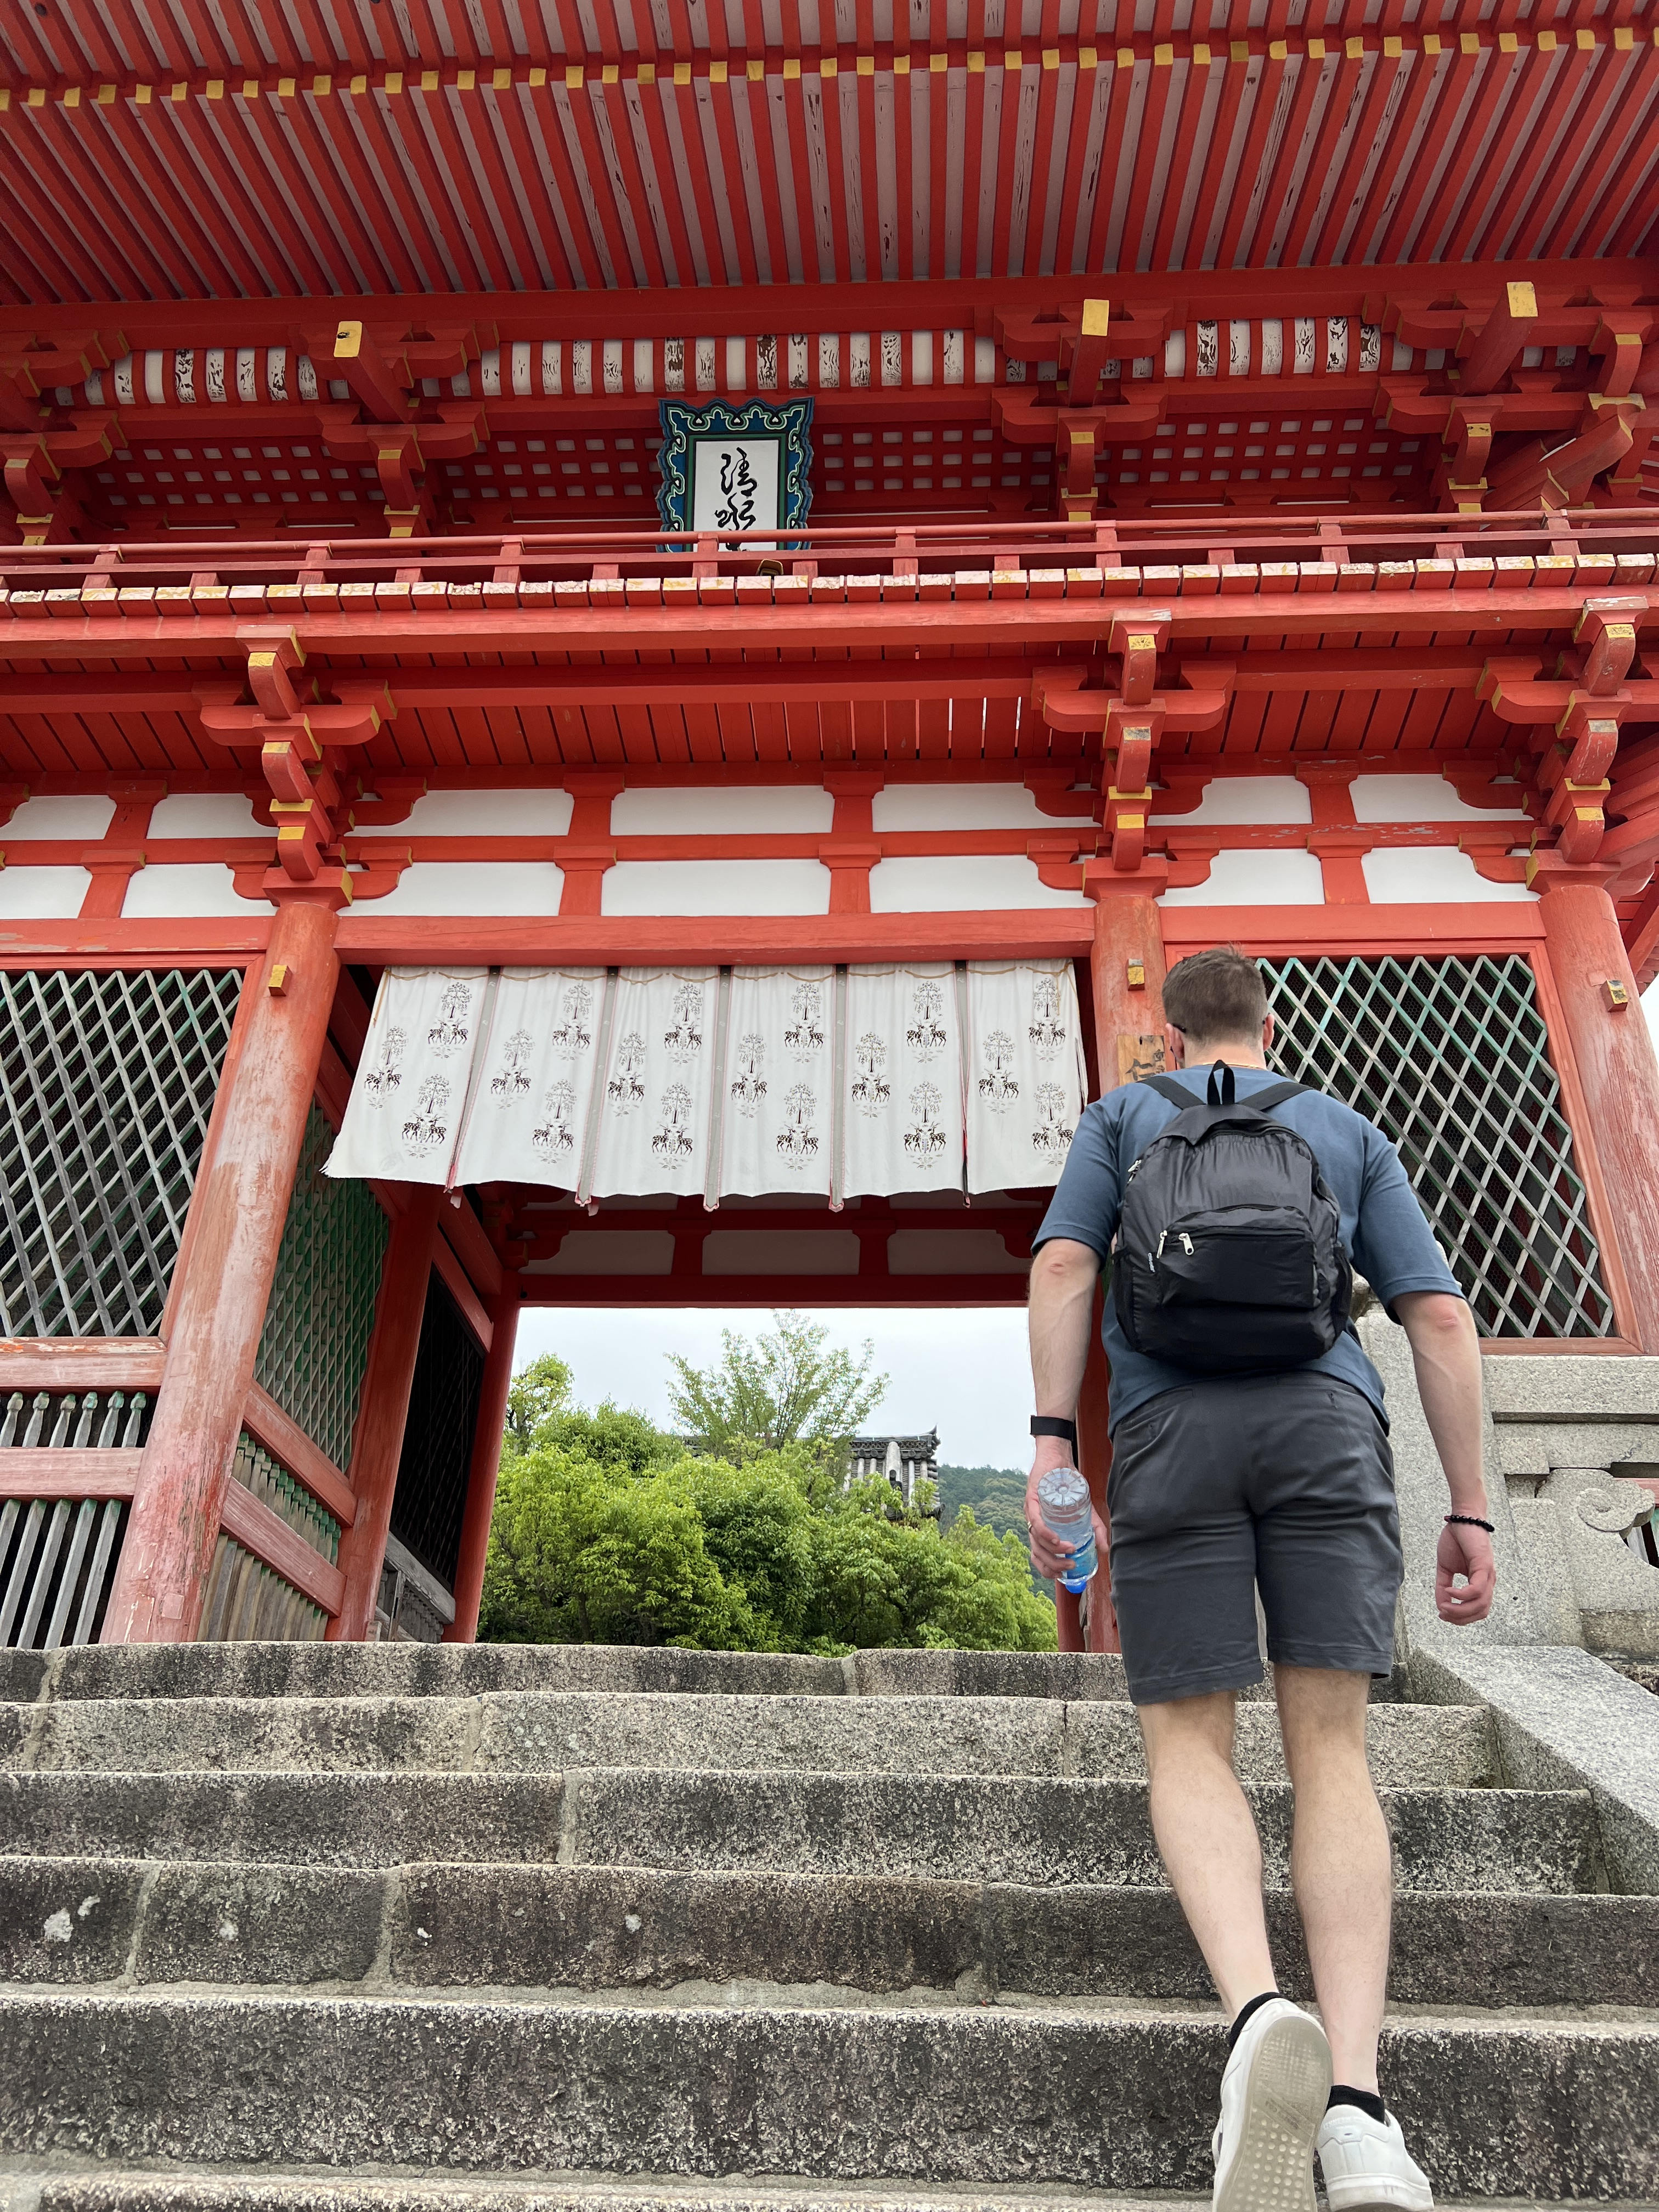
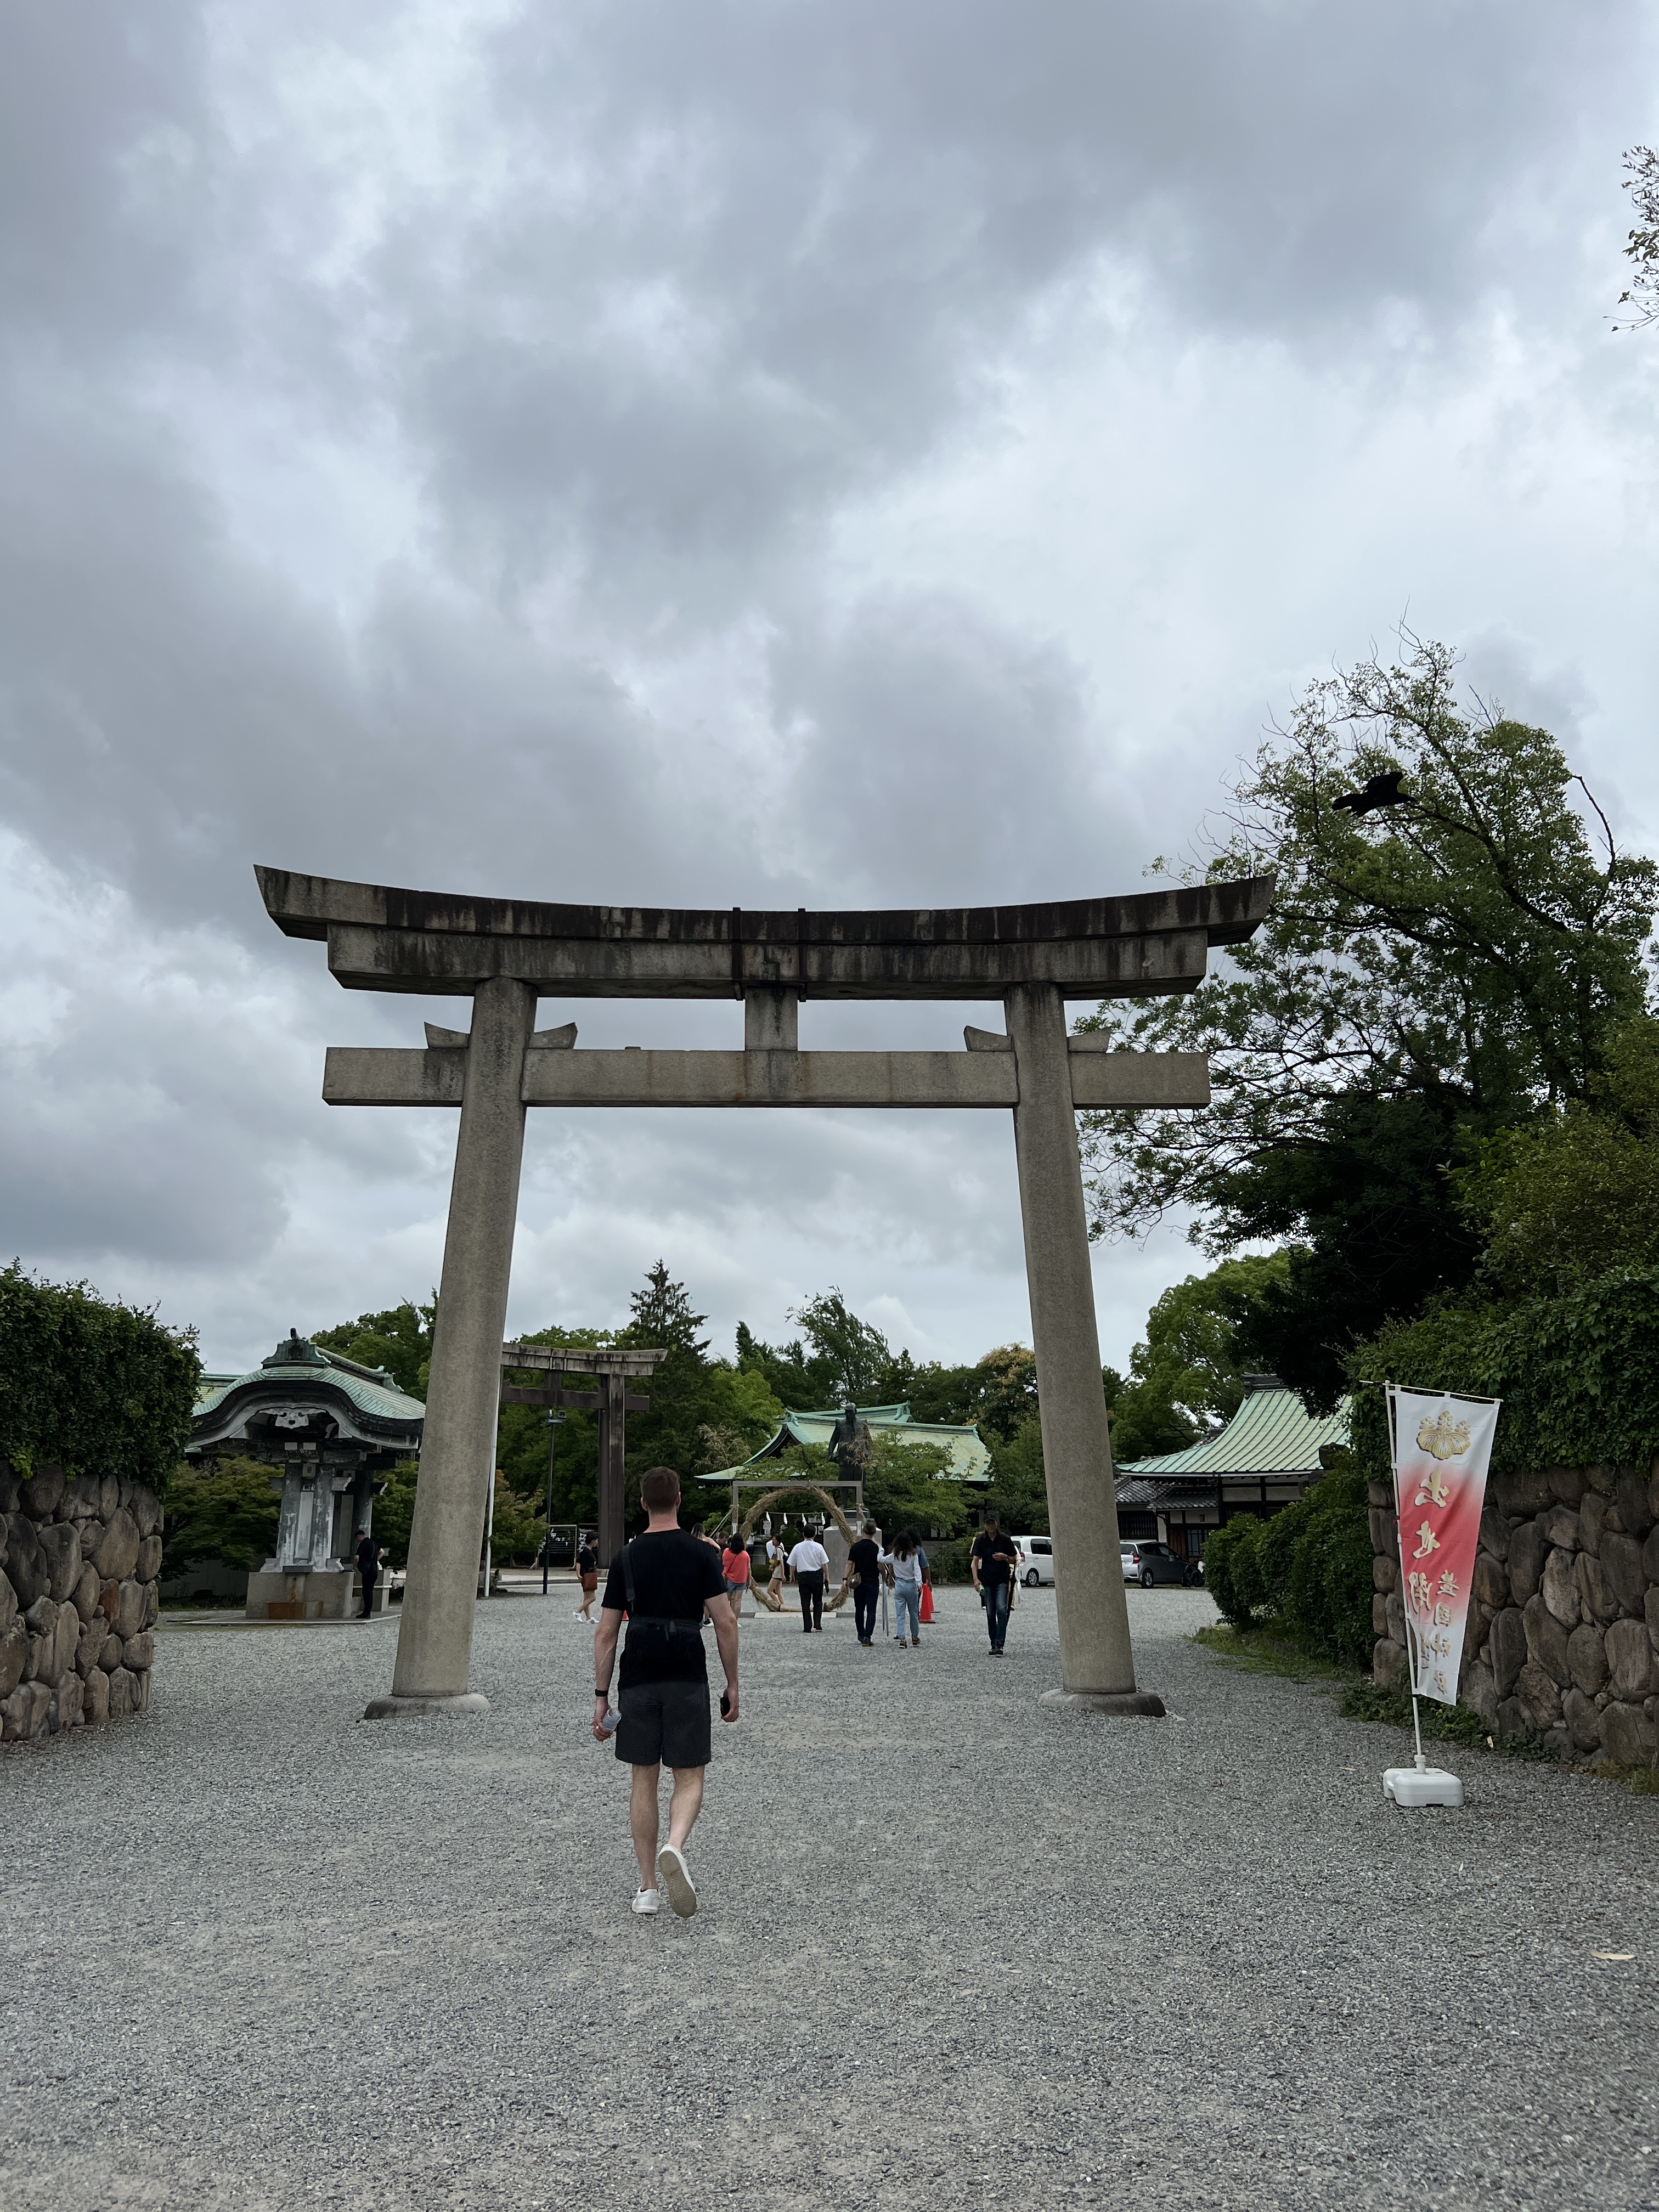
Chion-in Shrine – The coolest part of this one for me is the fact that it has the largest entry gate in all of Japan. The size of this gate is dizzying and then there is a GIANT set of stairs to get you to the main temple building, which only gives more perspective to the size of the gate.
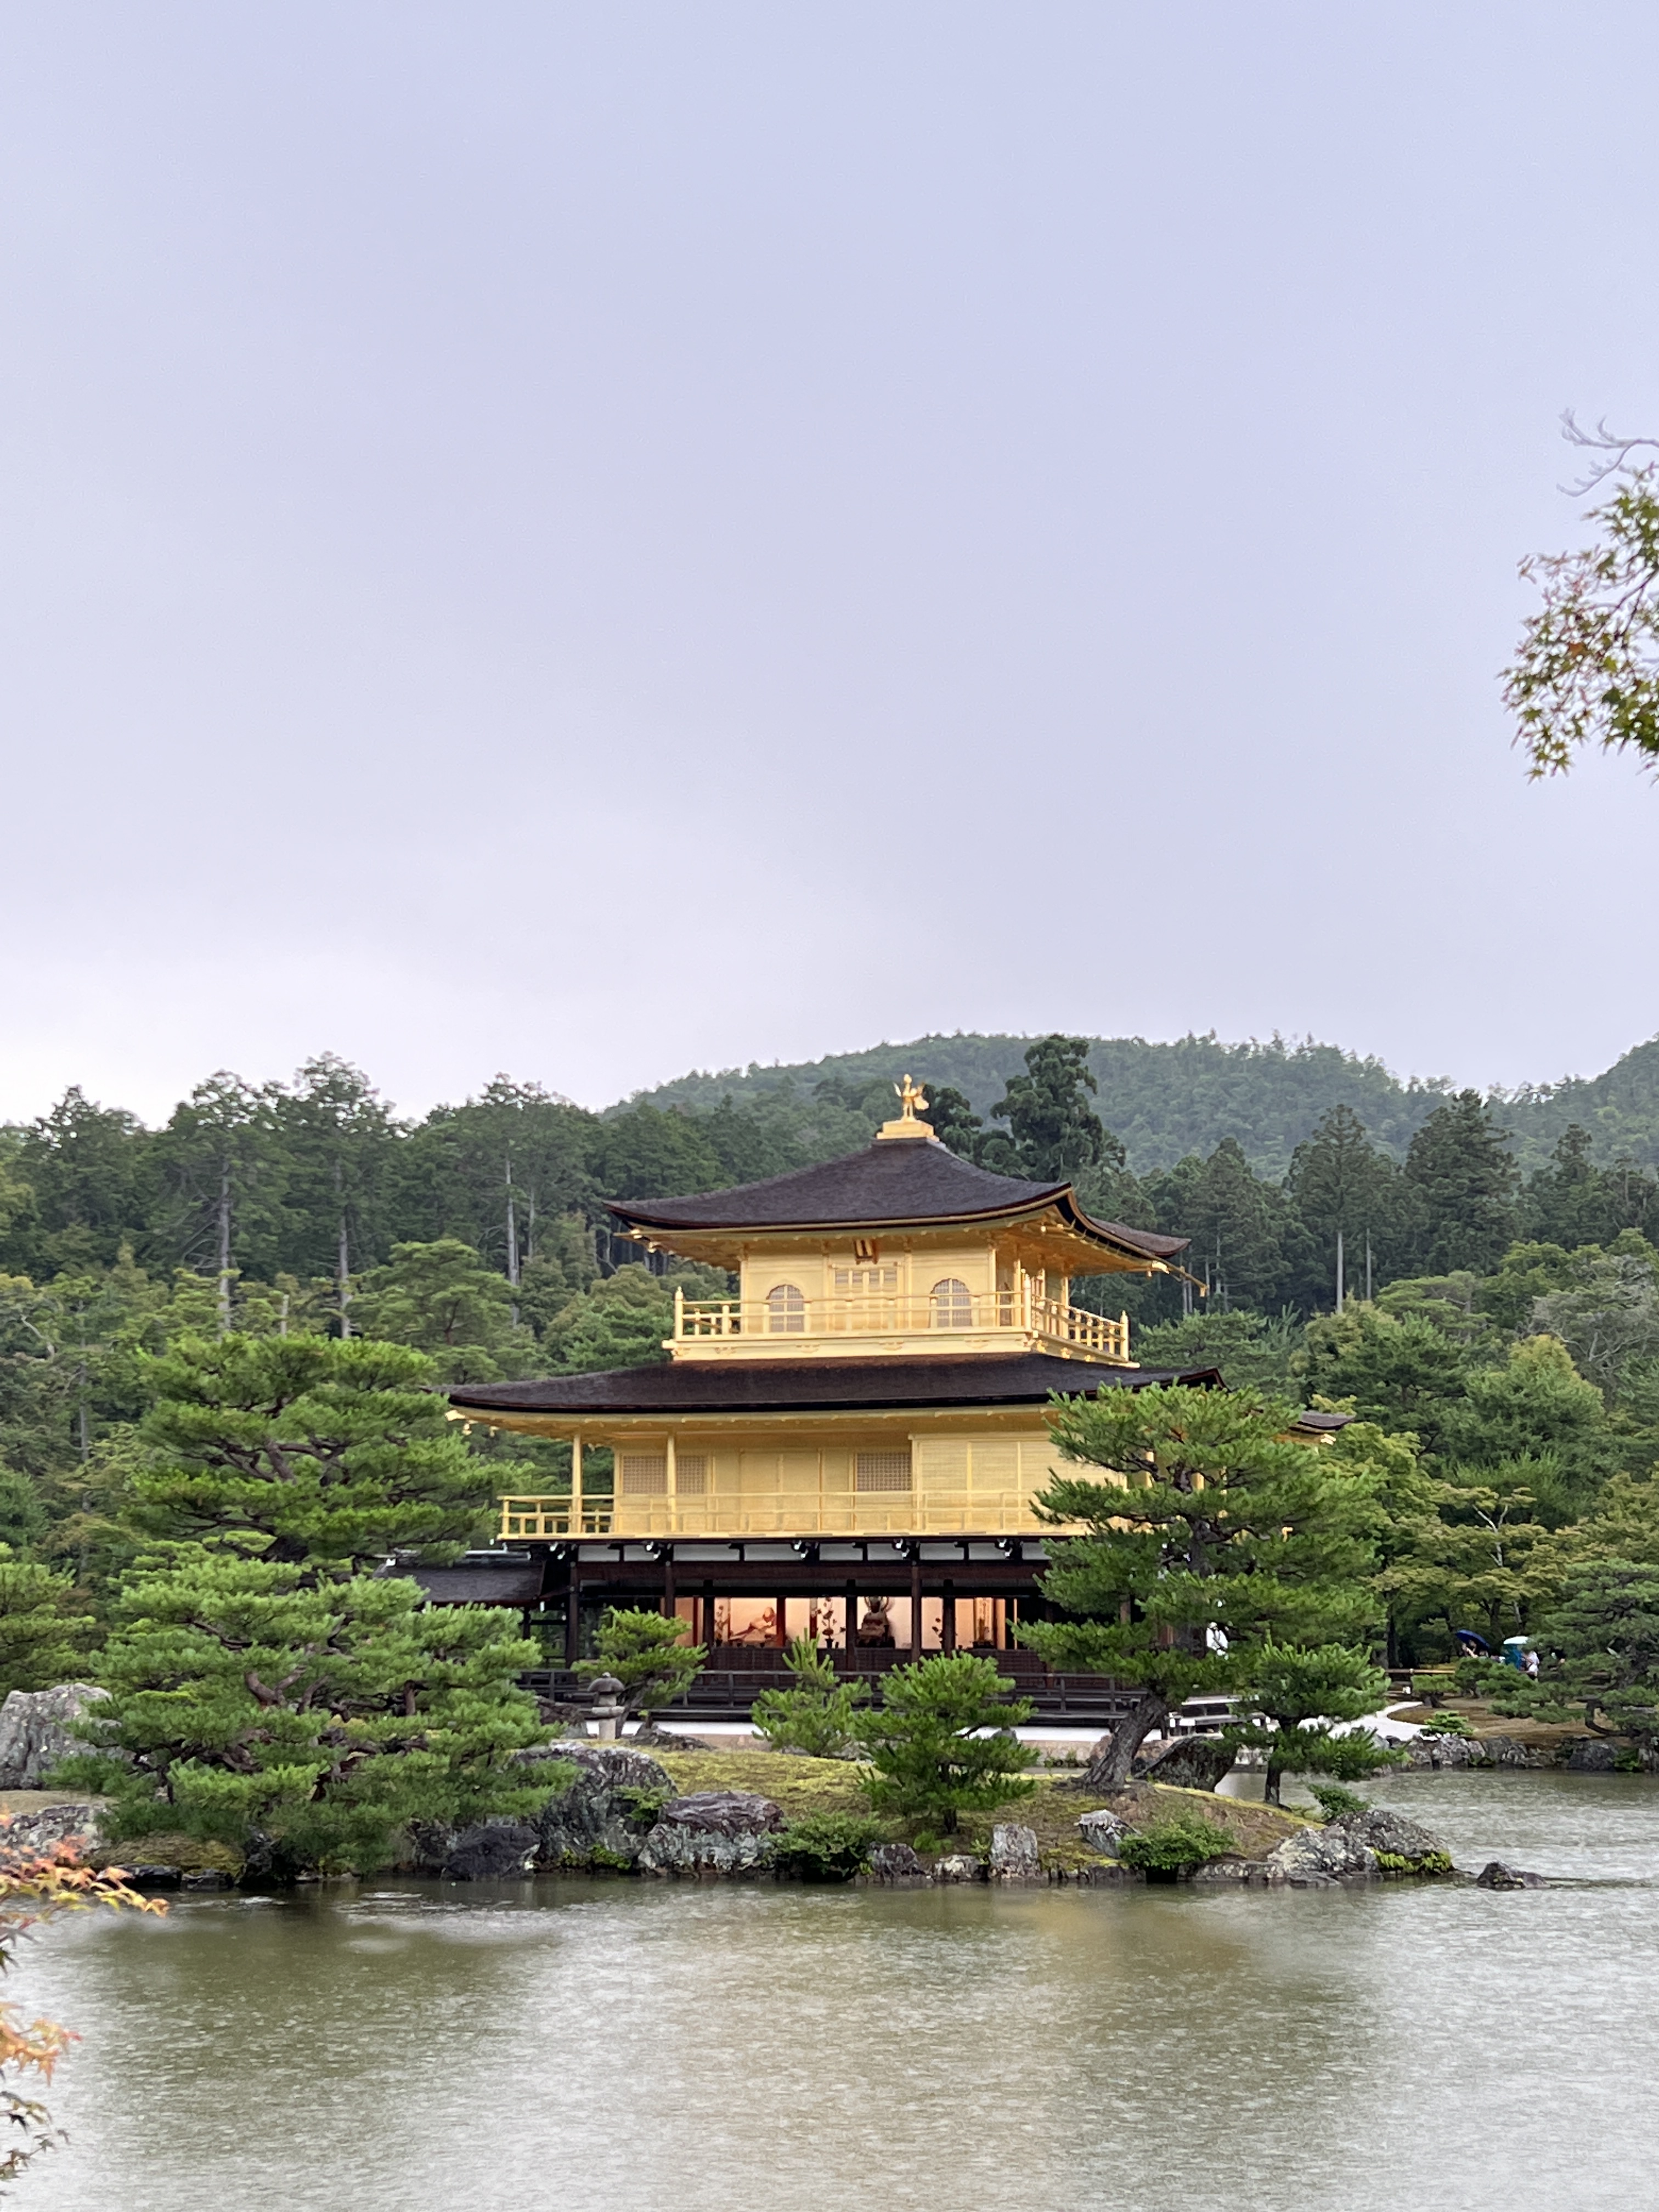
Kinkaku-Ji Temple (Golden Pavilion) – This is a quick visit (and not REALLY in the city center) but the pavilion itself has a literal gold exterior and is quite unique.
Kennin-ji Temple – We actually did not make it here (it was on the list but we accidentally entirely missed it), but here it is on the recommended list anyway because it is a cool one – there is a painting of twin dragons on the ceiling and a lot of cool artwork on panels in the building complex.
Here are some of our favorite stops in Kyoto further from the city center:
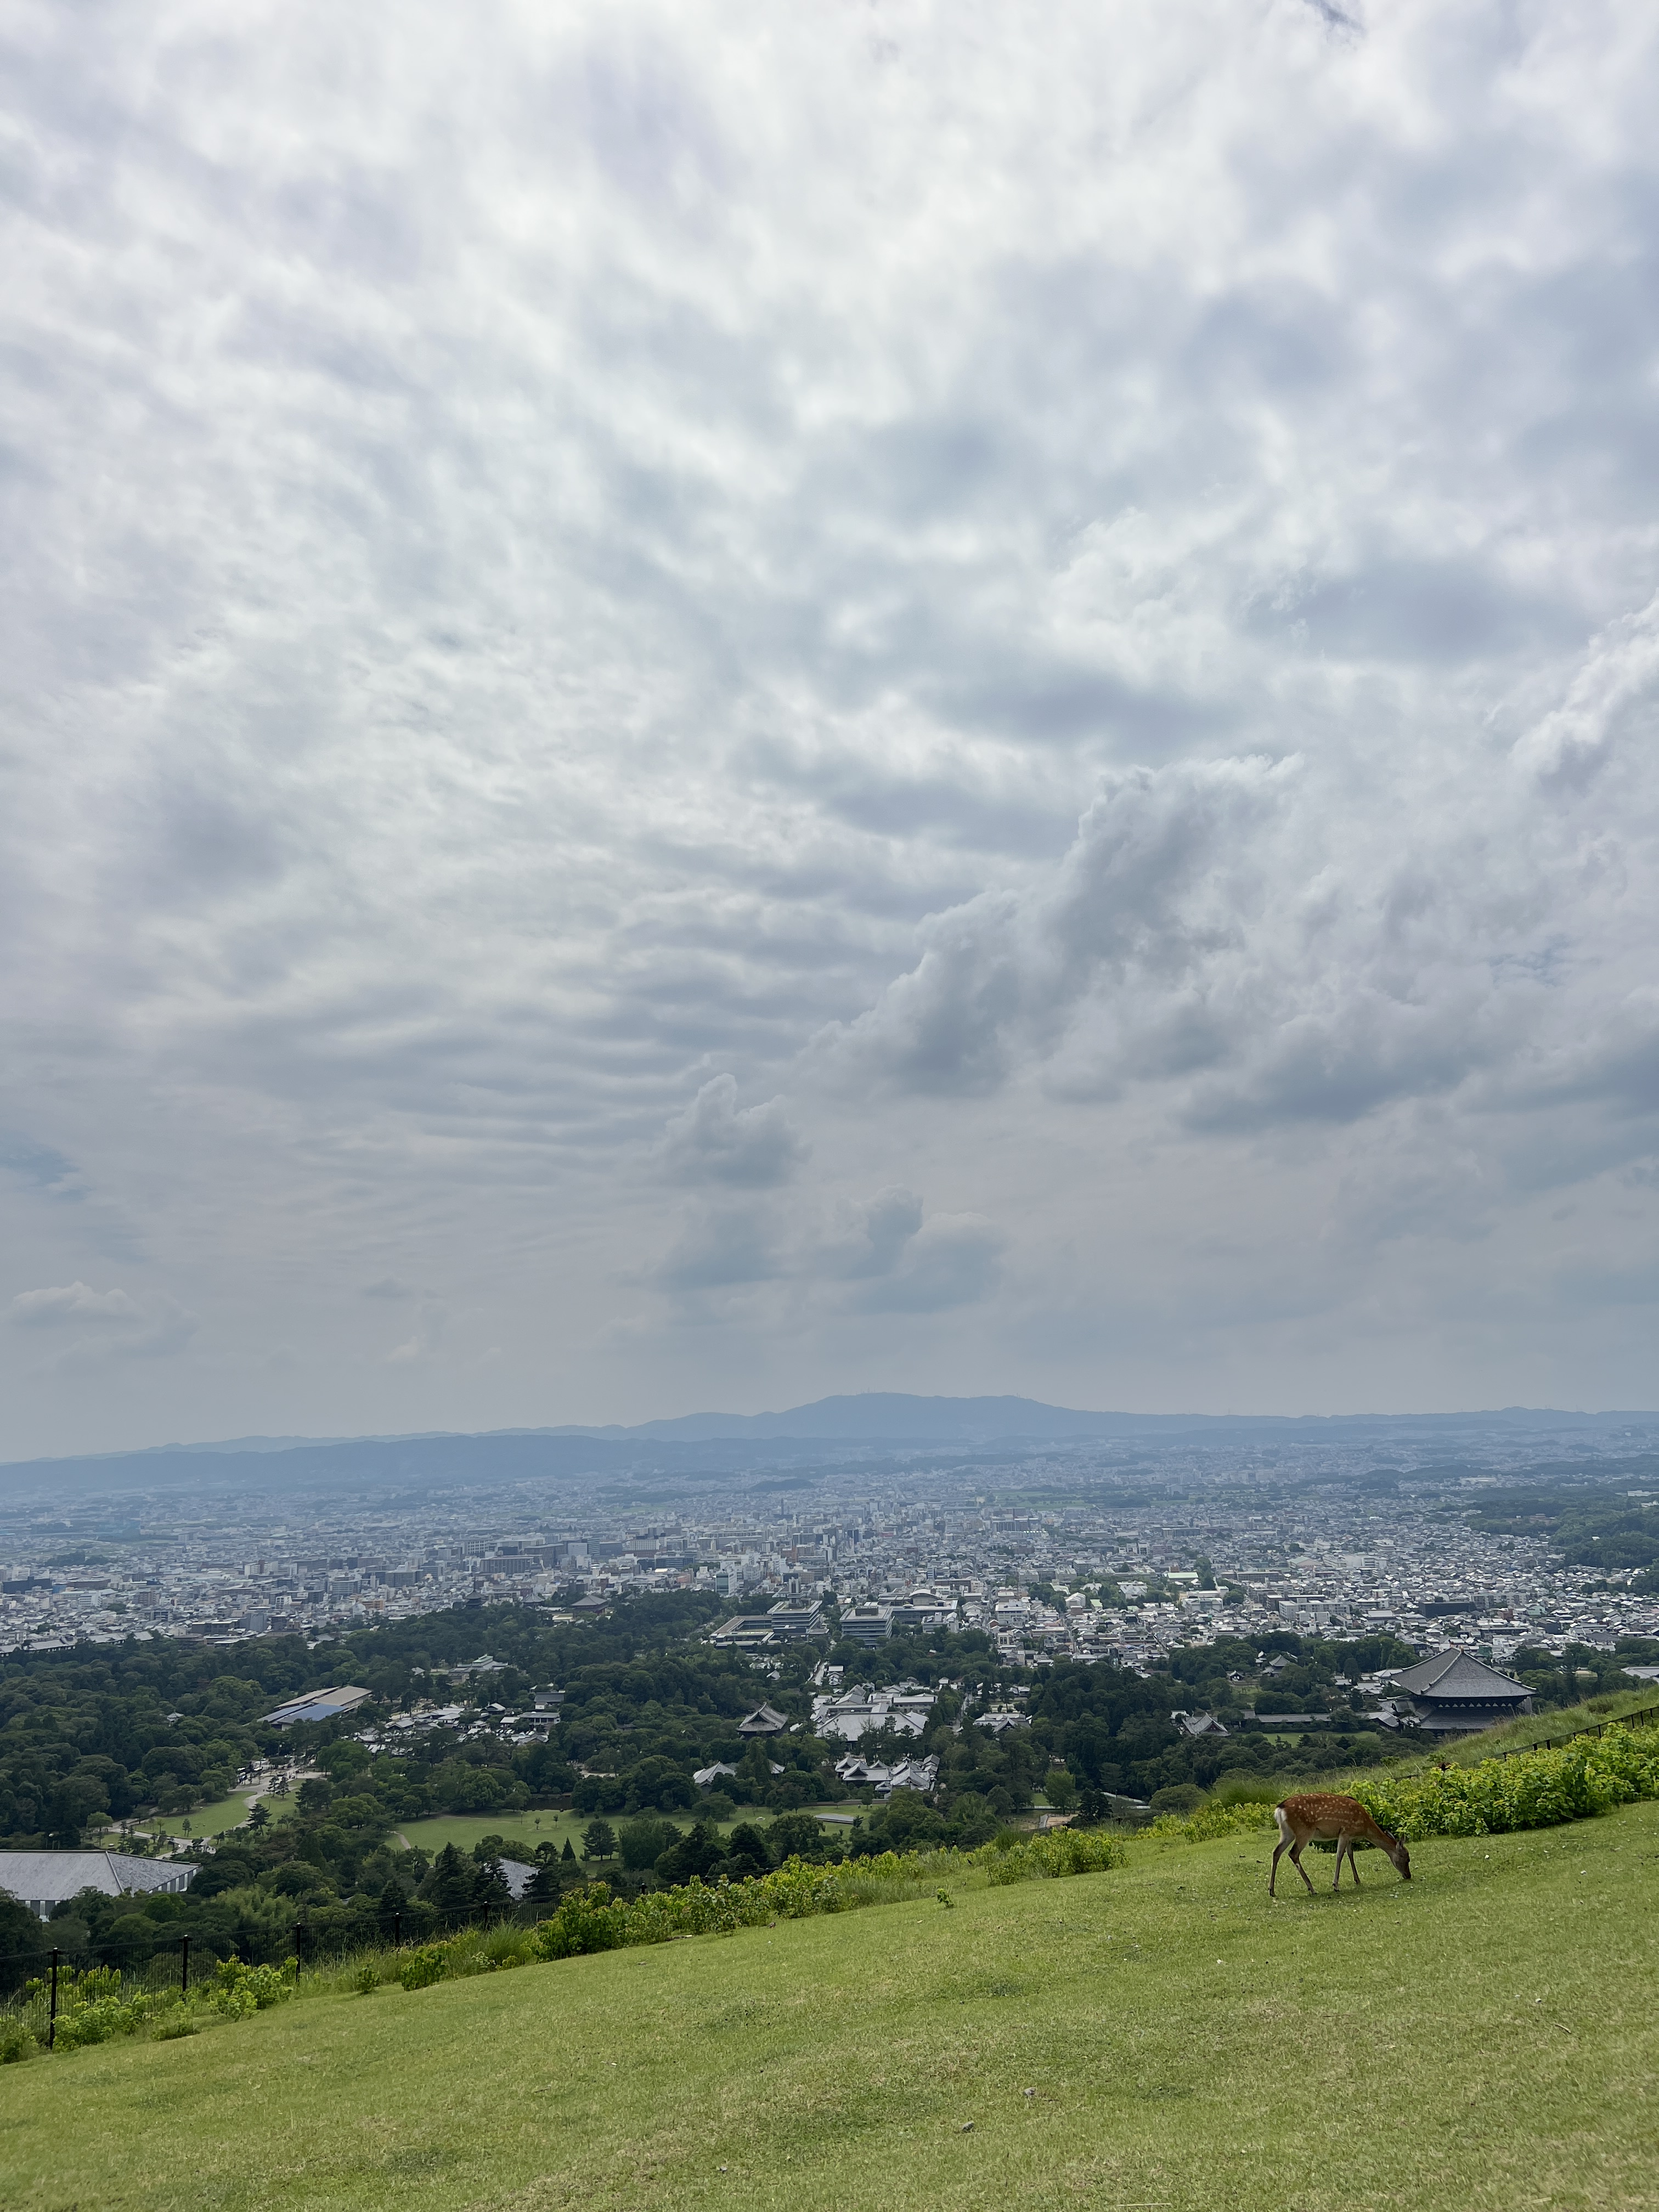
Nara and the Todai-ji Temple – Nara is a day trip outside of the Kyoto city center that is very easy to get to by train, and the Todai-ji Temple in Nara houses one of the three Great Buddha statues in Japan. Nara is also where you can interact with the sacred deer that bow to you! You can see the full itinerary of the day in part 2 of the series.
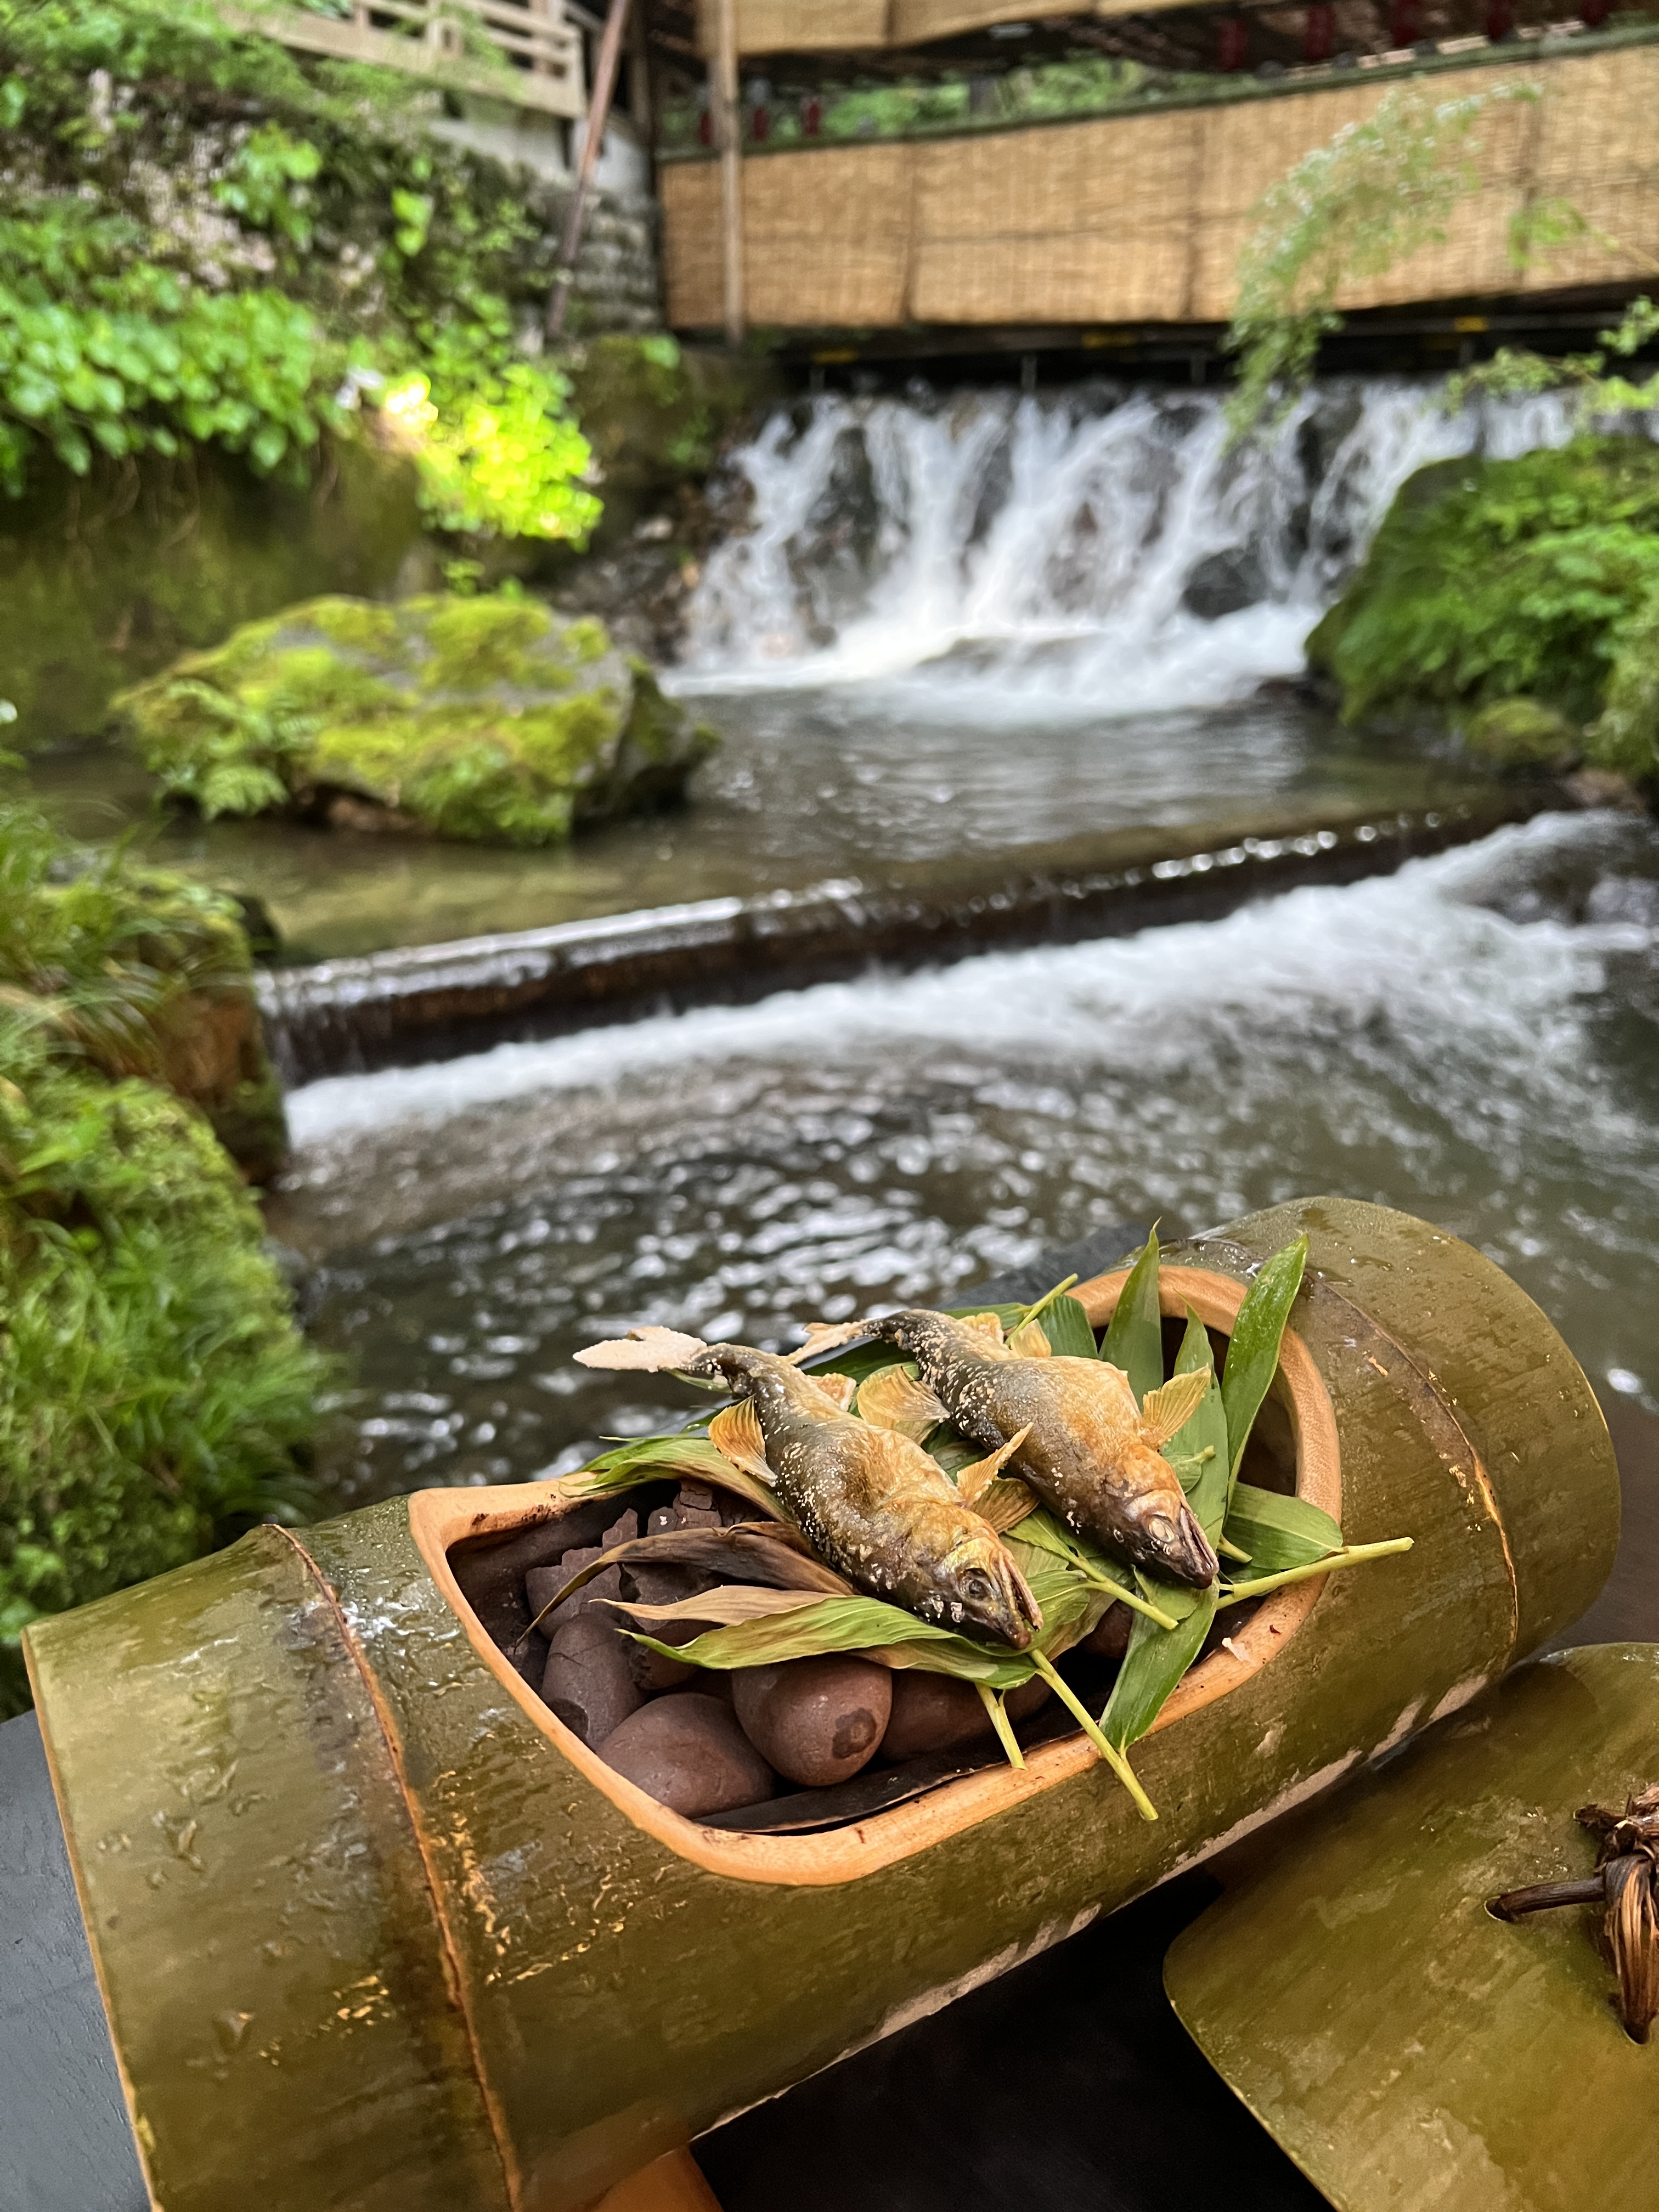
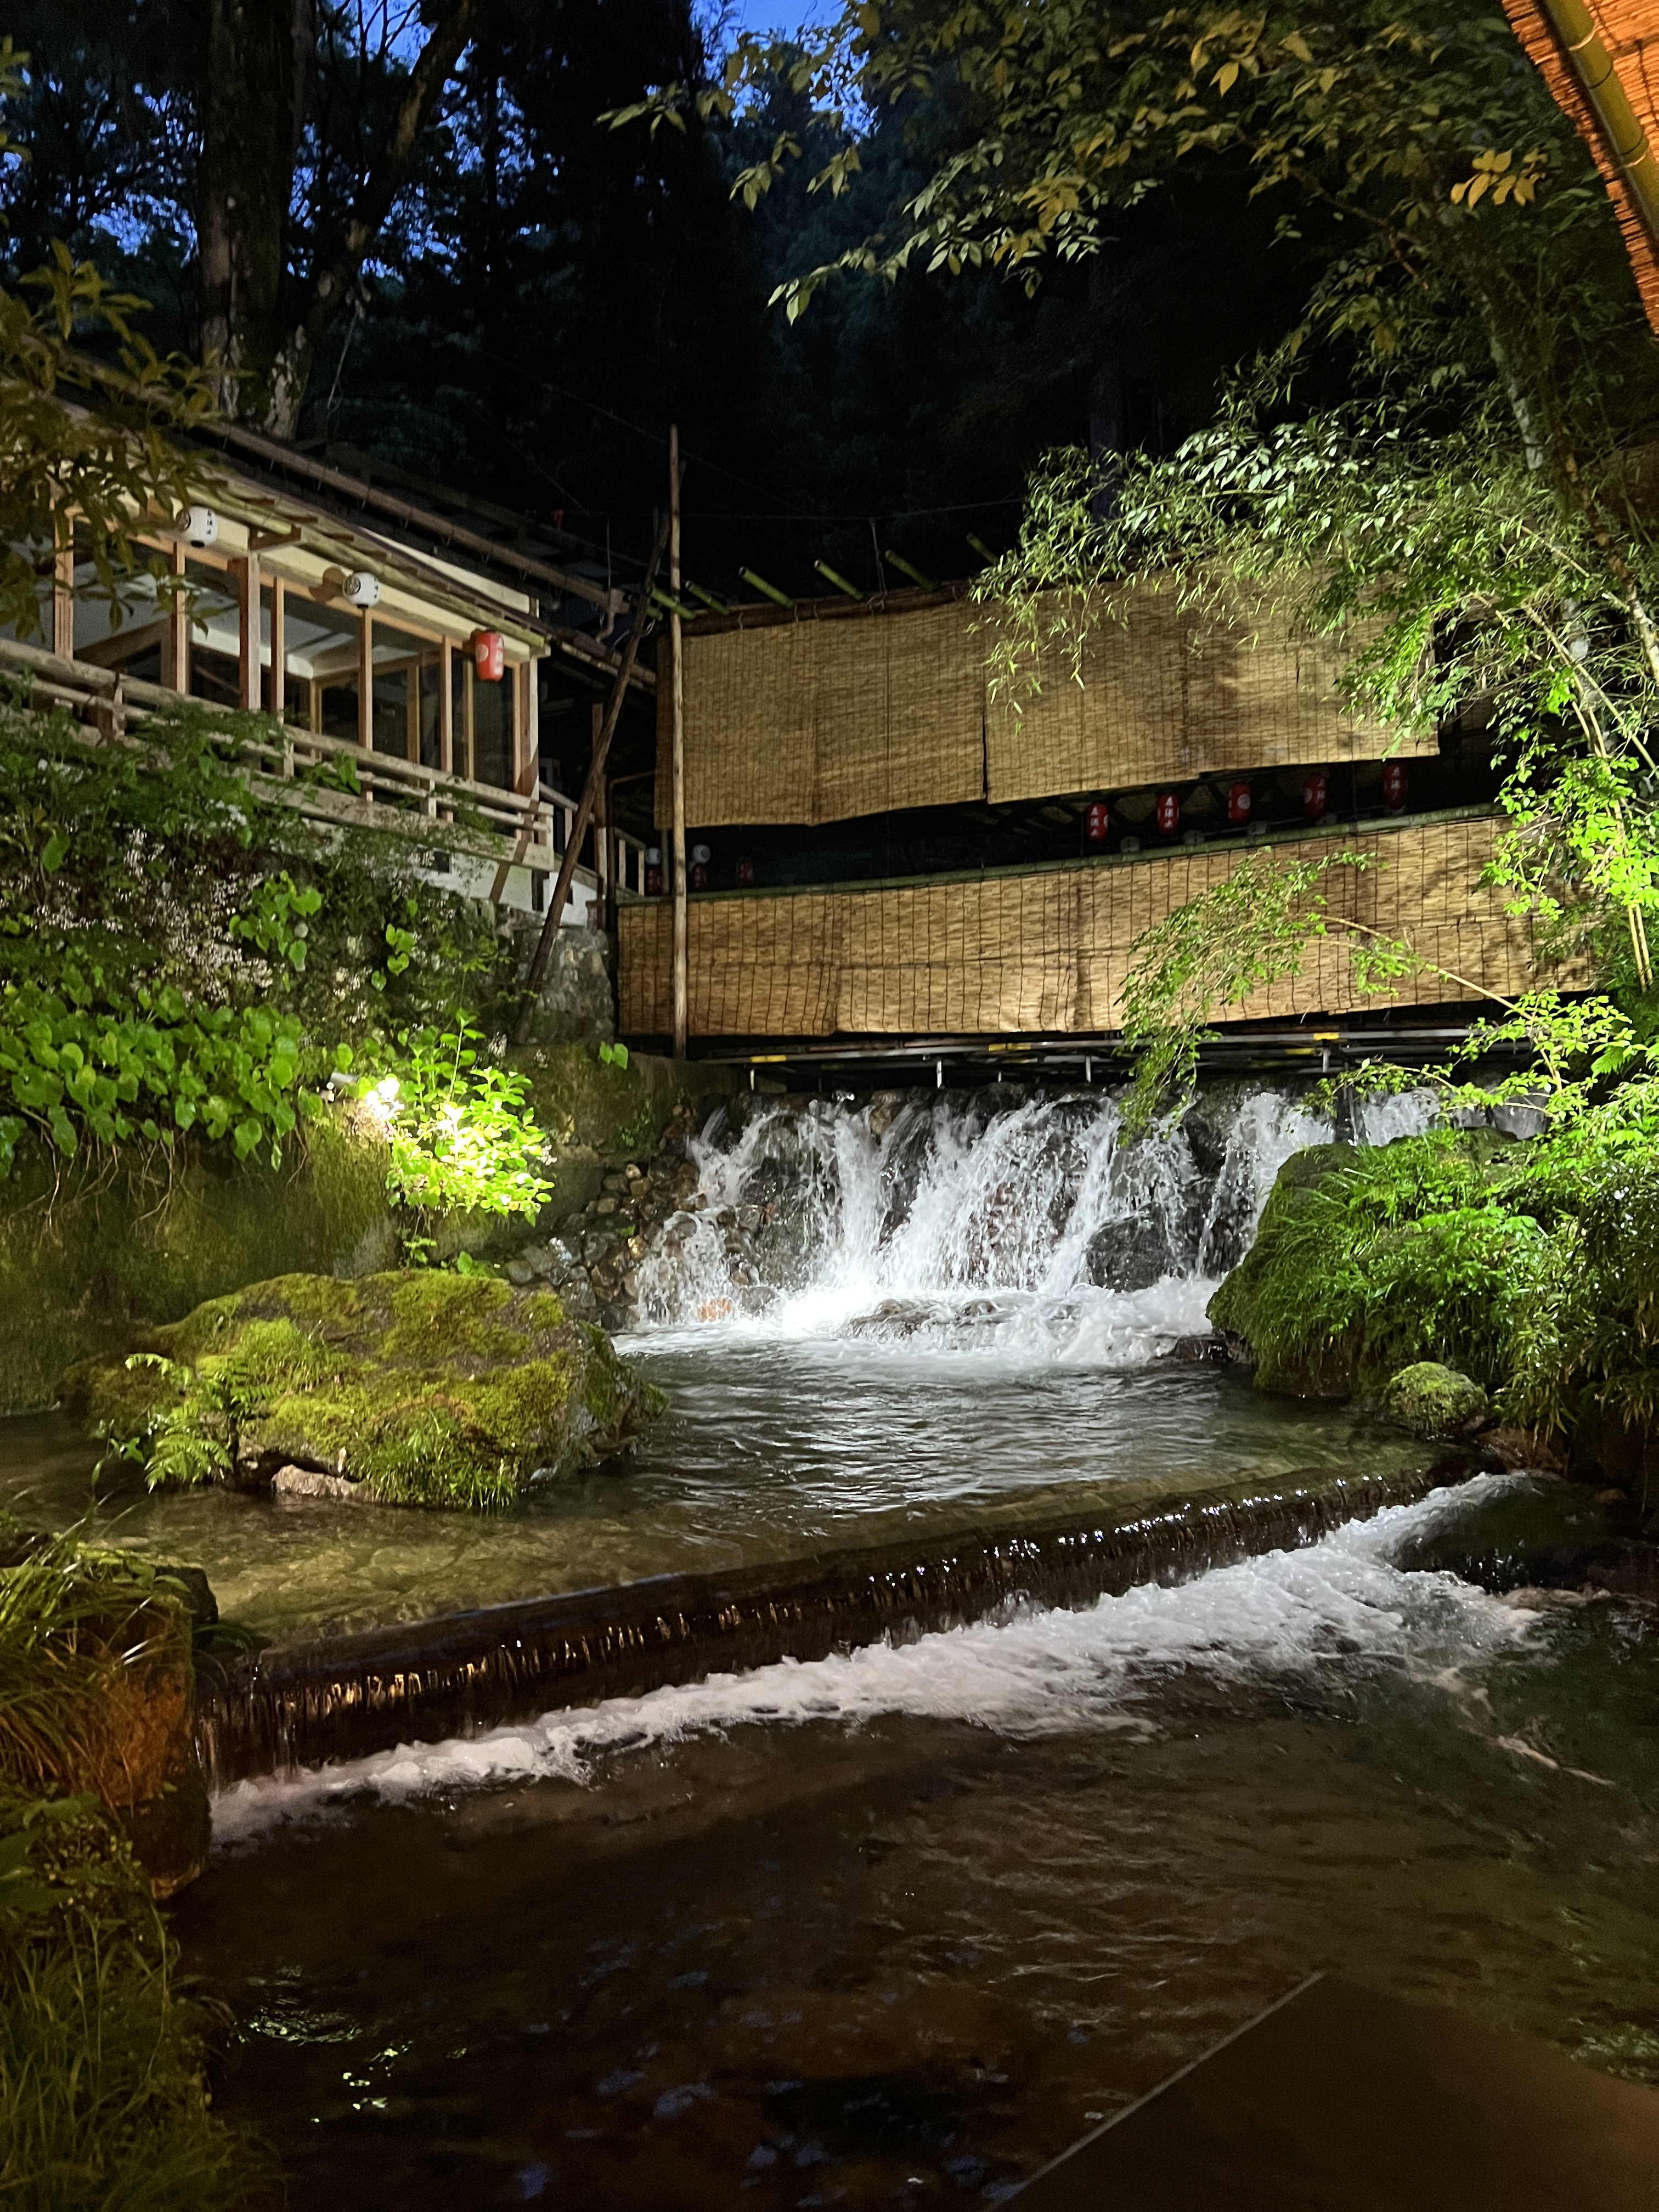
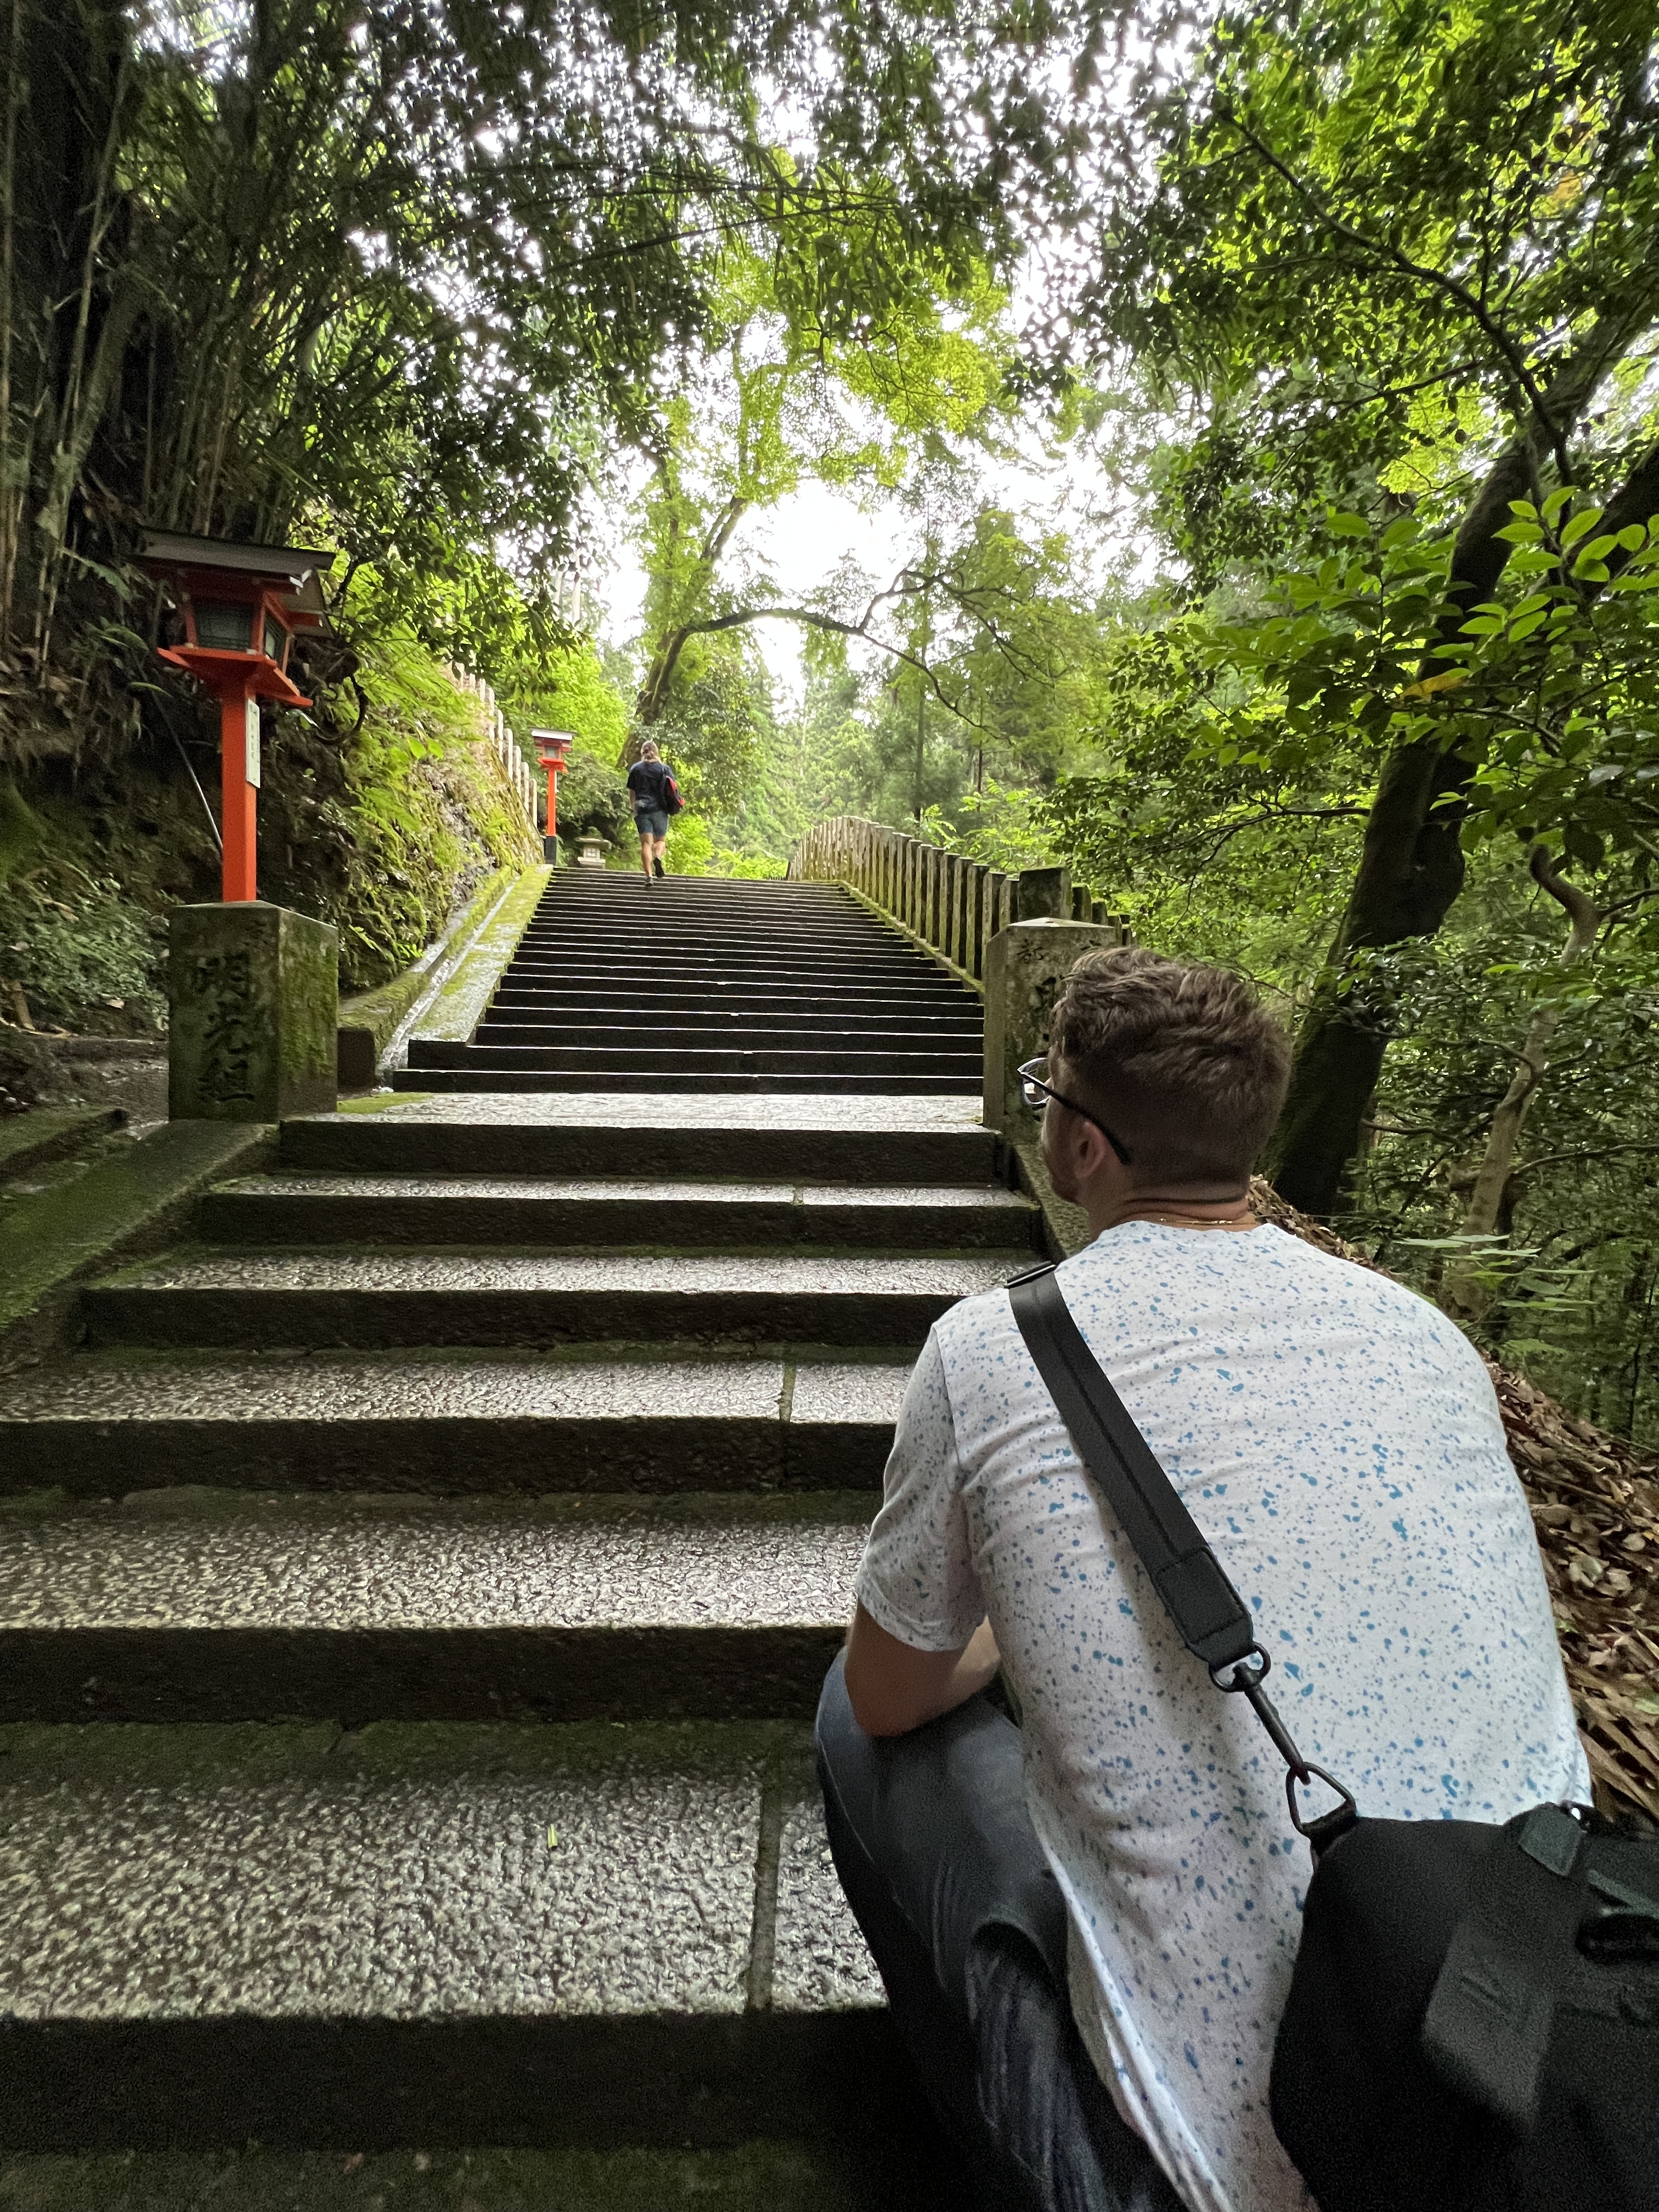
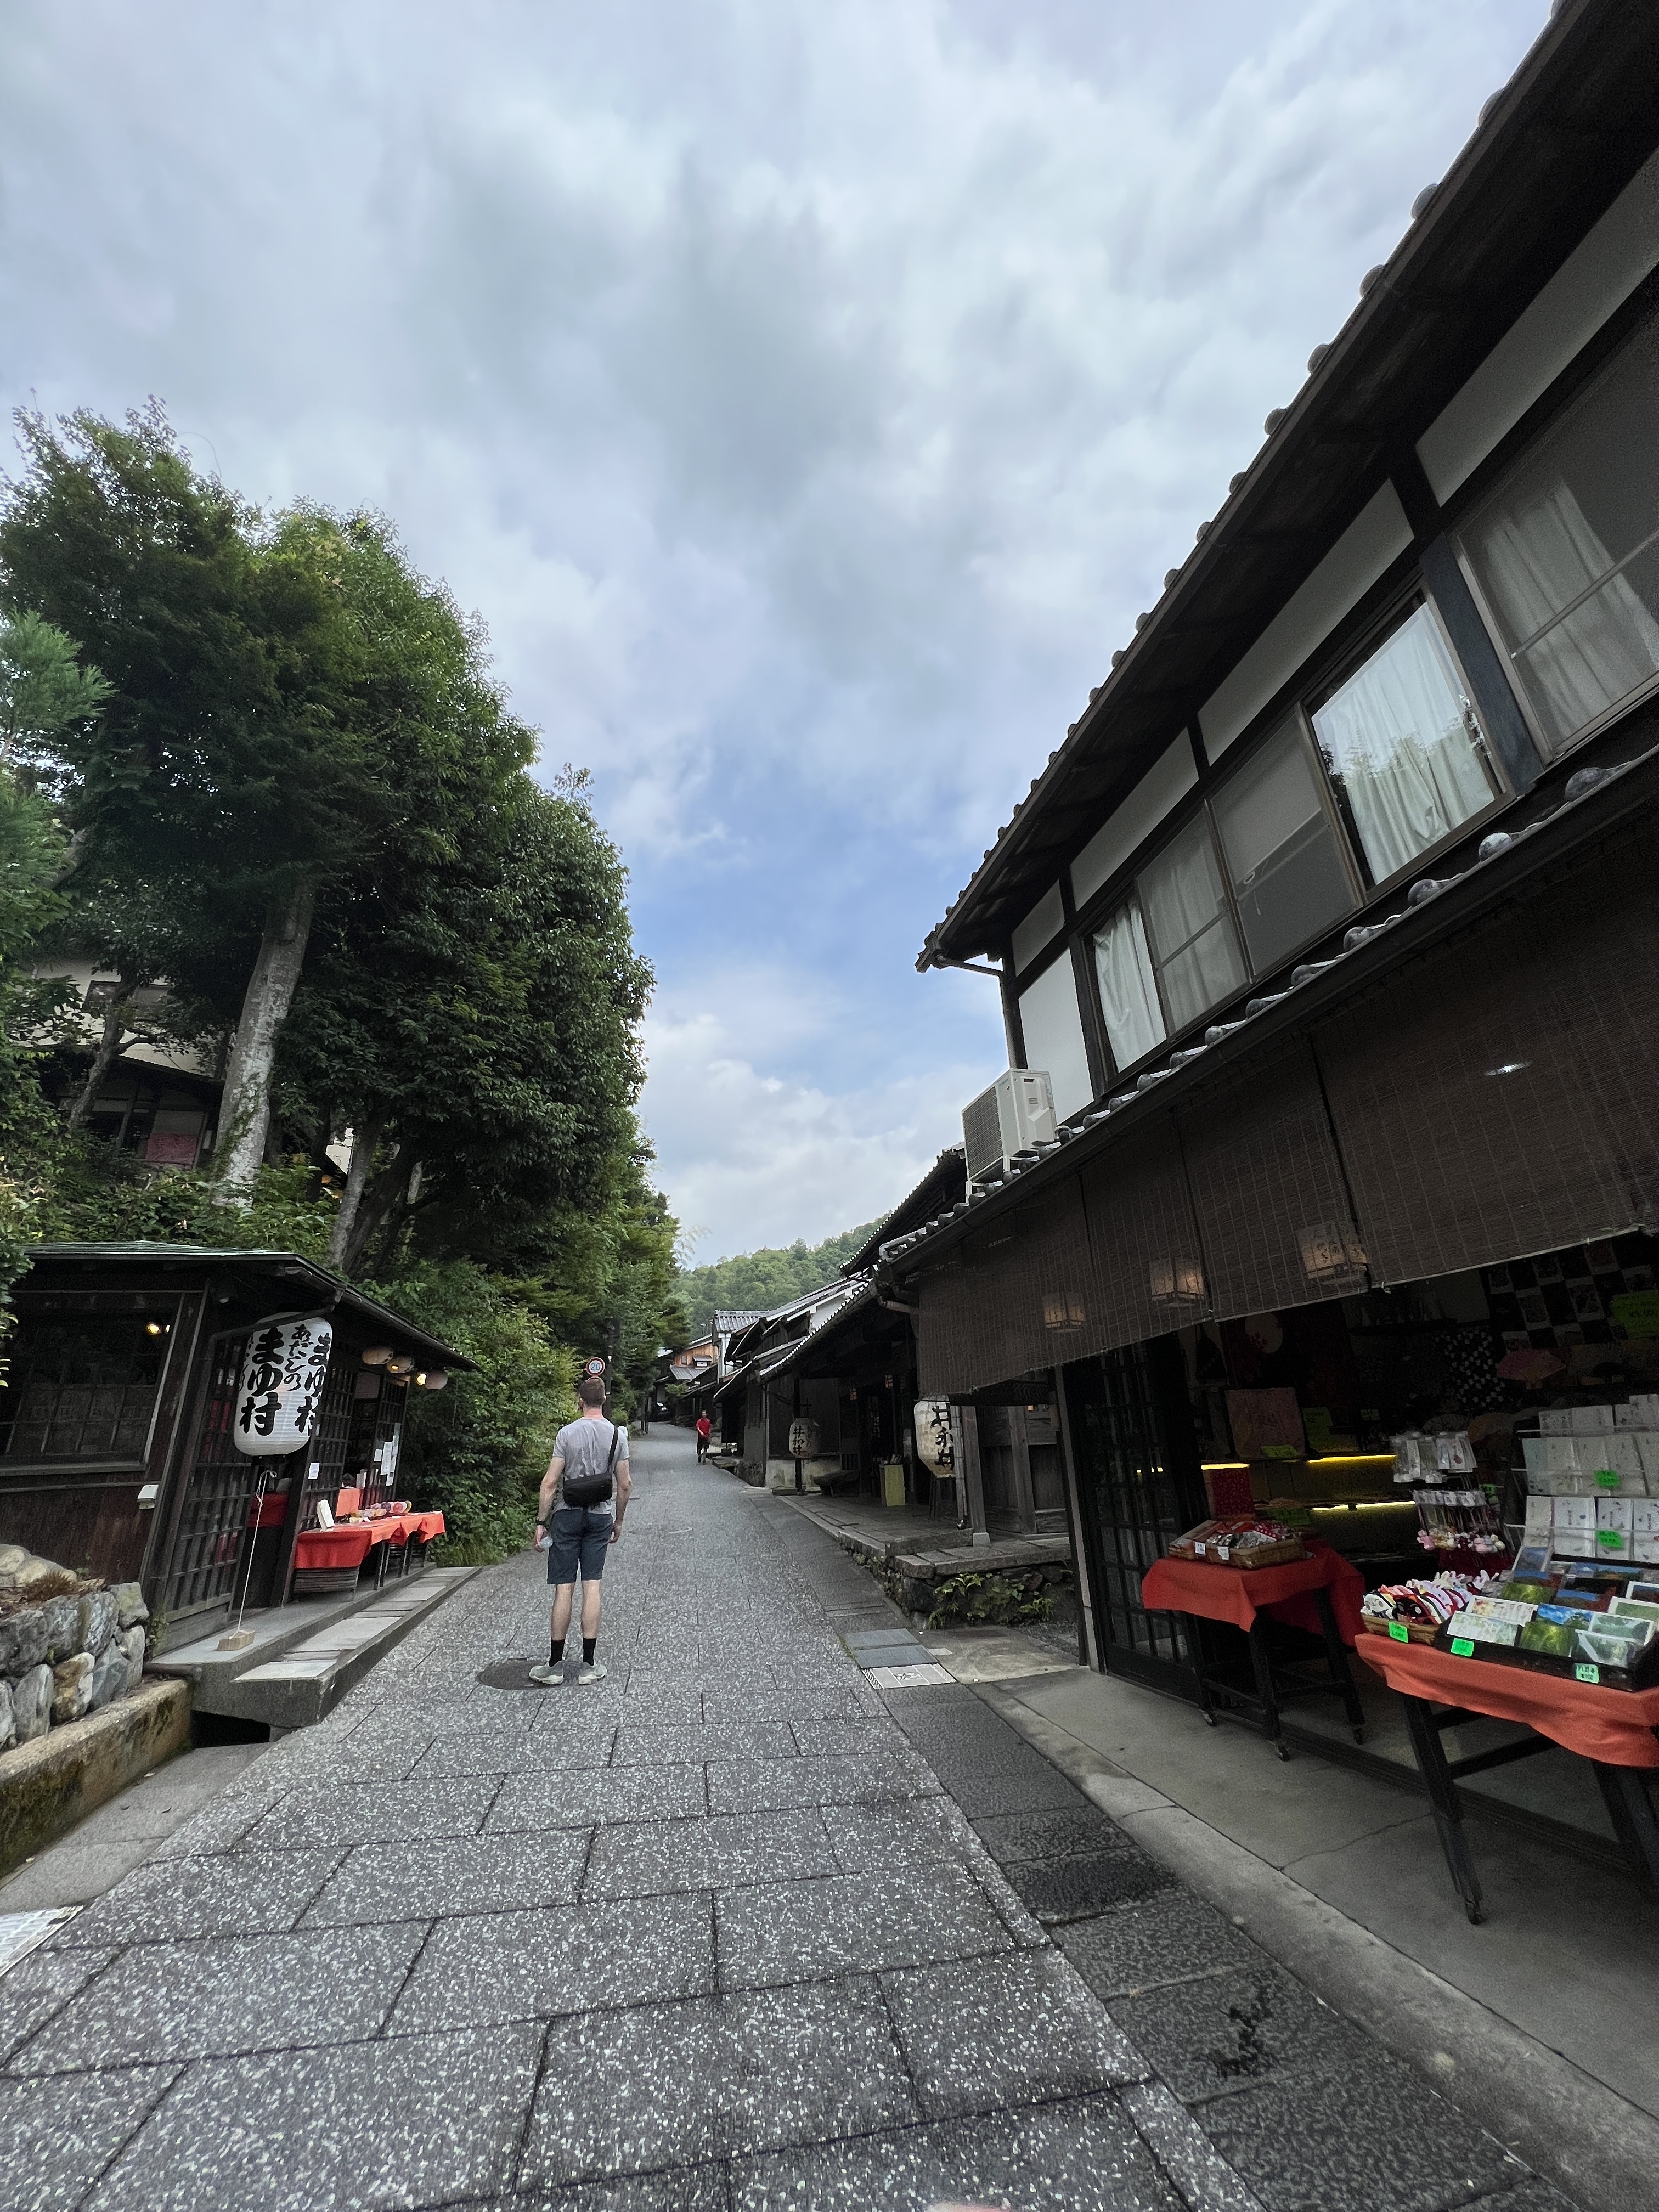
Kurama (Kurama-Dera Temple and Kibune Shrine) – This is a great half-day trip from Kyoto including hiking, and once in Kibune there are a bunch of restaurants that are set over the river for a truly unique dining experience. The full itinerary of this excursion can be found in part 2 of the series.
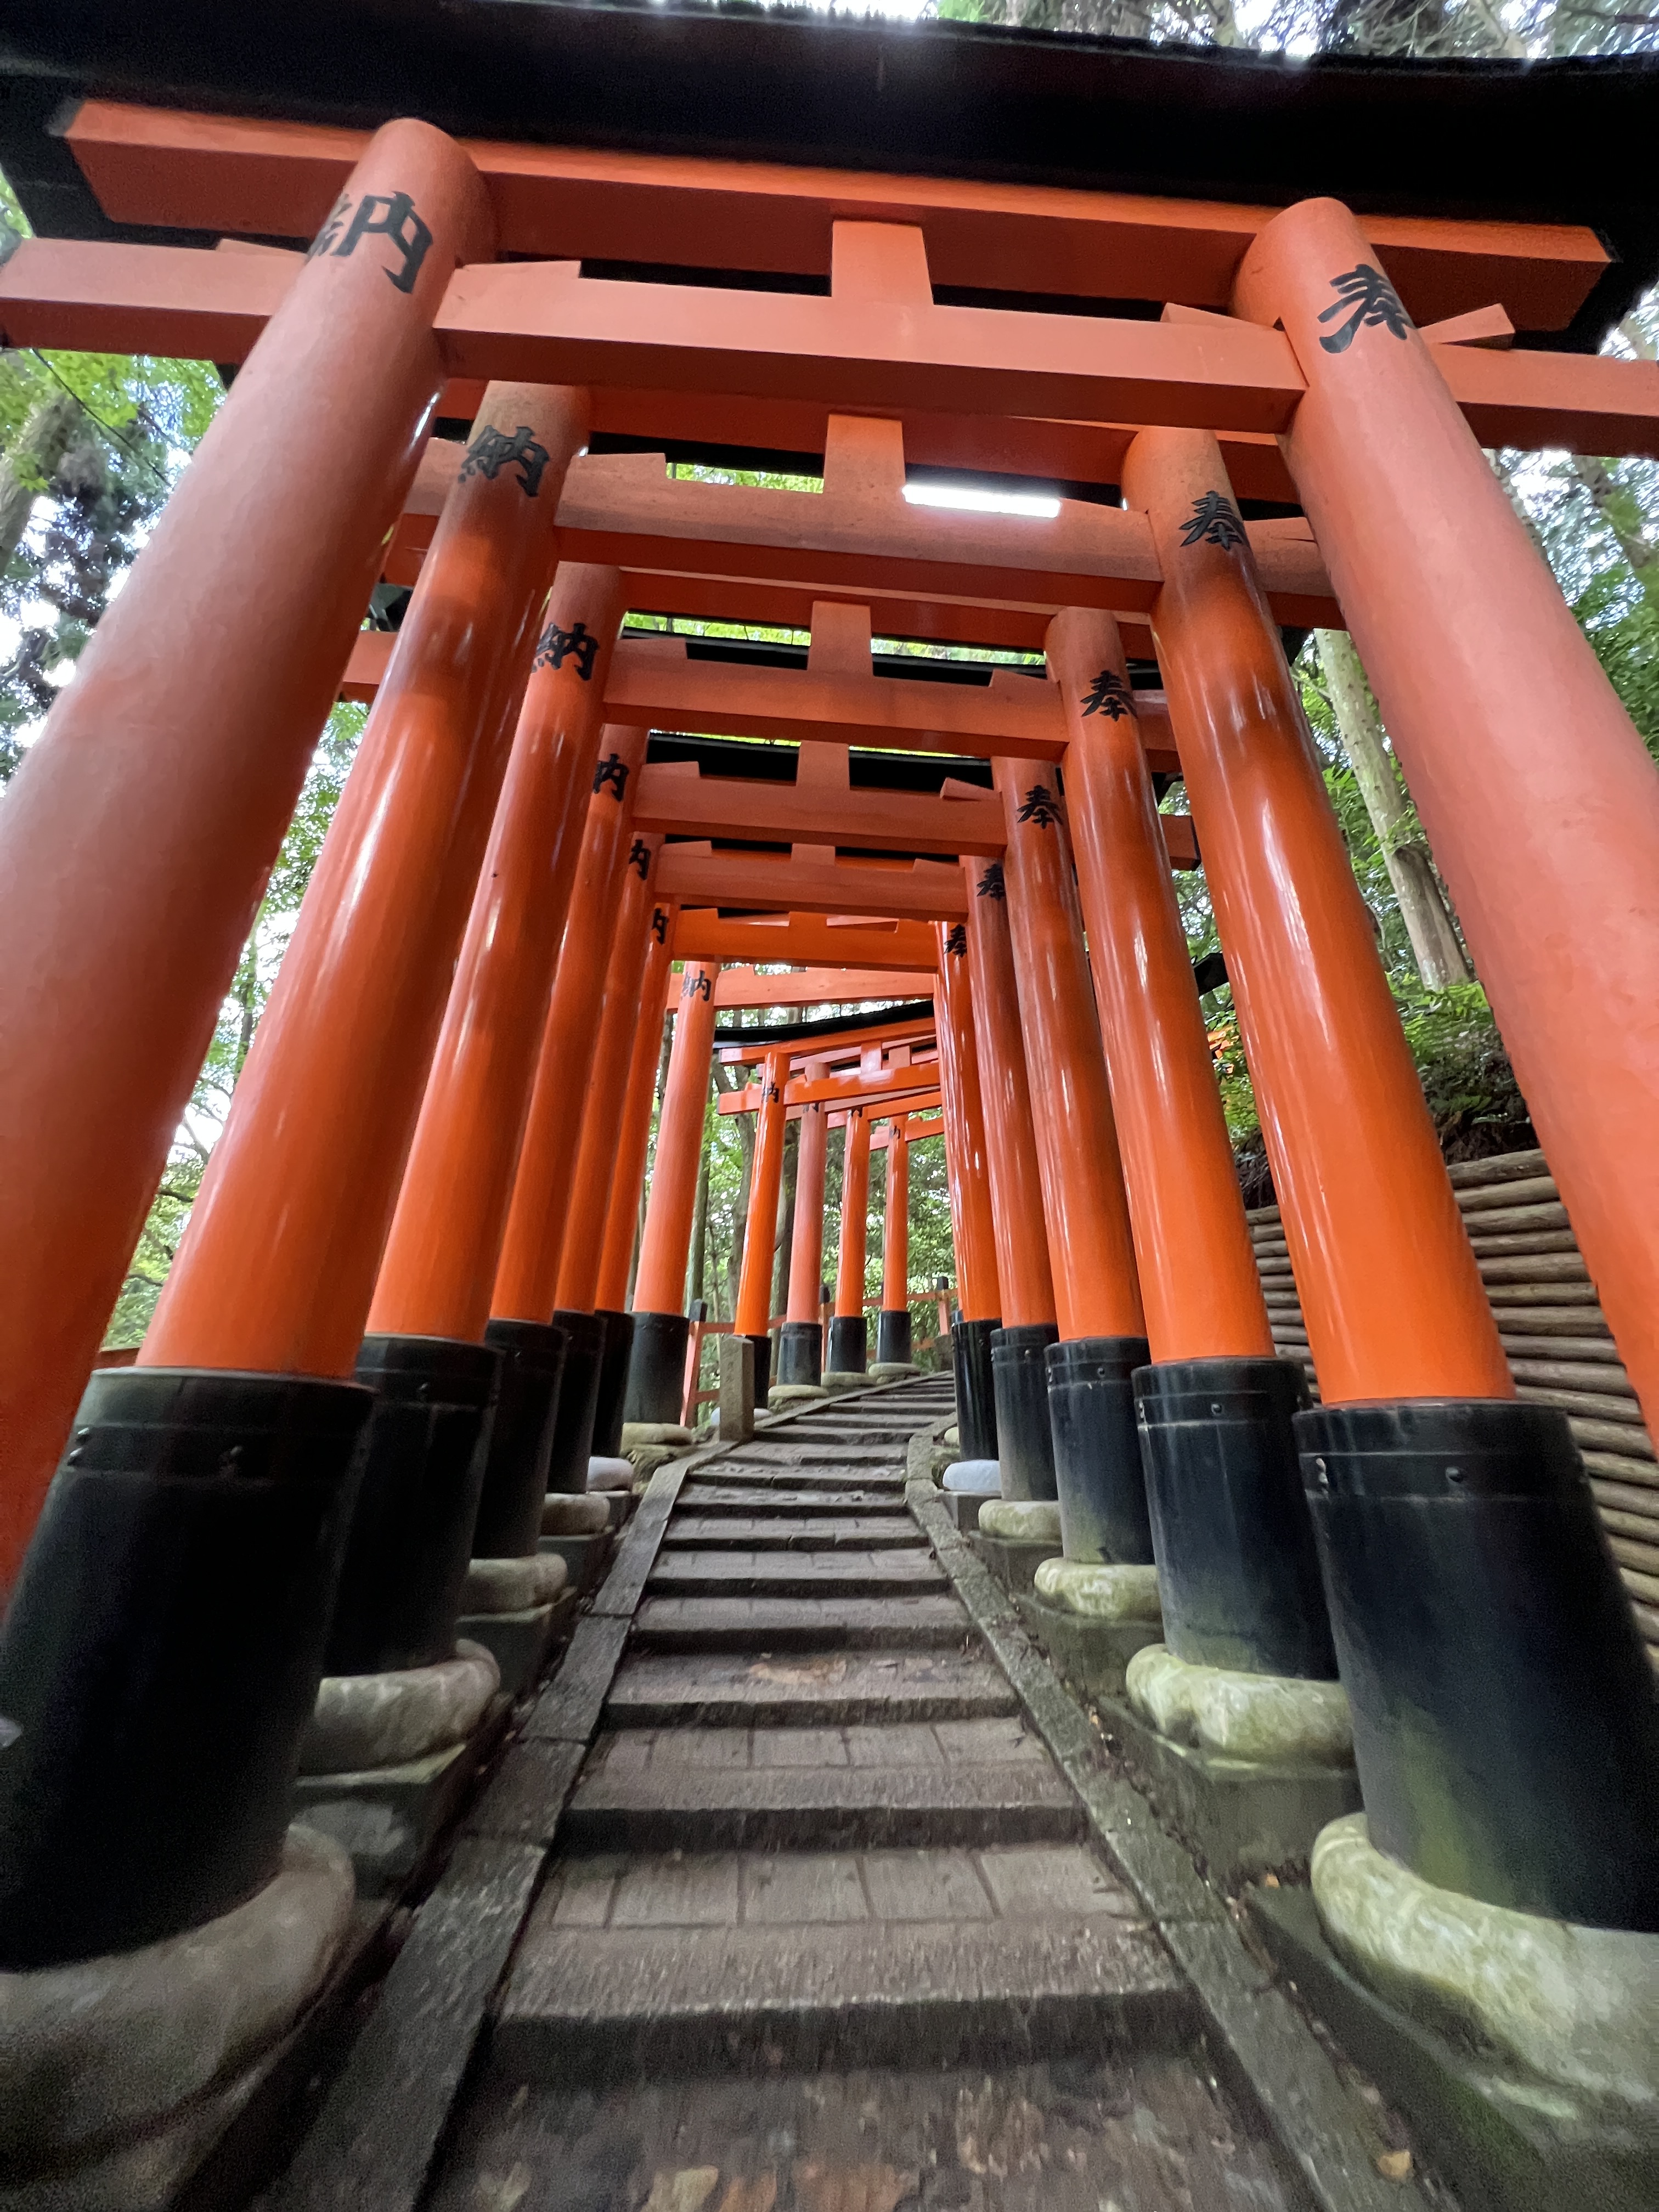
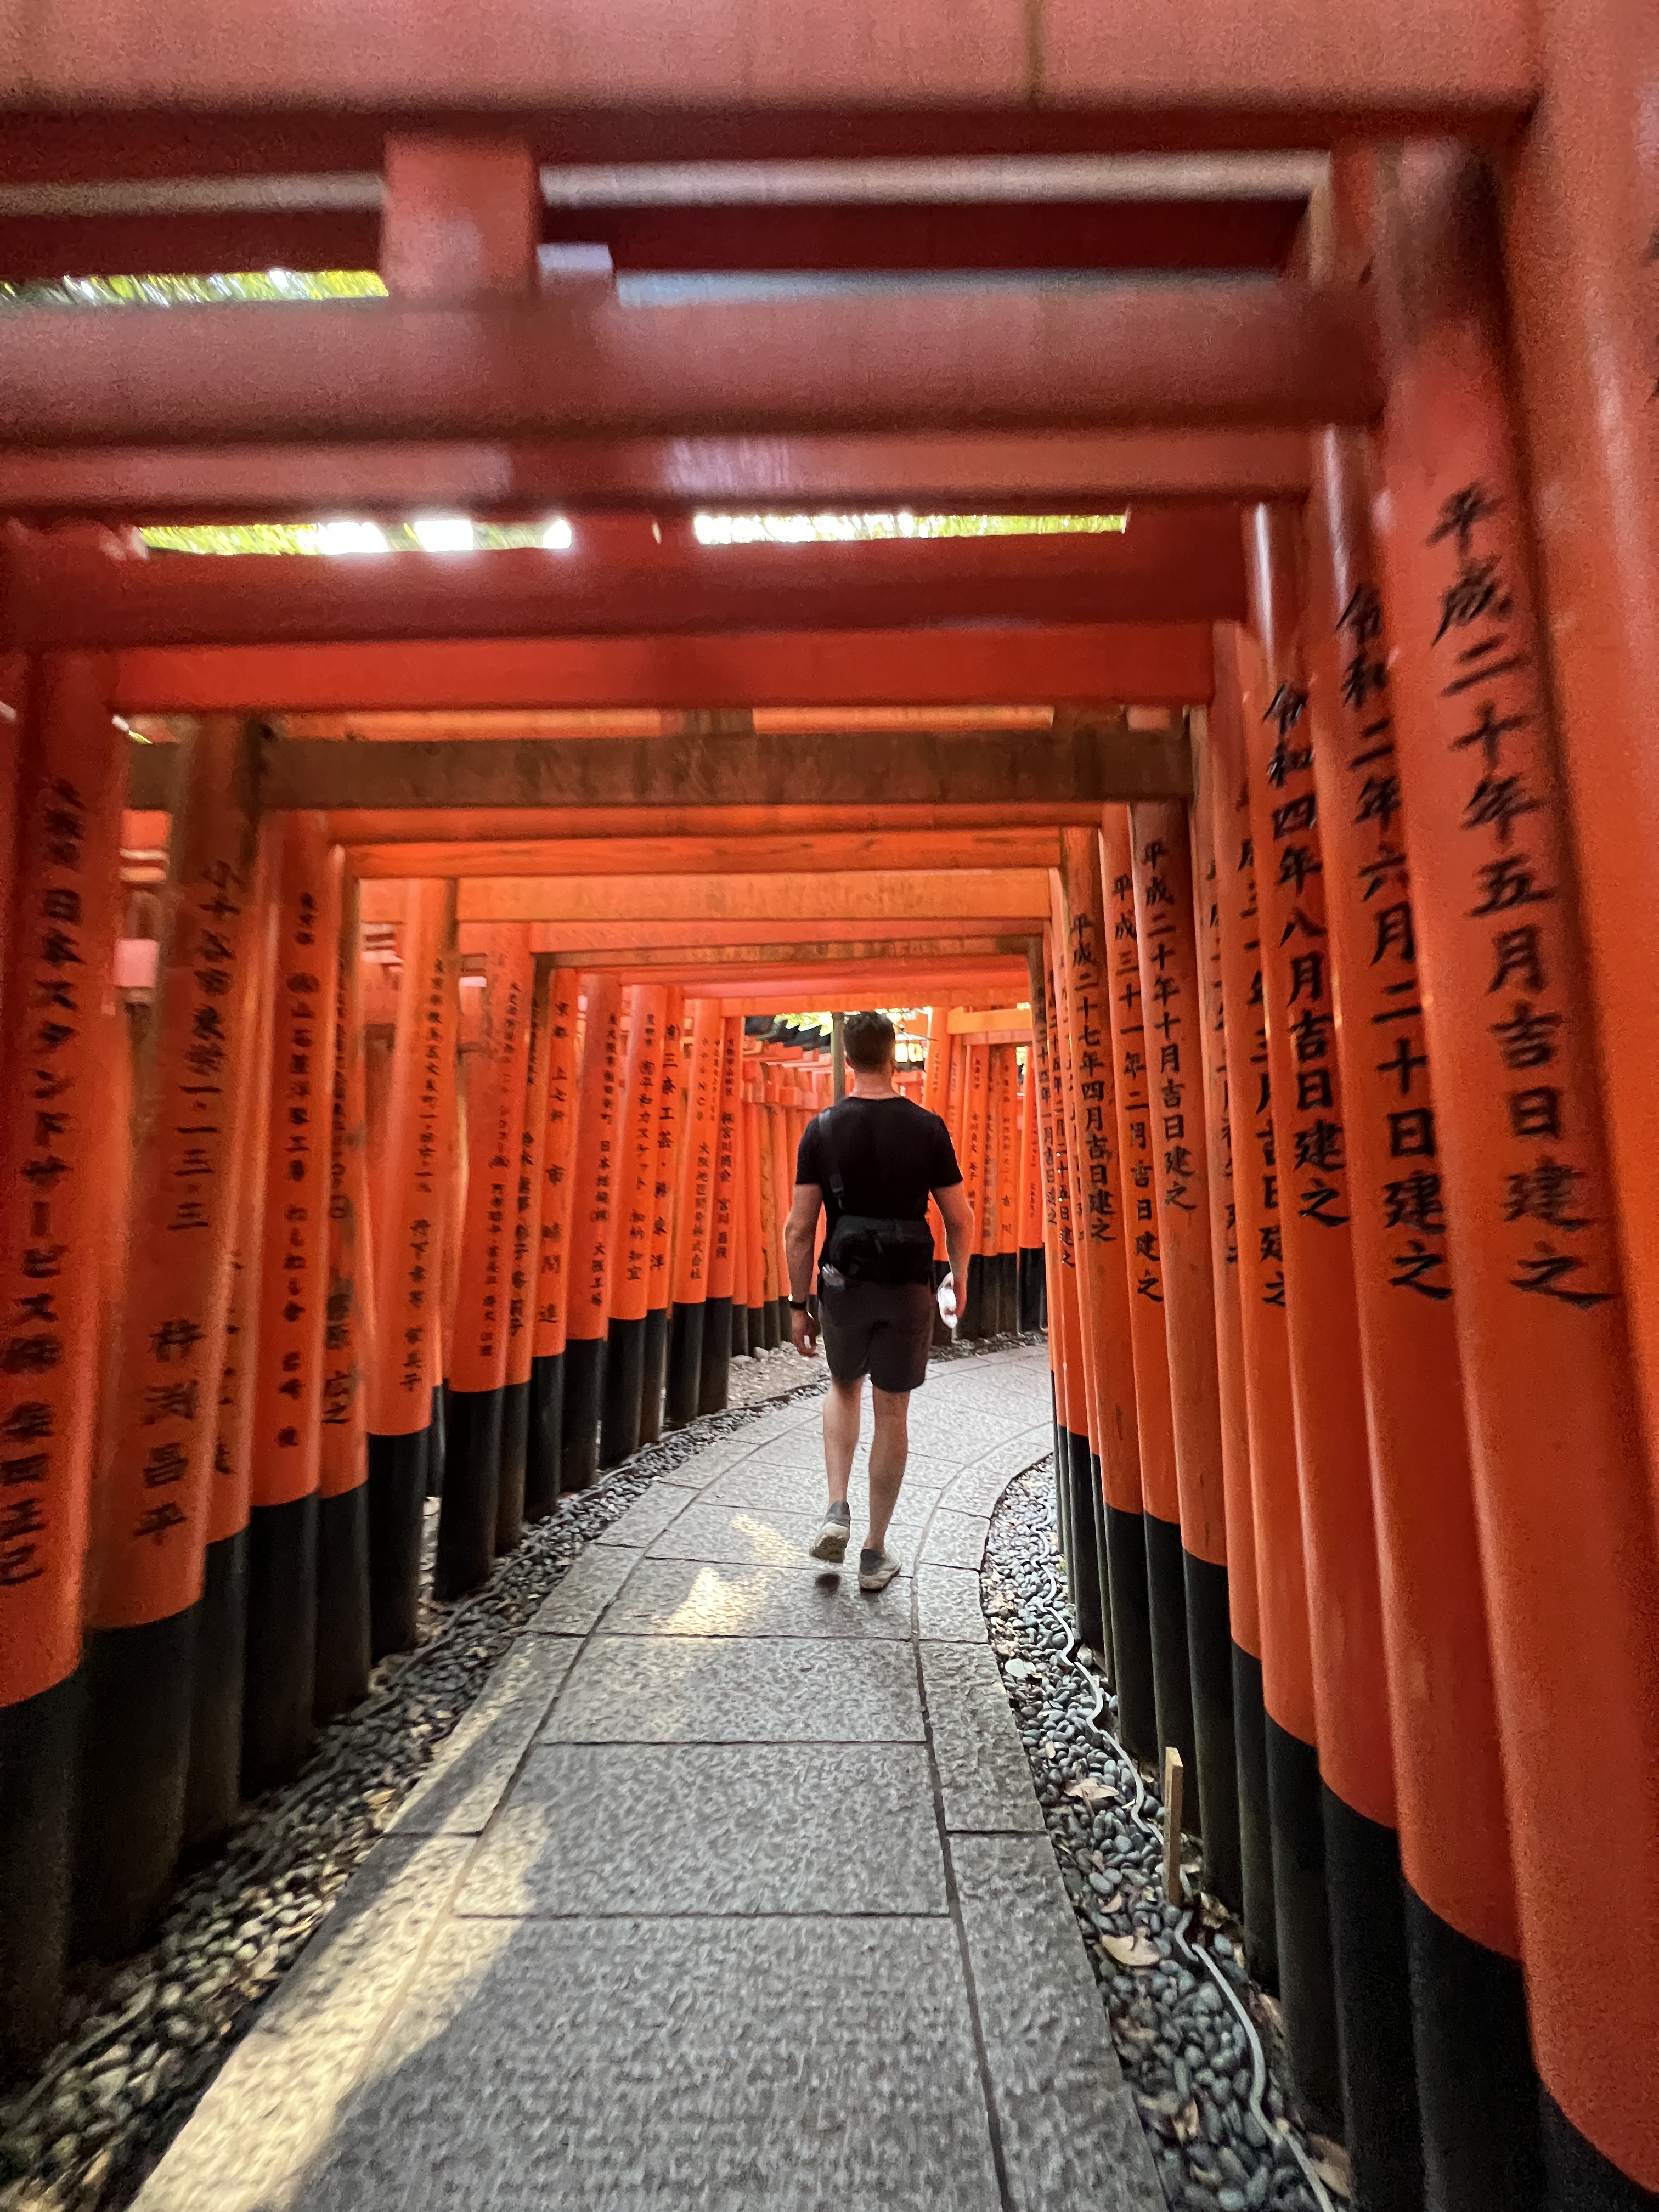
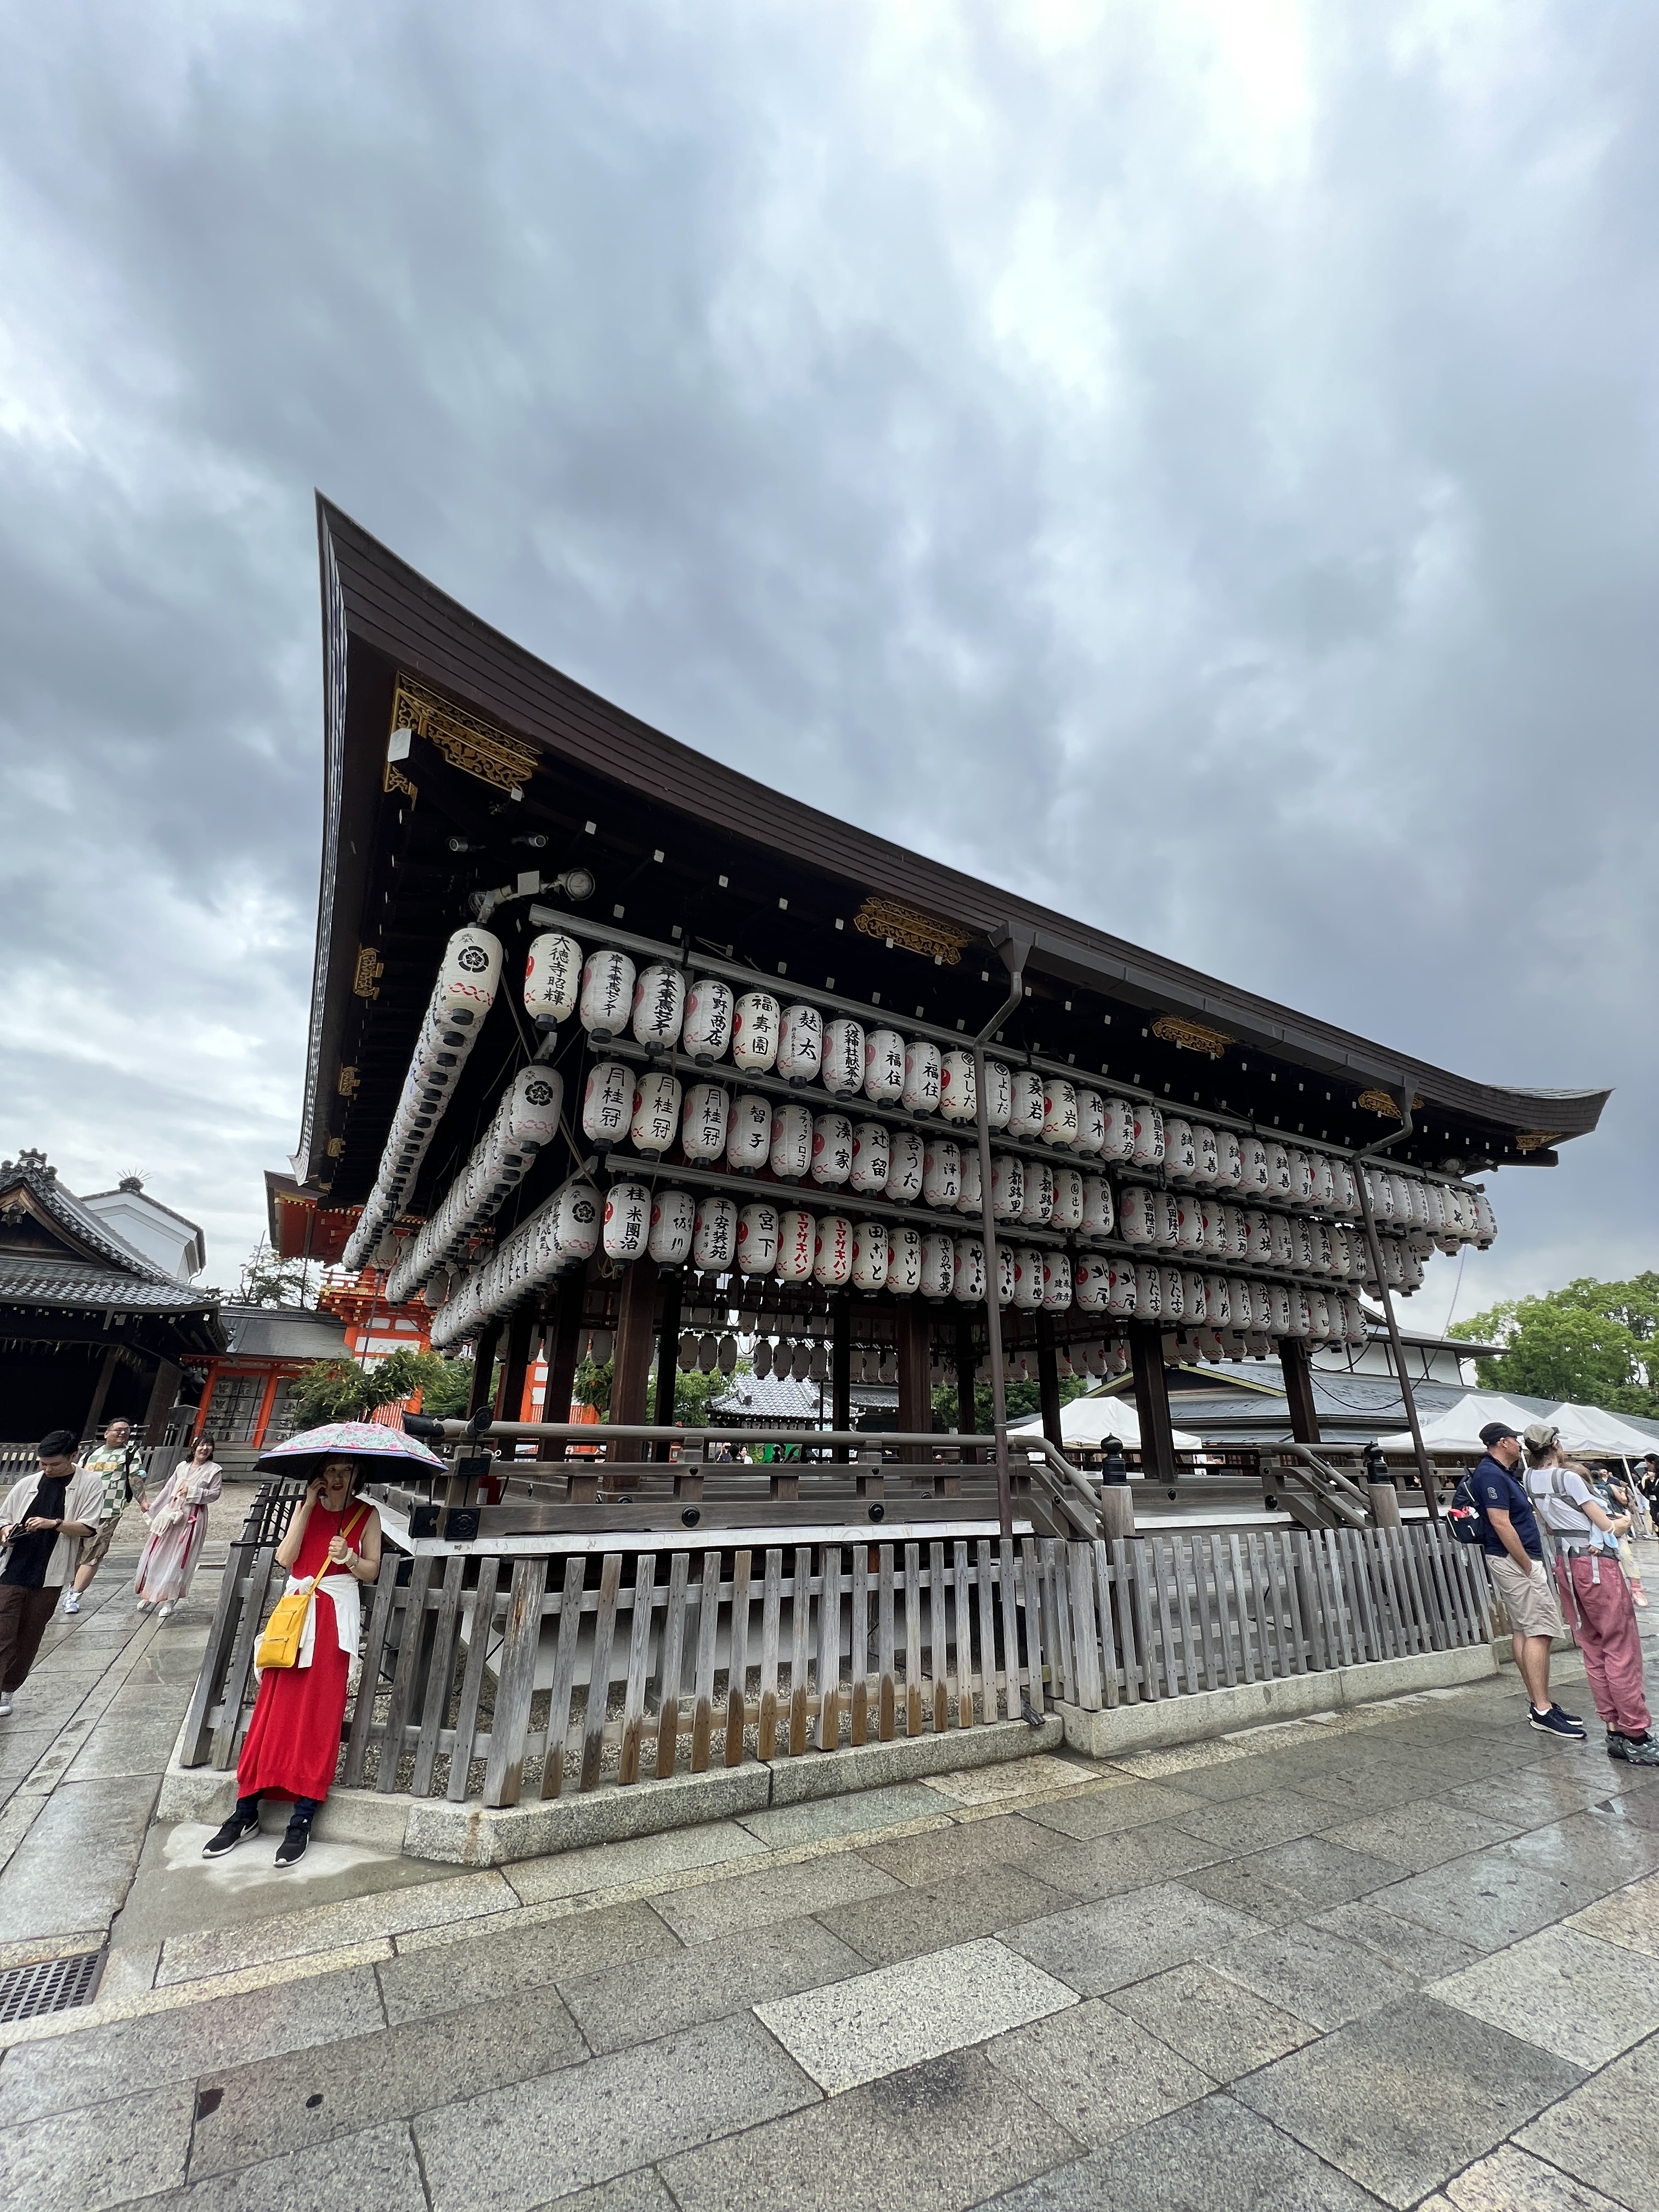
Fushimi Inari Shrine – This is an absolute MUST, and probably one of the most famous shrines in all of Japan. This is a short hike through thousands of Torii gates, all very close together, to create a sort of sacred tunnel to walk through. It is about a 1.5 hour loop if you choose to do the whole thing and half of the loop is up a staircase, but it is totally worth it. We also did an extra hike which we really enjoyed. Find all the details in part 2 of the series.
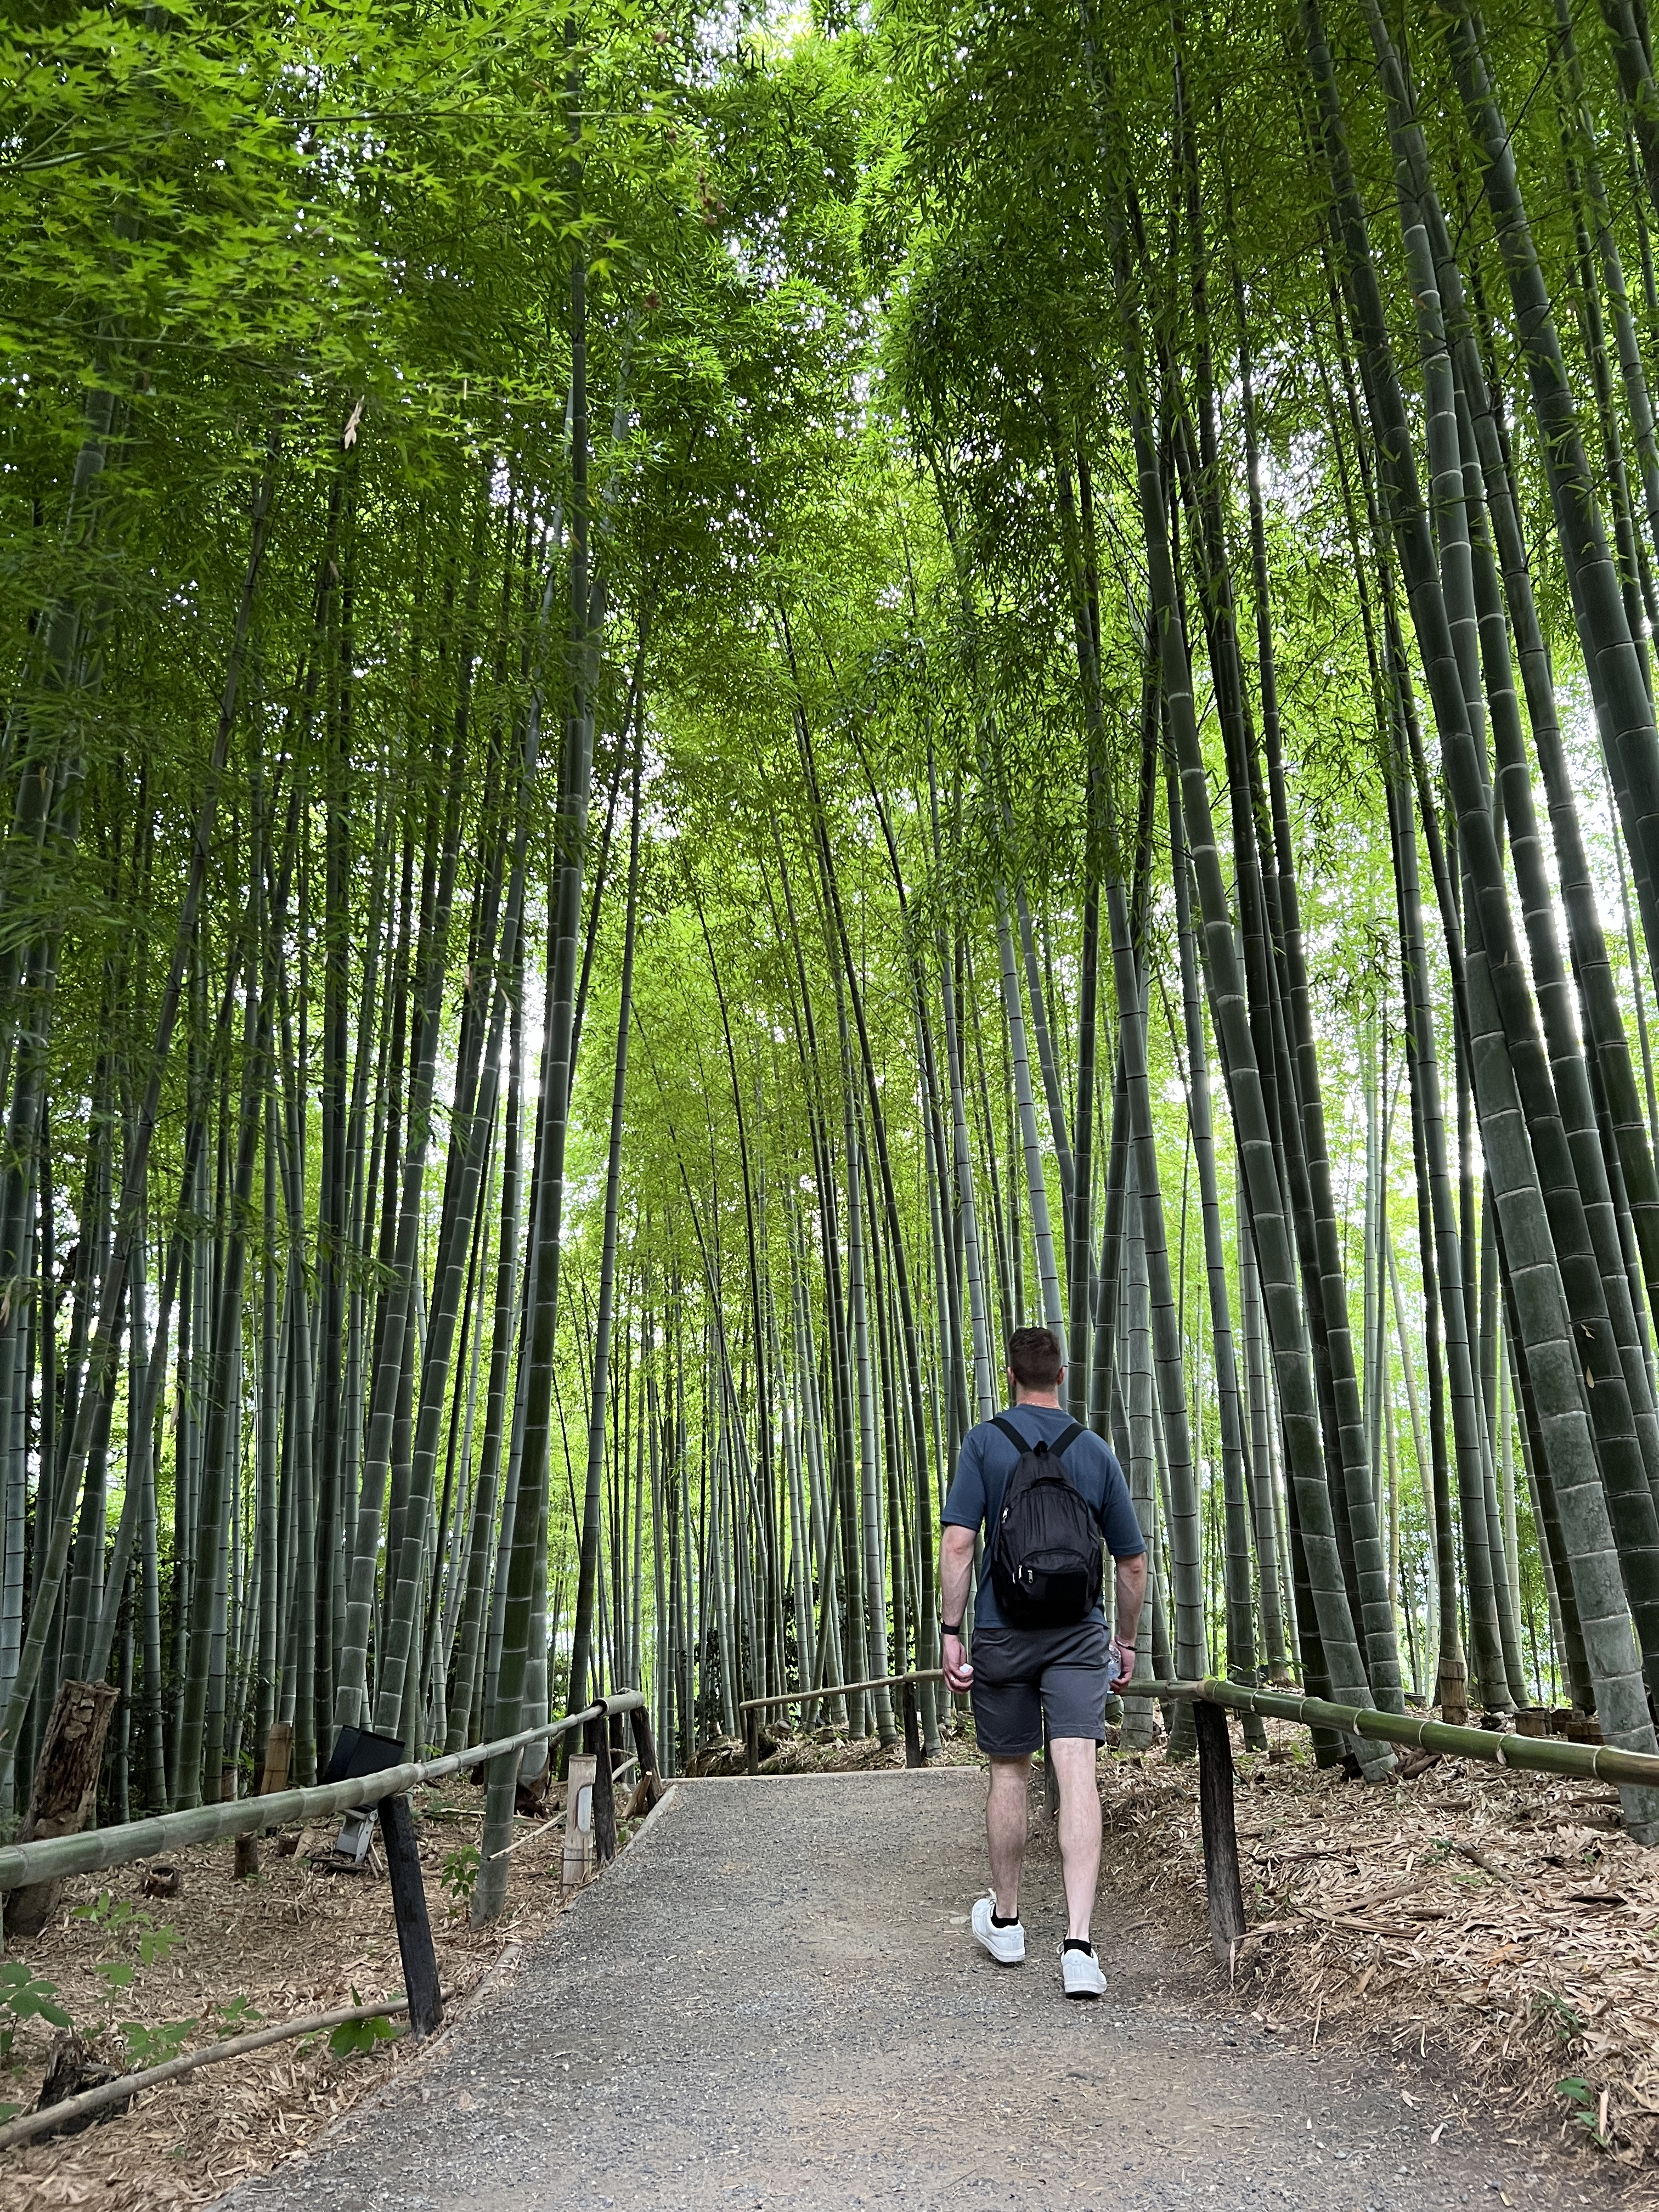
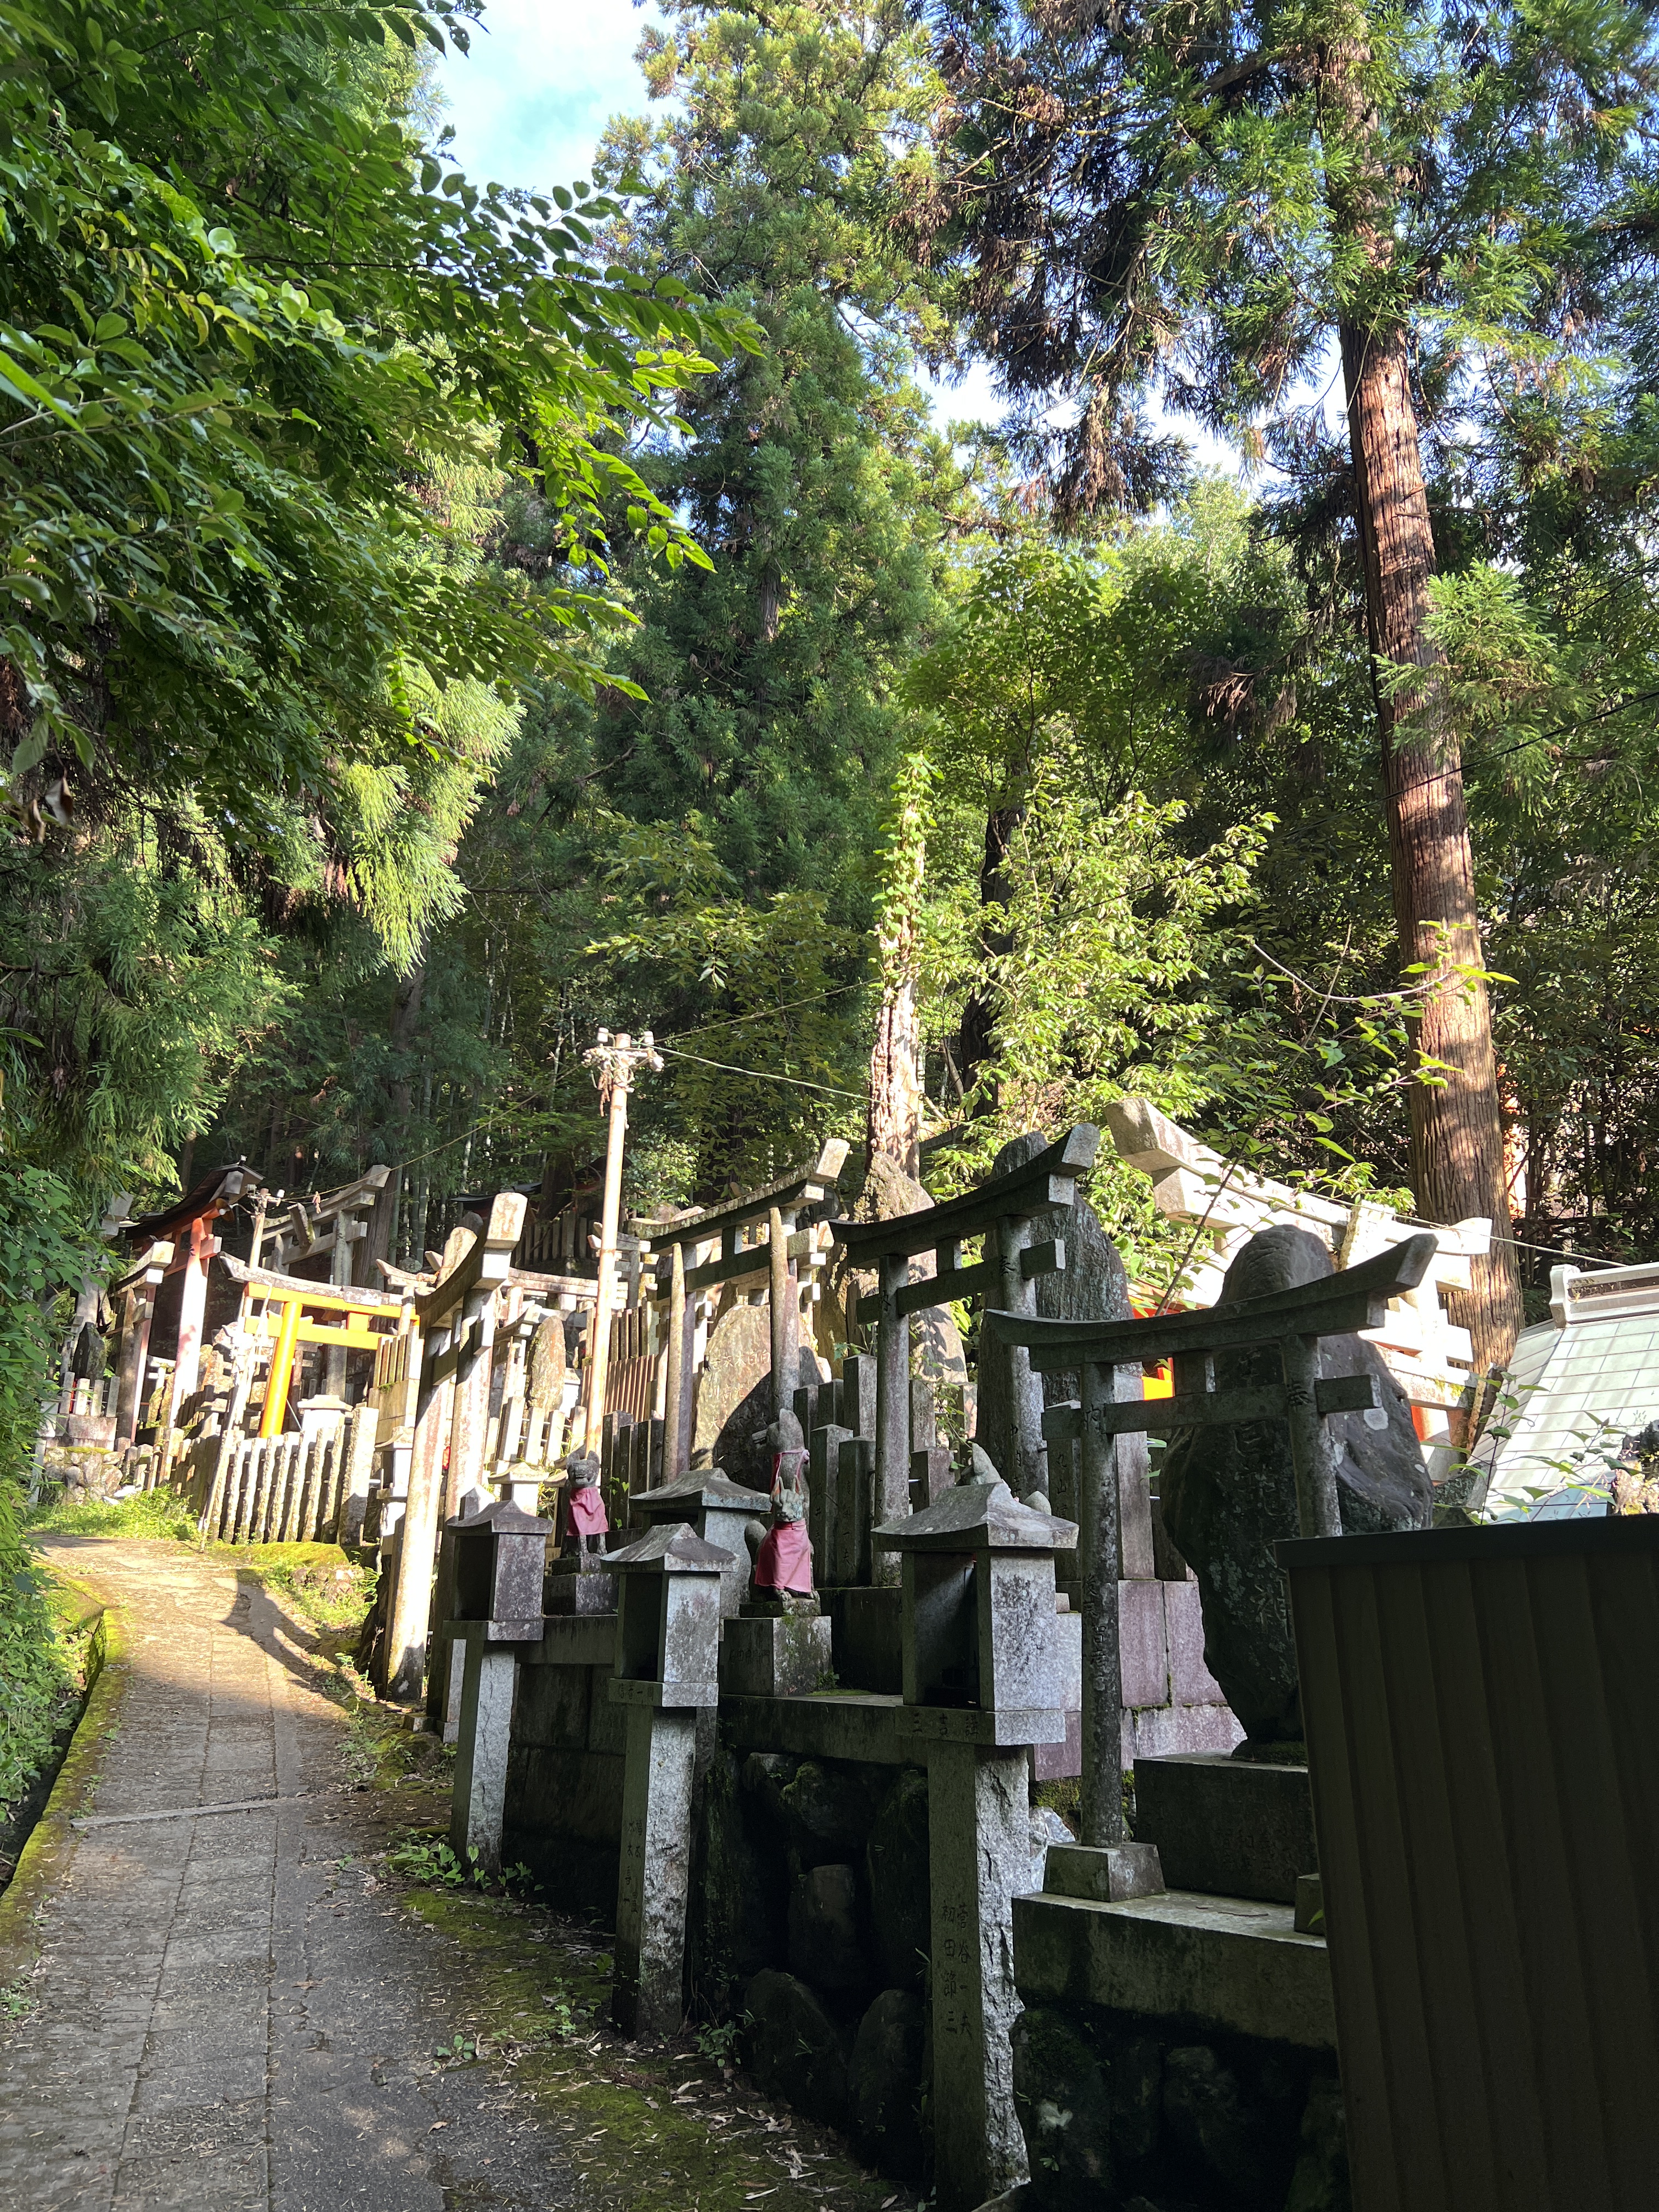
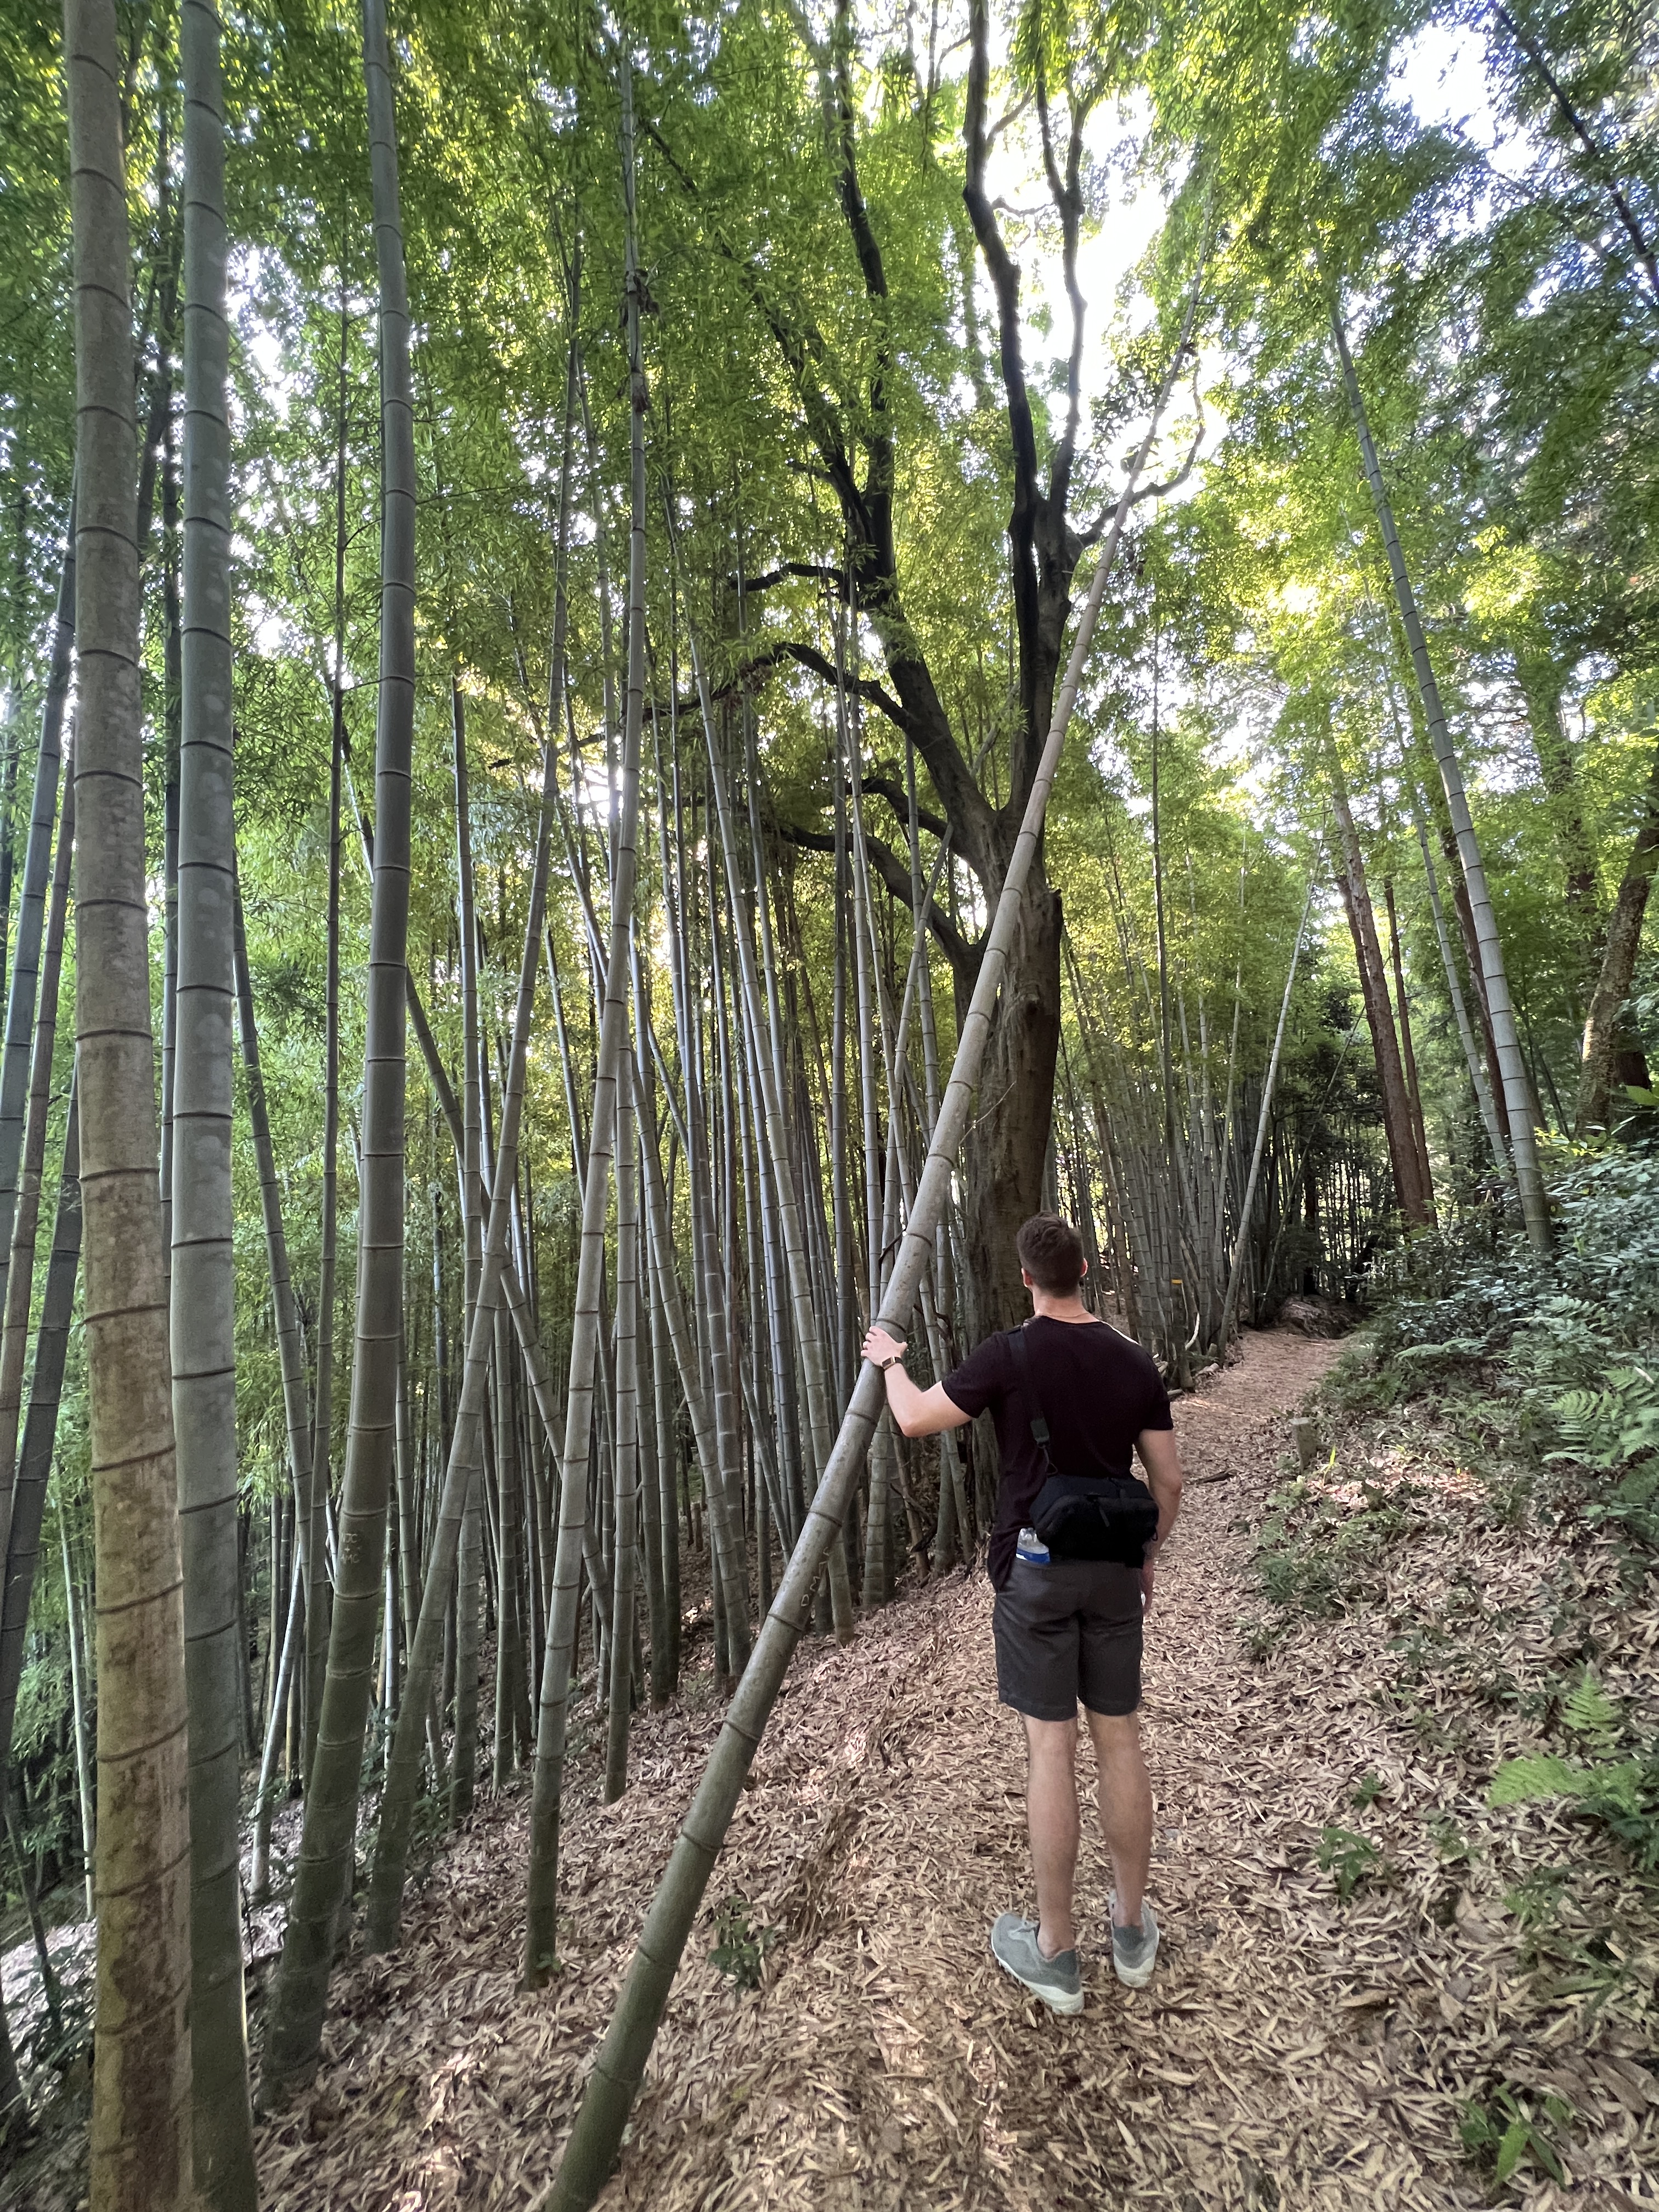
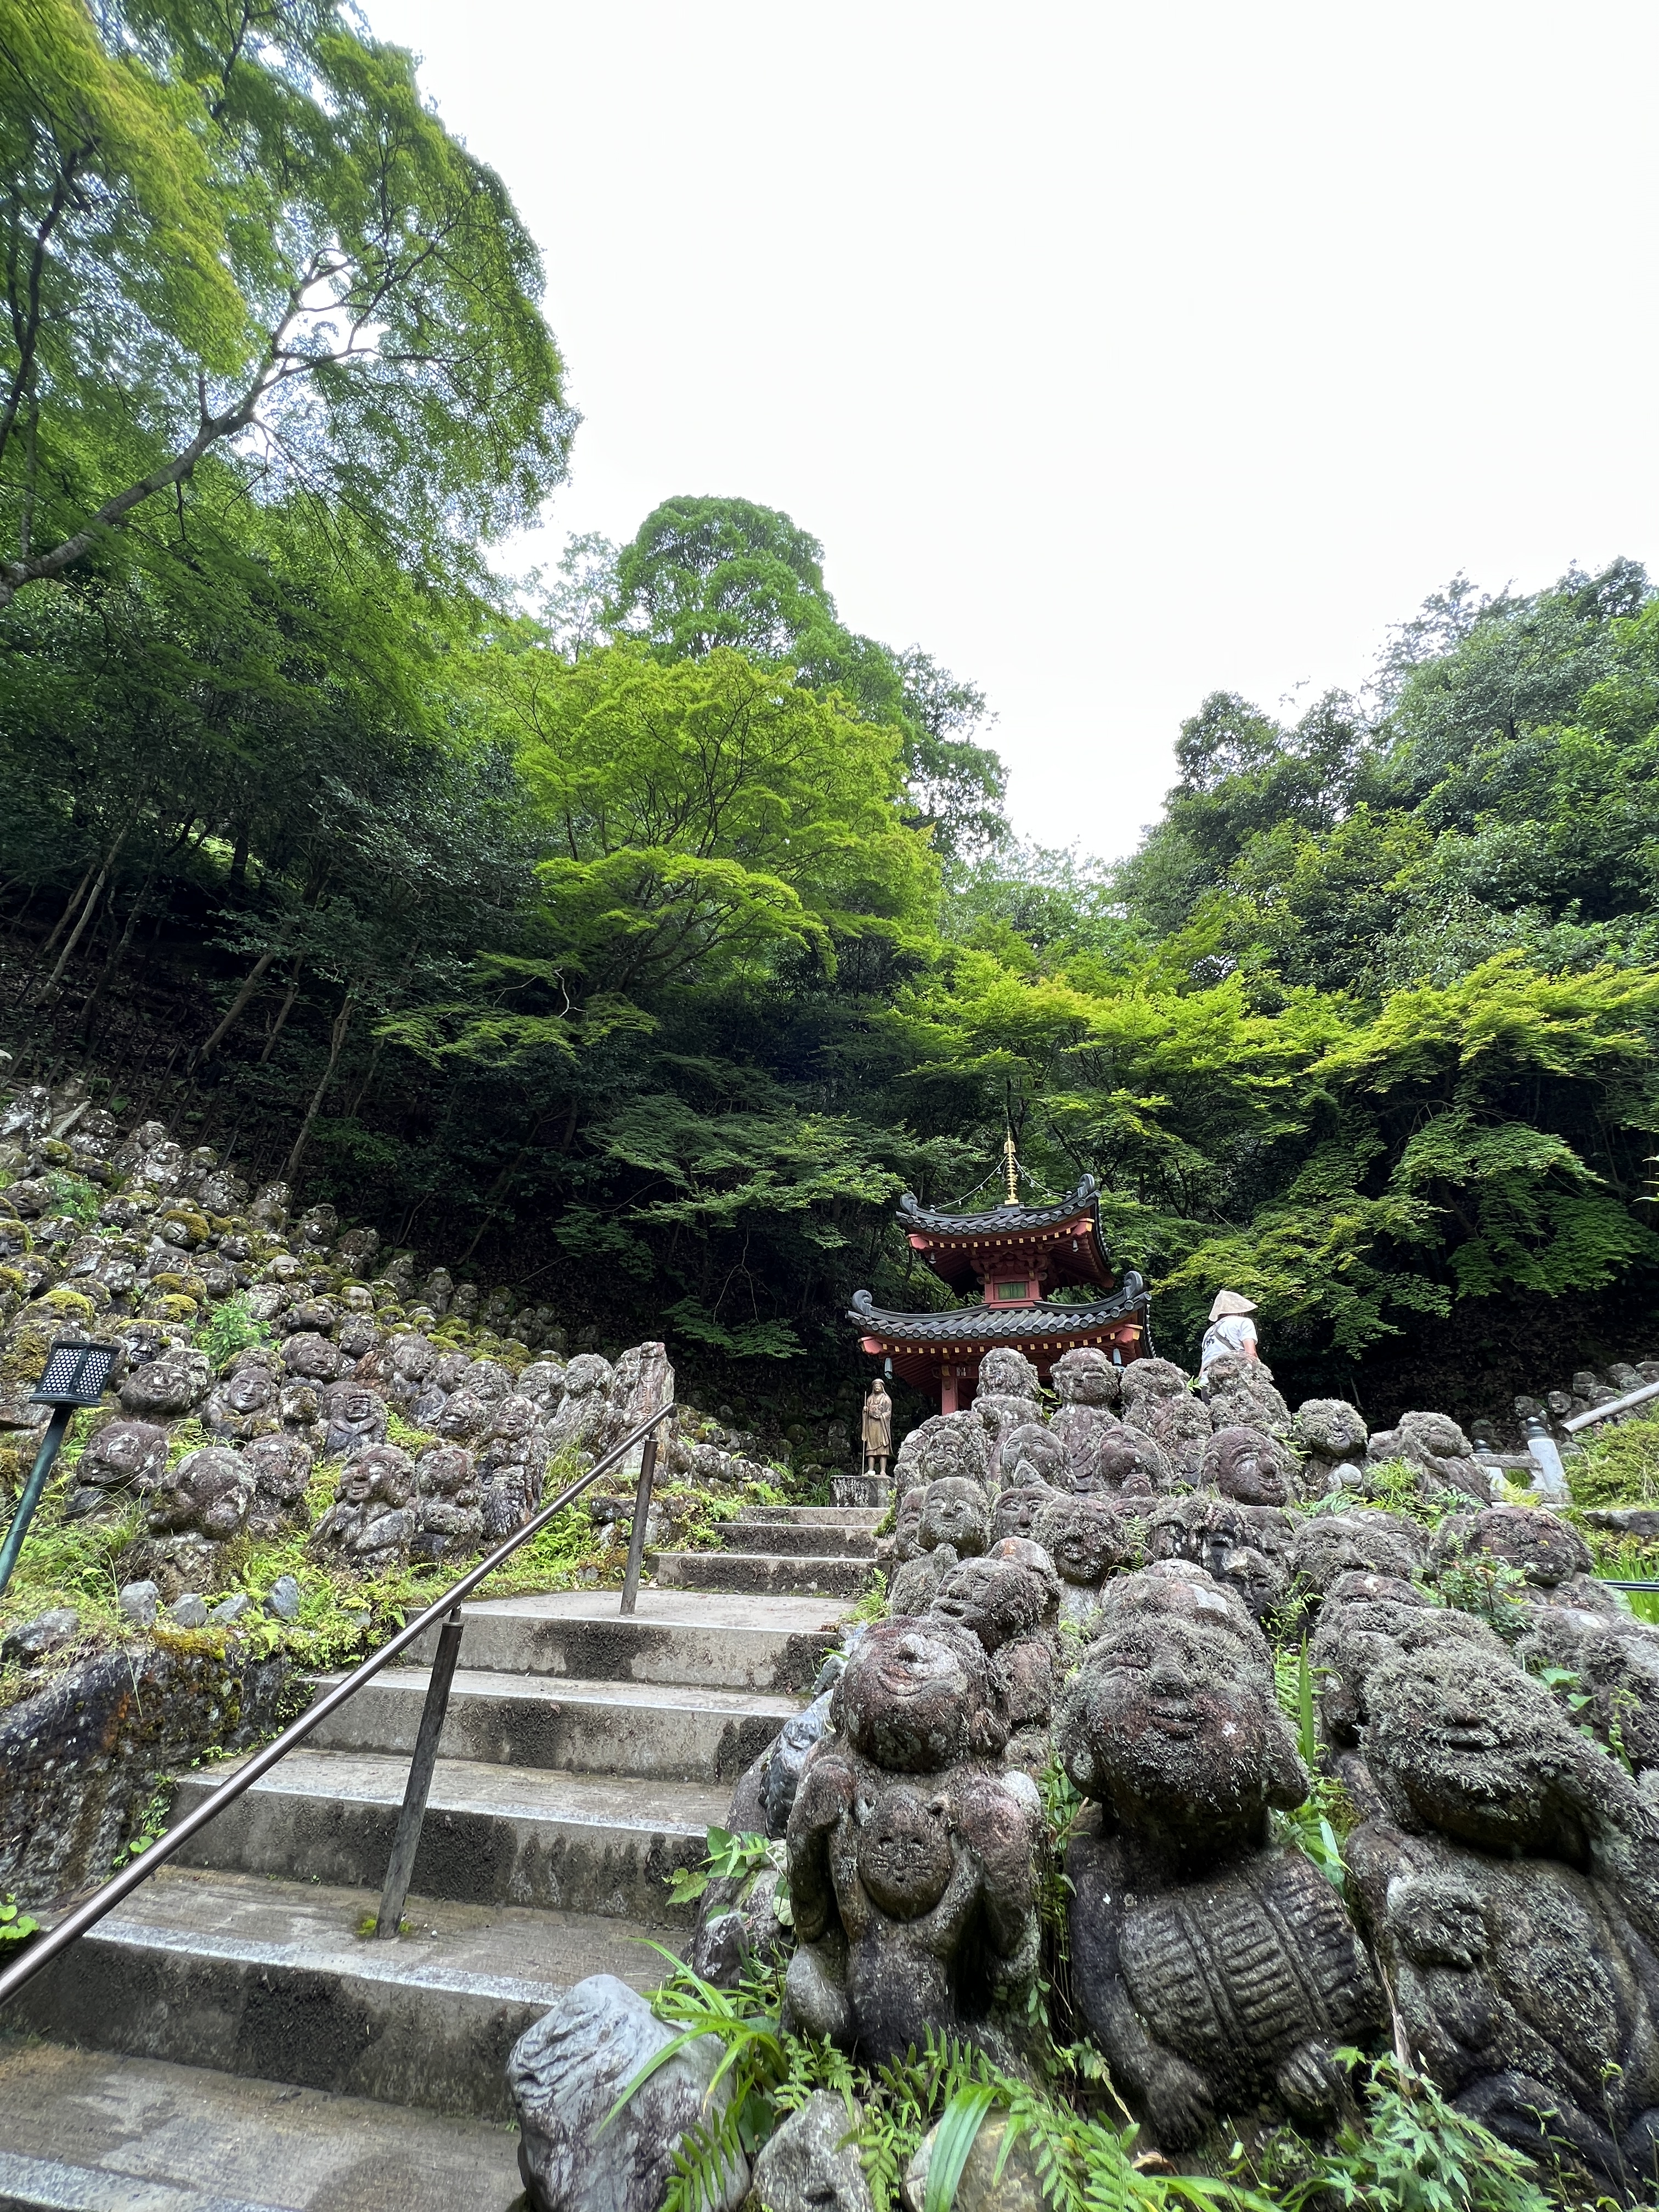
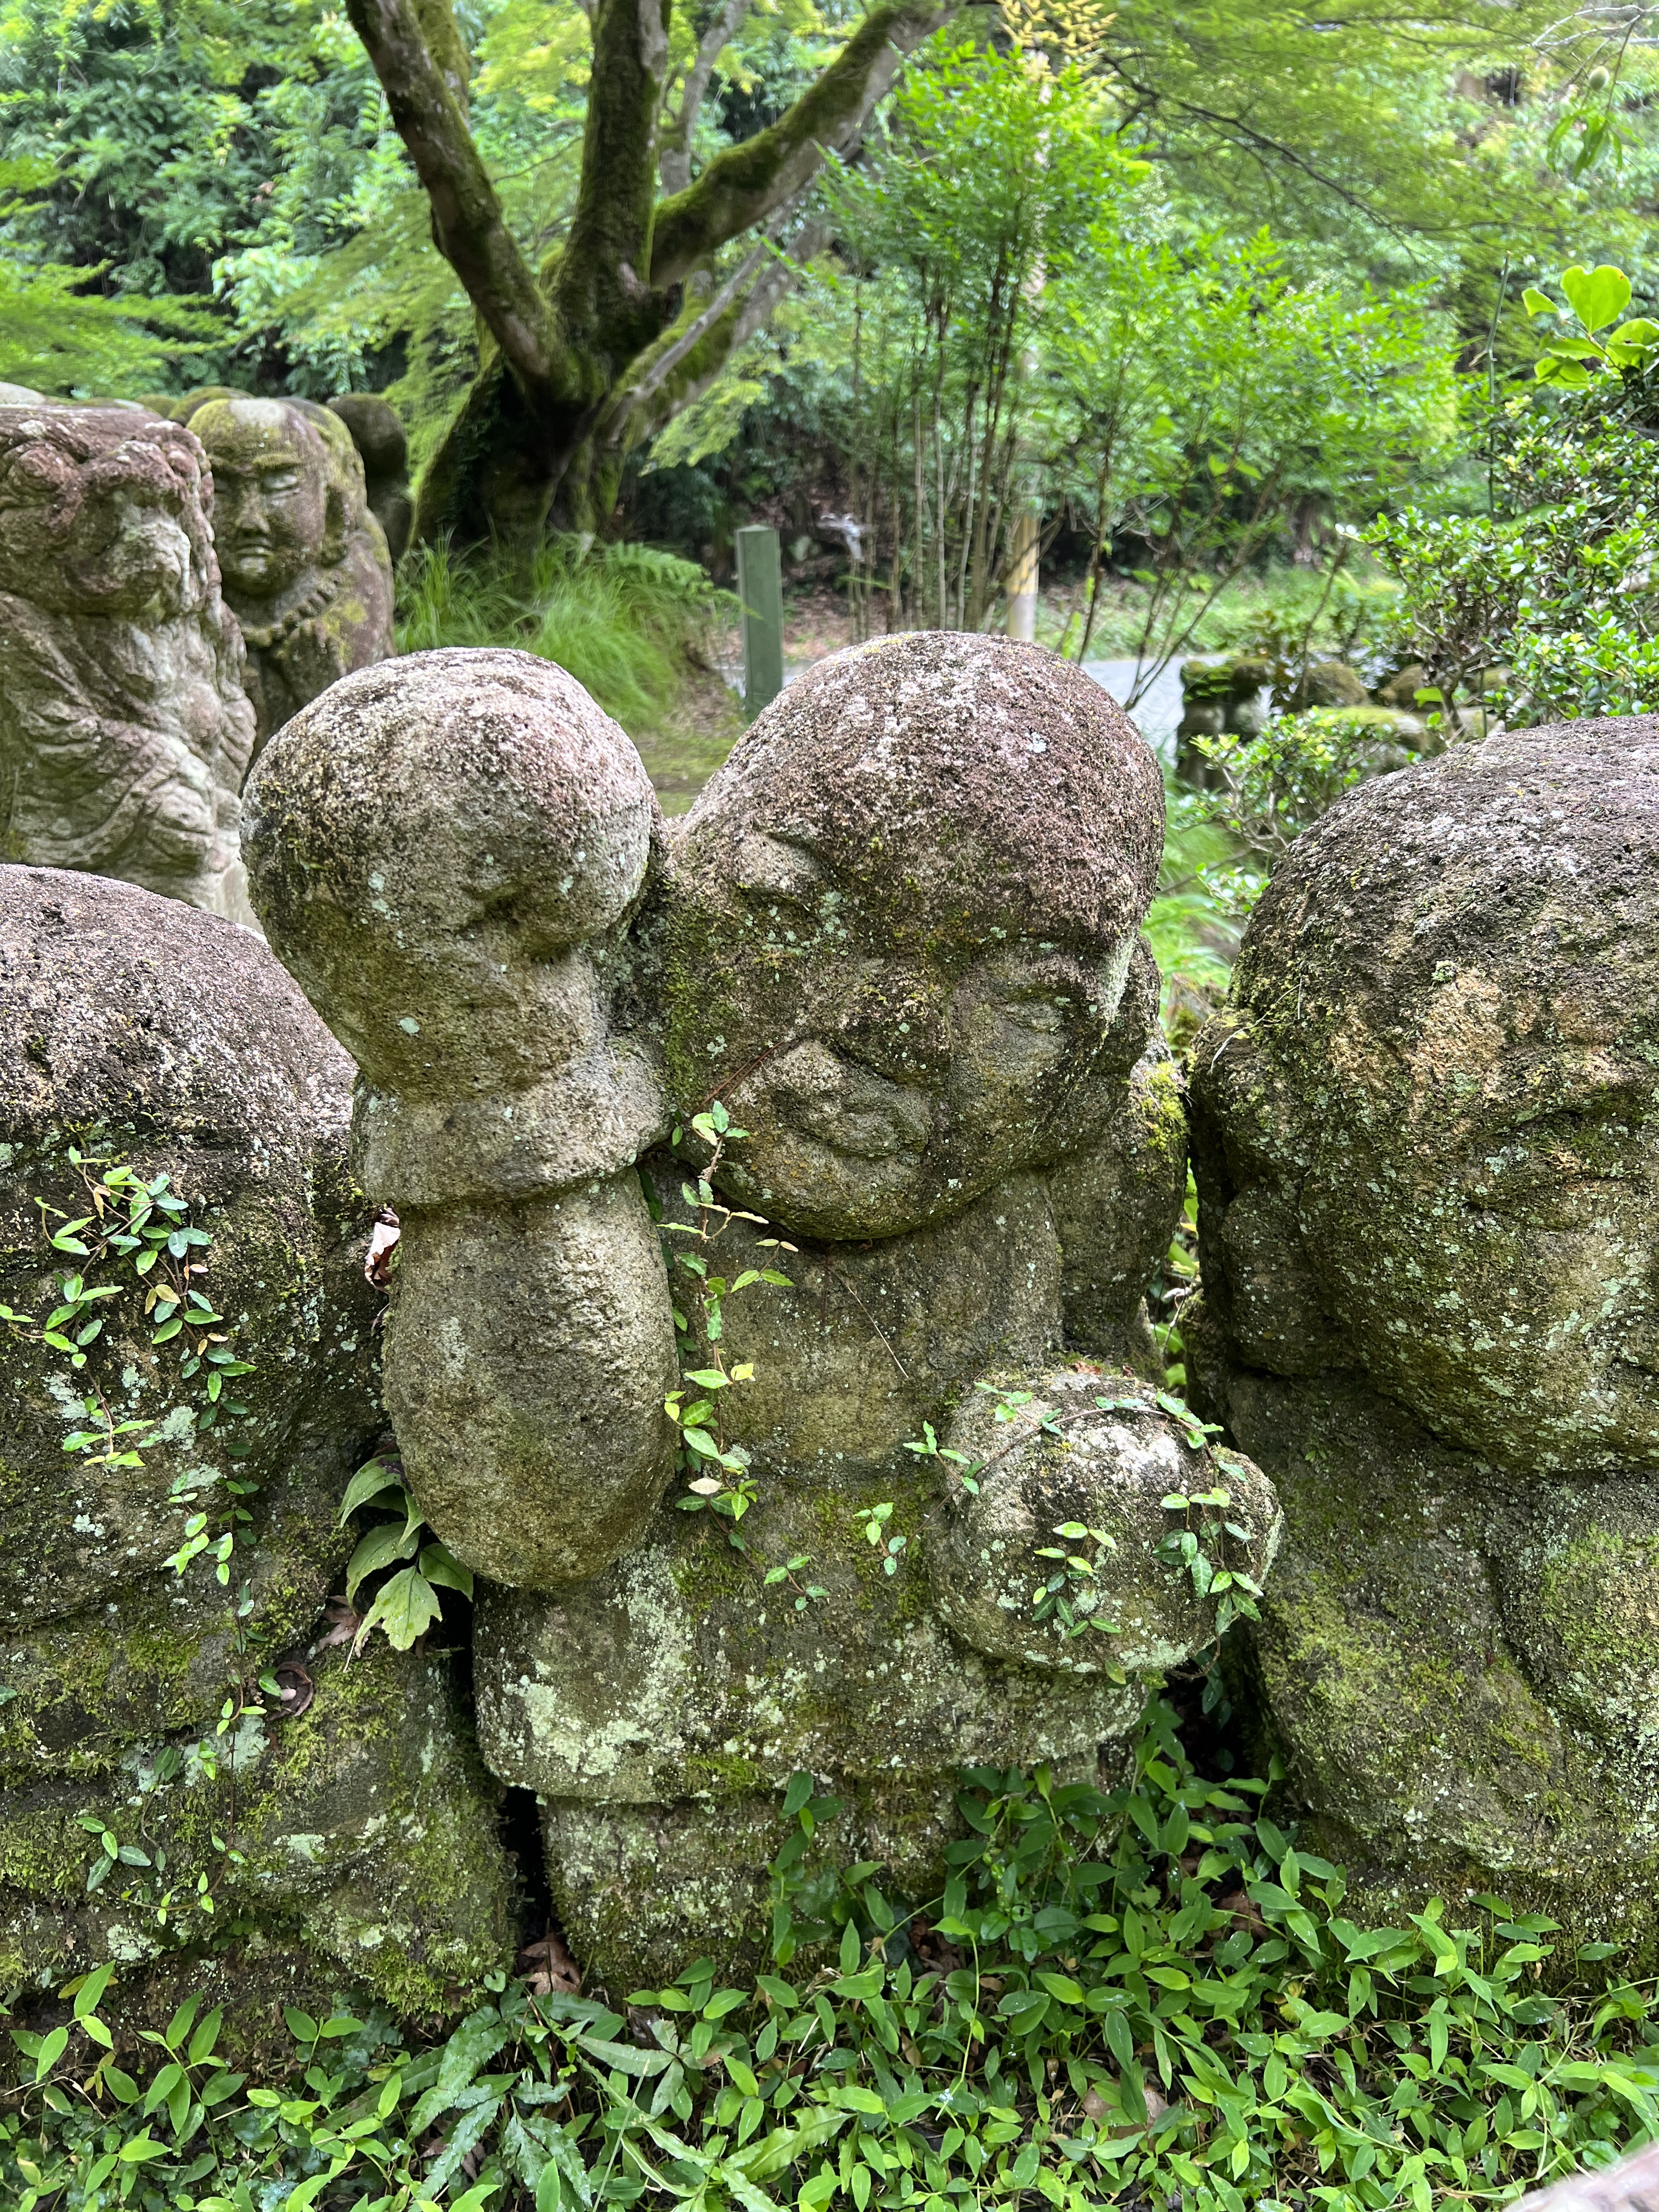
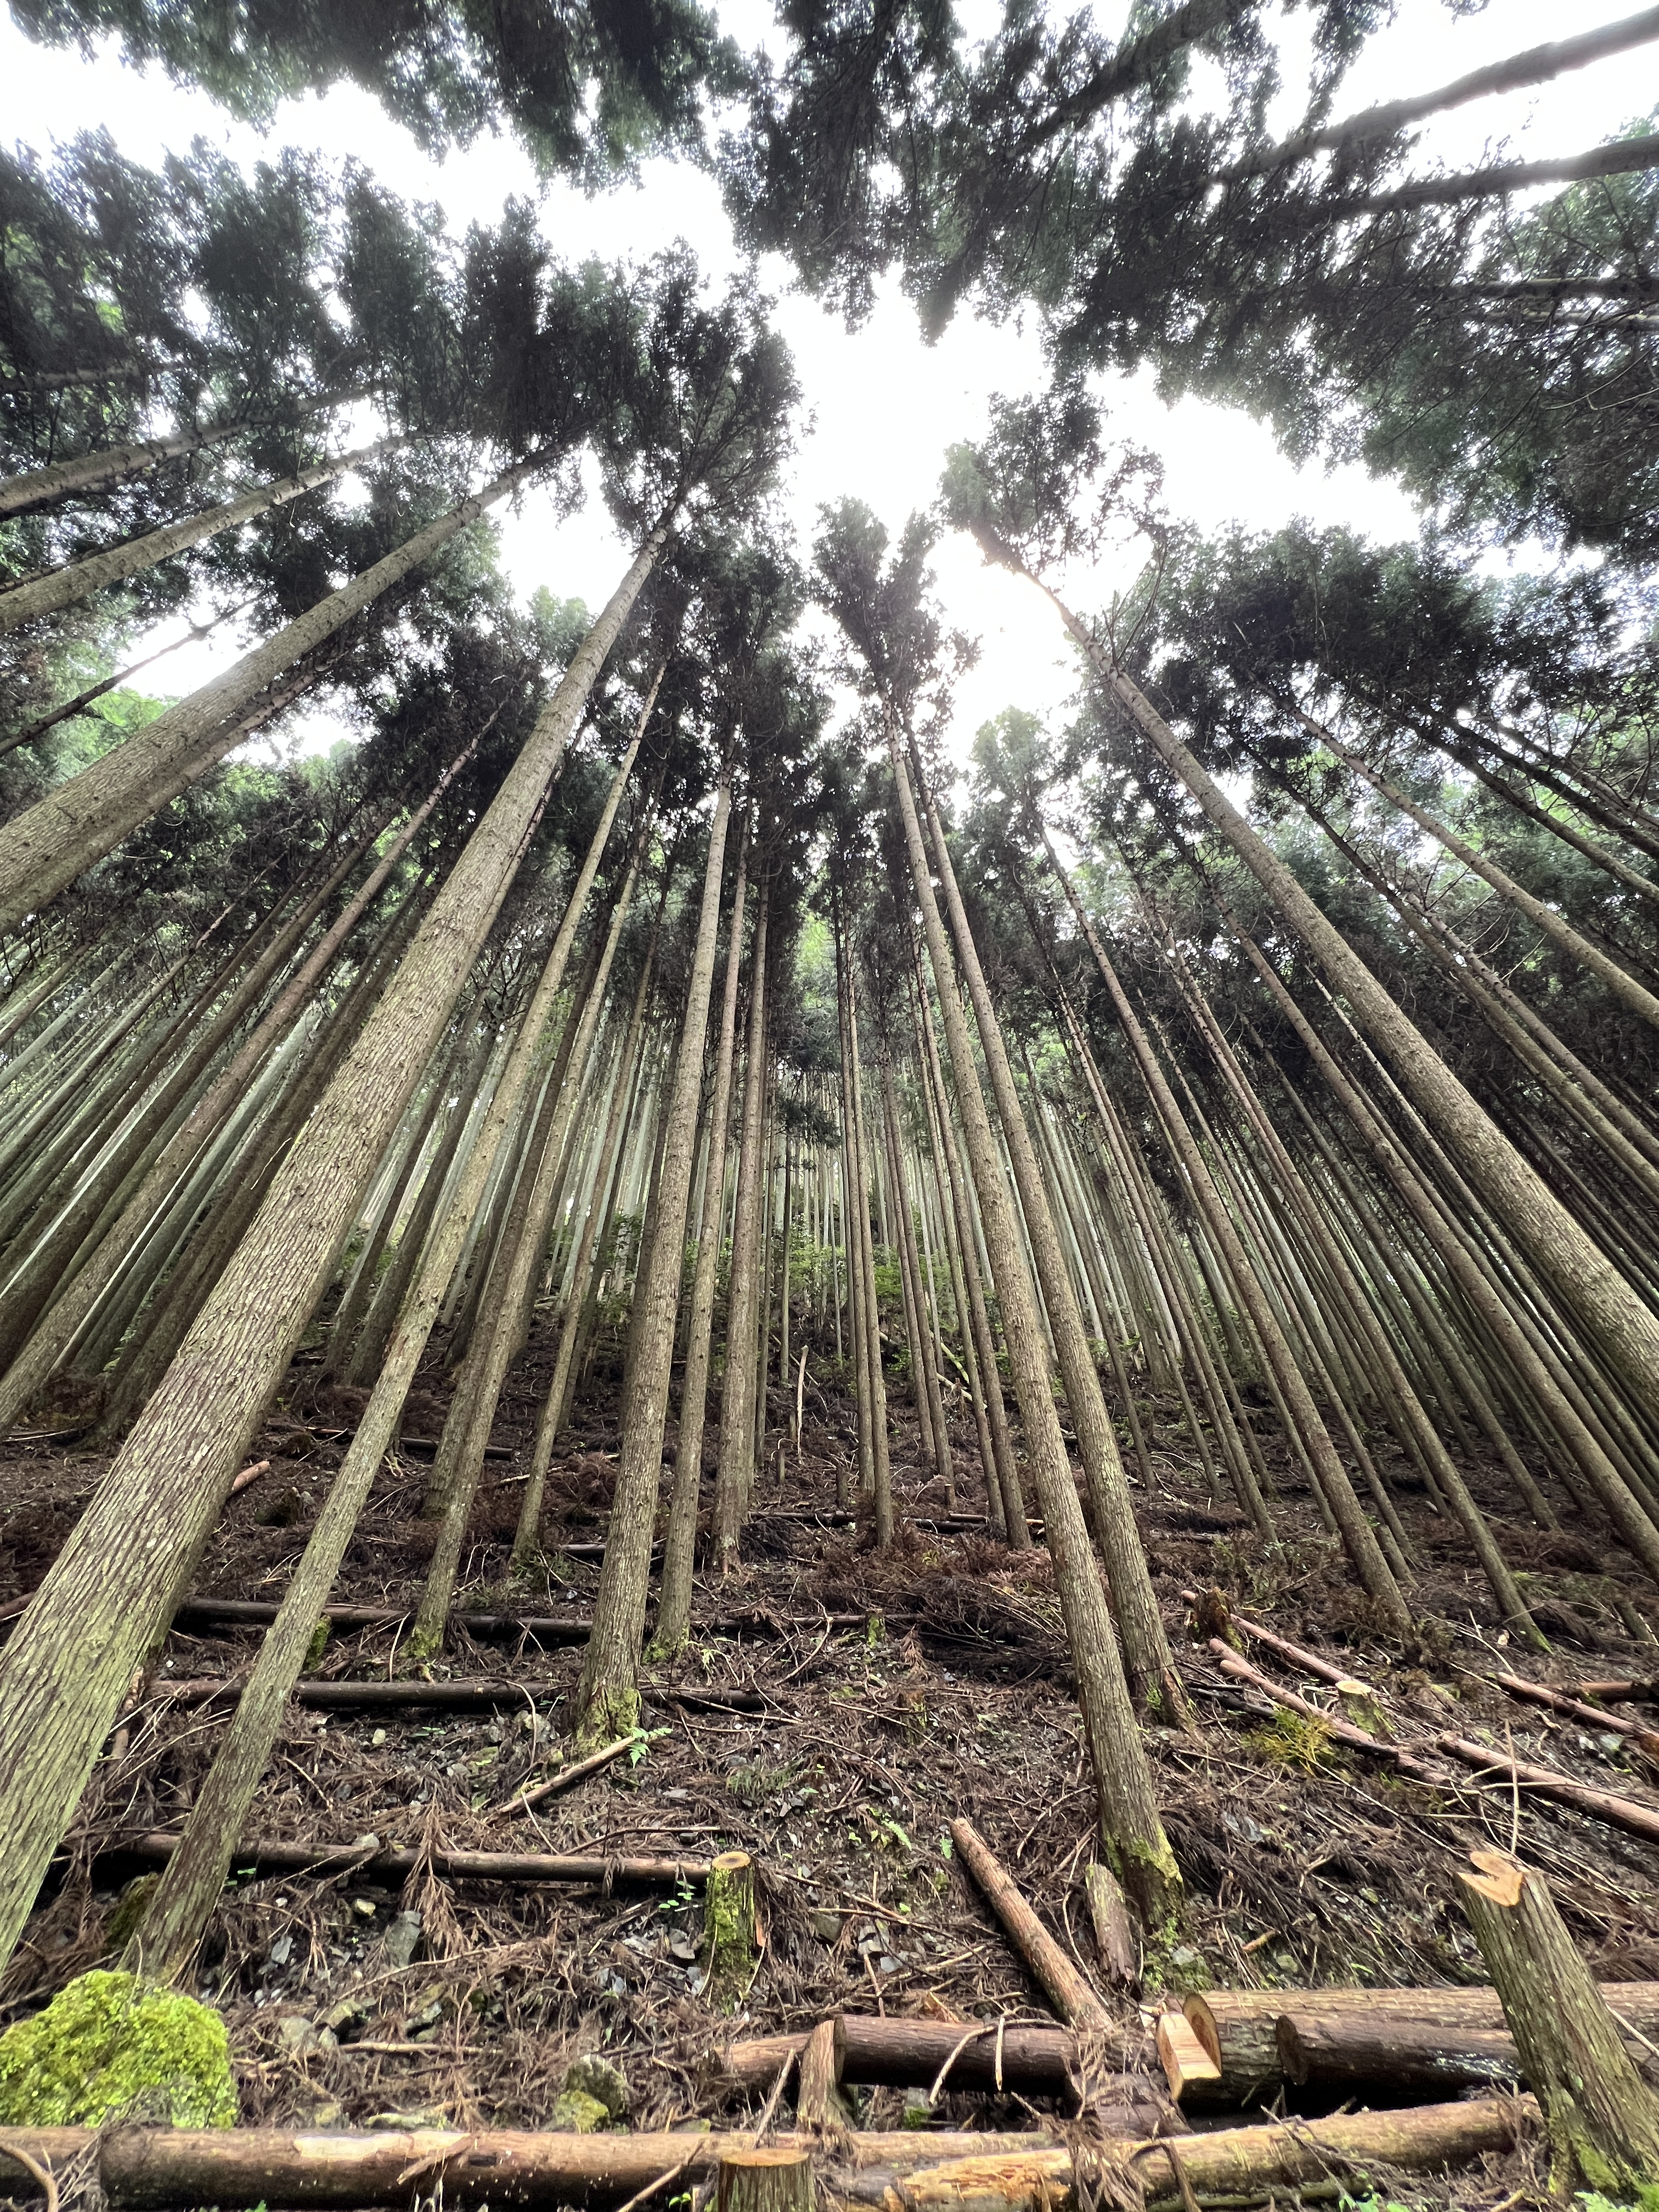
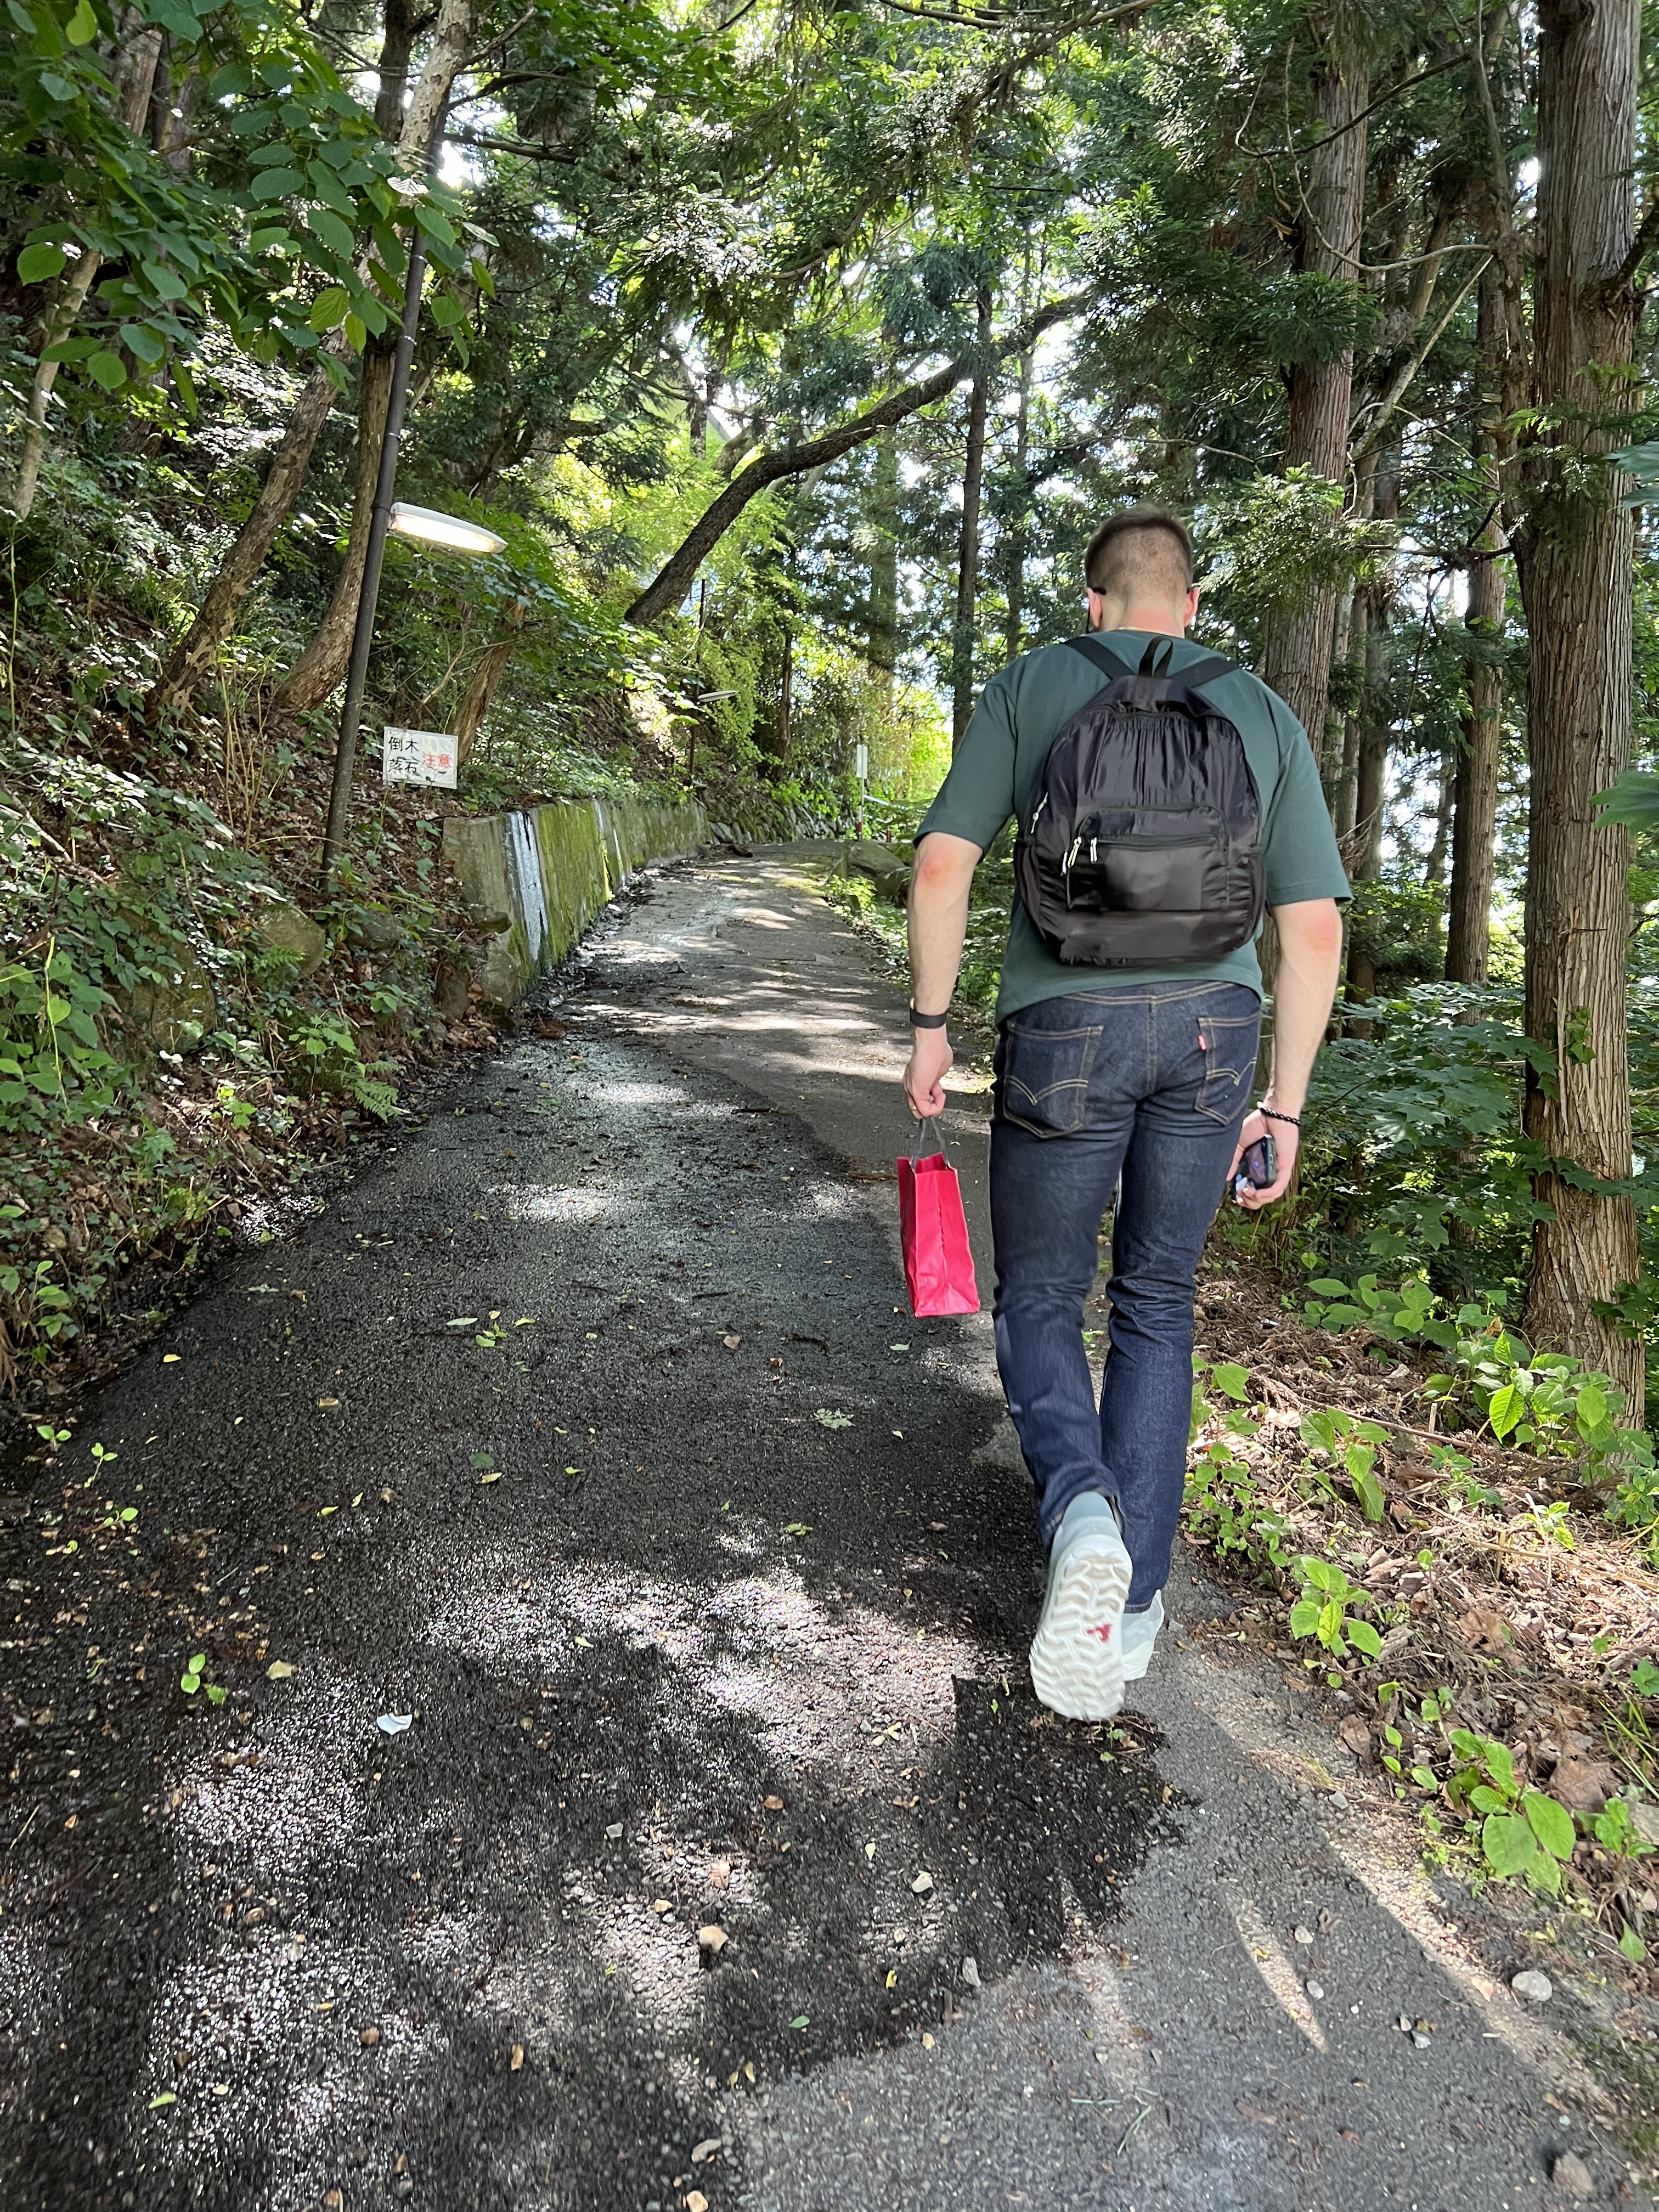
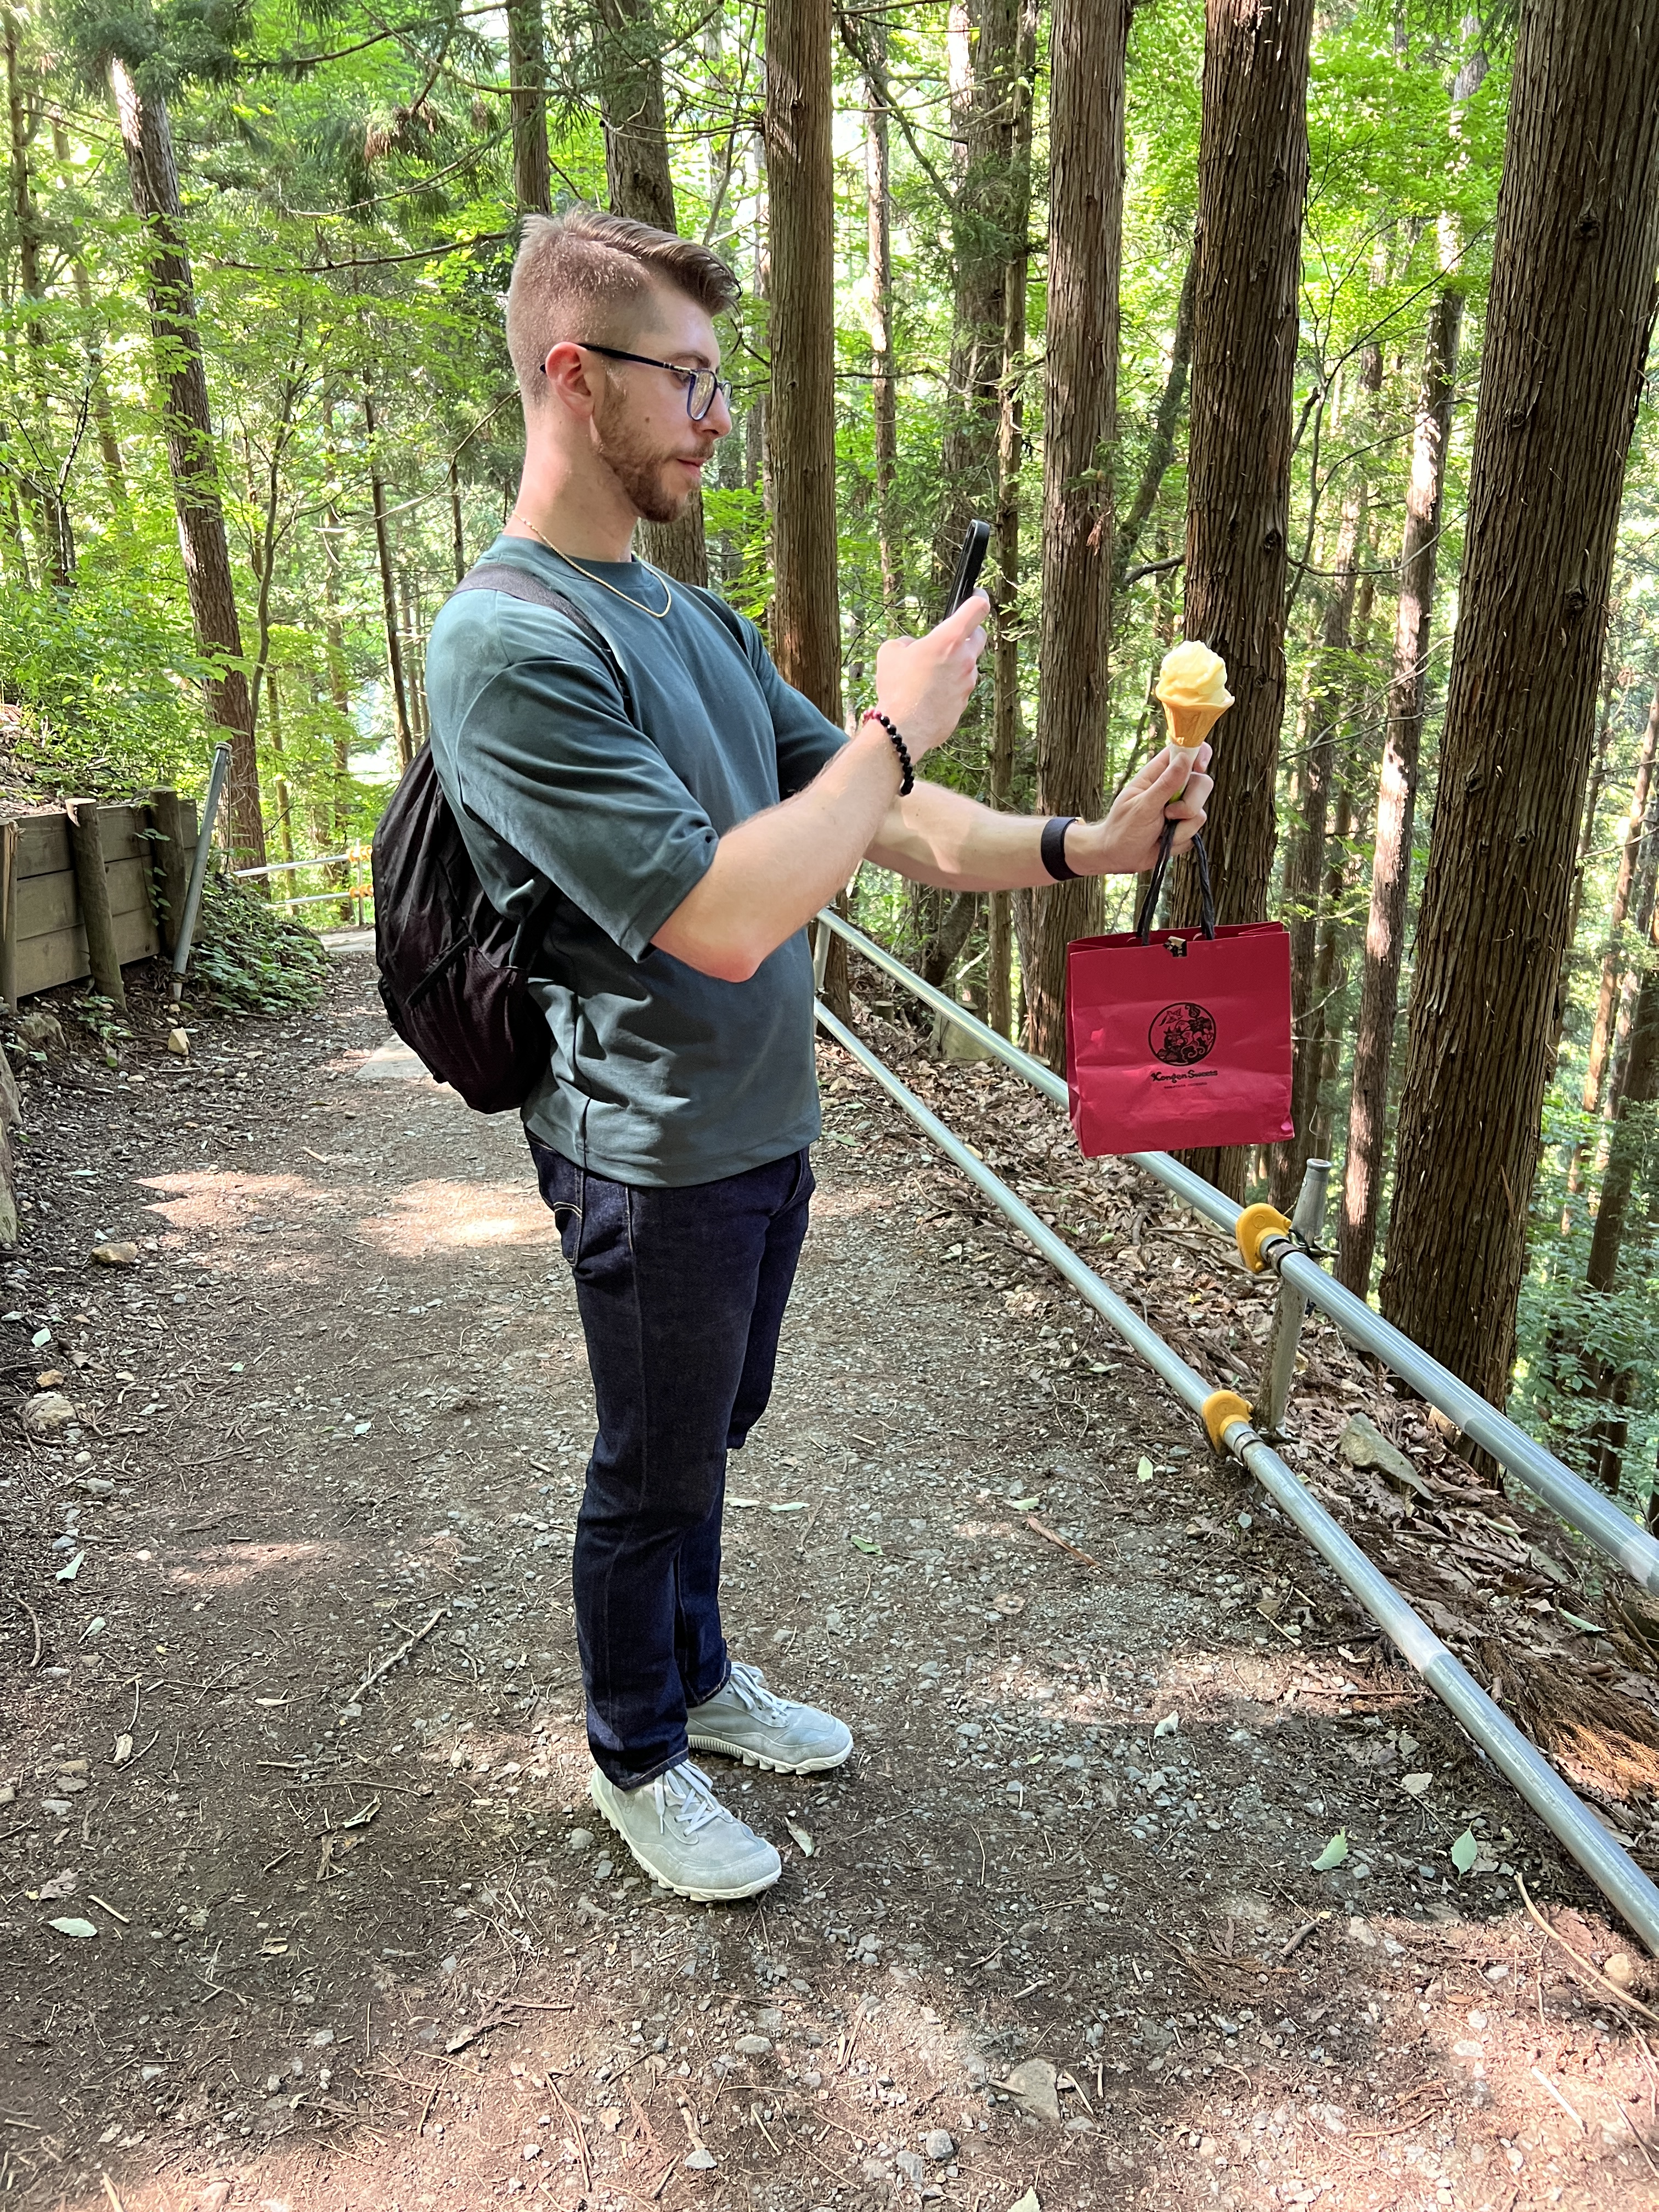
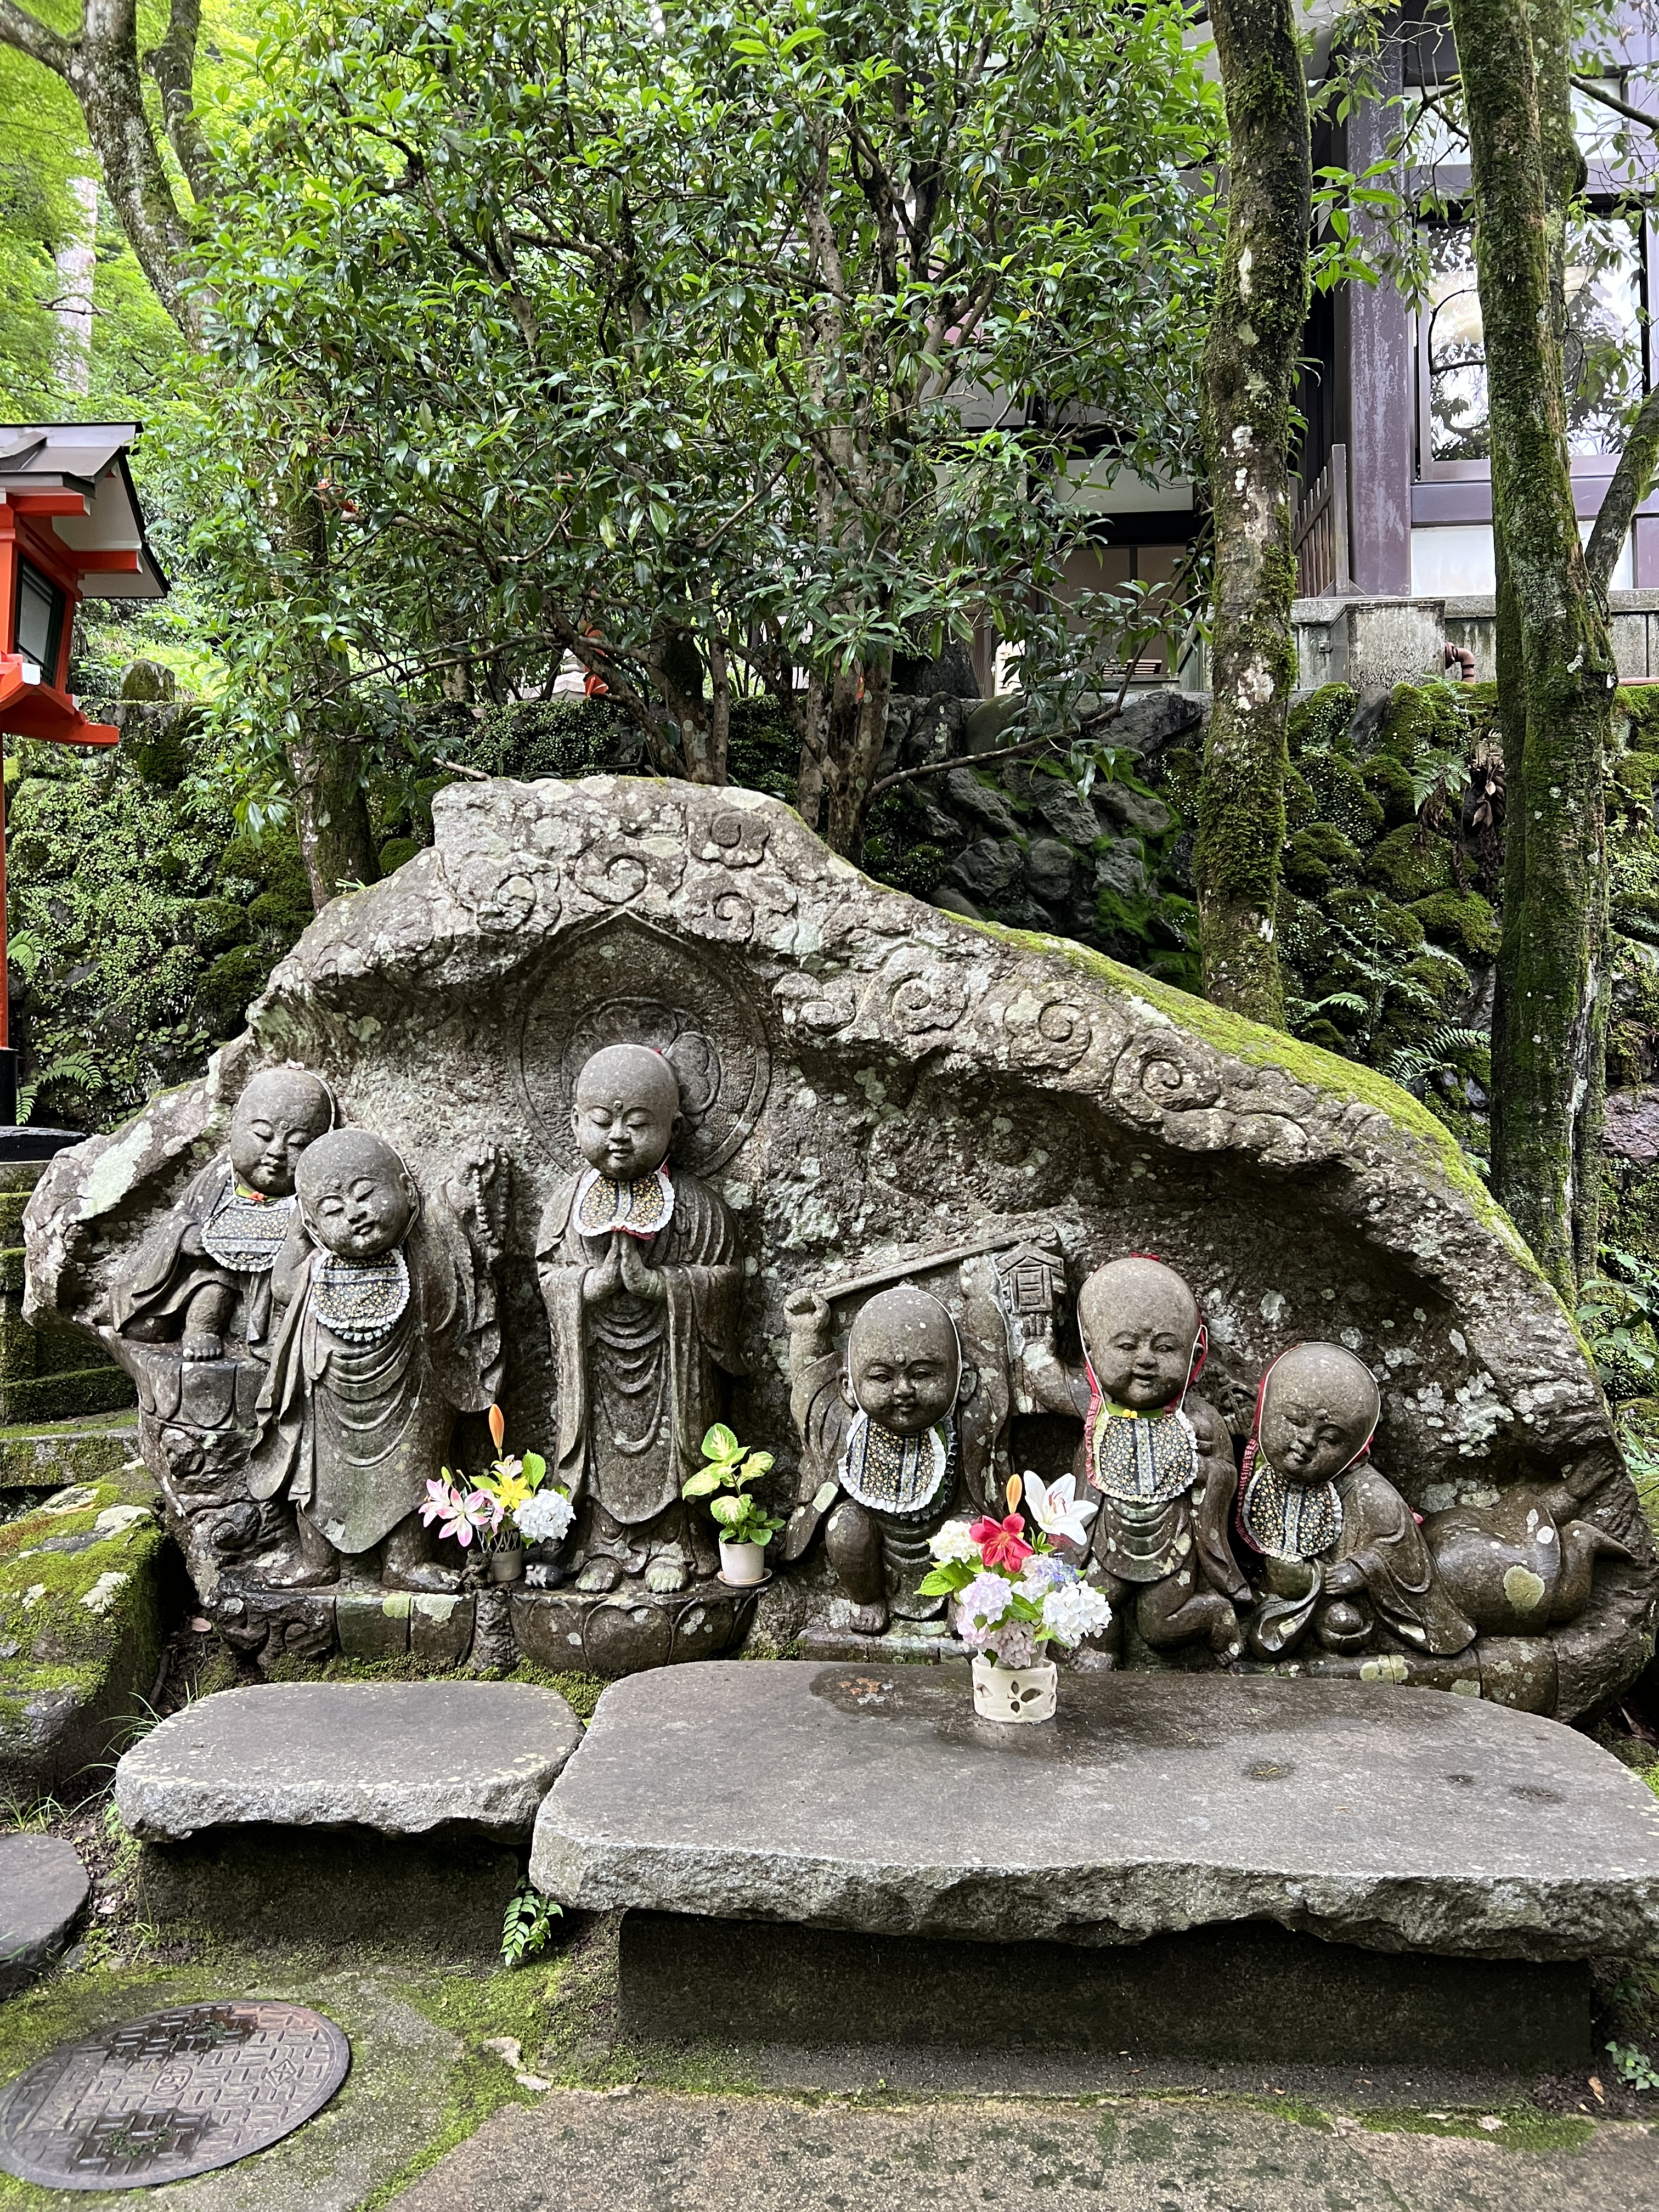
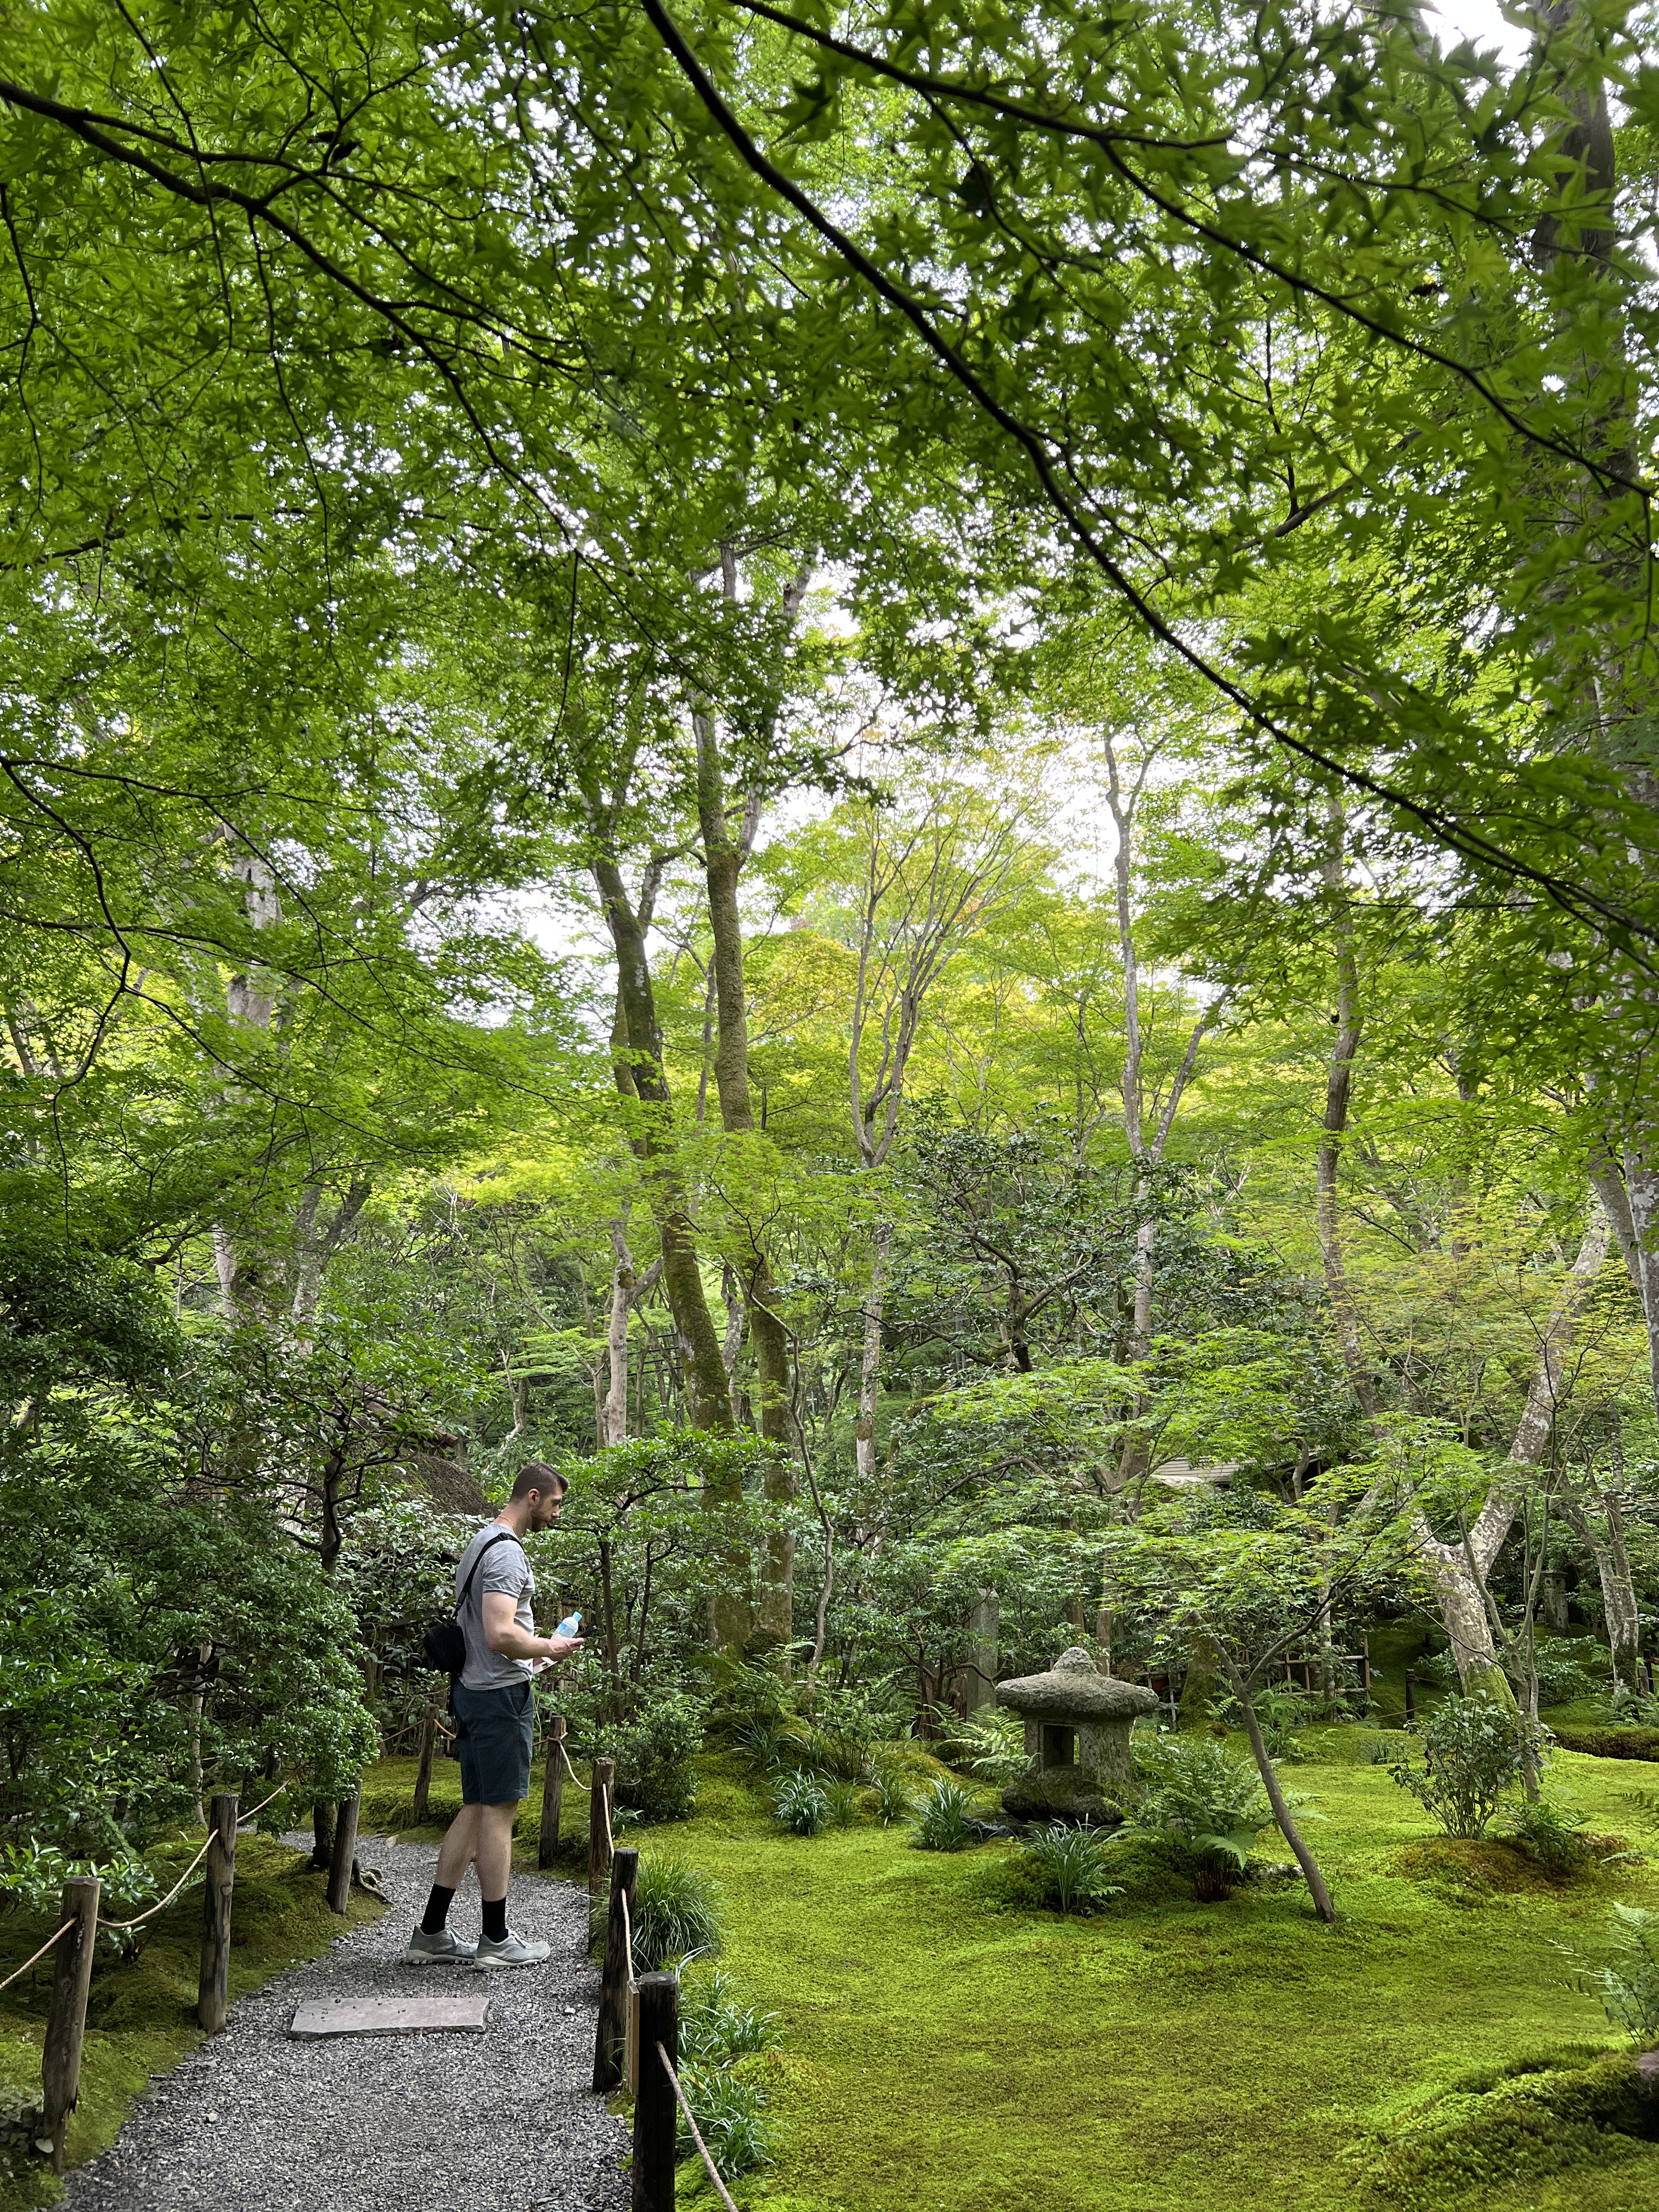
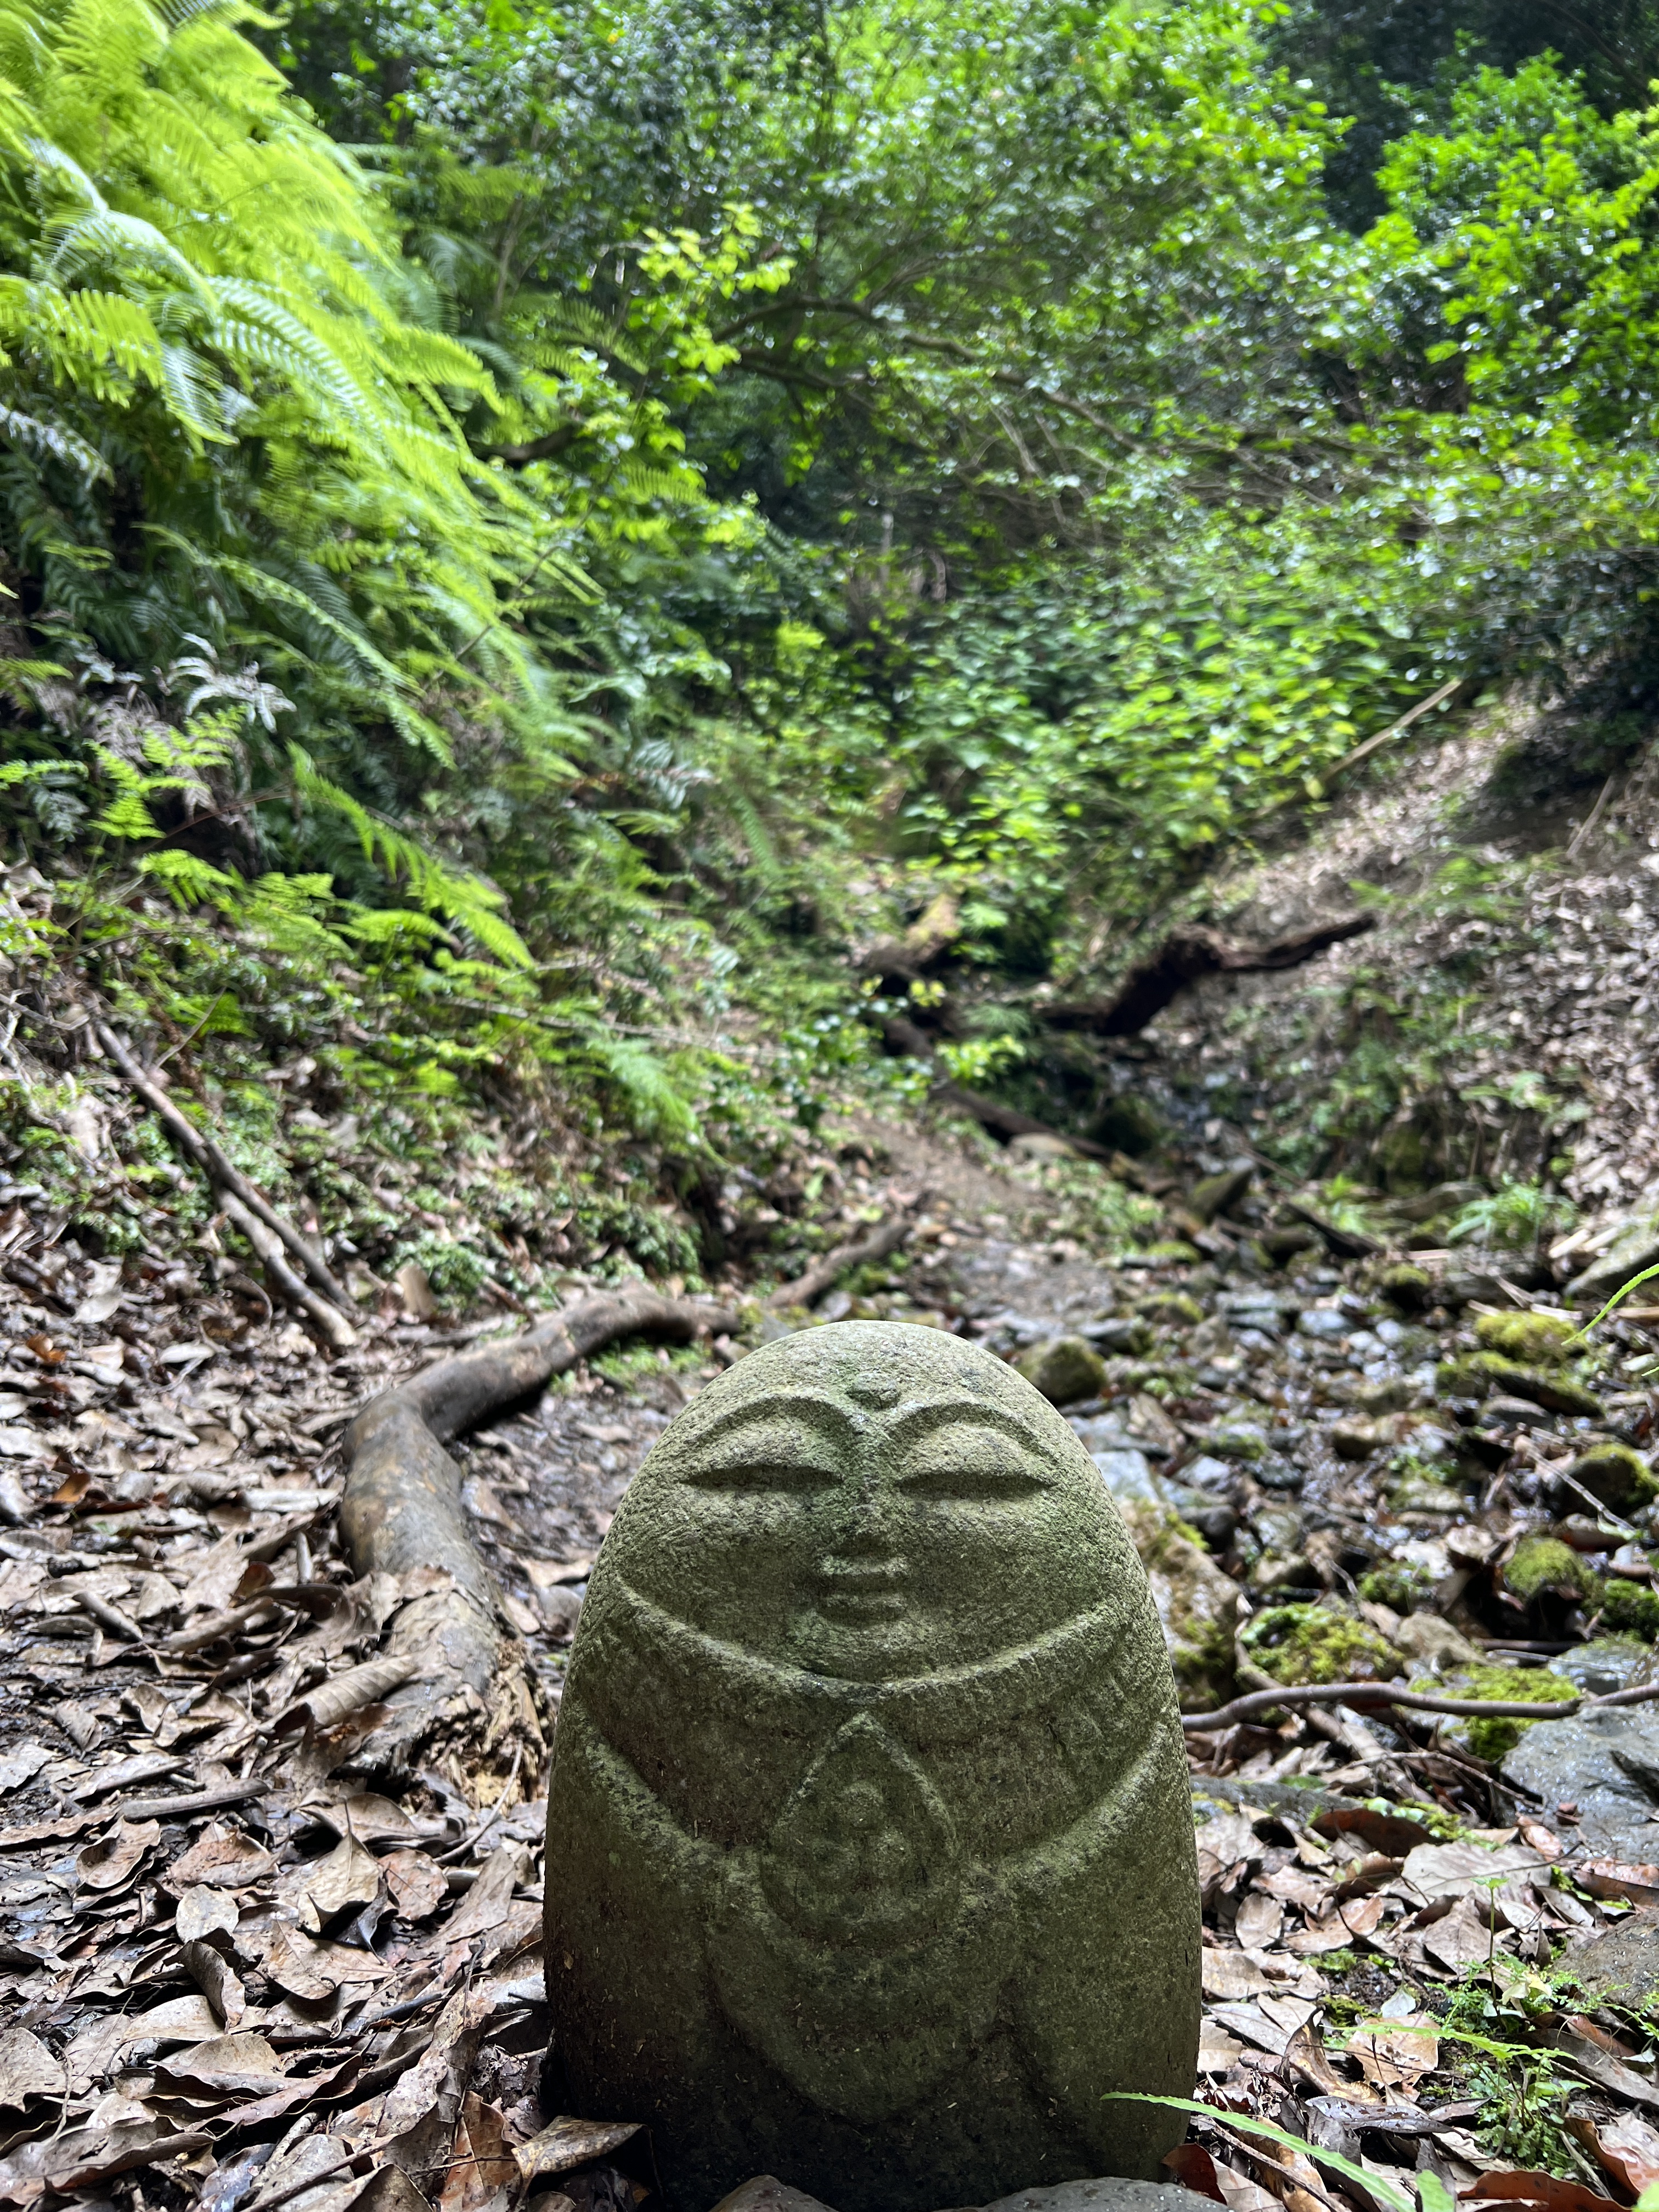
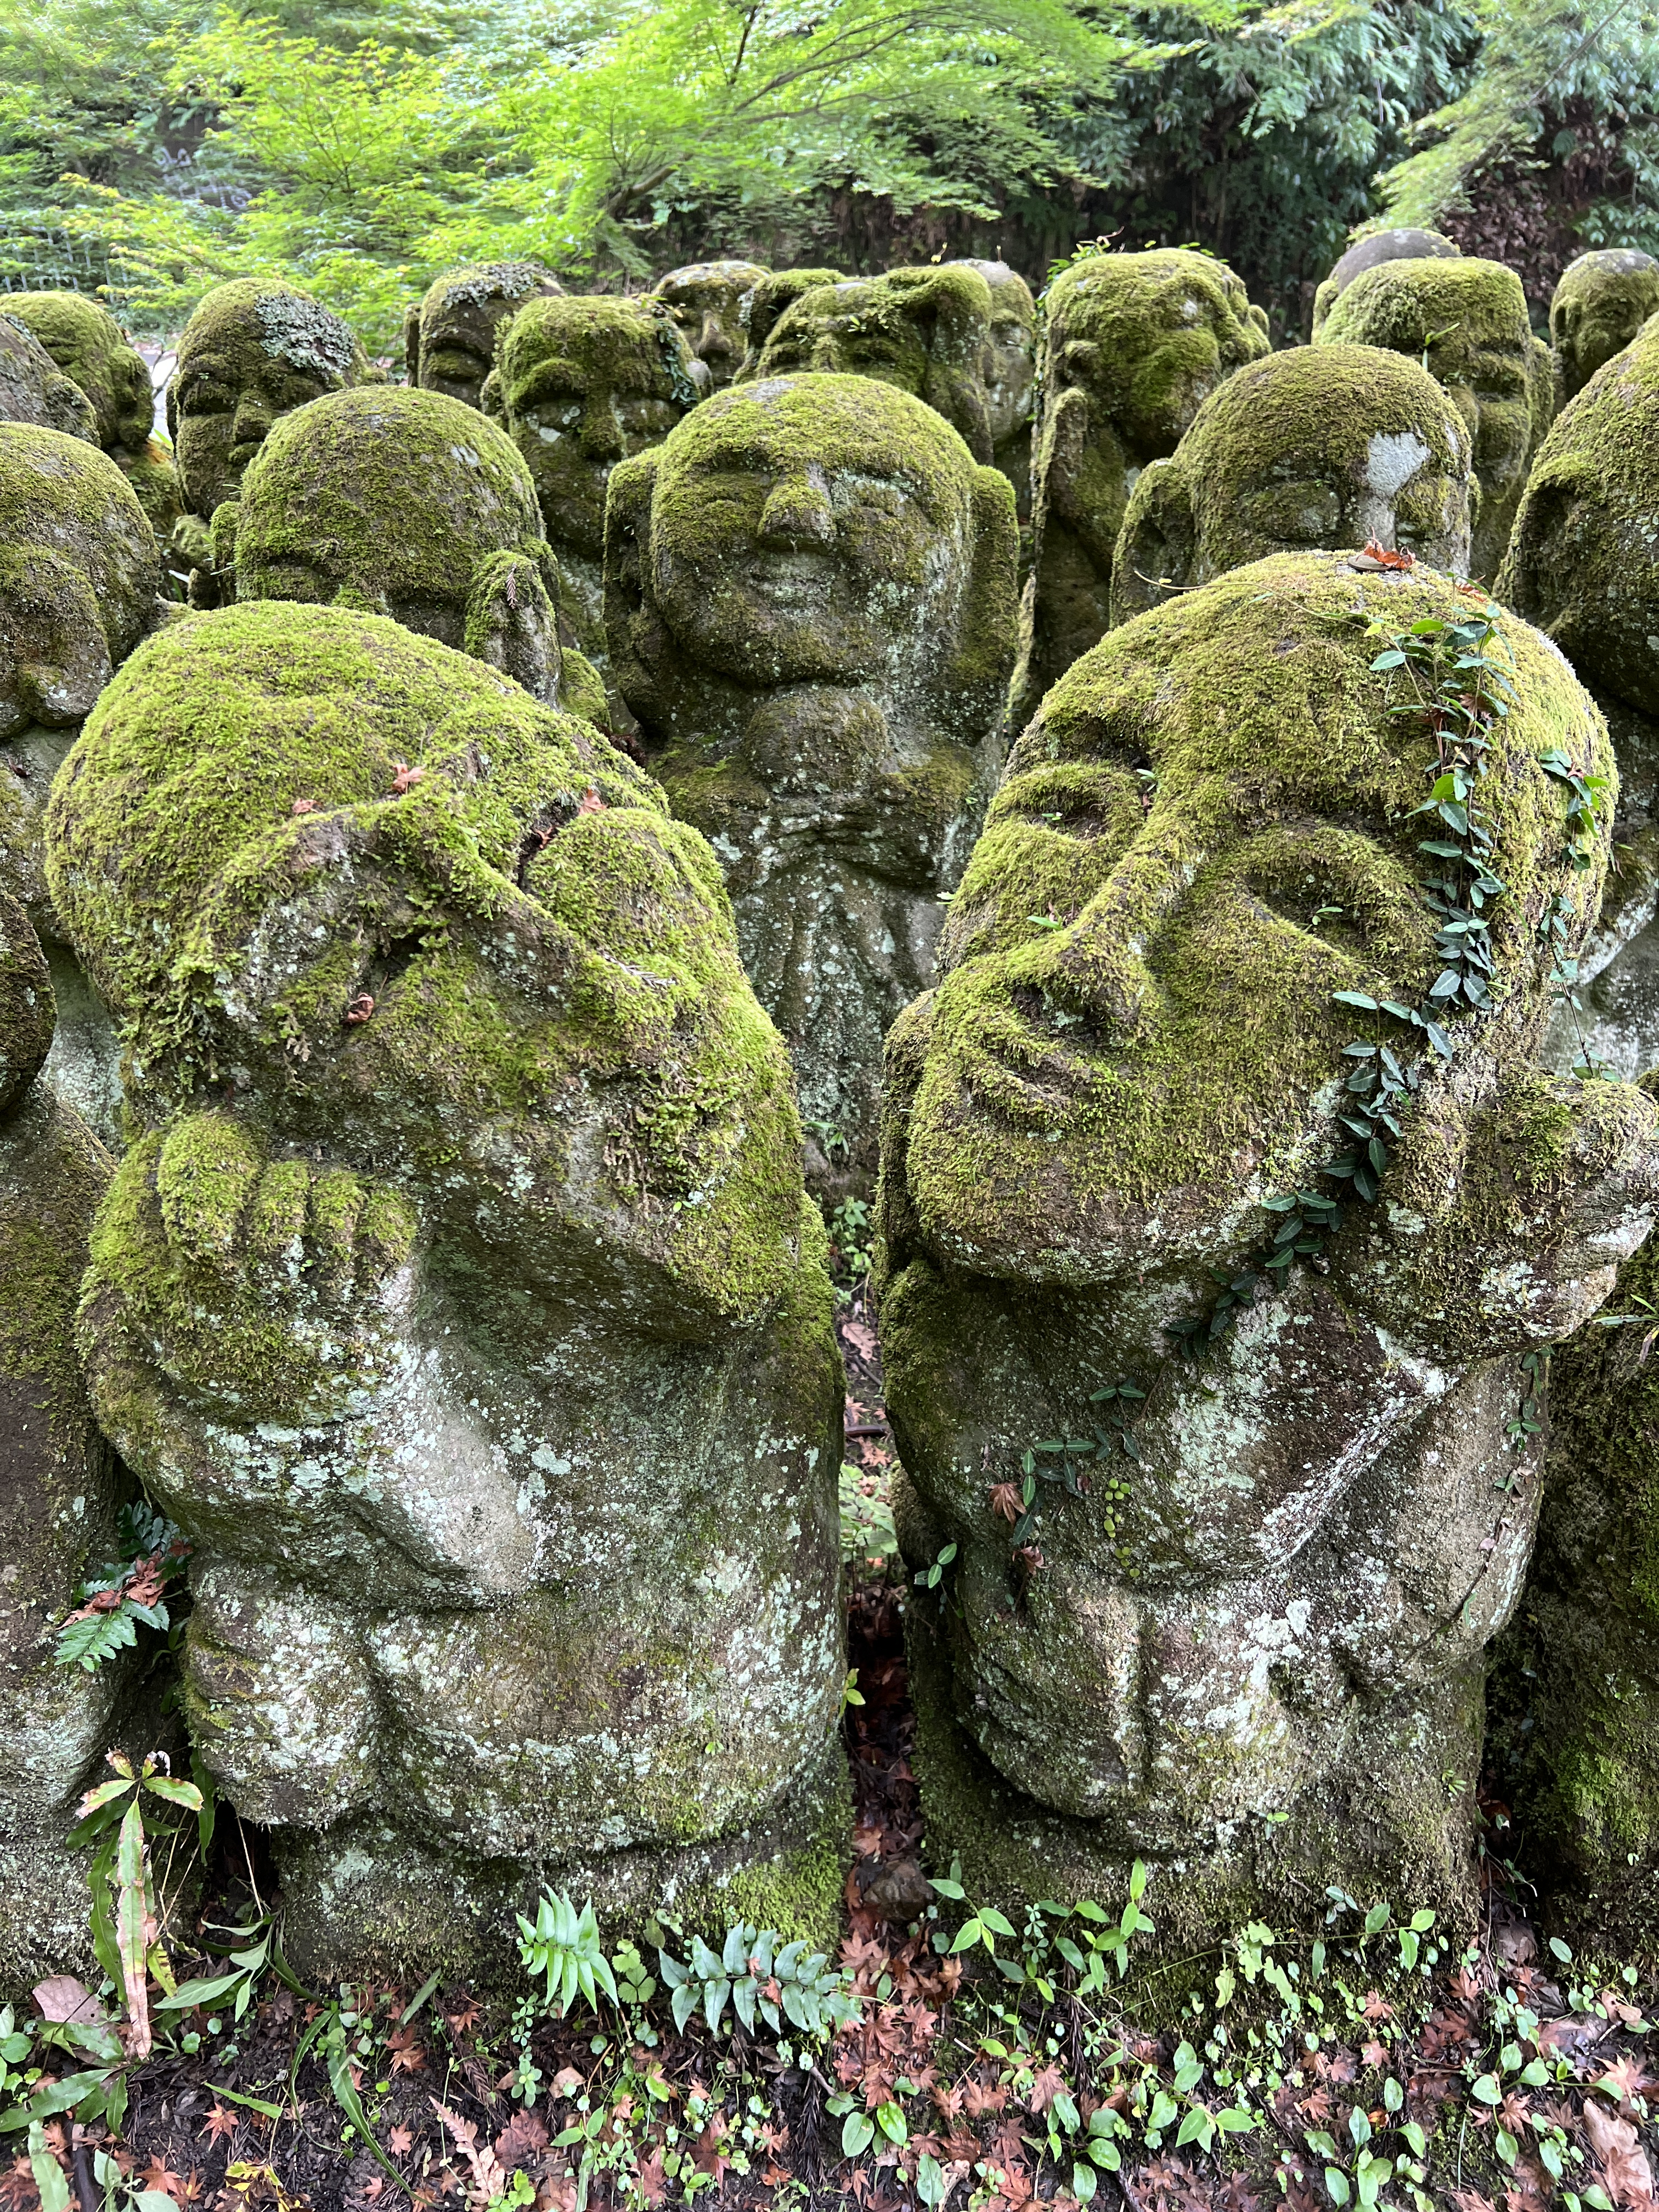
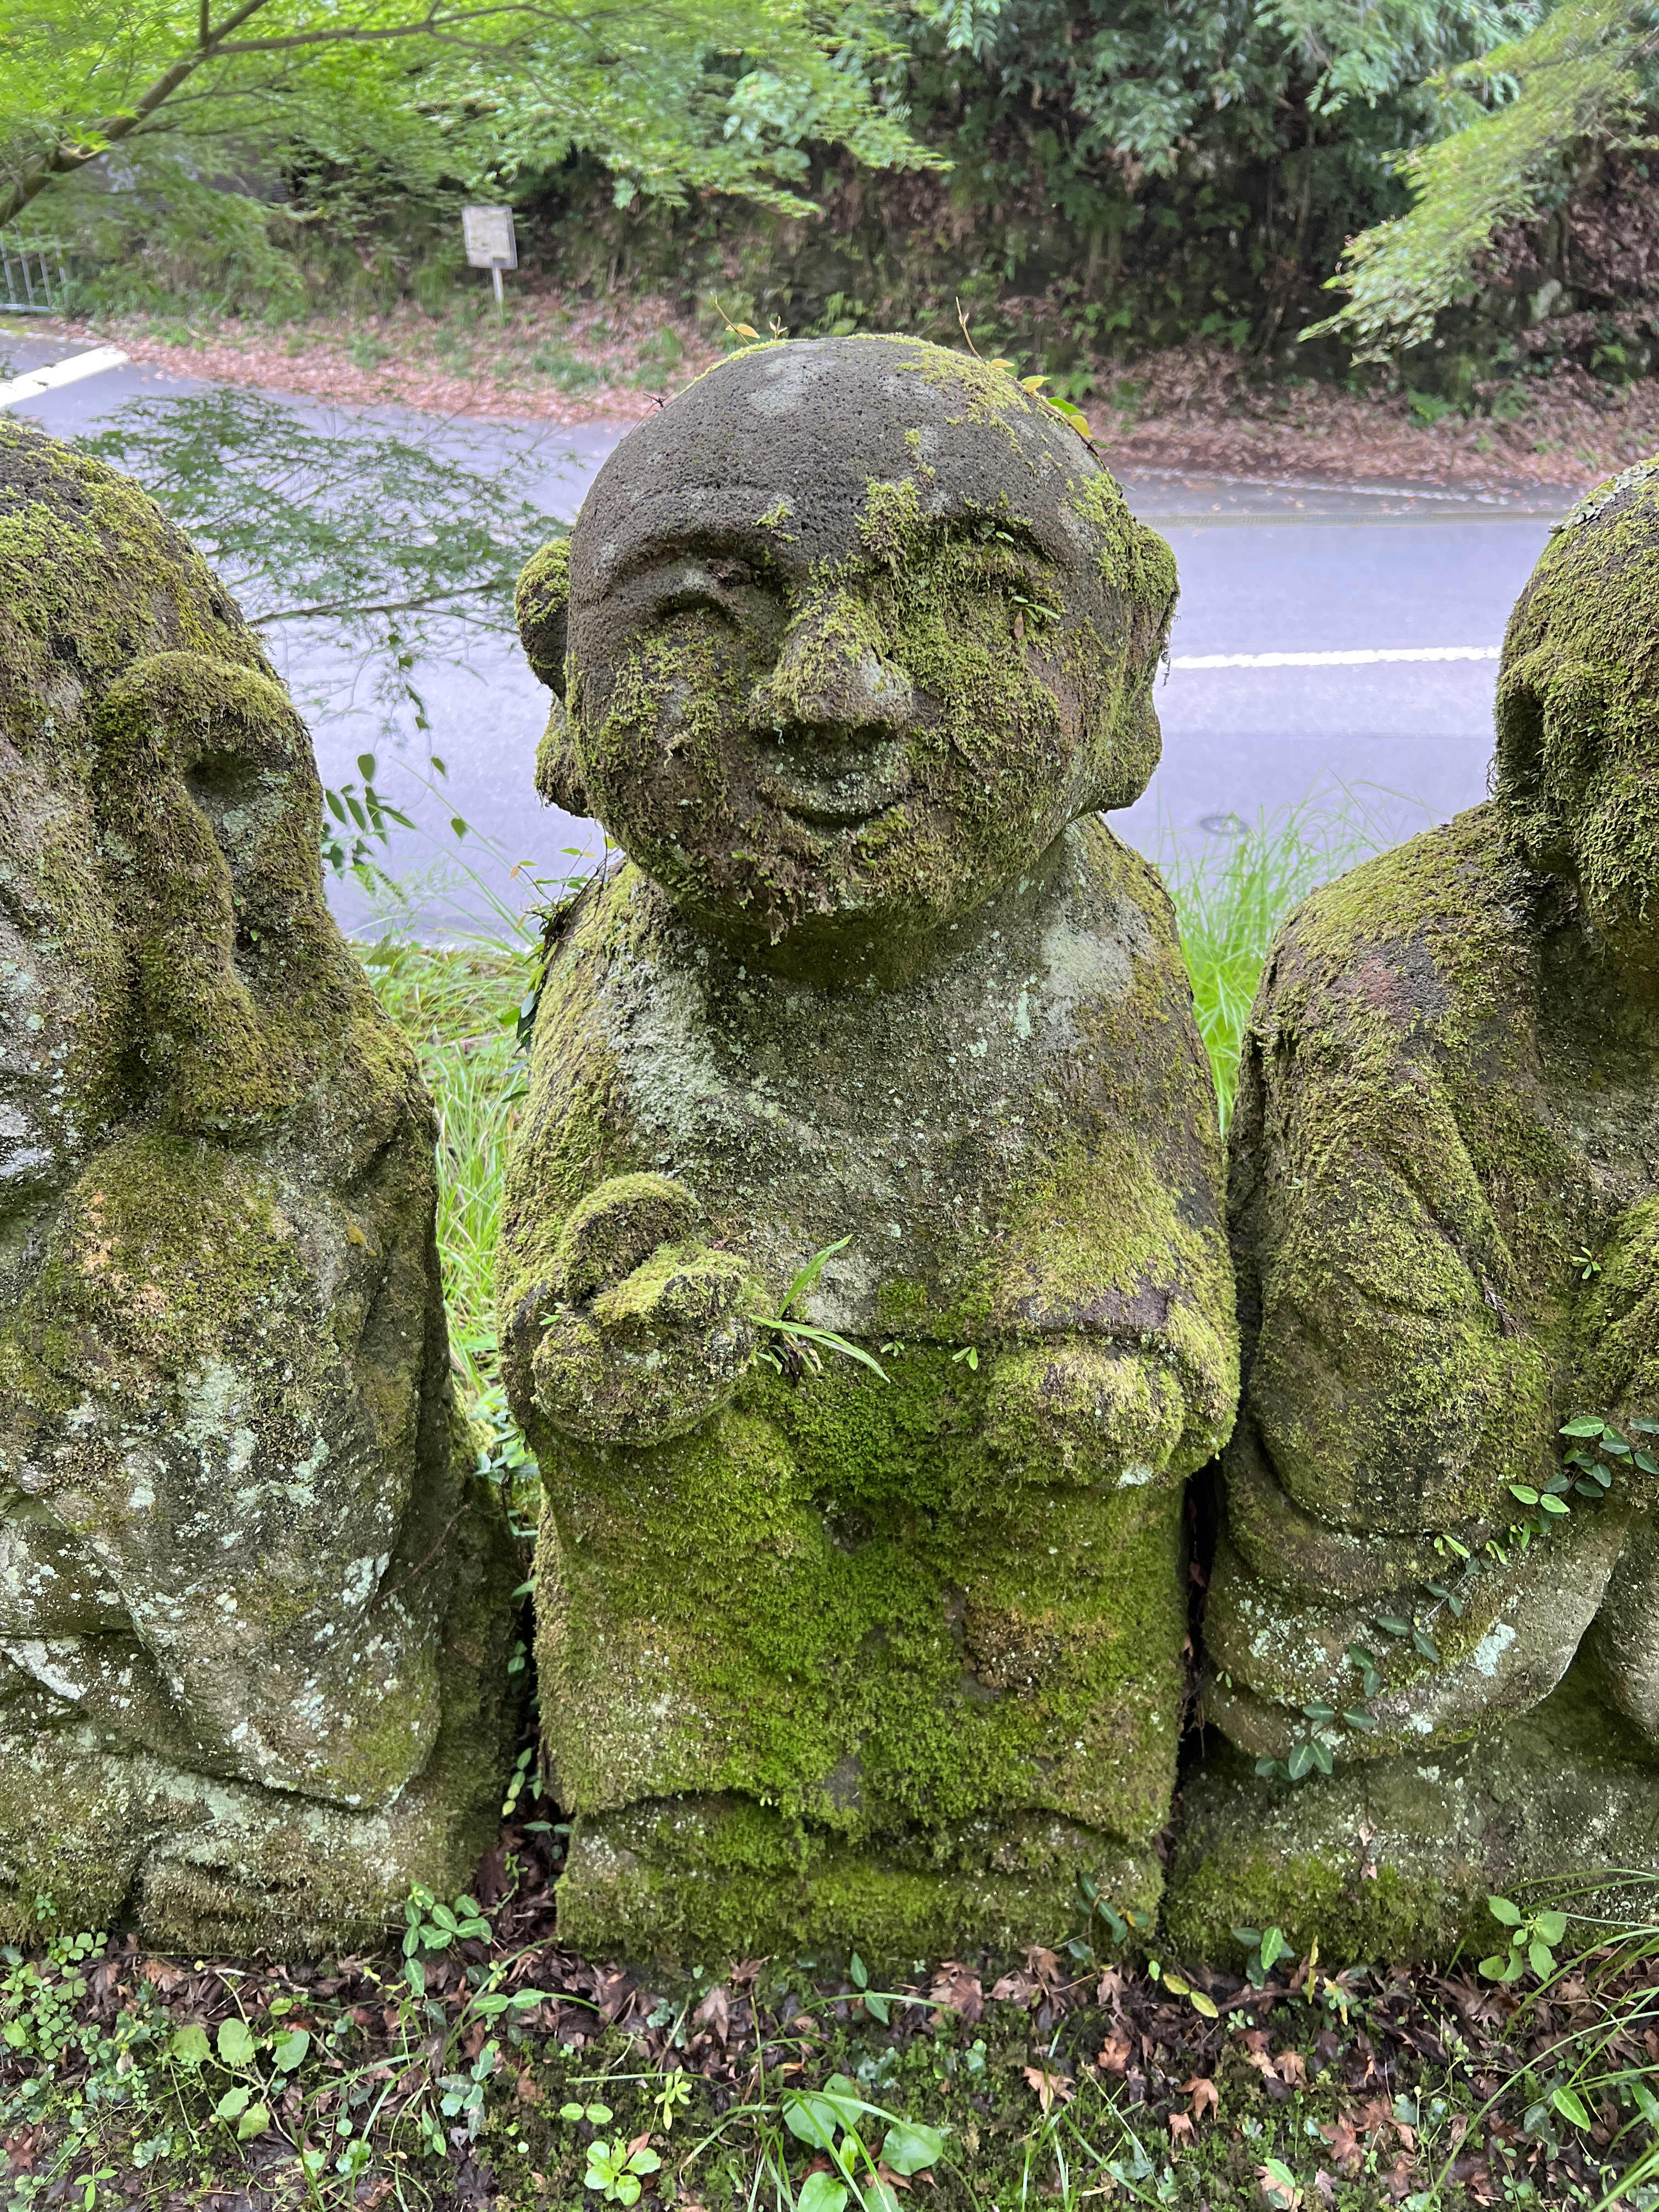
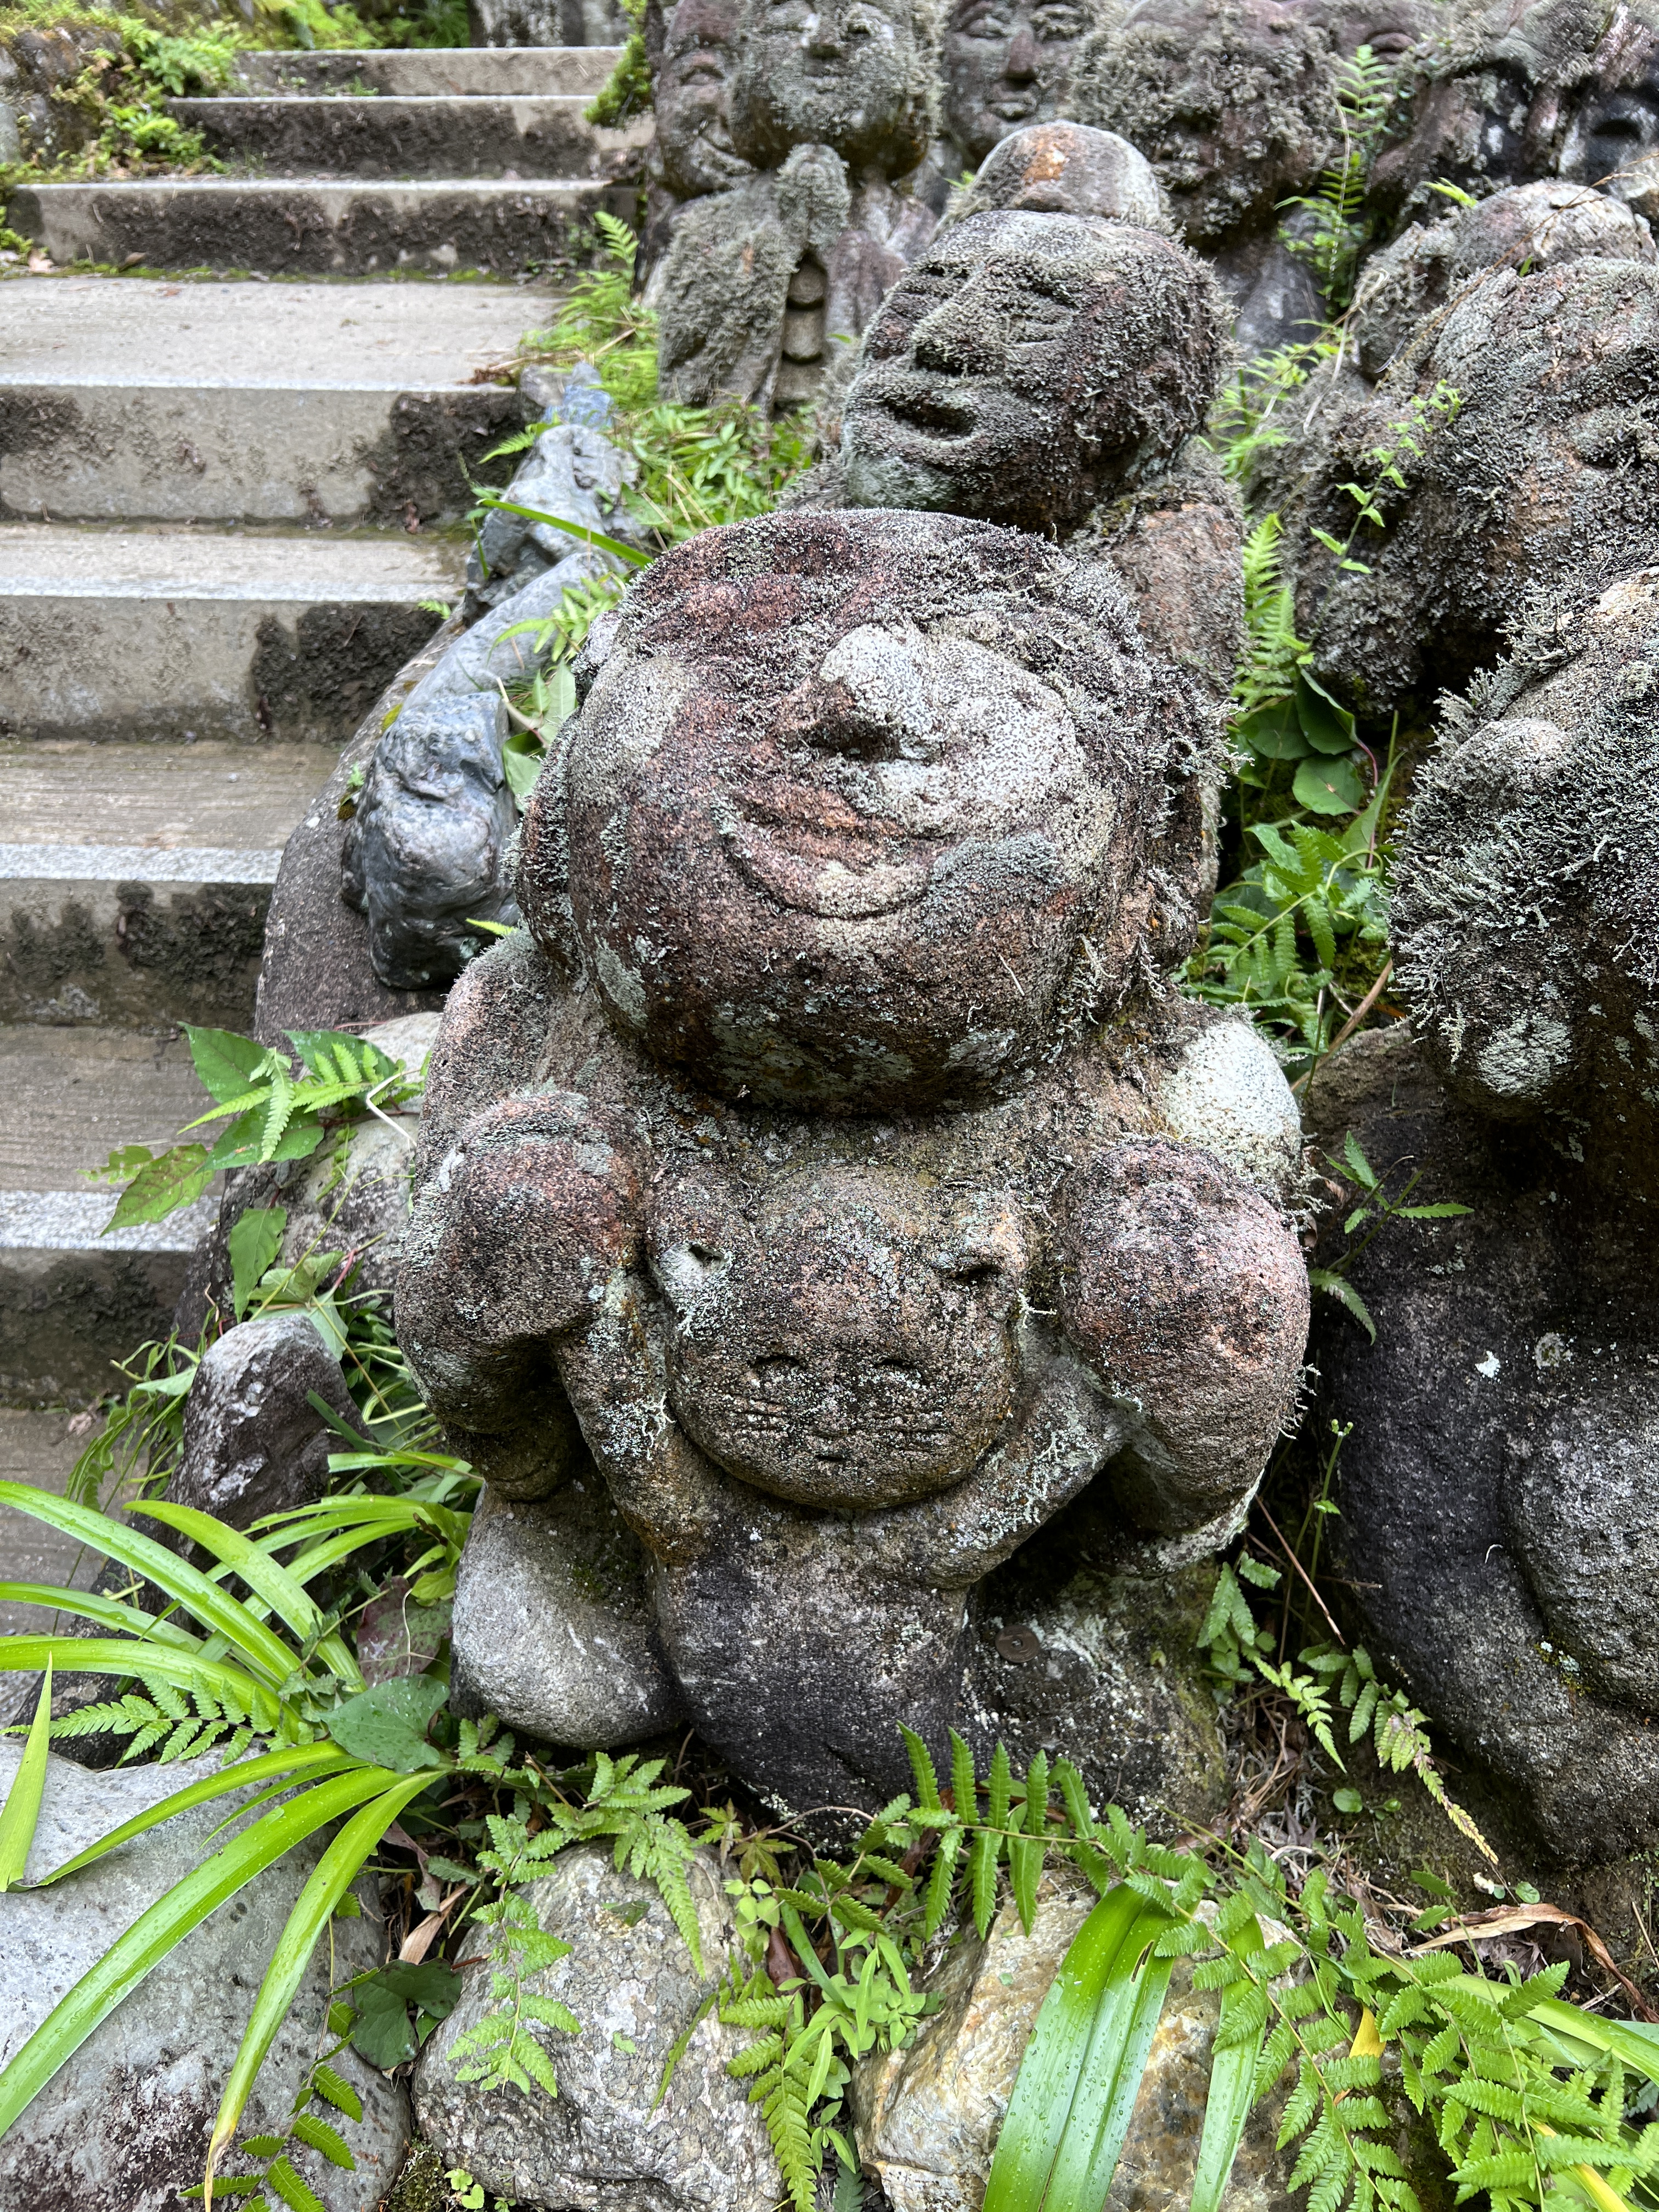
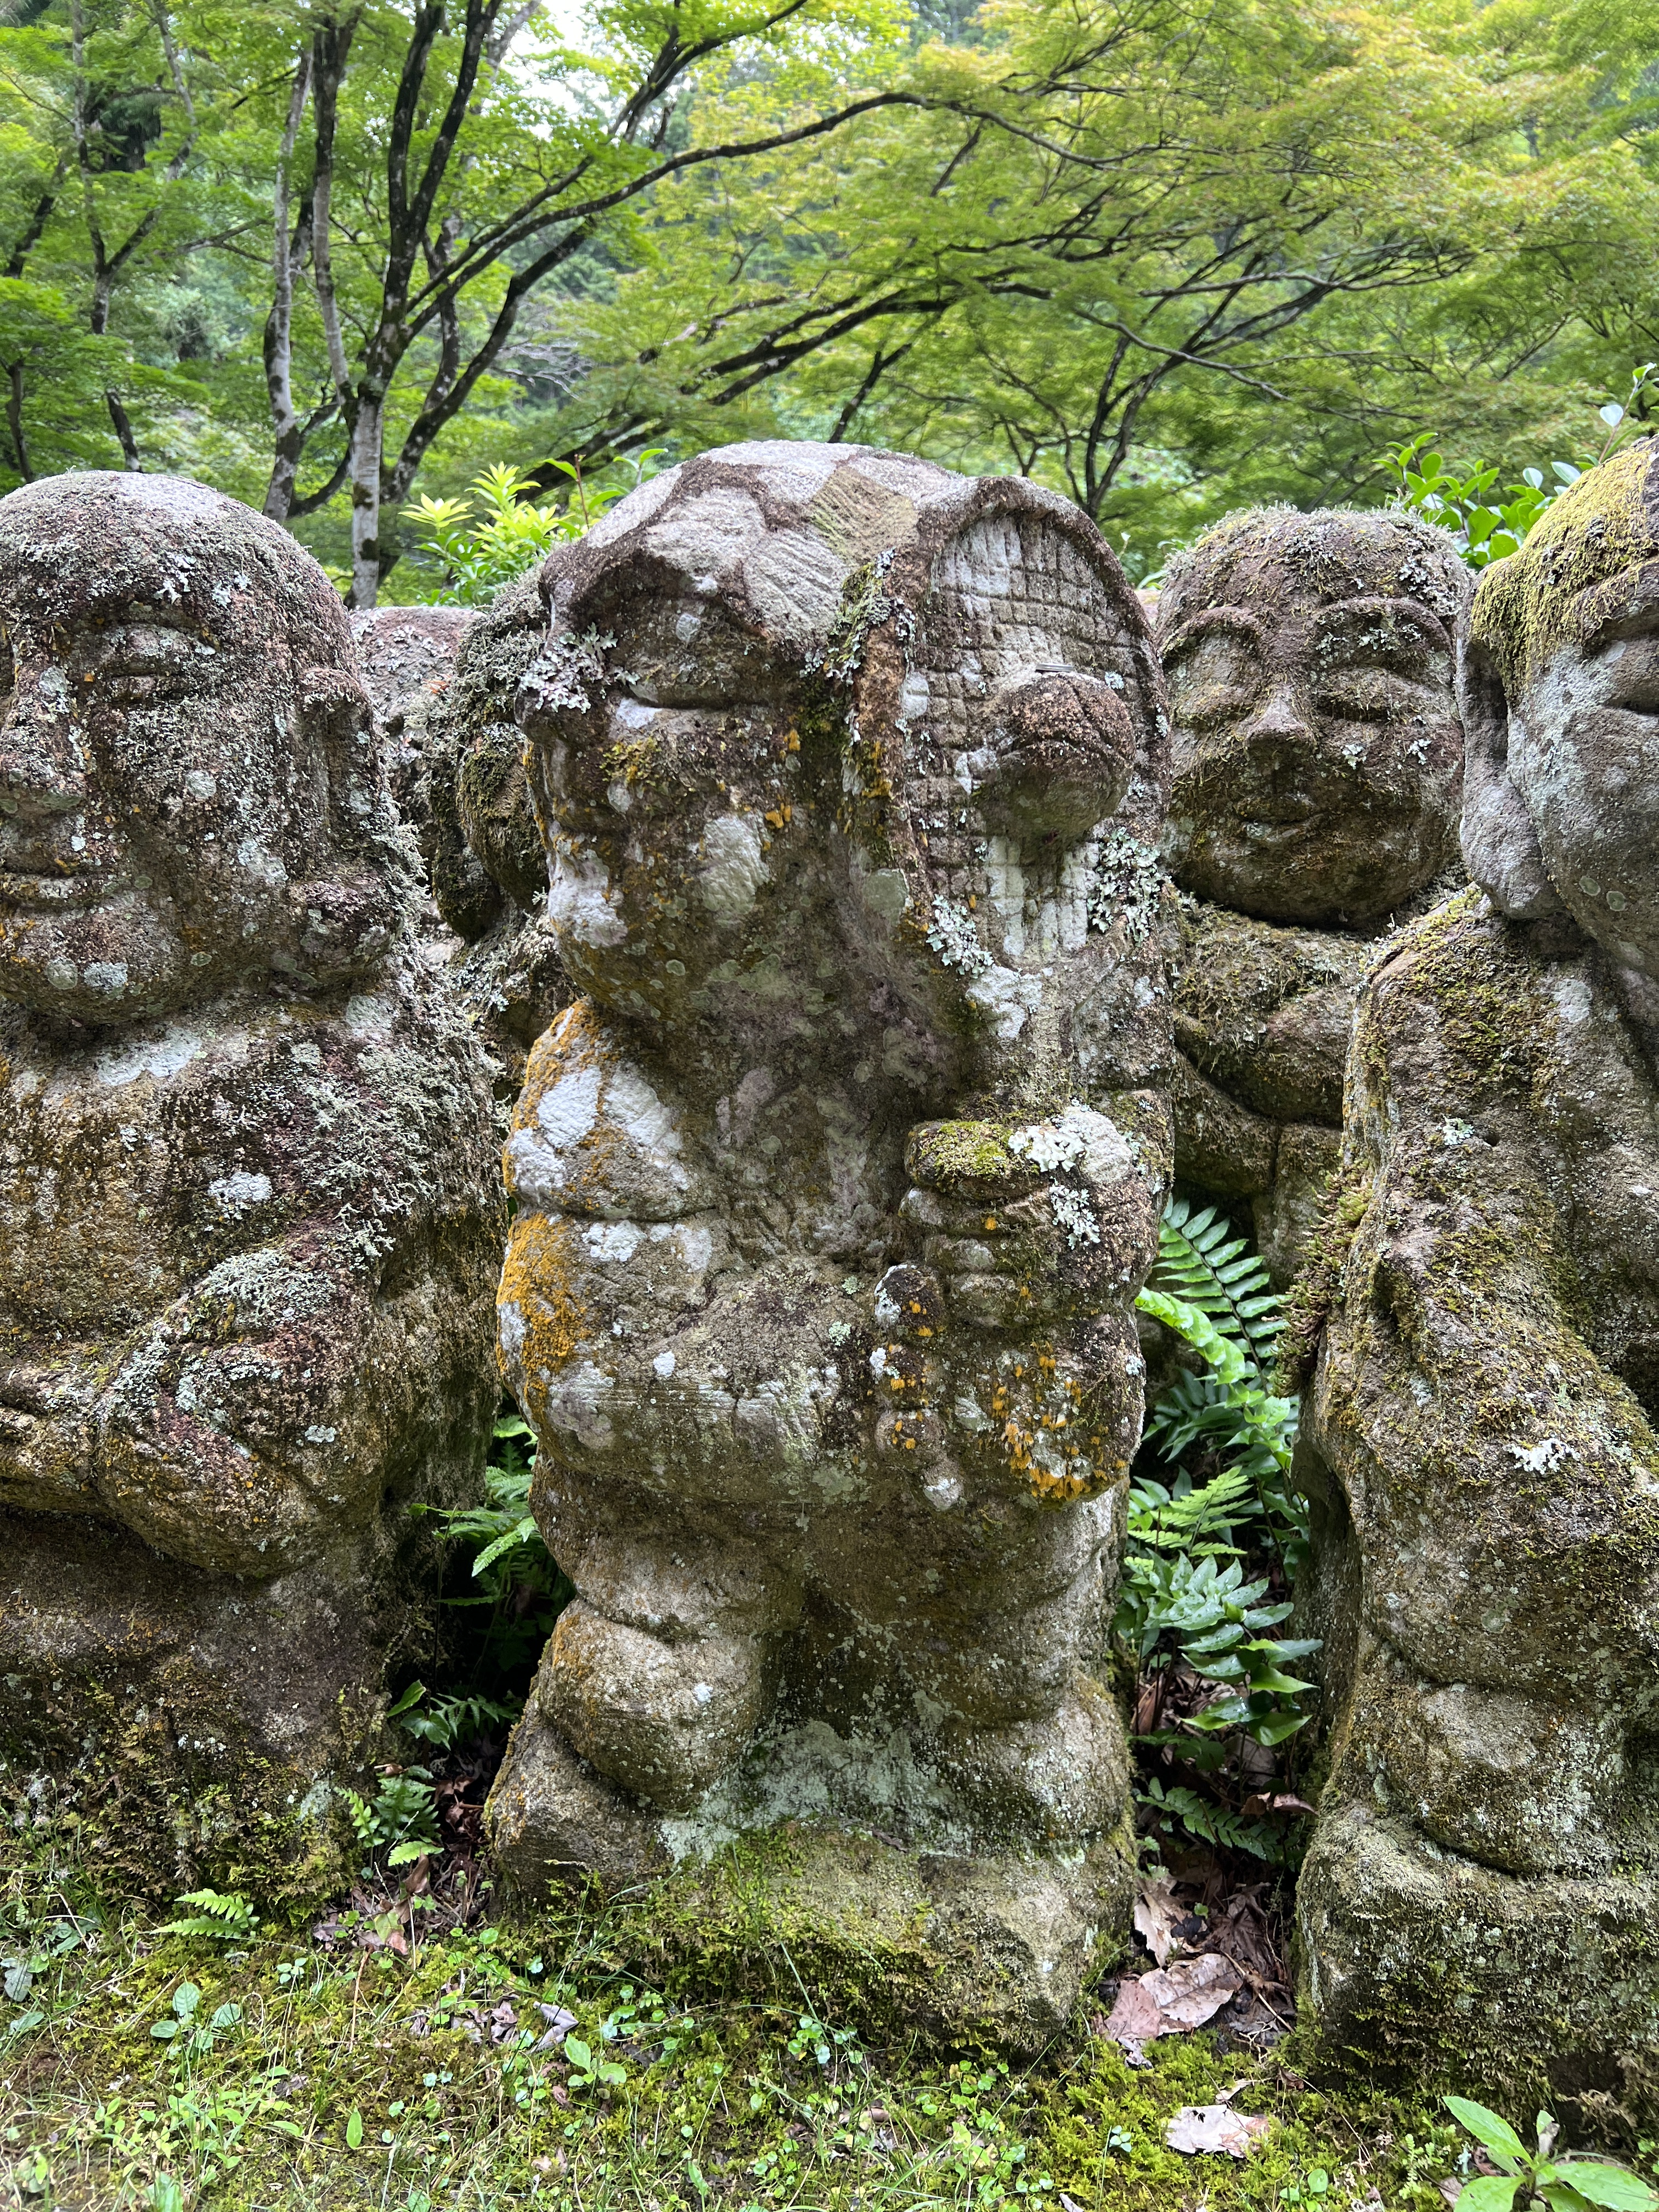
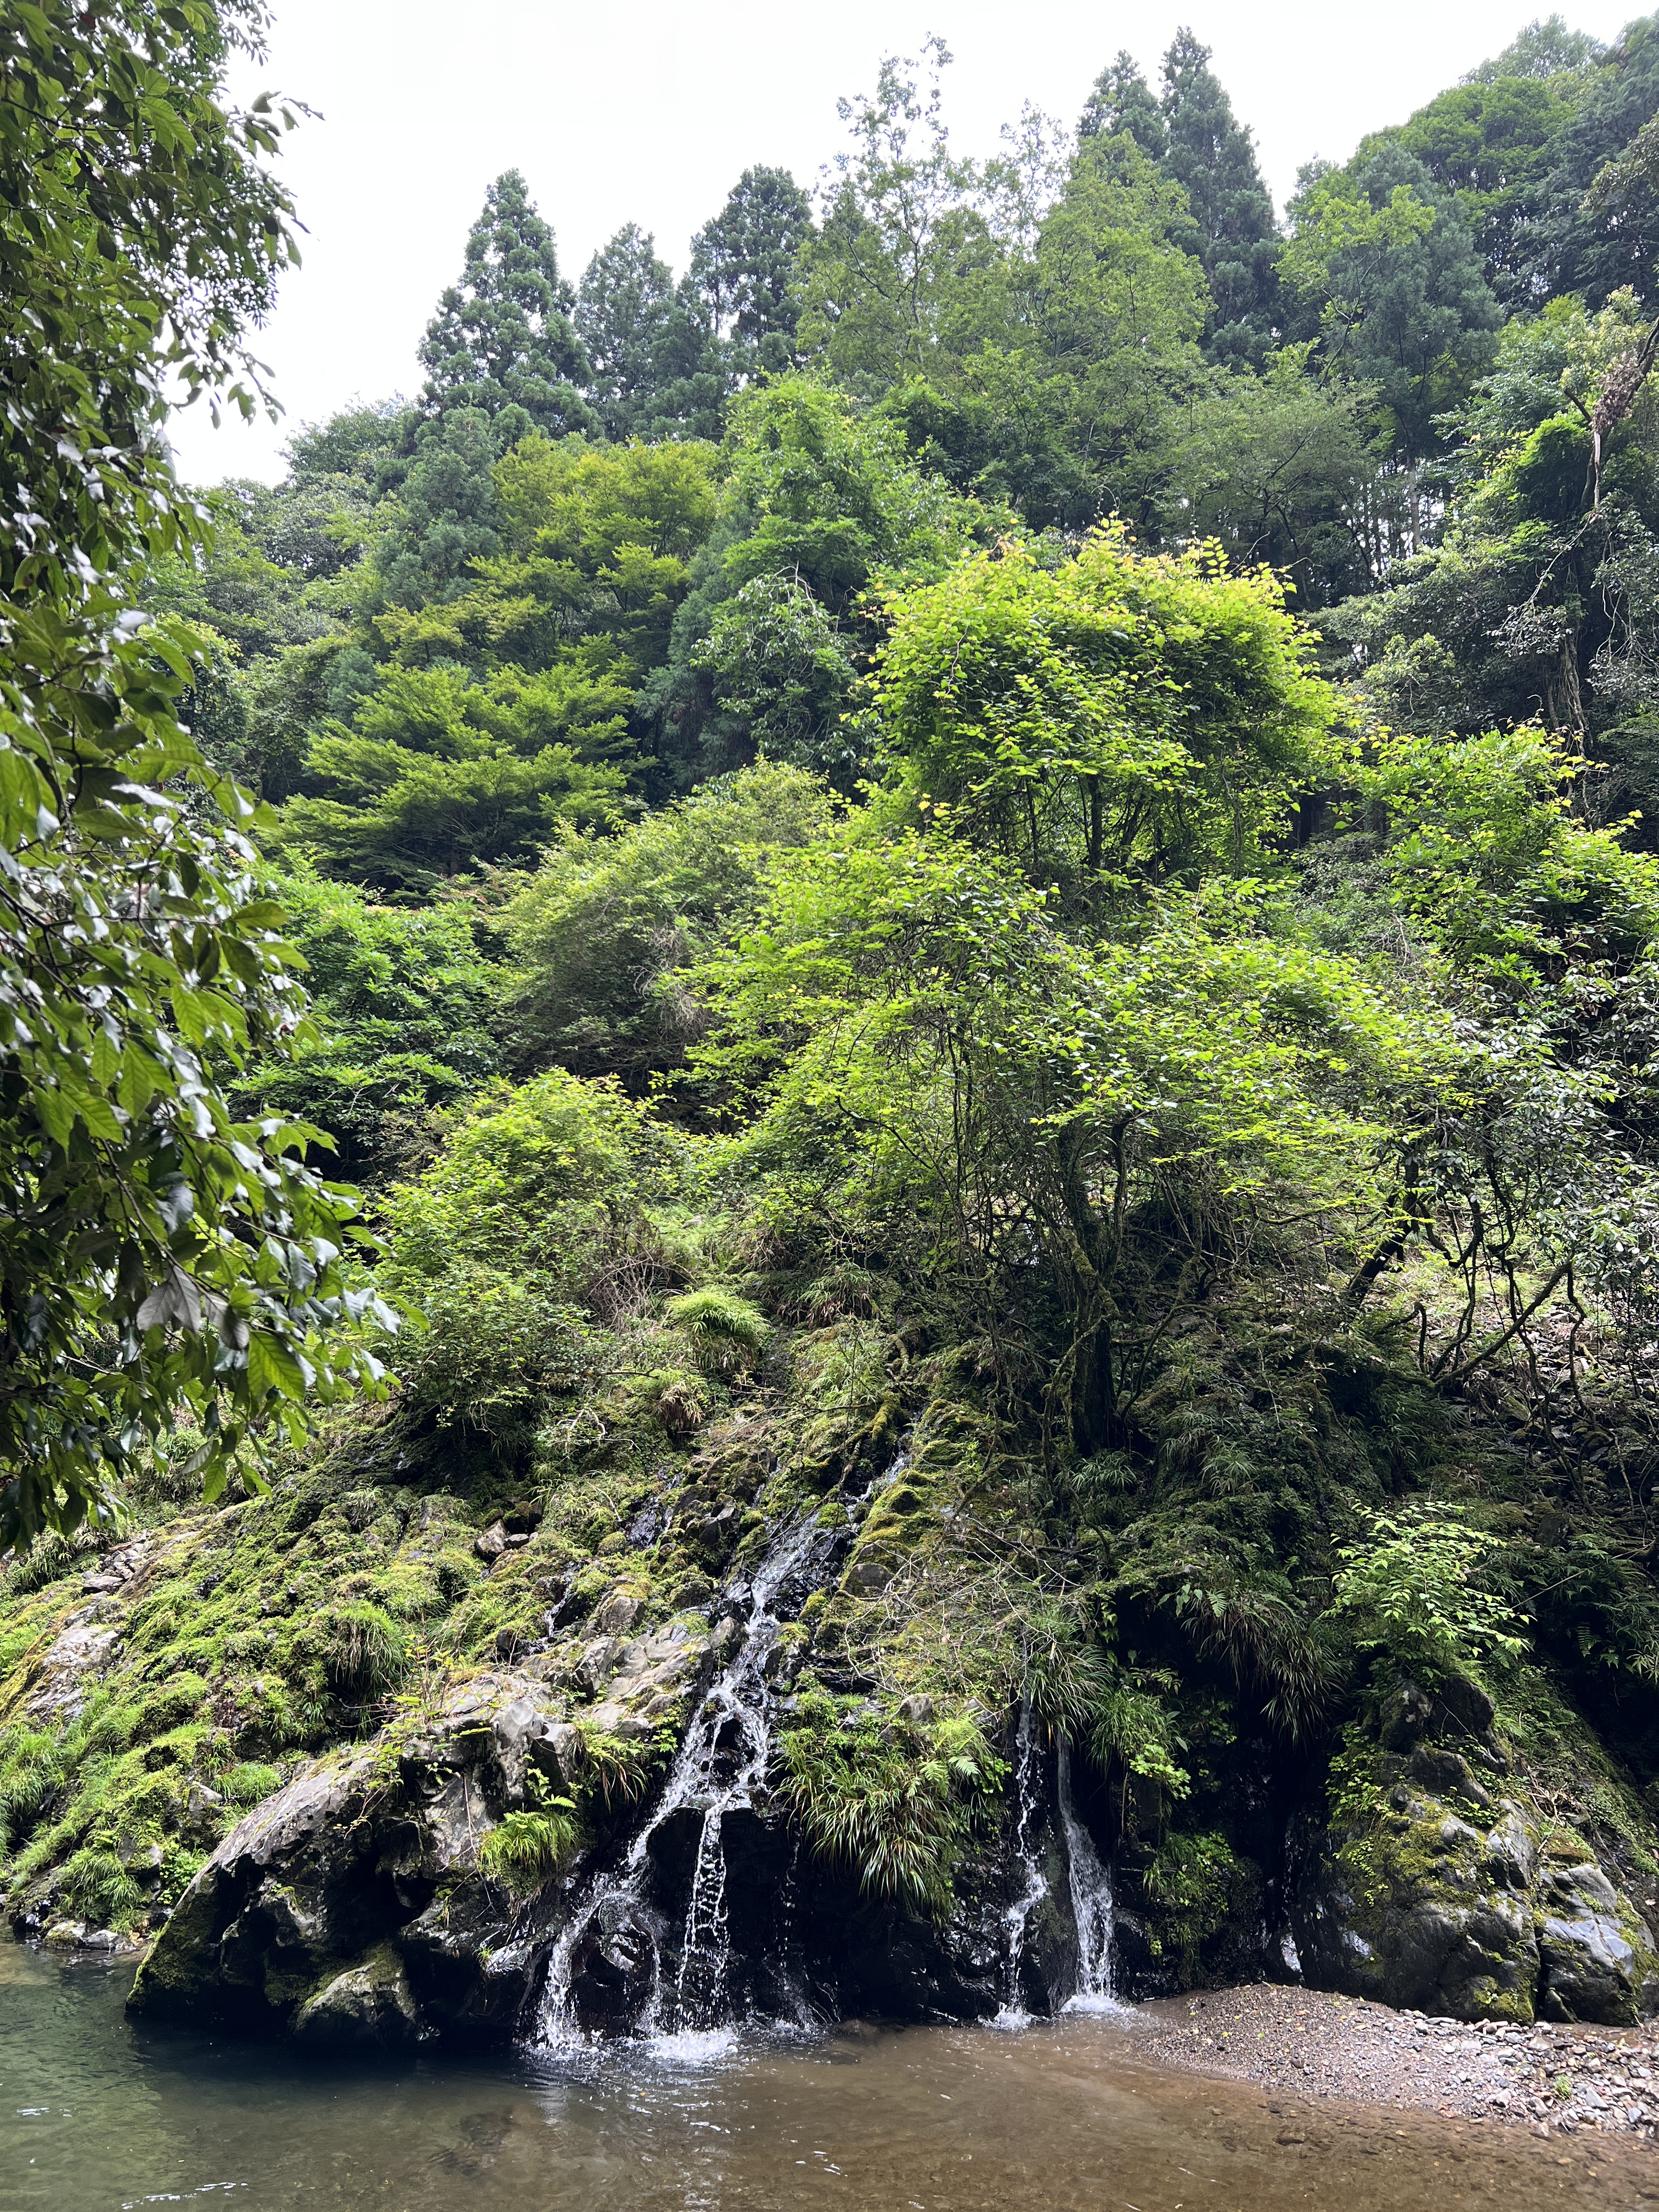
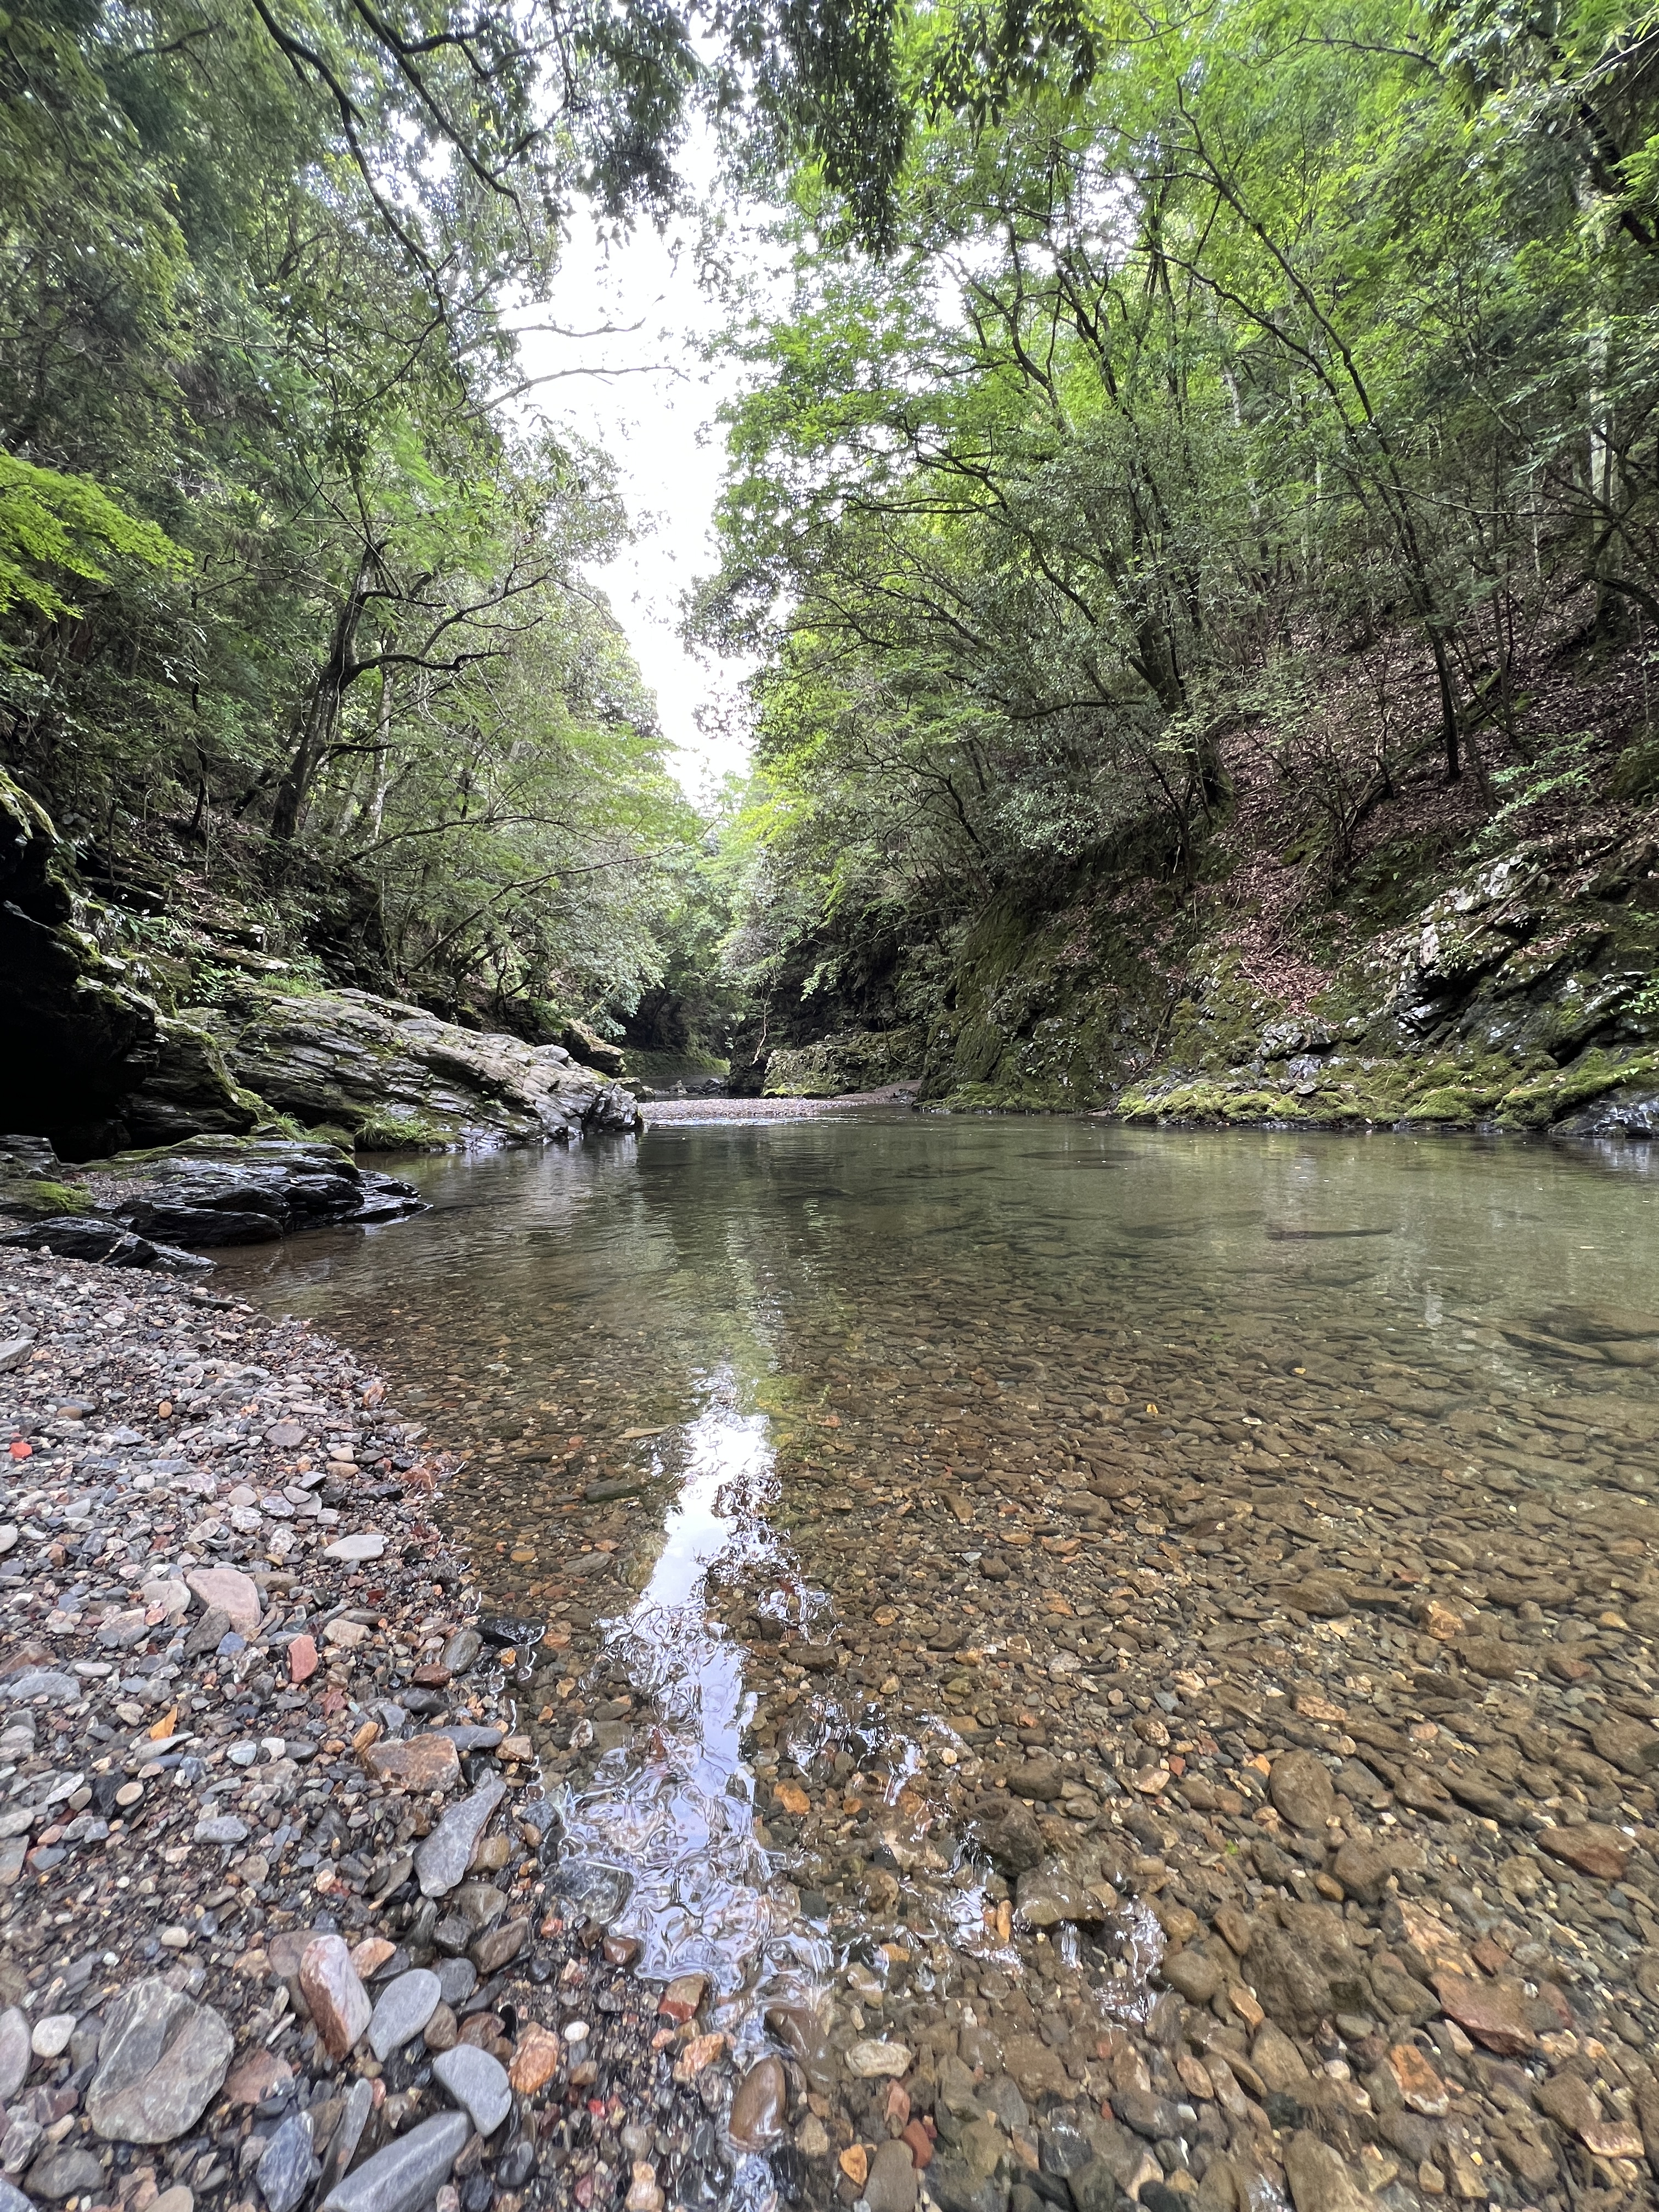
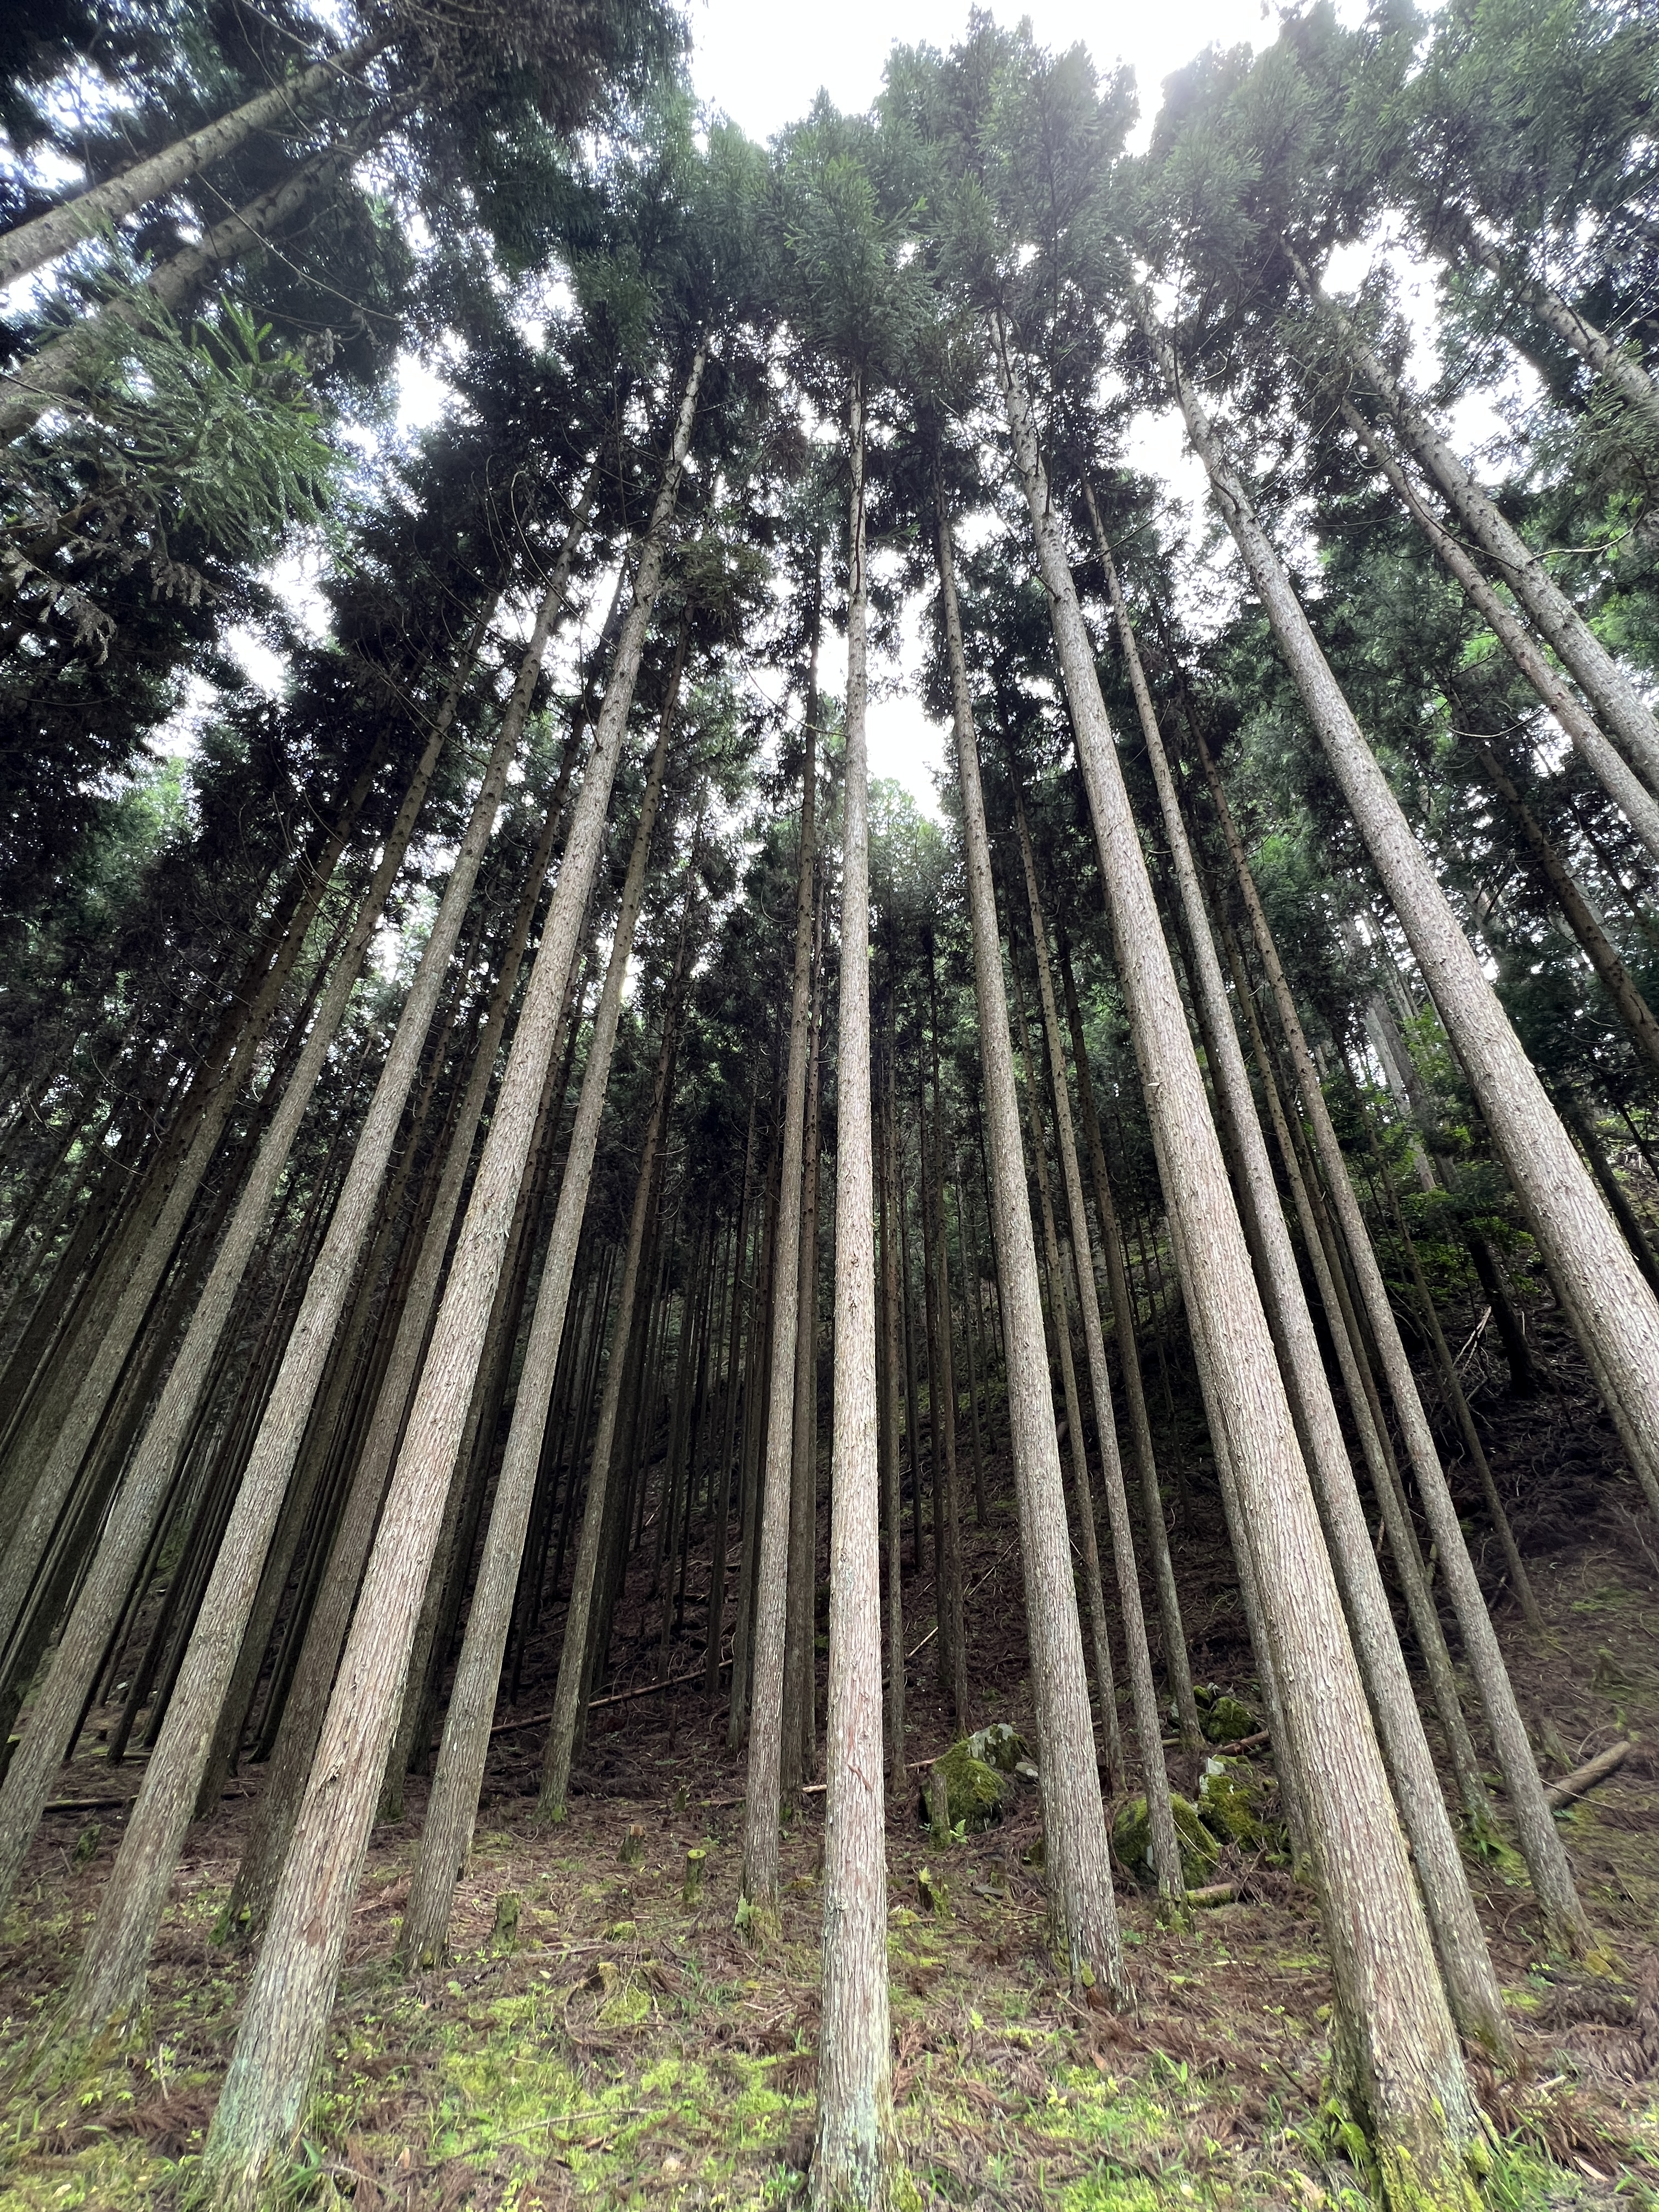
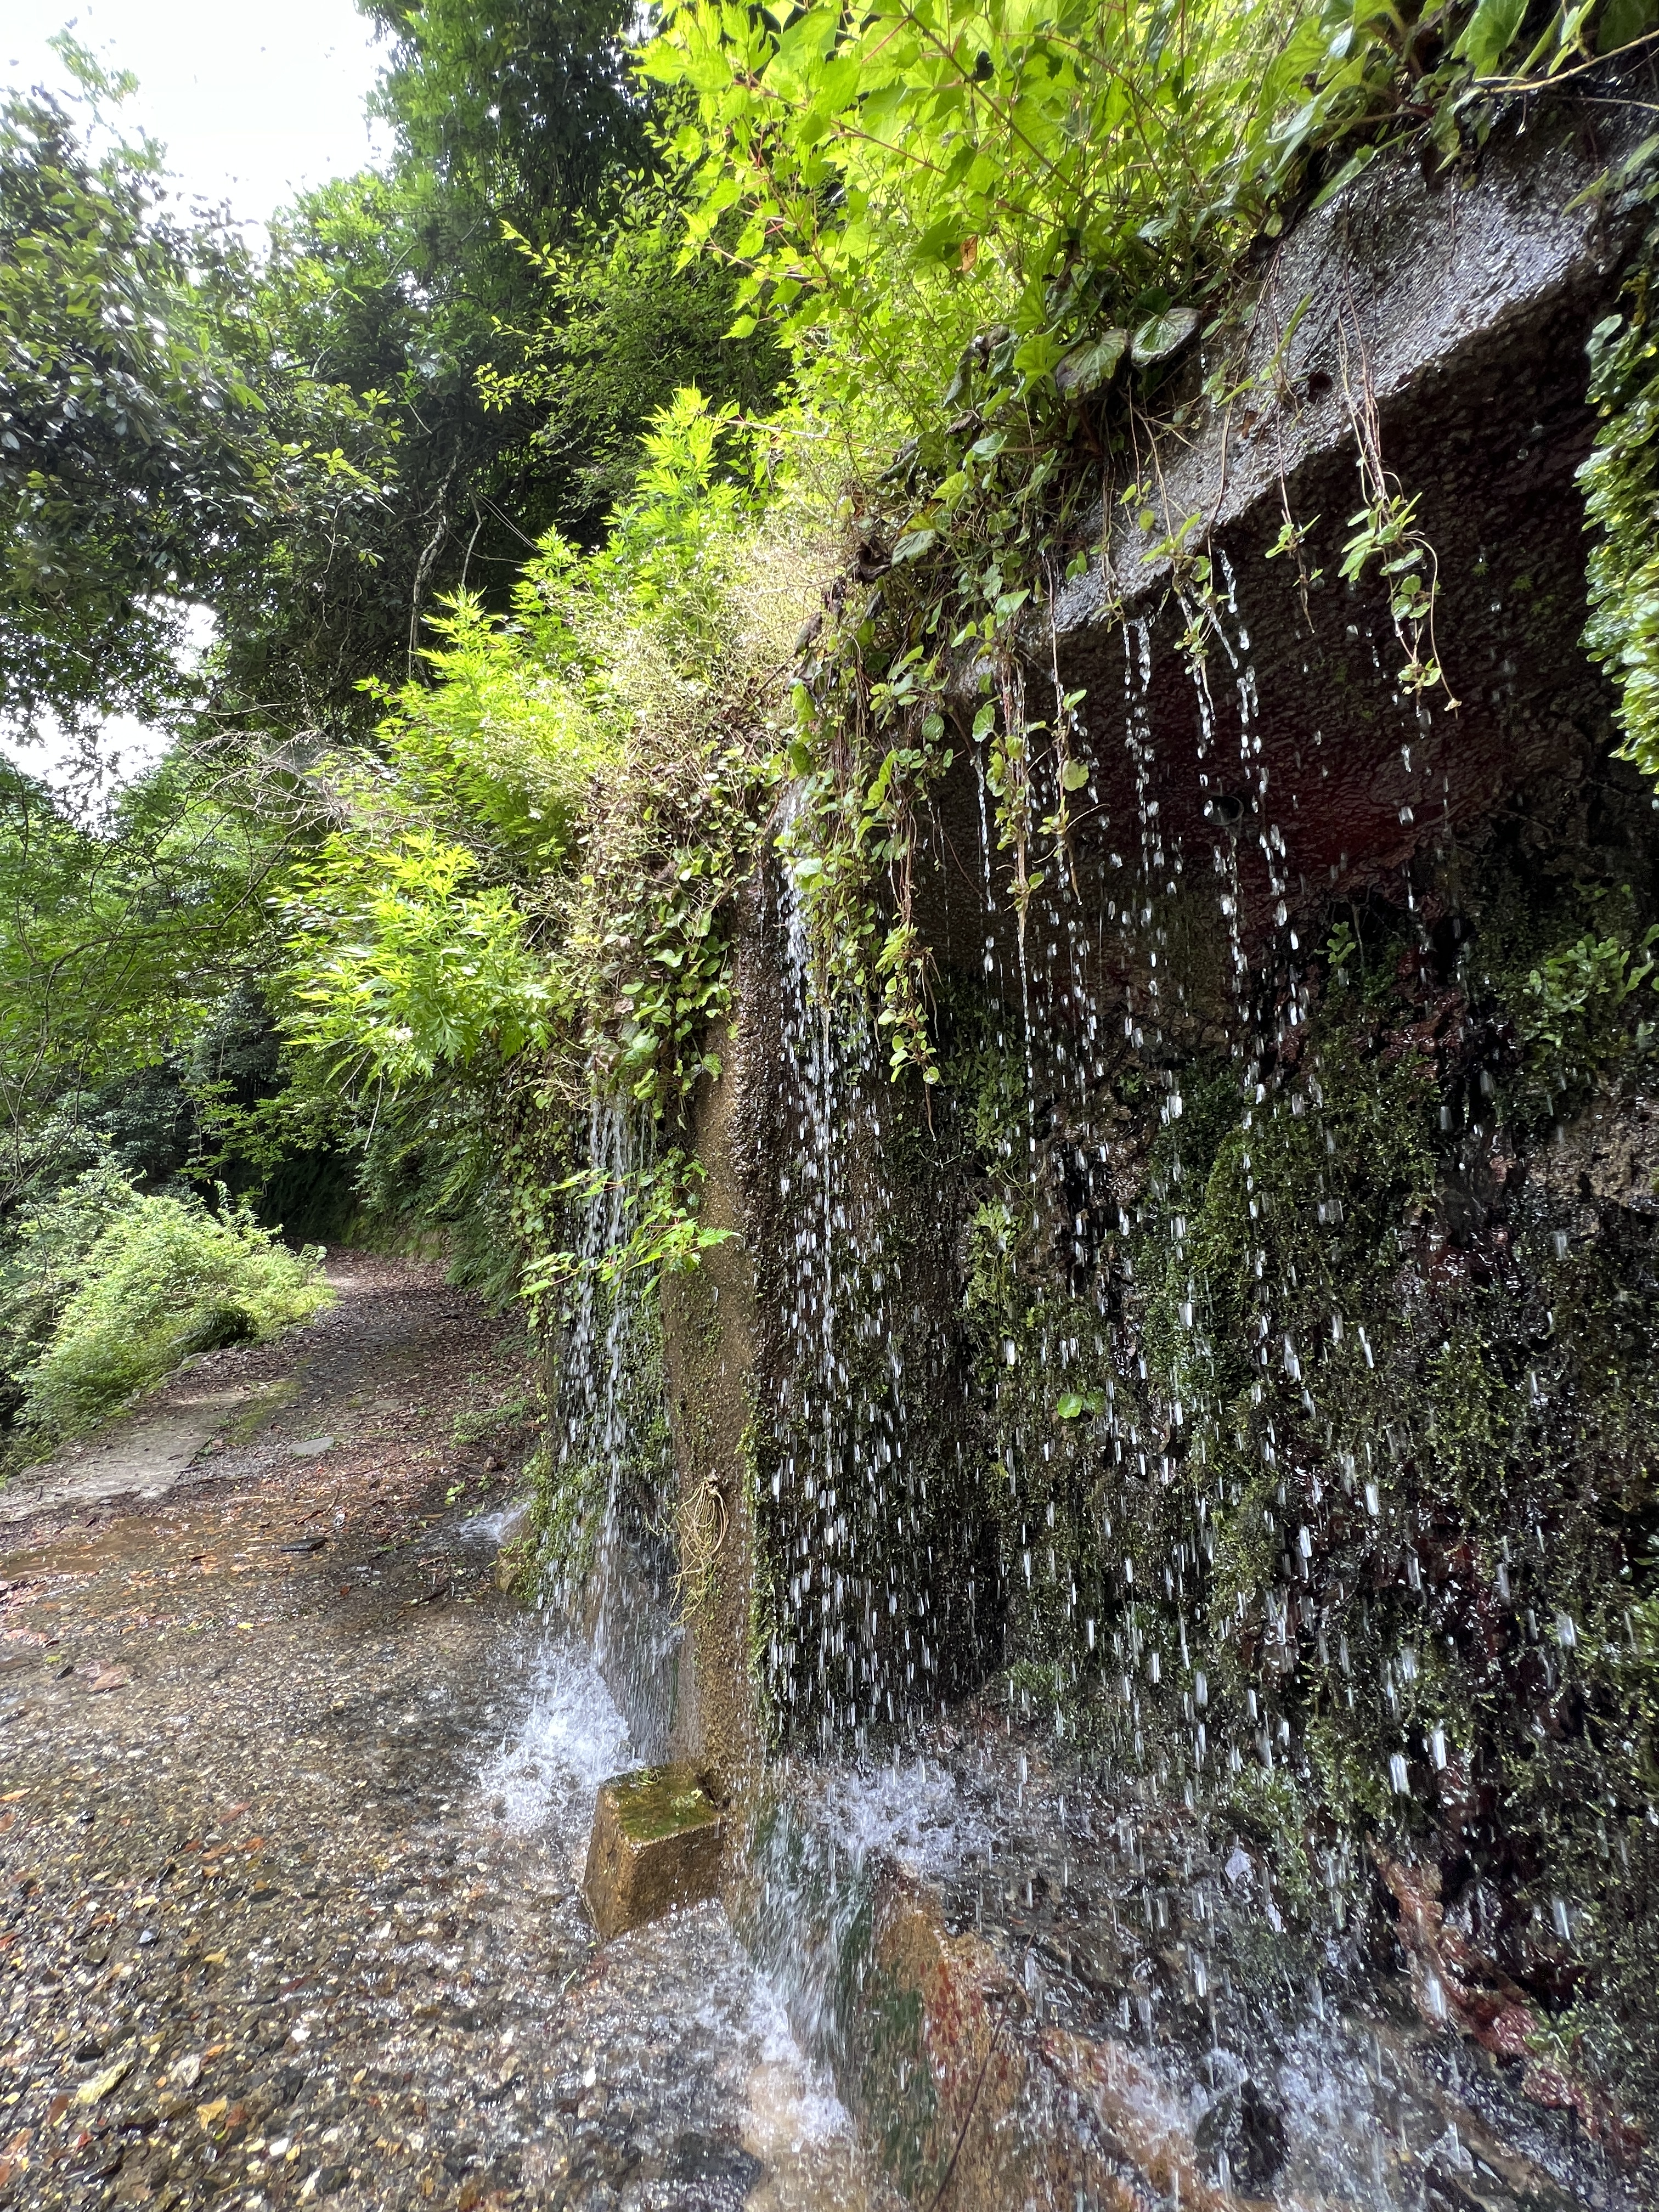
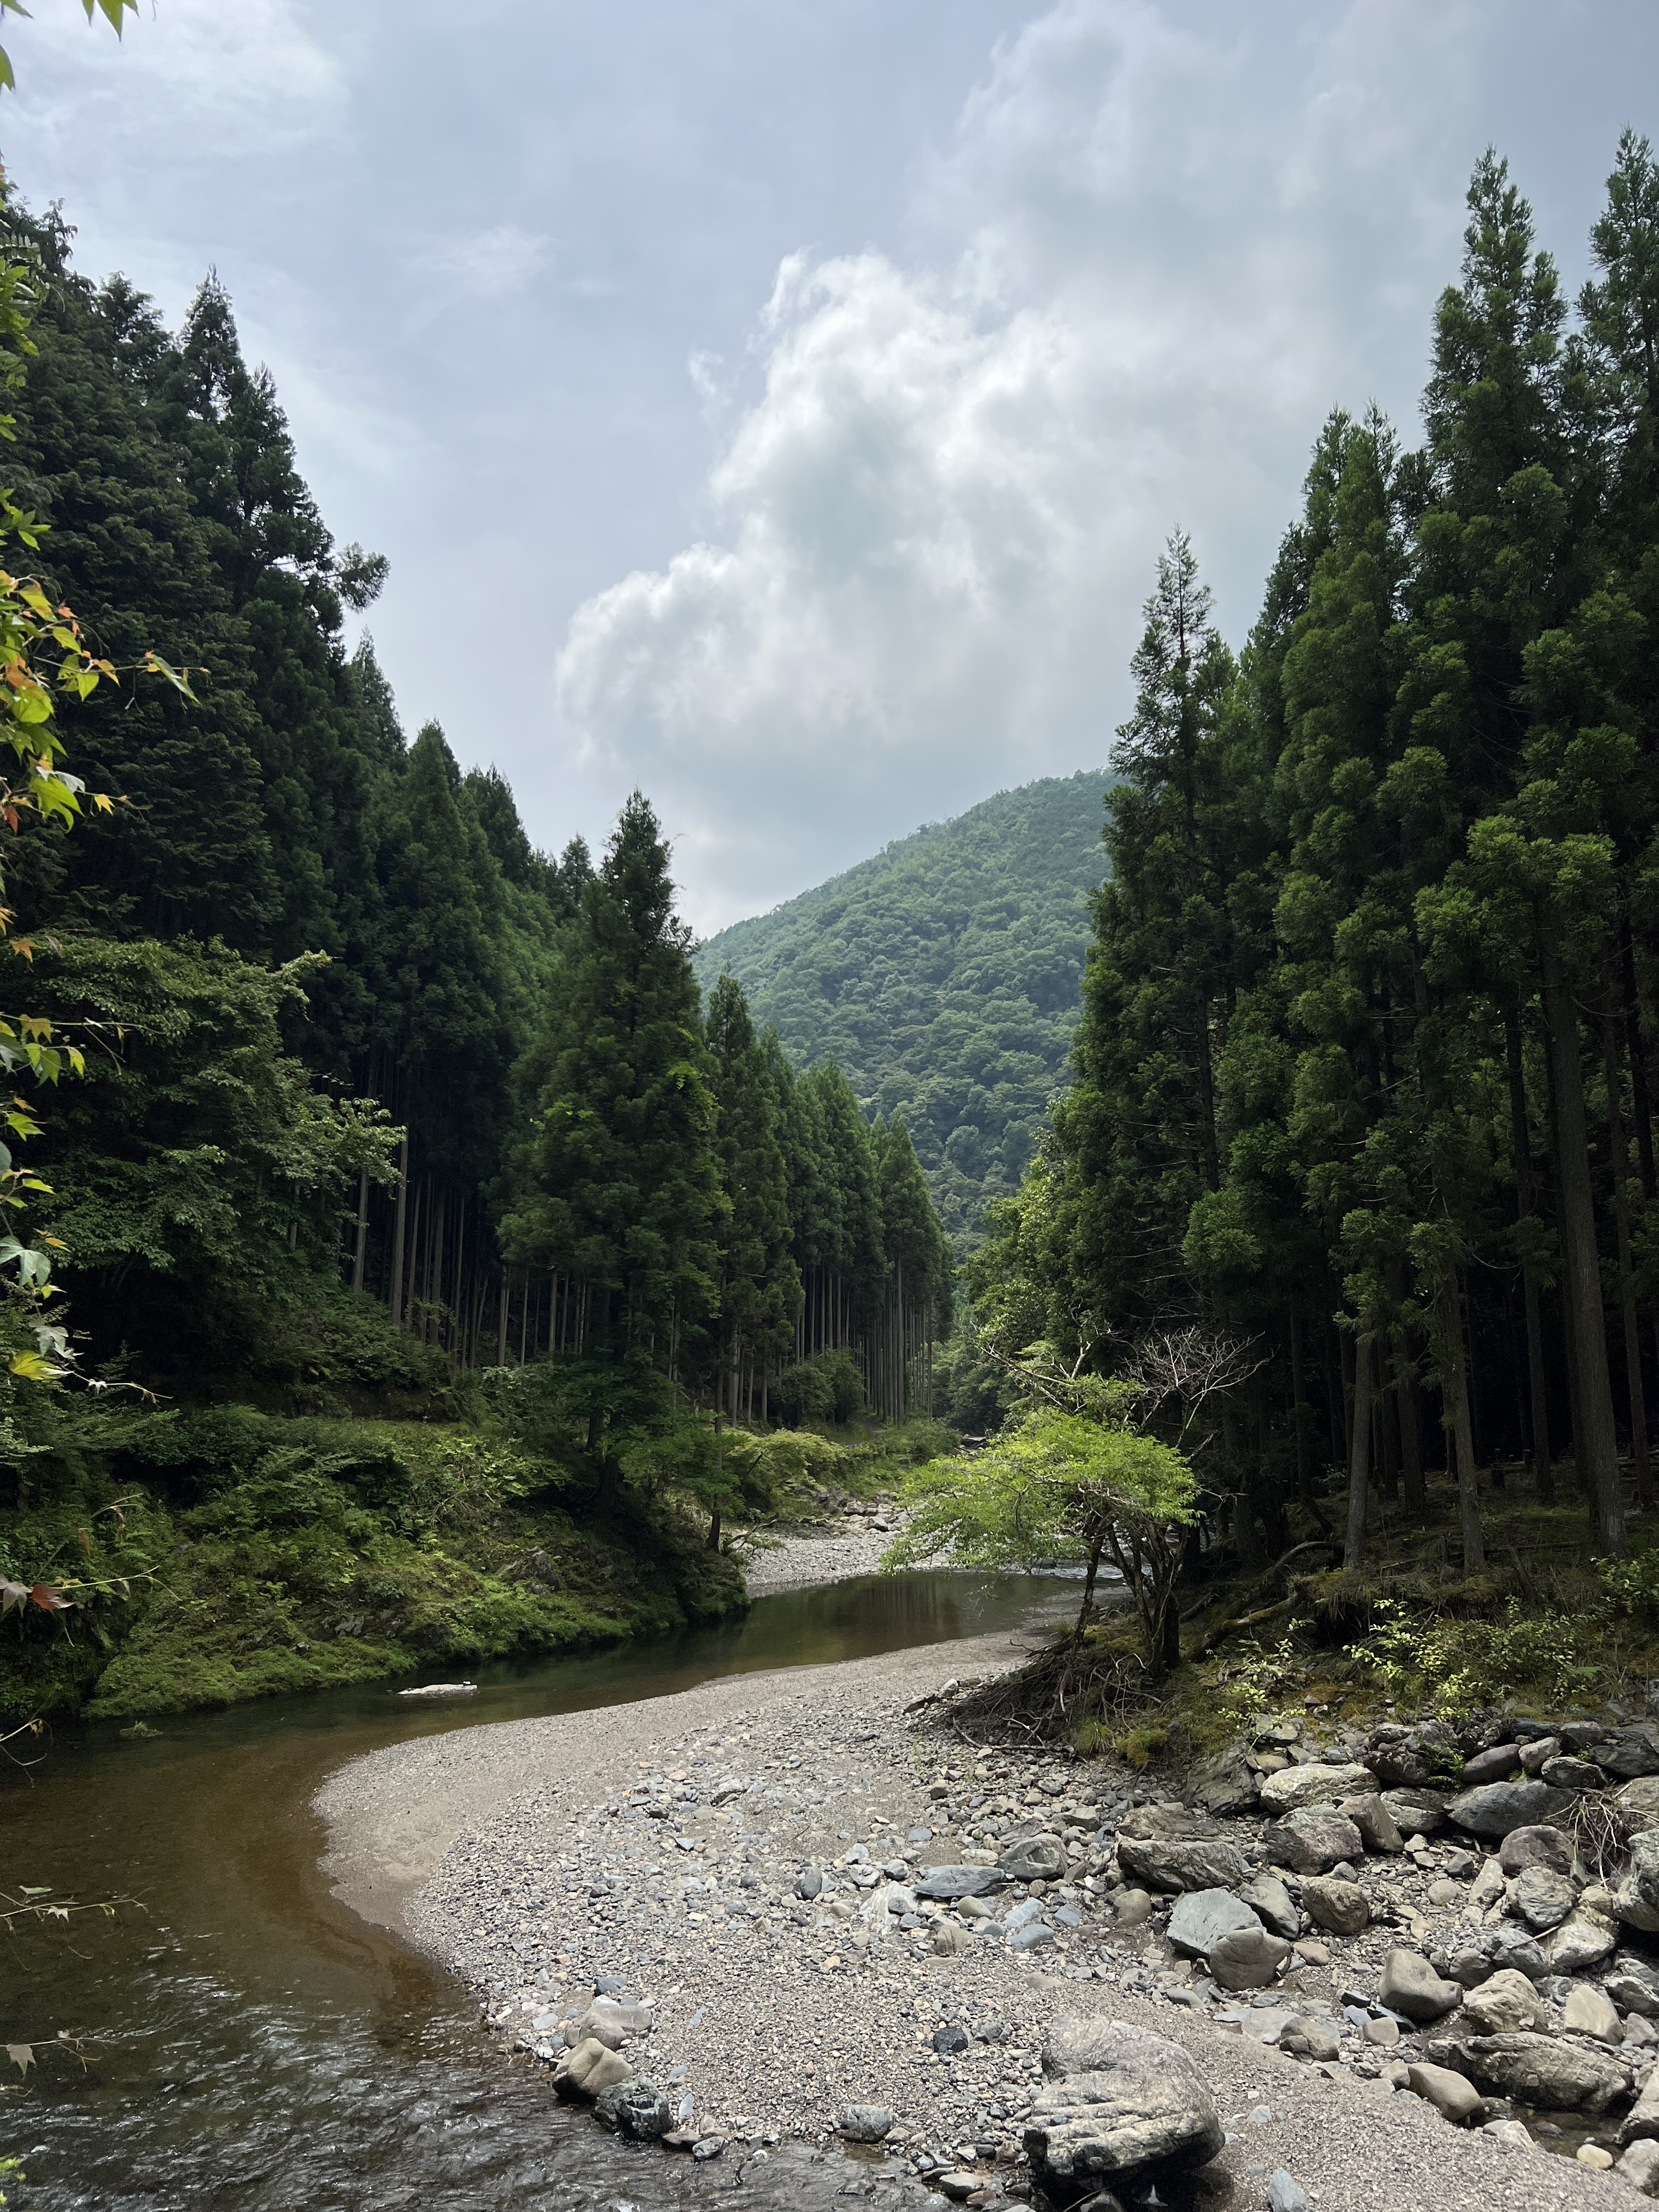
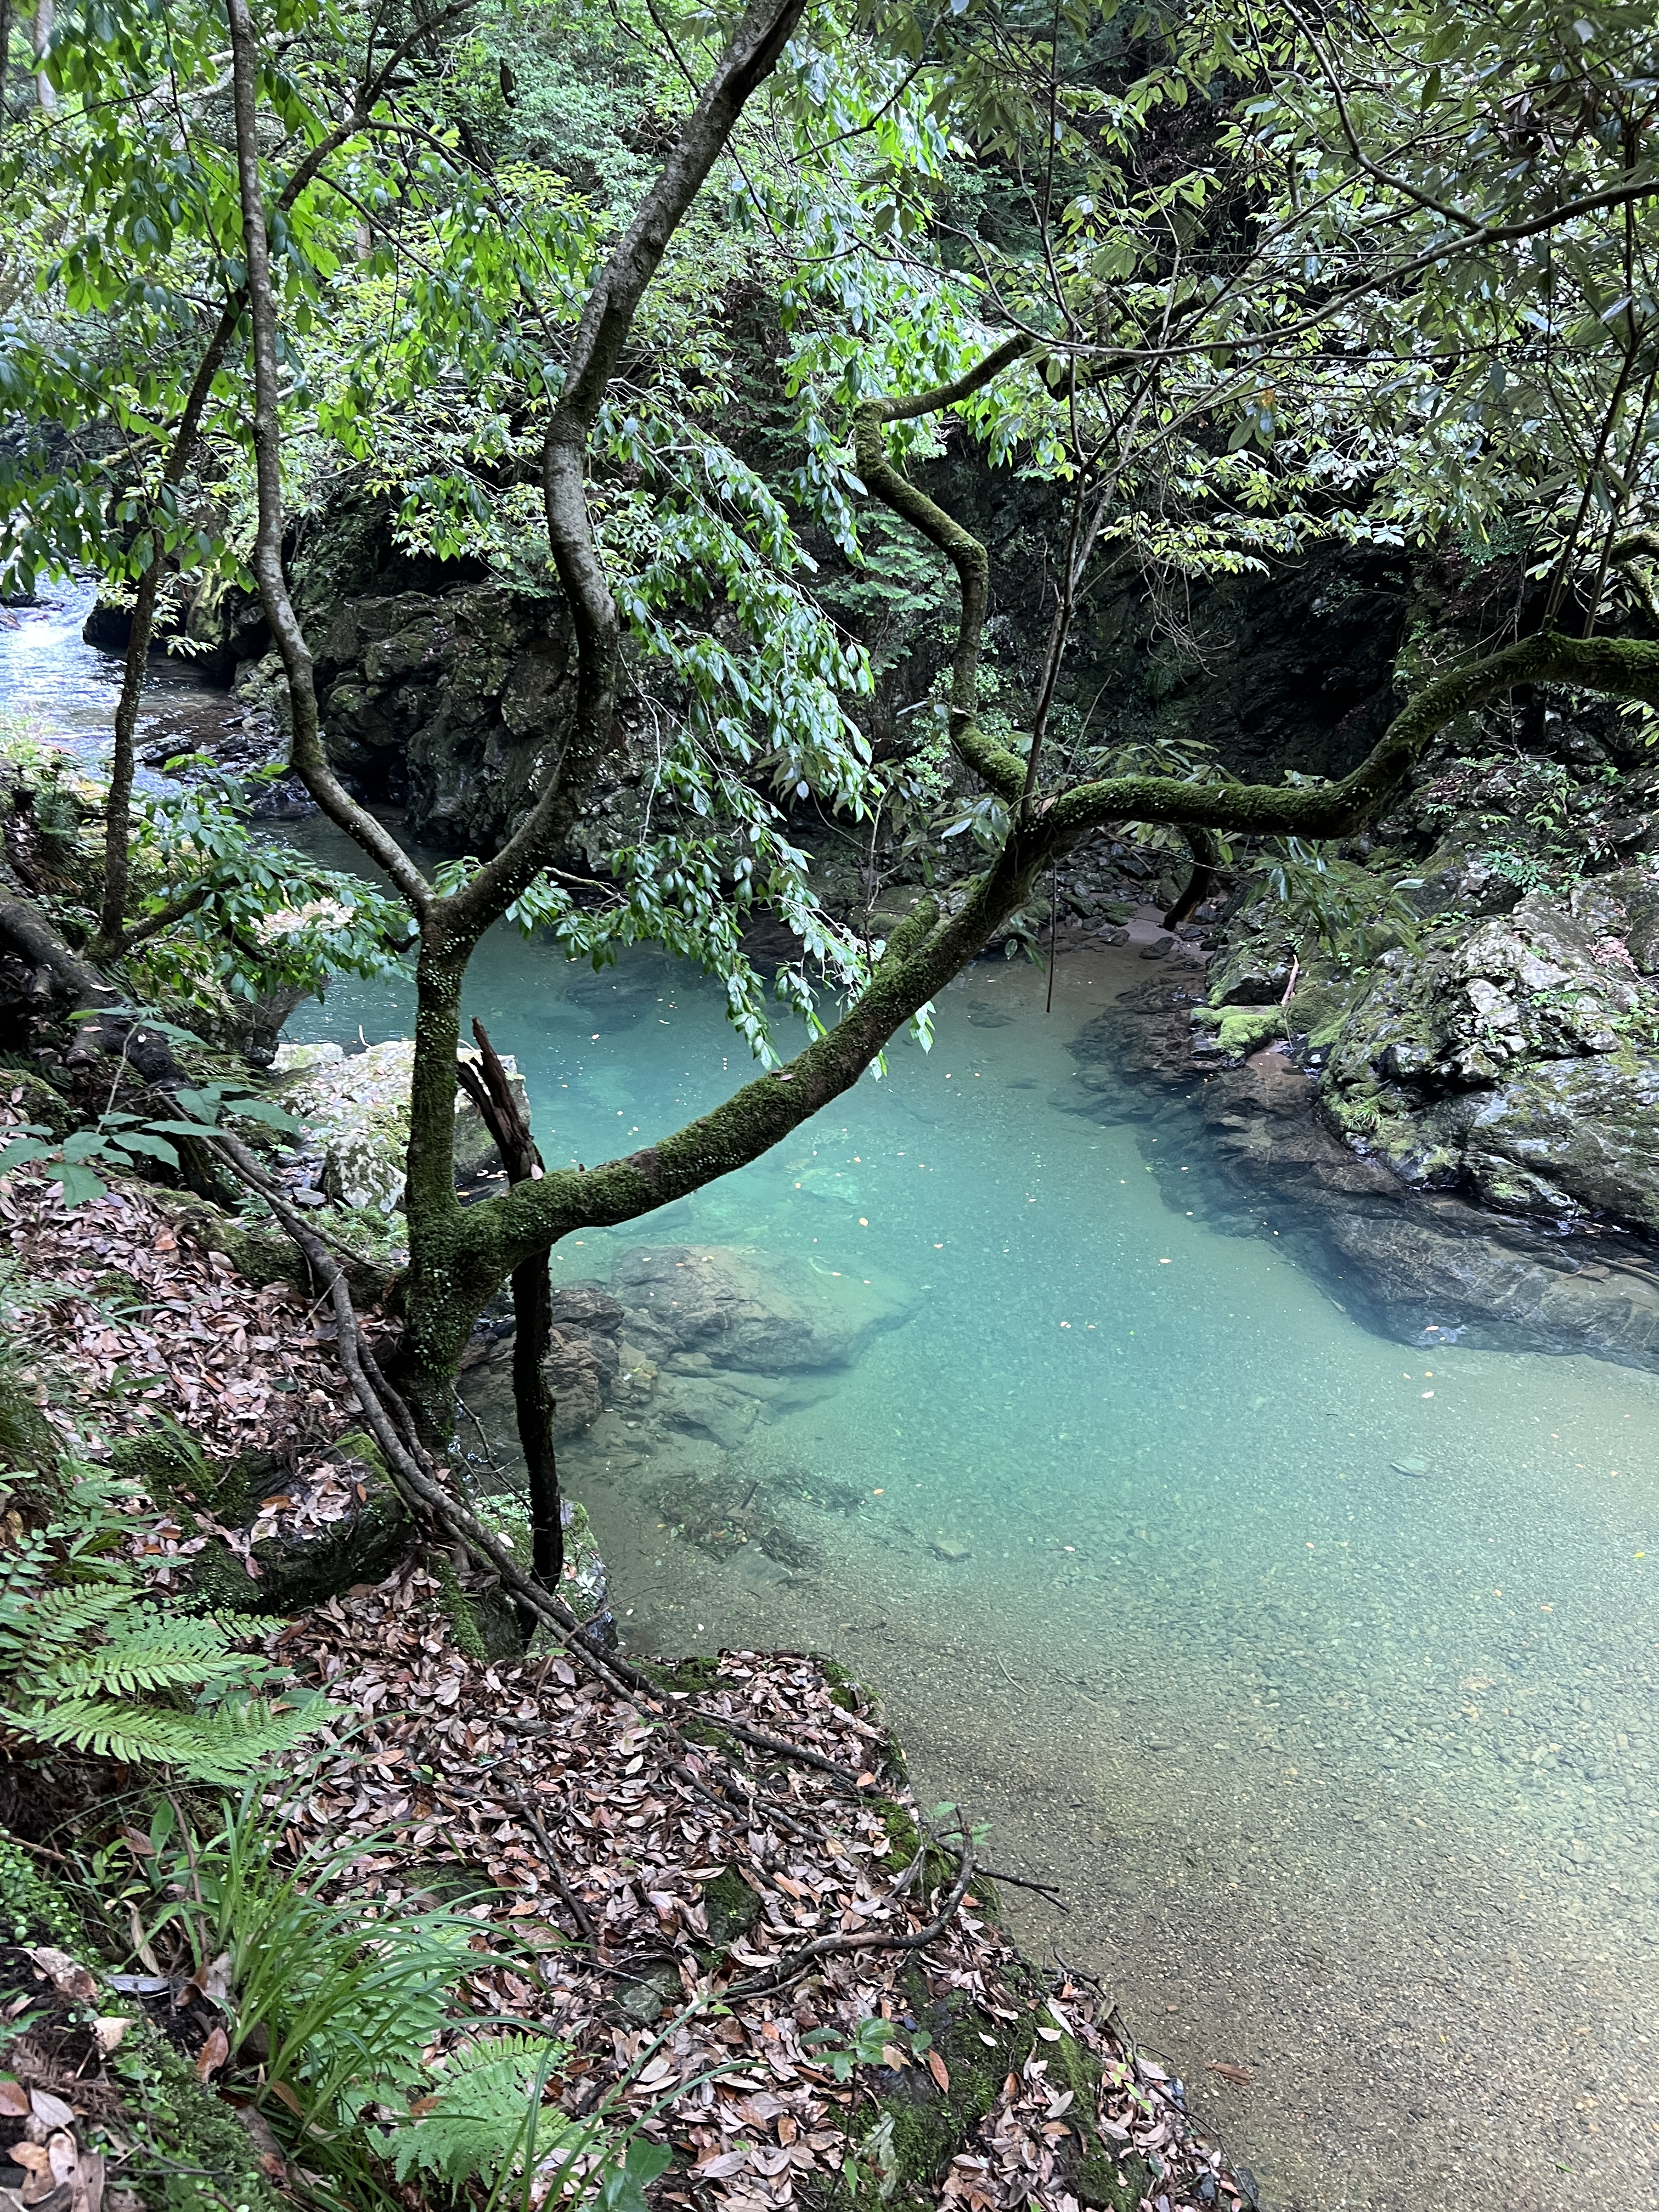
Kiyotaki River hike and the Oragi Nenbutsu-Ji Temple – This might have been my favorite temple in all of Japan! This whole day was one of my favorites (you can find the whole itinerary in part 2 of the series), but if you take one thing from that day’s itinerary to do, it should be the Oragi Nenbutsu-Ji Temple. The attendant explained to us that it is one of the more modern temples and 42 years ago they envisioned 500 small statues of buddha that would be individually donated by patrons. 42 years later, they far exceeded their initial goal and 1200 statues had been donated, making for a very unique temple garden! Each statue has its own personality, which makes sense knowing that each one was designed and donated by someone different. It is also cool to see that they are modern – some of the statues are doing things like boxing or playing tennis! Afterwards it is easy to connect right to the hike along the Kiyotaki river. This hike was our favorite during this trip, and you get to walk alongside the river the whole time. What is cool about this hike was that it changes quite often and you get to see a lot of different landscapes. There is a section with a bamboo grove, lots of flowers, and a section with Kitayama Cedar trees which grow very tall and perfectly straight. The water of the river is so perfectly blue and the whole hike feels like it is straight out of a fairytale.
Osaka Itinerary Highlights
Osaka might have been our favorite city in Japan, but the jury is still out. We are cognizant of the fact that Osaka was our last stop, so by the time we got there we might have just been more comfortable with the language and the culture than we were while in Tokyo. Osaka’s motto is “kuidaore” which informally translates to “eat oneself to ruin,” and so we obviously ate as much as we could in Osaka – out of respect for the culture of course! There were a lot of “street fair” type streets in Osaka, similar to Tokyo, with ornate decorations like giant dumplings or dragons over a street vendor, and also a lot of street games and snacks to occupy you. Osaka was just as lively as Tokyo and we had just as much fun exploring here as all the other places we visited in Japan. Here are some of our favorite stops in Osaka:
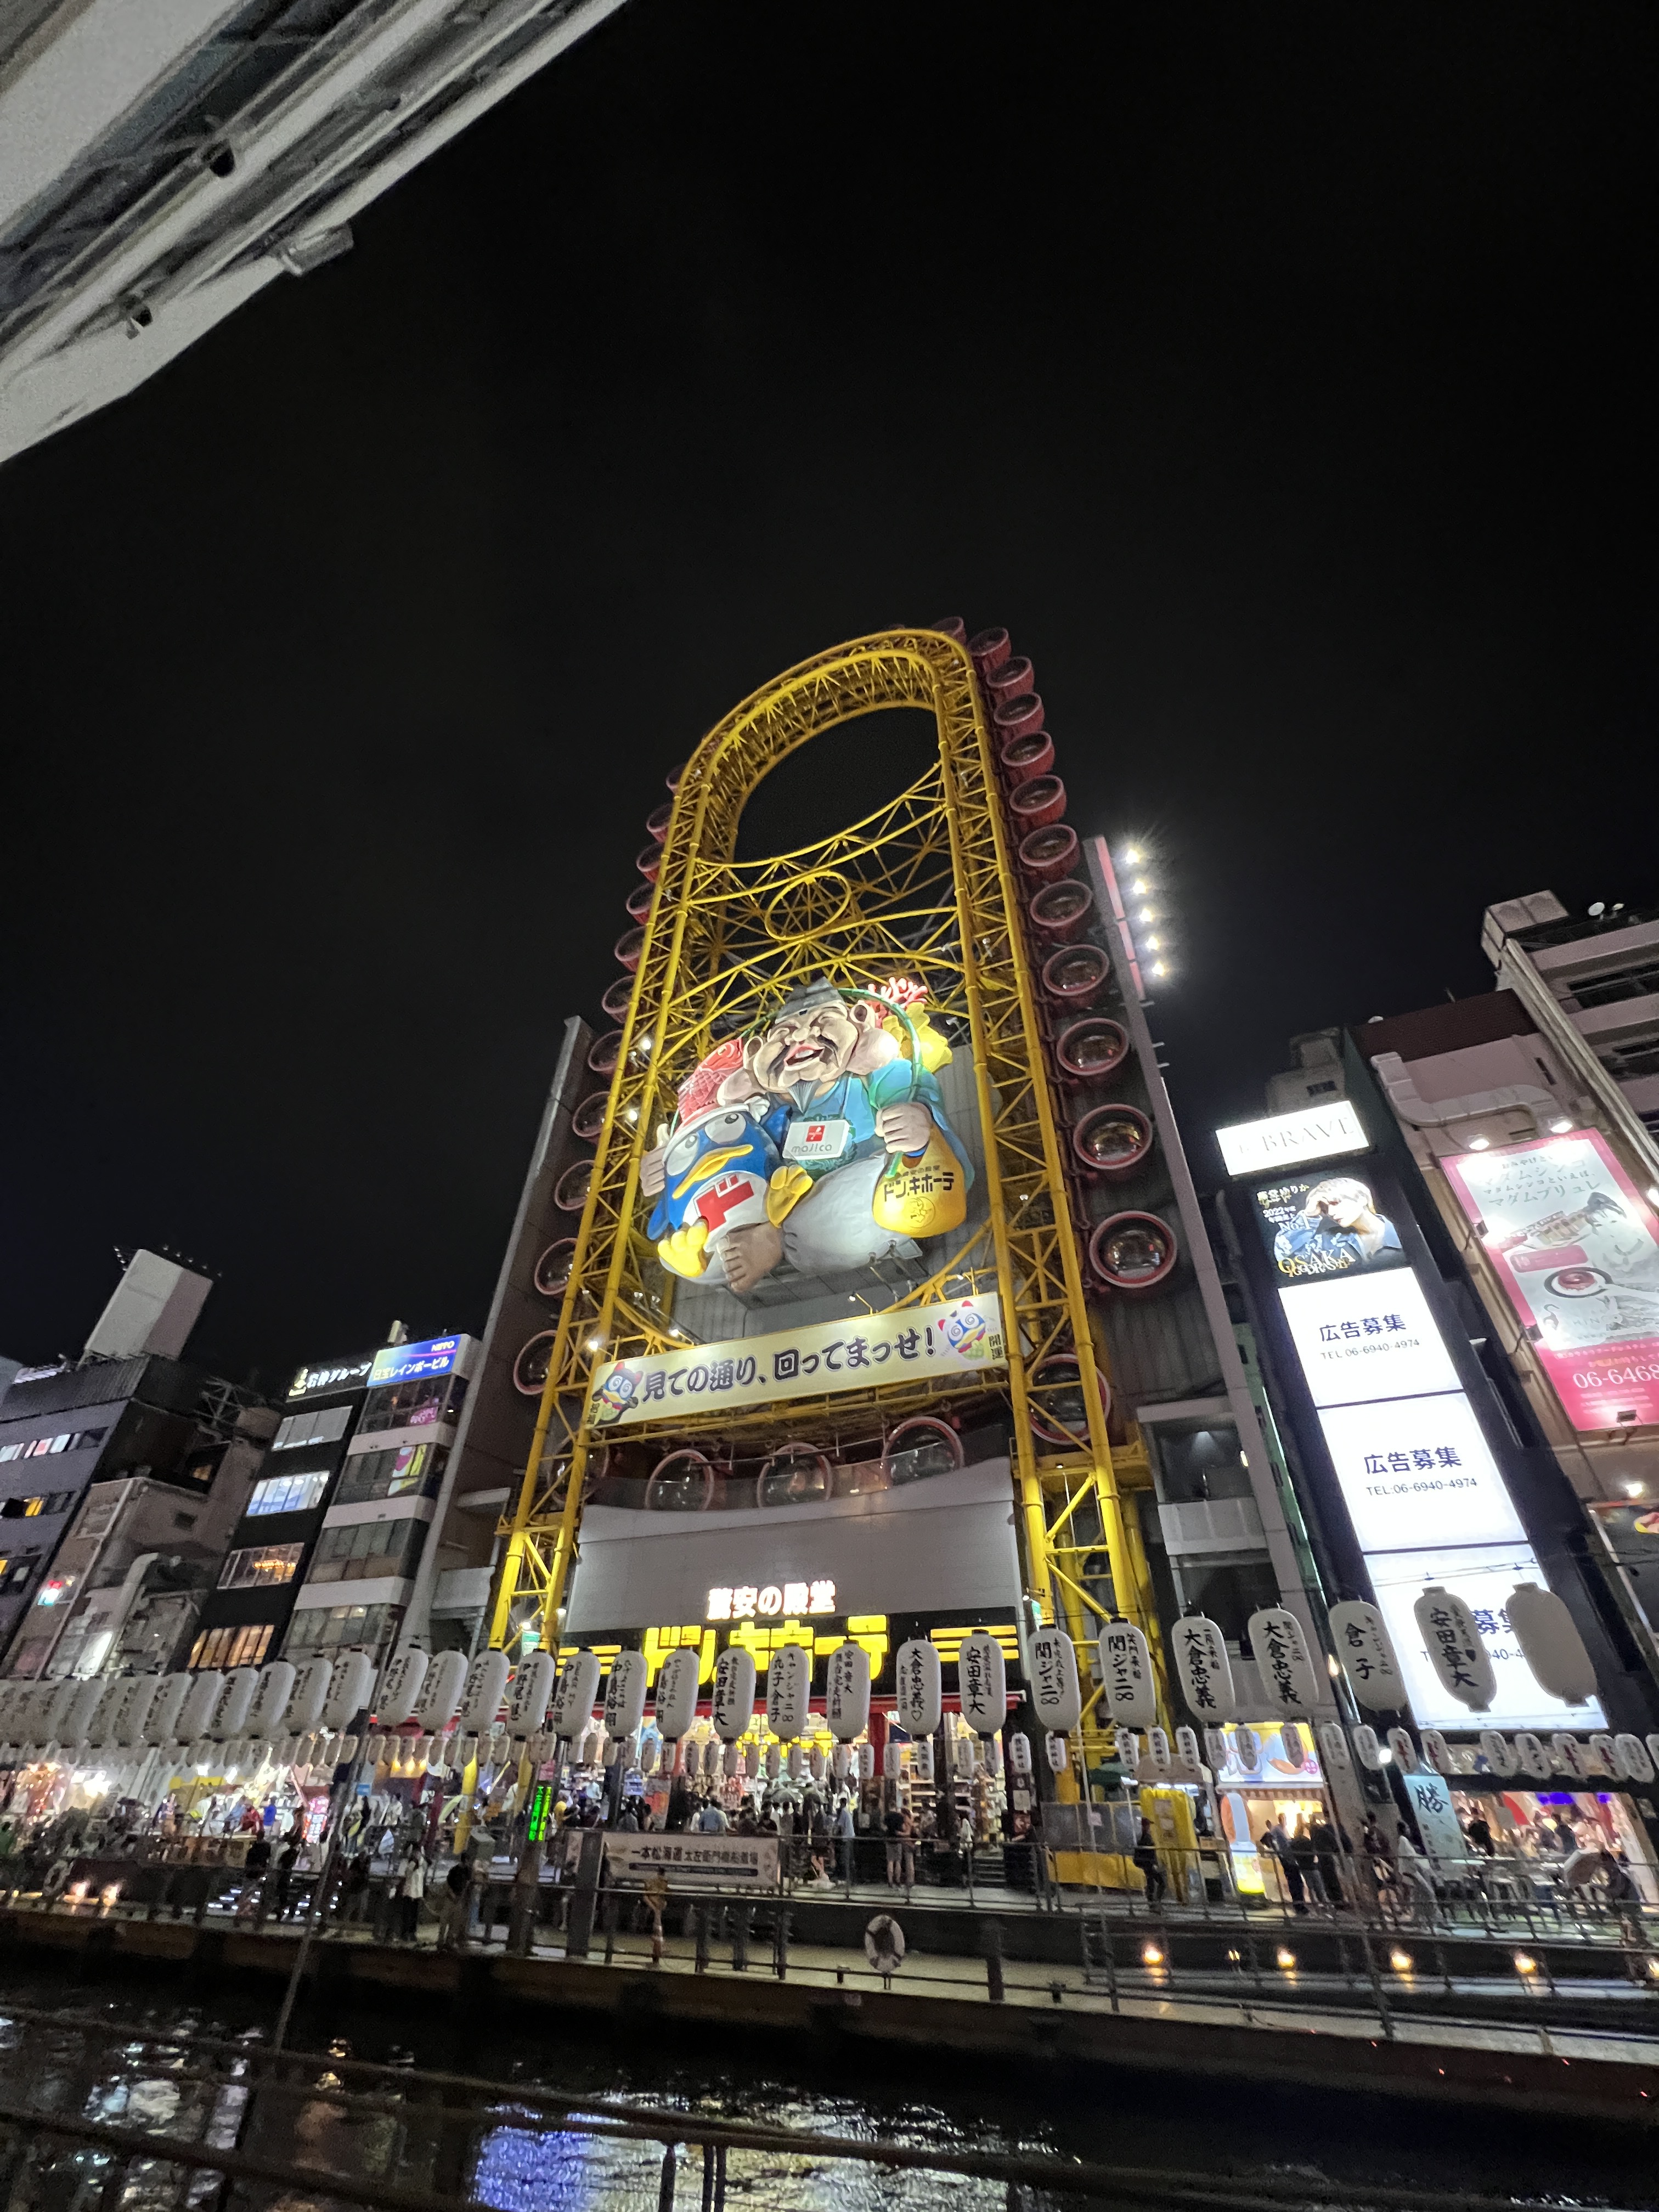
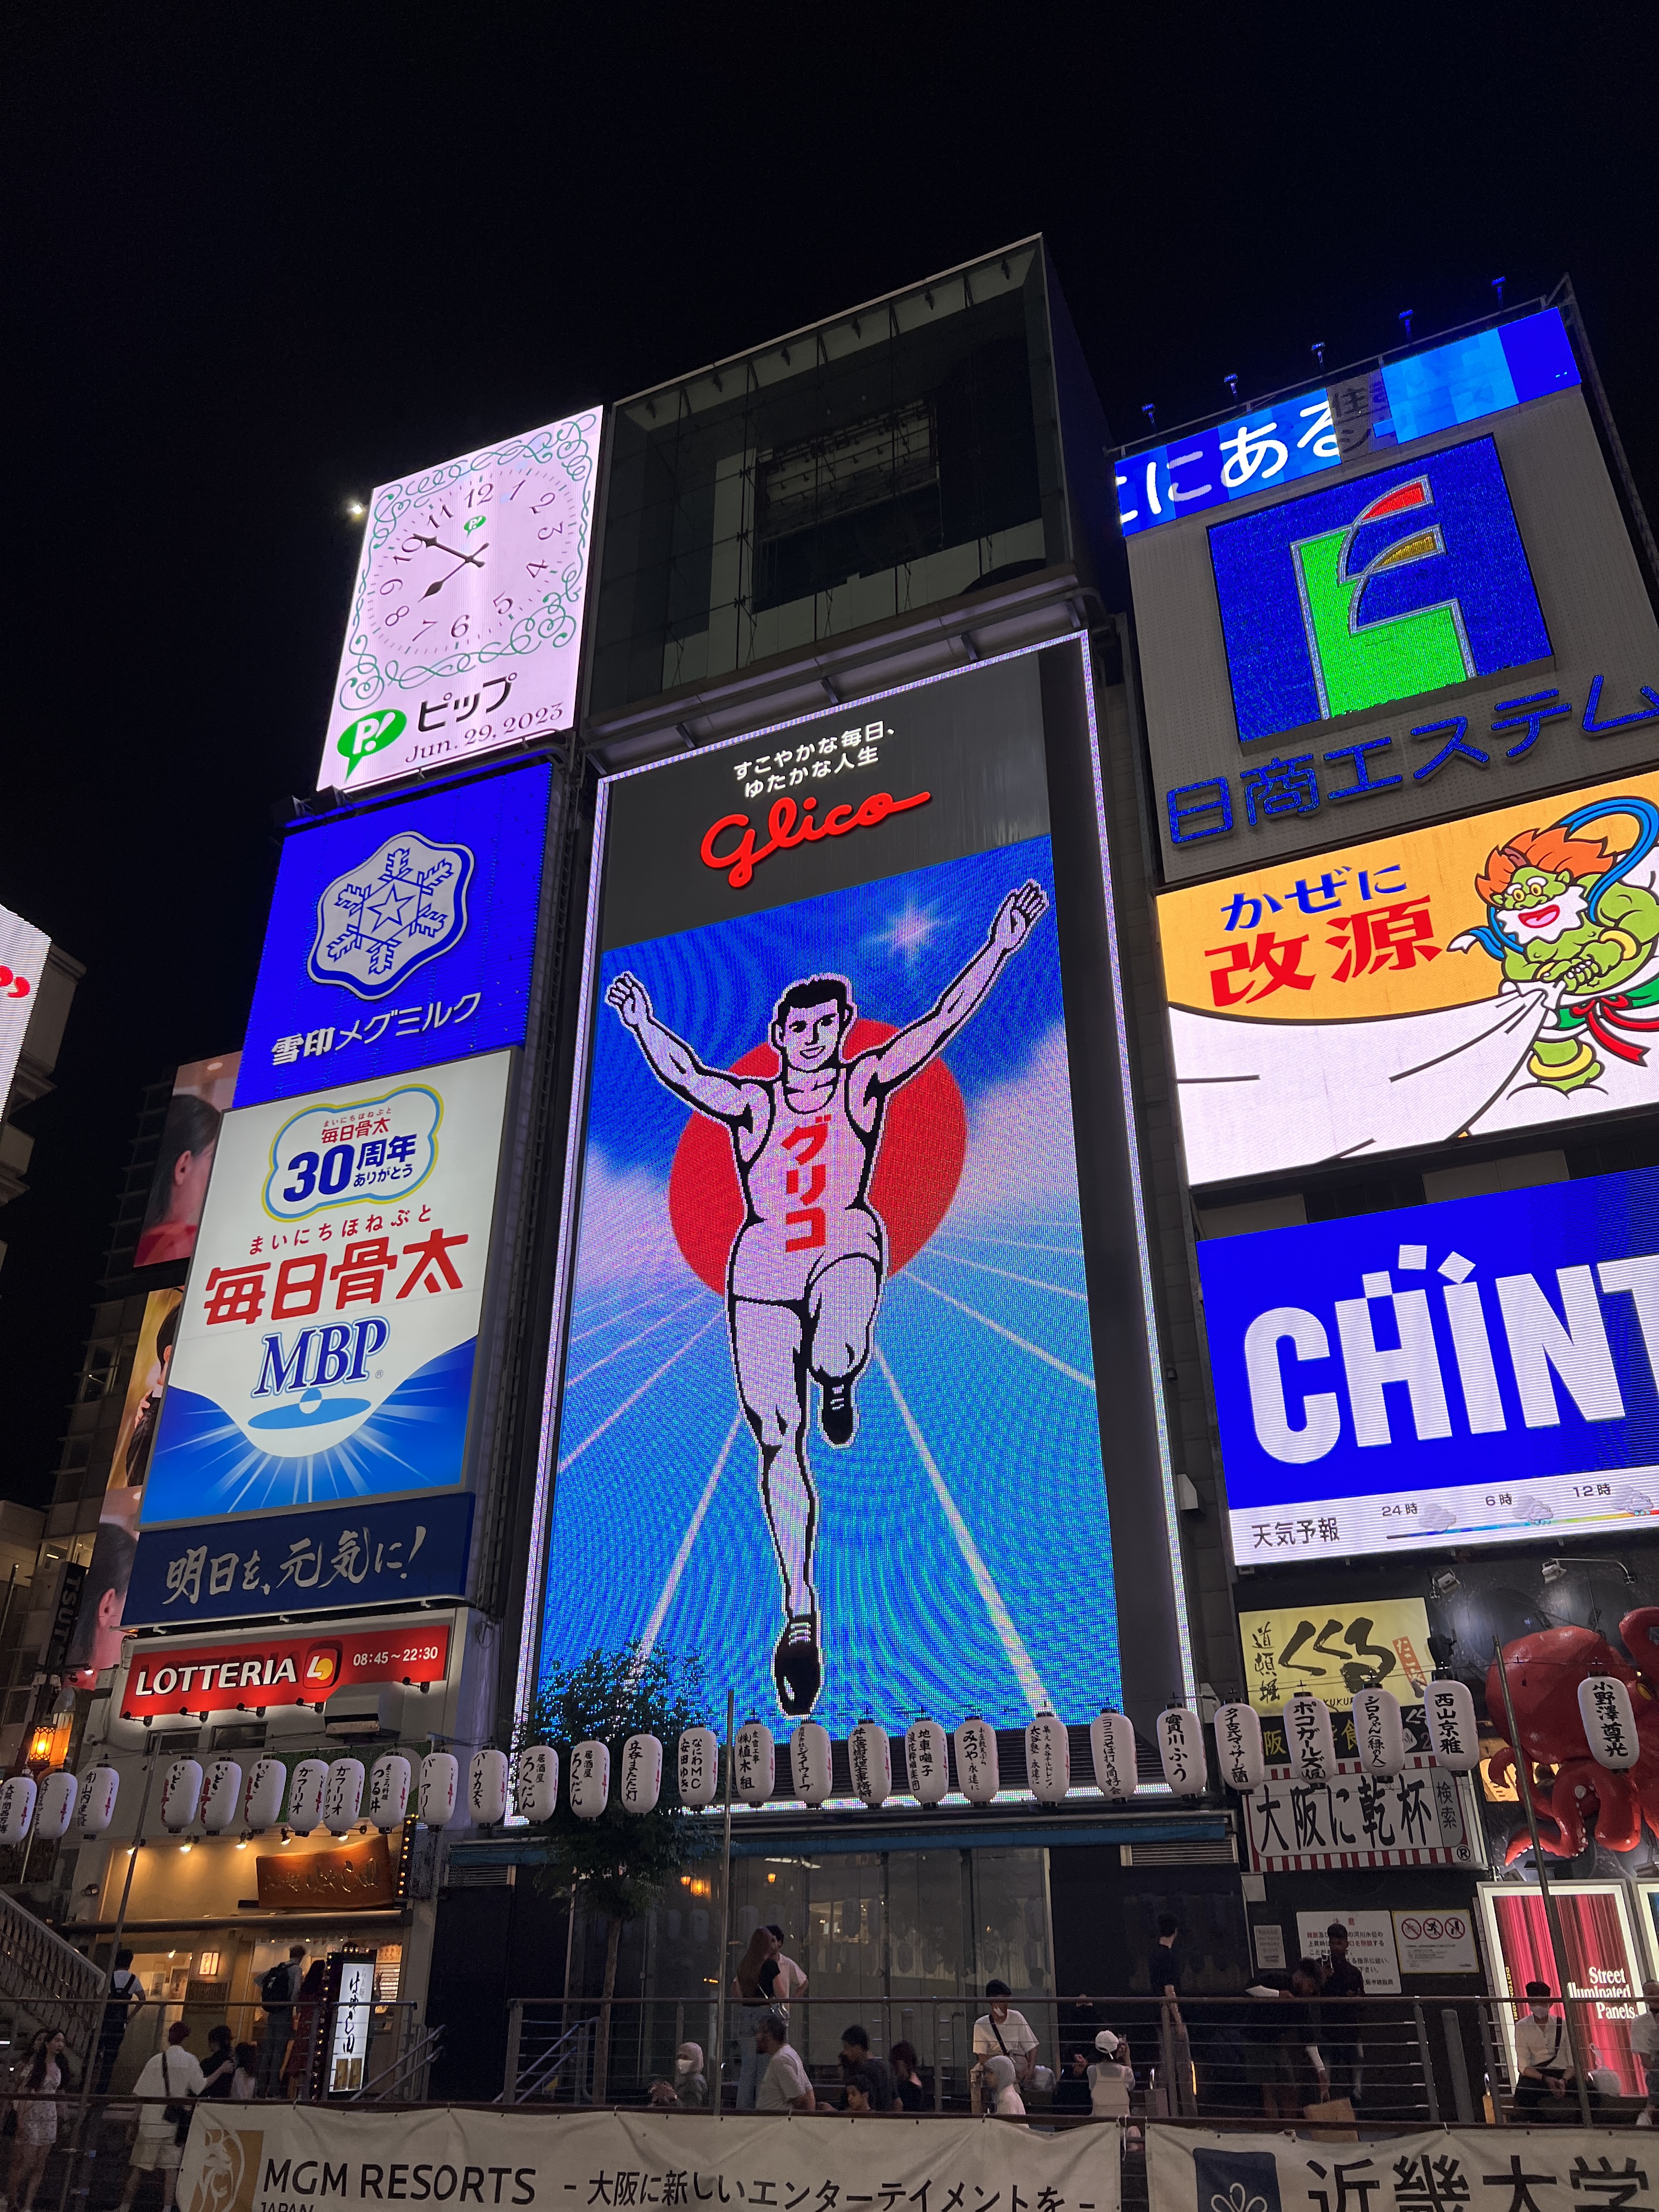
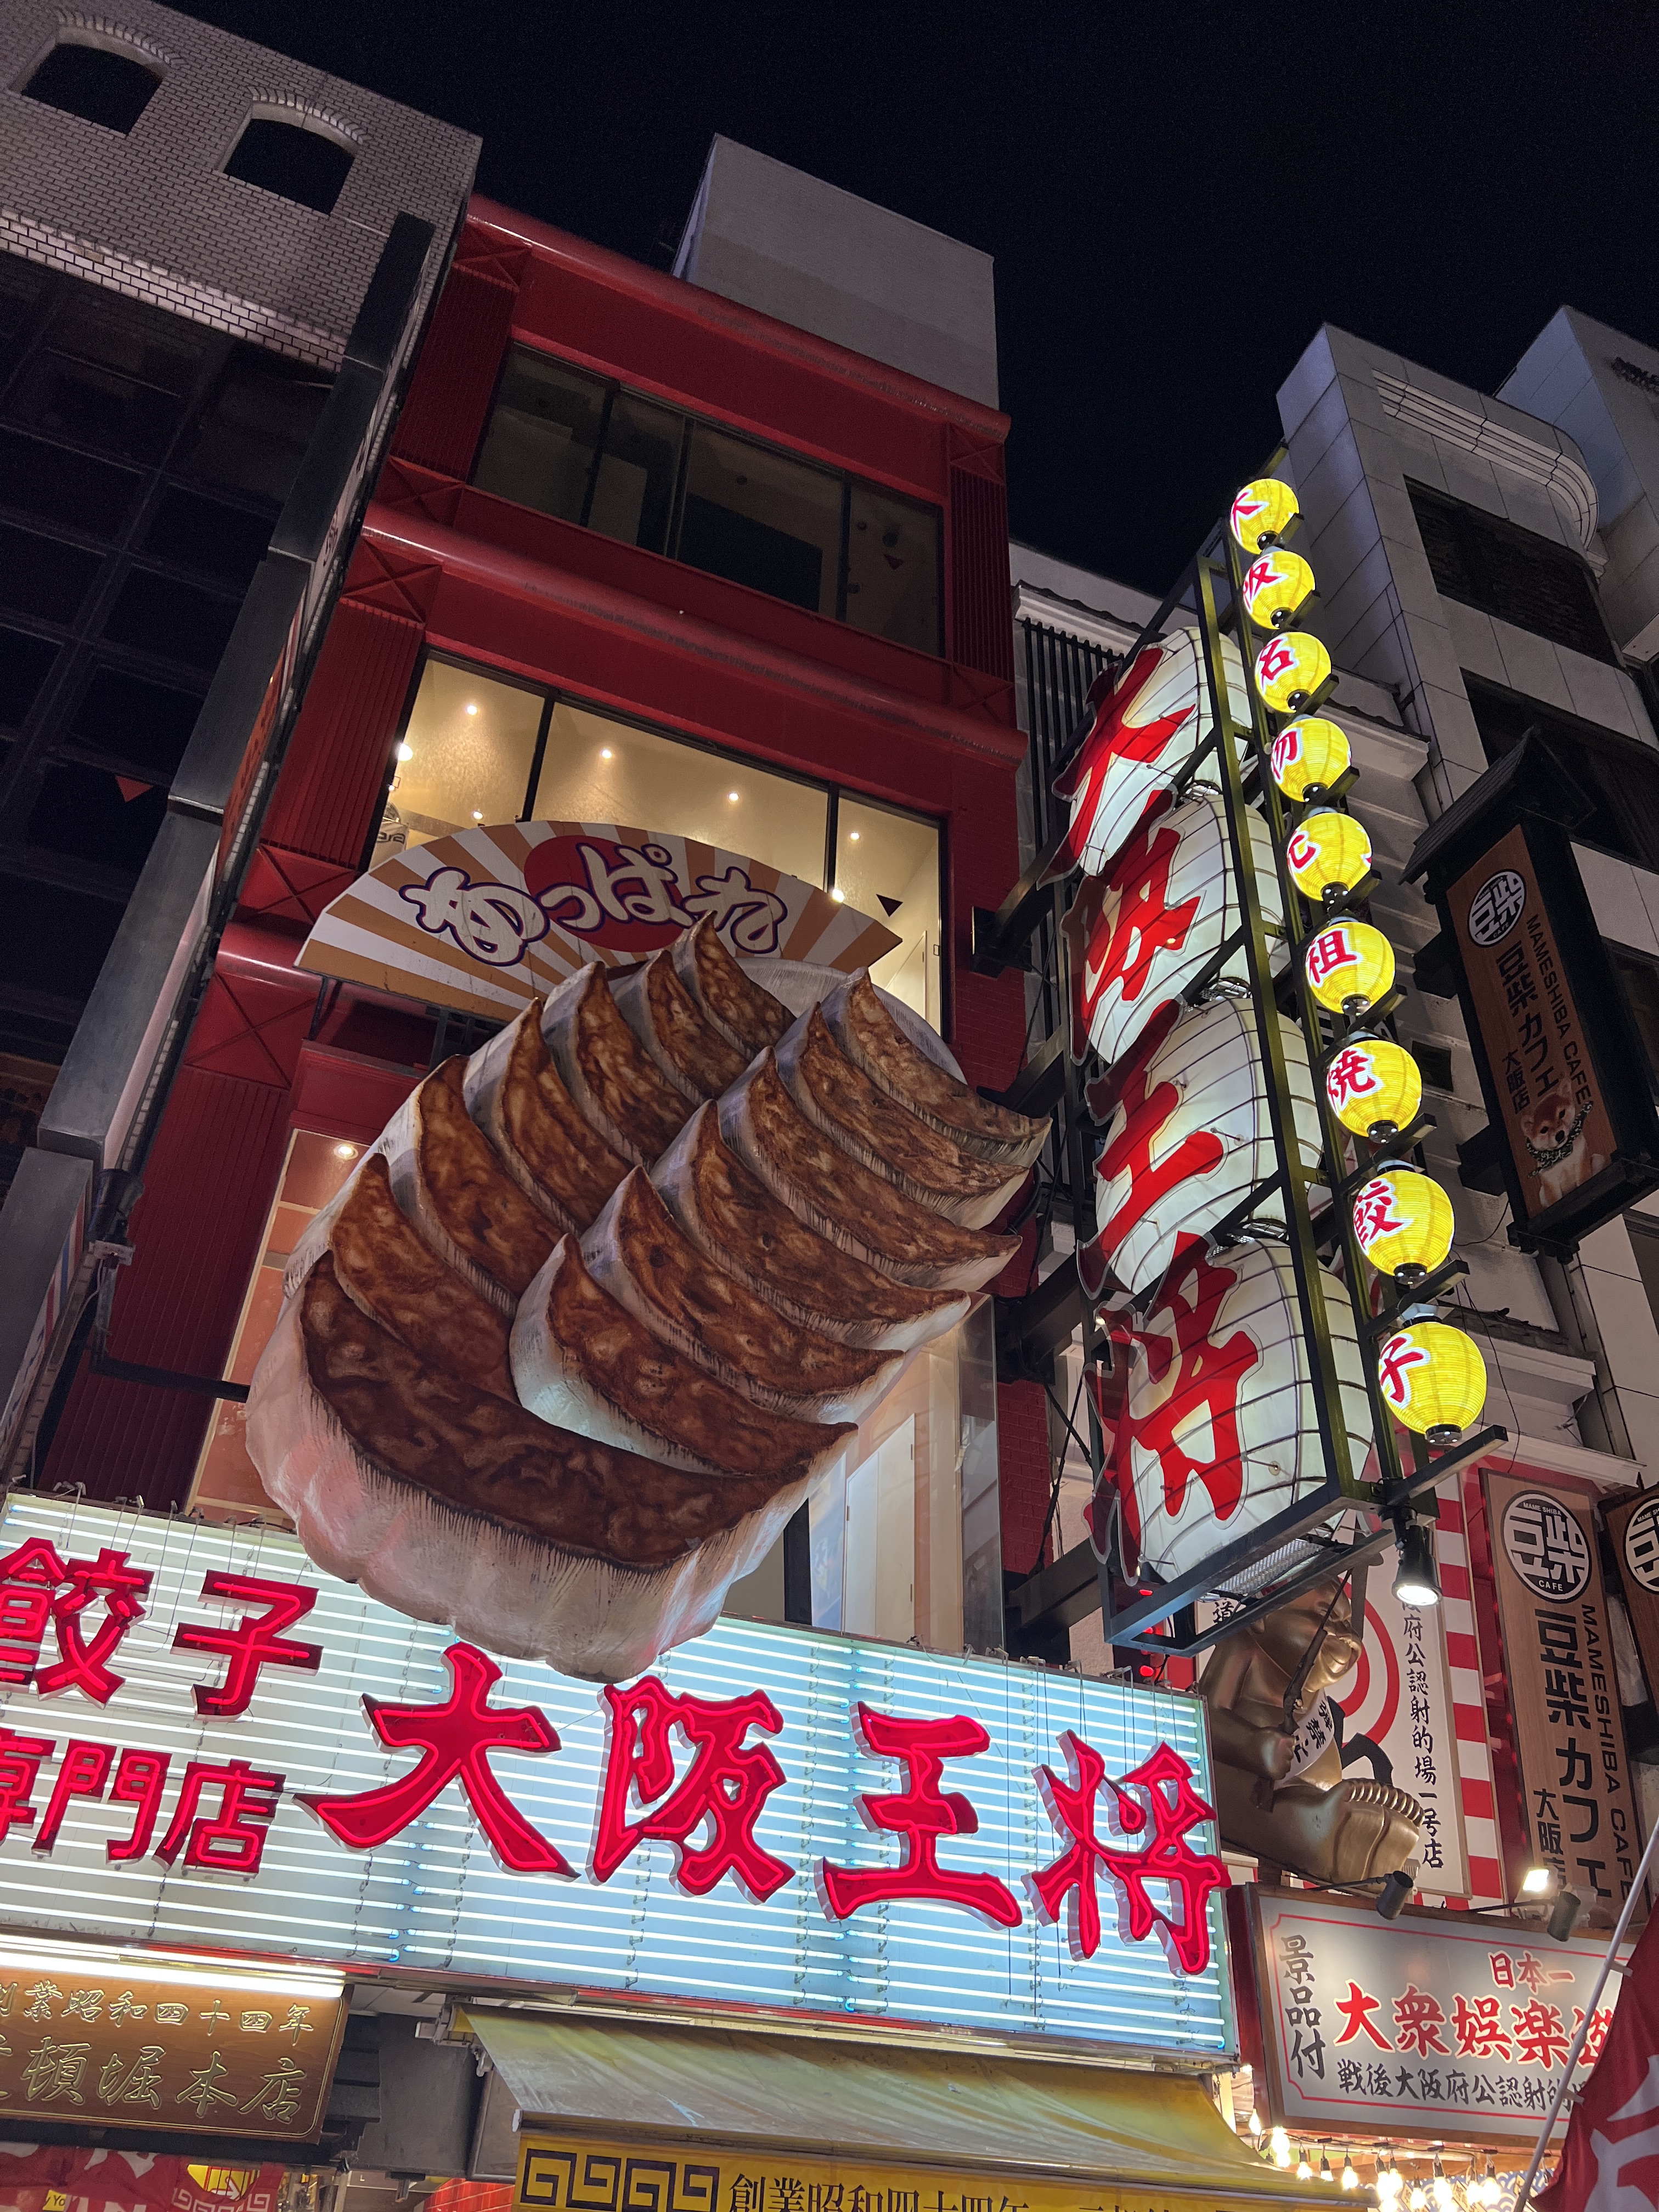
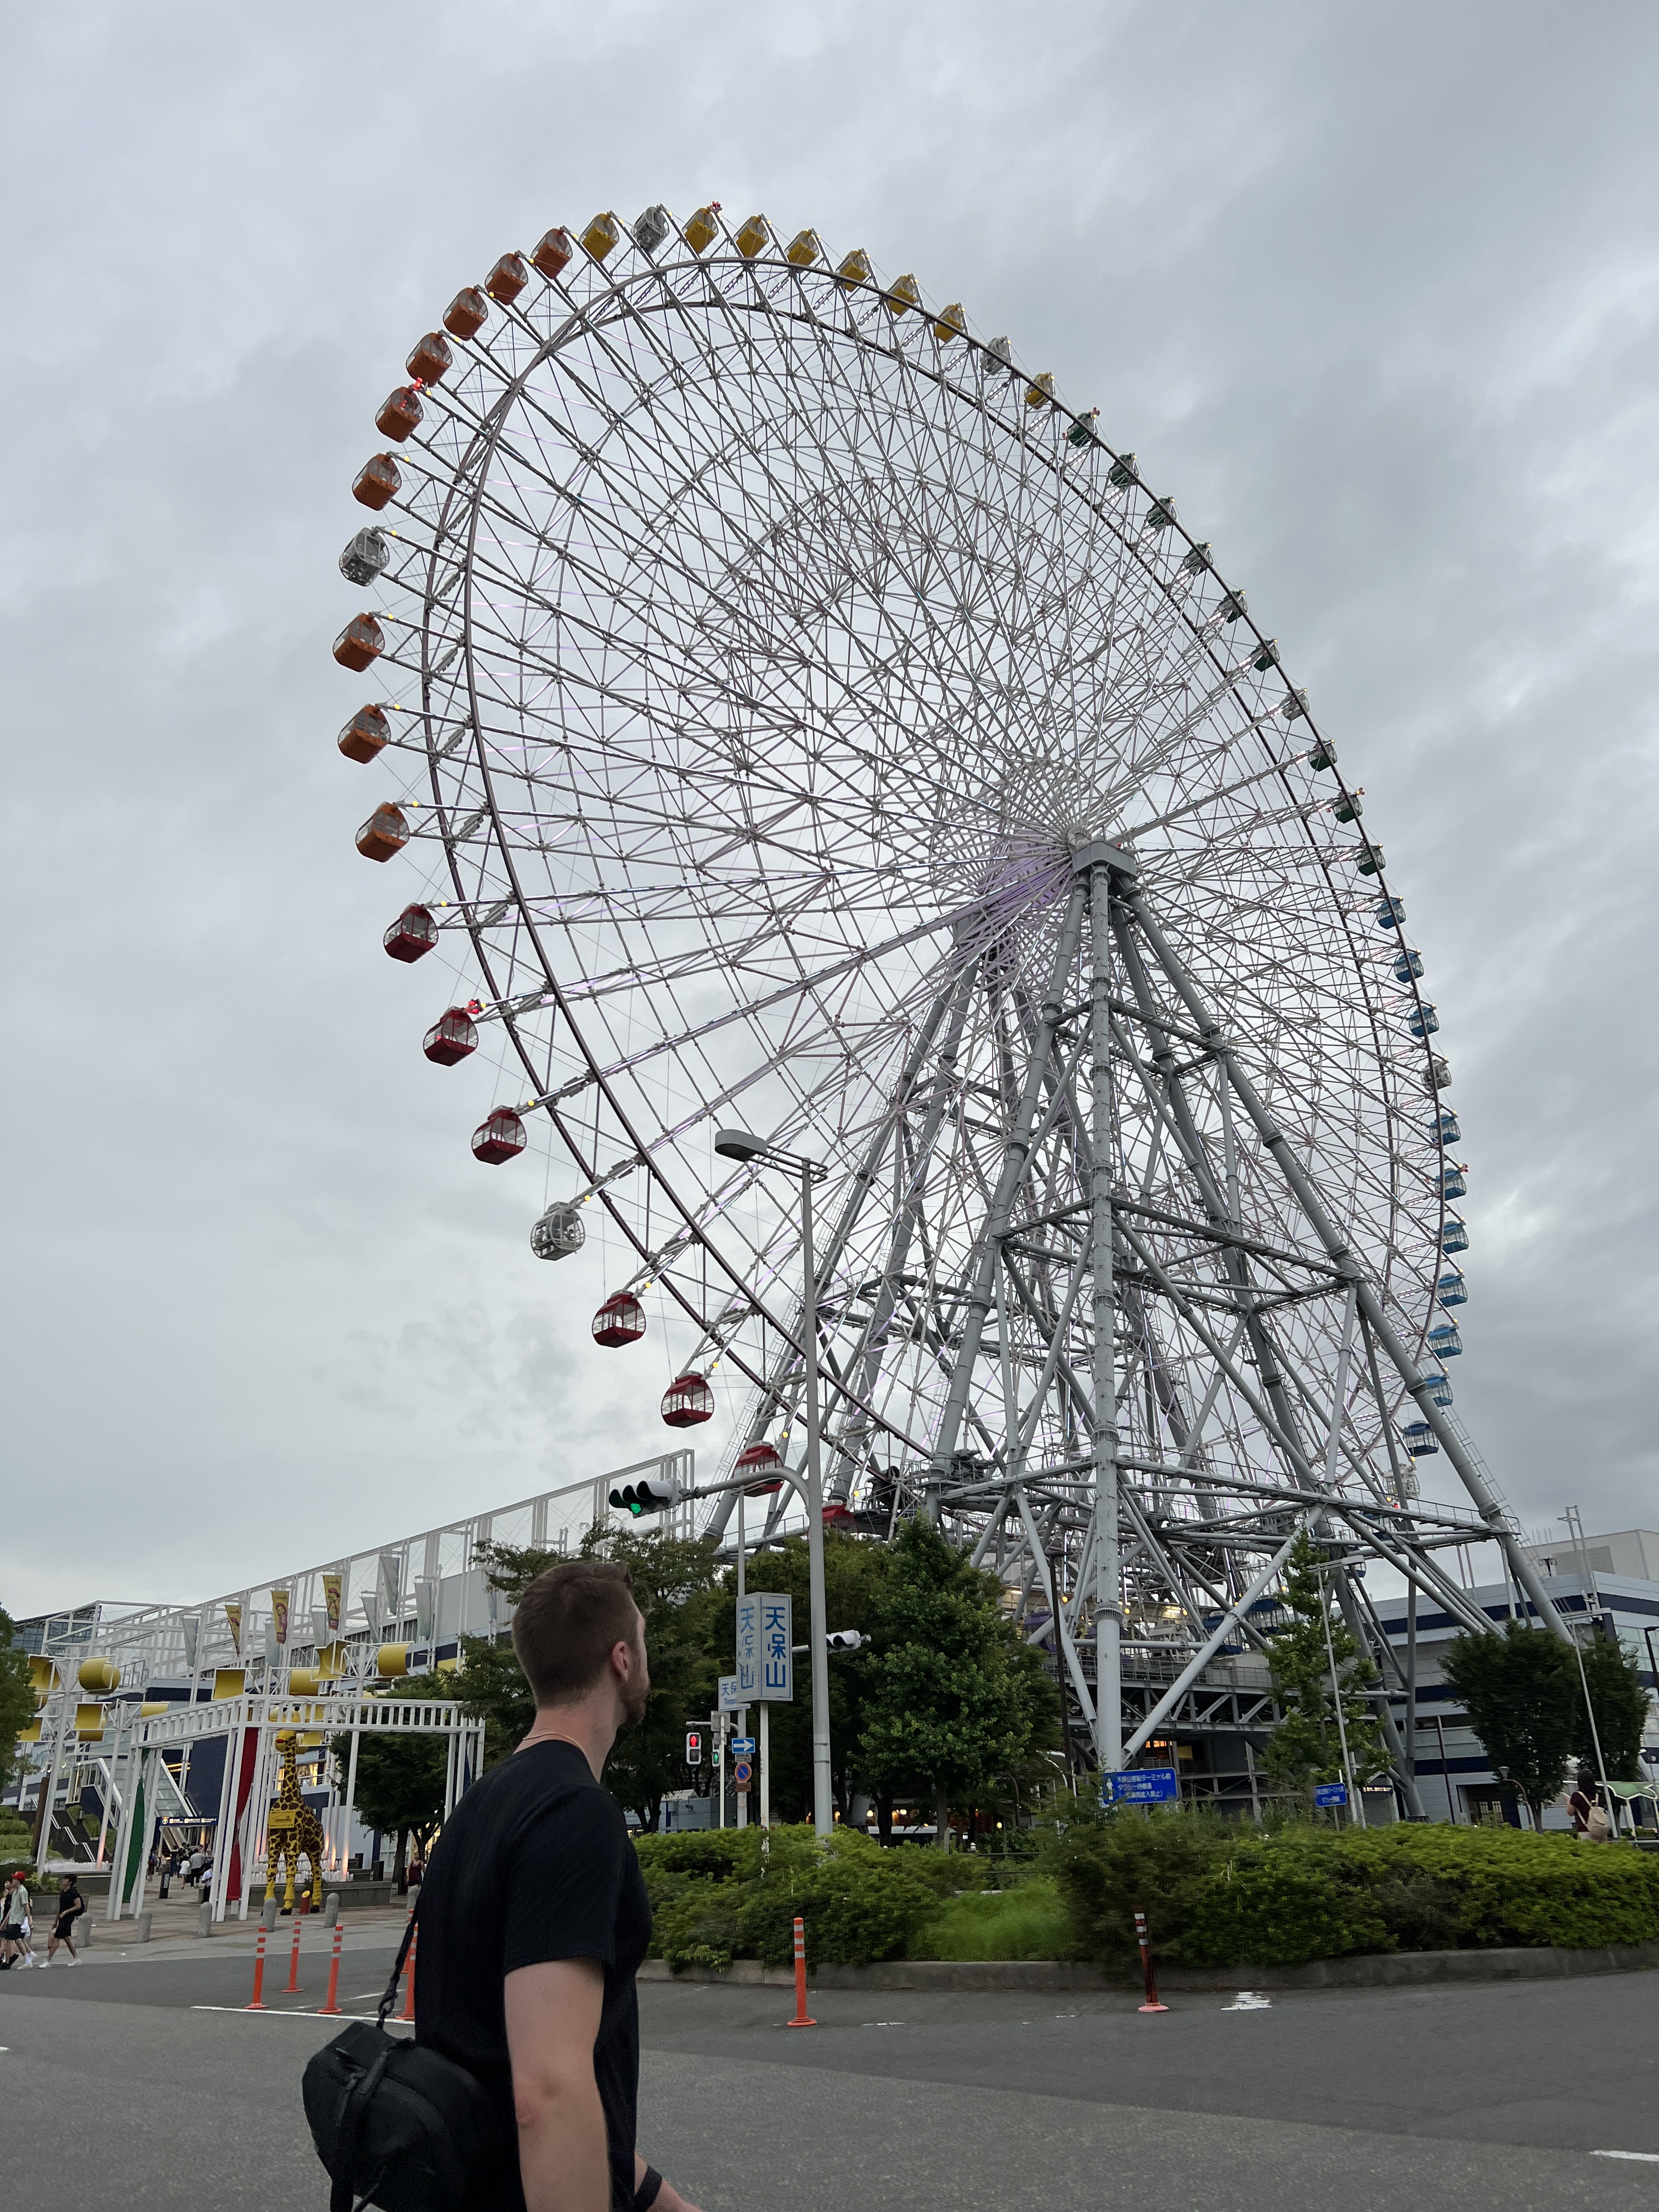
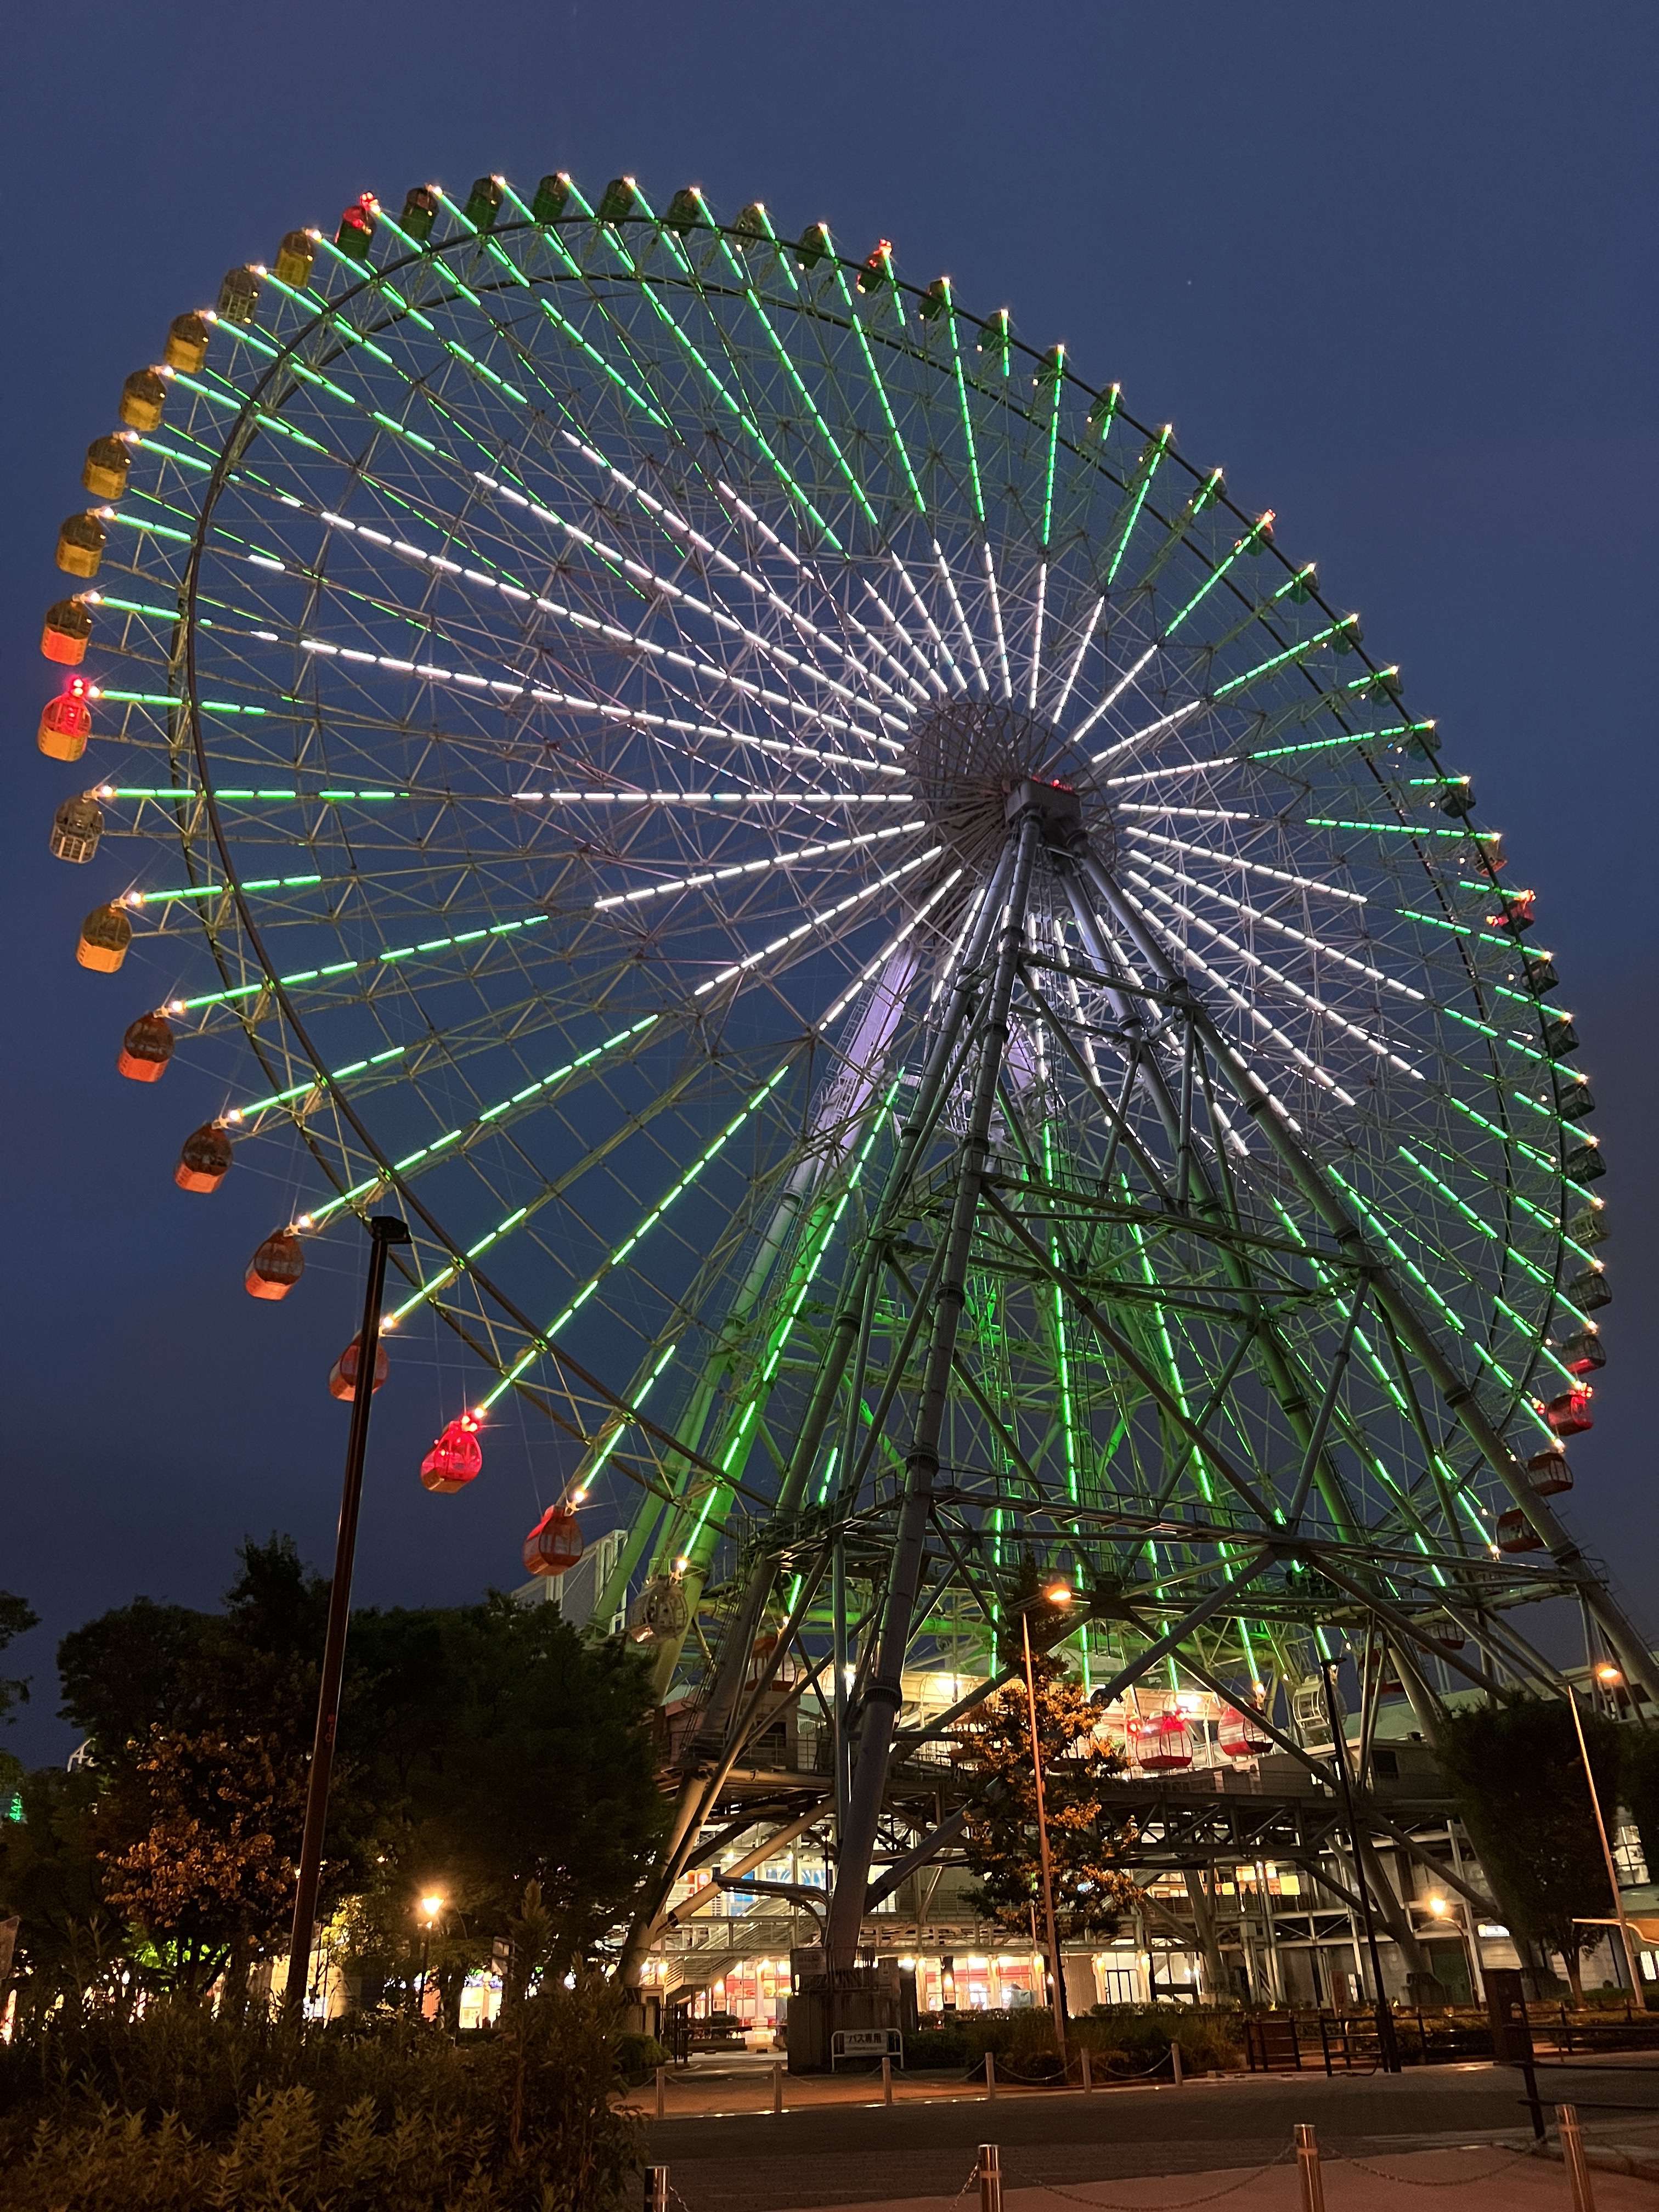
Dotonburi – This is a strip along the river that consists of a promenade on the inside, right along the river, and two streets that sandwich the river walk. It is a short strip but it makes up for it with bright lights, high energy, giant illuminated billboards, and unique decorations like a huge octopus extending out from a storefront. There is a ferris wheel that you can ride that gives you views of the city and a ton of street food and carnival games that will keep you entertained.
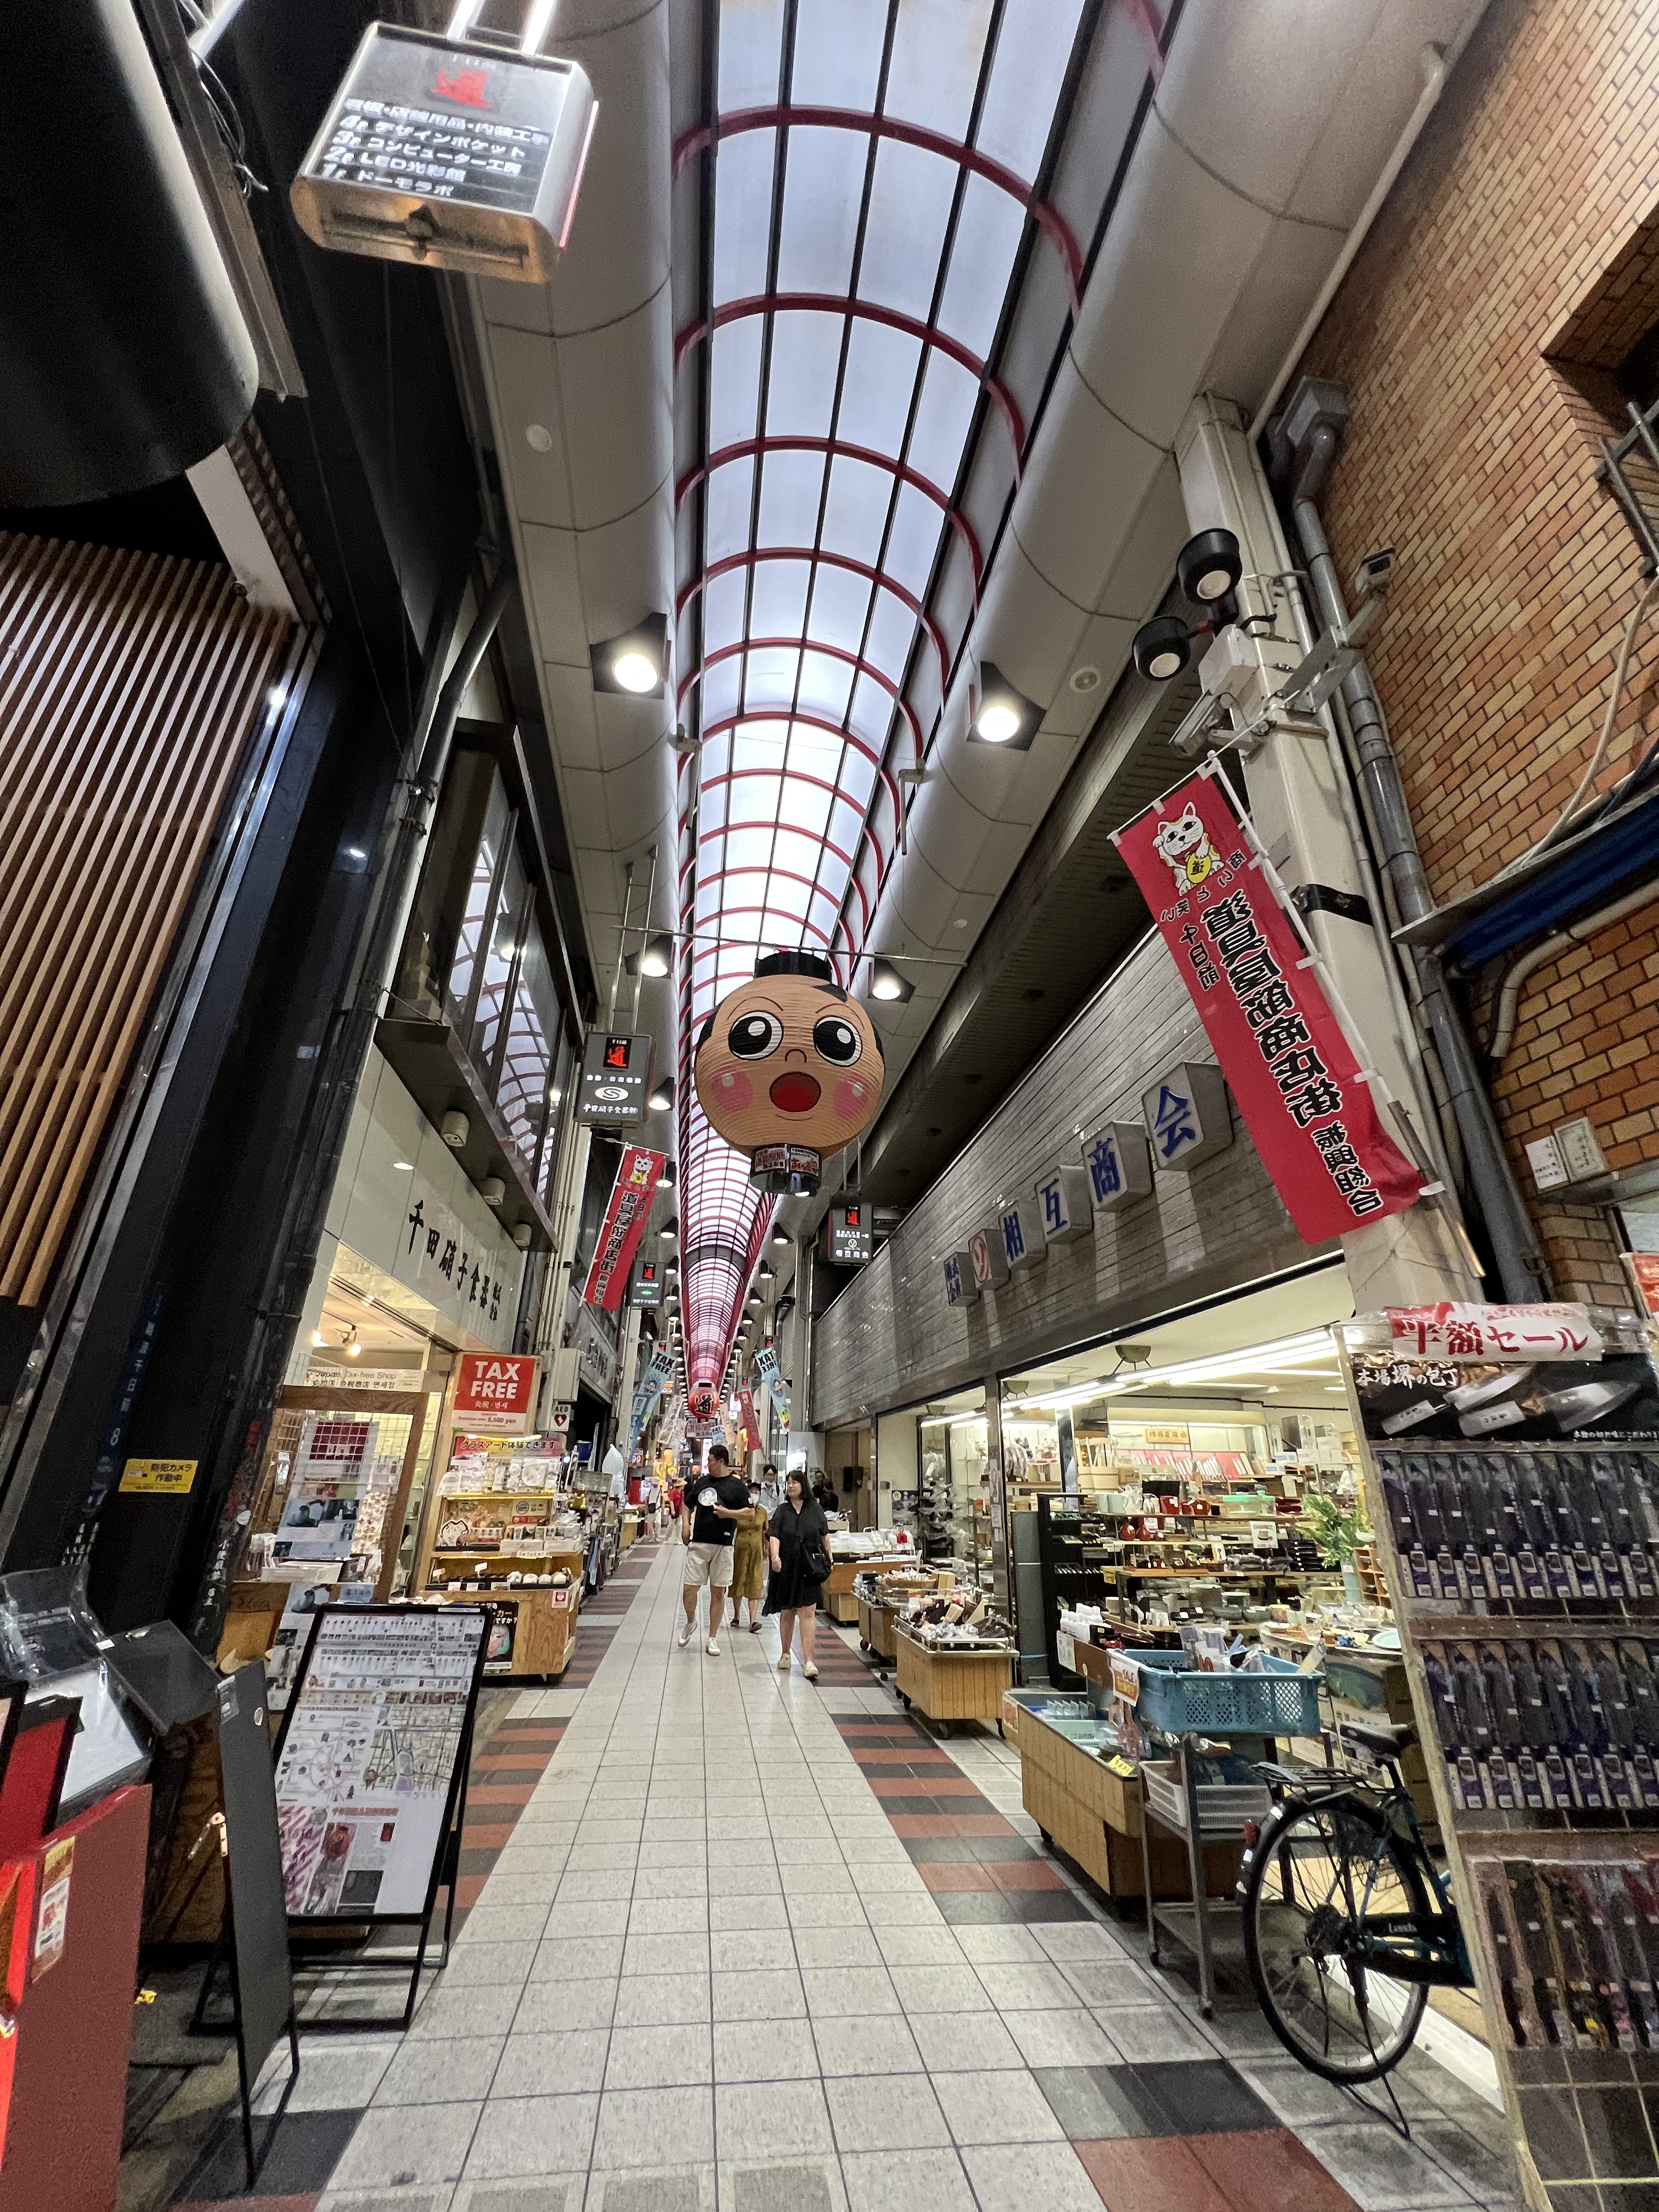
Shinsaibasi – This neighborhood has a number of covered streets for shopping and dining. It is a fun place to walk through for eating and shopping that has a little more variety and is a little less showy than Dotonburi.
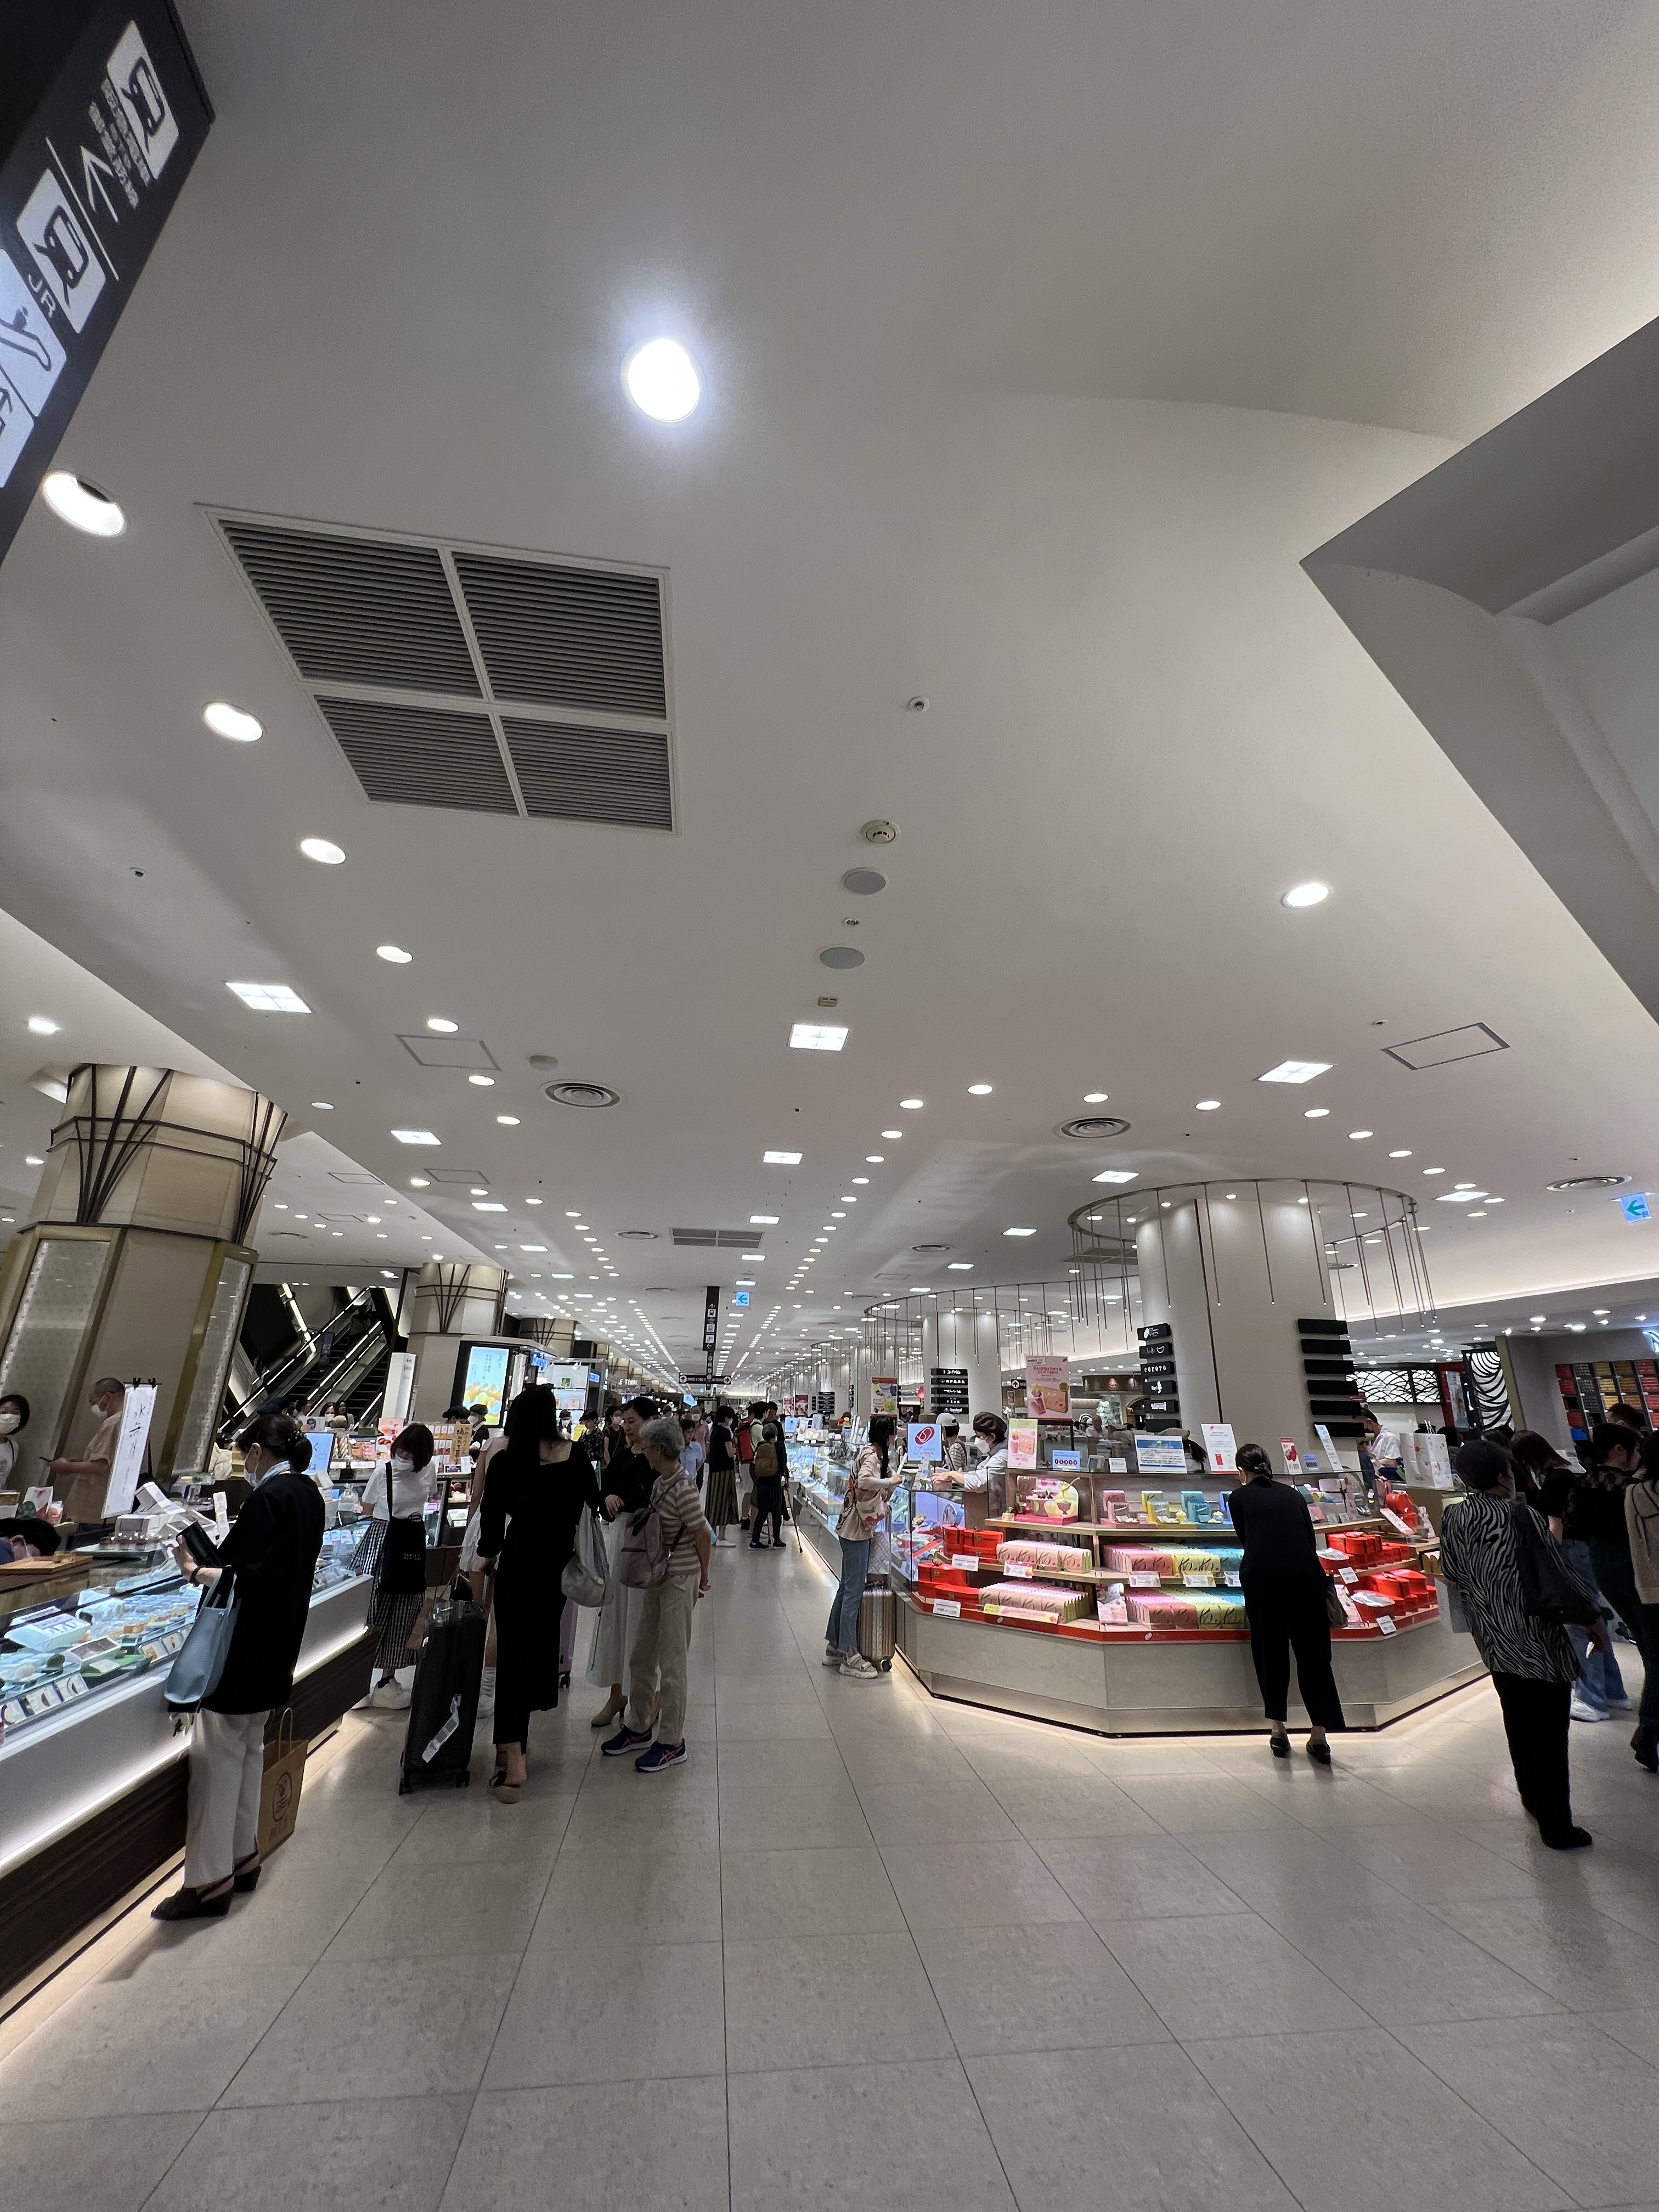
Hankyu Department Store – This is a HUGE department store in Umeda near the main Osaka train line. It is a luxury department store so in the shops above you will find all sorts of luxury goods. Our main reason for going there. however, was to shop the basement floors for the luxury foods. The B1 level contains curated beautiful desserts and savory bento boxes of Japanese, Chinese, and other mixed cuisines. The B2 level is more of a grocery store, and this is where we found our luxury grapes and melon. The fruit is unprecedented, and if you want to try a luxury bite of fruit (guaranteed the best grape you have ever had), you will want to check this out! We also grabbed lunch at the B1 level and it was the best (albeit the only) eel bento box I have ever had.
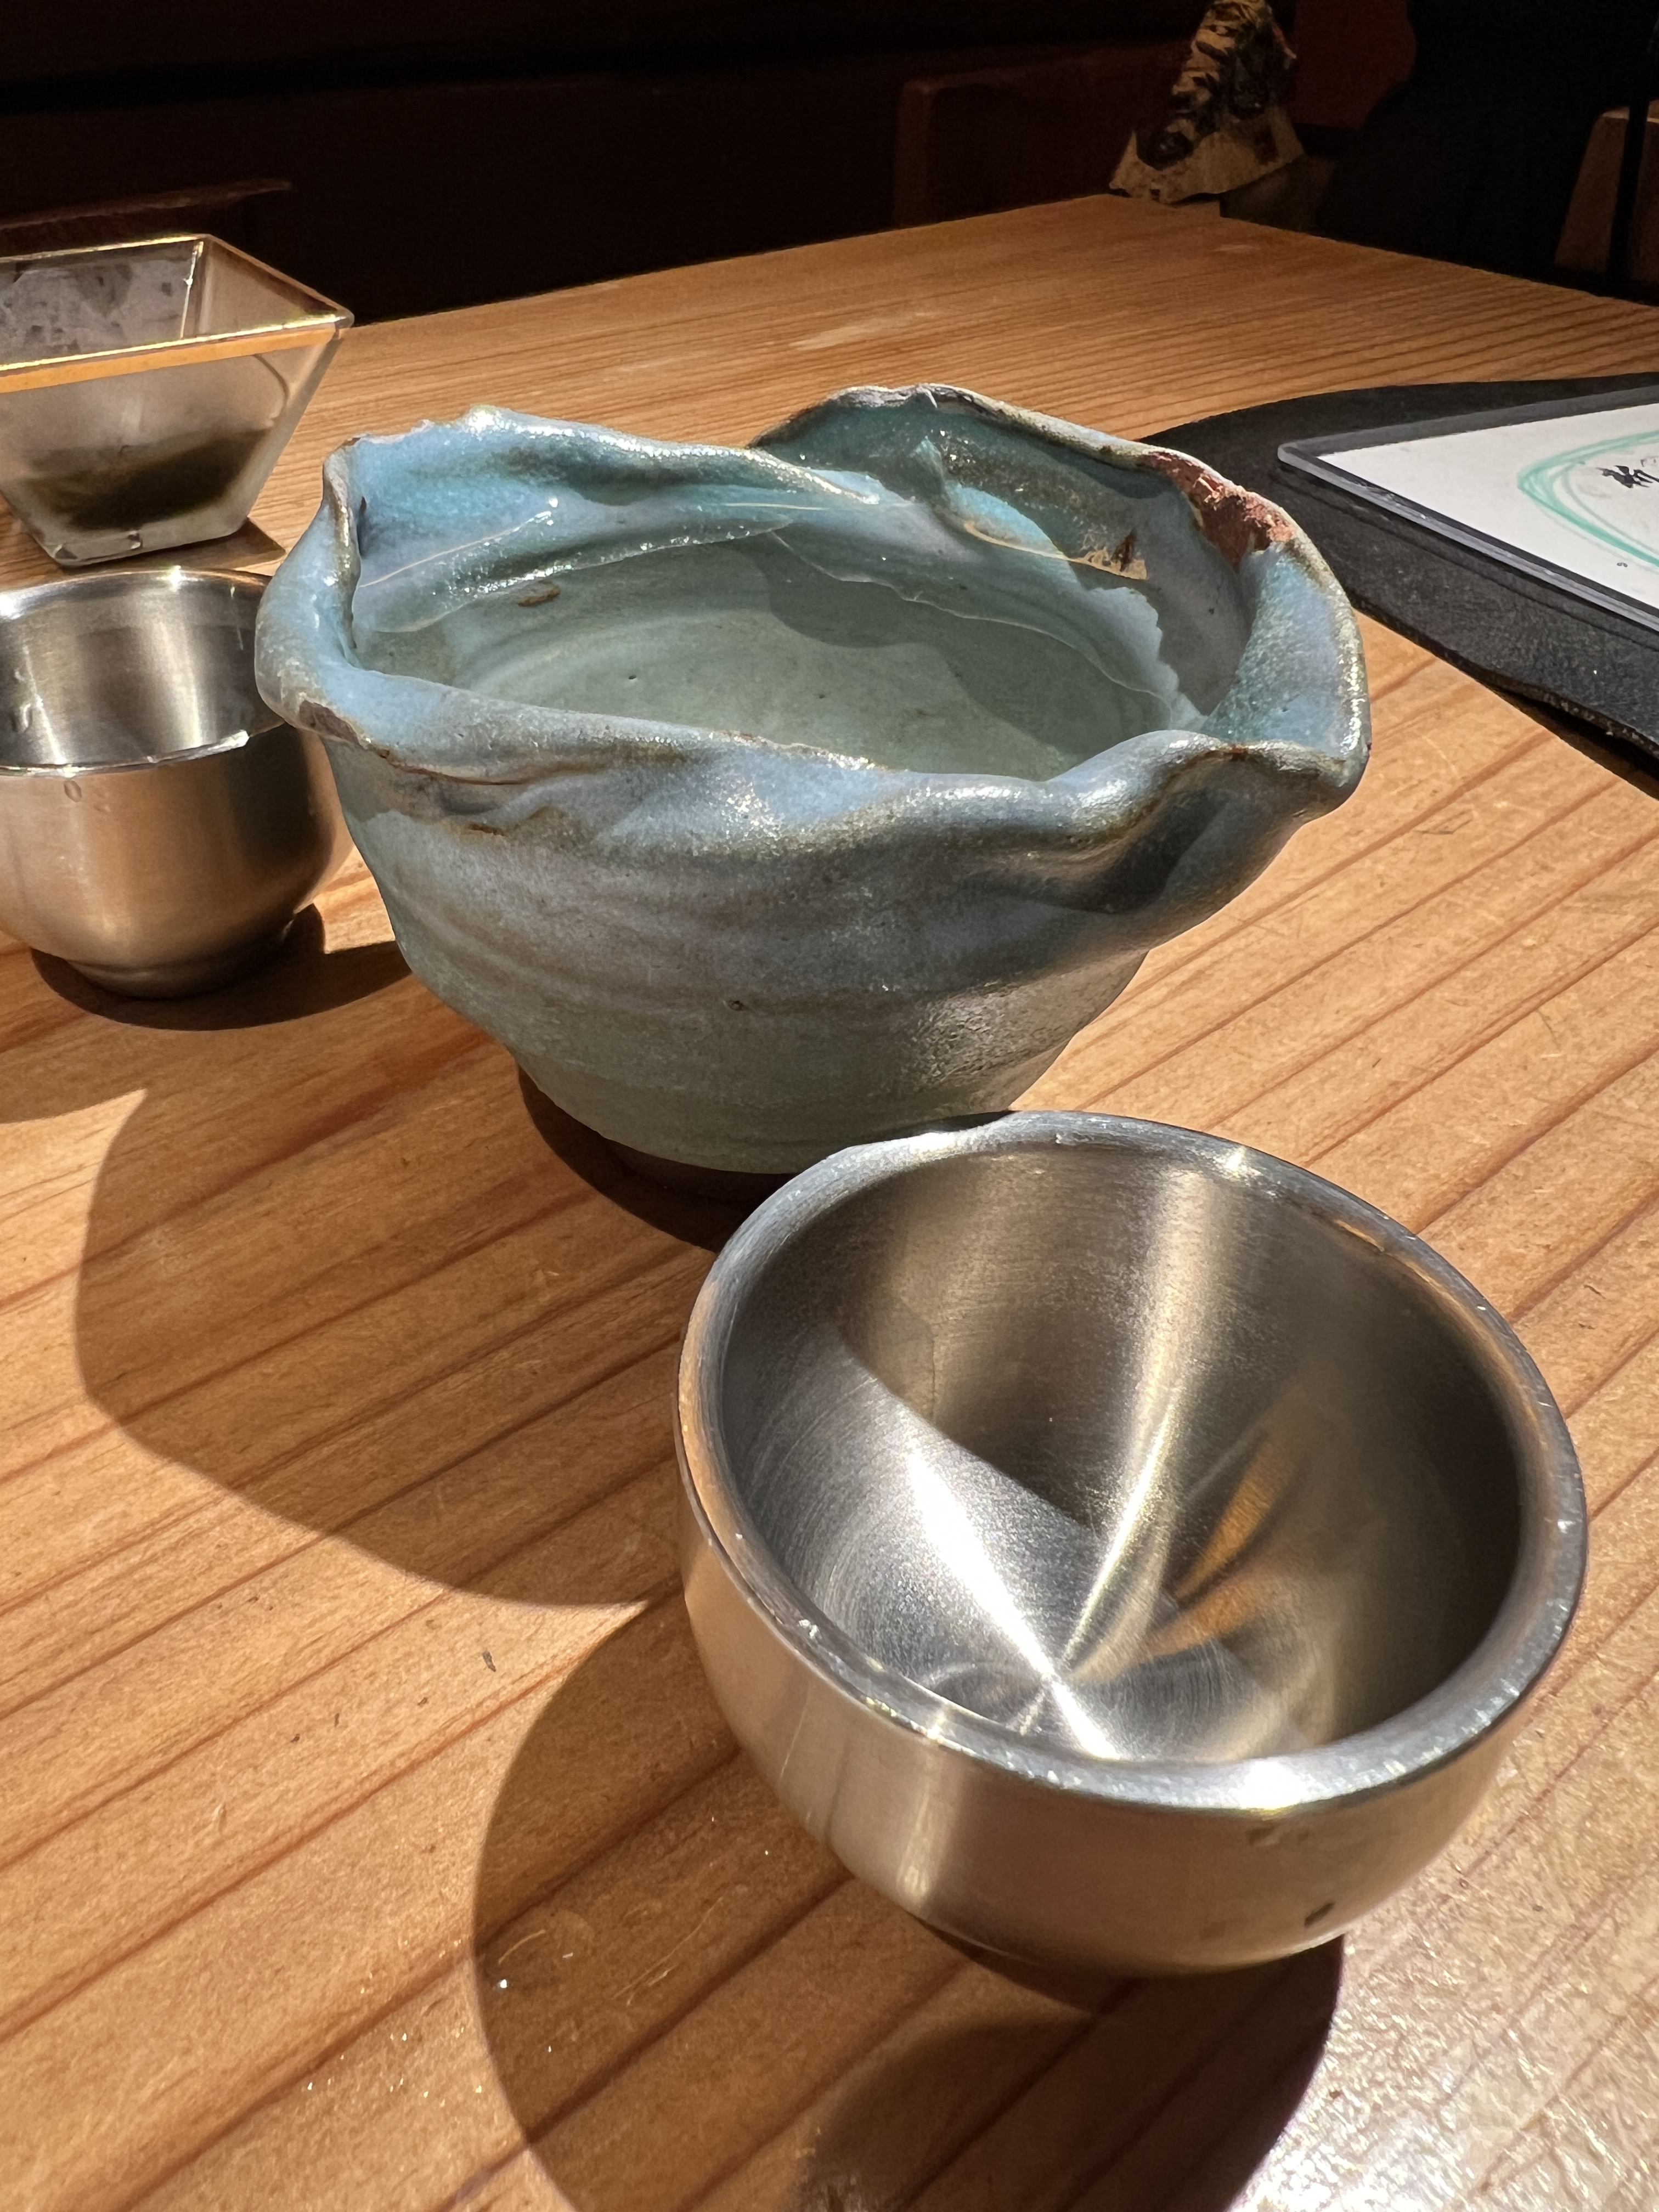
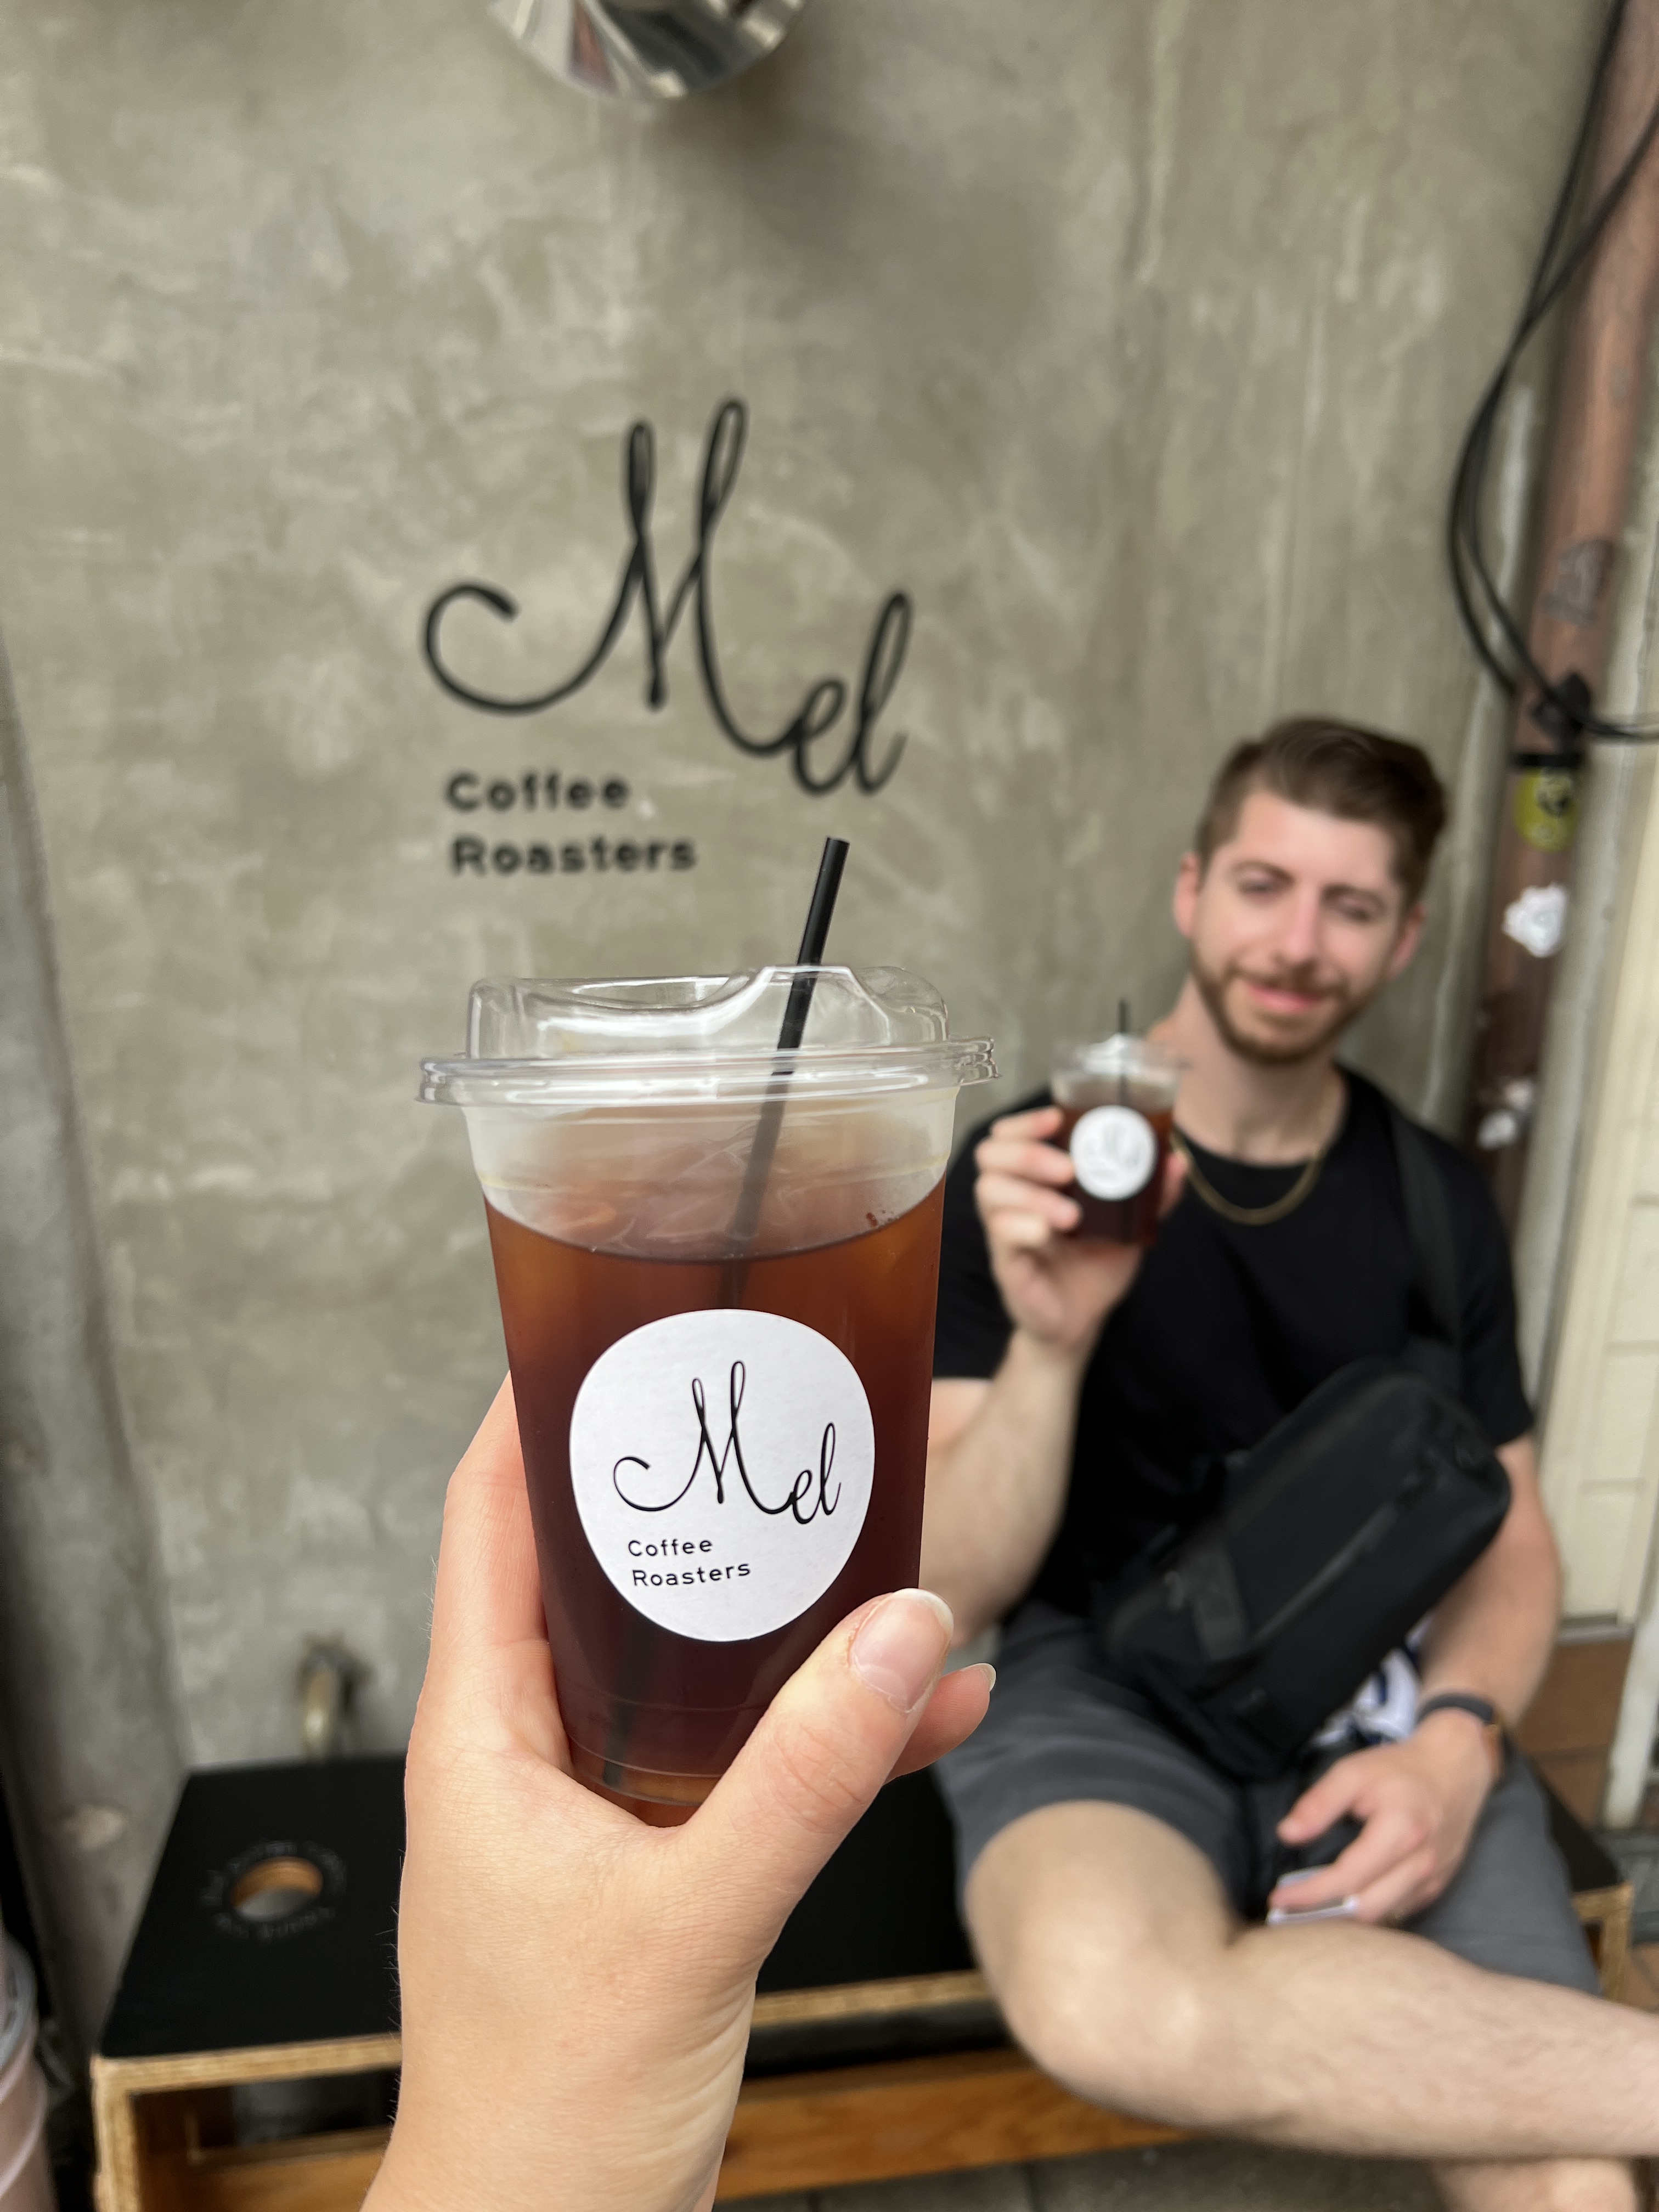
Mel’s Coffee Roasters – This is the craftiest of craft coffee shops that I have ever been to. We learned how special this coffee is after Nick asked for milk to add to it, and Mel herself came over to explain that the light and delicate flavor of the coffee would get ruined by the heavy flavor of the milk, and so she does not recommend it. If you are looking for a light and delicious cup of coffee (and are willing to drink it according to Mel’s recommendations) then definitely give it a go. They do also have espresso and espresso drinks like a latte, to which they then obviously add milk and give you the option for sugar. They have a $30 cup of joe on the menu which I am sure would be out of this world!
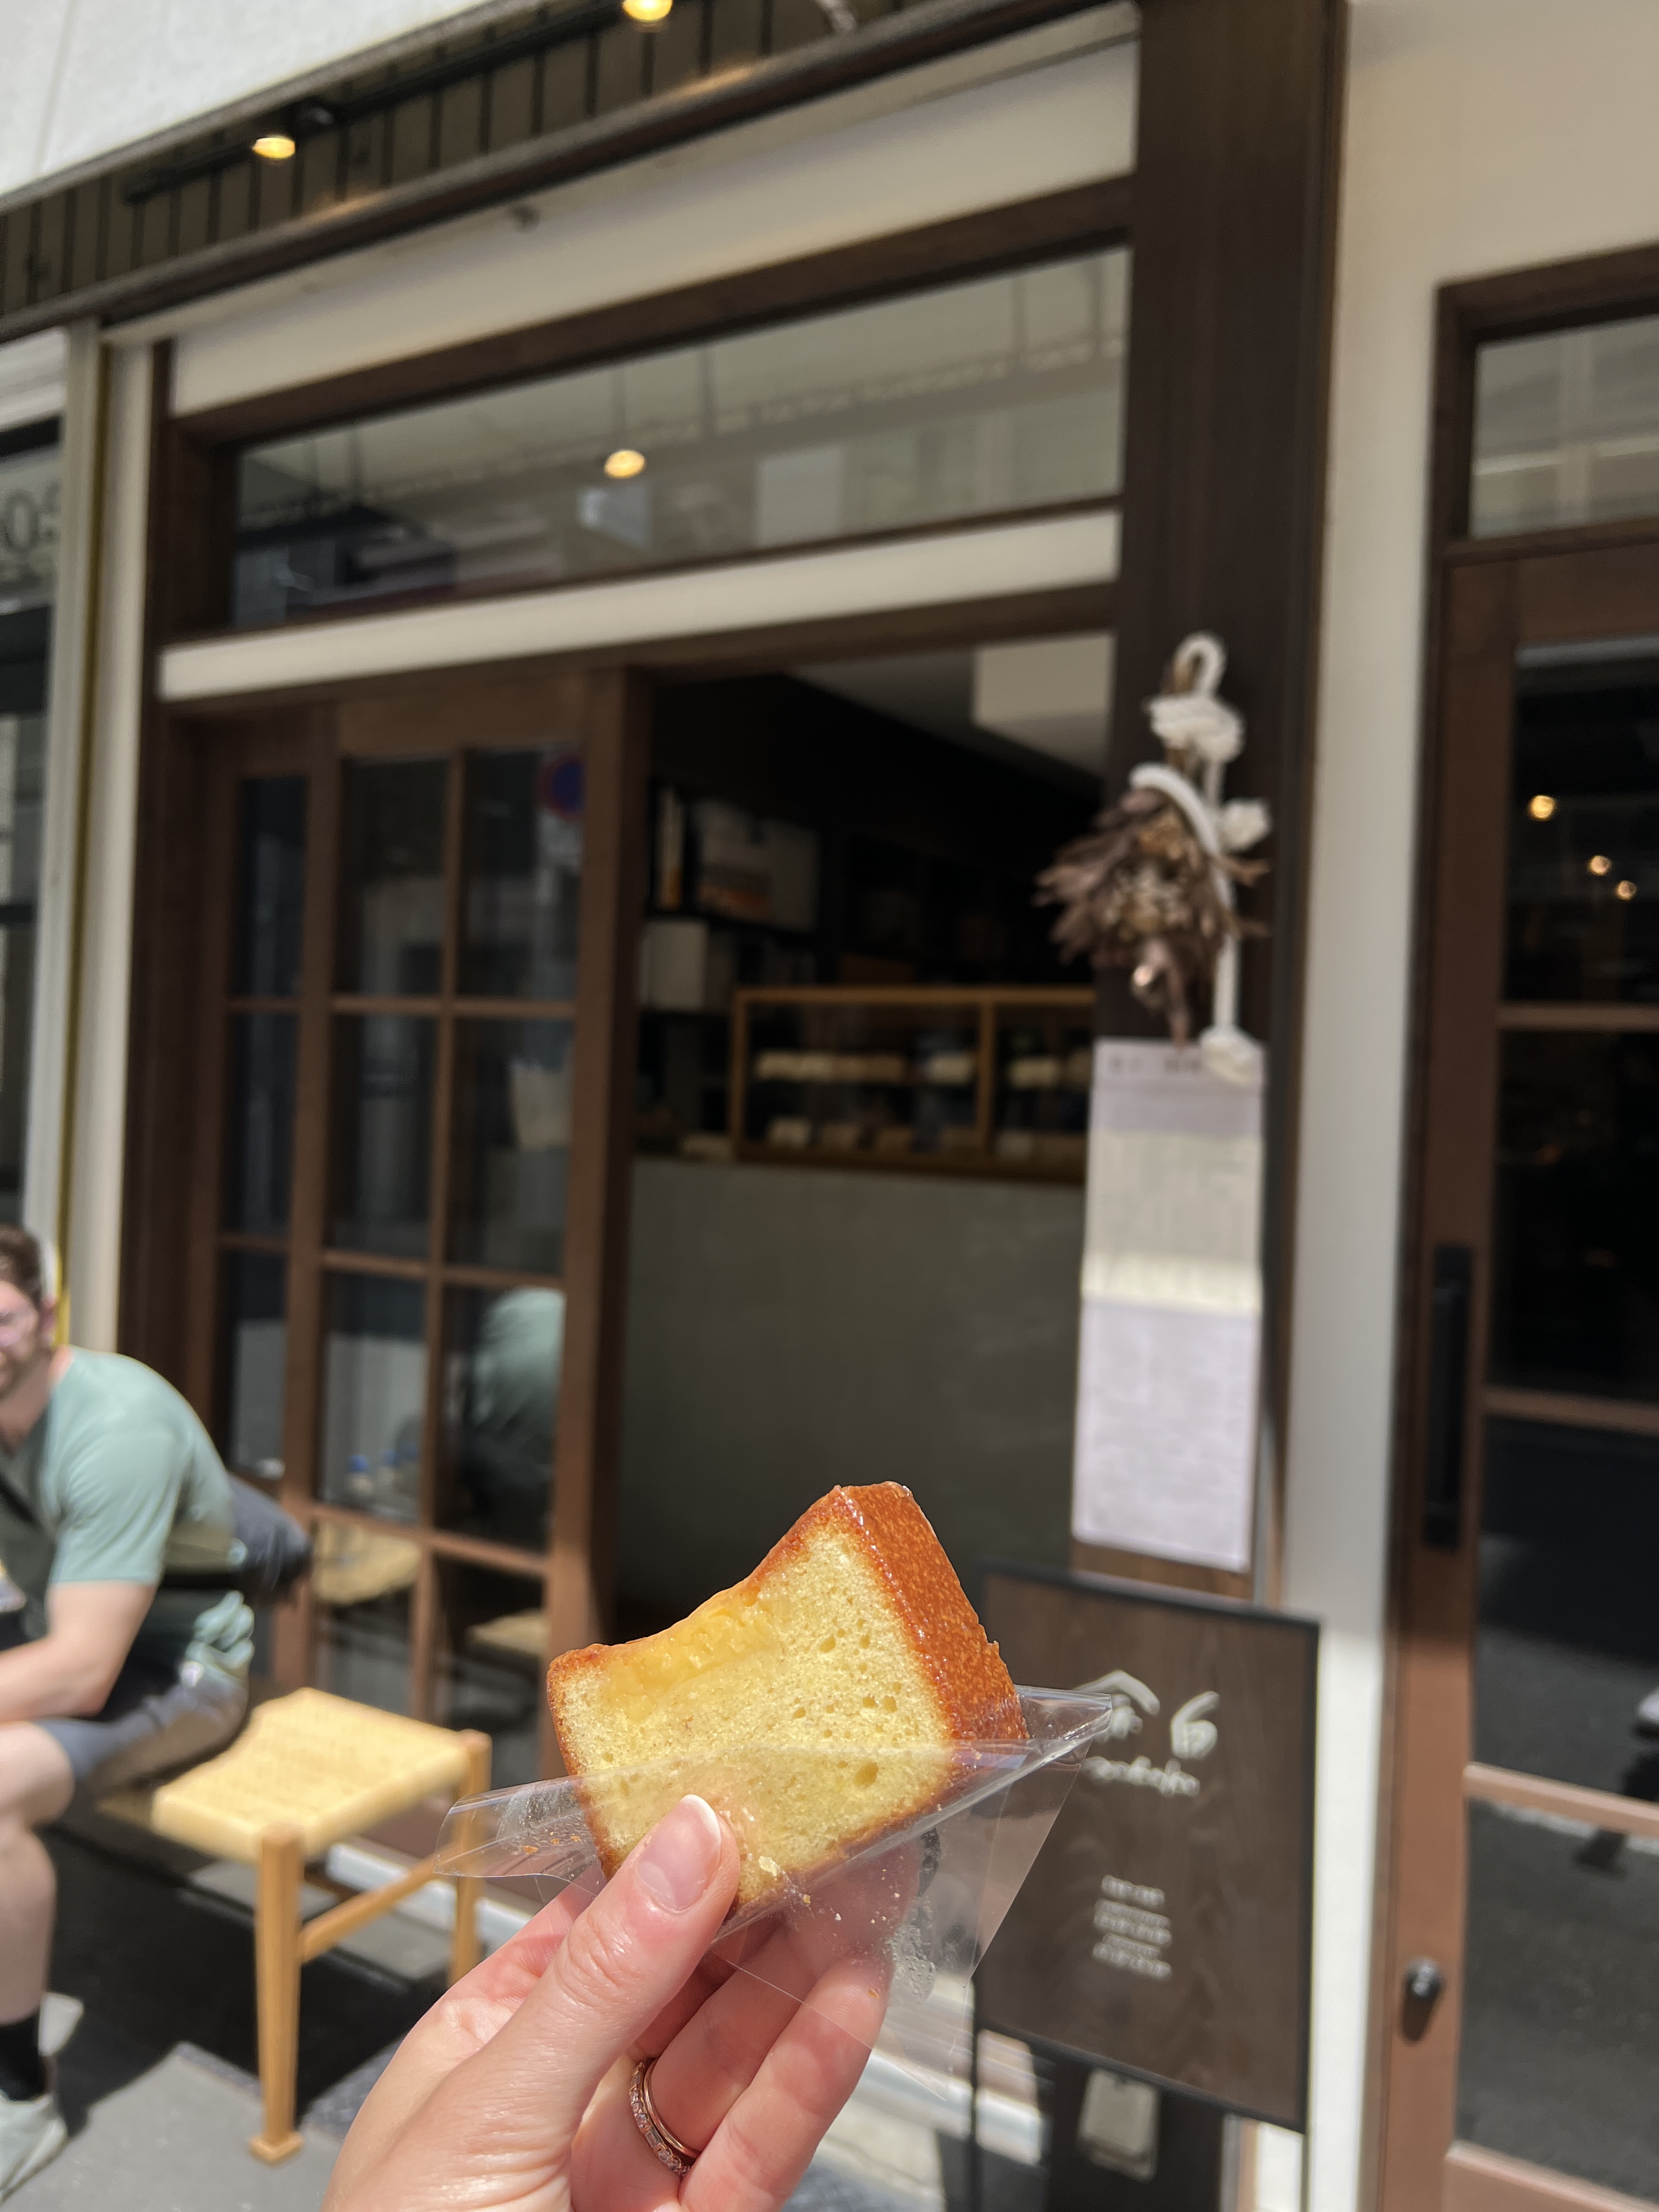
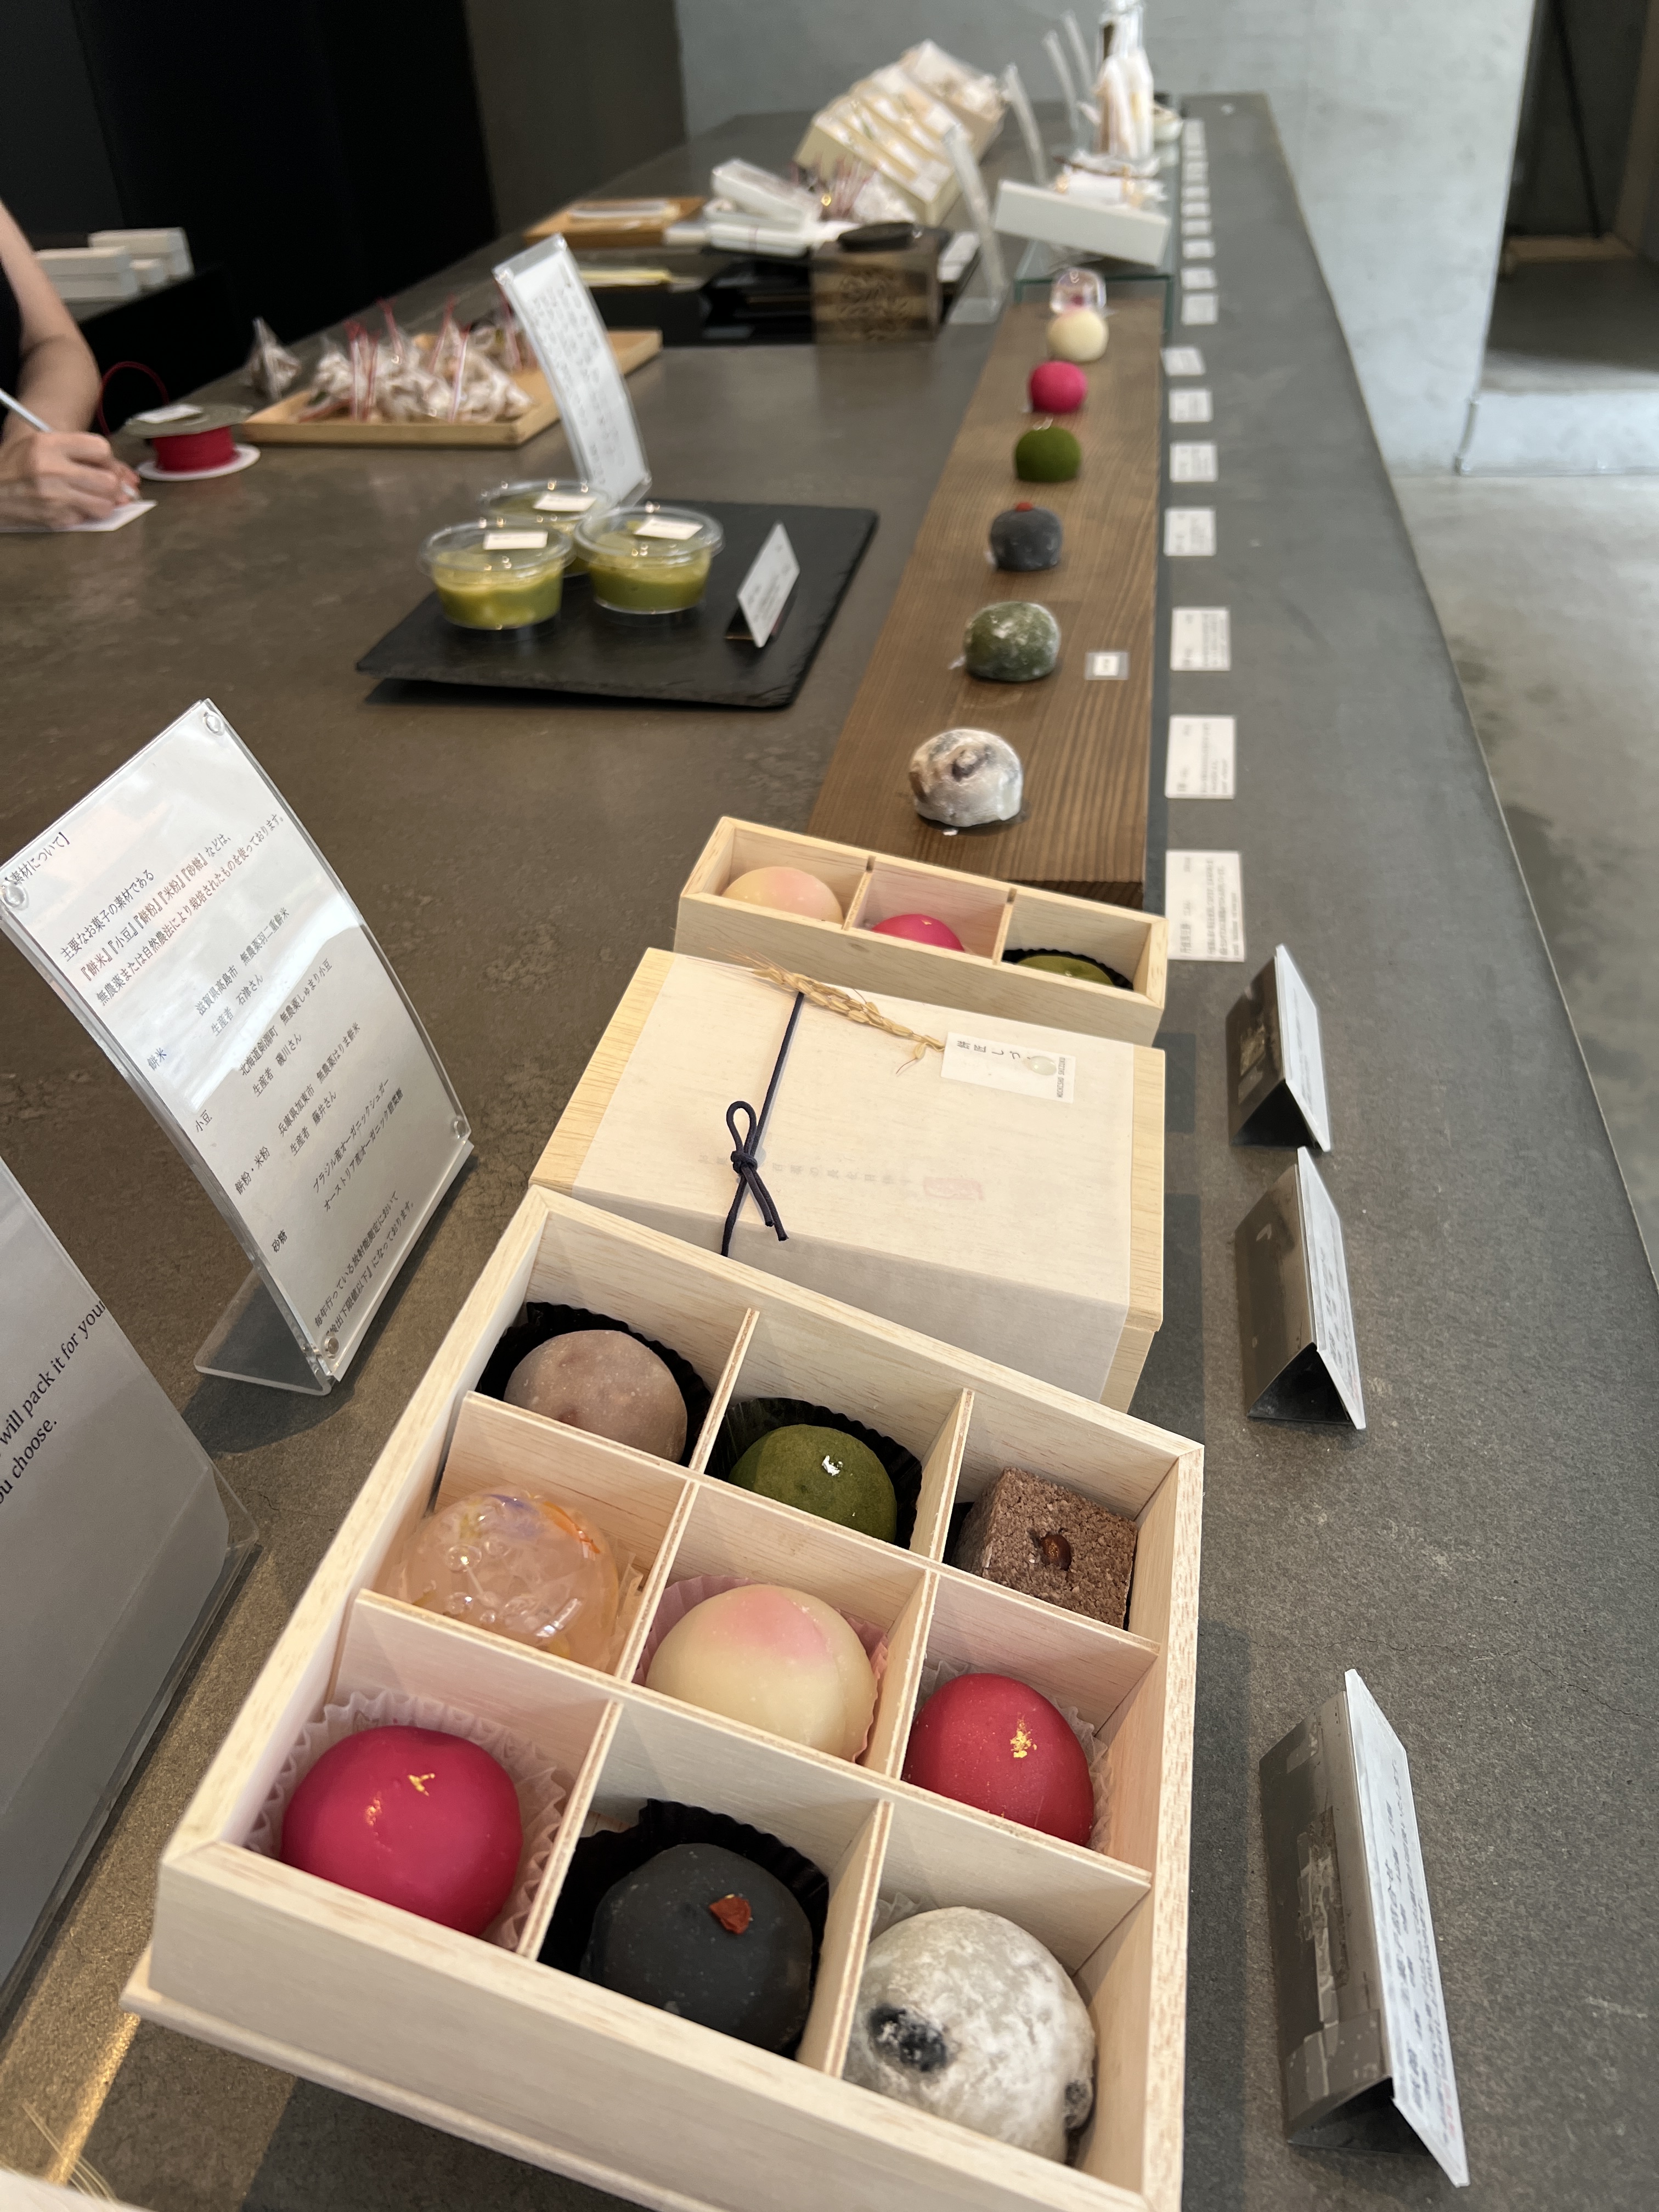
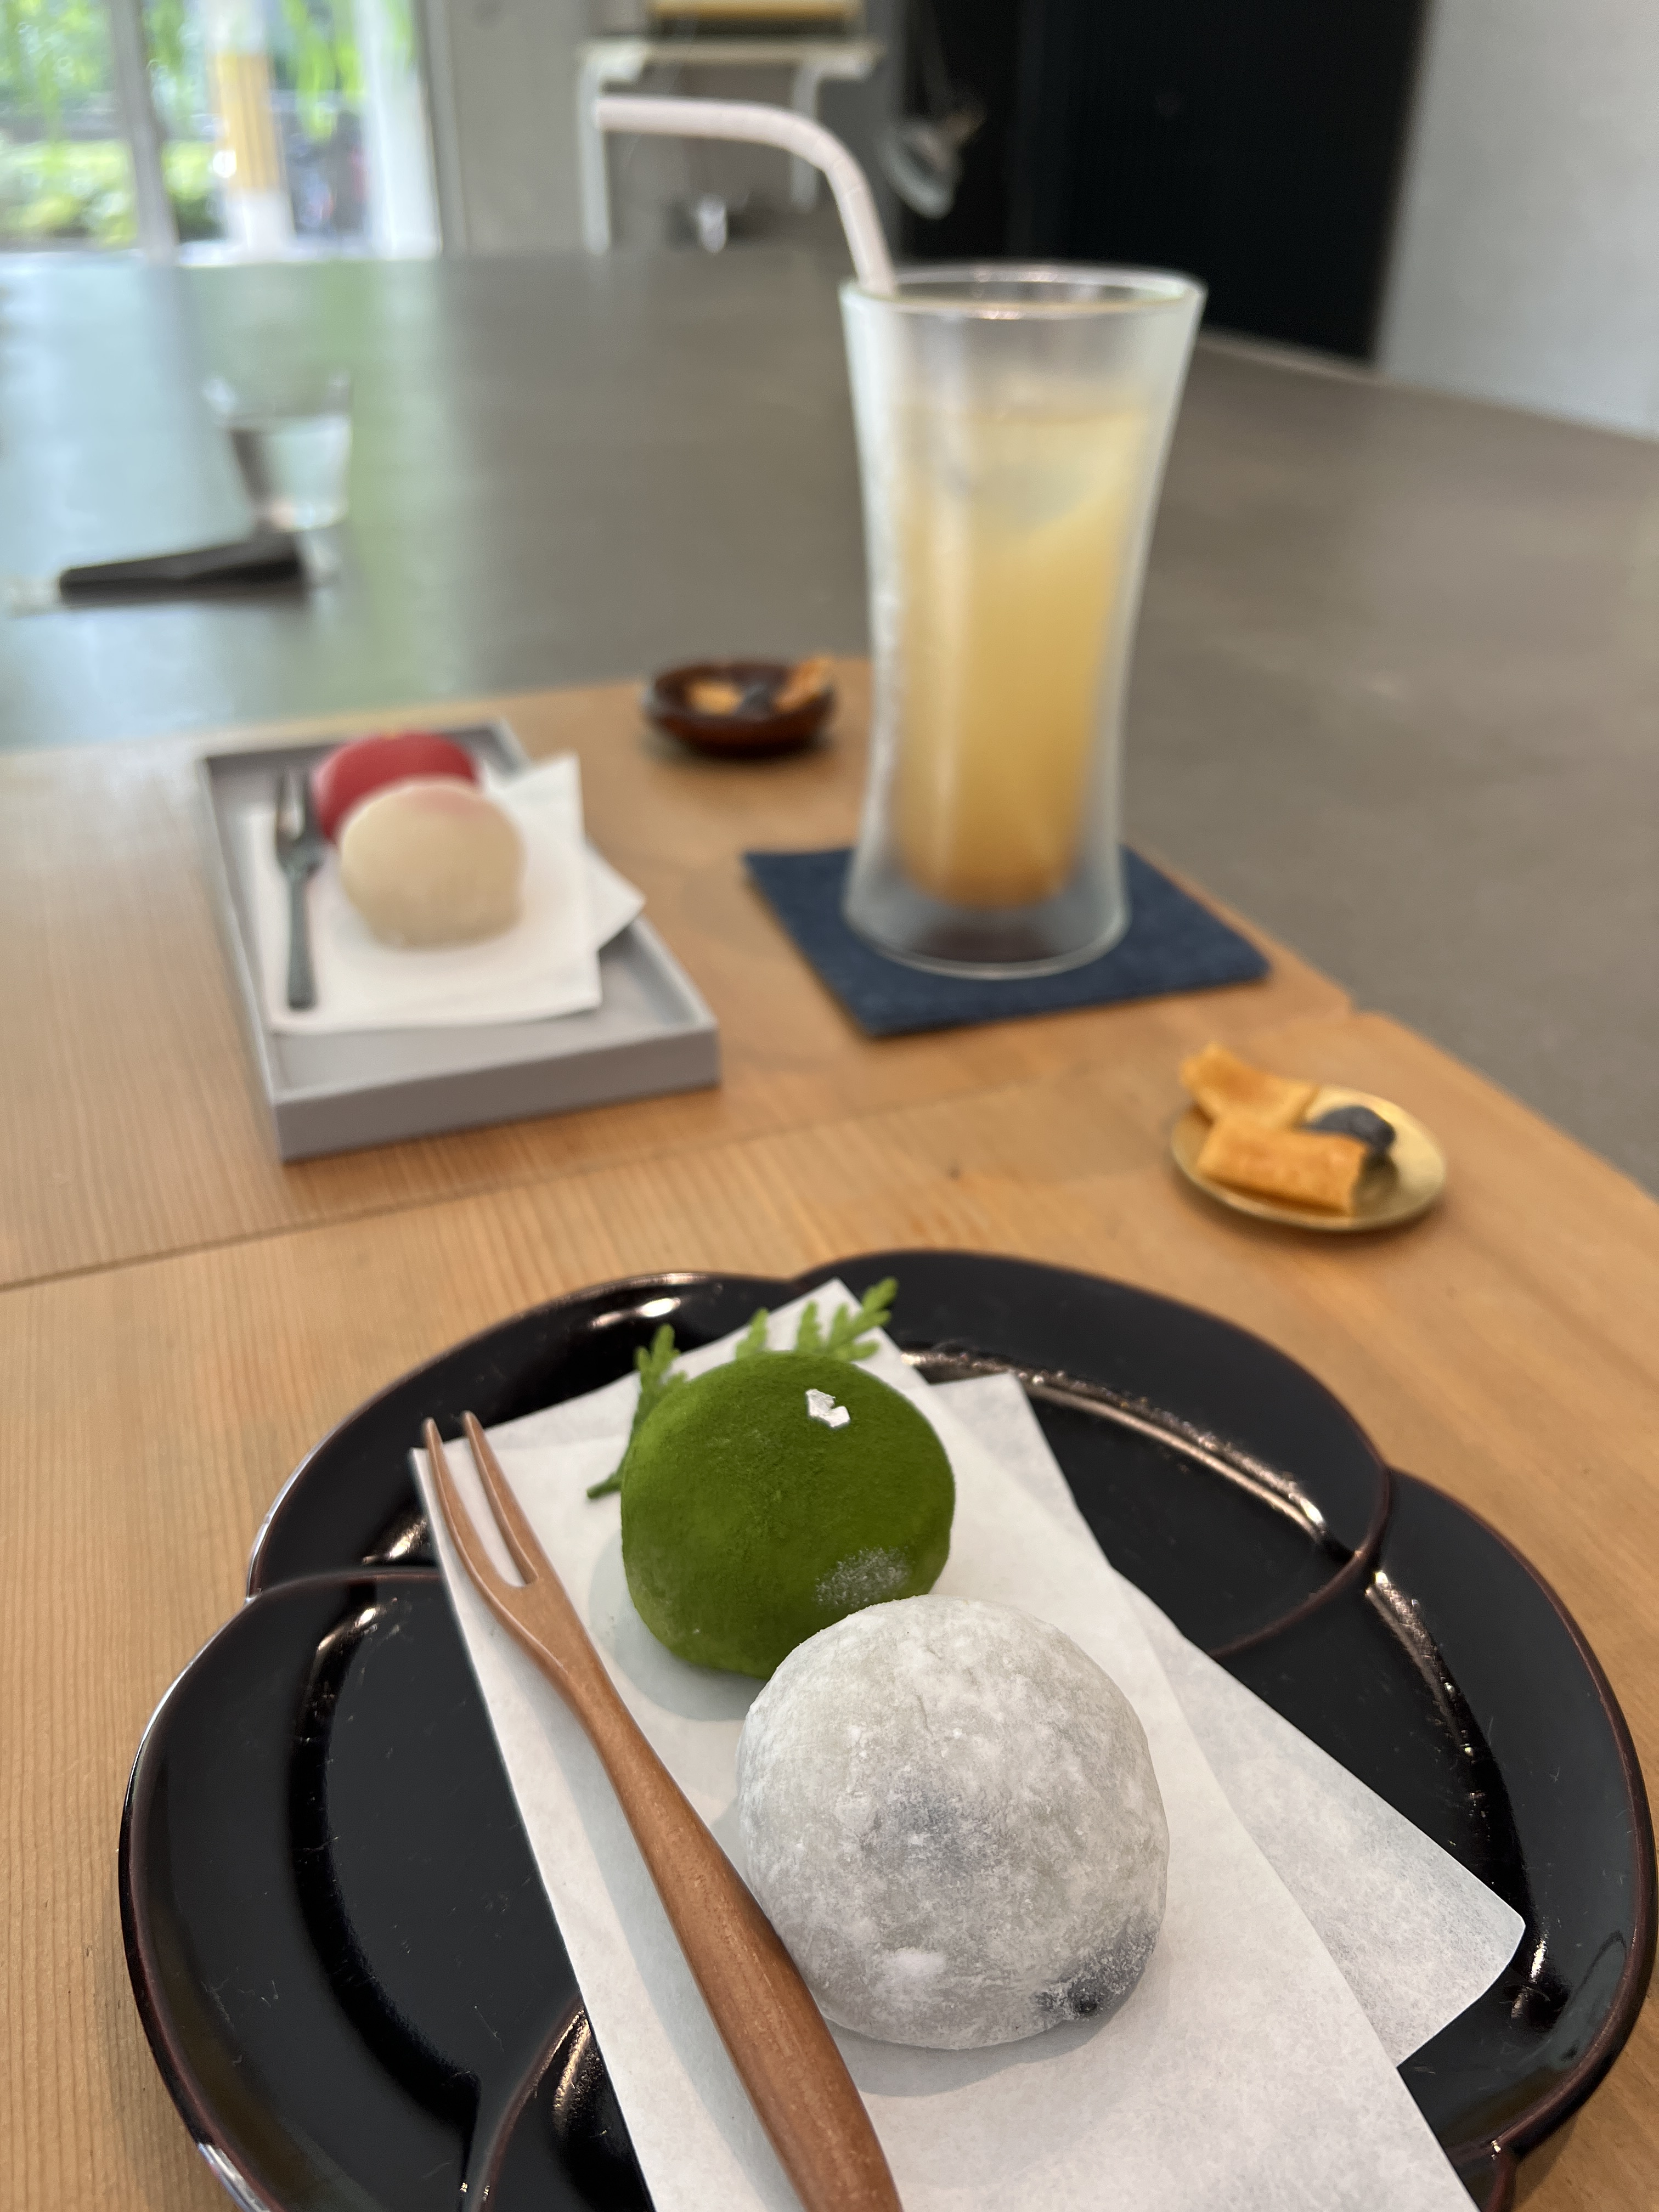
Mochisho Shizuku – This is a sweets shop that serves mochi that are so perfectly constructed that they look like little pieces of artwork. Not to mention delicious, too! I would highly recommend stopping in here for a quick snack and a homemade ginger ale during your travels.
Okonomiyaki Mizuno – This is a Michelin starred restaurant serving up the classic Osaka dish, Okonomiyaki. This one is tough to describe, but it is basically a bbq “pancake” cooked on a cast iron griddle, filled with veggies and choice of protein, and customized with toppings of your choice. While in Osaka you absolutely have to try this, and what better way to do it than at a Michelin starred restaurant? It was easy, too! Mizuno does not take reservations and once you are seated the whole meal takes about 20 minutes for them to cook and you to eat, so the line moves quickly. We got there at about 4:30 PM which was perfect timing because we got in immediately, and we were out of there before 5. It is counter serve and they cook your pancake right in front of you. It is a really fun experience and the food is fantastic!
Micadadeco & Café – This is a café where we got our first and only souffle pancake in Japan. They were the best breakfast item on our trip, hands down. The pancakes were made with ricotta and they certainly were cheesy! They were thick and jiggly just how souffle pancakes should be, and the light texture mixed with the ricotta flavor was really something else. Certainly try the souffle pancake while in Japan, and I can personally vouch for this restaurant. Be aware that while they open at 9 AM, they only serve the pancake from 11 AM – 2 PM.
Sushi Isshin – This was a recommendation to us by a nice couple from Hong Kong that we met at Mel’s earlier in the day. The sushi was incredibly fresh, the wagyu and eel were perfectly cooked and seasoned, and it was a very simple counter serve experience. We did not do a chef’s tasting here, but rather ordered based on the numbers on the menu (not much conversation was had, as no one spoke English in this restaurant), and the food was served by the chef over the counter almost immediately.
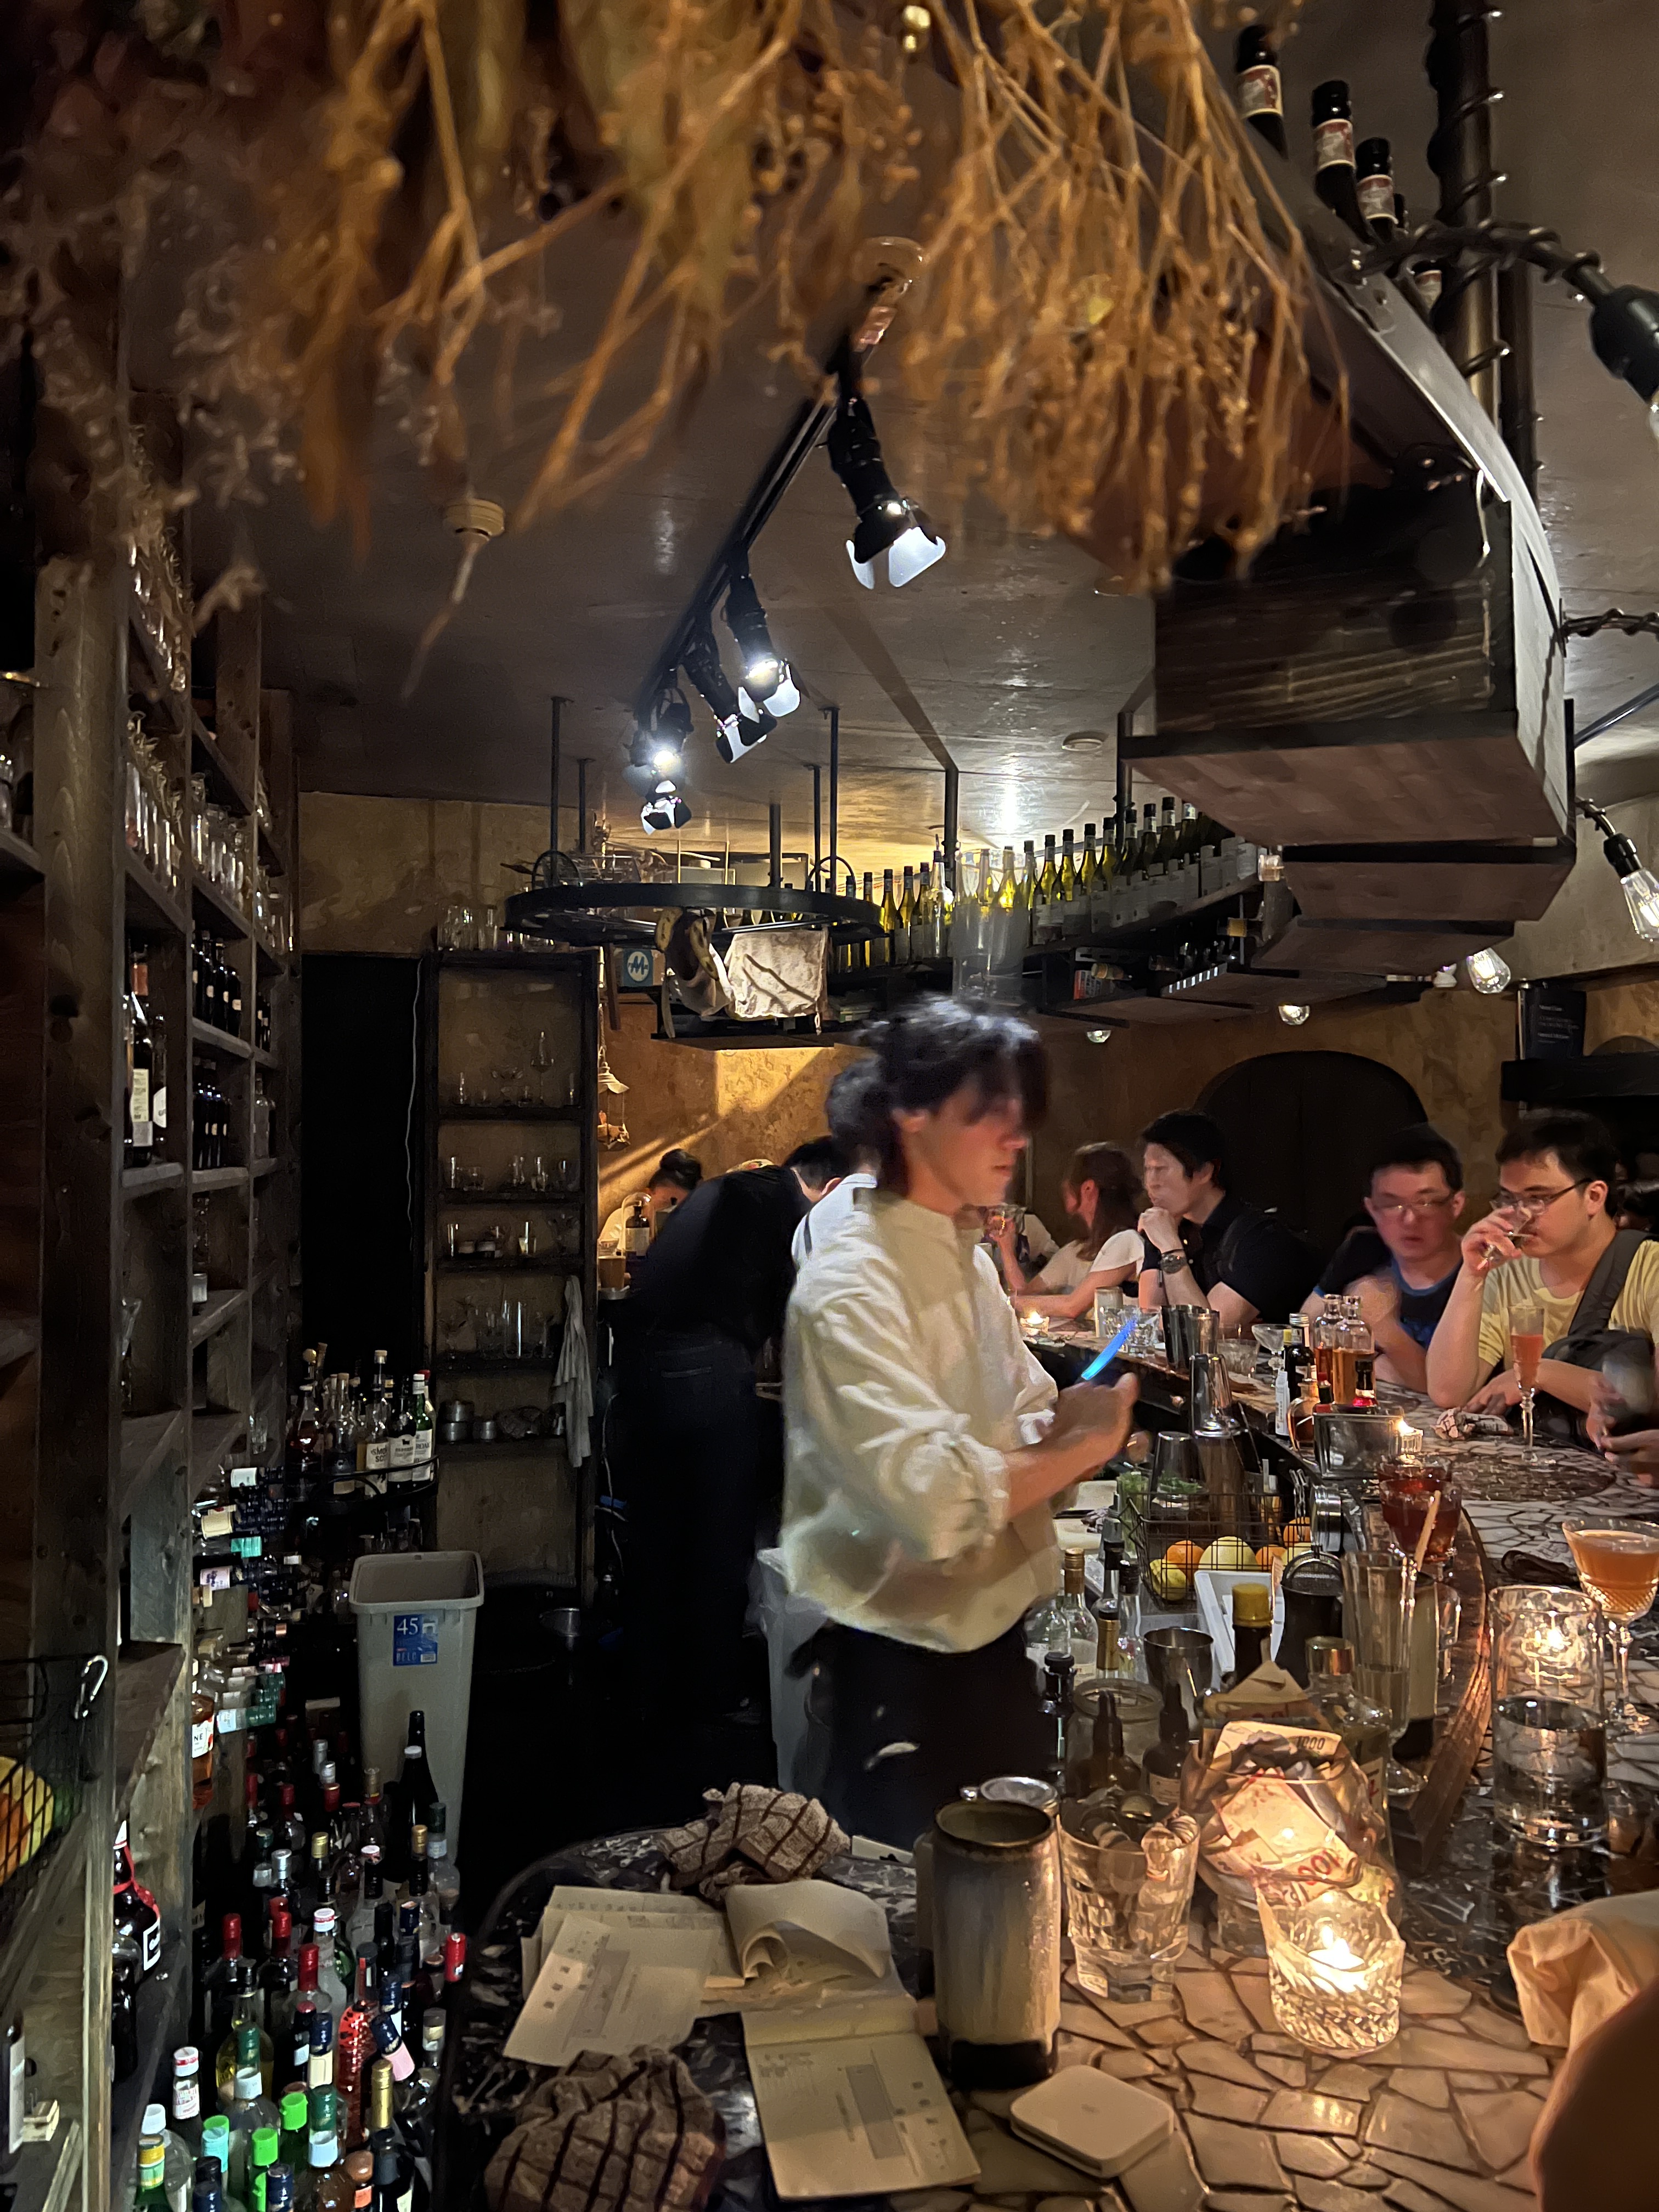
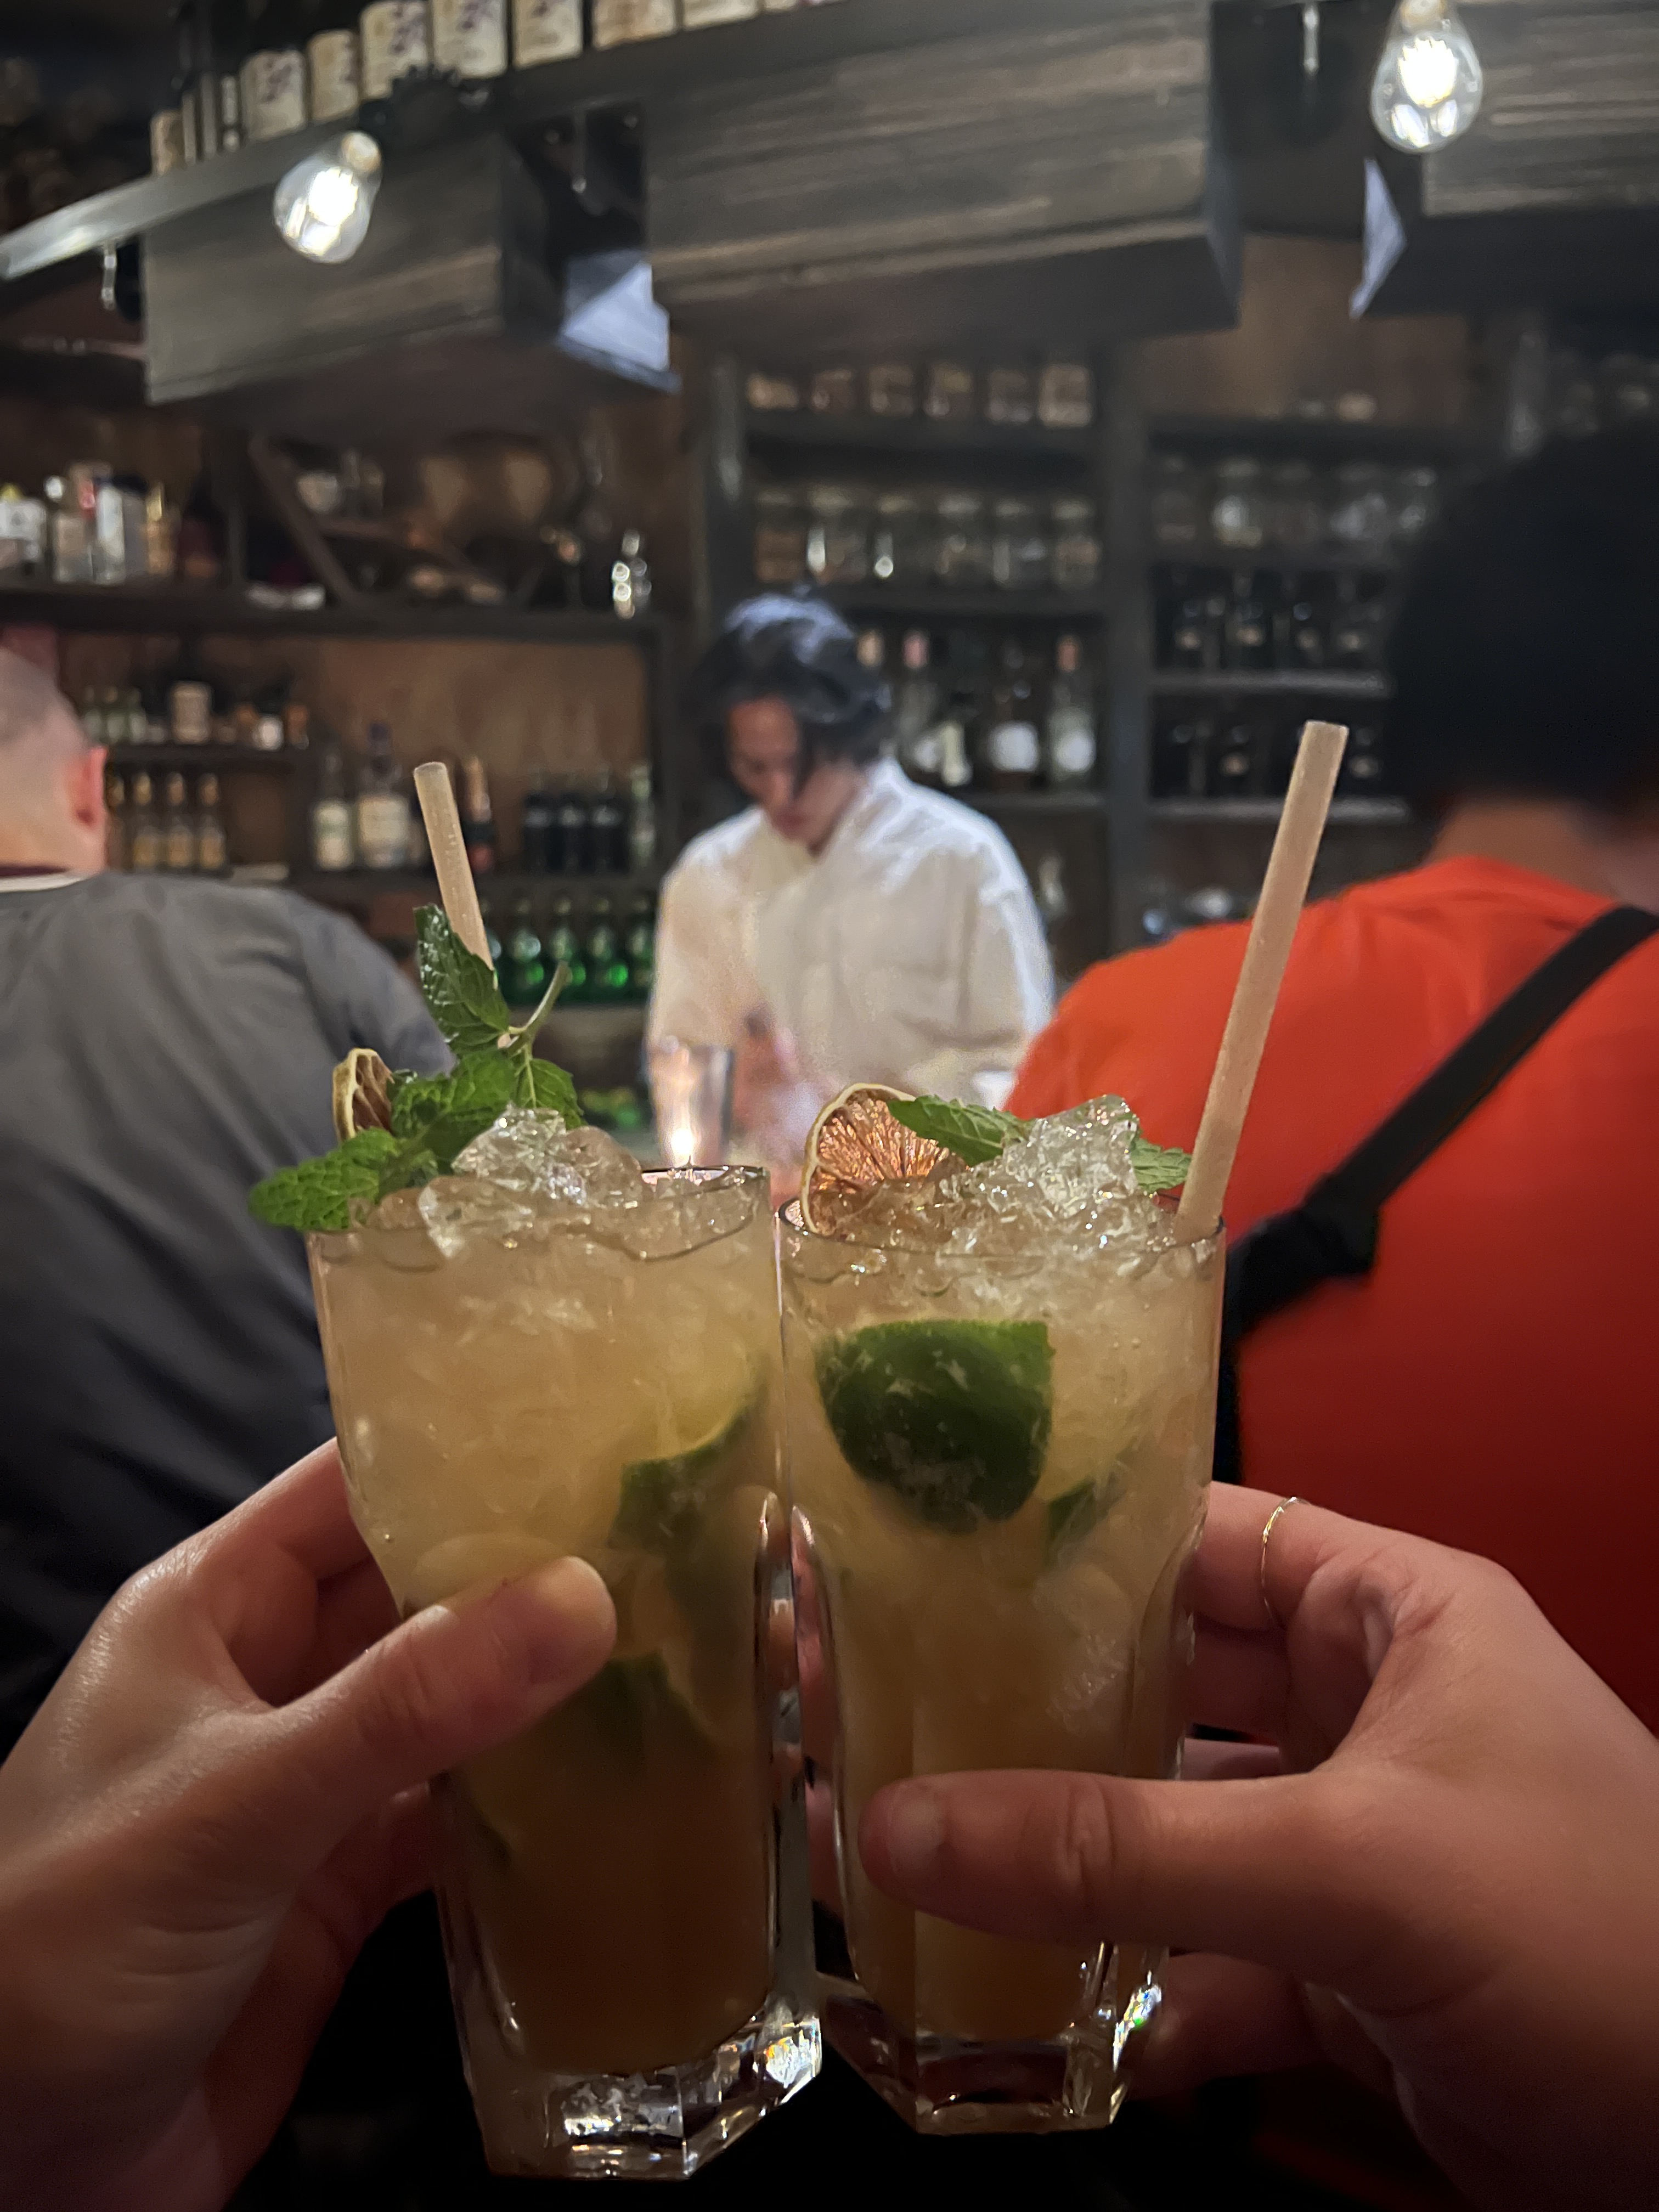
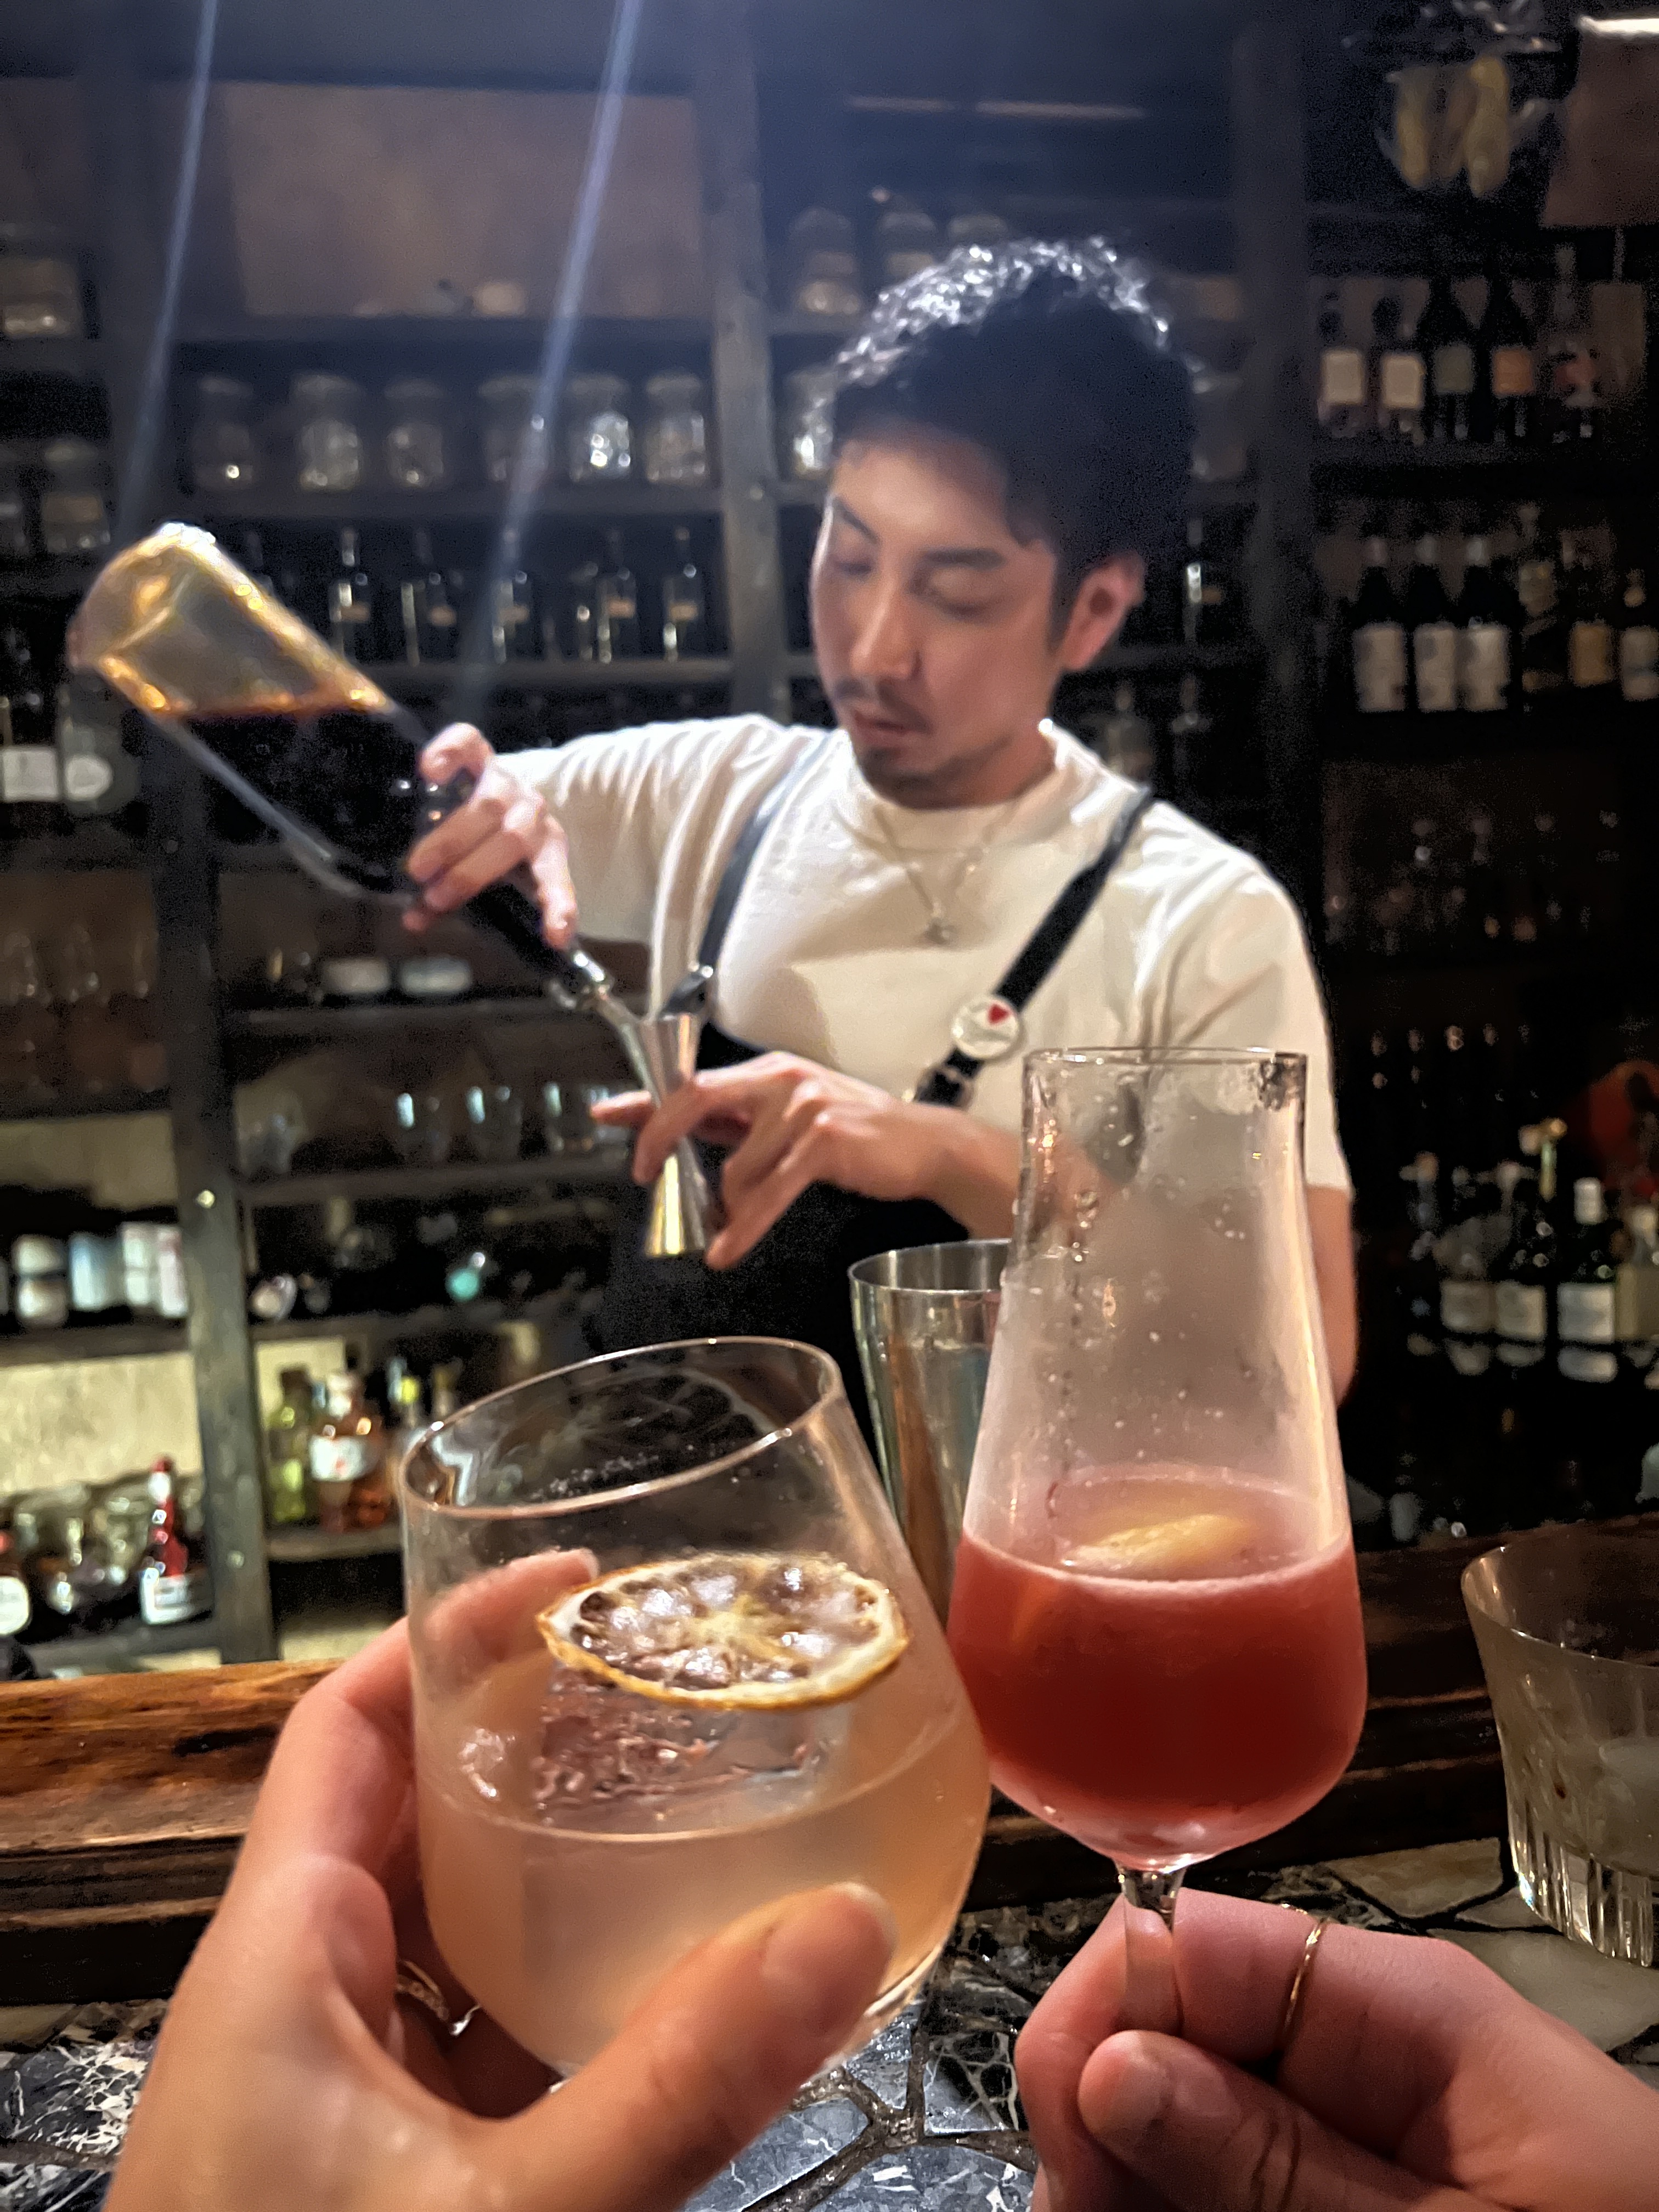
Bar Nayuta – This bar served some of the best cocktails I have ever had in my whole life. It has a speakeasy feel (and the location is tucked away in the 5th floor of a building complex with an unassuming entrance), and the main room is pretty small – there were probably no more than 20 customers in there at a time. There is no menu so the bartenders (or their assistants) come around and ask you what flavor profile you are looking for, and then some follow up question (sour vs sweet, creamy vs clear) depending on what you responded. The first drink I got was a ginger based mule with a special spicy pepper infused simple syrup and muddled with a few different fruits. The second drink was chocolate flavored but I asked for something not too sweet and not too heavy with a clear base. The drink that was produced was the most unique and incredible cocktail I have ever had, and I am actually sad that I have no way of knowing exactly what went into it.
Where we Stayed
In Tokyo, we stayed at the Tokyo Mercure Ginza hotel. It was clean, and a good size – there was space to sprawl out a bit and open up our luggage, store shoes, etc. The bathroom had a fog-free mirror, which we thought was a pretty cool innovation. A button up robe/gown was provided (which became our pajamas during the trip), the hotel had daily housekeeping (unless you put the do not disturb on your door), and there was also a laundry service (which we did not use). It was located in the Ginza area, so we were really close to a lot of good food and often were able to walk home after dinner. It was not very close to Tokyo station so when coming in and out of Tokyo with our luggage, we still had to take a cab to and from the train. There were other closer local subway stations, so getting around was still really easy. There was no breakfast service, and no communal lounge/bar area. Given the size of the room and the excellent location, I would recommend it! If you are looking for something with communal space to lounge and a place that offers breakfast, a bar, and other amenities, this might not be for you.
In Kyoto, we stayed at the Kyoto Century Hotel. It was also clean, but significantly smaller than the Tokyo hotel so there was not really space to sprawl out, open luggage, and get settled. The room was separated into two sections – the front half was the entrance with a sink, which also contained a separate room with the toilet and another separate room for the shower. The back half of the room was the bed and a vanity/desk. The two halves of the room could be separated by a curtain. It was honestly a weird setup, and while it worked fine, it probably was not ideal. This hotel also provided the button up robe/gown, did housekeeping every other day (but you could request daily), and offered dry cleaning services. They did have a fantastic complementary buffet breakfast which ran from 6:45-10AM, which we took advantage of a few days of the trip, and a really nice lounge area in the lobby with a bar. It was a quick walk from the Kyoto central metro station, which made it really convenient for getting around. If you are looking for a spacious room, this place is probably not for you. However, if you are not concerned with the size of the room, this hotel offered nice amenities, was in a good location, and was a great place to stay!
In Osaka, we stayed at The Hotel Grandee Shinsaibashi, which was in Shinsaibashi, a main attraction in Osaka. It was about a 20 min cab from the main Osaka metro line, and we did not need to take any subways while exploring Osaka, so I cannot speak to the convenience of the more local metro stations. The hotel was an 8 minute walk from Dotonburi, which was perfectly convenient for all sight-seeing that we wanted to do, so I would say it had an excellent location. The room was also HUGE, even bigger than the hotel in Tokyo. It had 2 beds, which we obviously did not need, and a large bathroom which had separate rooms for the shower, the sink, and the toilet. The shower room had both a stand-up shower and a jacuzzi bath, which also had a TV on the far wall. In addition to the bathroom and bed area, there was a living area with a couch, coffee table, and desk. There was plenty of space here, needless to say. They had laundry machines which cost extra, but no laundry service to my knowledge. There was no complementary breakfast, but they did have a lounge on the ground level with free beer, wine, and cakes, which closed at 10 PM. Attached to the lounge was a trendy rooftop deck with seats and tables. I definitely recommend this hotel if you are staying in Osaka!
I hope this was helpful in getting a flavor for all the fun and interesting things that you can do in Japan, and the things that we found the most exciting and recommendable. Check out part 2 of this series, in which I detail our whole entire itinerary, including helpful photos of each activity and a detailed description (which will include my opinion on the event). This will be listed in the exact order that we did everything, so it will be easy to lift fully planned days straight from this itinerary into yours. Check out part 3 of this series for tips and tricks on prepping for and navigating through your trip to Japan.
“Ichi-go ichi-e” is a Japanese idiom that translates directly to “one time, one meeting.” It describes the cultural concept of treasuring the unrepeatable nature of a moment, or a “once in a lifetime” experience. It is a reminder to cherish the moment you are experiencing currently because it cannot be repeated.
This year has been a whirlwind so far with a lot of “ichi-go ichi-e” moments (although technically every moment should be categorized as such in the spirit of the idiom). To catch you up to speed if you are not already following me on Instagram, I got married this year and my husband and I took our first trip as a married couple (AKA our honeymoon) to Japan!
Planning this trip was challenging, to say the absolute least. I knew very little about the culture, customs, and even the food going into it (there is so much more than just sushi and ramen), so quite a bit of research was required. Even having done days of research up front and putting together a nearly 15 page itinerary, I still learned a ton while attempting to execute the trip. I have organized my monologue into three separate posts:
Itinerary highlights – these are our favorite things that we did in Japan. This will be helpful if you are planning a shorter trip than two weeks, or if you are just looking for advice on some absolute must-do activities.
Our full itinerary (the post that you are currently reading) – every single thing we did with helpful details and photos, including sight-seeing, tours, meals, whether we got tickets up-front, whether or not we recommend the activity, etc.
Our trip to Japan was truly a life changing experience and I hope this post helps you to plan yours. Without further ado, I’ll get started! This is post 2 of 3, our full itinerary.
Keep in mind as you read this post that each and every item on this itinerary came recommended to me, whether through my own research or conversation with friends. The recommendations I make here are entirely my opinion and I try to also leave context for why something ranked high or low on my priority list. No matter what, do some research to determine what attractions best suit you. Some of our favorite activities were ones that we were advised to skip entirely!
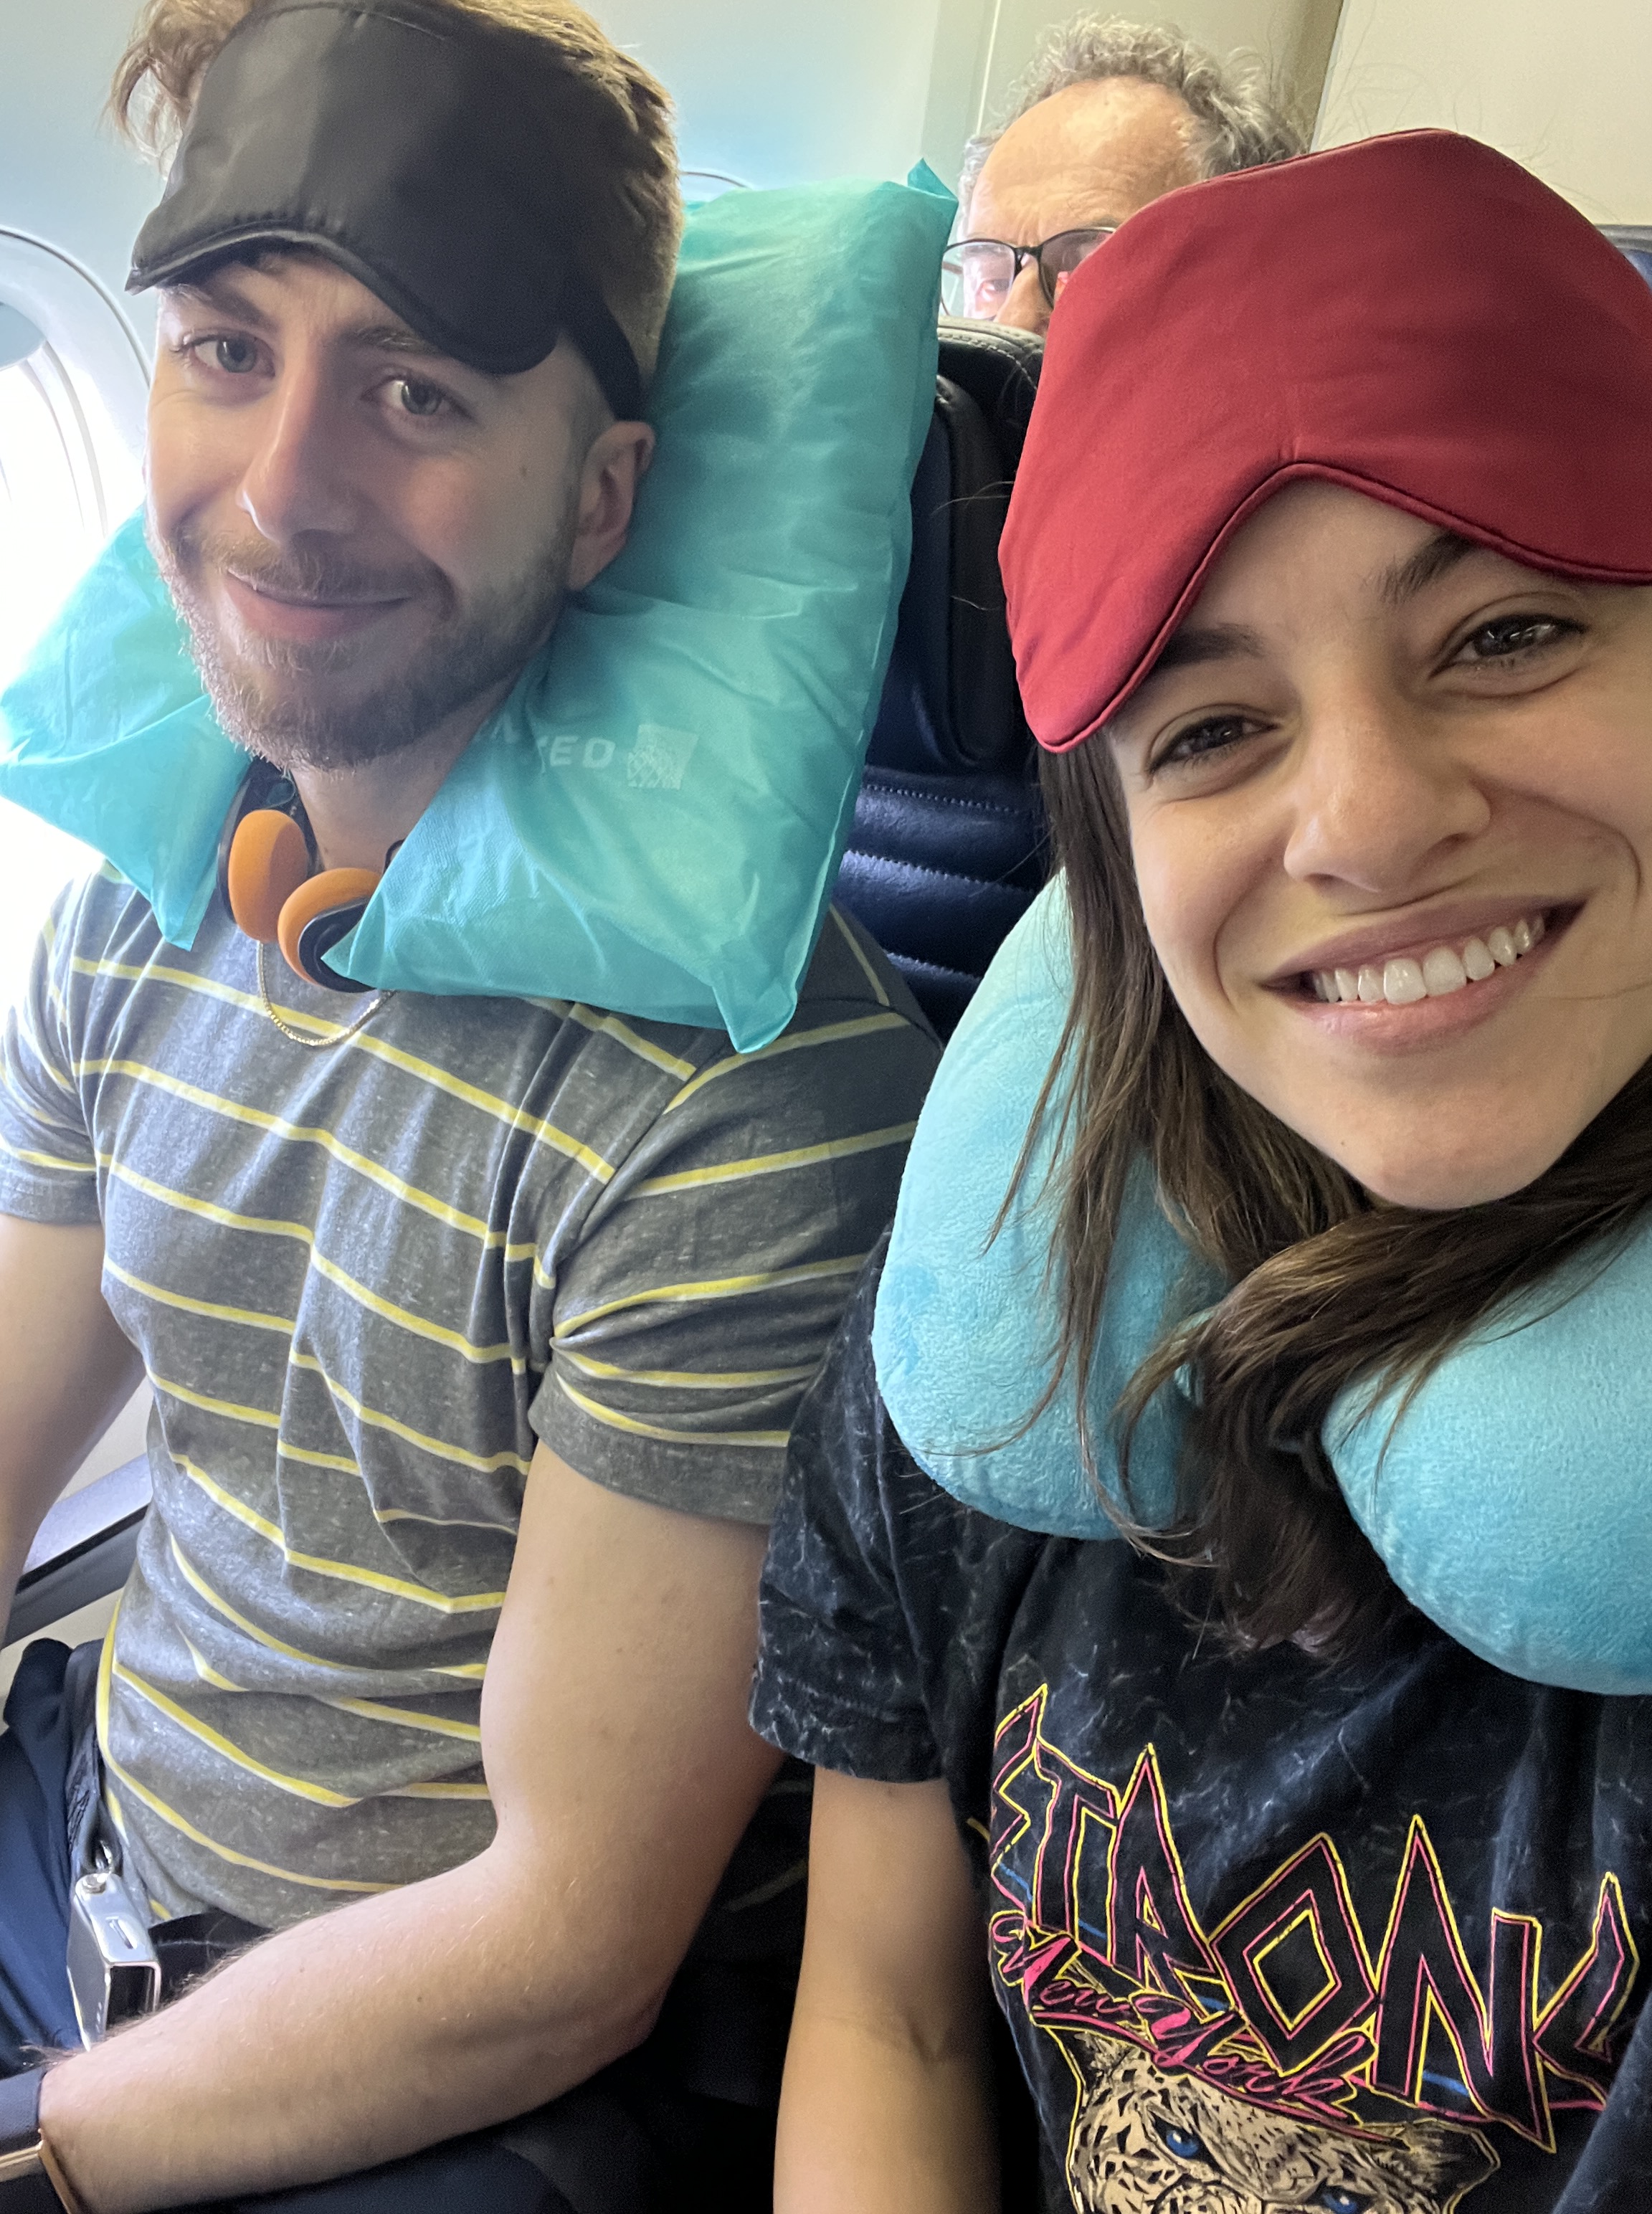
Also keep in mind that Nick and I are not the type to kick back and relax on vacation. We are very comfortable being go-go-go all day, every day. These days are PACKED with probably an unreasonable amount of activities. If you are a more relaxed traveler, plan to do less. I try to keep it real with my captions and photos of us looking pretty exhausted sometimes, but if it does not come through loud and clear – LET THIS BE YOUR WARNING!
In any event, shall we begin?
Day 1 – Tokyo
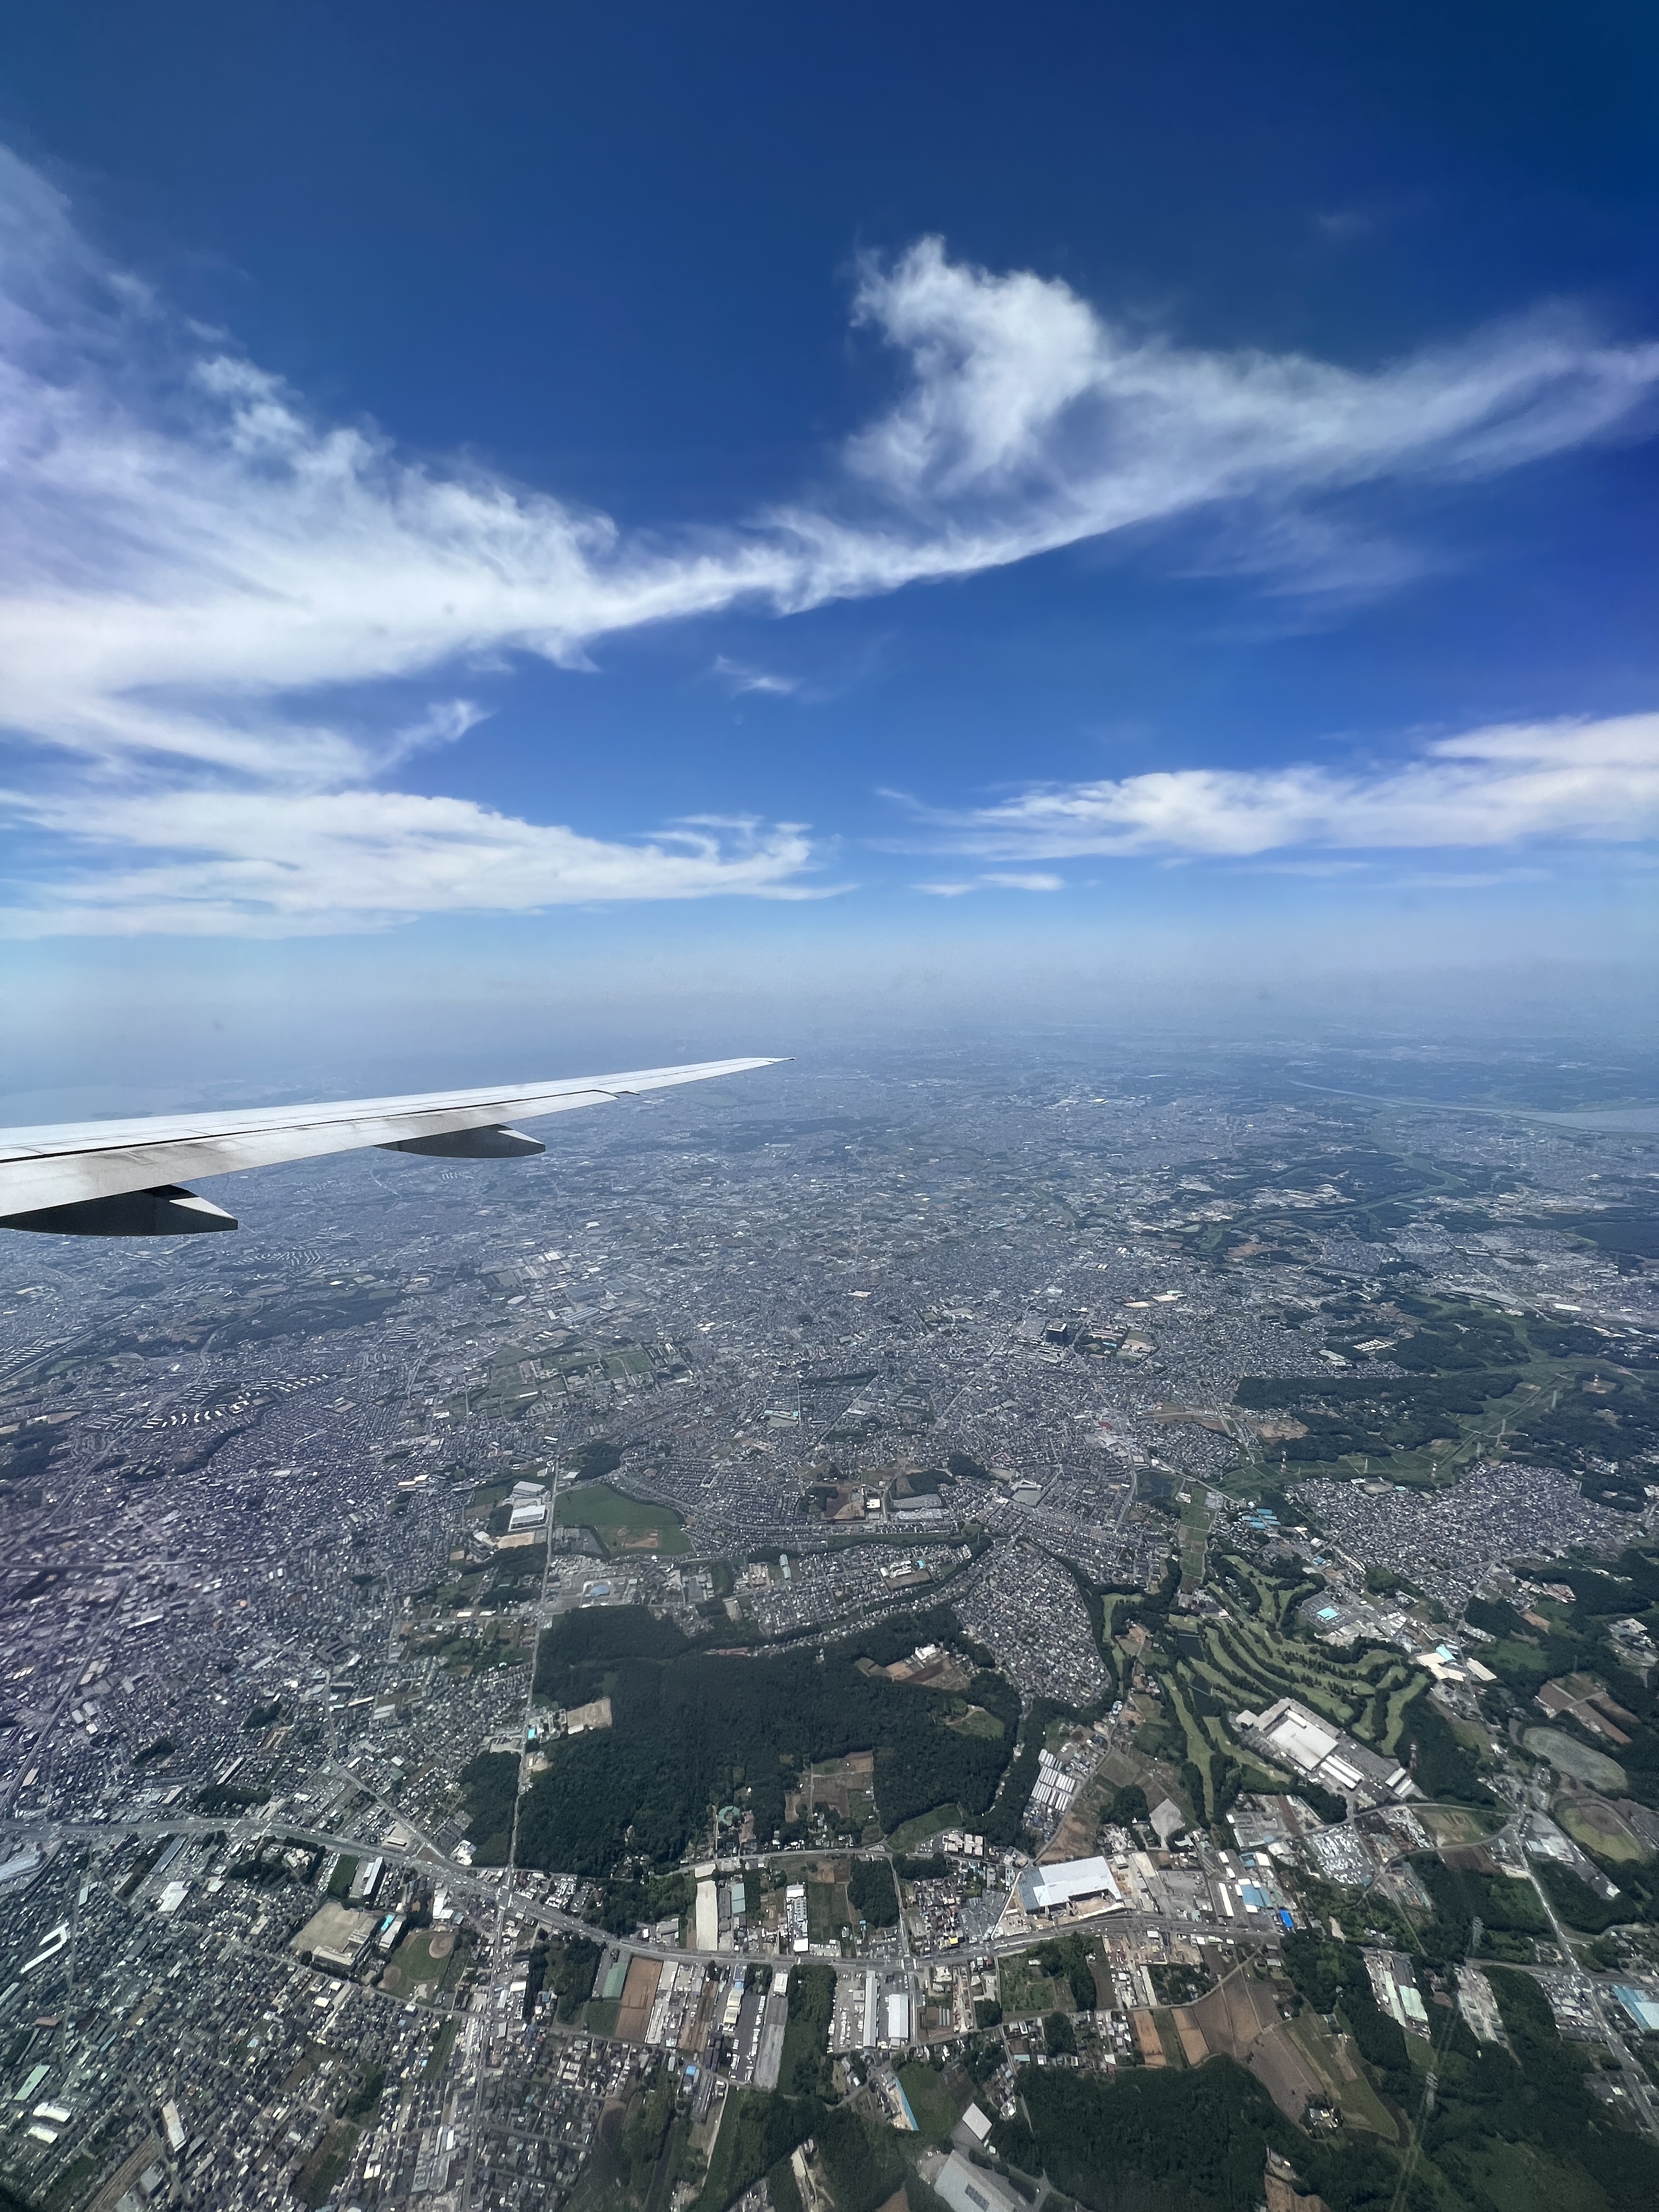
On day 1 of our trip we took a 10 AM EST flight that landed mid-afternoon Japan Standard Time. It was a short cab from the airport to our hotel and we got checked in and settled. The first stop on our itinerary was “Memory Lane” or “Piss Alley,” a narrow alley in Shinjuku that gets the cute nickname from its post-WW2 roots when there was not a toilet to be found. There are in fact toilets now, and the alley is full of tiny yakitori restaurants. Each are counter-serve with a handful of seats.
Our first meal in Japan was naturally yakitori. We walked the whole strip before sitting down at a restaurant but we really did not have a strategy for selecting one. We tried to pick one offering an English menu that had some people in it but still had space for us. This meal was delicious and some of the better yakitori we had on the trip. We definitely recommend this as a stop on your itinerary!
From there we went to Golden Gai Street, a small network of narrow lanes FULL of tiny bars. This was cool to walk through but was much less lively than Memory Lane. It was cool to see the density of bars, as I had never seen so many piled on top of each other before. However, unless you are looking to stop into a few of them for a drink, the walk through the alleys probably would not rank high on my priority list.
We stopped for a coffee and chai tea at a shop called Lemon. We quickly learned that most coffee and tea shops are “craft” in the sense that your cup is made individually, and to perfection. The Japanese take their time to make sure everything is done correctly and it really shows in the quality of the product – this coffee and chai tea were yummy.
We made our way to Takeshita Street next. This street is comparable to a street fair, lined with shopping for souvenirs, high fashion clothes, food, sweets, and street games. We wish we had known ahead of time how cool this street was going to be, as we would have planned to spend more time here. We had a timed ticketed event fast approaching and we did not leave much room in our bellies after yakitori, so we merely passed through.
Next was the Shibuya Crossing, a MUST in the itinerary. This is the world’s busiest pedestrian crossing with thousands of people crossing at every light change. Certainly take a walk across this street to experience the organized chaos of so many people walking in every different direction, yet not a single person brushing your shoulder throughout the journey. Once you experience it on foot, head up to the second floor of the Starbucks on the corner to get a bird’s eye view.
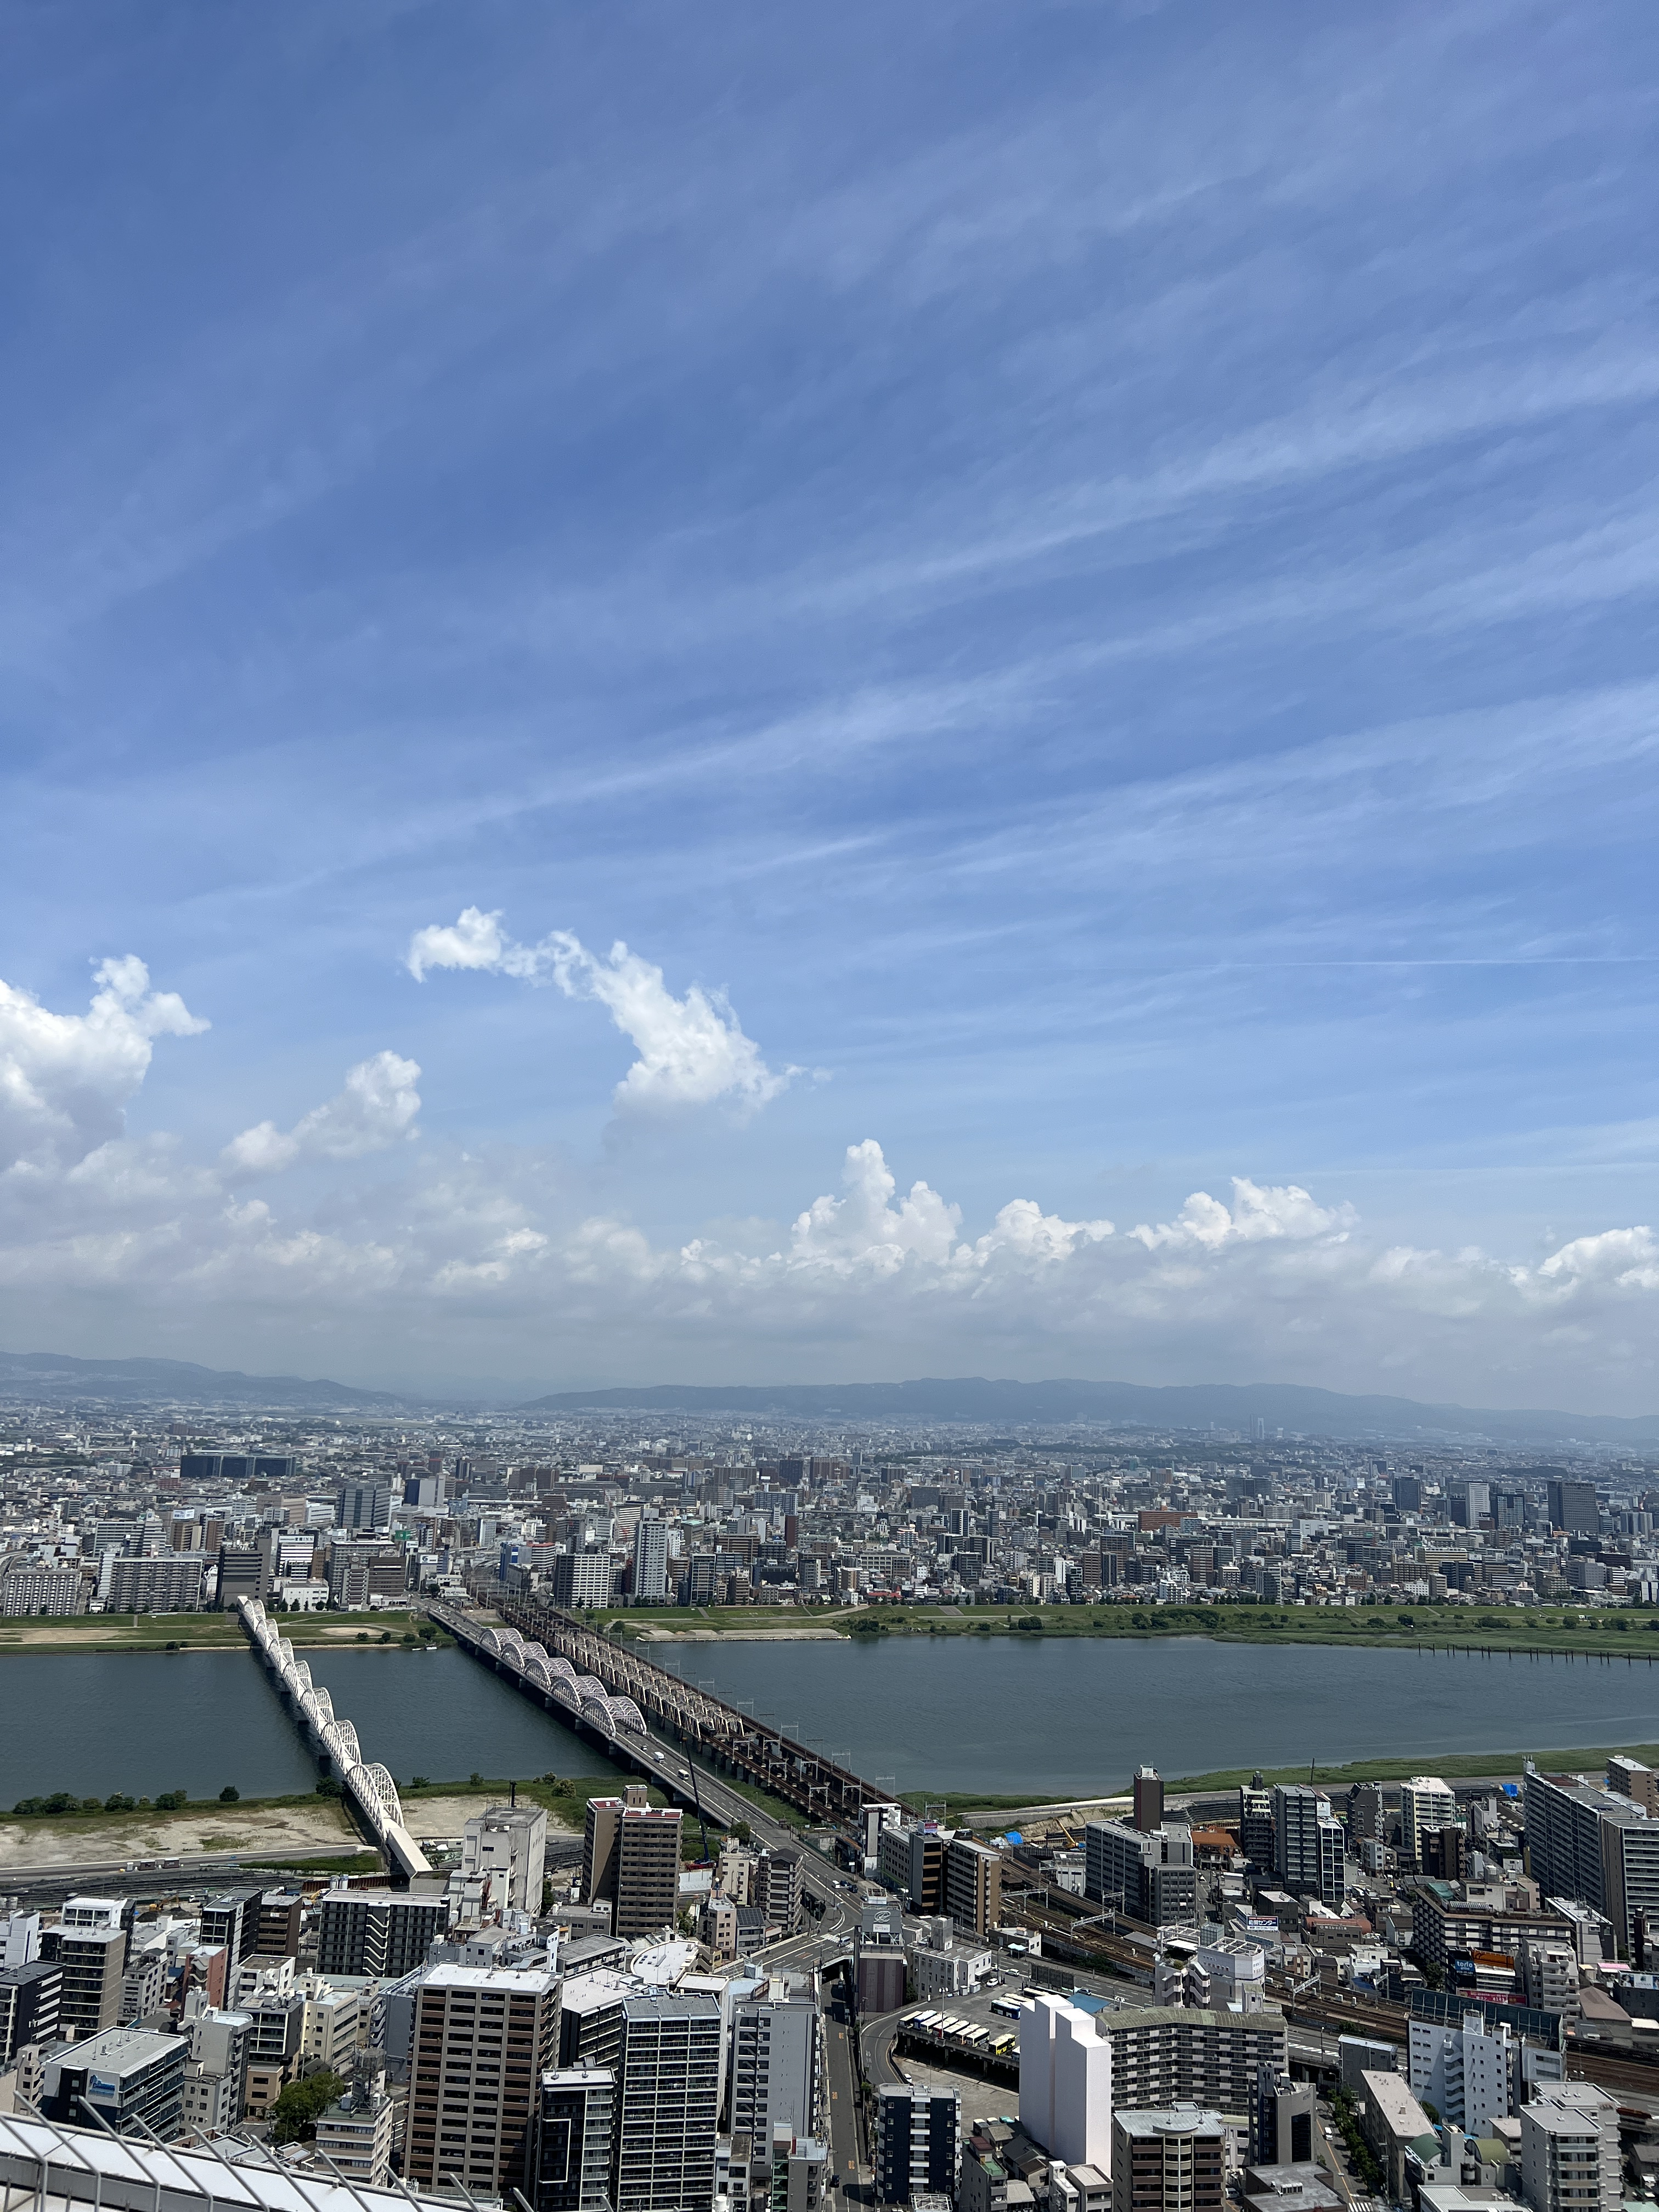
From there we went to the Shibuya Sky Observation Deck for a fantastic view of Tokyo. We had purchased a timed ticket in advance which we were happy about because we saw some people without tickets get turned away at the door. The views were spectacular but this event does take a LONG time because the elevators only hold so many people. This is one that I think you can skip. Be mindful there there are other observation decks like Tokyo Tower and the Tokyo Metropolitan Government Building (which is free to enter), so this is not the only option for a bird’s eye view of the city.
At this point it was close to 10 PM and not many places were still open for dinner. It was a weird day for eating because we had traveled and our schedules were a little messed up. We were exhausted and starving so out of convenience we went to Gonpachi, a fusion restaurant with both sushi and cooked foods. We got the chicken rice bowl, various sushi, and ice cream and brûlée pudding desserts. It was tasty but it was probably the least impressive sushi of the whole trip. We were desperate.
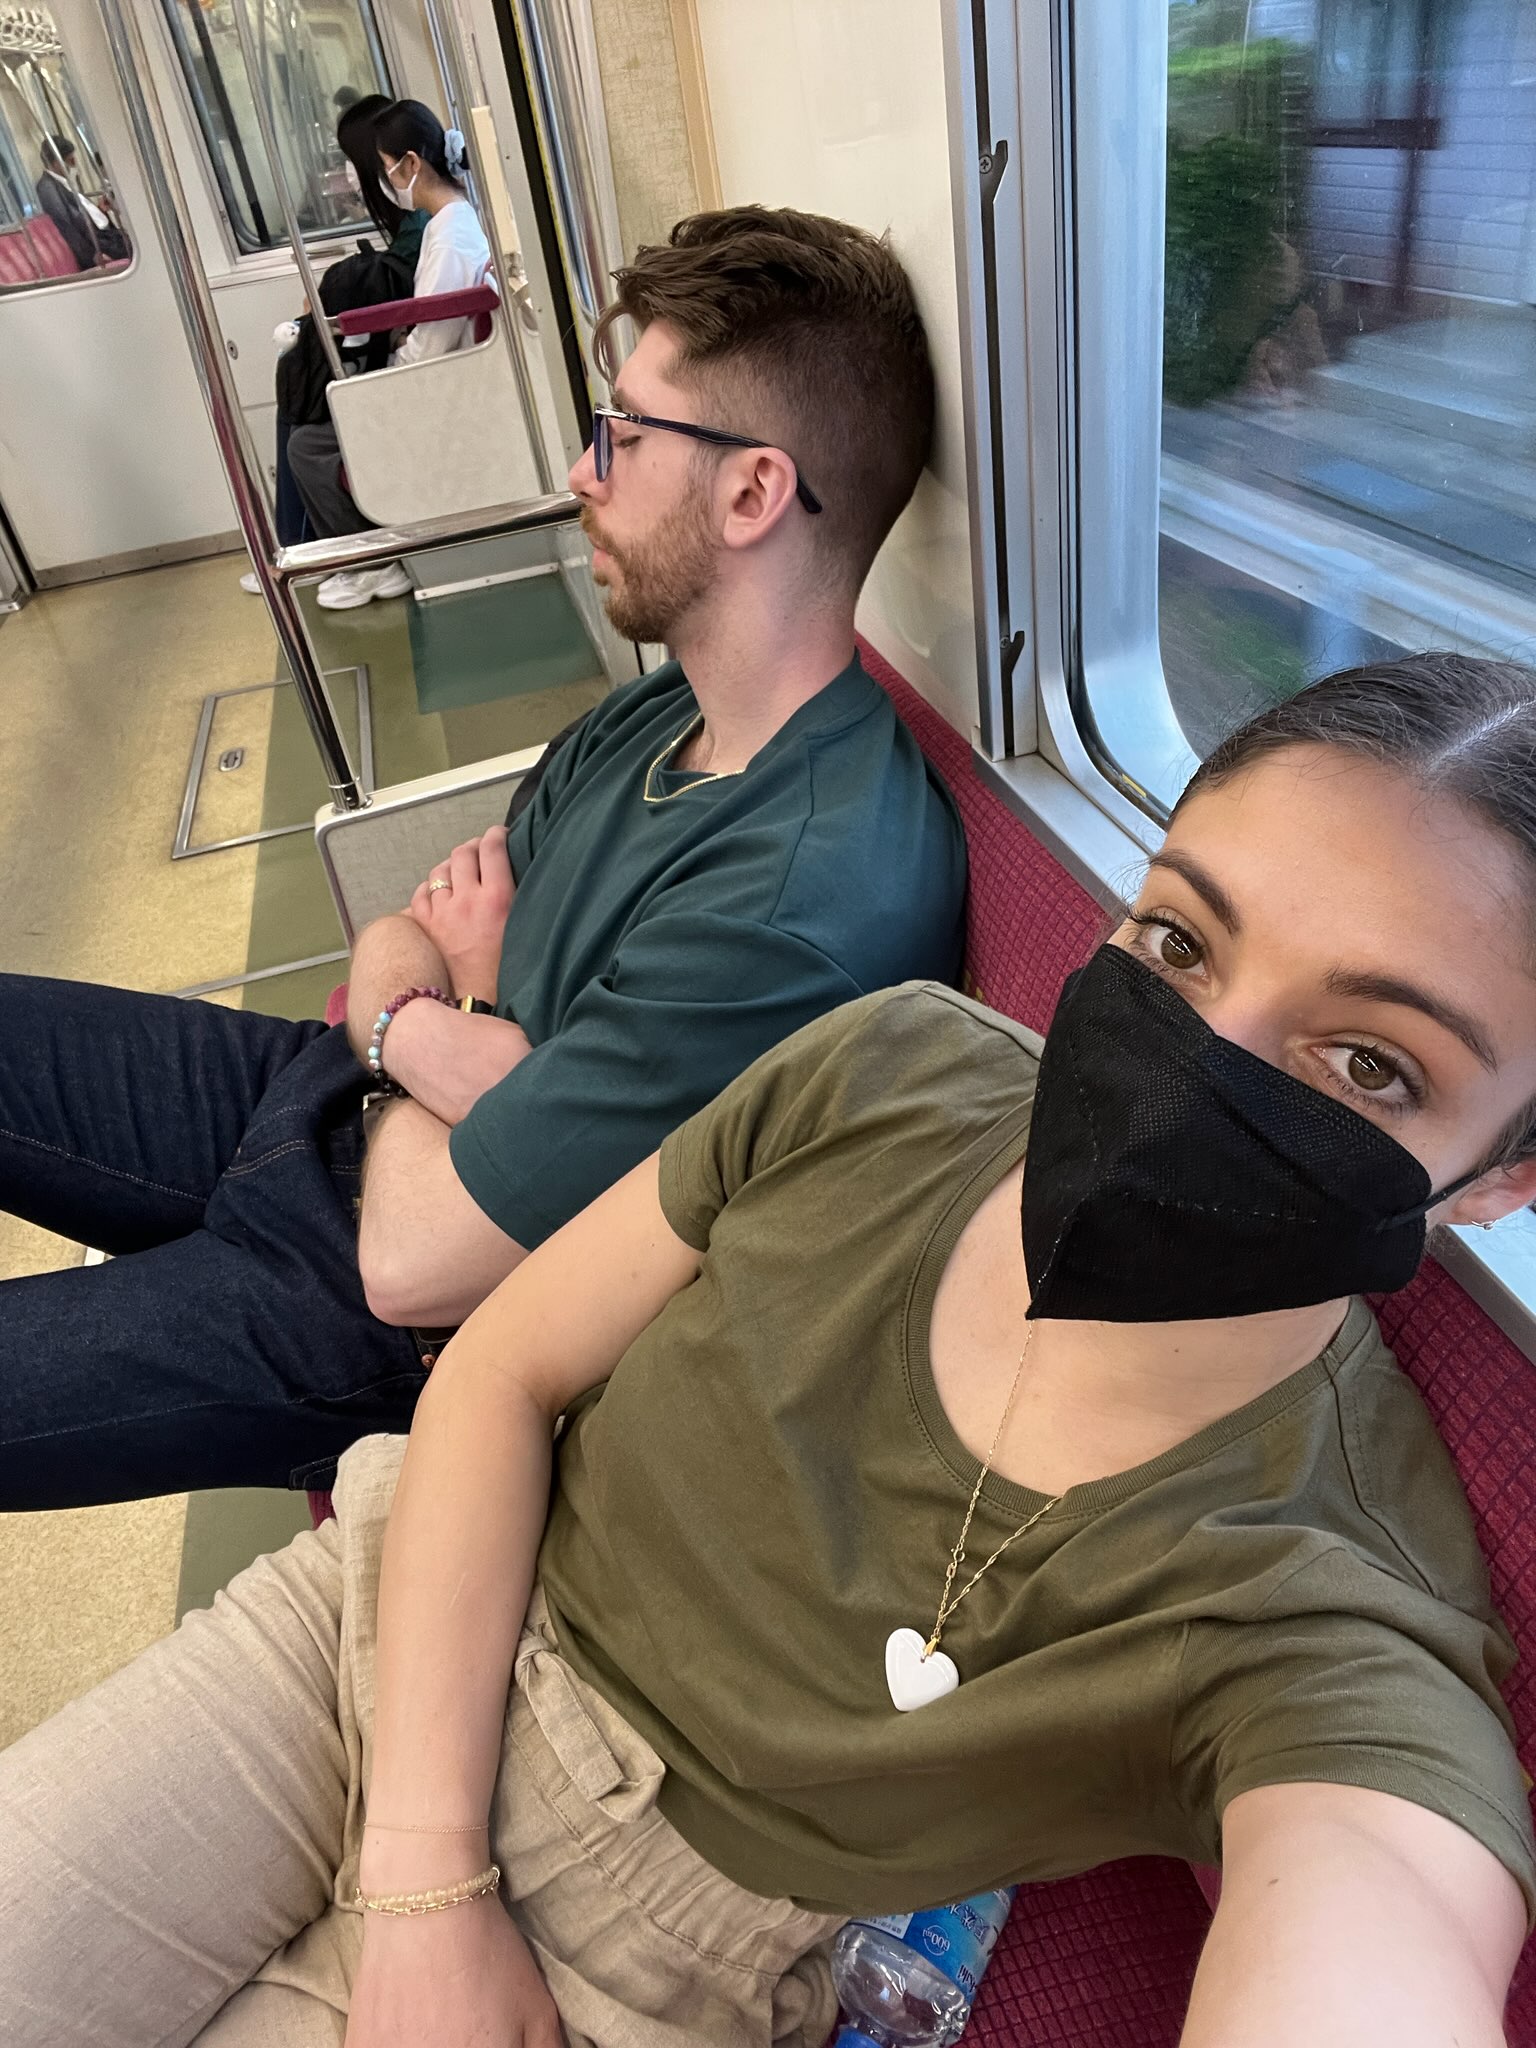
Nick took a nap on the train ride back to the hotel. Recommended in the itinerary.
For video footage of day 1 in Tokyo, check out my reel on Instagram!
Day 2 – Tokyo
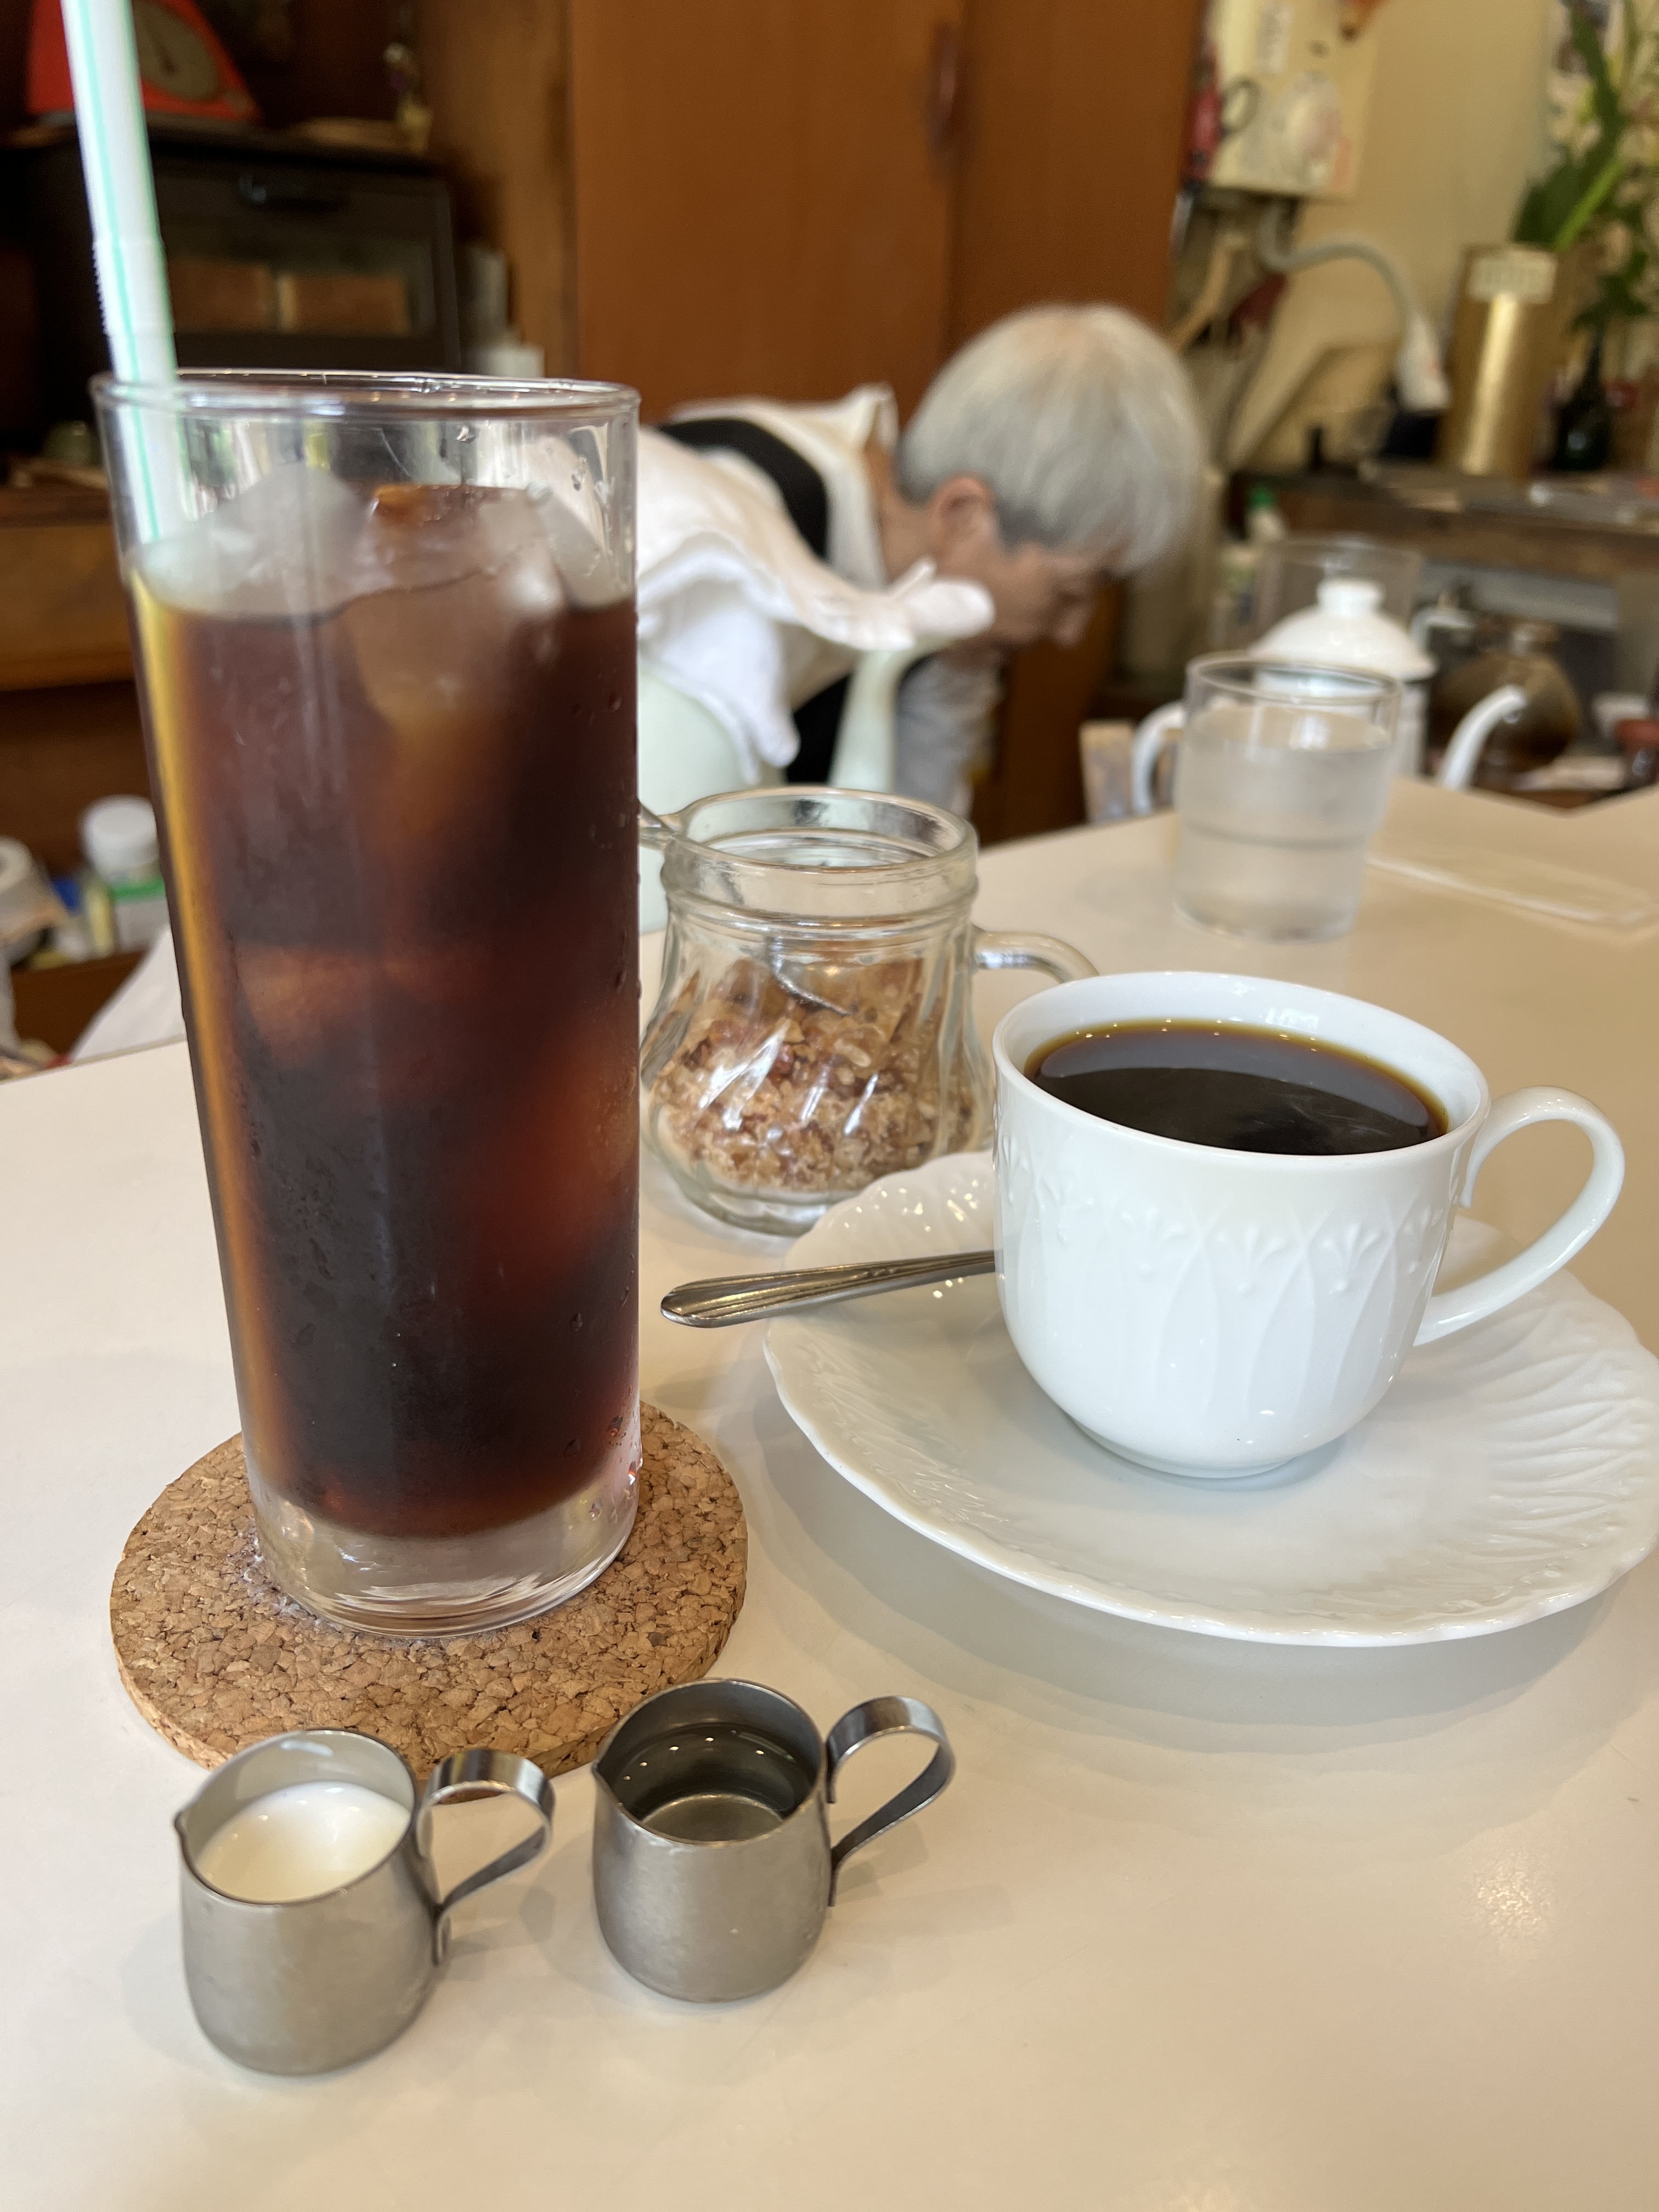
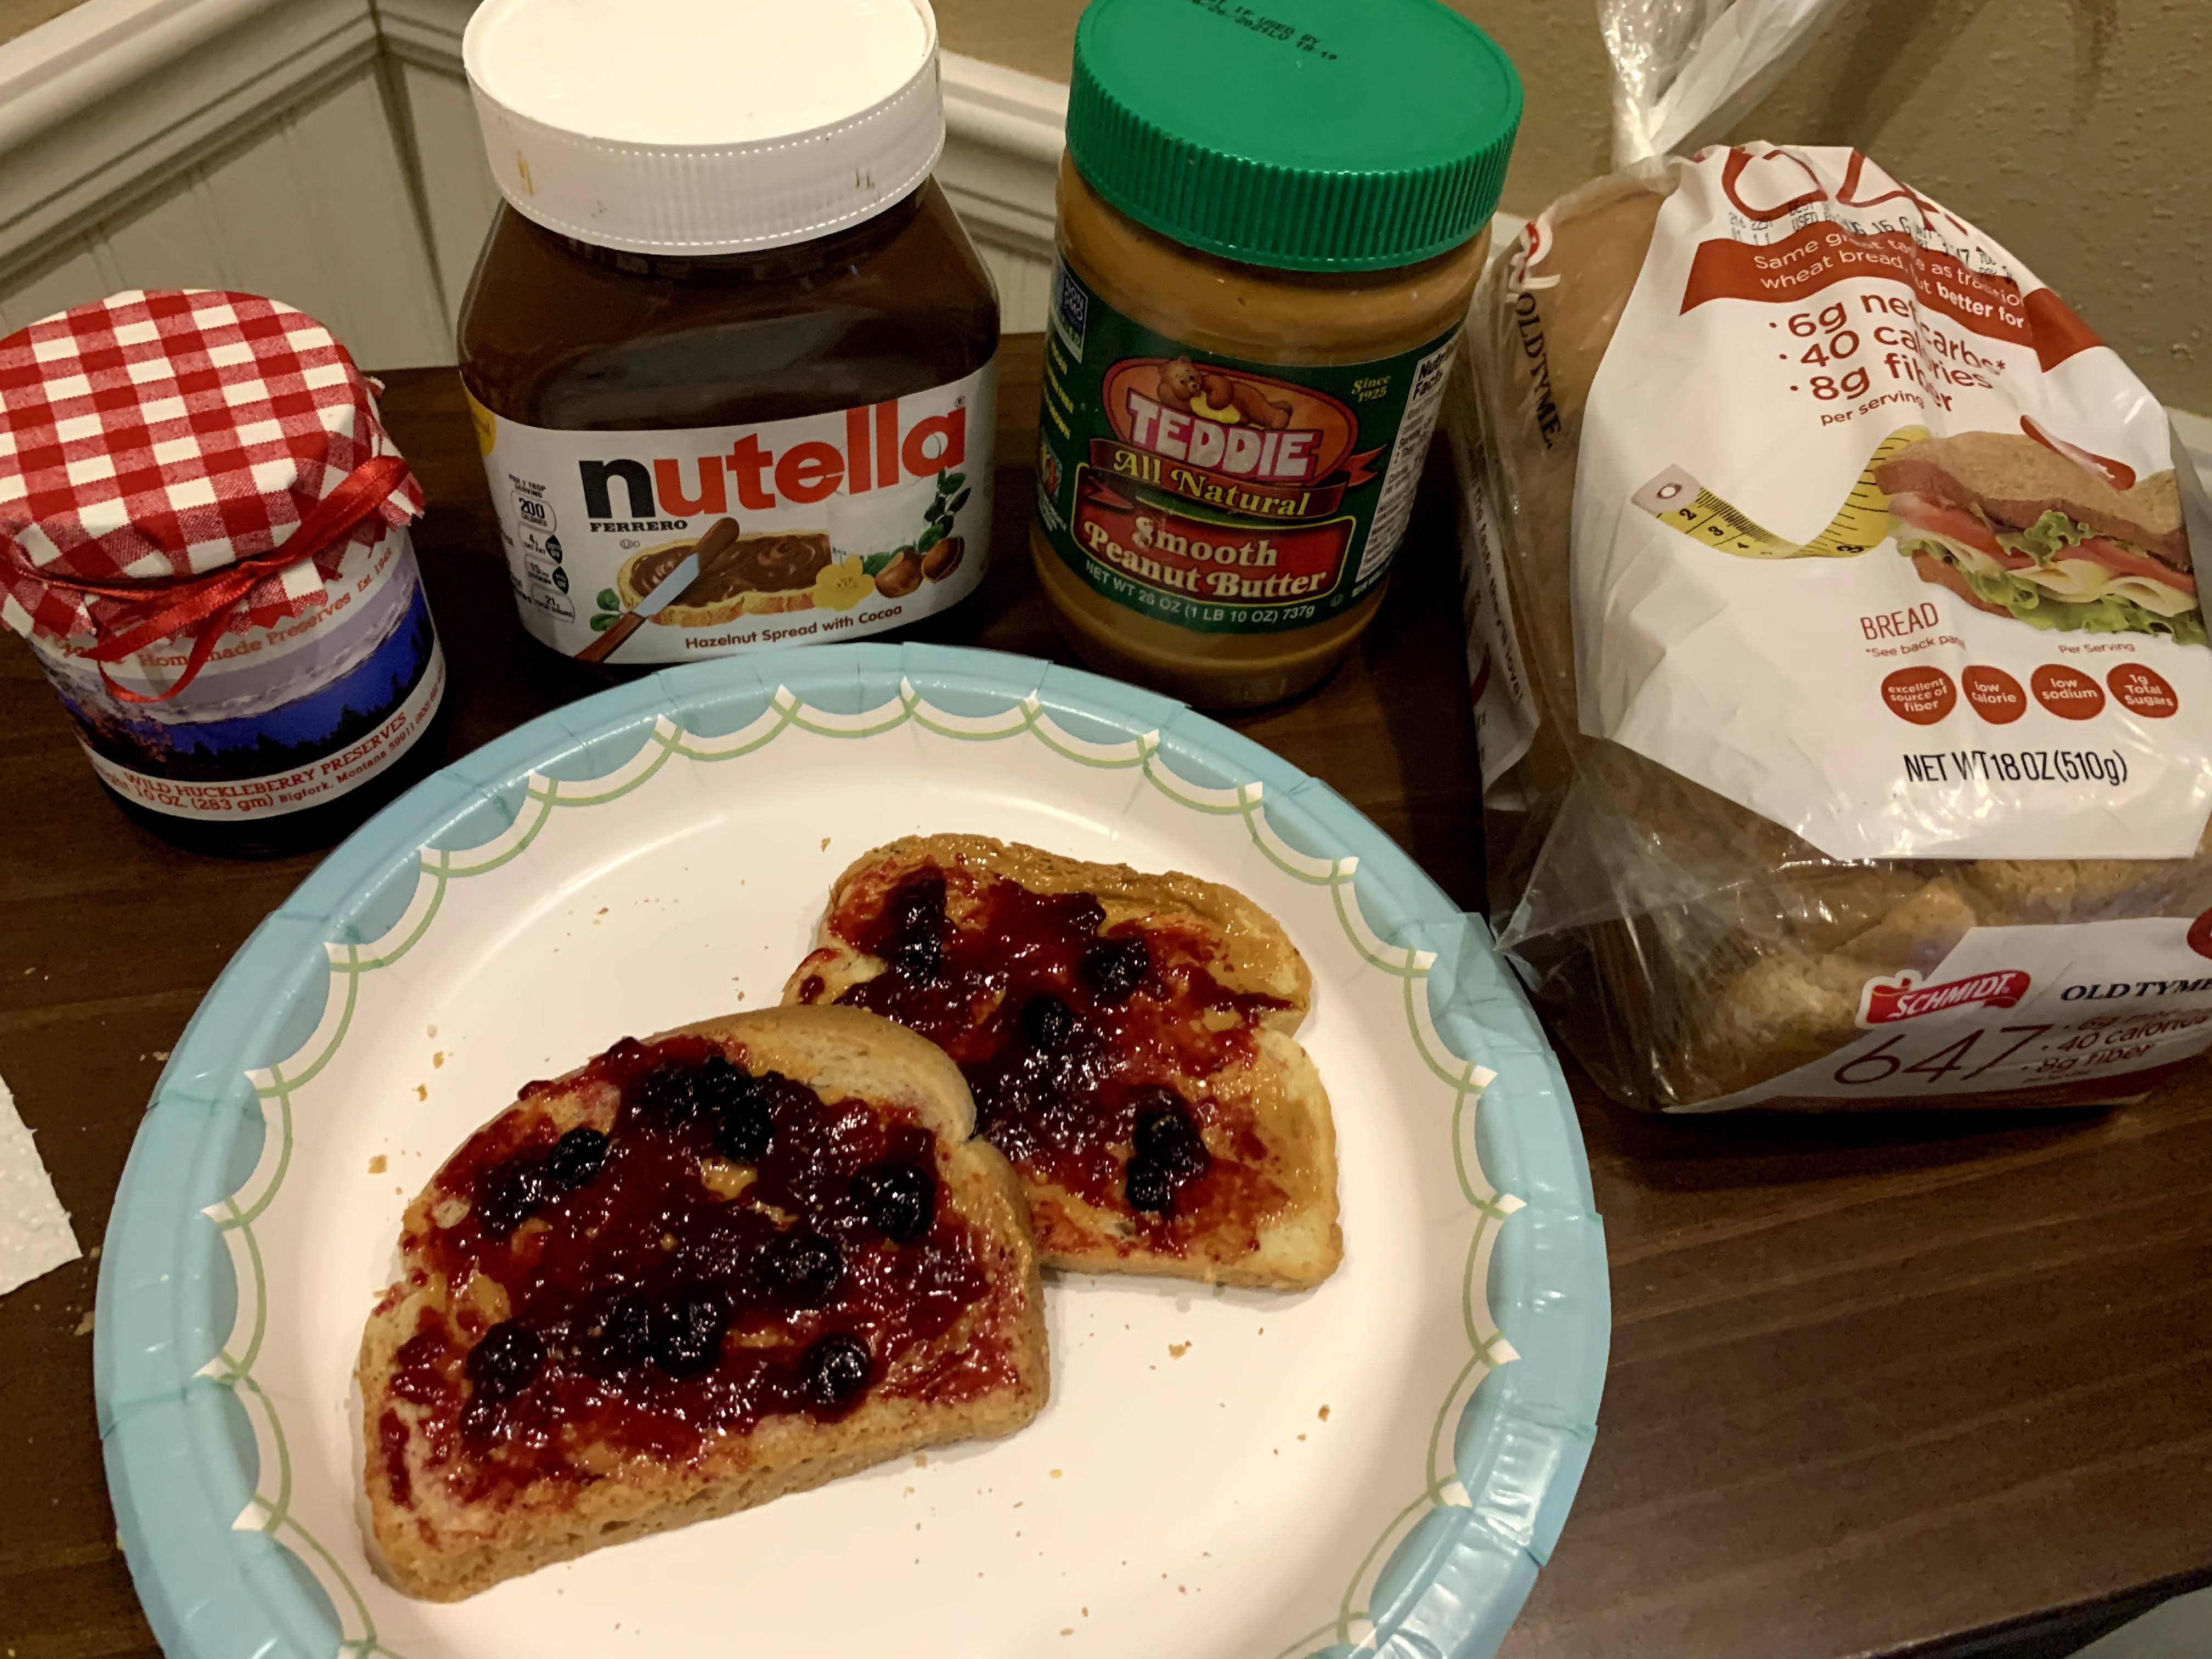
Our first real stop of the day was the Meiji Jingu Shrine so we found a coffee shop nearby to get us fueled up for the day. I unfortunately do not know the name of the shop in English, but I have included a picture of the storefront below. The menu is entirely in Japanese and the very elderly woman who runs the shop, Mimi, does not speak English (who would expect her to??) We happened to run into a nice couple in the shop who spoke English and helped us navigate the menu. We got the traditional breakfast consisting of a thick slice of fluffy toast with jam, a hot or cold drink, and either a hard boiled egg or little bowl of potato salad. If you can locate Mimi and her shop, stop in for a really cool experience and yummy food.
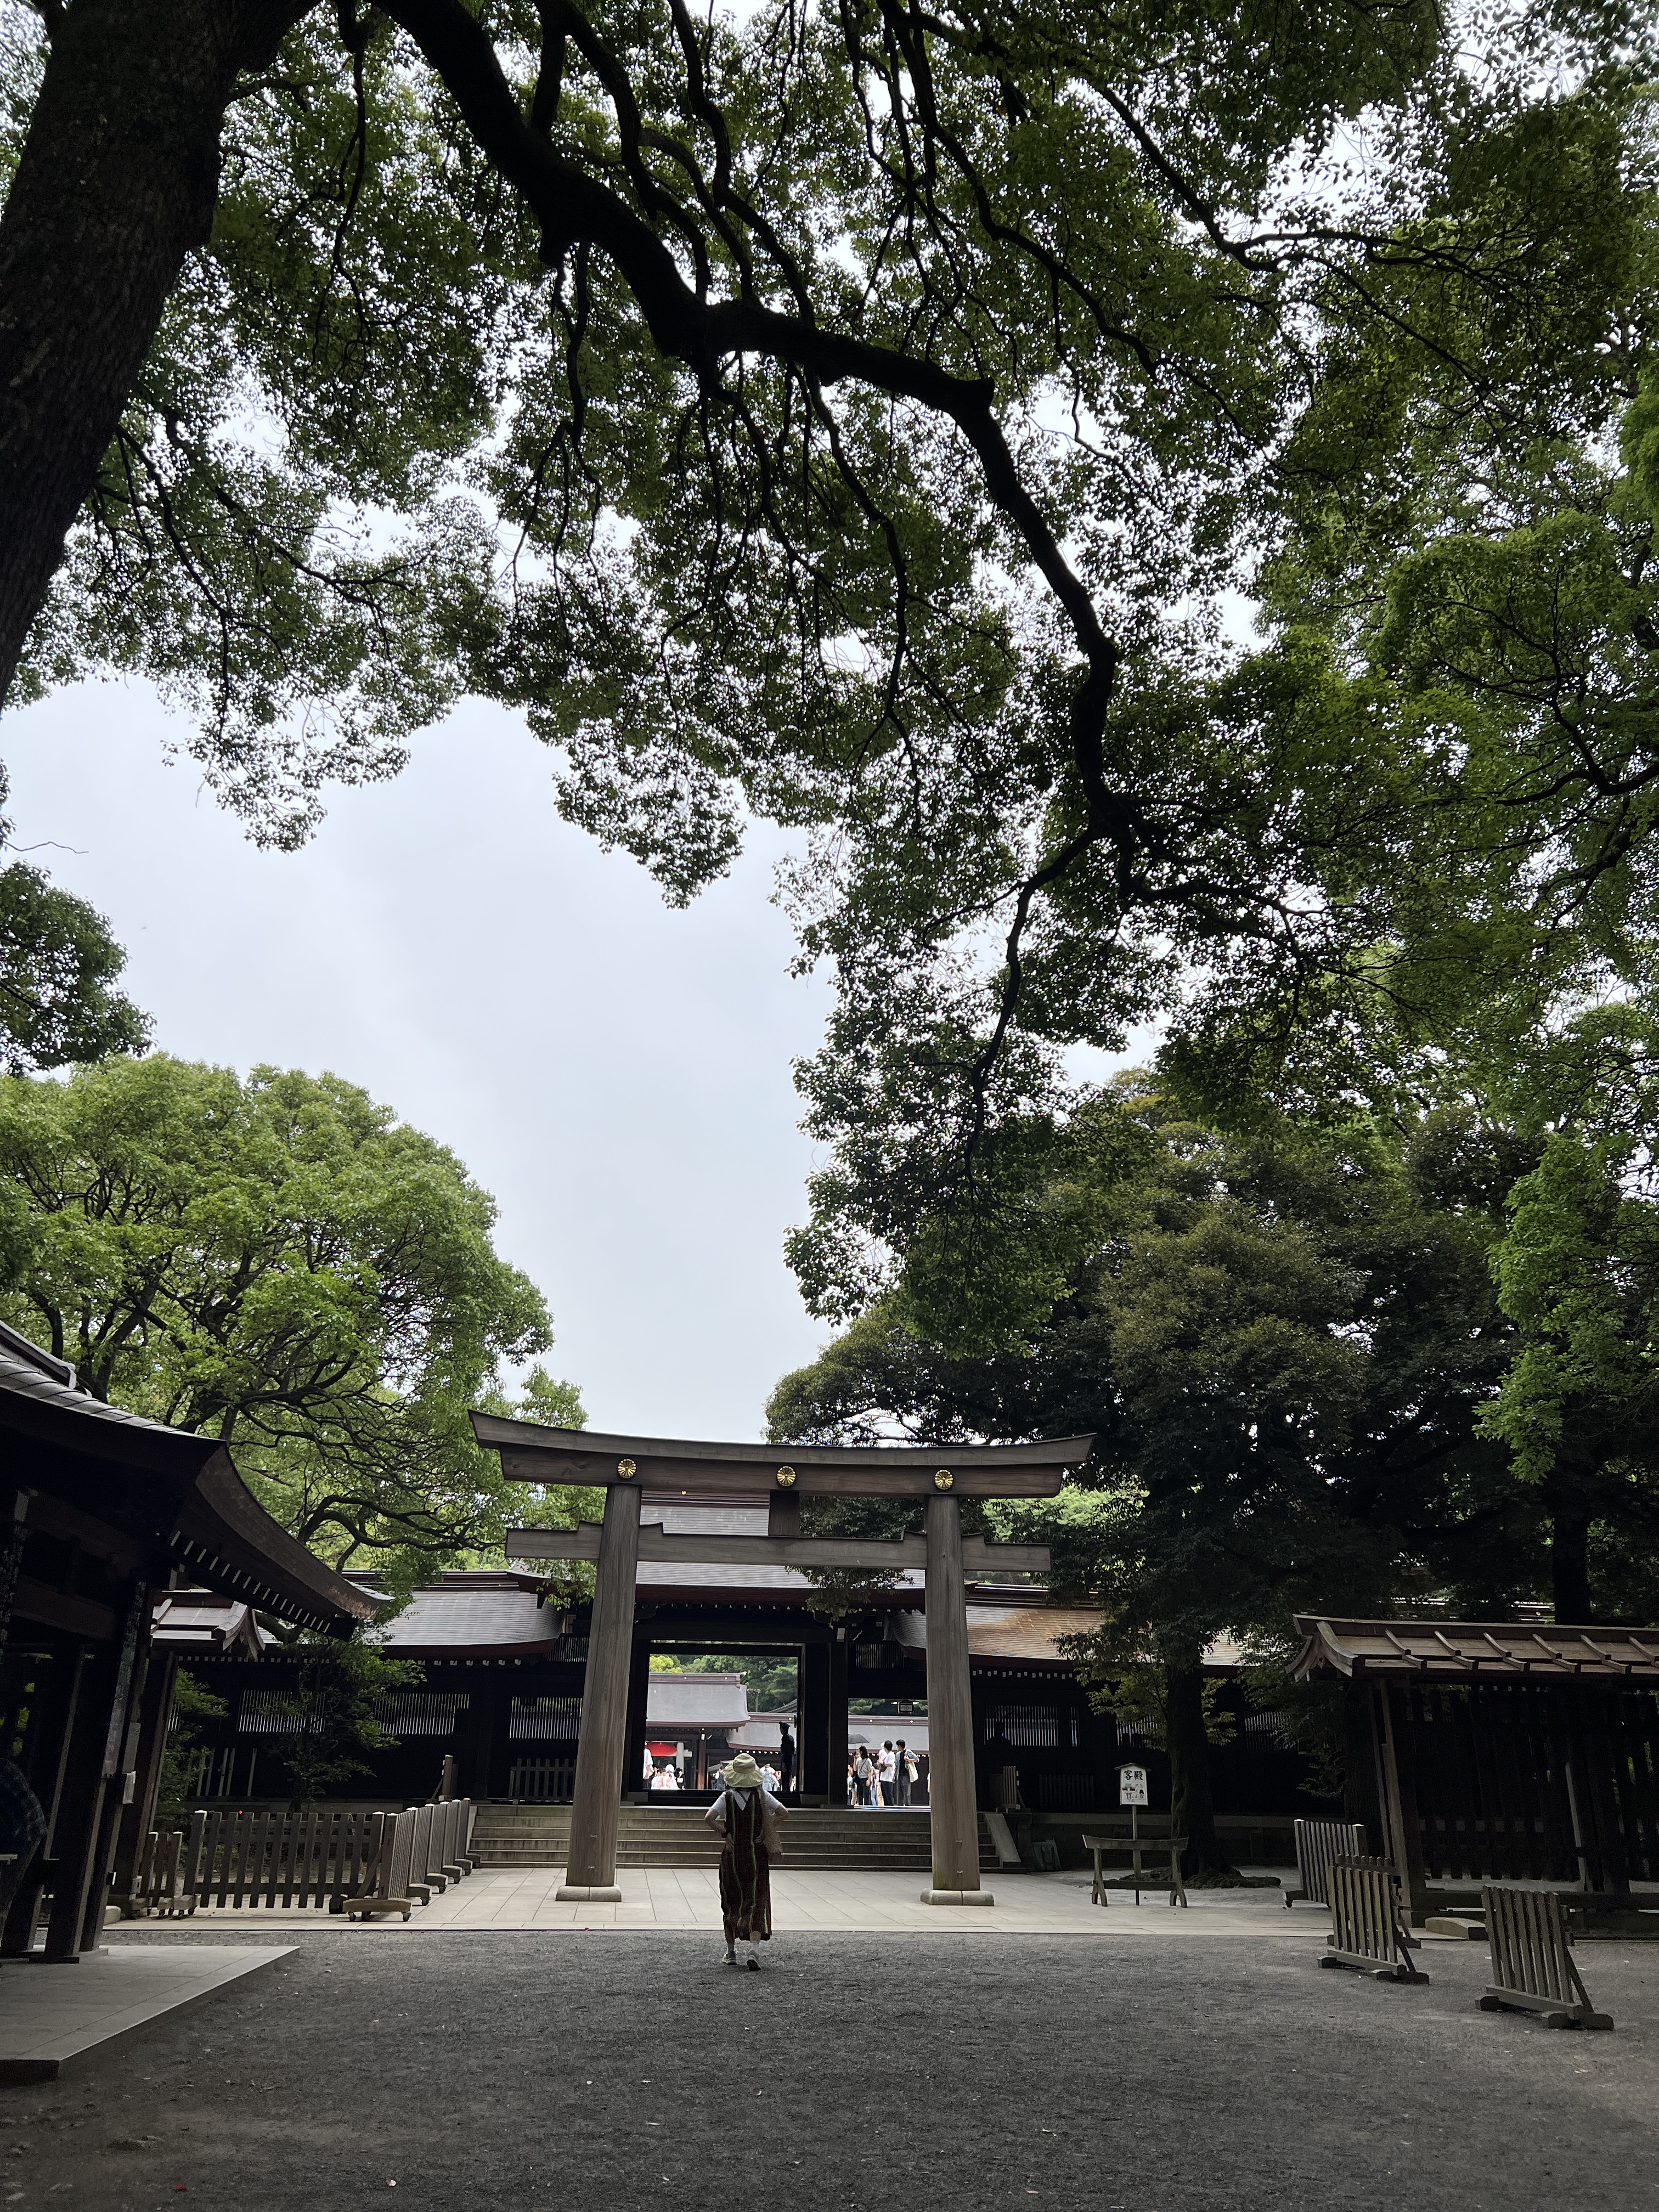
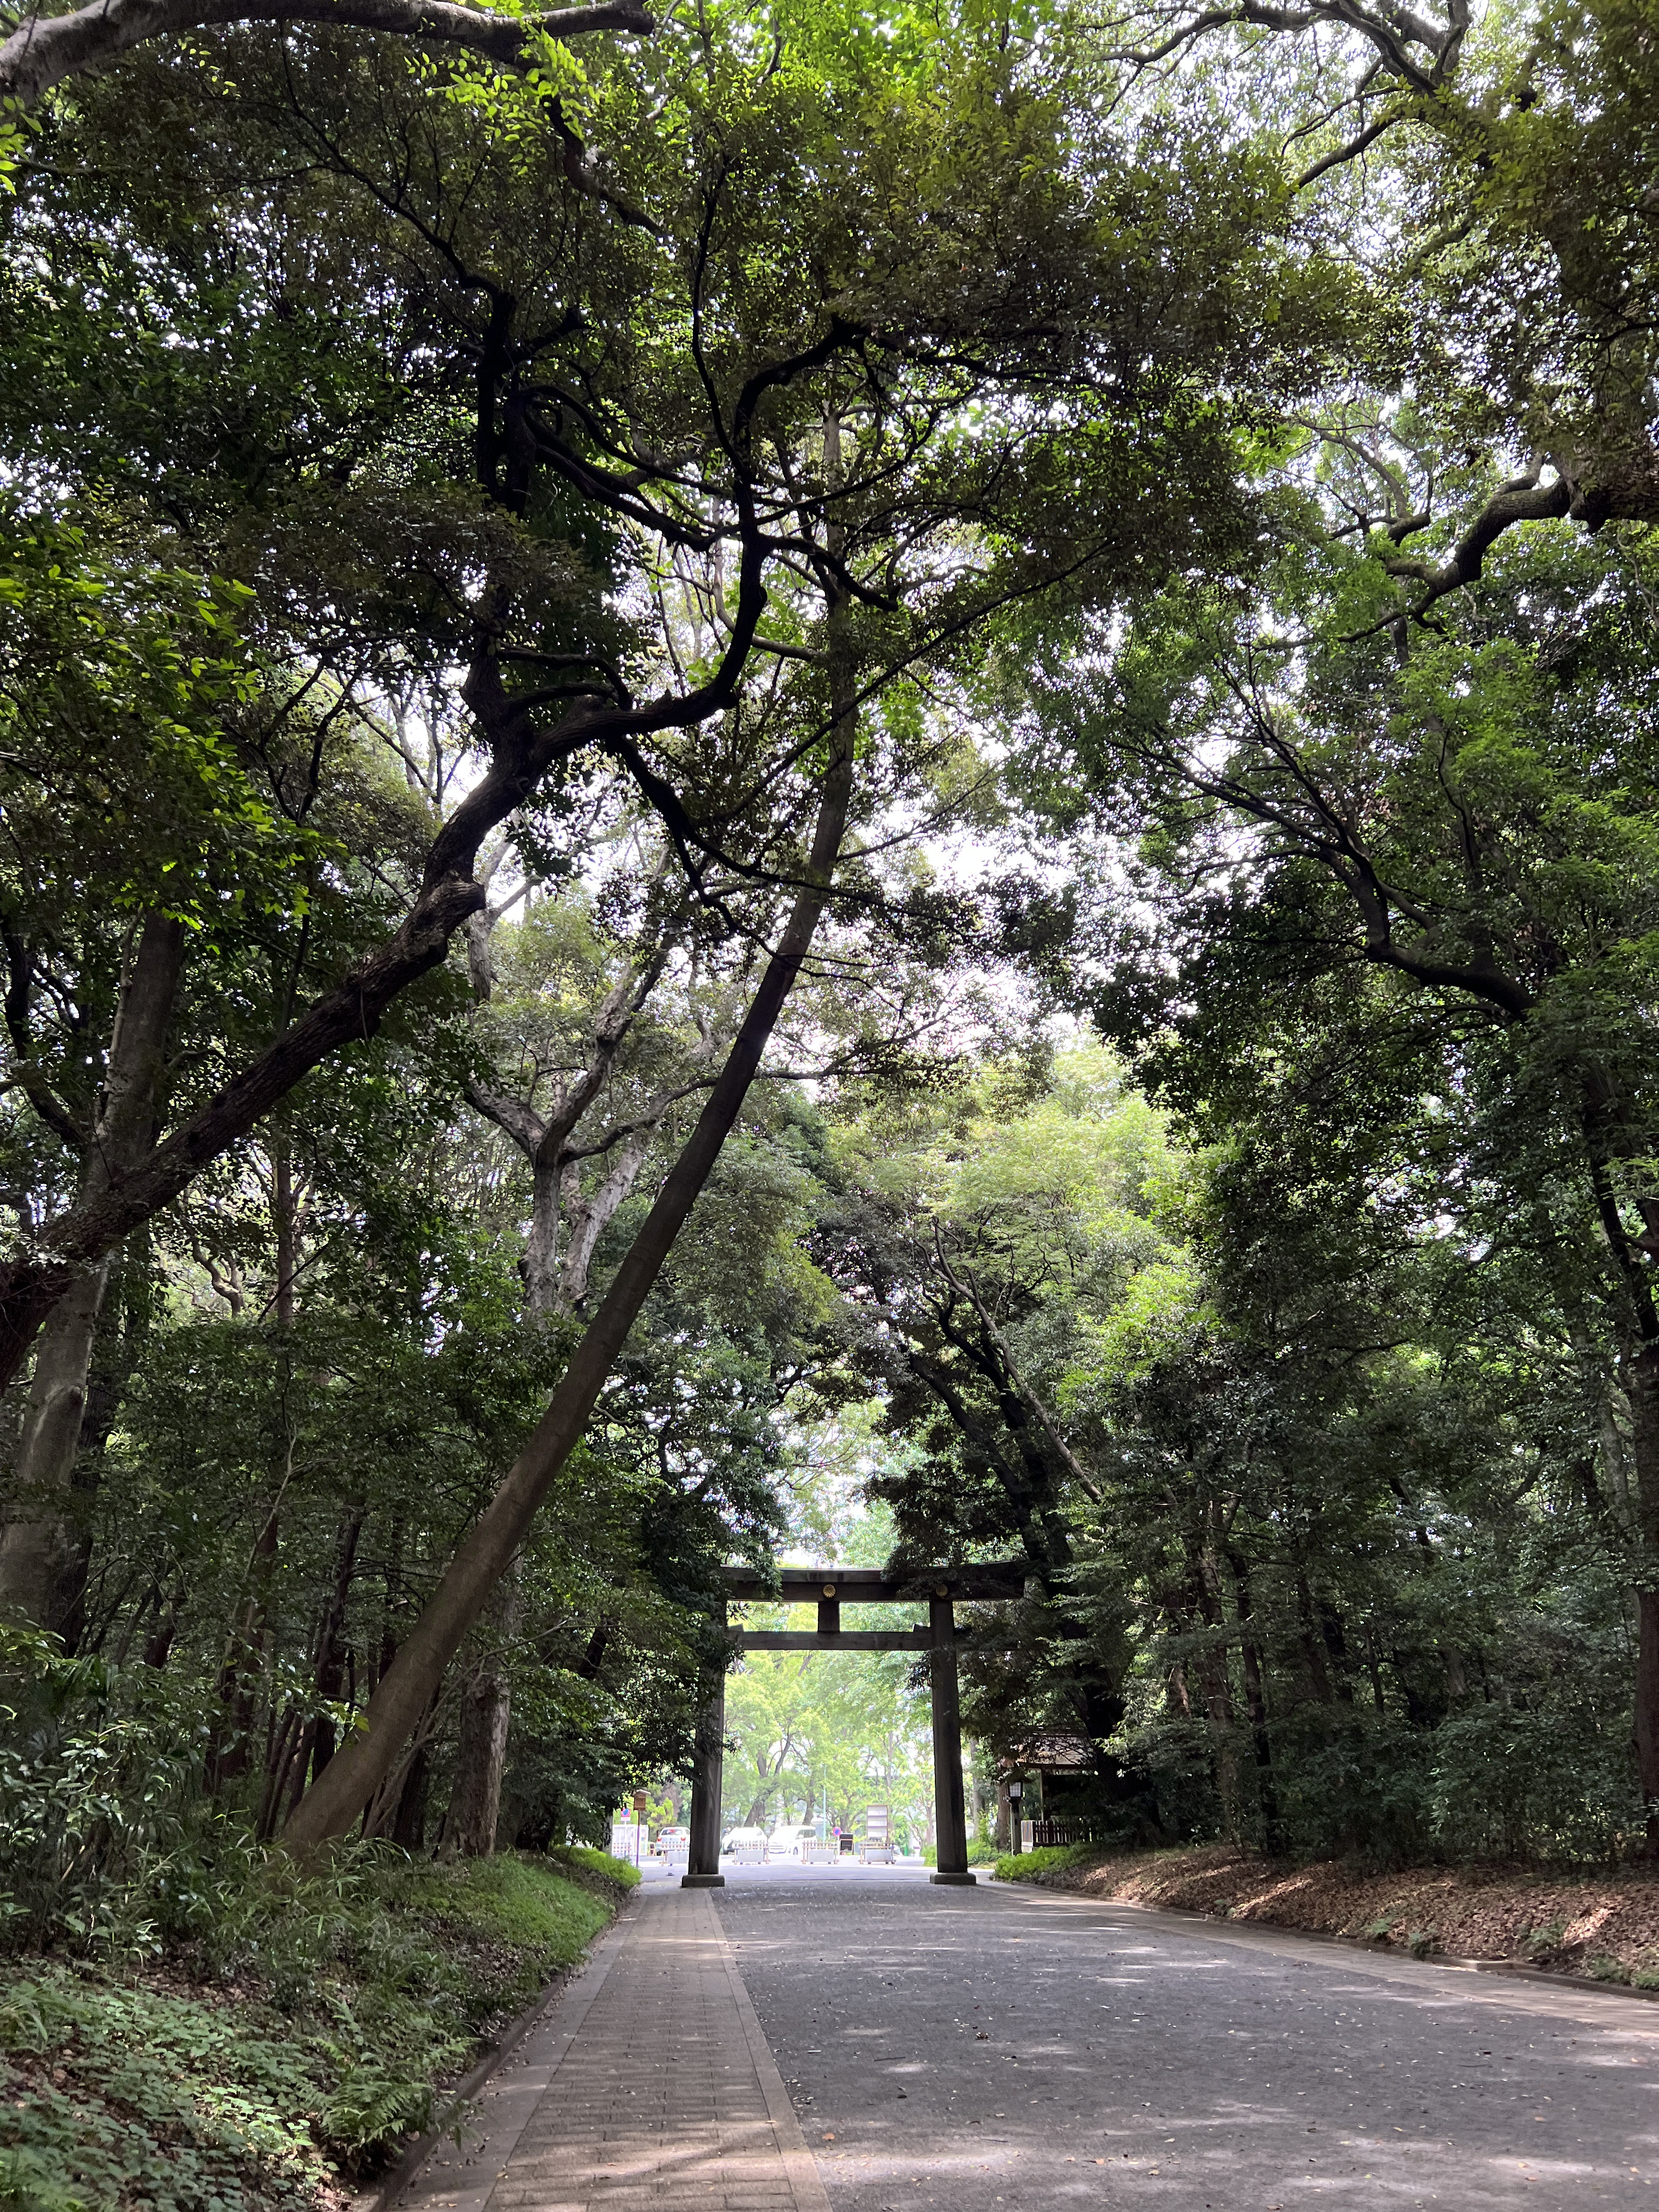
Then off to the Meiji Jingu Shrine, a nice introduction into the world of shrines. It is quite busy with a large complex and is set within a forest. There is not much to do aside from walk through and snap some photos, so we made our way out of there pretty quickly.
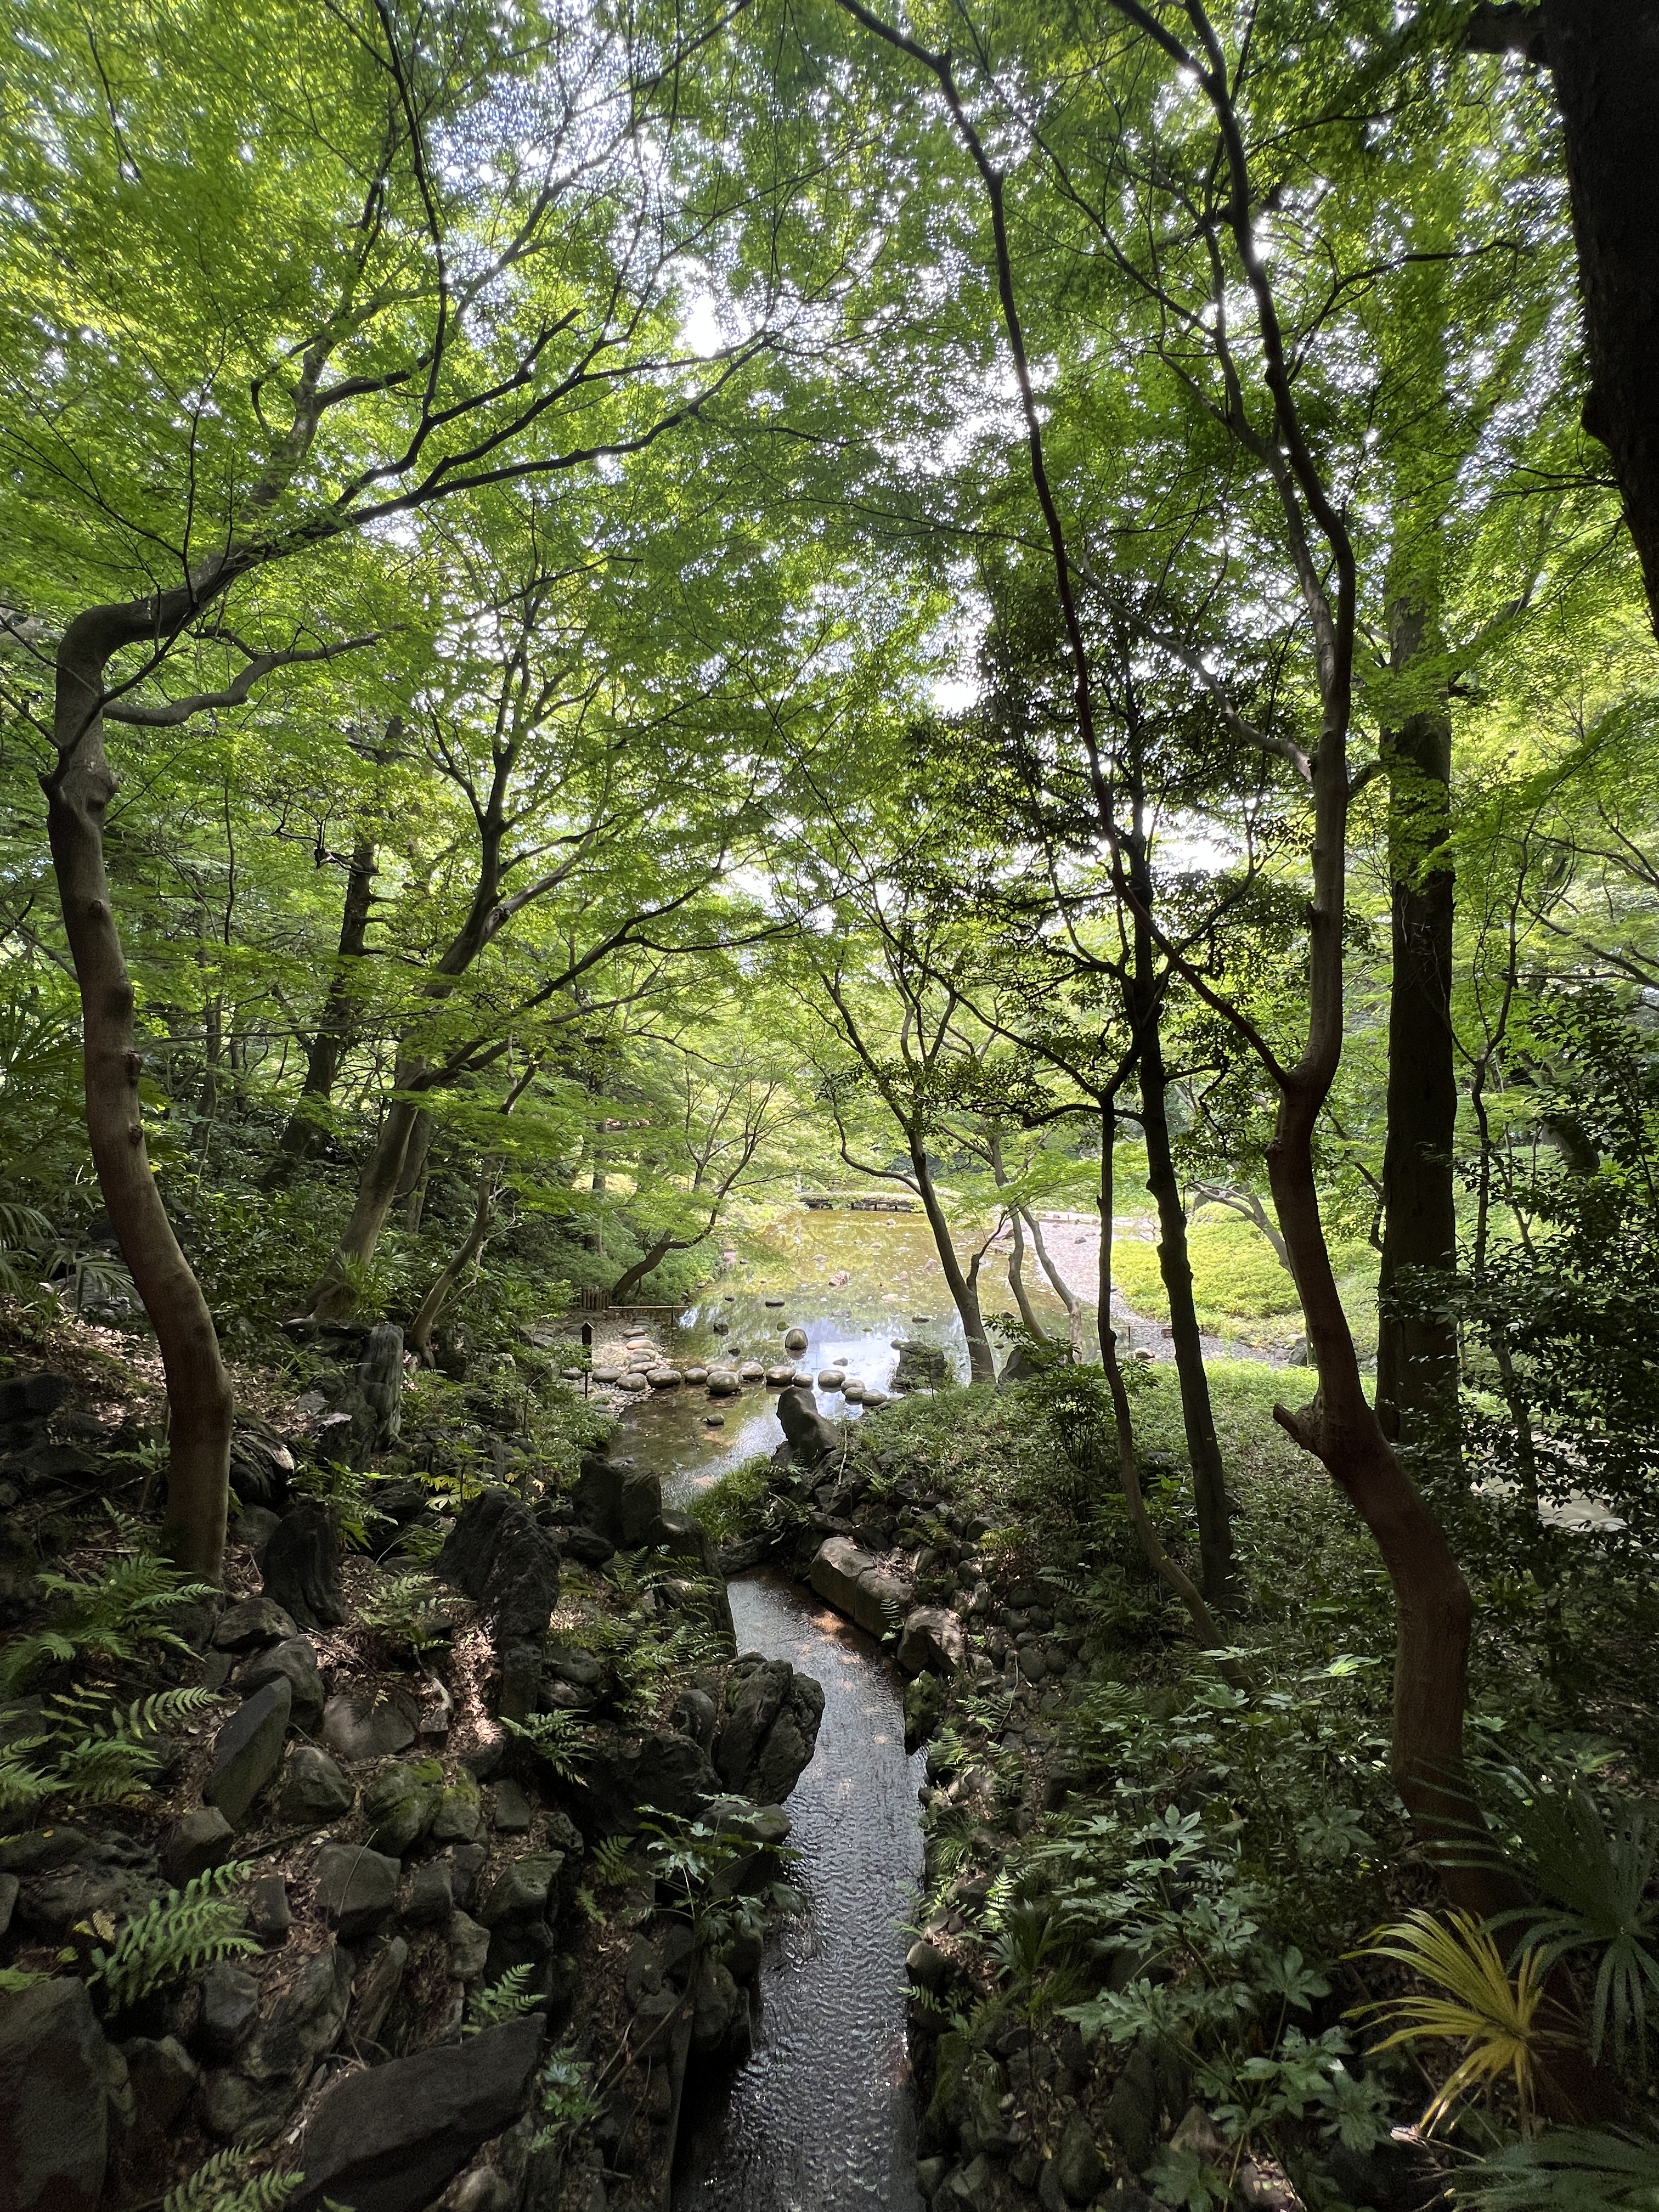
We took a 20 minute walk to the Shinjuku Gyoen National Garden which has a lot of beautiful flowers and landscapes. Again, this is a nice introduction into the world of gardens, but there are so many more beautiful gardens on the itinerary upcoming.
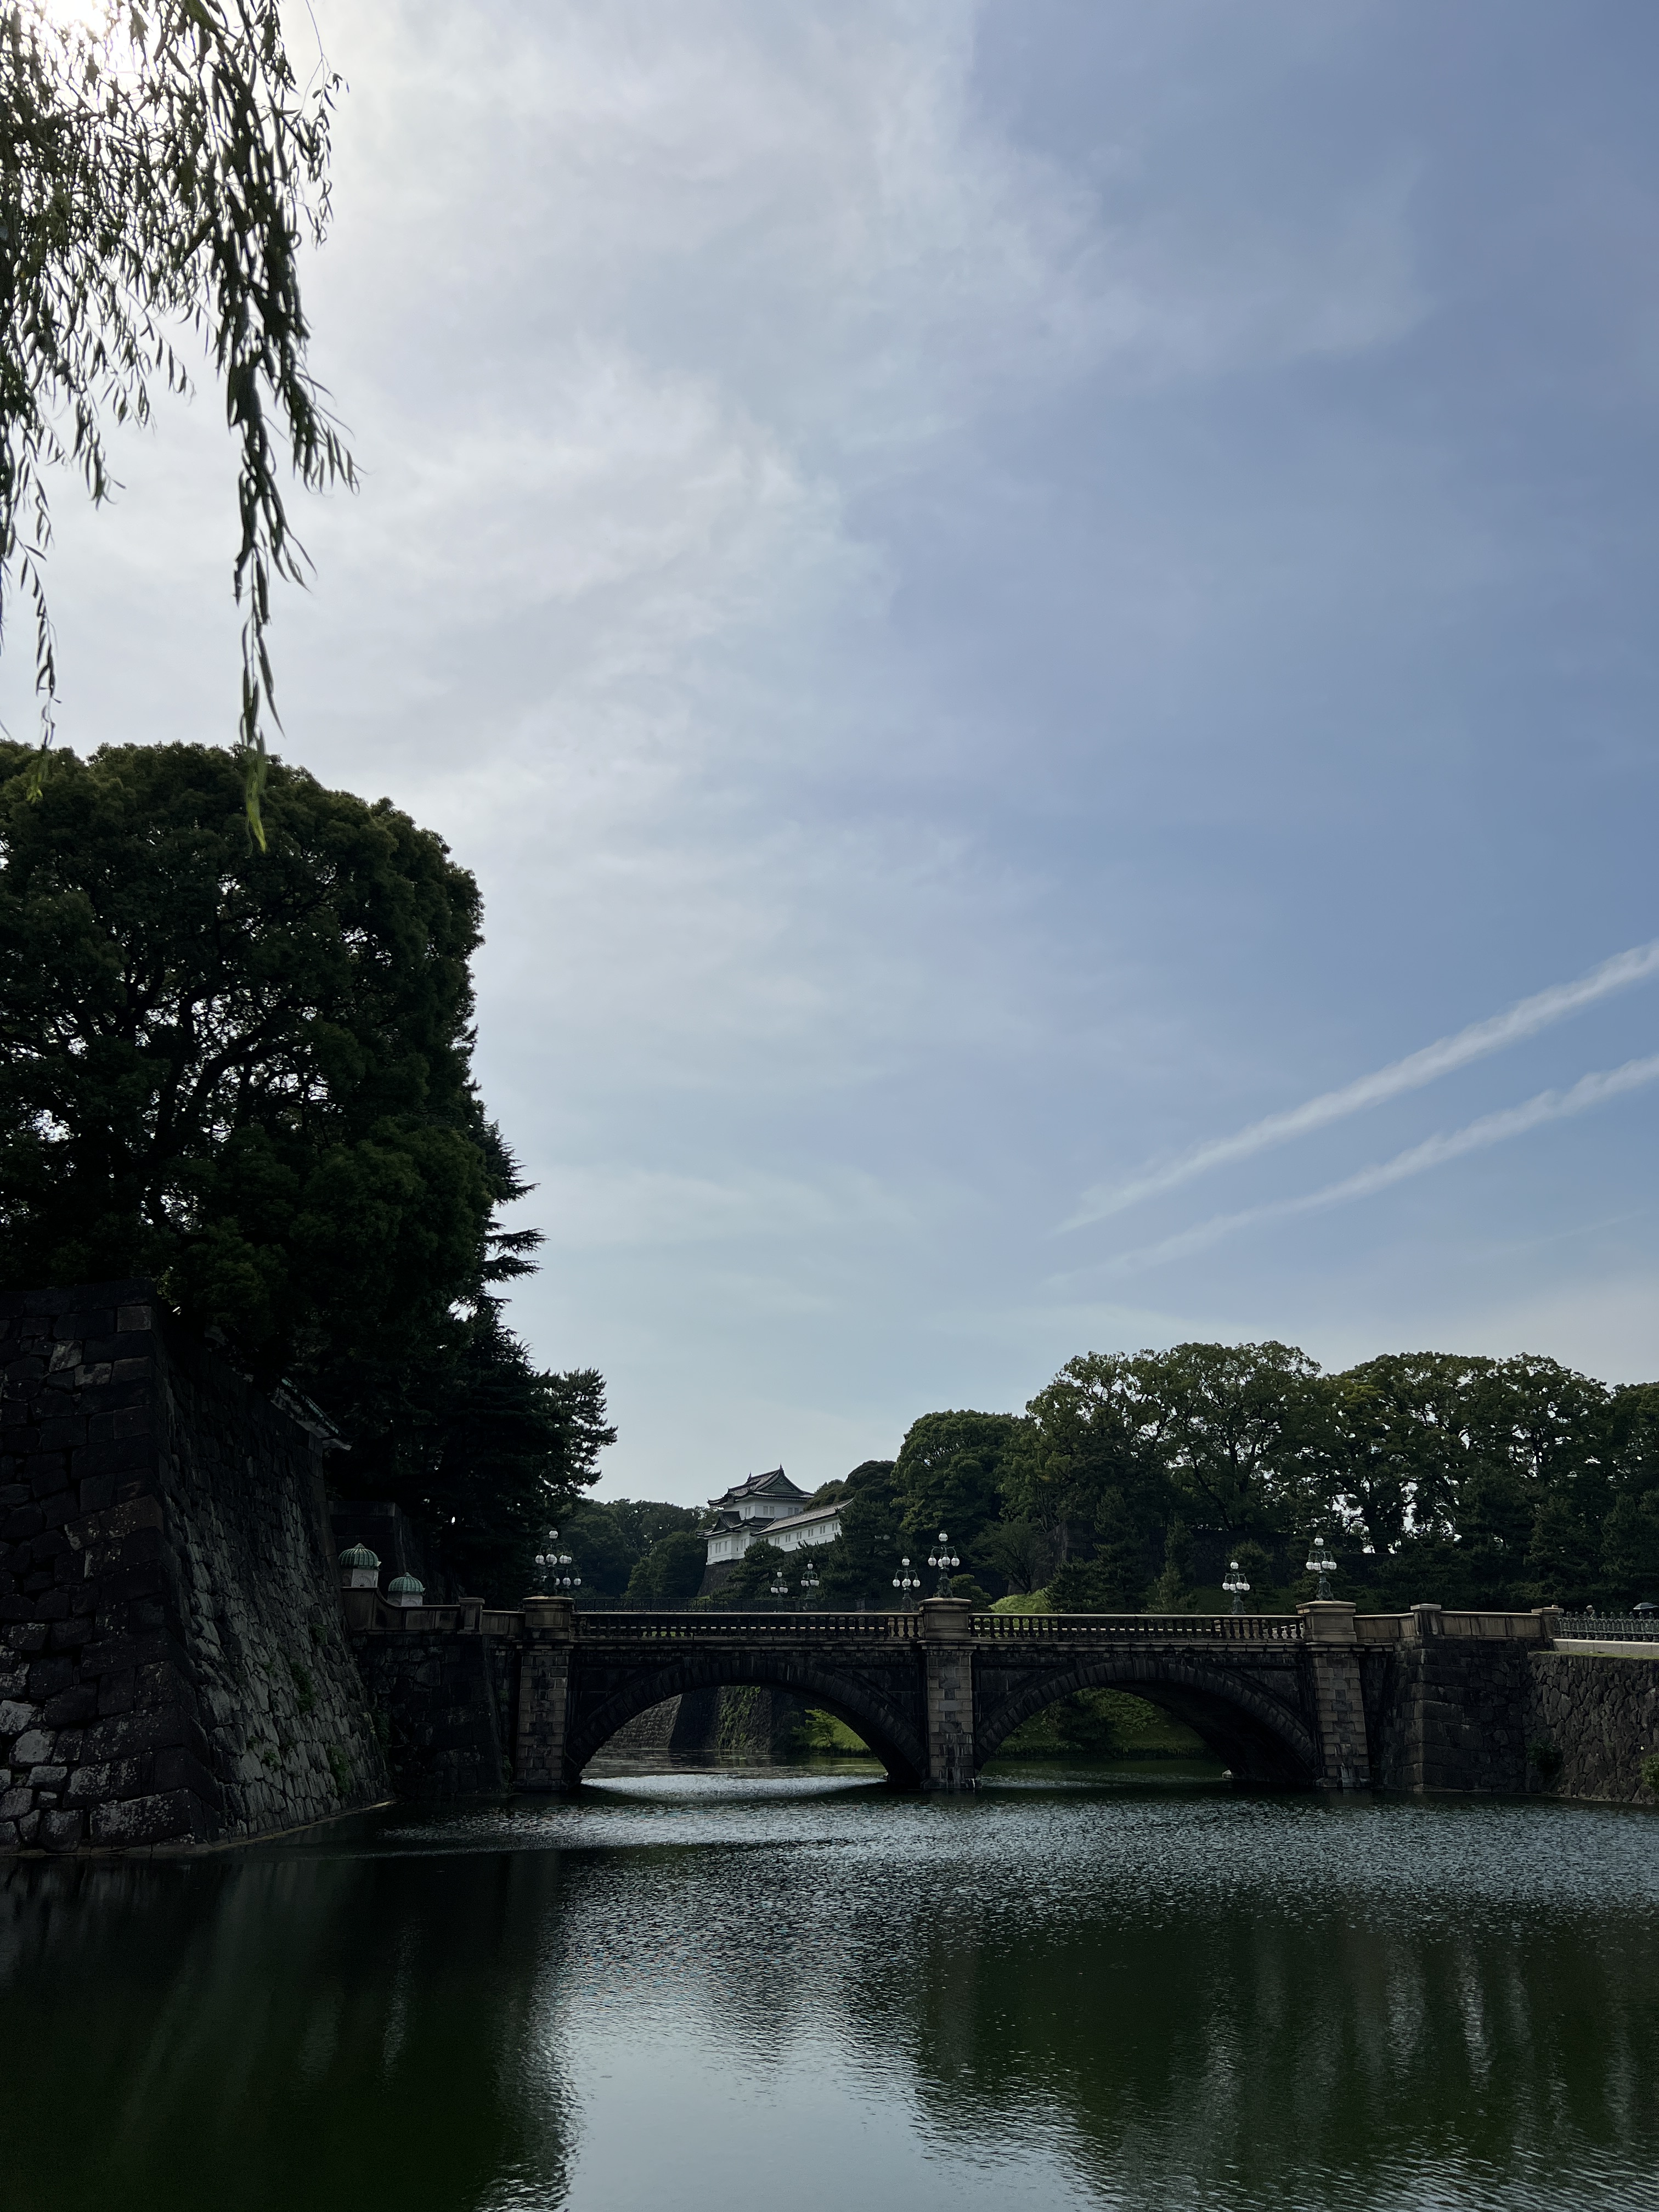
Next we walked past the grounds of the Imperial Palace to sneak a peek at the exterior of the building. We learned that the Emperor currently lives in this palace in Tokyo so the palace building is not open to the public. The surrounding gardens are open for tours most days of the week and then you can get close to the palace building. The East Gardens of the Imperial Palace are open to the public as well and you are free to walk through these as you wish as long as they are open. Check Google to see when these gardens are open, as they each have their own unique operating hours. The East Gardens would have been a far walk for us and the main garden was closed the day that we were in this area, so we snapped a pic from afar and headed to our next destination.
At this point we were pretty hungry but were holding out for a real lunch. I would recommend always carrying snacks around with you, which are not hard to come by at all through vending machines, Family Mart, and 711. Having snacks on-hand is a good way to get you over the hump on long days with lots of walking. We wound up making our way over to the Kabuki-Za Theater in Ginza for a timed show that we did get tickets to in advance. There is a shopping area in the theater with a few food options, various dessert options, and then a lot of shopping for non-food. It was fun to browse this market and we also grabbed lunch and some sweets here before the show – highly recommend!
Now, for the show itself. The show is VERY cool because you get to see the way Japan runs its traditional theater. The characters are showy and very animated and the costumes are elaborate. The only downside is that the show is in Japanese and there is only so much story you can pick up through body language, inflection, and acting alone. They do provide a pamphlet in English that details the storyline, but even that is a little bit confusing. The full show is 4 hours and we stayed for less than half. We feel like we got the cultural experience without it taking up the rest of the day. Once it was no longer fun to try to piece the story from the pamphlet together with the performance, we headed out.
Next stop was dinner, which was admittedly pizza (you can take a girl out of NYC…) We went to PST (Pizza Studio Tamaki) Roppongi, a Michelin Starred pizza joint. The Tamaki-style is characterized by a fragrant and salty crust, made salty by the sprinkling of salt into the furnace before the pizza is added. We started with the homemade Japanese beef lasagna, unique because the beef was seasoned in a Japanese style with a hint of sweetness. Paired with the traditional Italian lasagna format, it was a great take on a familiar dish. For our mains we went with a cheese-based pie and a traditional margherita. This was the only time we veered from the Japanese cuisine in Japan, and if you have the time and the appetite for it we definitely would recommend!
This is where our adventures ended this day – we walked back to the hotel to aid with digestion and went to sleep to rest up for tomorrow.
For video footage of day 2 in Tokyo, check out my reel on Instagram!
Day 3 – Tokyo
Day 3 started at the Tsukiji Outer Market where we got “breakfast.” The market is a giant network of streets with vendors selling everything from fruit to raw fish, freshly fried snacks, and packaged goods. We tried the strawberries and grapes, assorted fried cakes, fresh tuna sushi, and sea urchin. On the way out we got a bottled milkshake that was basically a custard ice cream base before you stick it in the ice cream machine. This market is a great place to try some really fresh seafood and to get a variety of small bites. We recommend! While it may sound weird, going early in the morning is supposed to be the best time to try the fish because it is really fresh. We had gotten there at around 10AM and it was PACKED already so if you want to avoid crowds, earlier is better!
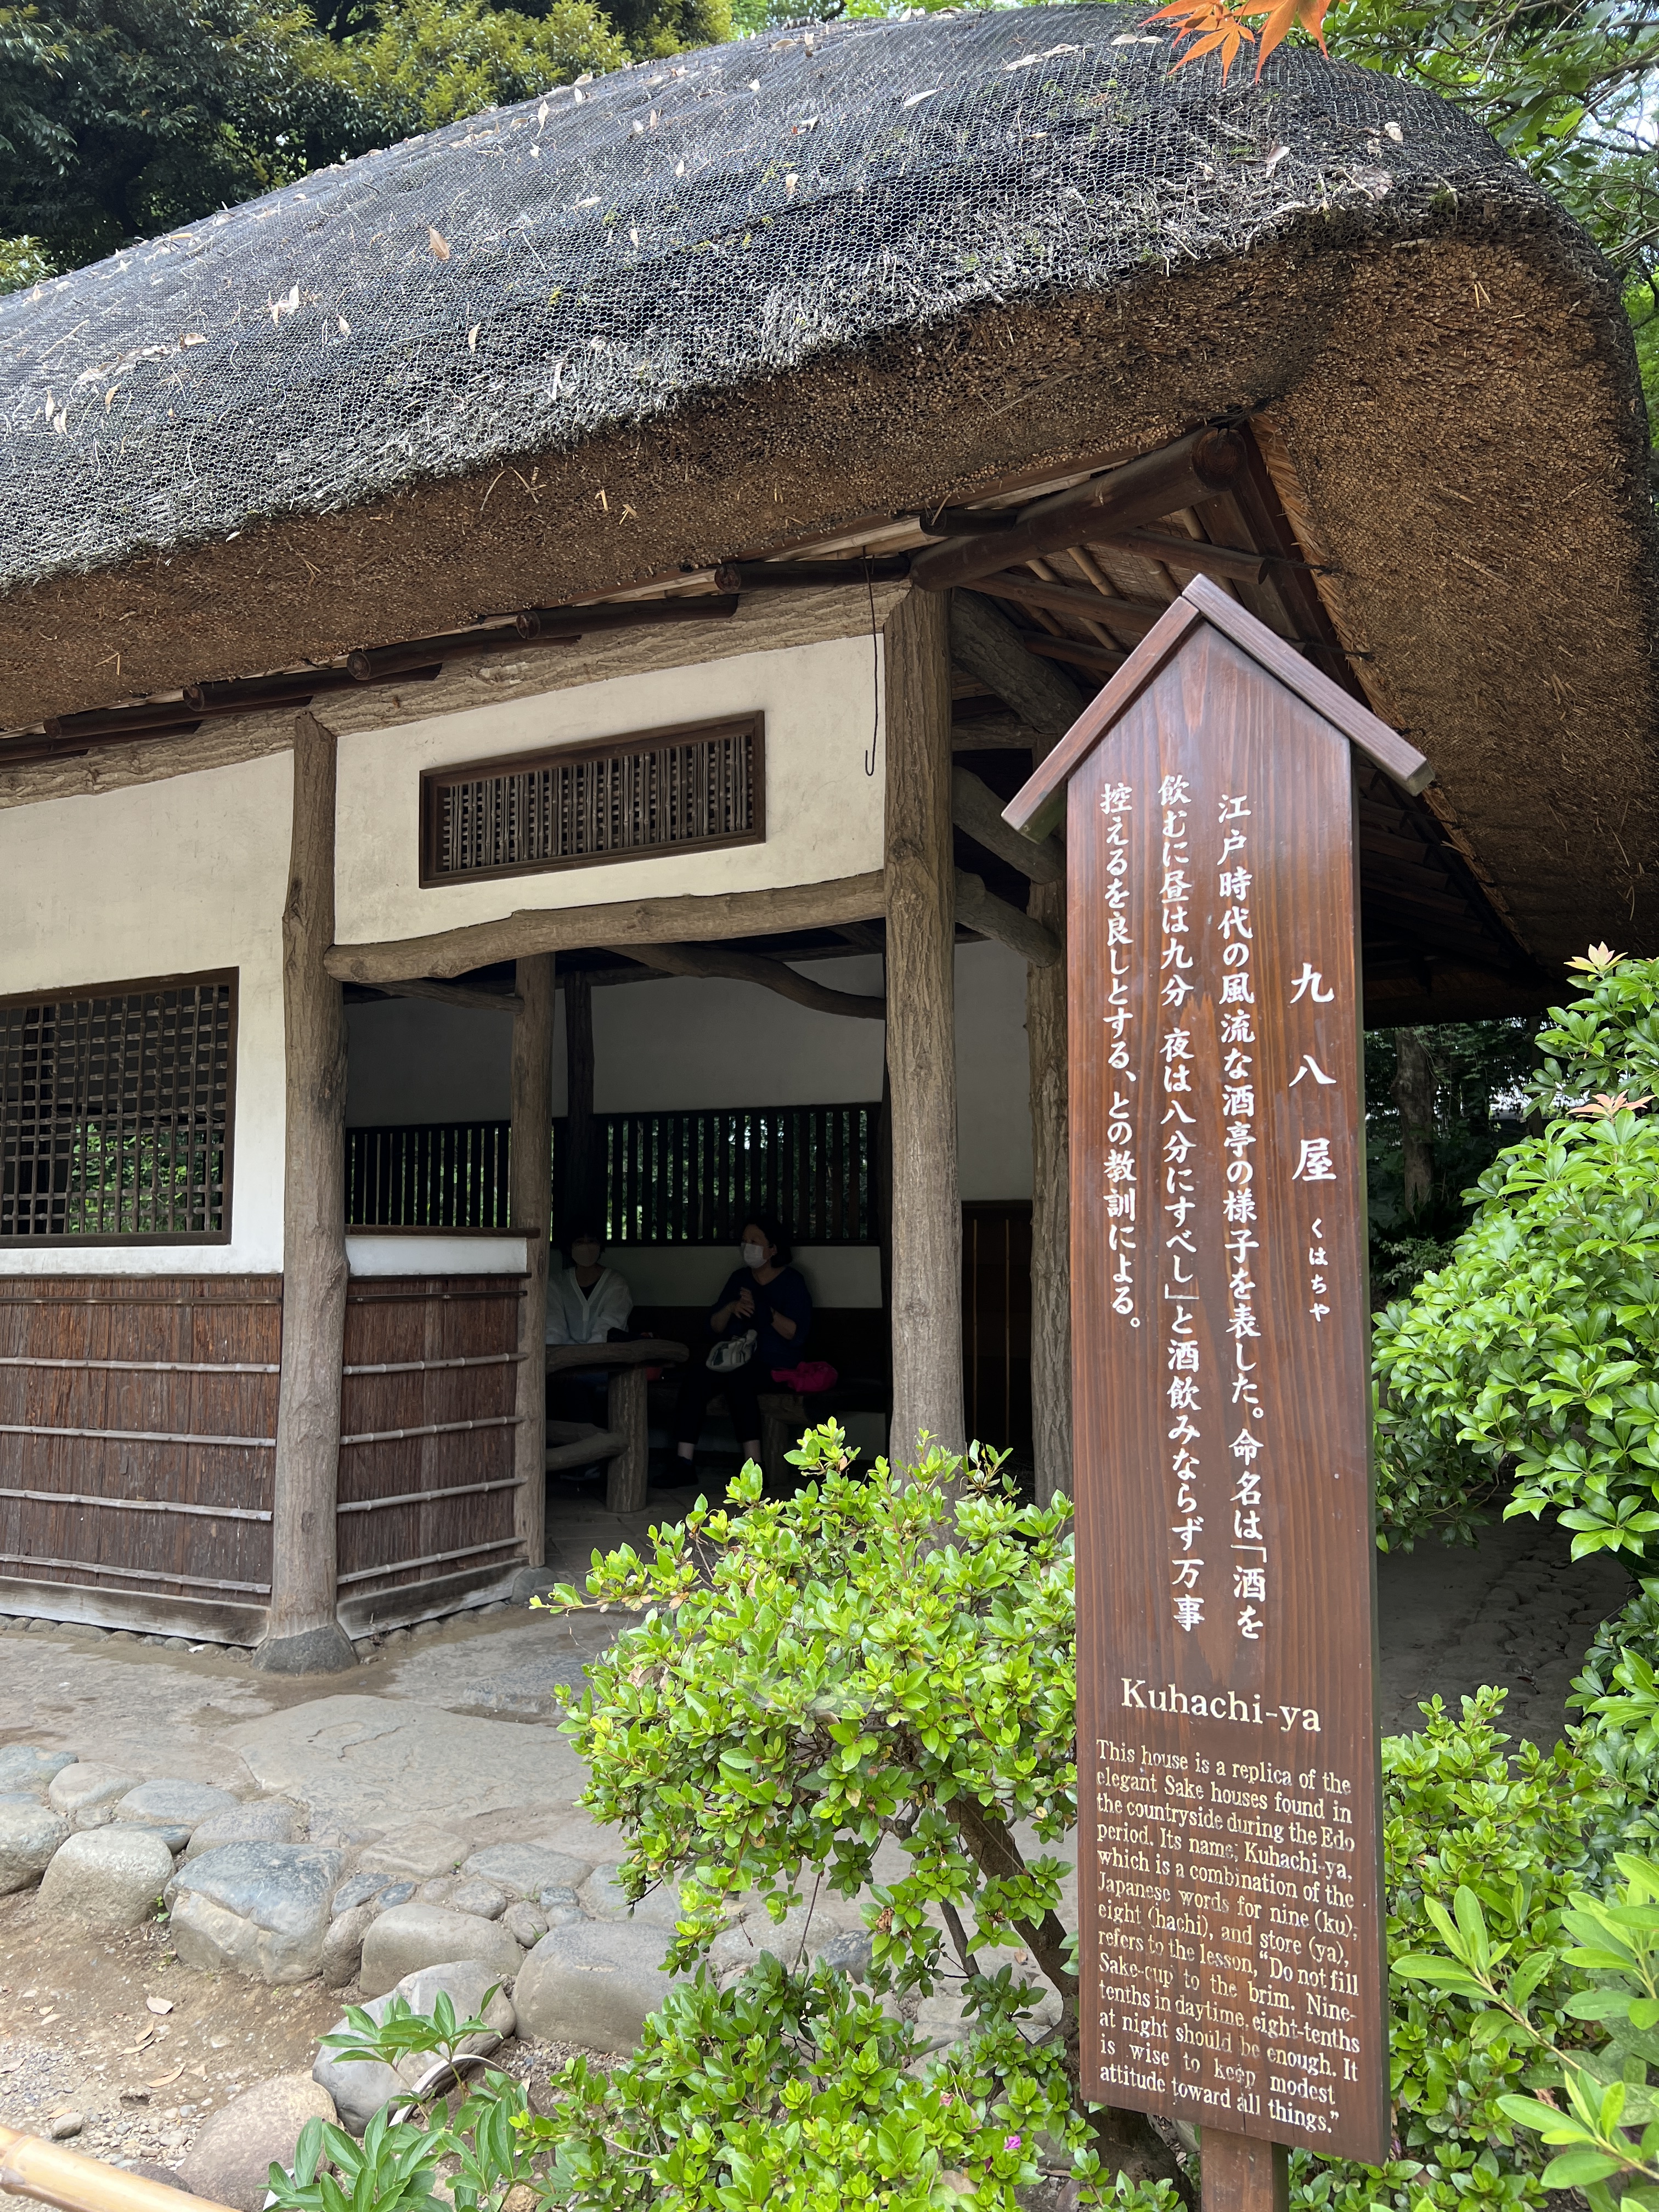
Next was the Koishikawa Korakuen Garden, one of Tokyo’s oldest gardens. The garden is beautiful and we took almost an hour to stroll through it. Something that I found really interesting was the blurb next to the sake house, pictured below. The name of the sake house, “Kuhachi-ya” is a combination of the Japanese words for nine, eight, and store. It is a nod to a lesson in modesty, “do not fill sake cup to the brim. Nine-tenths in daytime, eight-tenths at night should be enough. It is wise to keep modest attitude toward all things.”
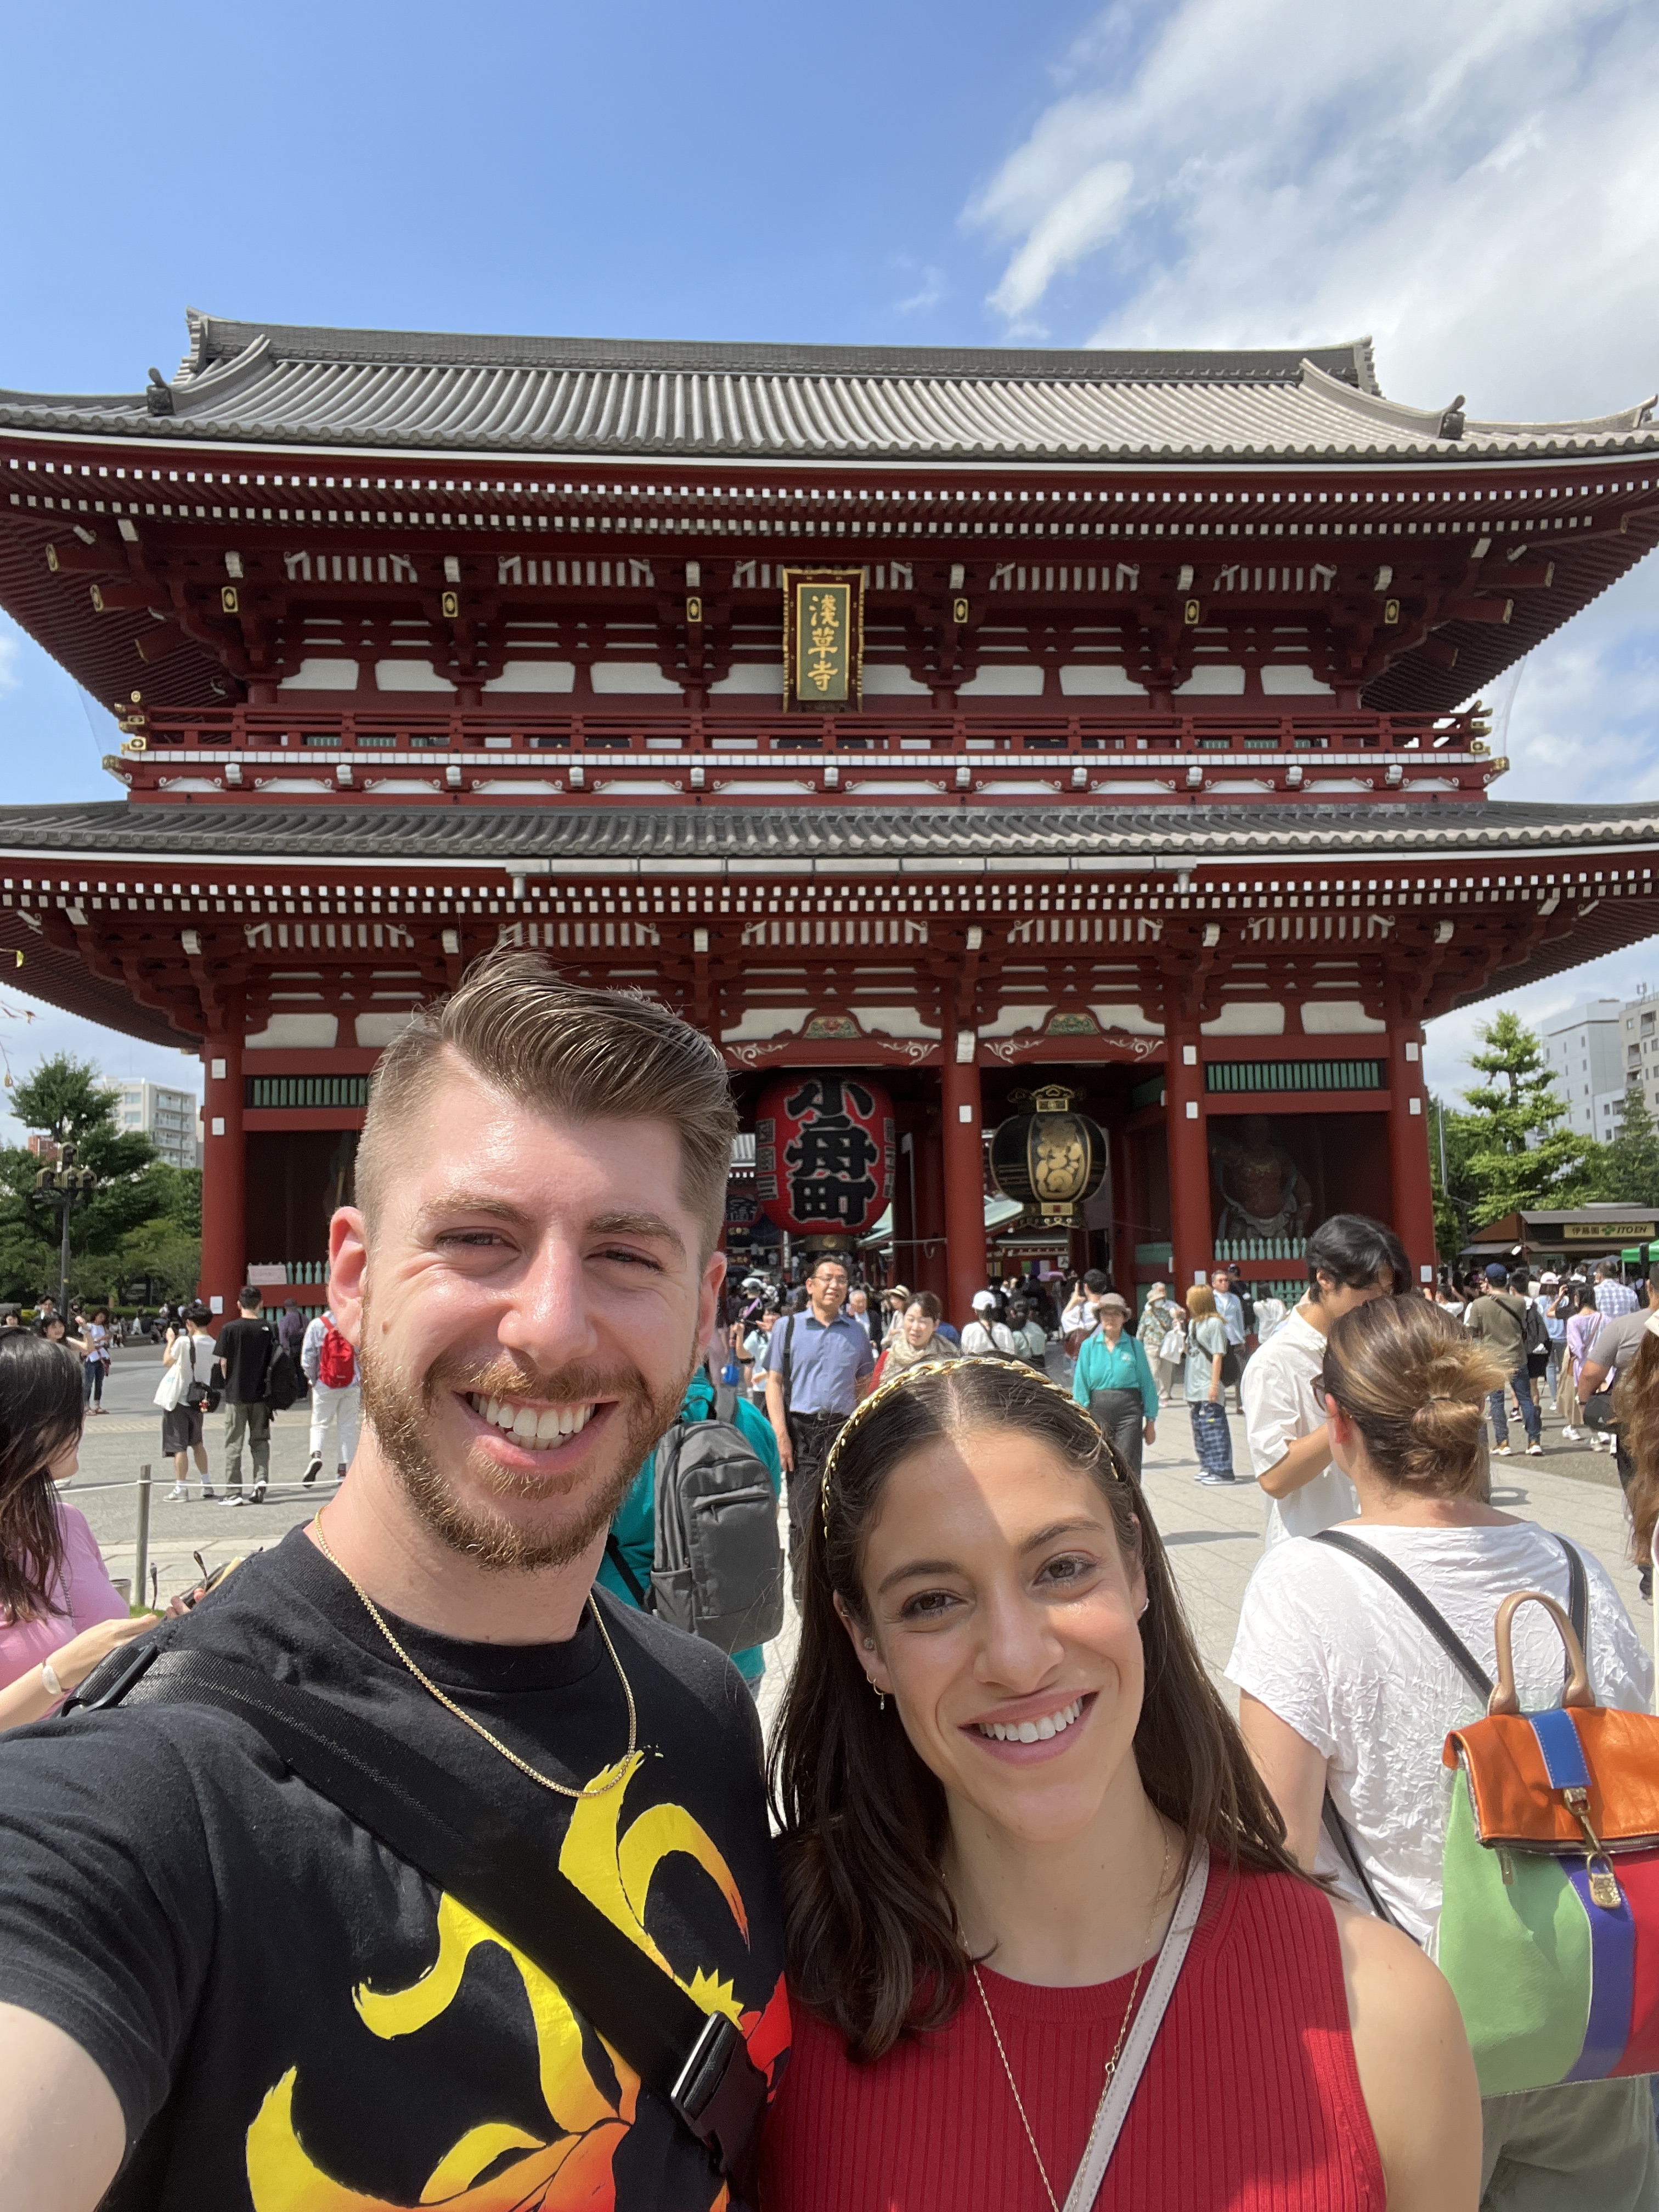
From the garden we took a cab to the Senso-Ji Temple (Asakusa), Tokyo’s most prominent temple. The complex is beautiful with brightly colored red buildings. It was pretty crowded and we did not spend much time here, but we were glad we made the visit. We were here for about 20 minutes.
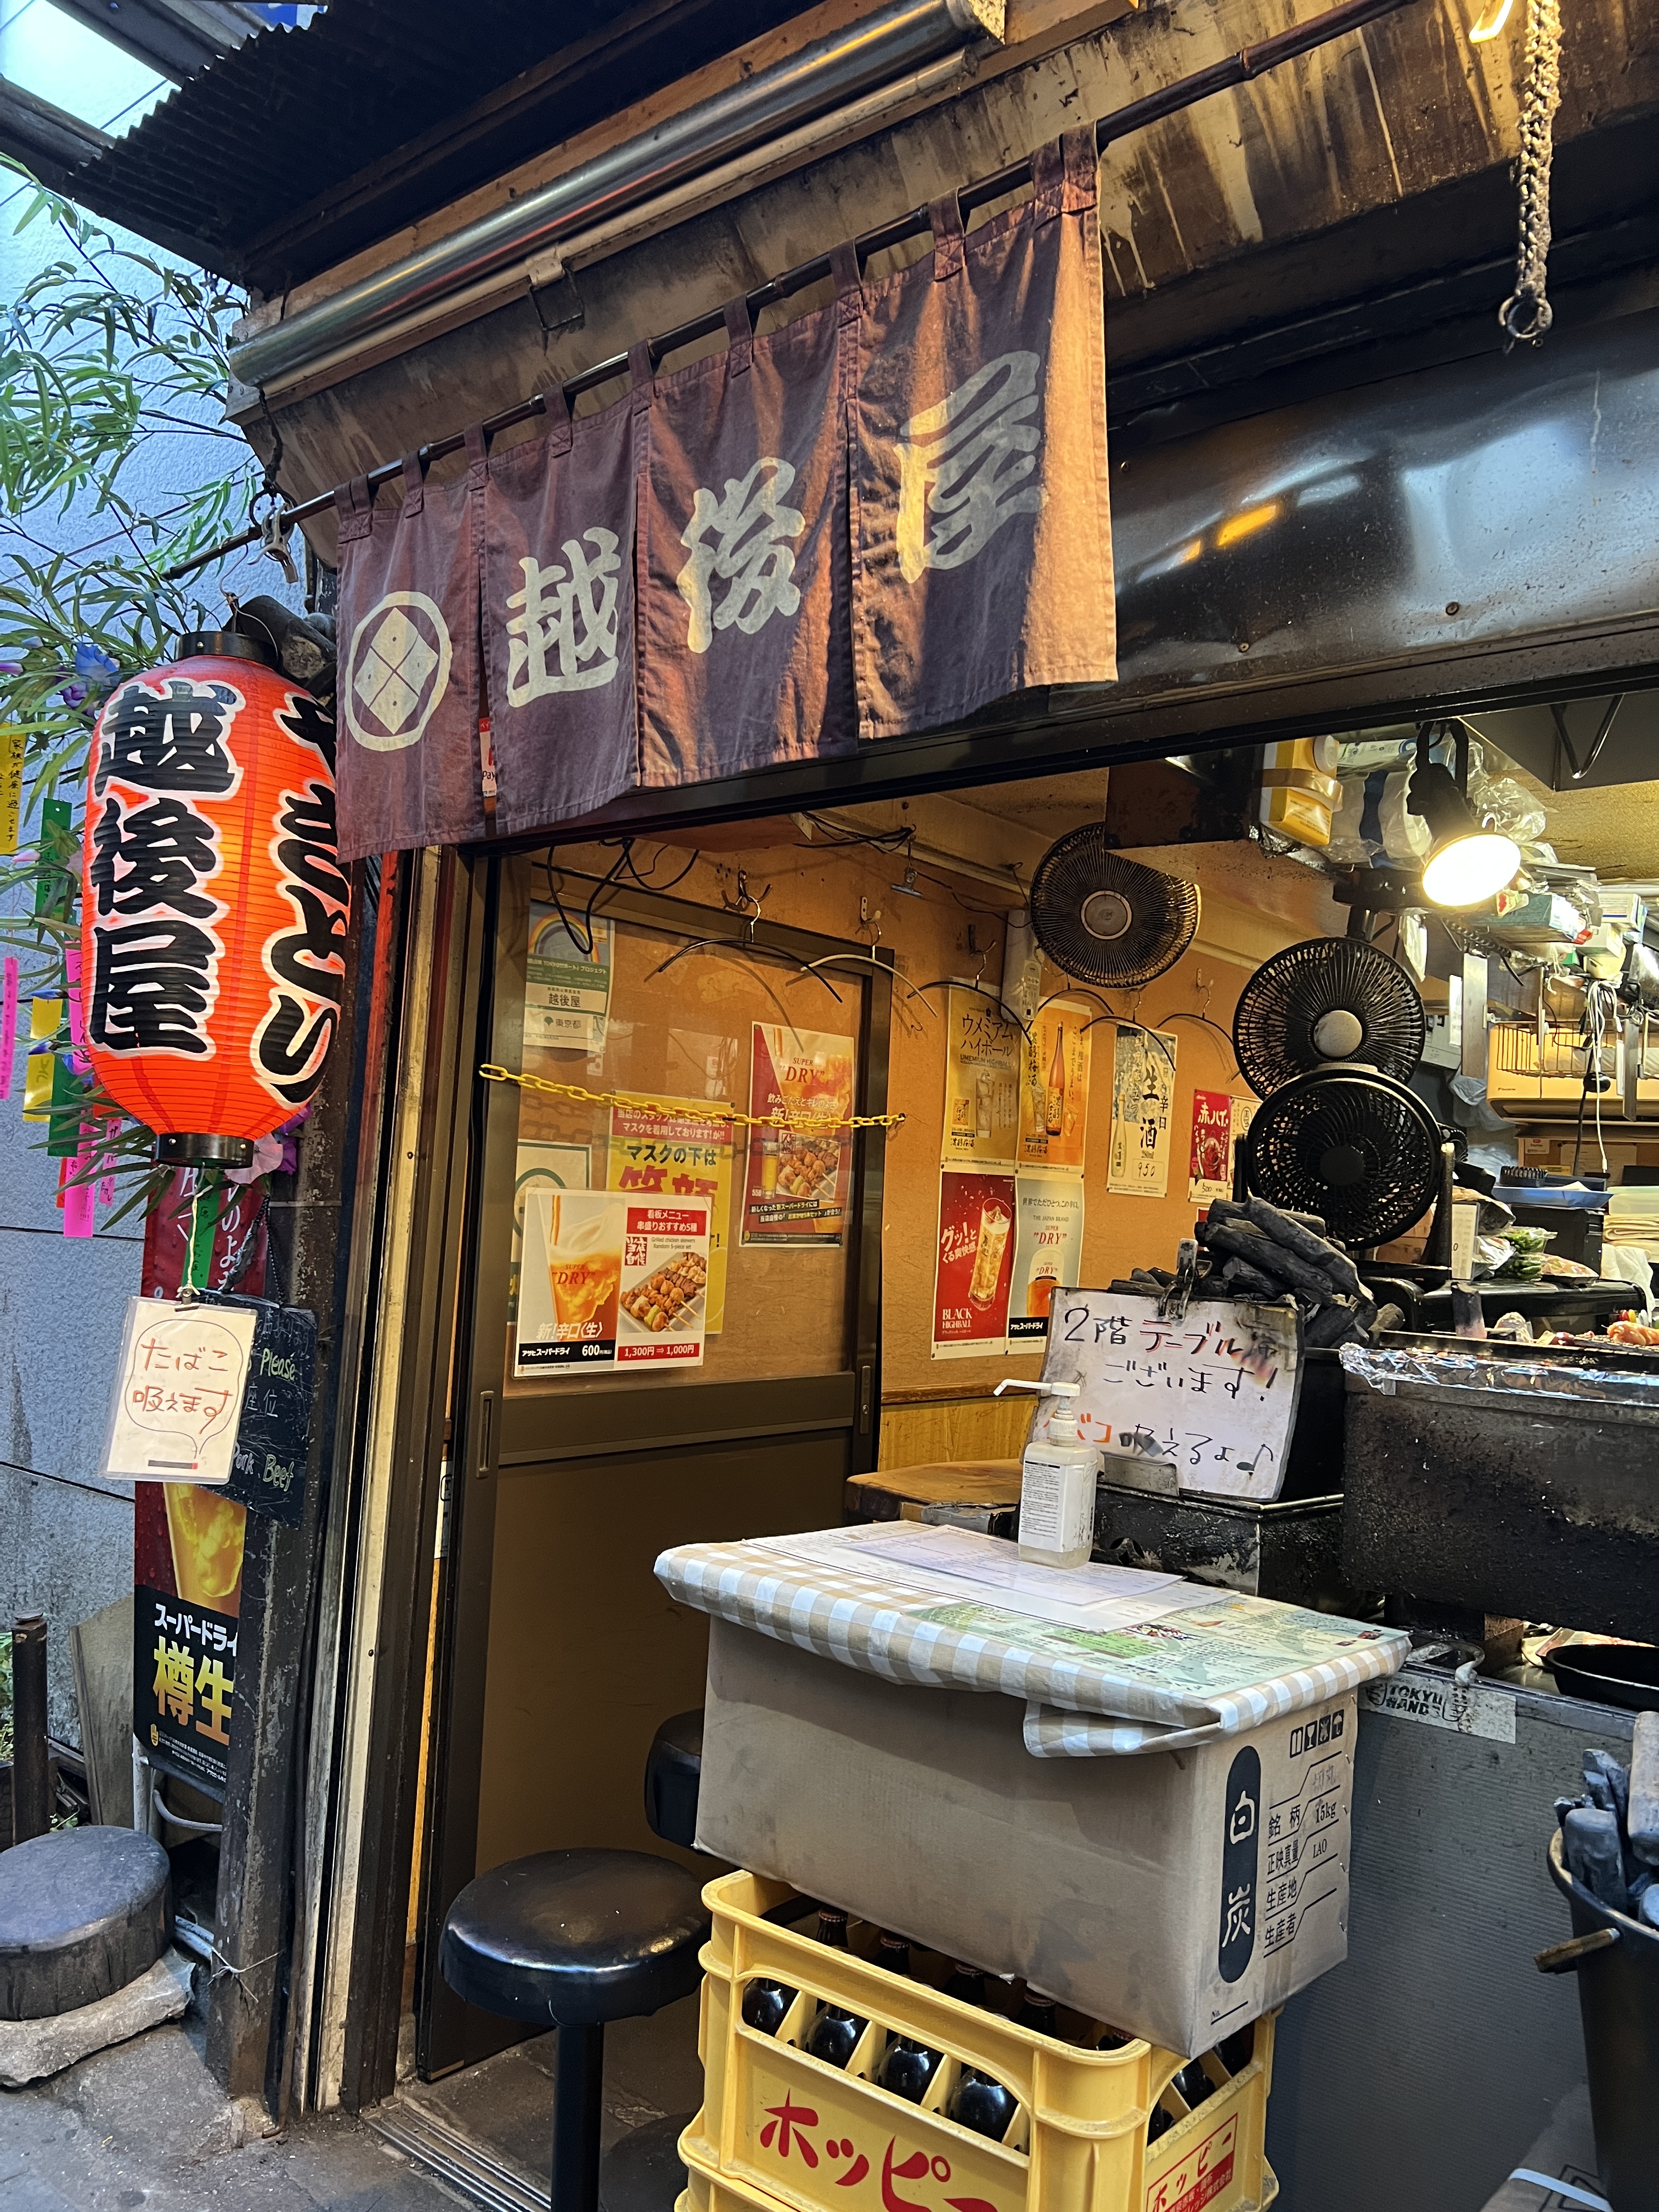
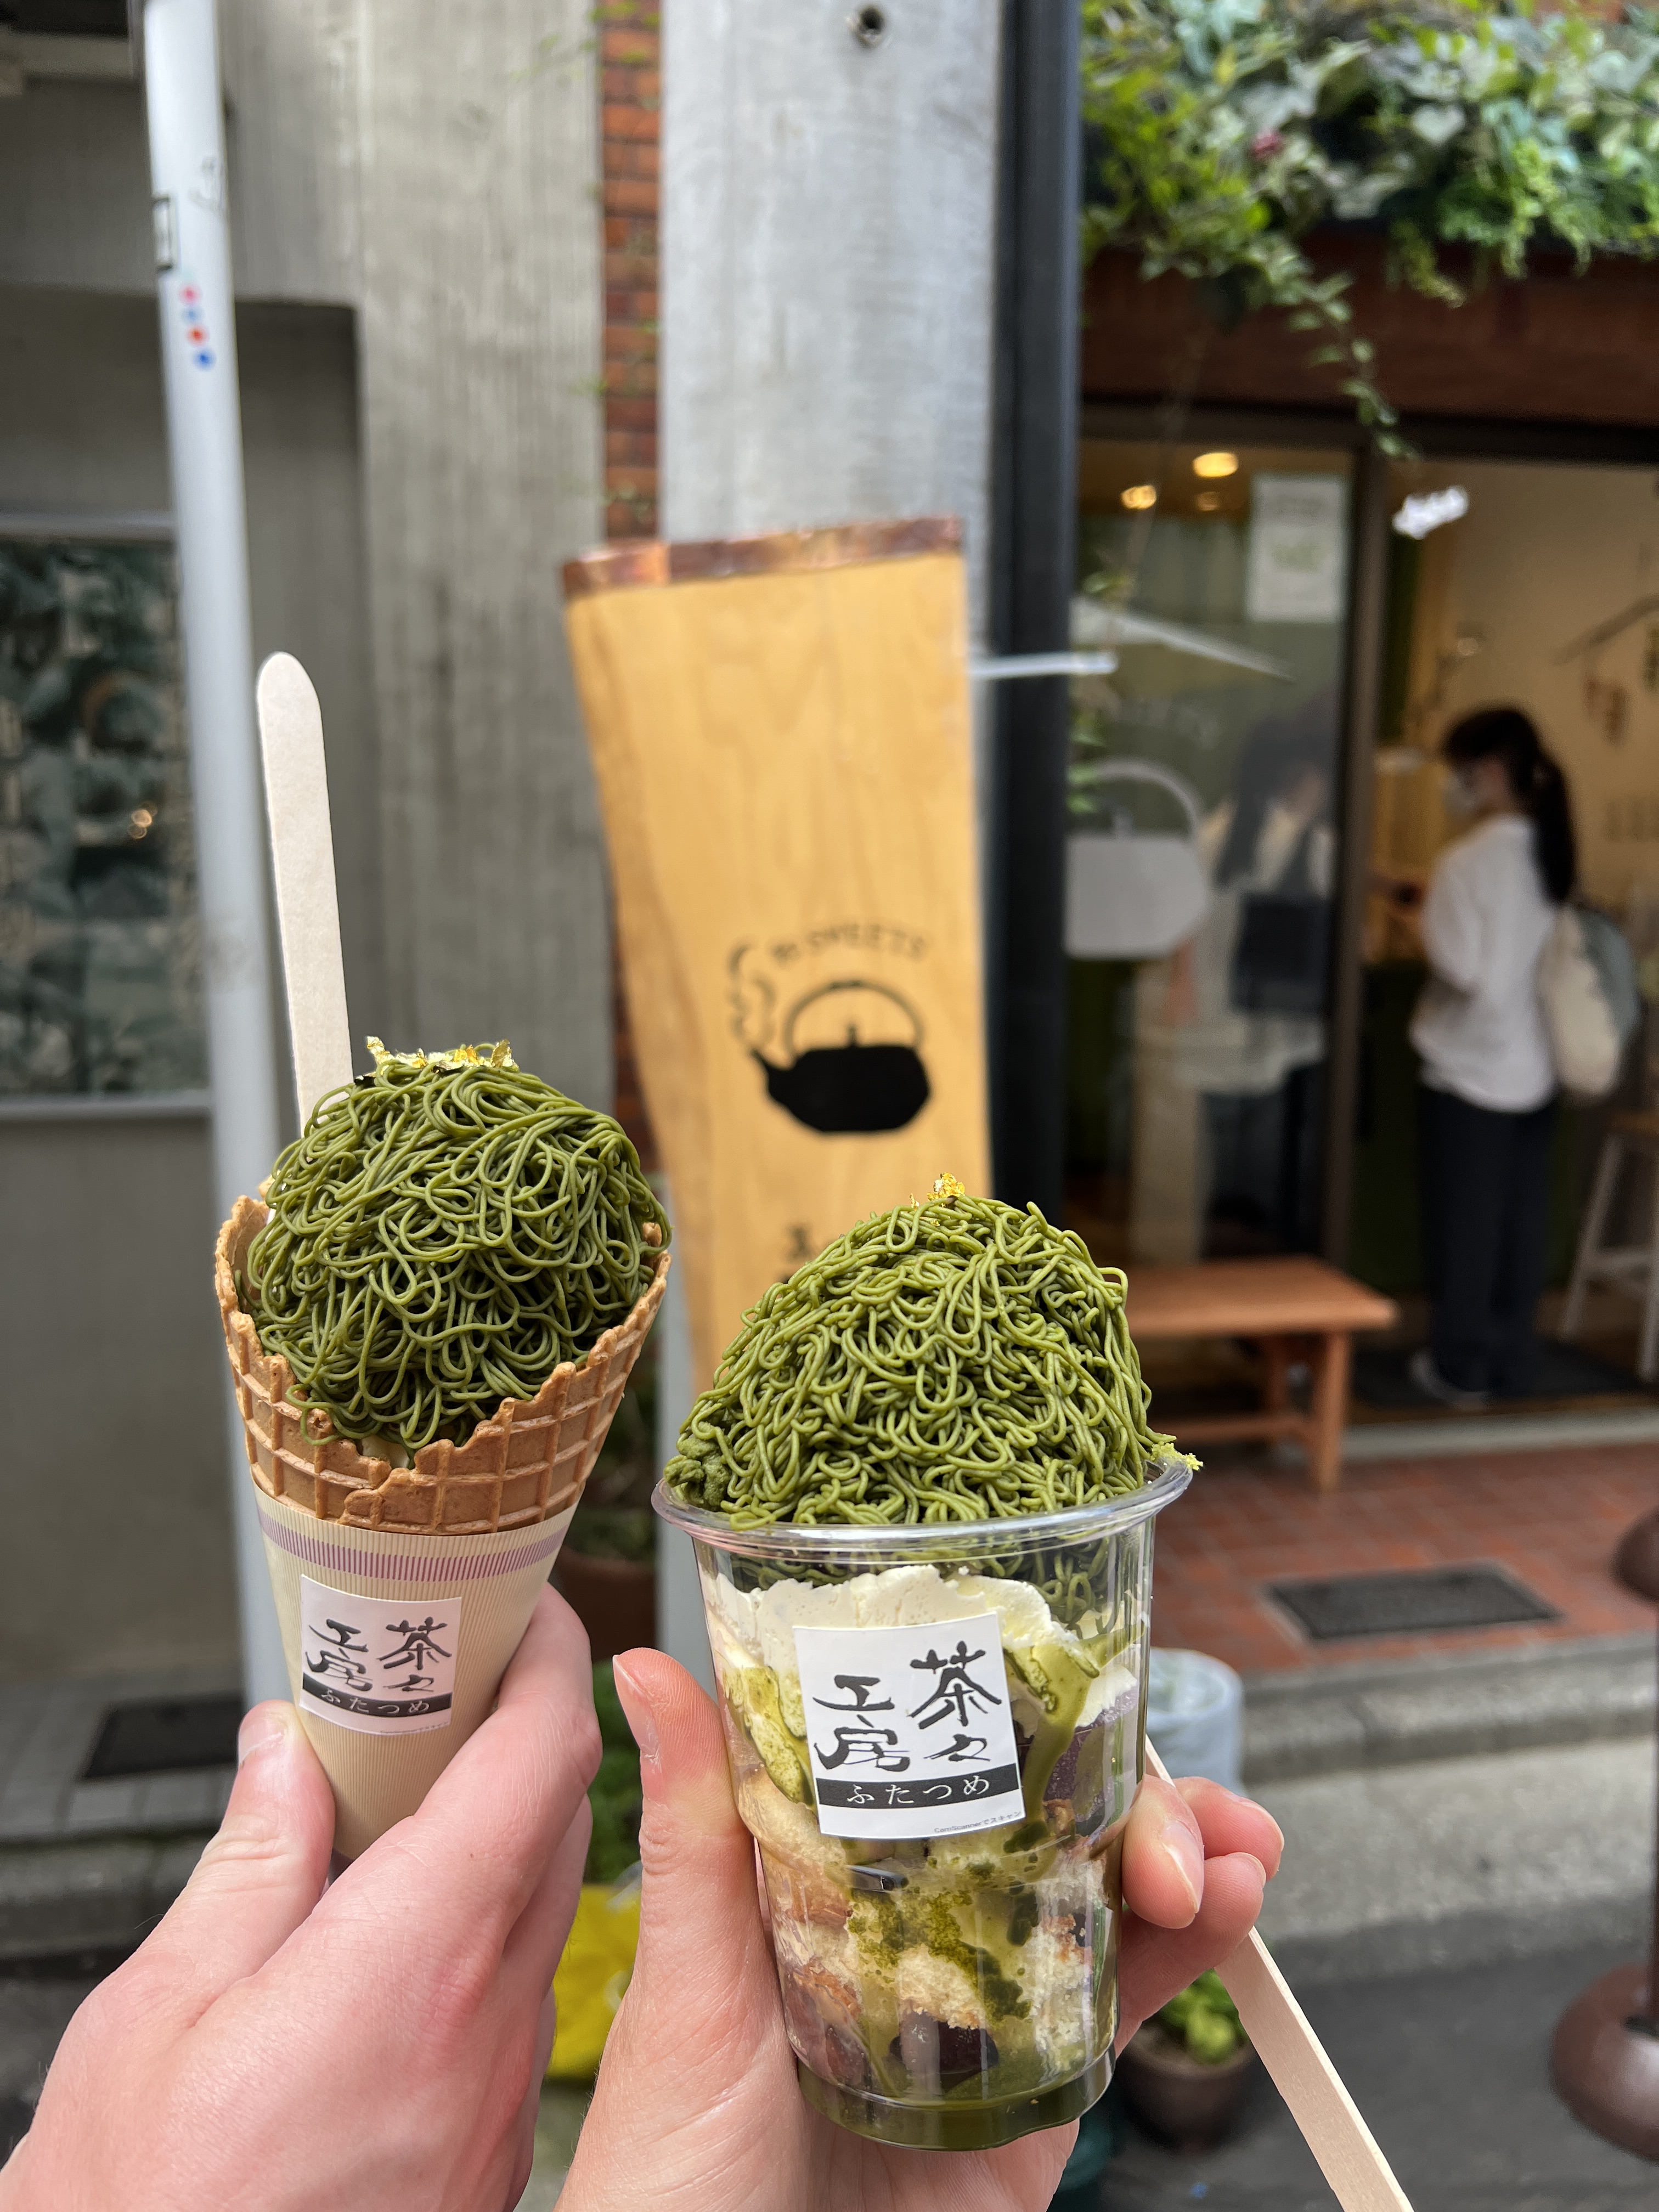
At this point we were hungry for lunch so we walked over to the nearby Hoppy Street, an area known to have many Izakaya restaurants (bars serving small plates). We selected a restaurant at random and got ourselves a nice cold drink, yakitori, and noodles. Nearby was a dessert spot called Chacha Futatsume which I had discovered on Instagram a while ago, so we had to stop in. They serve a dessert layered with cakes, jam, jelly candies, creams, and topped with a matcha flavored monte blanc (sweetened chestnut puree) pressed into a noodler that makes it look like pasta. This was unique, delicious, and the perfect combination of sweet and a little bit savory from the matcha. We definitely recommend Hoppy street for lunch and then Chacha Futatsume to satisfy your afternoon sweet tooth.
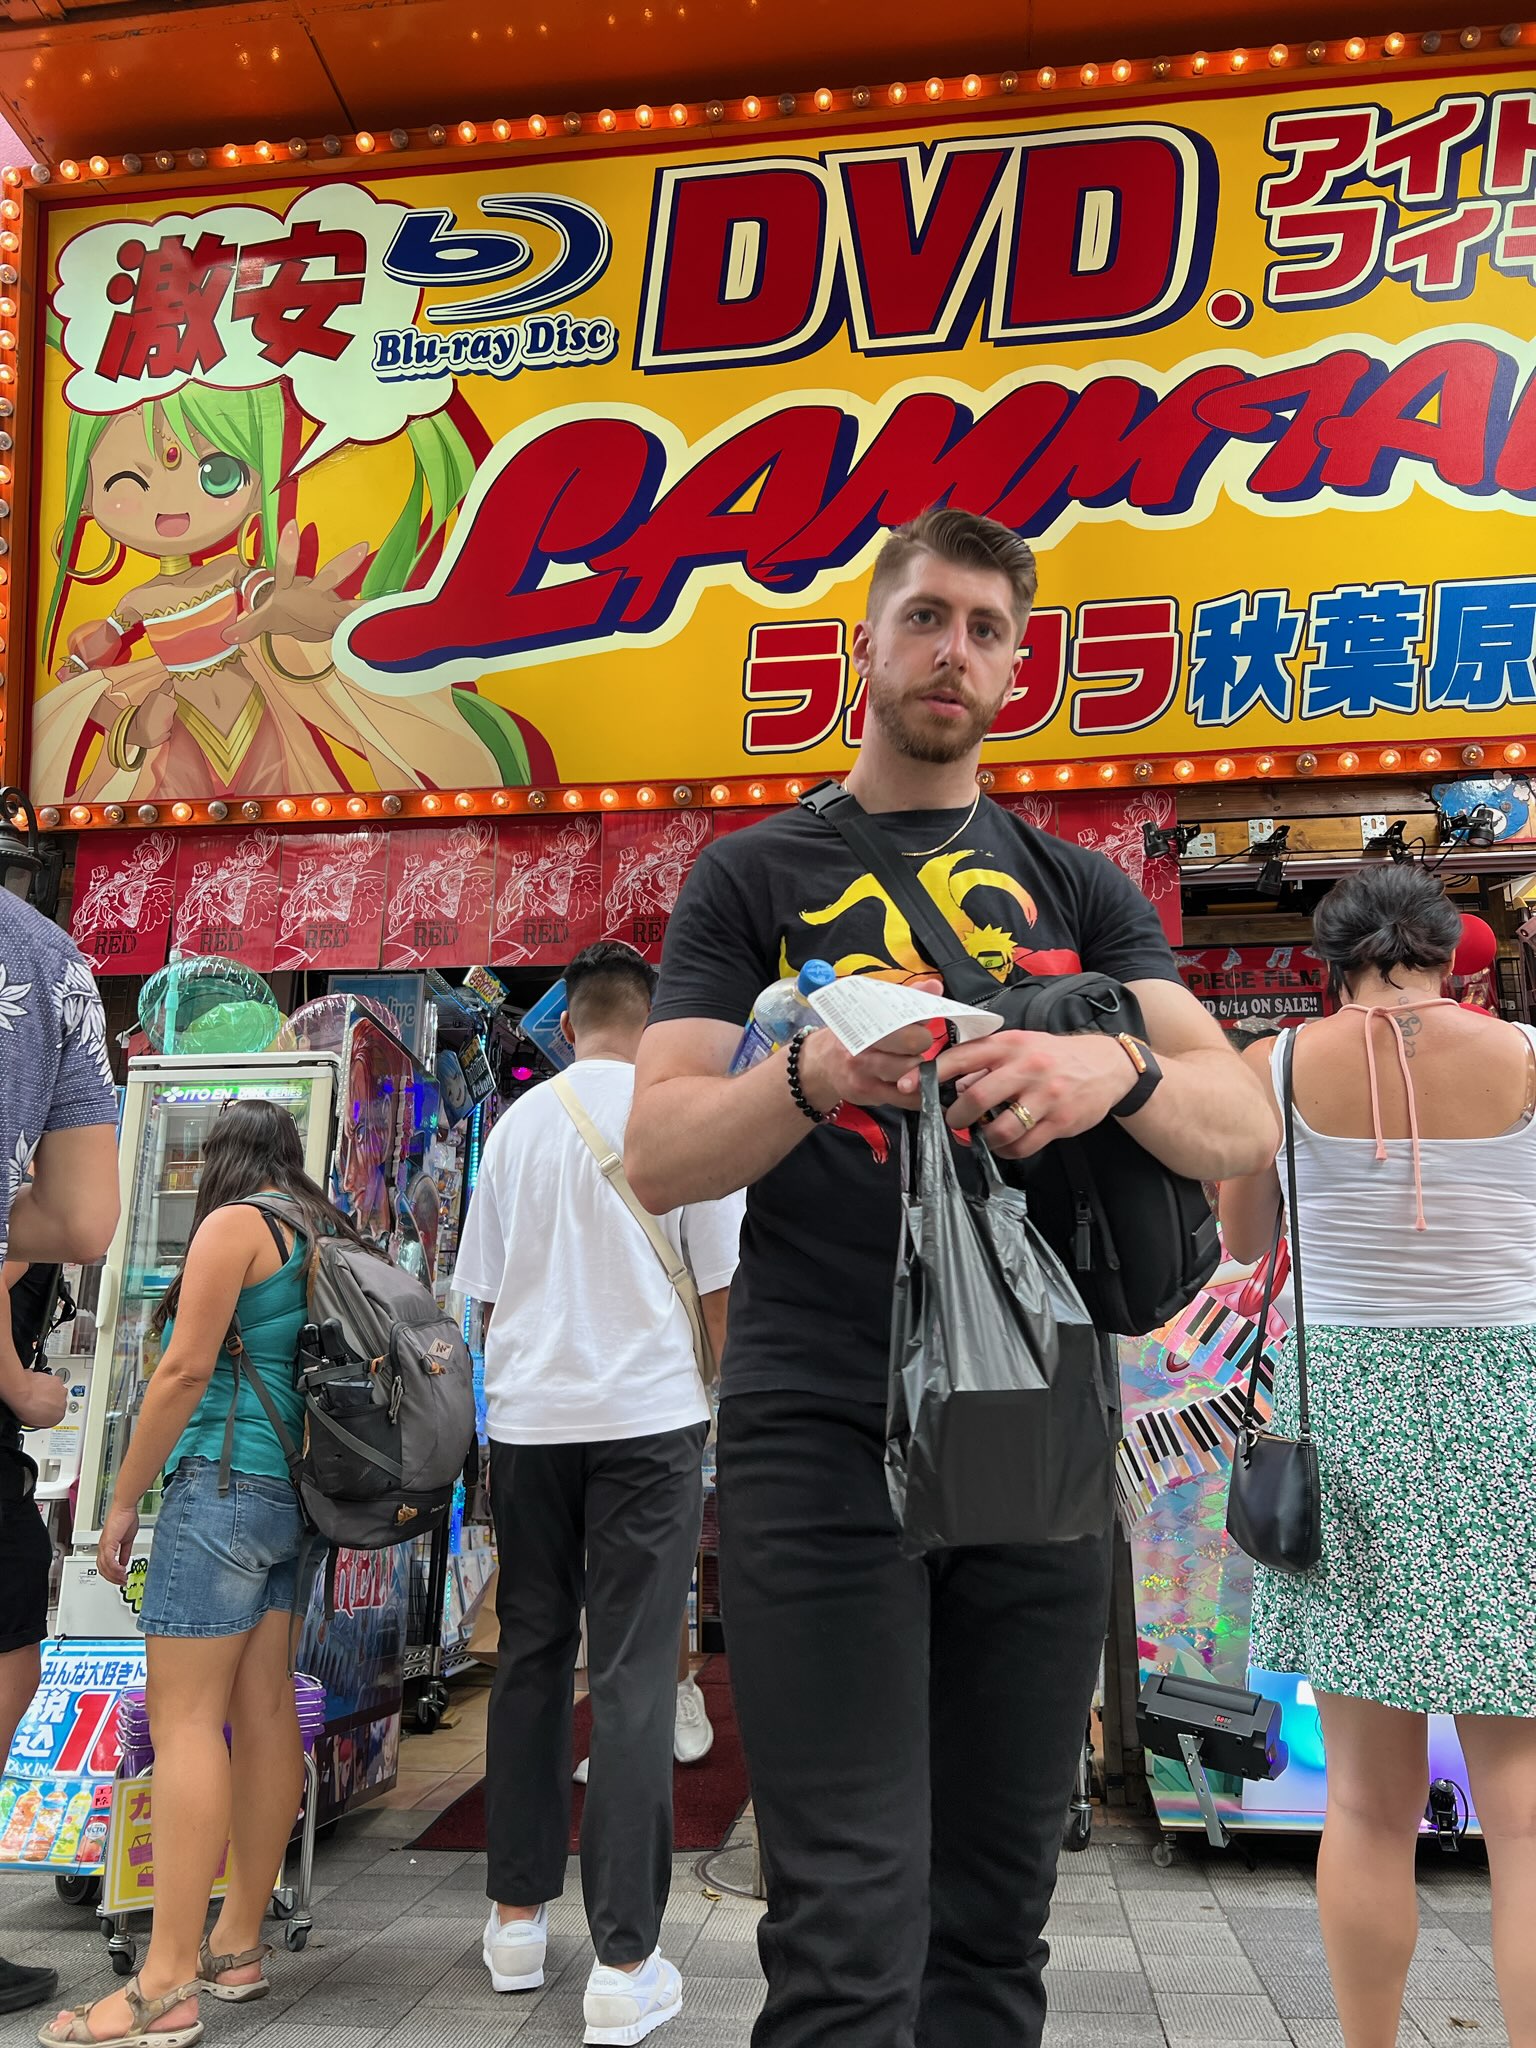
From here we went to Akihabara, formerly a local shrine, converted to a strip now famous for electronics shops, diehard fan culture, anime, and manga. On this strip we tried the pachinko games, slots, and crane games. We also popped in and out of shops admiring the anime figures and other paraphernalia. This was a fun strip and we would recommend for the anime shops, manga culture, and arcade games.
We ended the night with ramen at Hirugao Tokyo Station. We were honestly looking for Ramen Street, a street near Tokyo Station dedicated to ramen restaurants. I am not sure if we quite found it, but we did settle for this spot because we were hungry (a common thread of this trip). While tasty, it was not the best ramen we had on the trip – no need to make a special stop for this exact restaurant.
For video footage of day 3 in Tokyo, check out my reel on Instagram!
Day 4 – Nagano (Day Trip from Tokyo)
On this day we planned an “unplanned” day to adventure to Nagano and hopefully make it to the snow monkey park. We were not sure how difficult the bullet train (Shinkansen) would be to navigate so we had low expectations for what we would accomplish, but the trains turned out to be pretty straightforward and easy to use. We grabbed breakfast and a coffee at a Family Mart and Doutor on the way to the train and then the adventure began!
We made it through our first train ride smoothly. During the gap between the arrival of the first train and the departure of the second, we explored the Saiko-ji Temple nearby the train station.
We then hopped on the second train that took us as close as we could get to Shibu, where we hoped to take a dip in an onsen. We found the visitor center of the Shibu Onsen resort and they got us set up with an admission ticket to the onsen and gave us a little explanation of the rules and what to expect. The onsen itself is a very unique experience – the water is VERY hot, but you are able to turn on cold water to cool it off a little. You are required to bathe ahead of entering the water and to be completely naked during the process in order to protect the integrity of the natural spring water. It took me about 10 minutes to get the temperature right and then I lasted about 15 minutes in the water. Luckily there was no one else in the onsen at that time so I had it all to myself, as the baths are not co-ed. This experience was one of a kind and we would absolutely recommend trying it while in Japan!
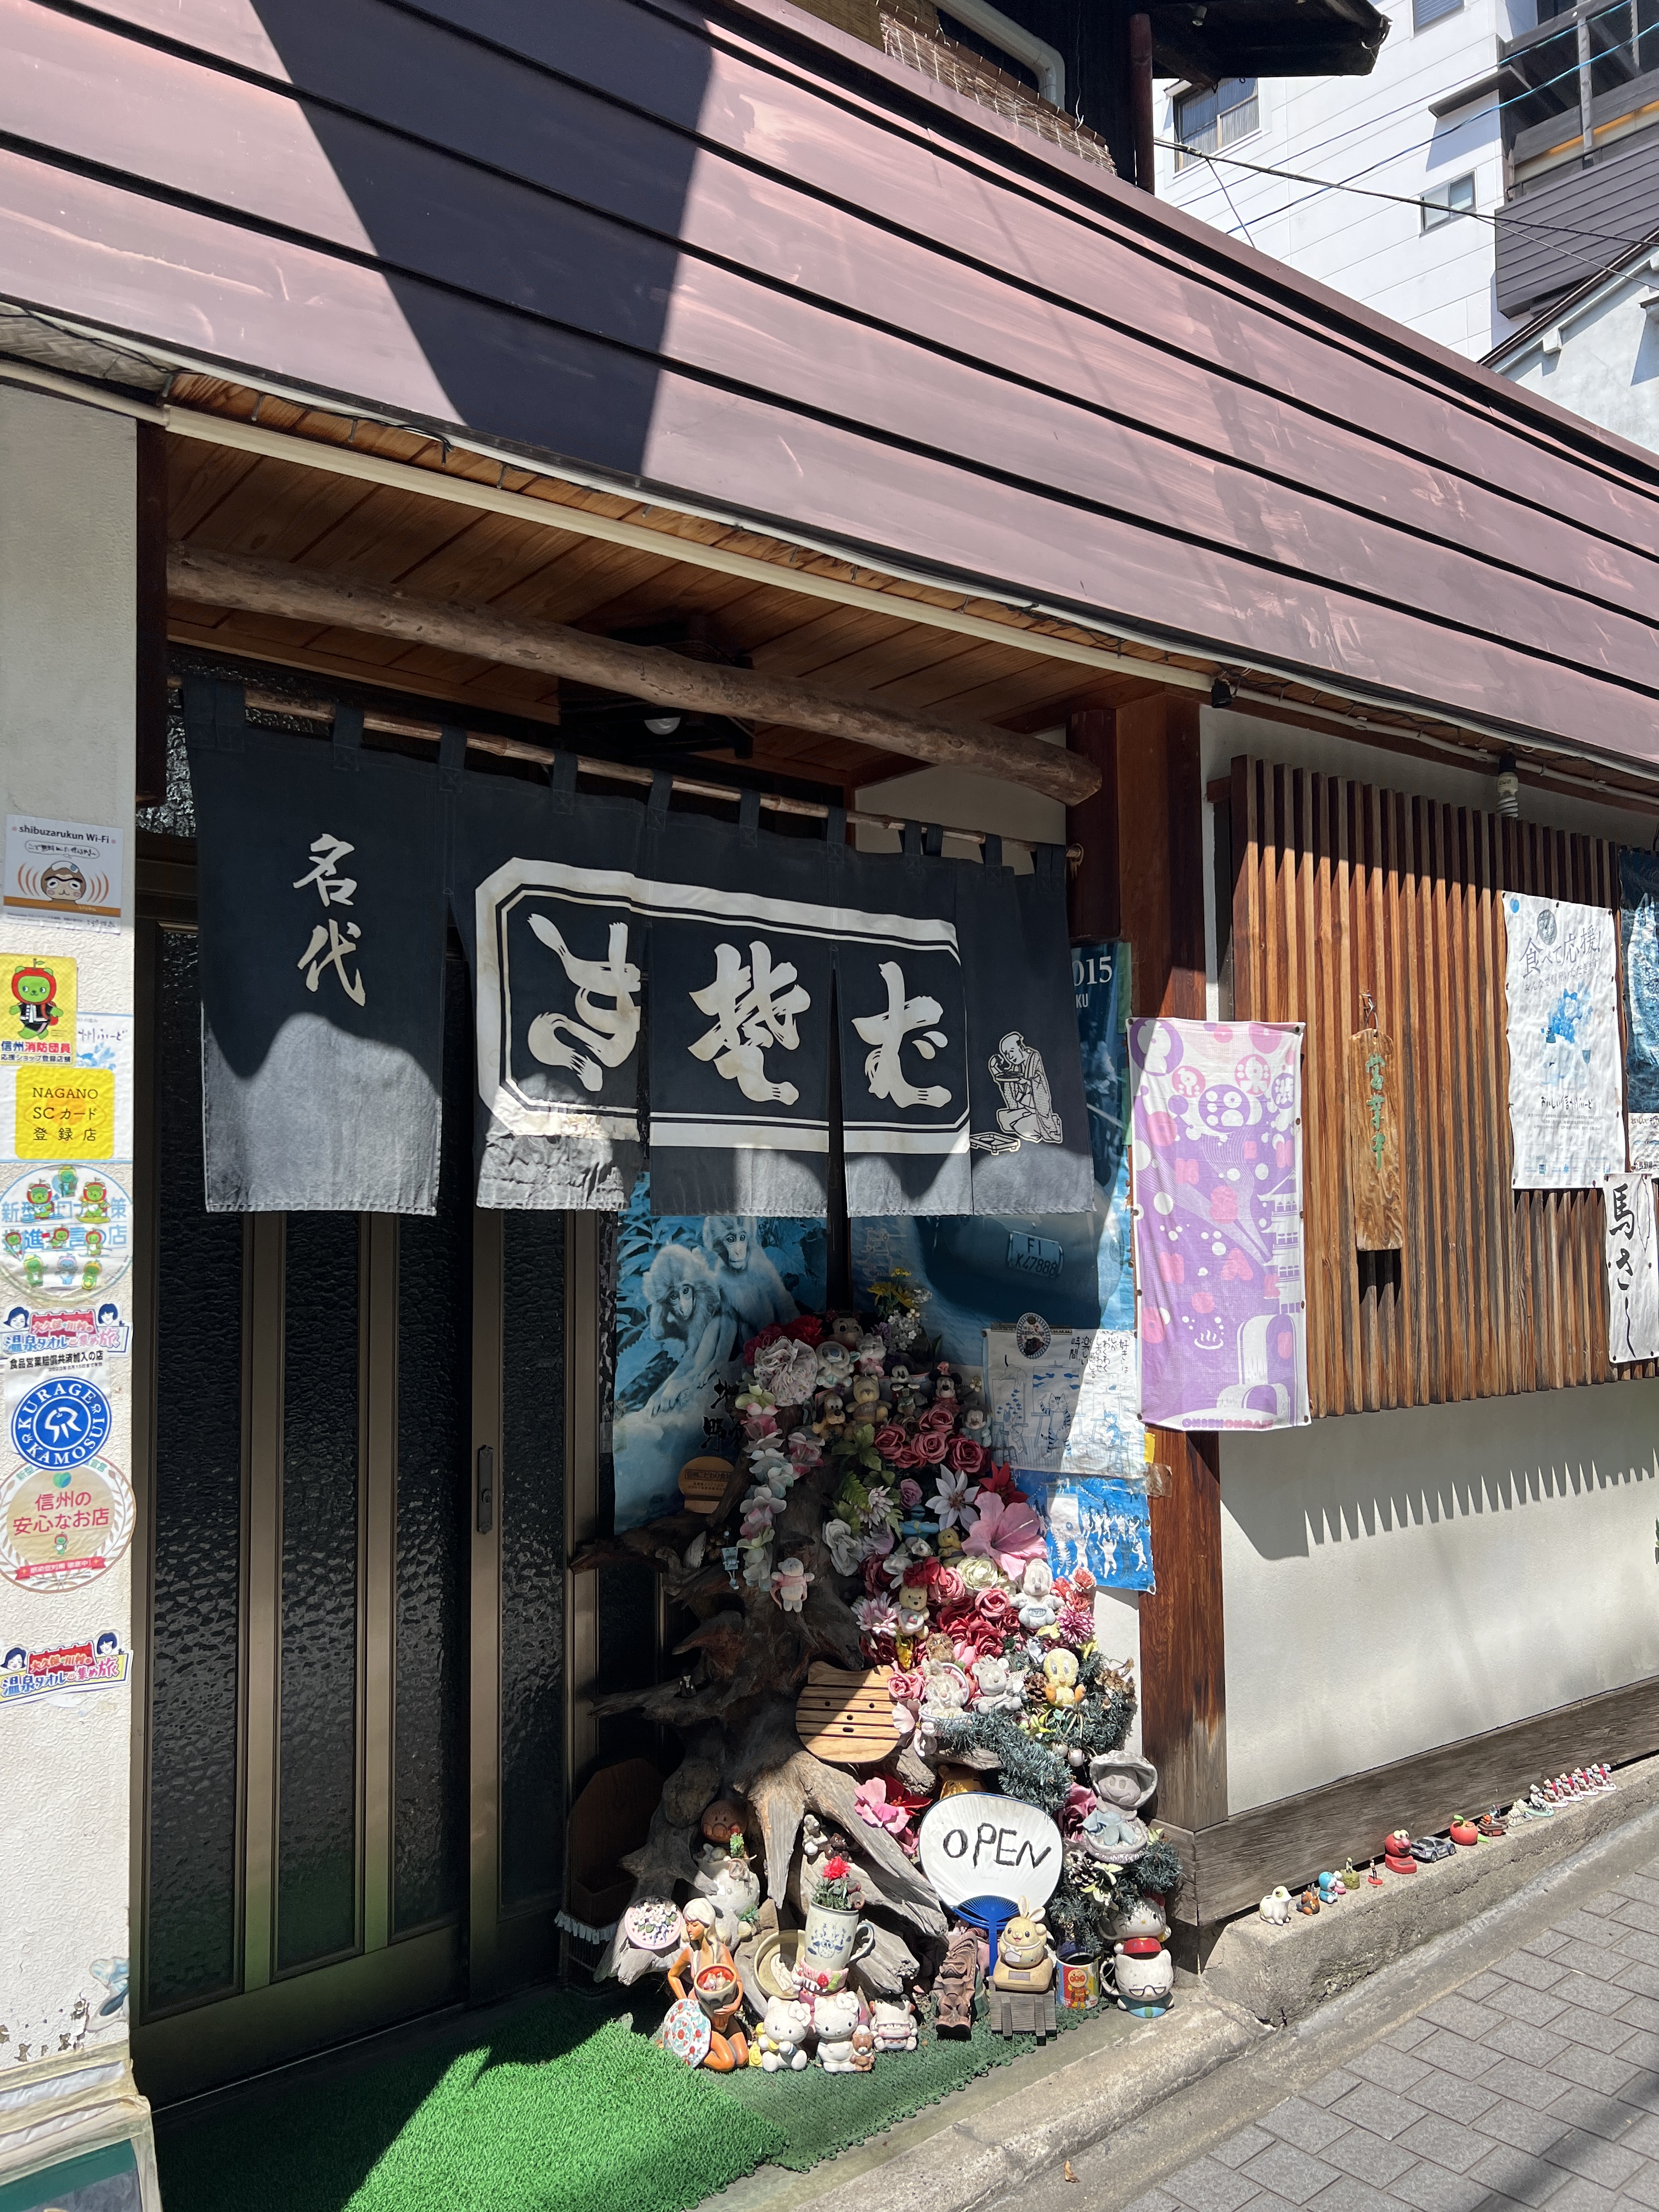
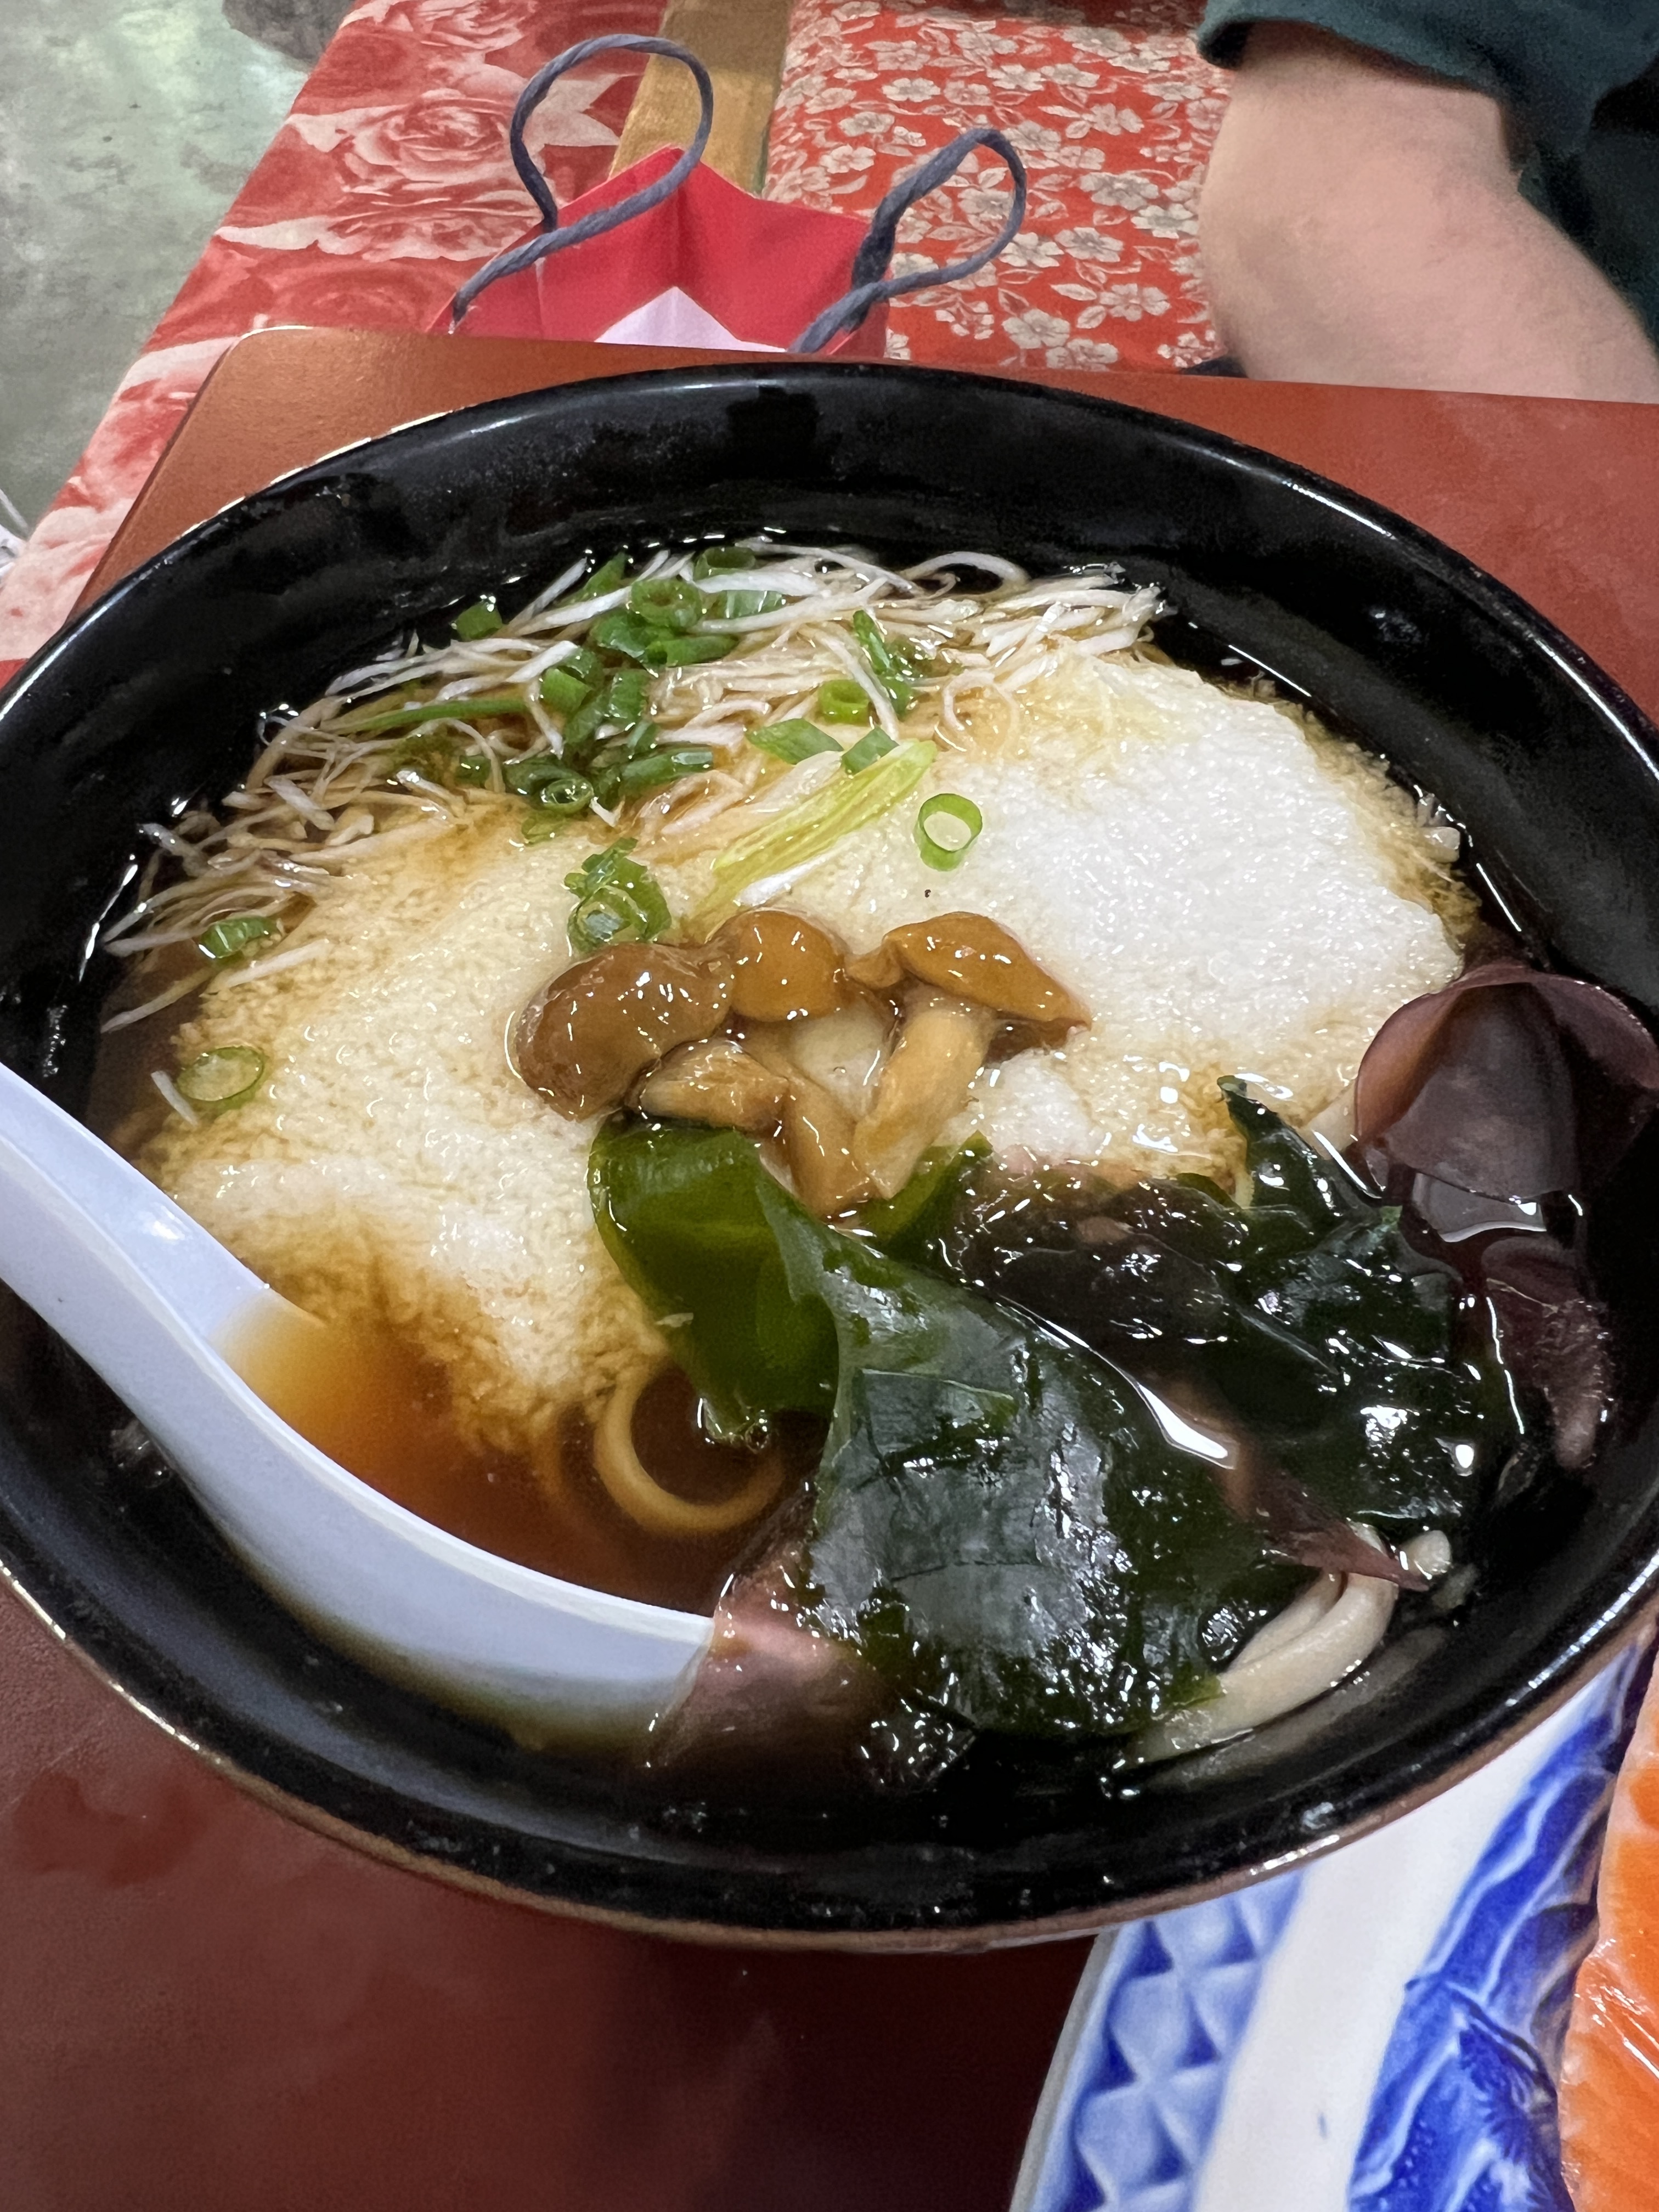
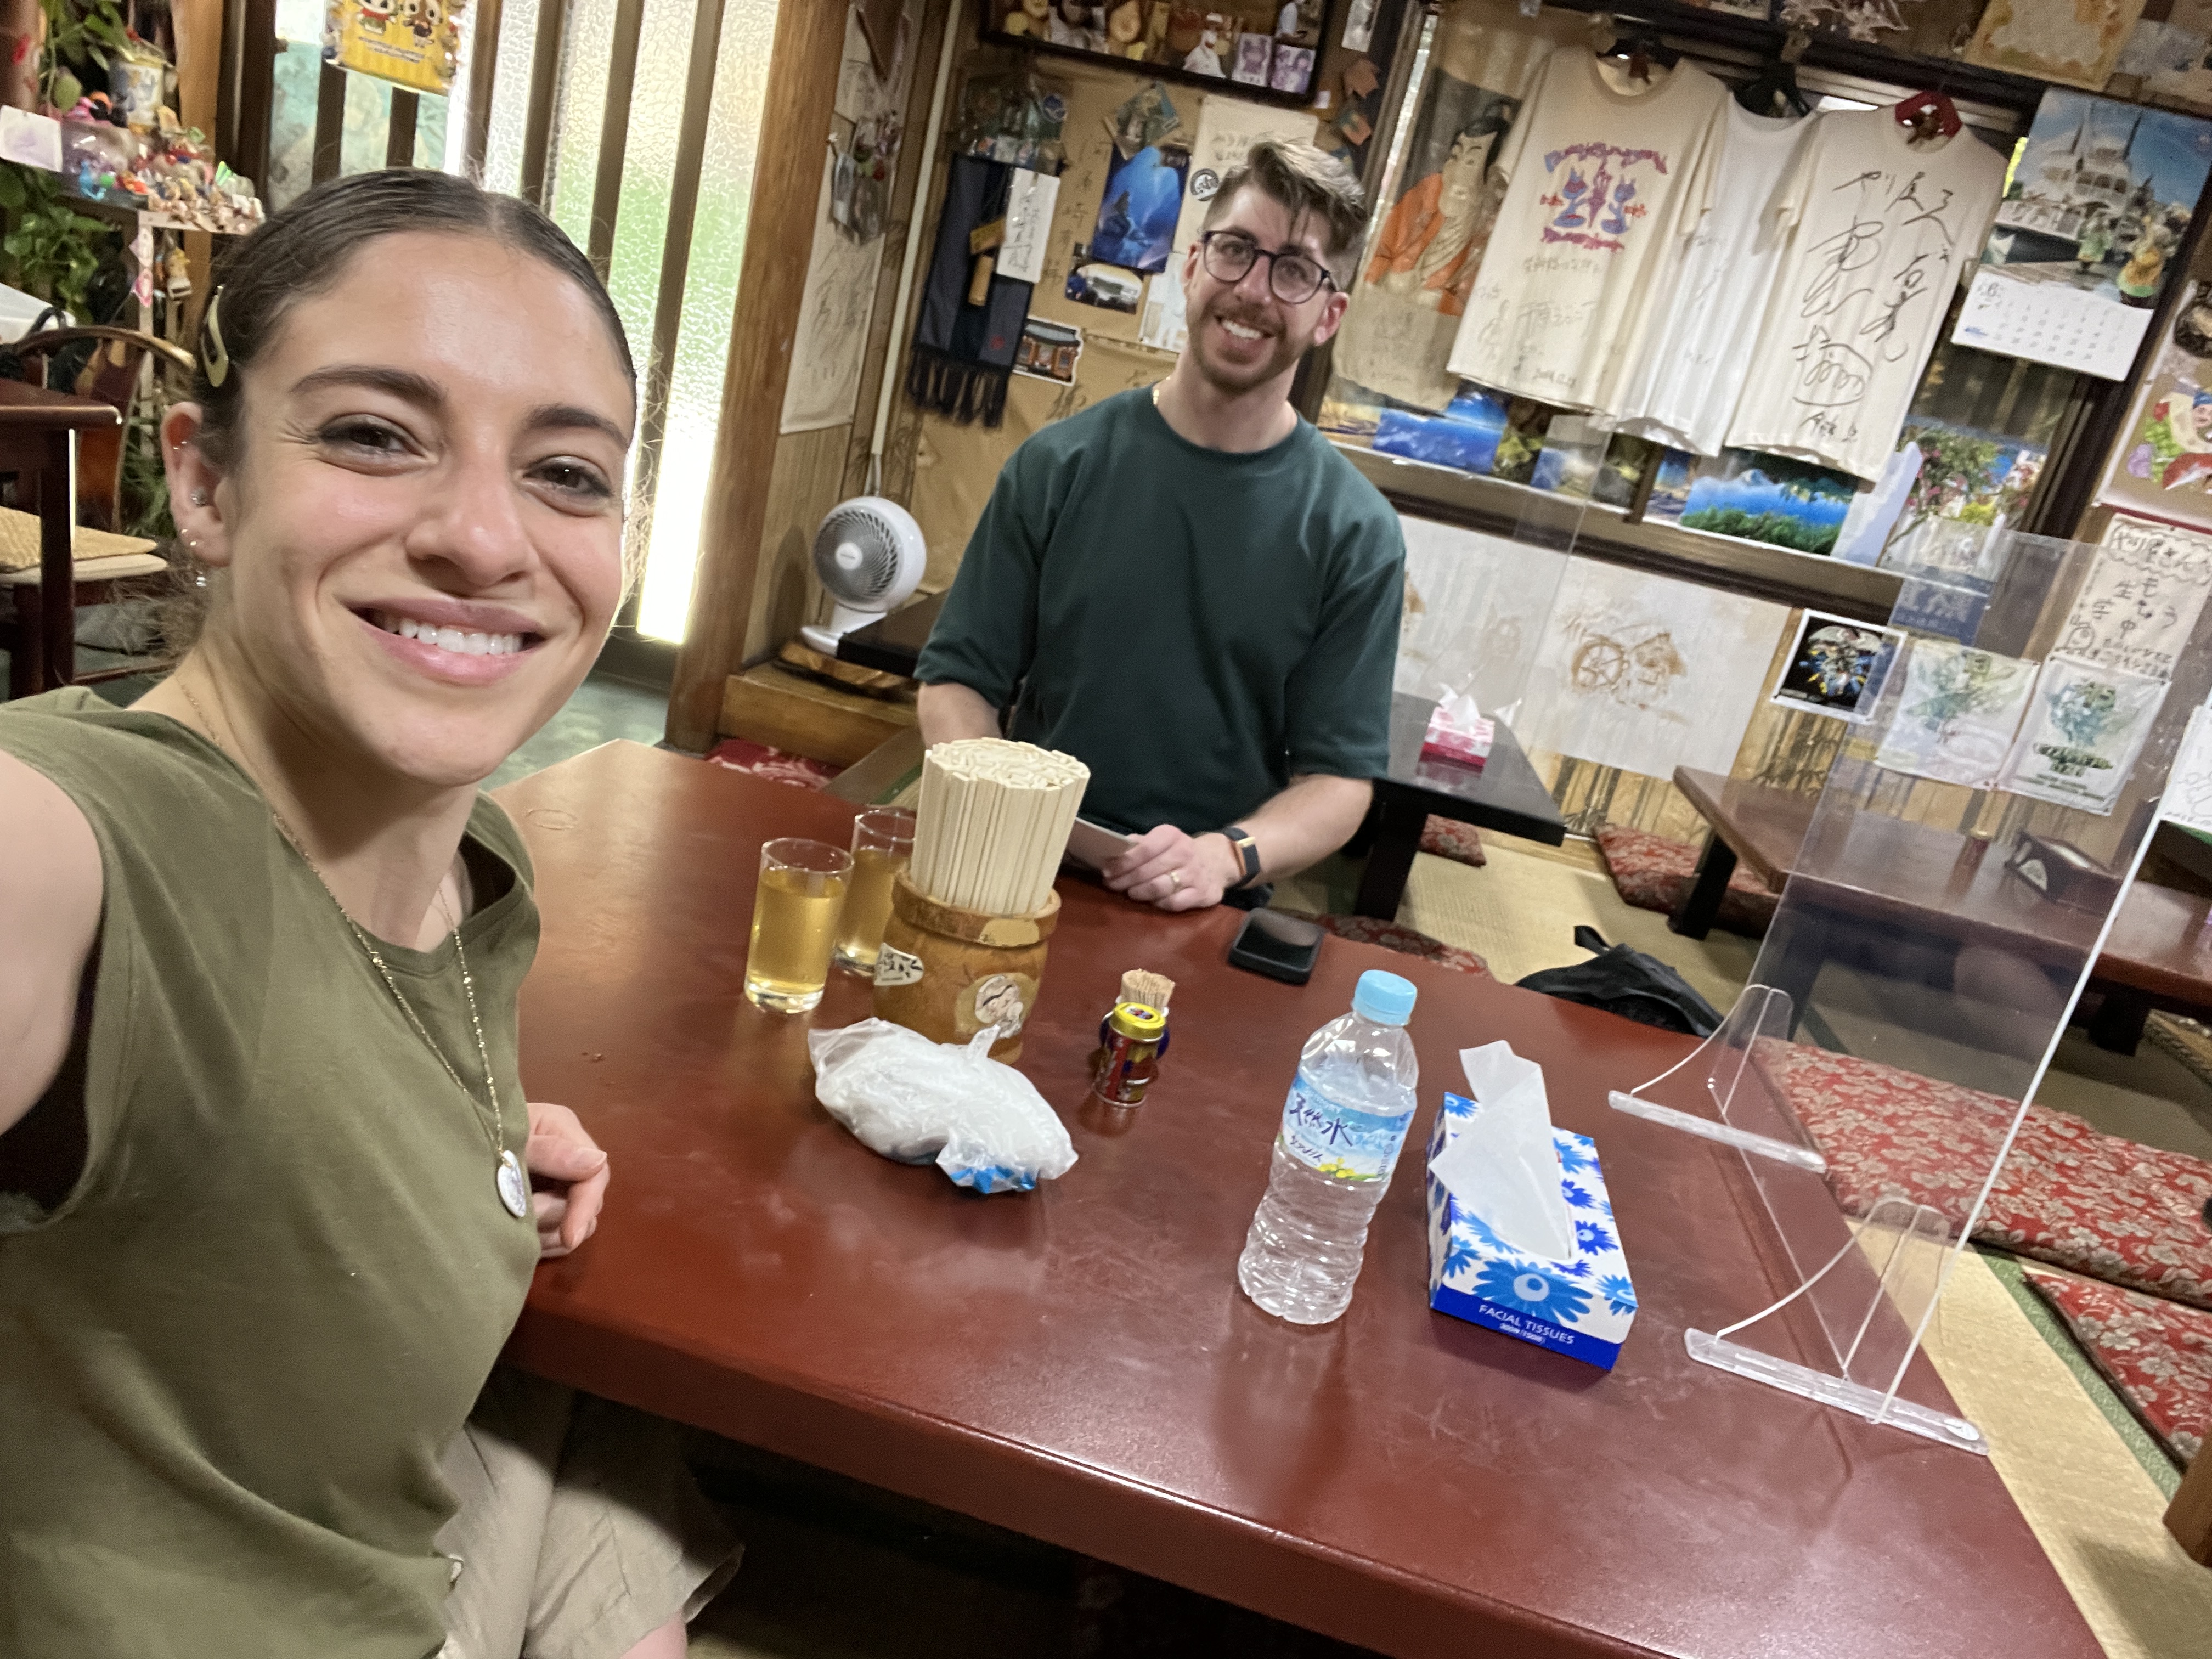
Nearly overheating worked up an appetite so we stopped into a tiny local restaurant called Soba Yariya – the food was fresh, homemade, and was delicious! It is tough to tell from the photo but we were sitting on the floor at a low table for our meal. There were normal tables in the restaurant as well. If you stop into Shibu for your onsen experience, definitely check out this restaurant while you are there! The dipping soba noodles and the salmon sashimi were particularly delicious.
We had a bit of a walk up the mountain after lunch to get to the snow monkey park. On the way we got apple ice cream at Enza’s Café, located at a prime point on the walk right where most people probably lose hope. The ice cream was absolutely necessary to get us the rest of the way.
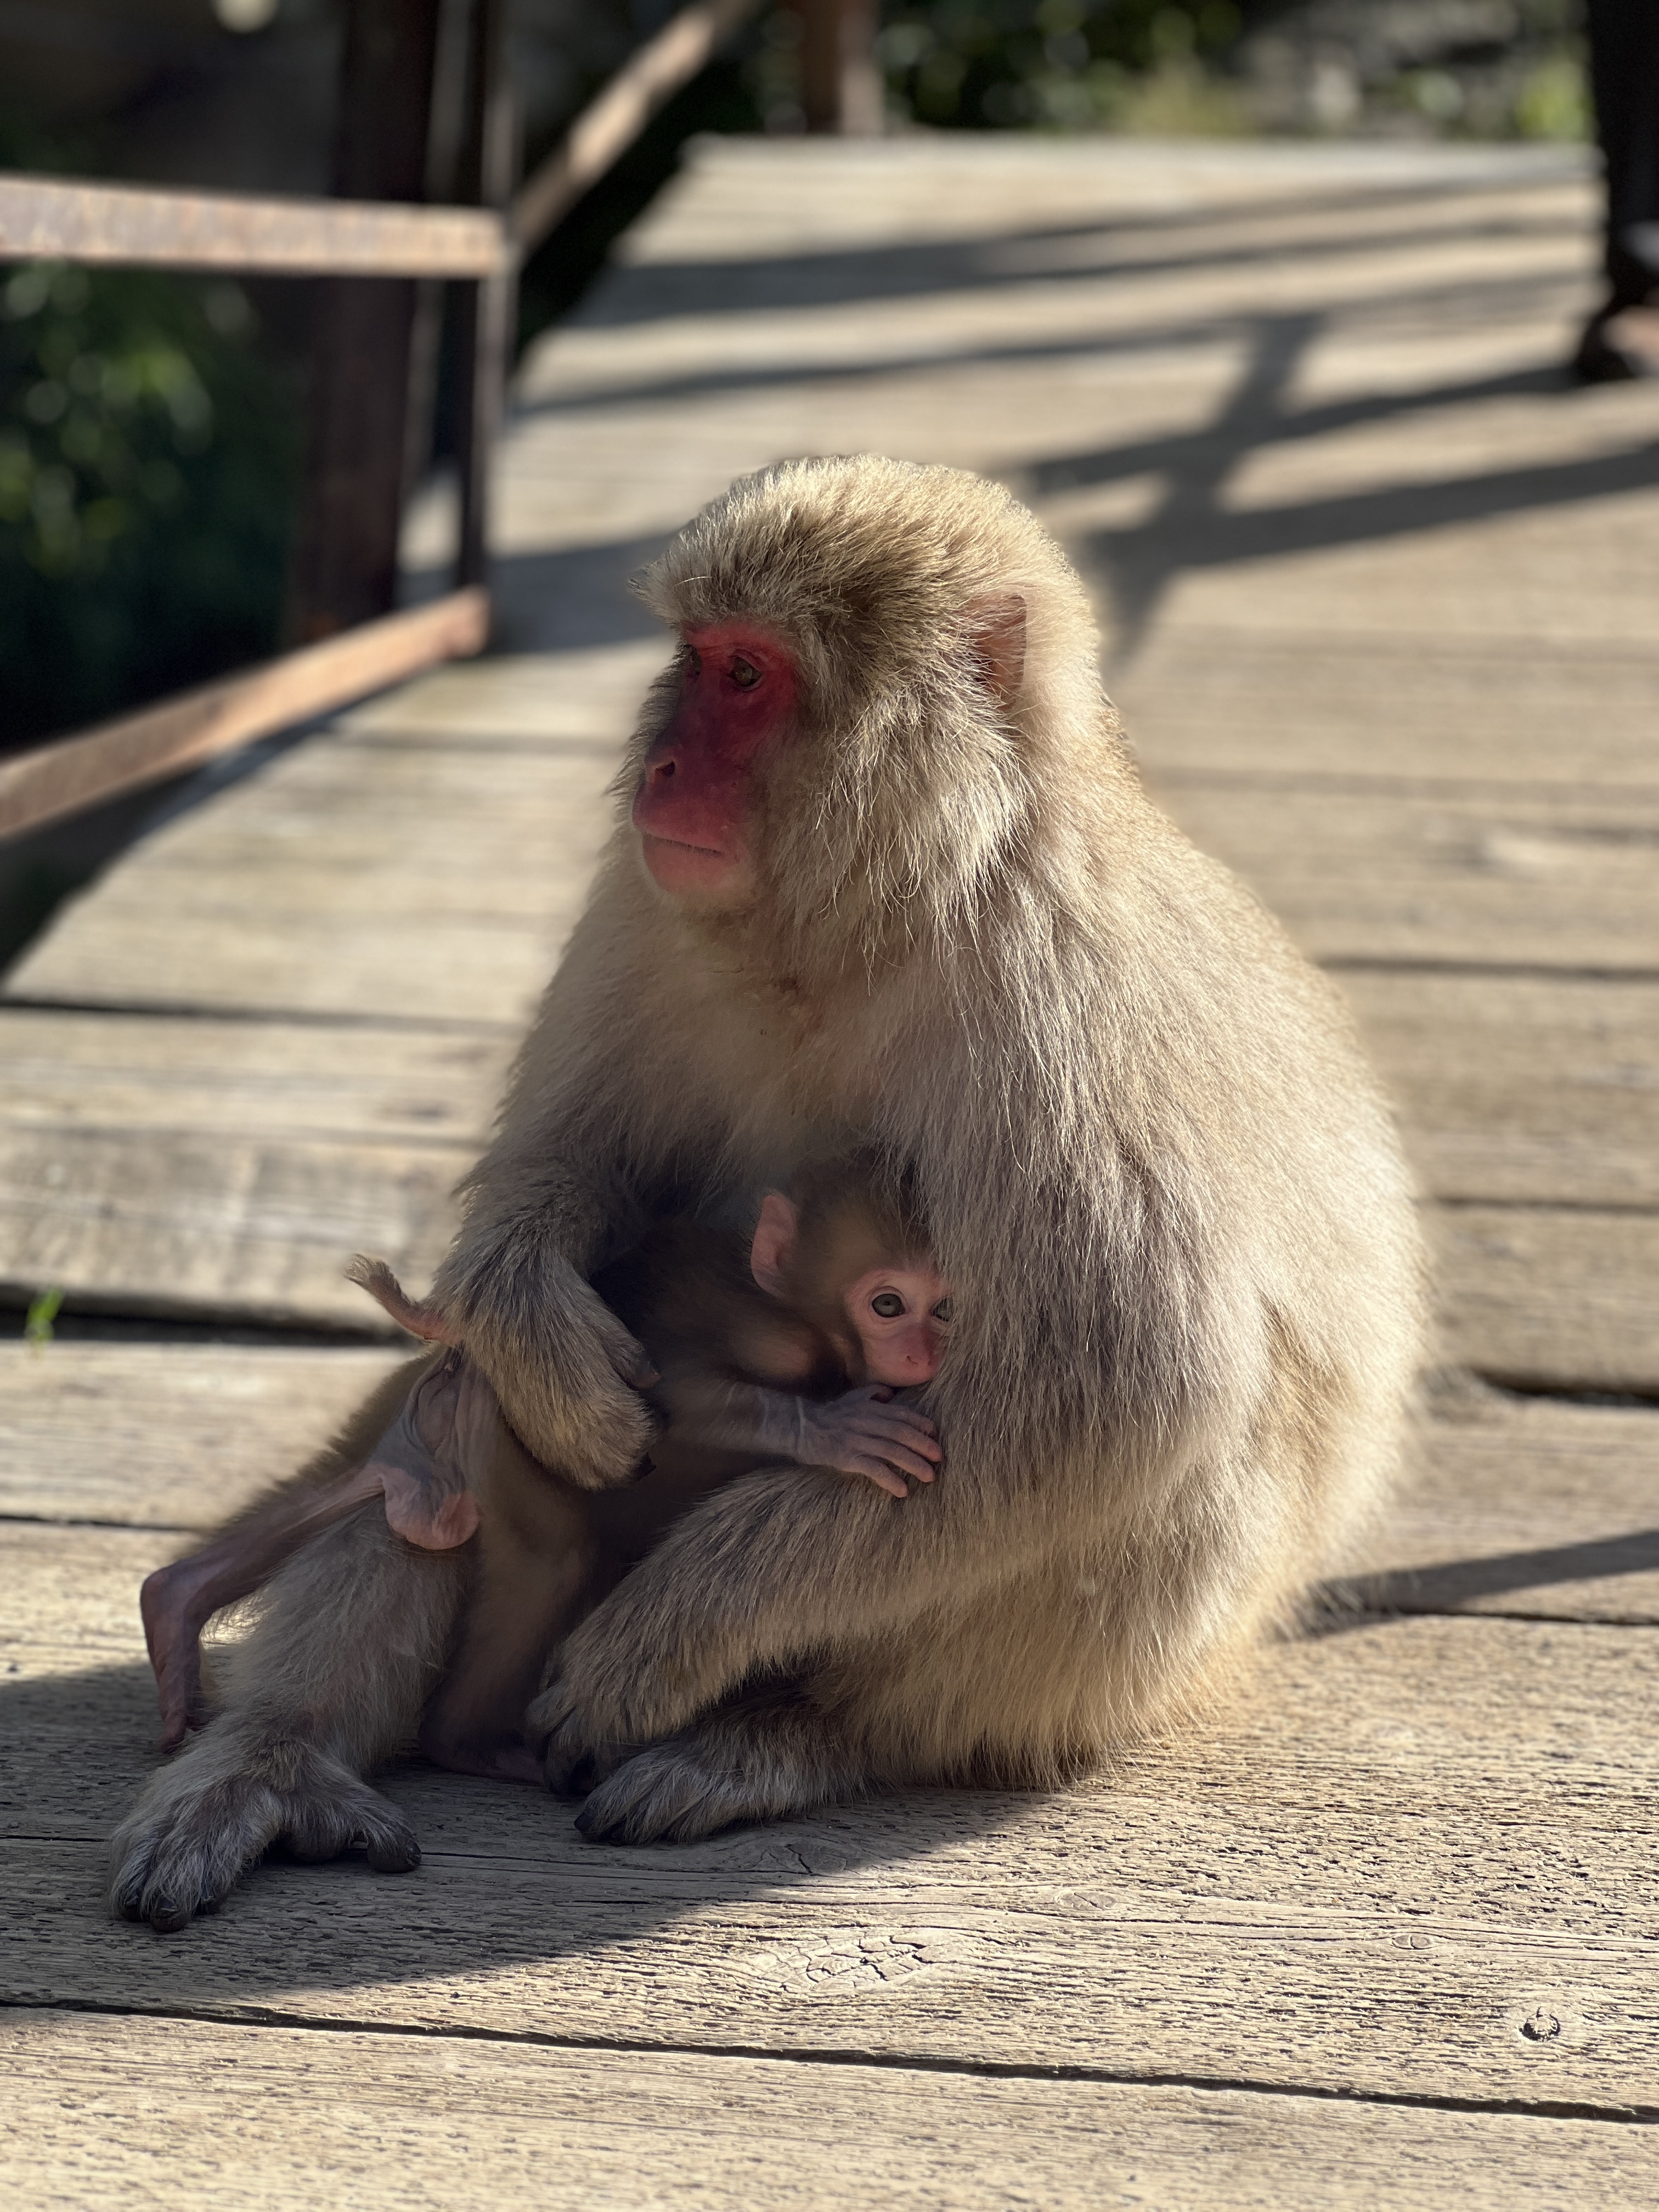
We made it to the snow monkey park and spent over two hours in the park just watching the snow monkeys in their natural habitat. It was birthing season so there were babies running around and it was such a fun experience! The monkeys were completely unbothered by humans and they would walk right past you on the paths in the park. Their cute faces and sleepy demeanor should not fool you though – we witnessed a few snow monkey altercations while we were there and it could get pretty nasty! This was a highlight on our trip, but we did save it until after we had explored the city center of Tokyo as there is so much to do and see right in the city. I hope you have time in your itinerary to get outside the city and see the snow monkeys, but I can understand planning an itinerary where this is not a priority.
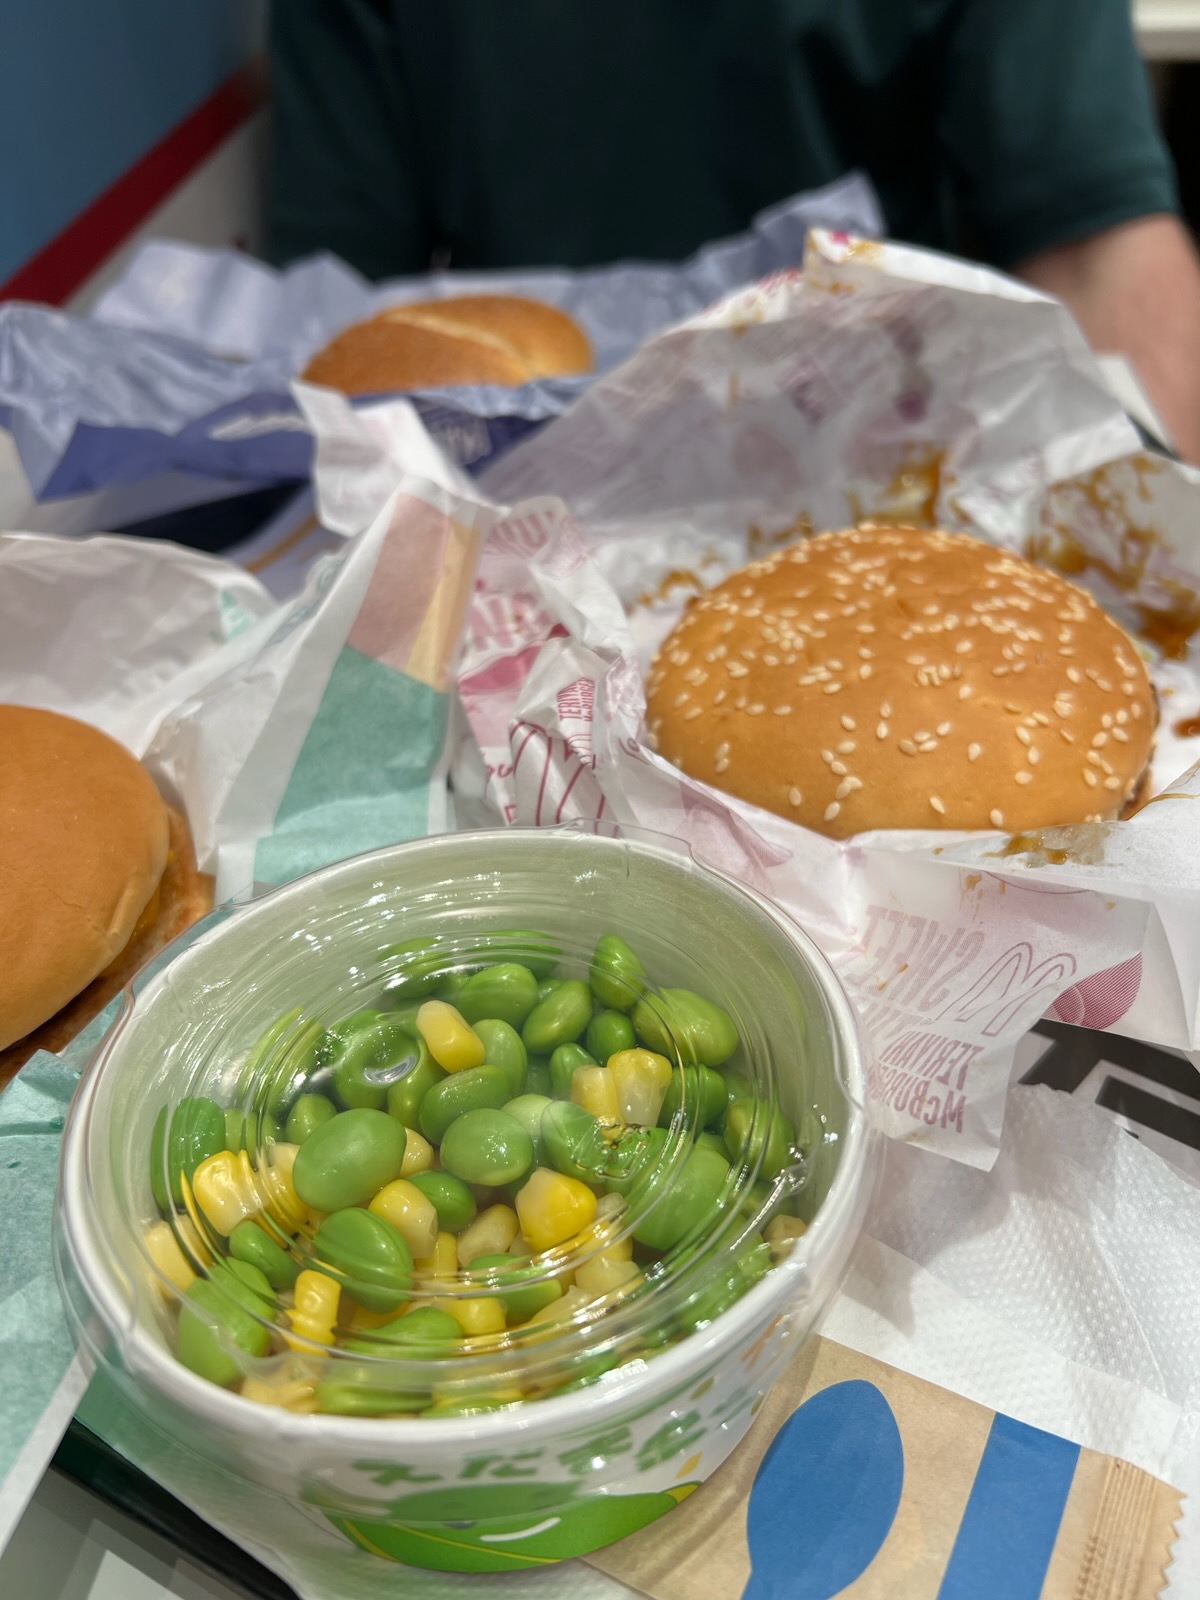
By the time we had gotten back from the snow monkeys we were exhausted and it was late, so we took this opportunity to try some authentic Japanese McDonald’s! To be honest, I always like to try the local fast food in foreign locations because there are items on the menu that I cannot get at home.
It may not look like it in these pictures, but we are having a BLAST! These have been really long days with a lot of walking (buses and cabs are often available as well, we just typically choose to walk and explore the local streets), and we were still adjusting to the time zone. I am here to keep it real that this itinerary provides some long days that might not be suited to the more relaxed traveler. Needless to say, after our Mc’D we went straight to sleep!
For video footage of day 4 in Nagano (as a day trip from Tokyo), check out my reel on Instagram!
Day 5 – Hakone (Day Trip from Tokyo)
While planning I anticipated being exhausted by now, which turned out t be an accurate insight. For day 5 I booked in advance a full-day private tour to Hakone. While we splurged on the private experience for our honeymoon, there are more affordable options in a group setting. If you like the way our private tour sounds, send me a DM on Instagram so I can connect you with our tour guide.
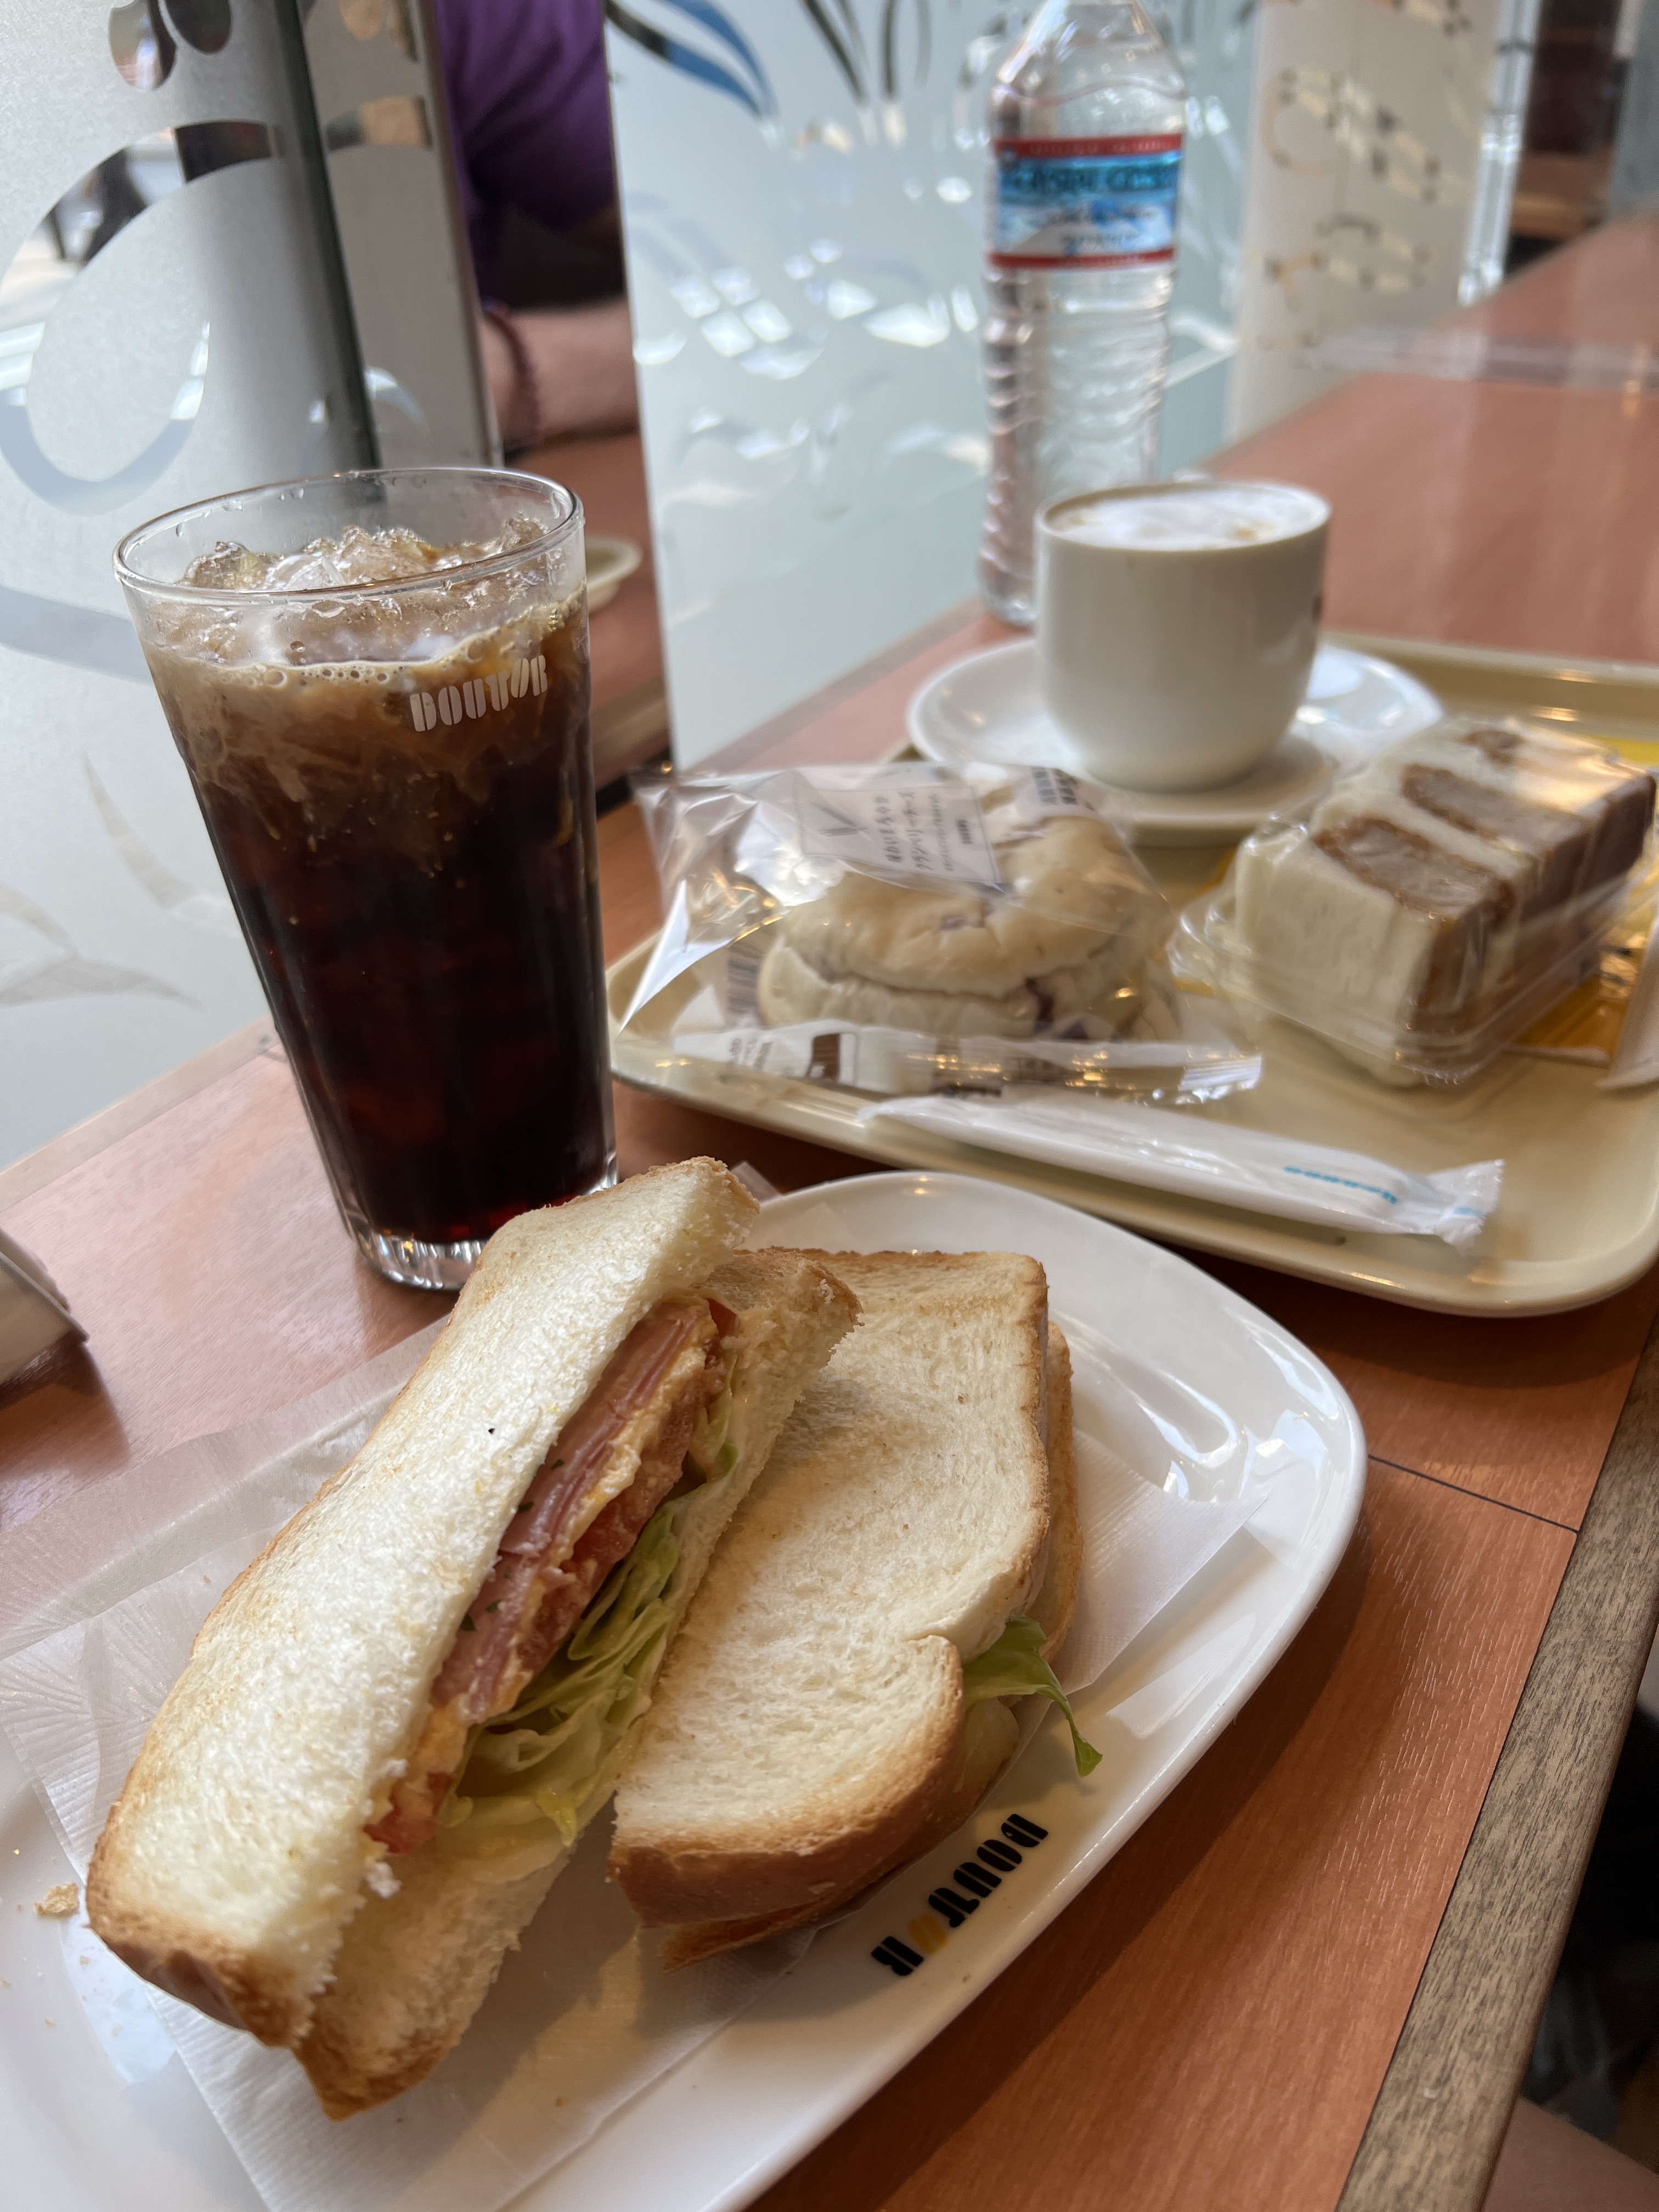
We started the day with a quick breakfast at Doutor. As you can see, I became a big fan of sandwiches with egg salad in them while in Japan. While Nick’s breakfast looks like a fat slice of cake, it is actually a pork katsu sandwich.
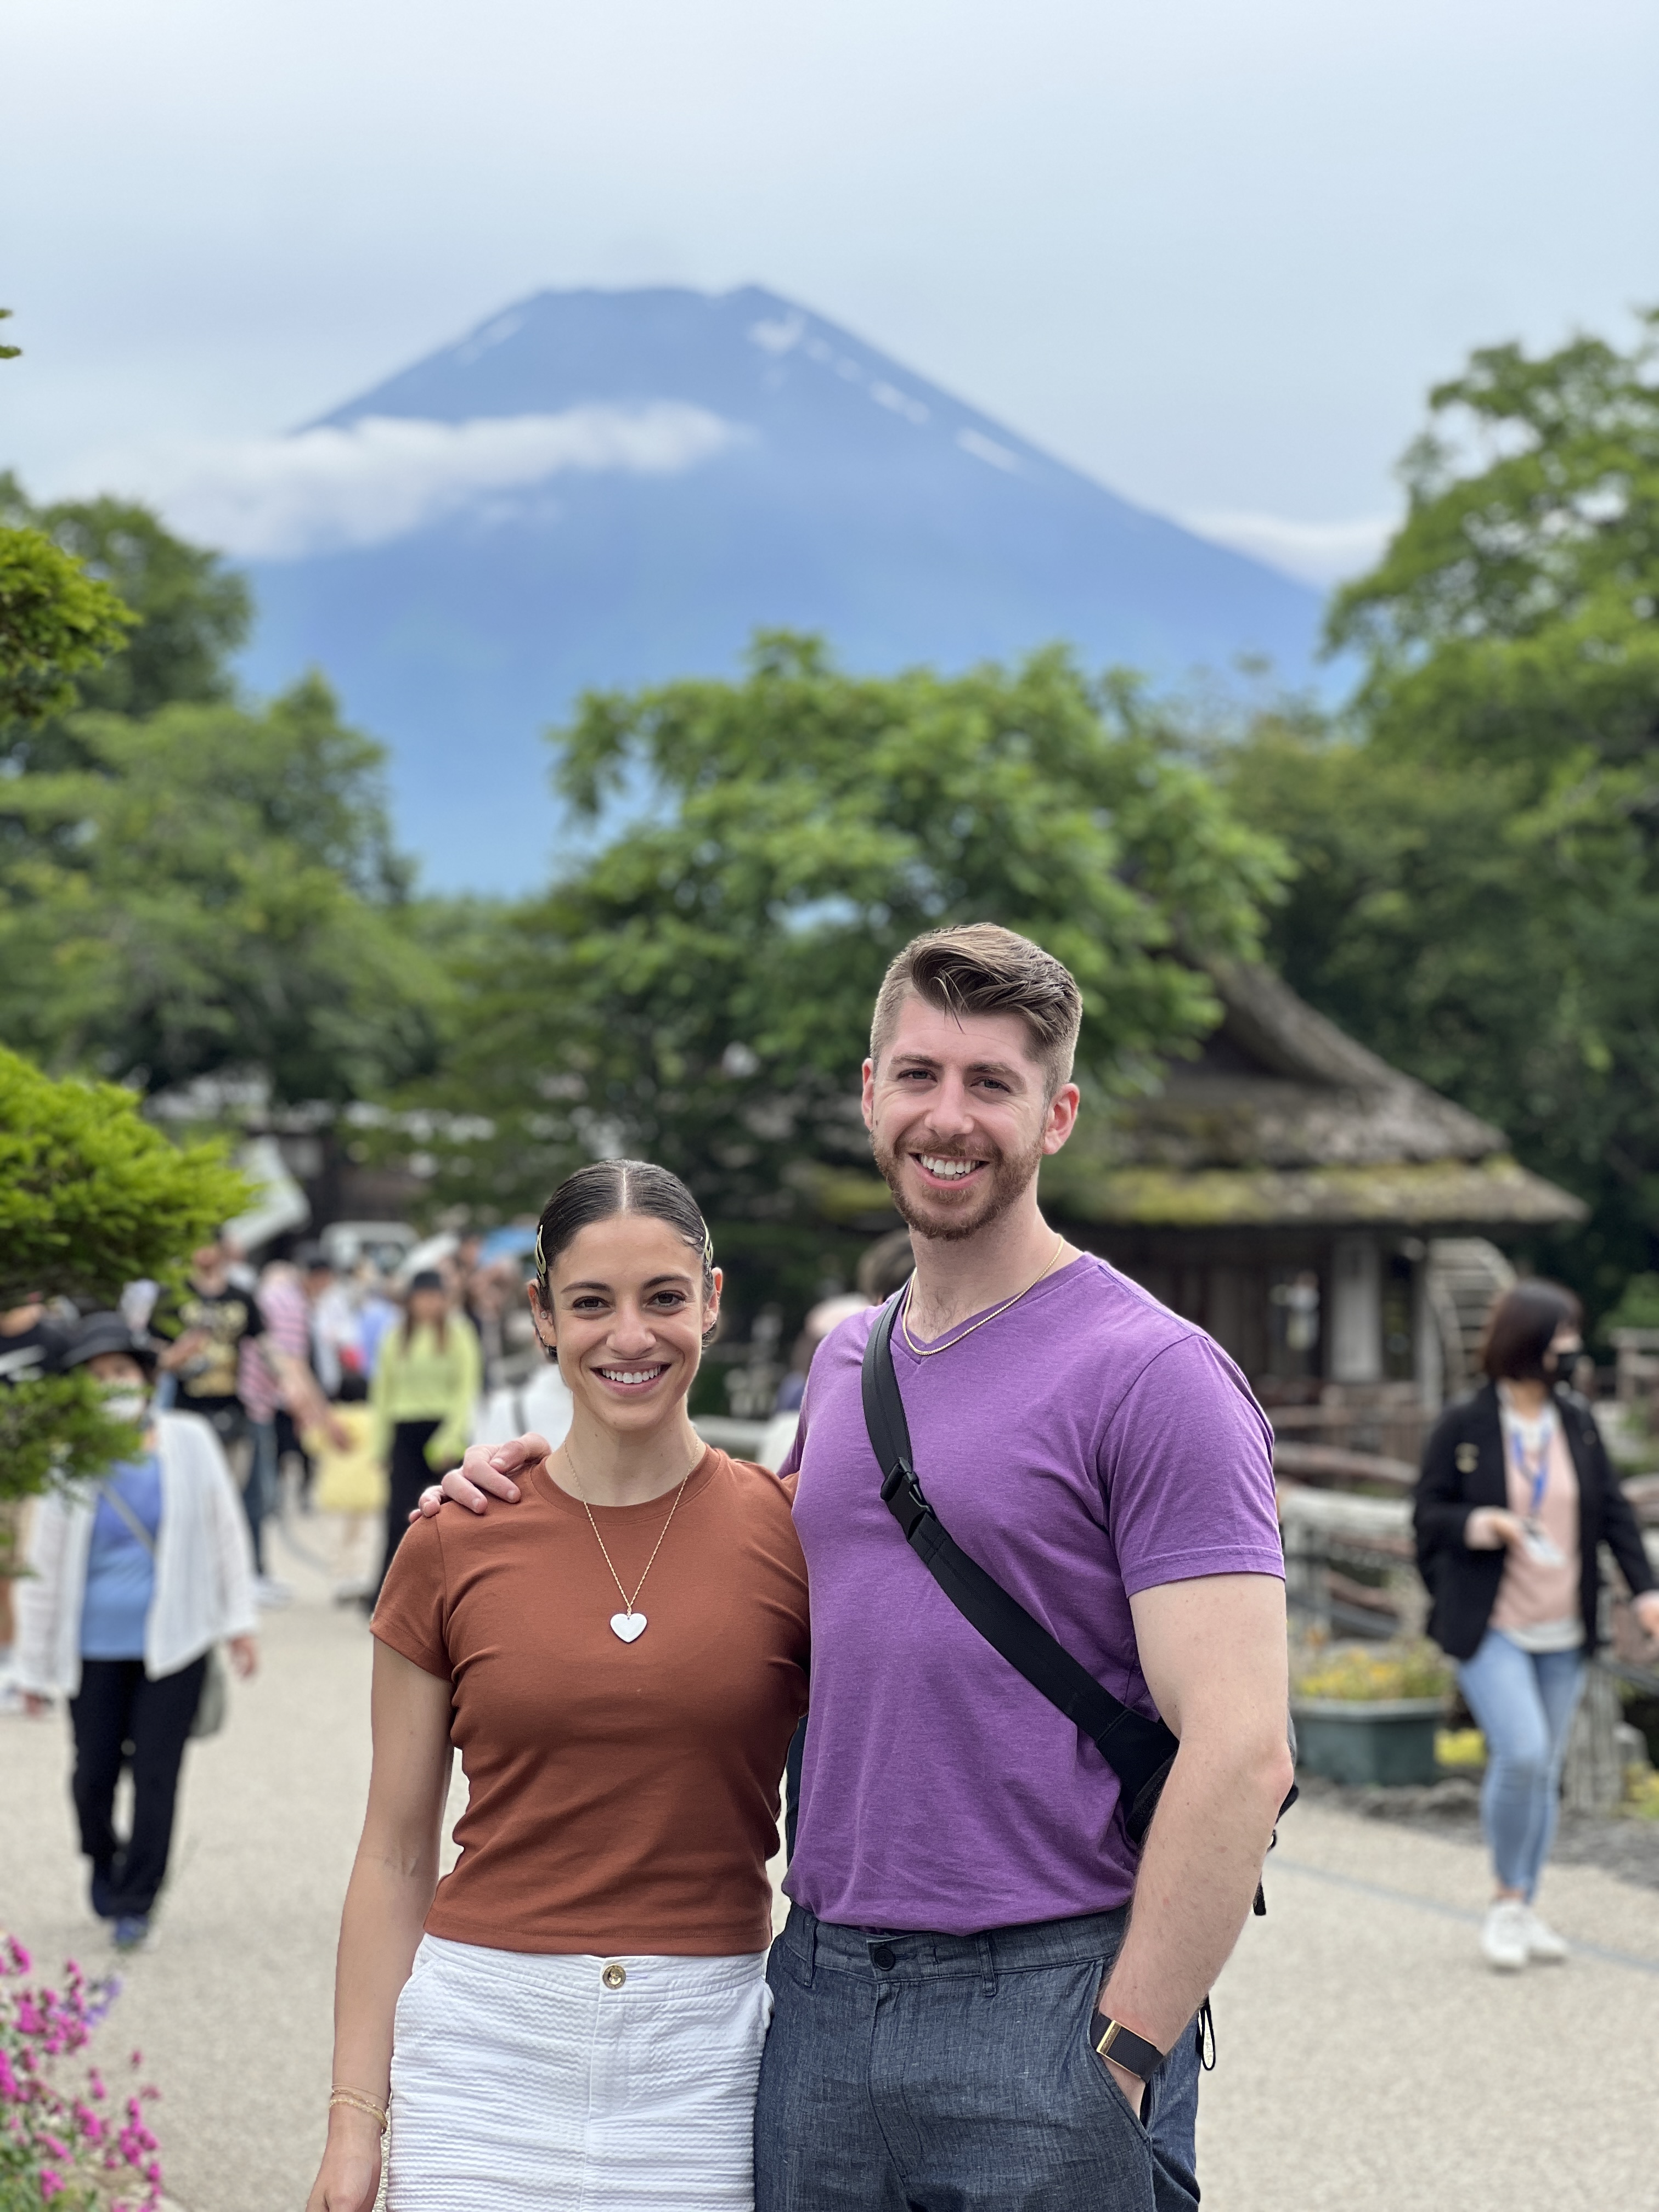
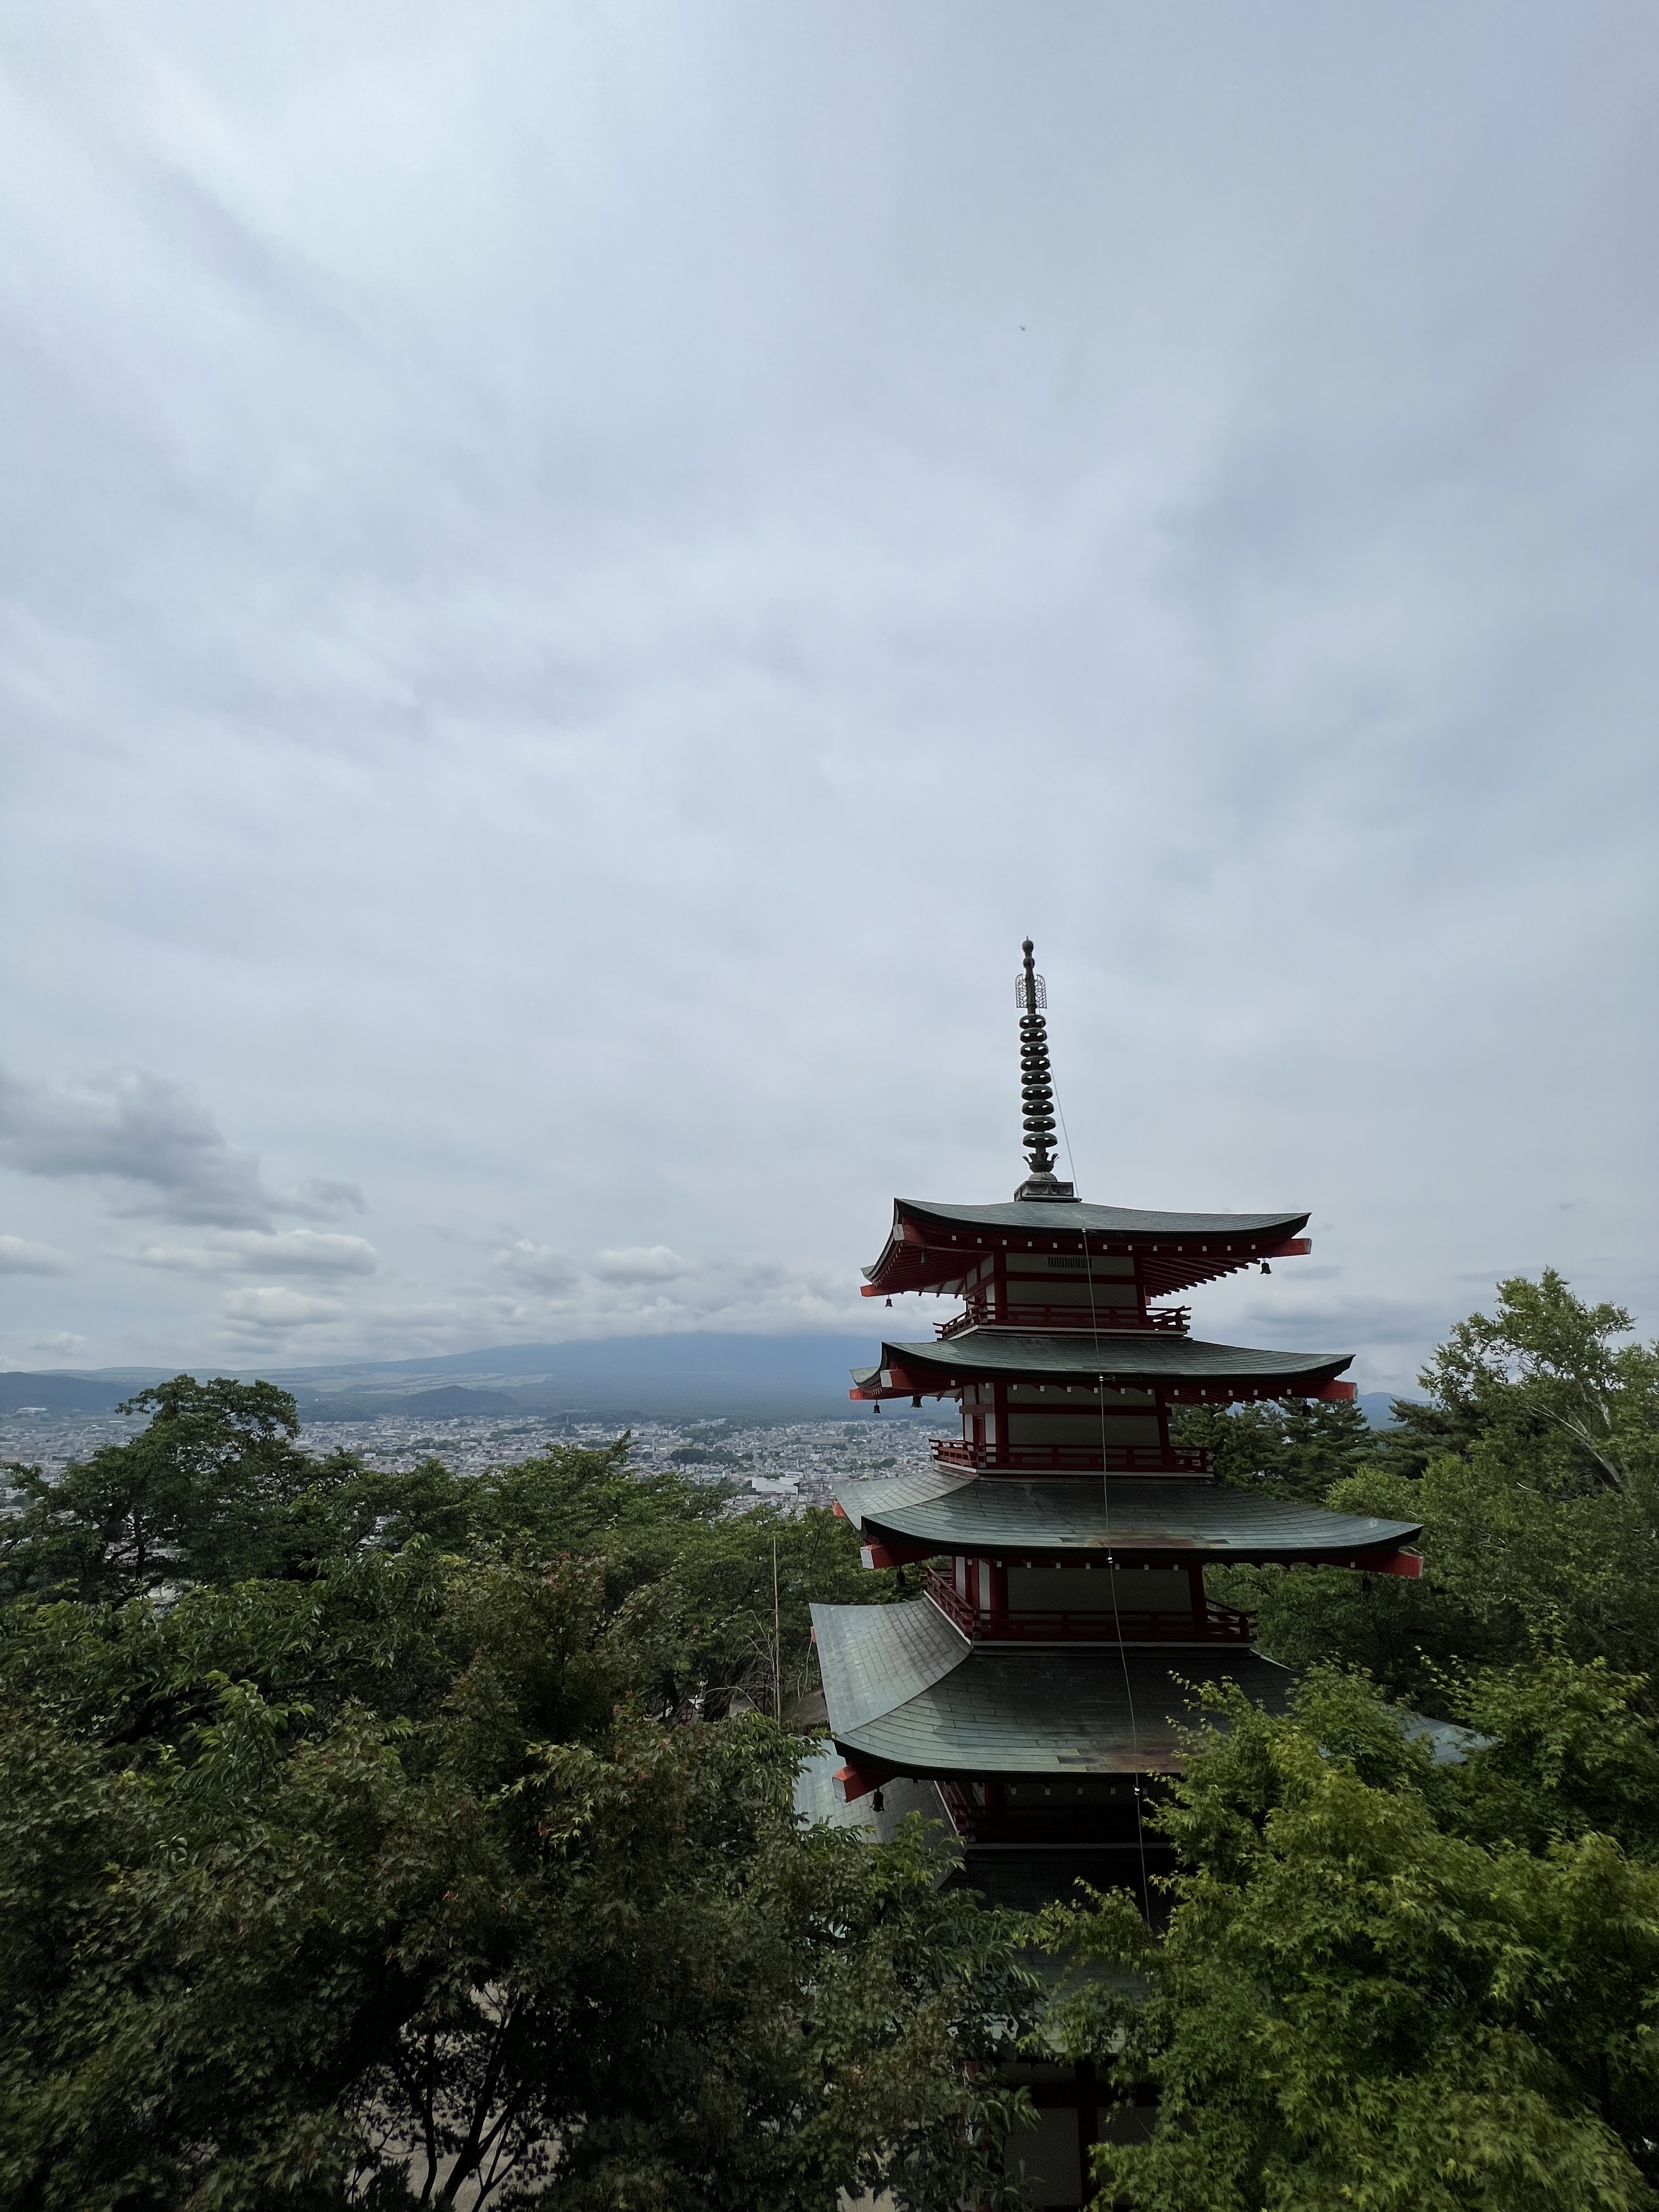
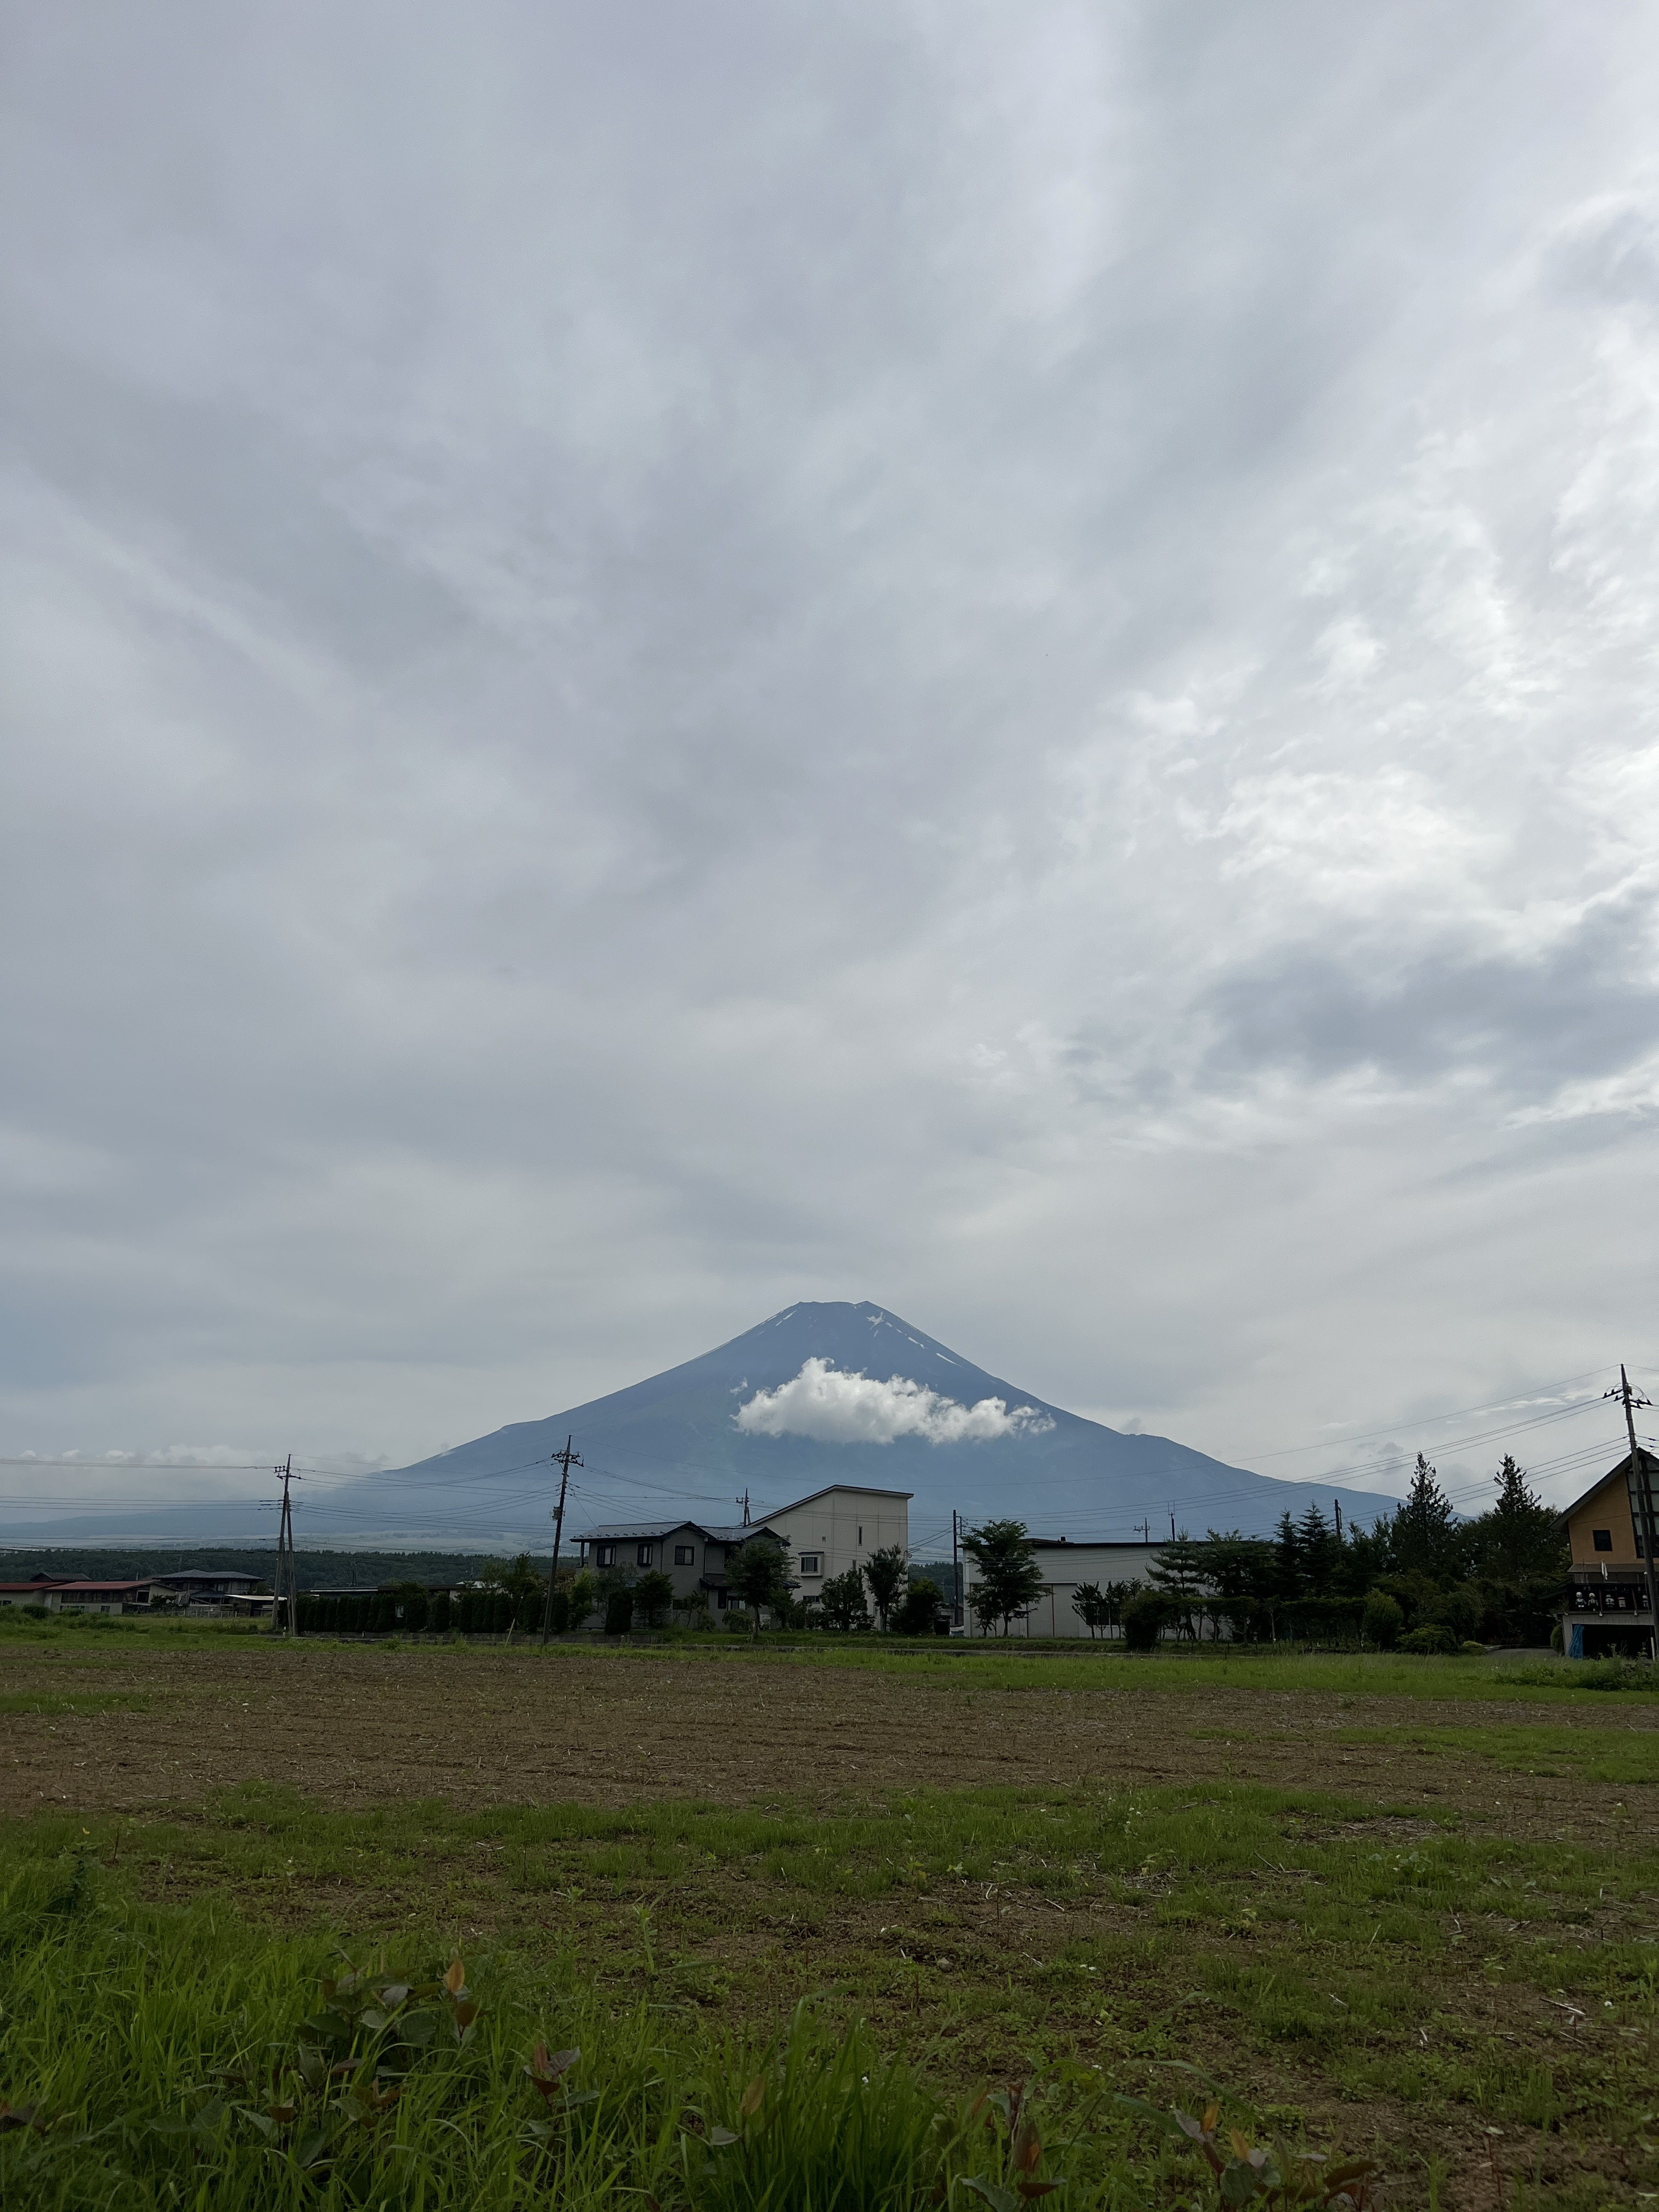
Our fantastic tour guide picked us up at our hotel at 8 AM in his car and we started the 1 hour drive towards Mt. Fuji. On the drive, he talked us through the different options that we could choose to see on our tour so we got to customize our experience which was nice. Our first stop was the Arakurayama Sengen Shrine and the Chureito Pagoda. There, we climbed 398 stairs to catch a view of the beautiful pagoda and what would have been a fantastic view of Mt. Fuji behind it, should she have been ready to come out and play that morning. It was not so, so we got a view of the pagoda with some clouds in the background – still worth the climb!
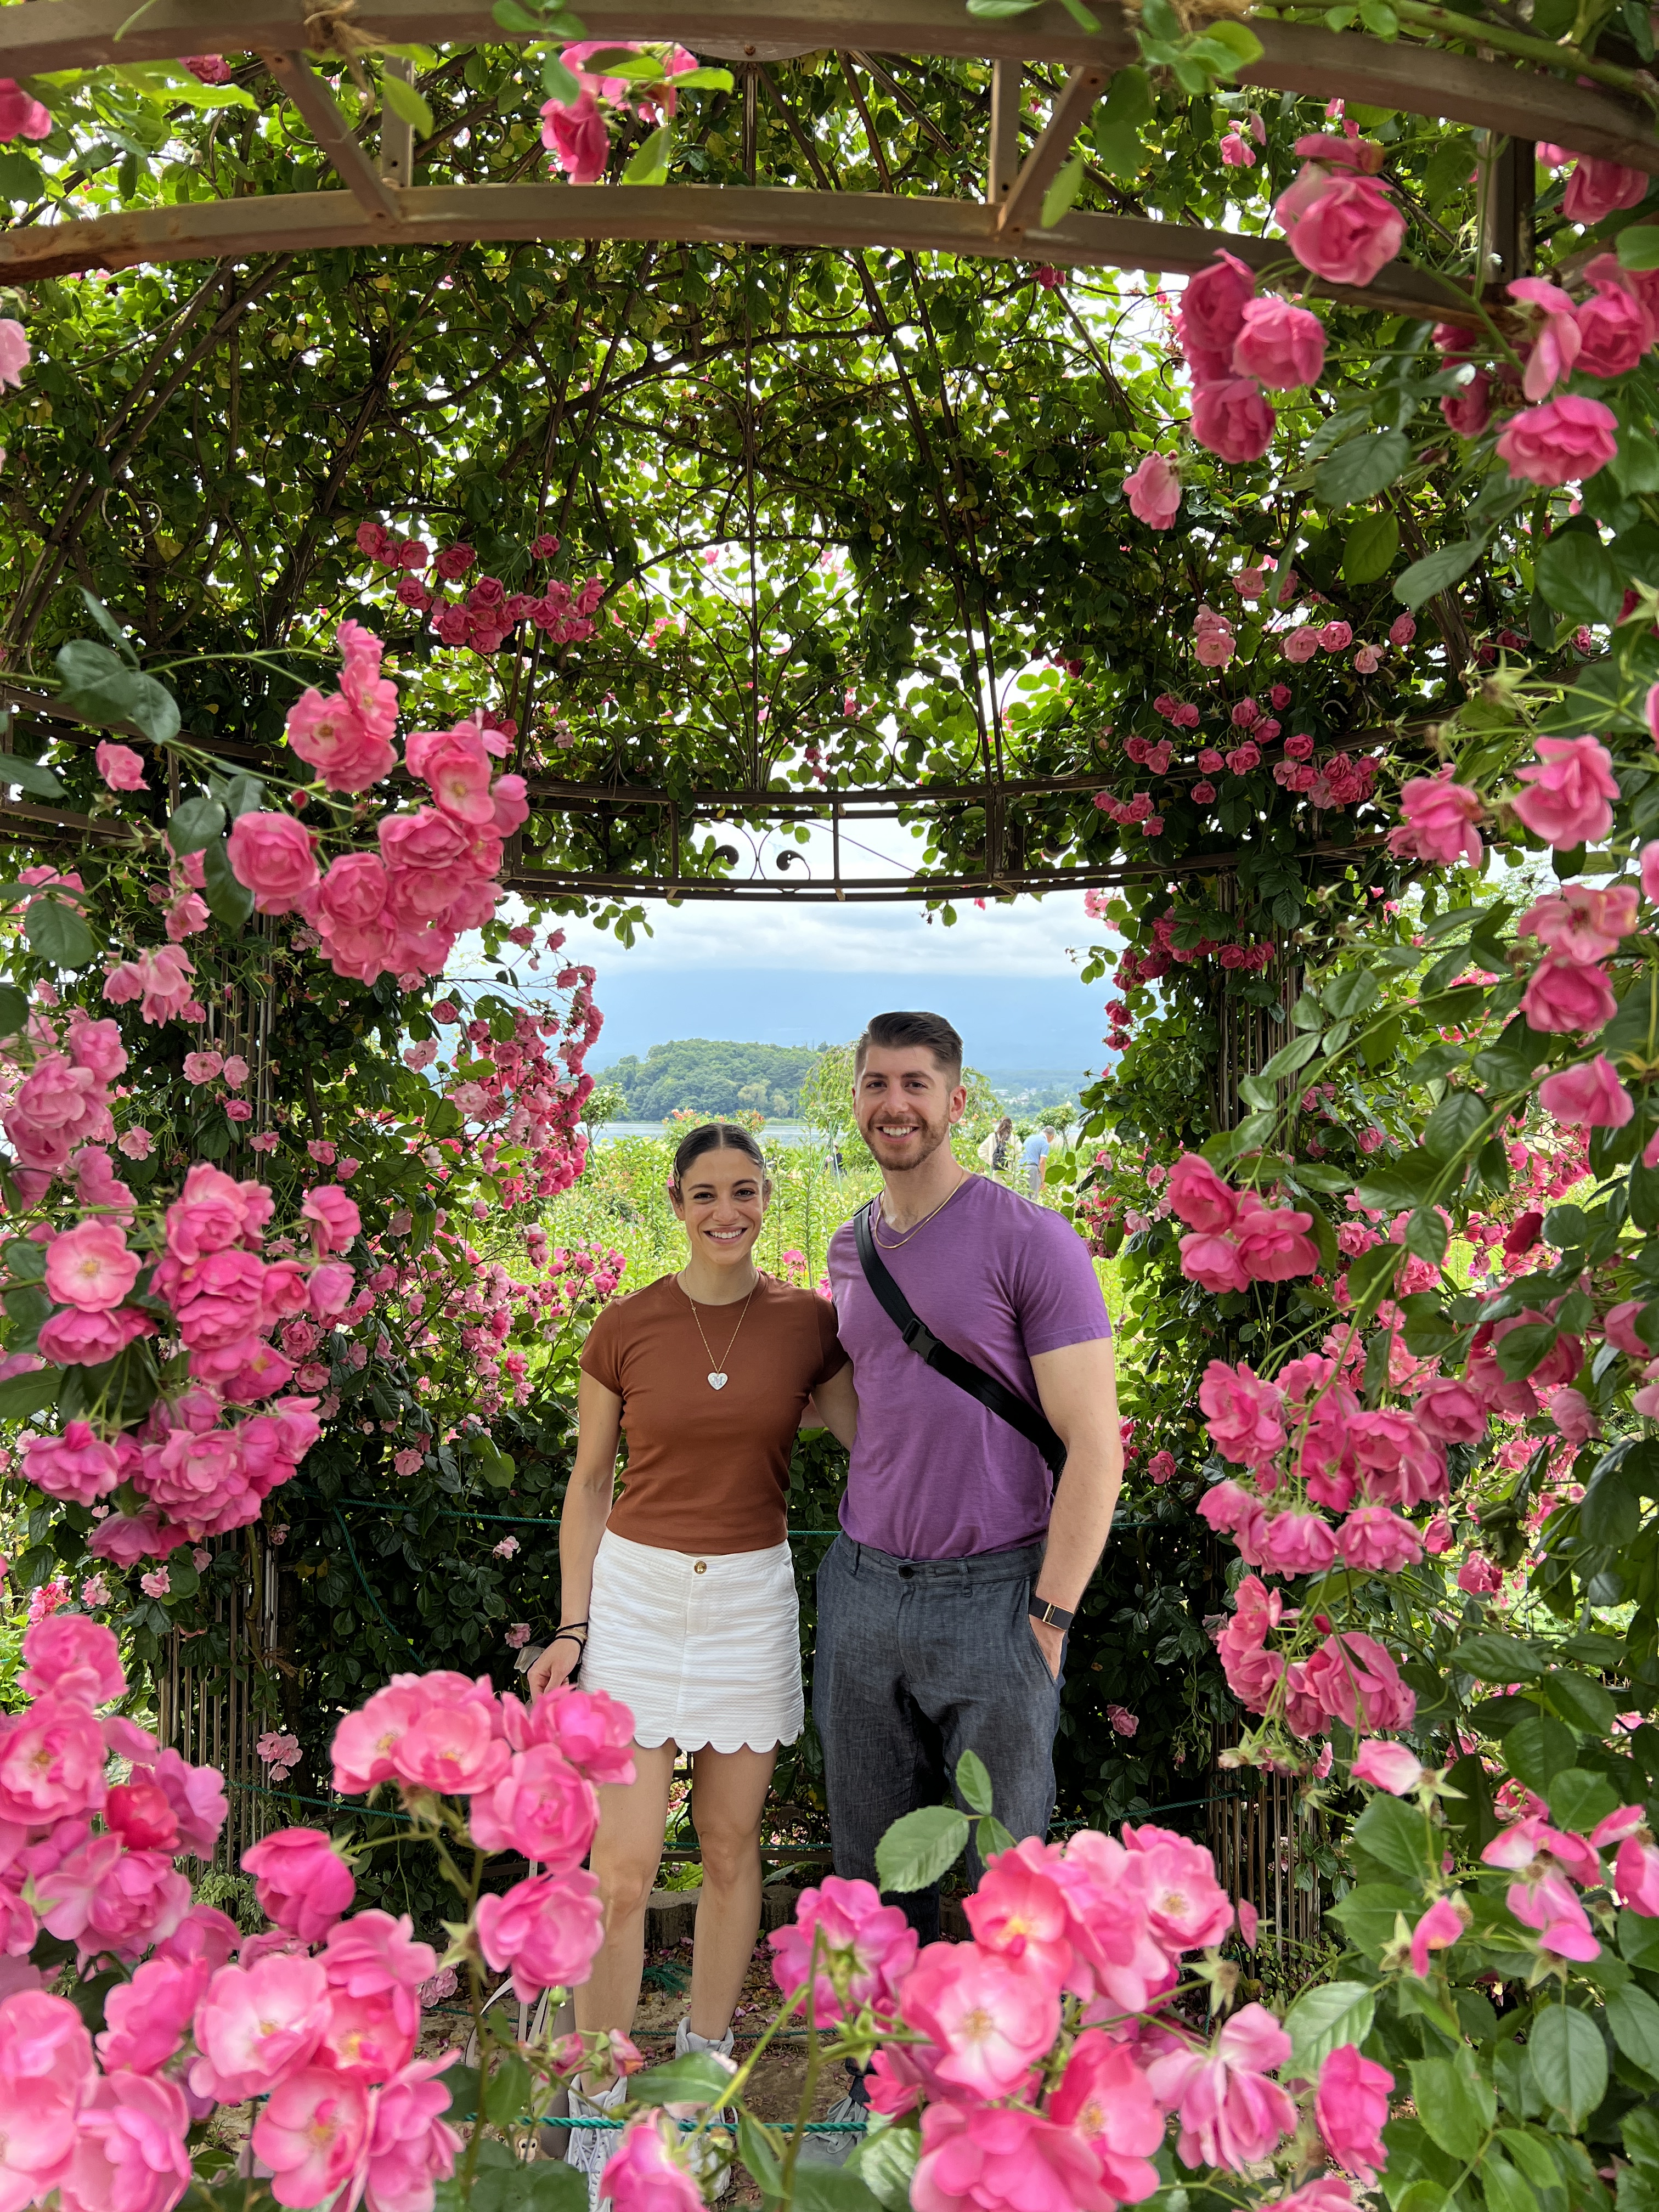
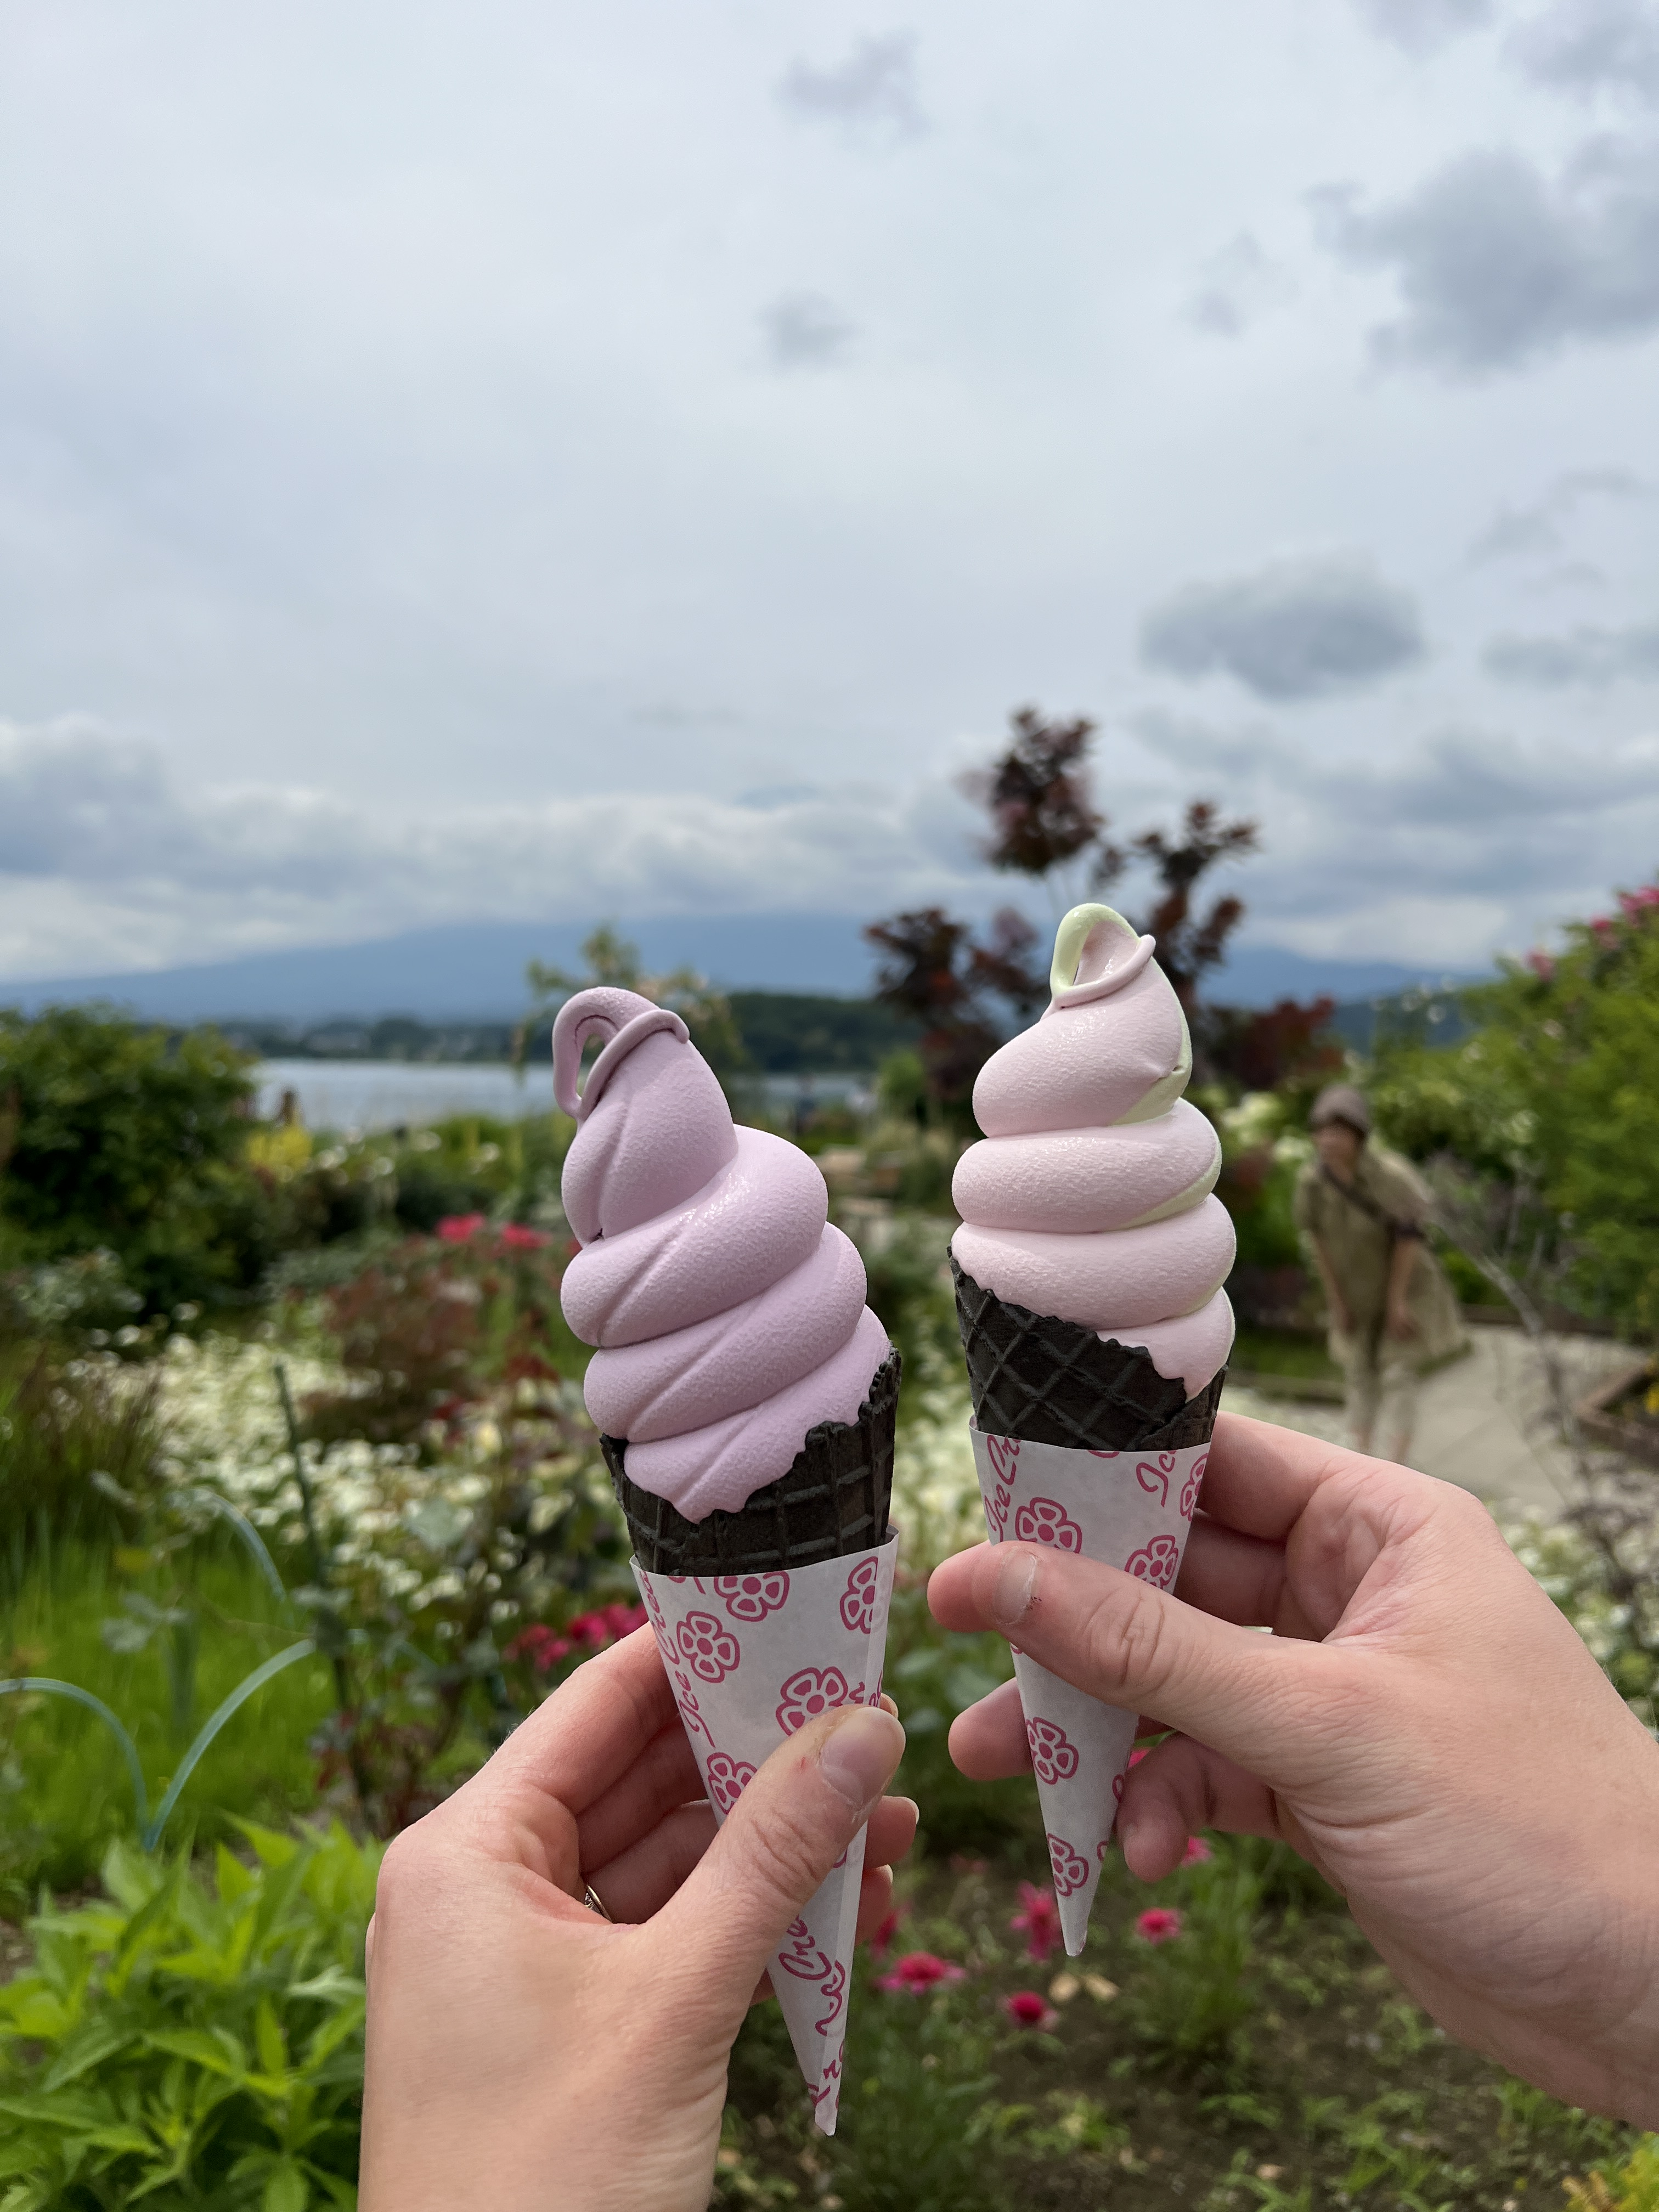
Next we drove to Oishi Park. “Oishi” means delicious in Japanese, and this park, known for its delicious ice cream, is aptly named. We got some ice cream (the grape ad blueberry were outrageous) and marveled at a man-made statue of 252 different types of volcanic rock. The park was also beautifully manicured with flowers and trees that thrive in different seasons intentionally so that there is always something in bloom.
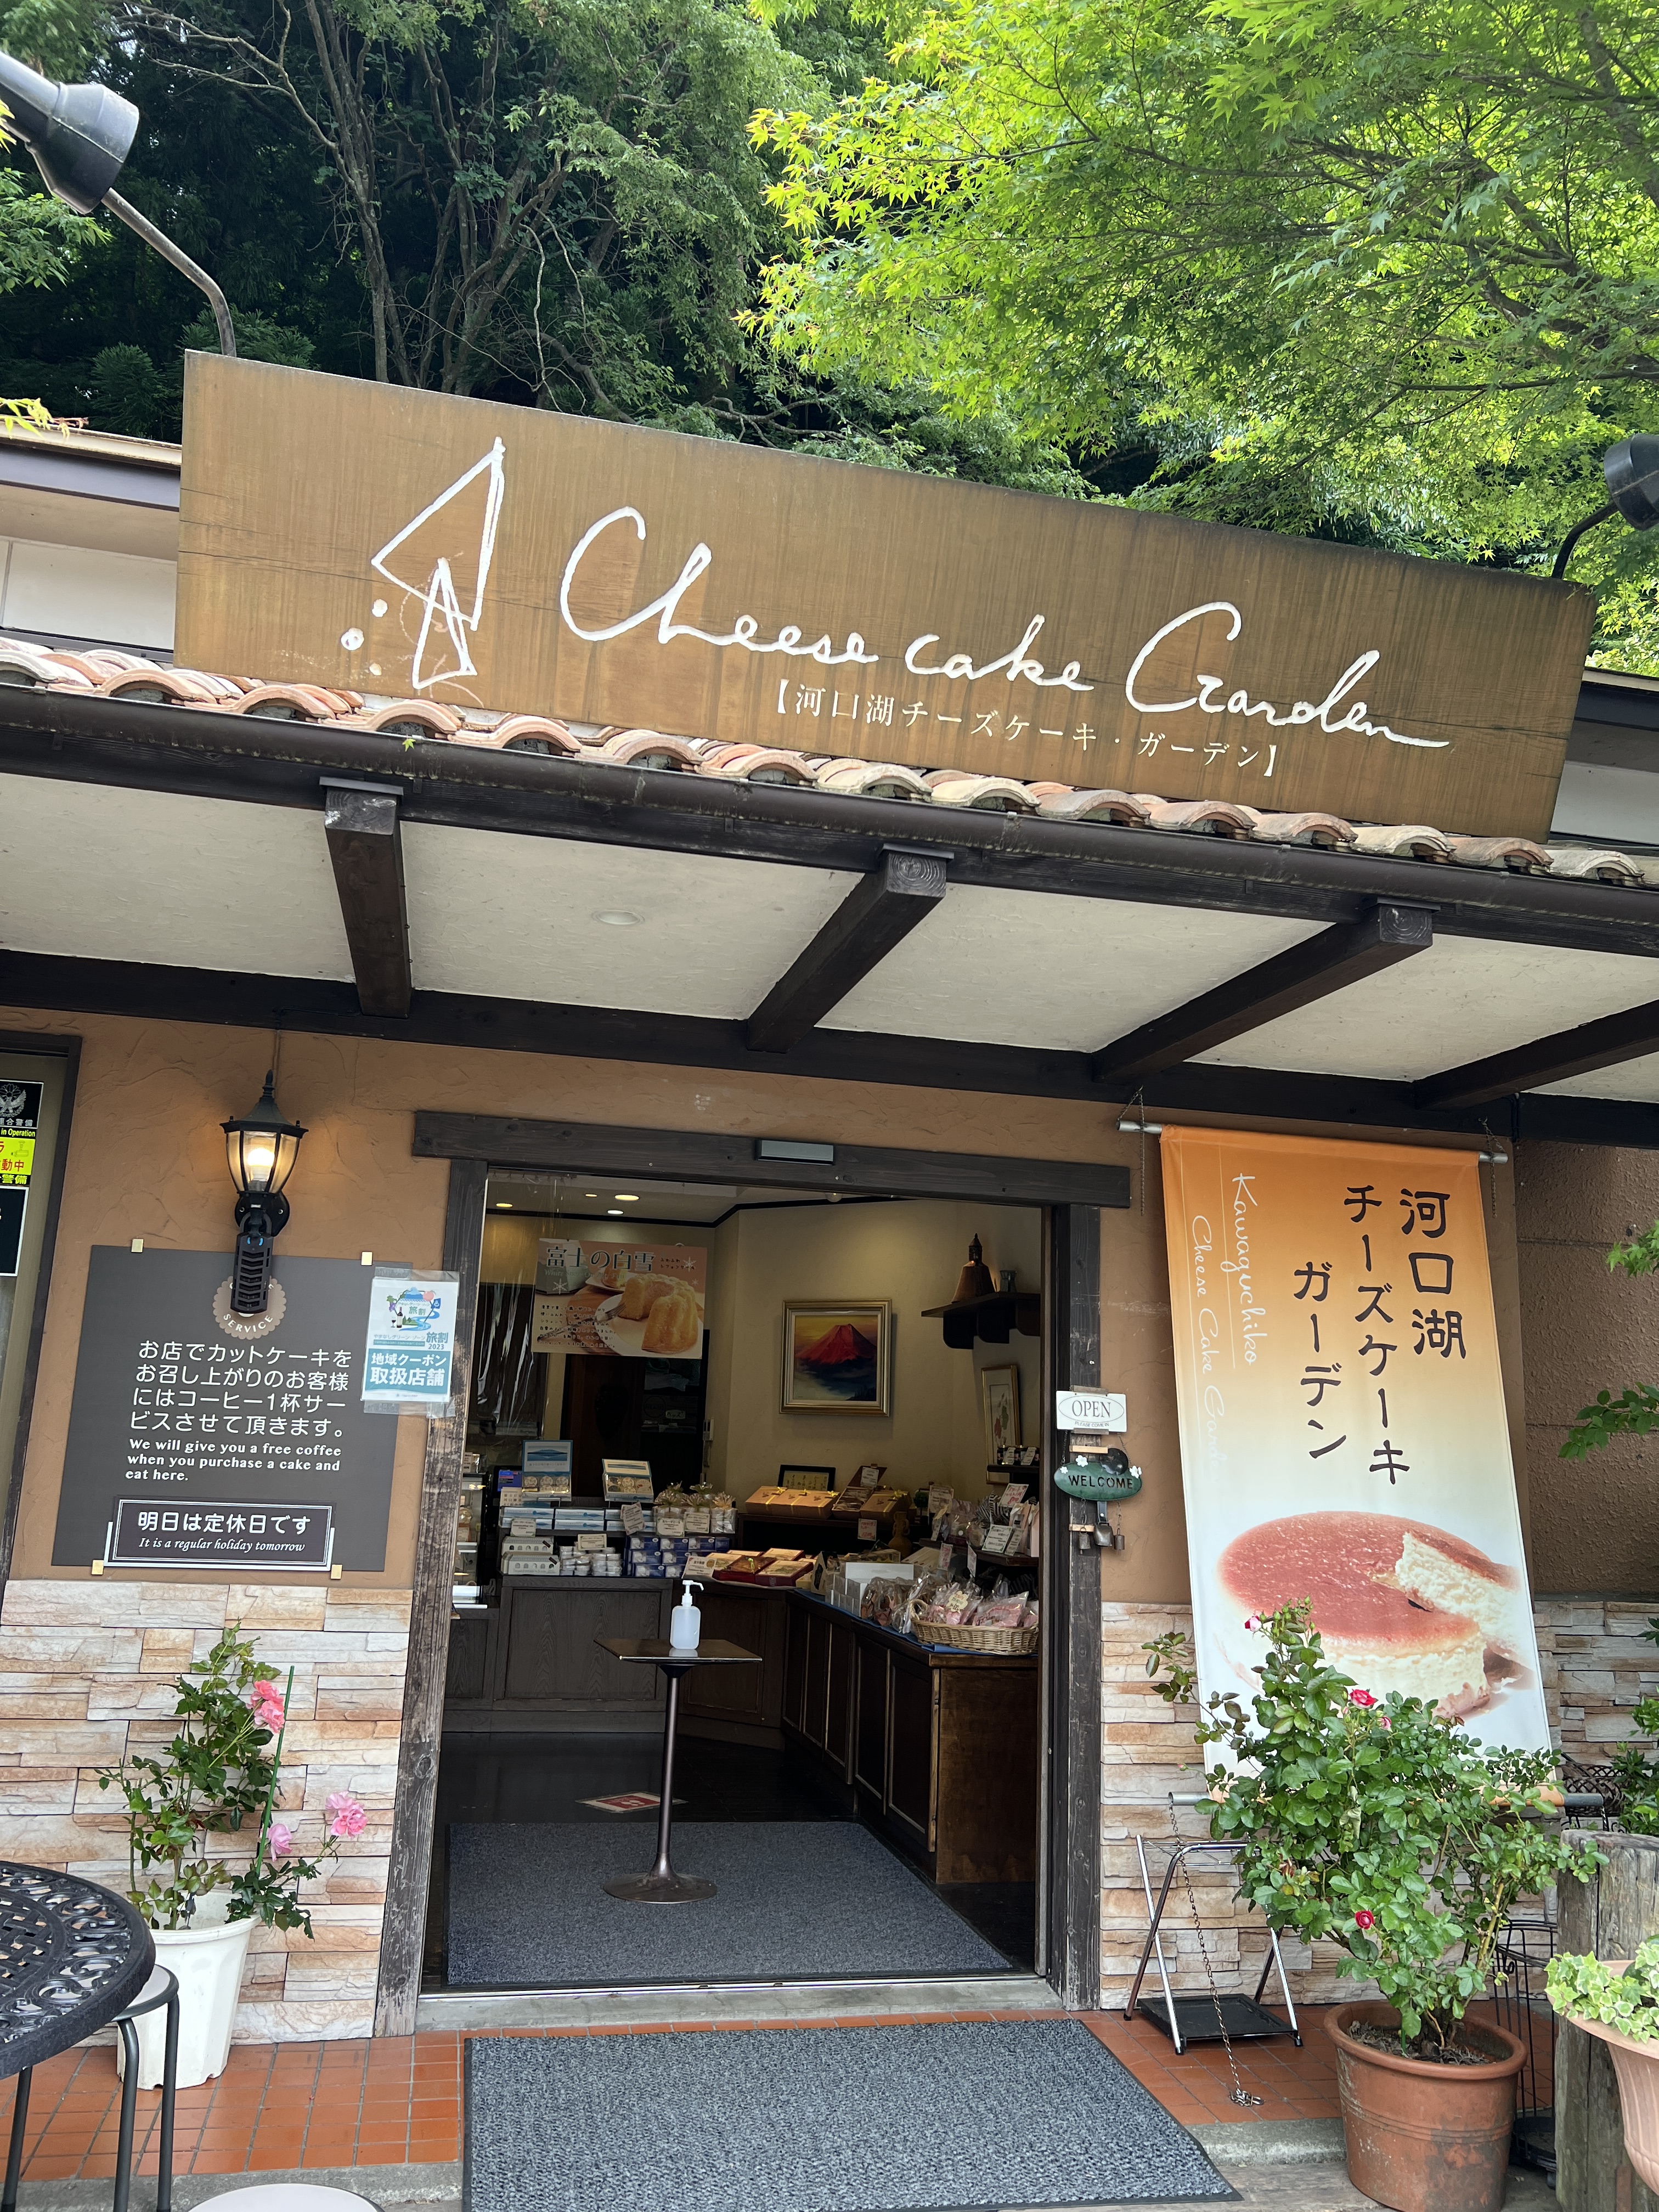
We hopped back in the car to Lake Kawaguchi (the main area), where you can take a cruise ship around the lake with views of Mt. Fuji and take a cable car for a bird’s eye view. The cable car had a long wait so we opted for the cruise ship. Mt. Fuji was still hiding from us, and if she is not visible then the cruise ship is not really necessary in our opinion. Can you see the very top of the mountain peeking through a square window in the clouds? We also stopped for a quick bite of cheesecake at the Cheesecake Garden – their fluffy cheesecake is unreal! You also get a free cup of coffee or tea with each cheesecake slice purchased, which is just what we needed.
Next stop was lunch at Fukuchan Ramen, which was fantastic.
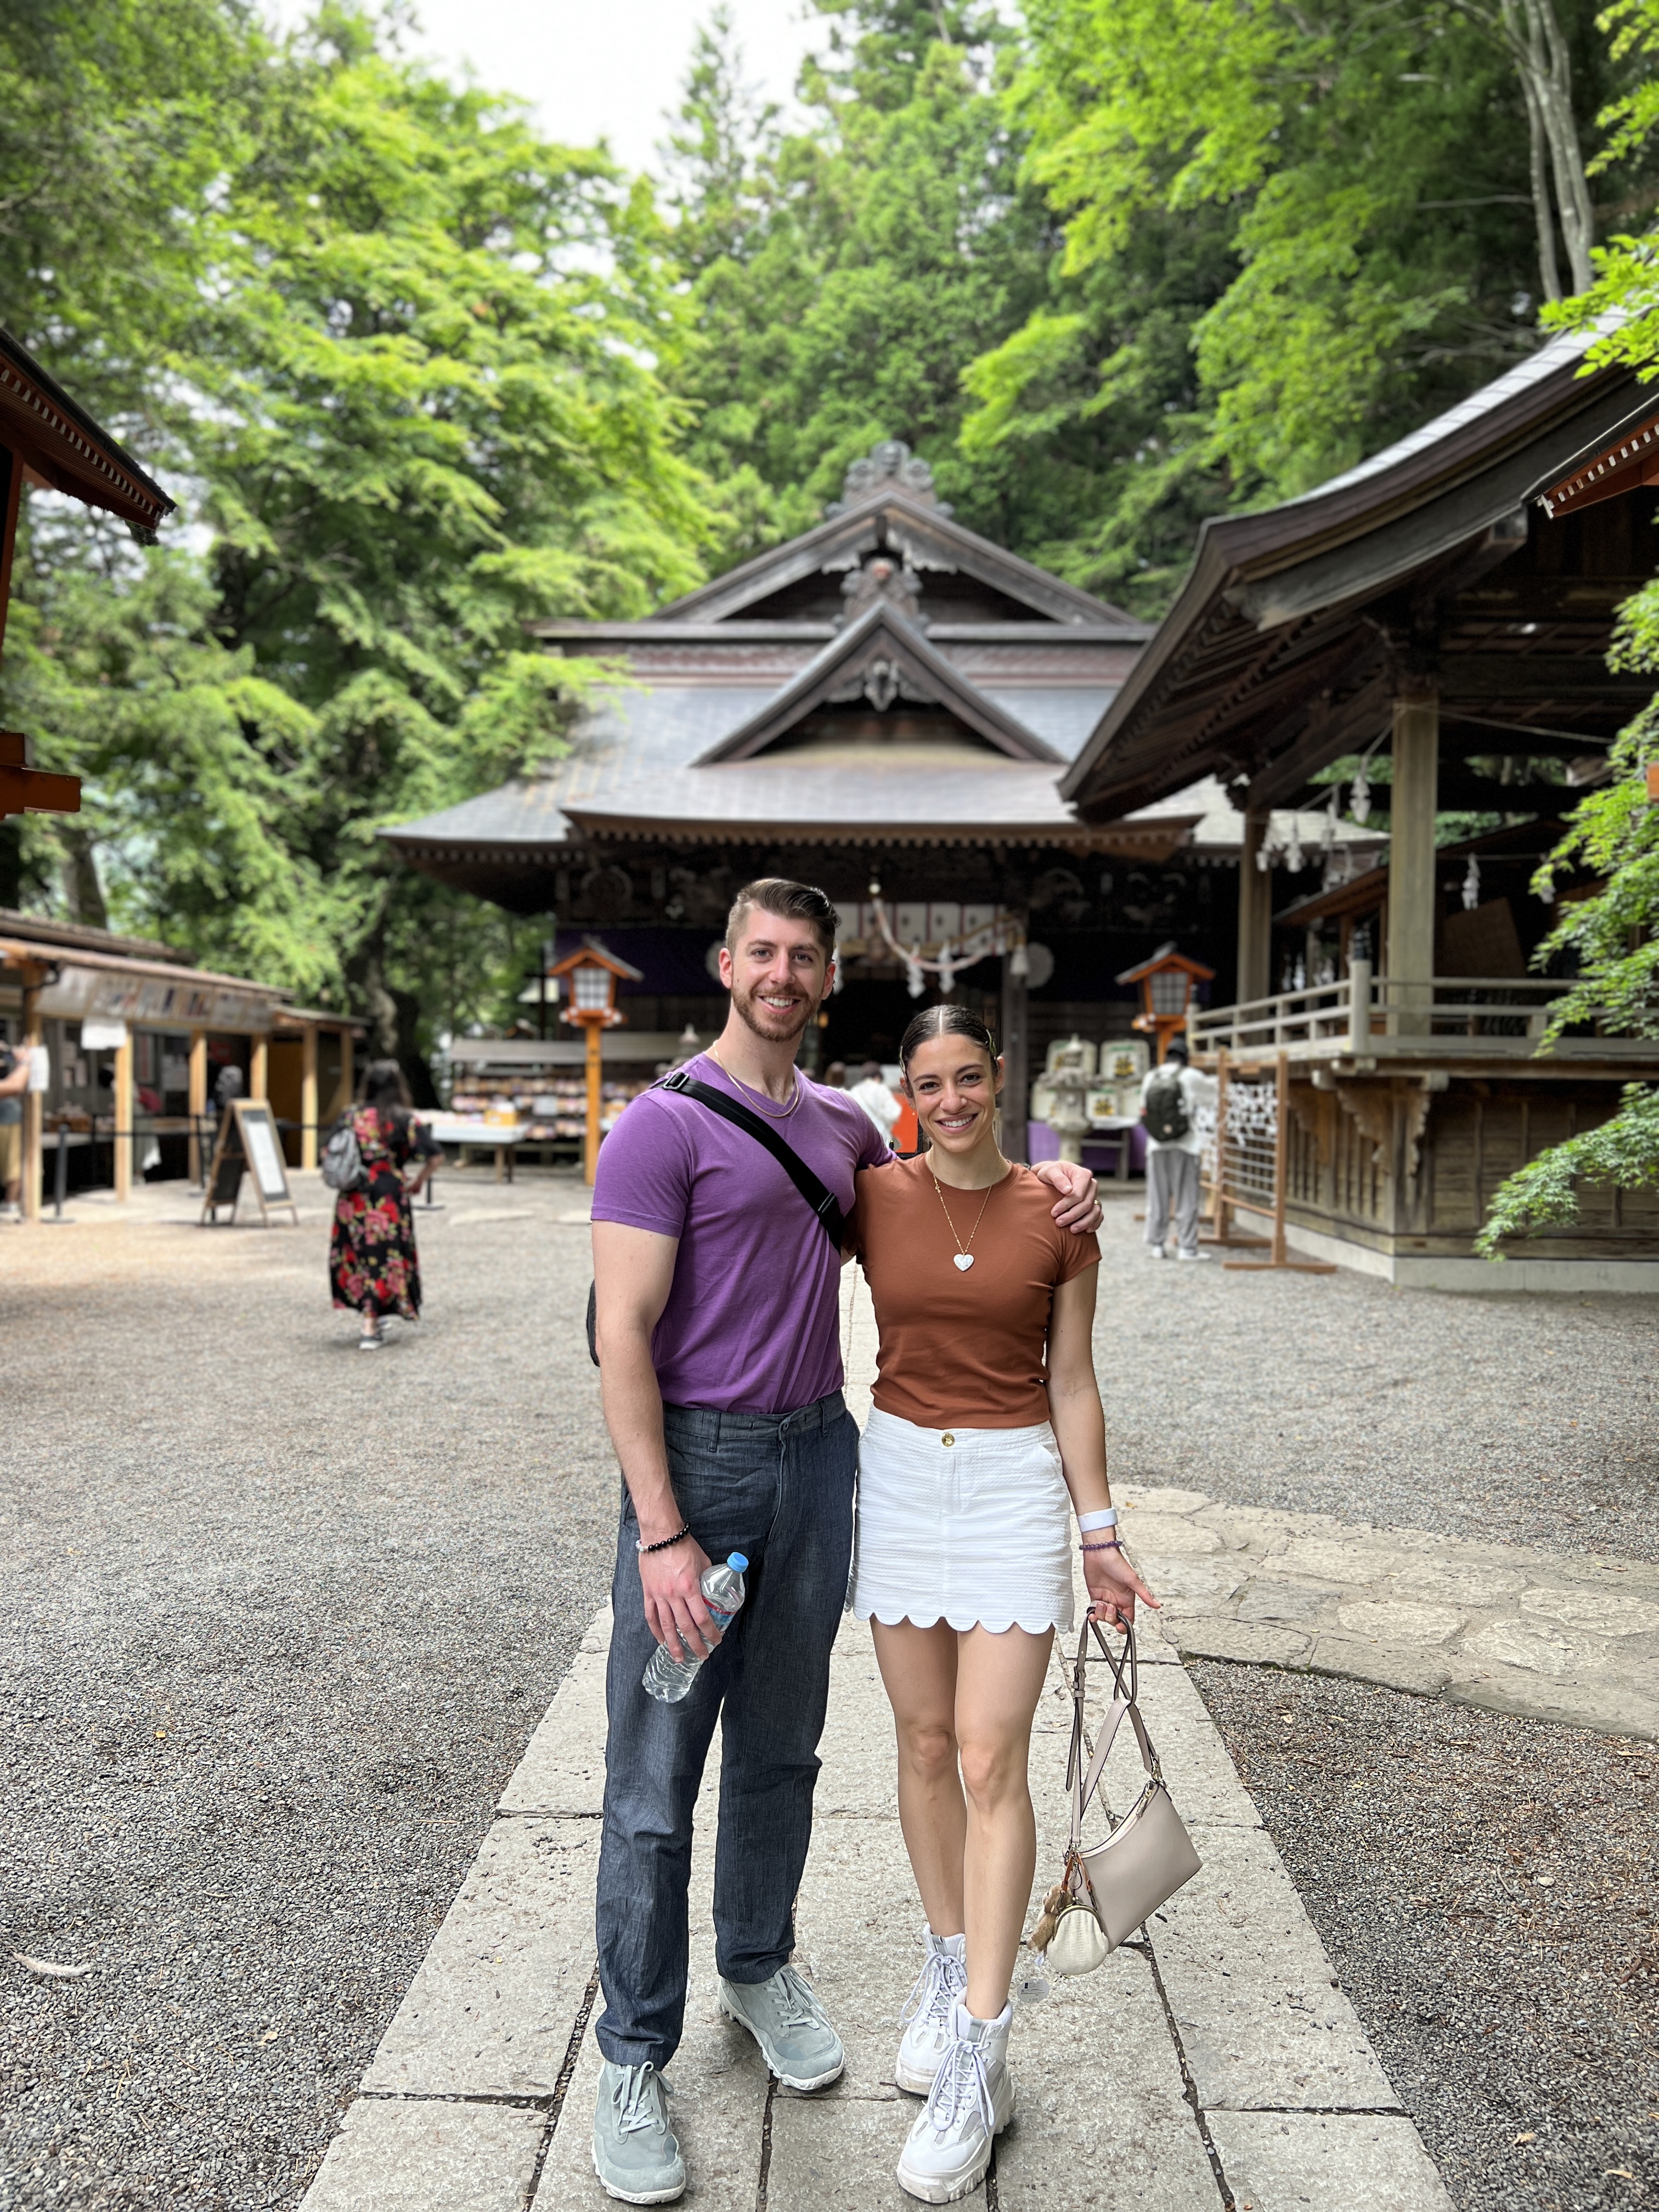
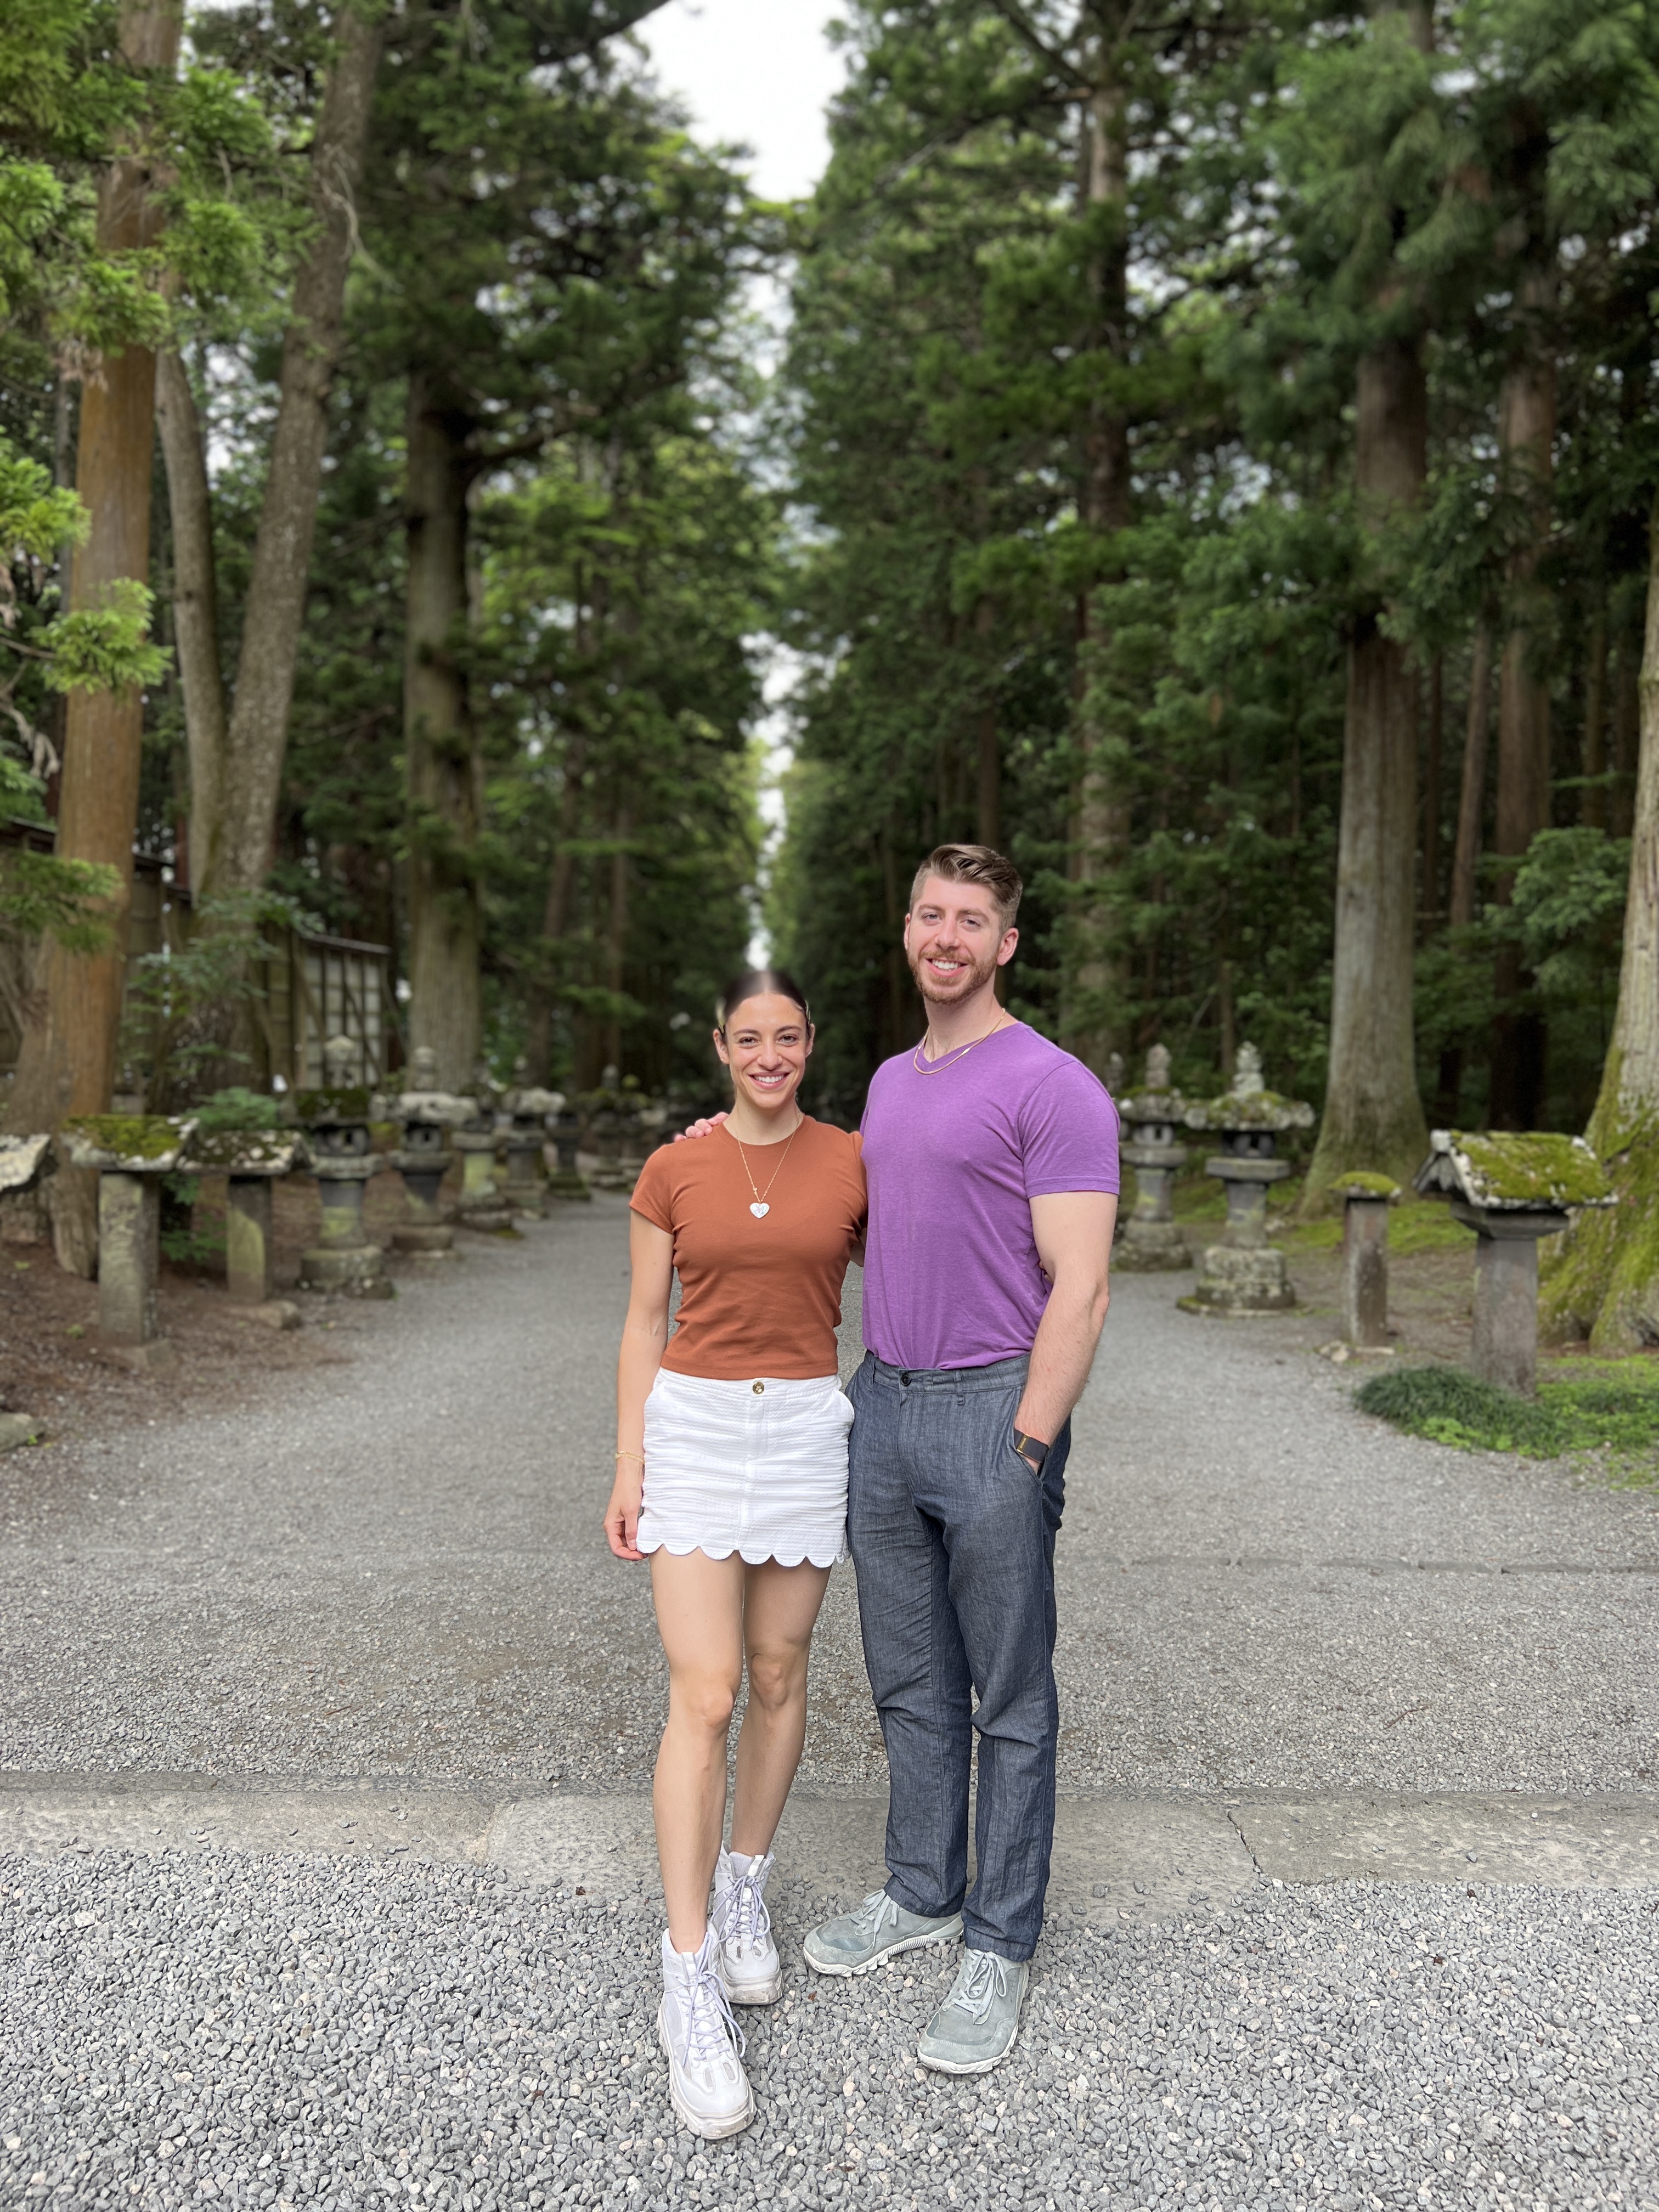
We hopped back in the car and headed to Kitaguchi Hongo Fuji Sengen Shrine. This shrine is set in a dense forest and is separated from the road by a long path lined by stone lanterns and shaded by tall cedar trees. The large trees with ropes around them are protected and indicated as 1,000 years old. In the past, this shrine used to be a common starting point for pilgrimages to Mt. Fuji from the north – the trailhead is still located at the back of the shrine, and it was cool to stand under the Tori gate (the stone one) that countless people have bowed under and prayed to before beginning their pilgrimage up the great volcano!
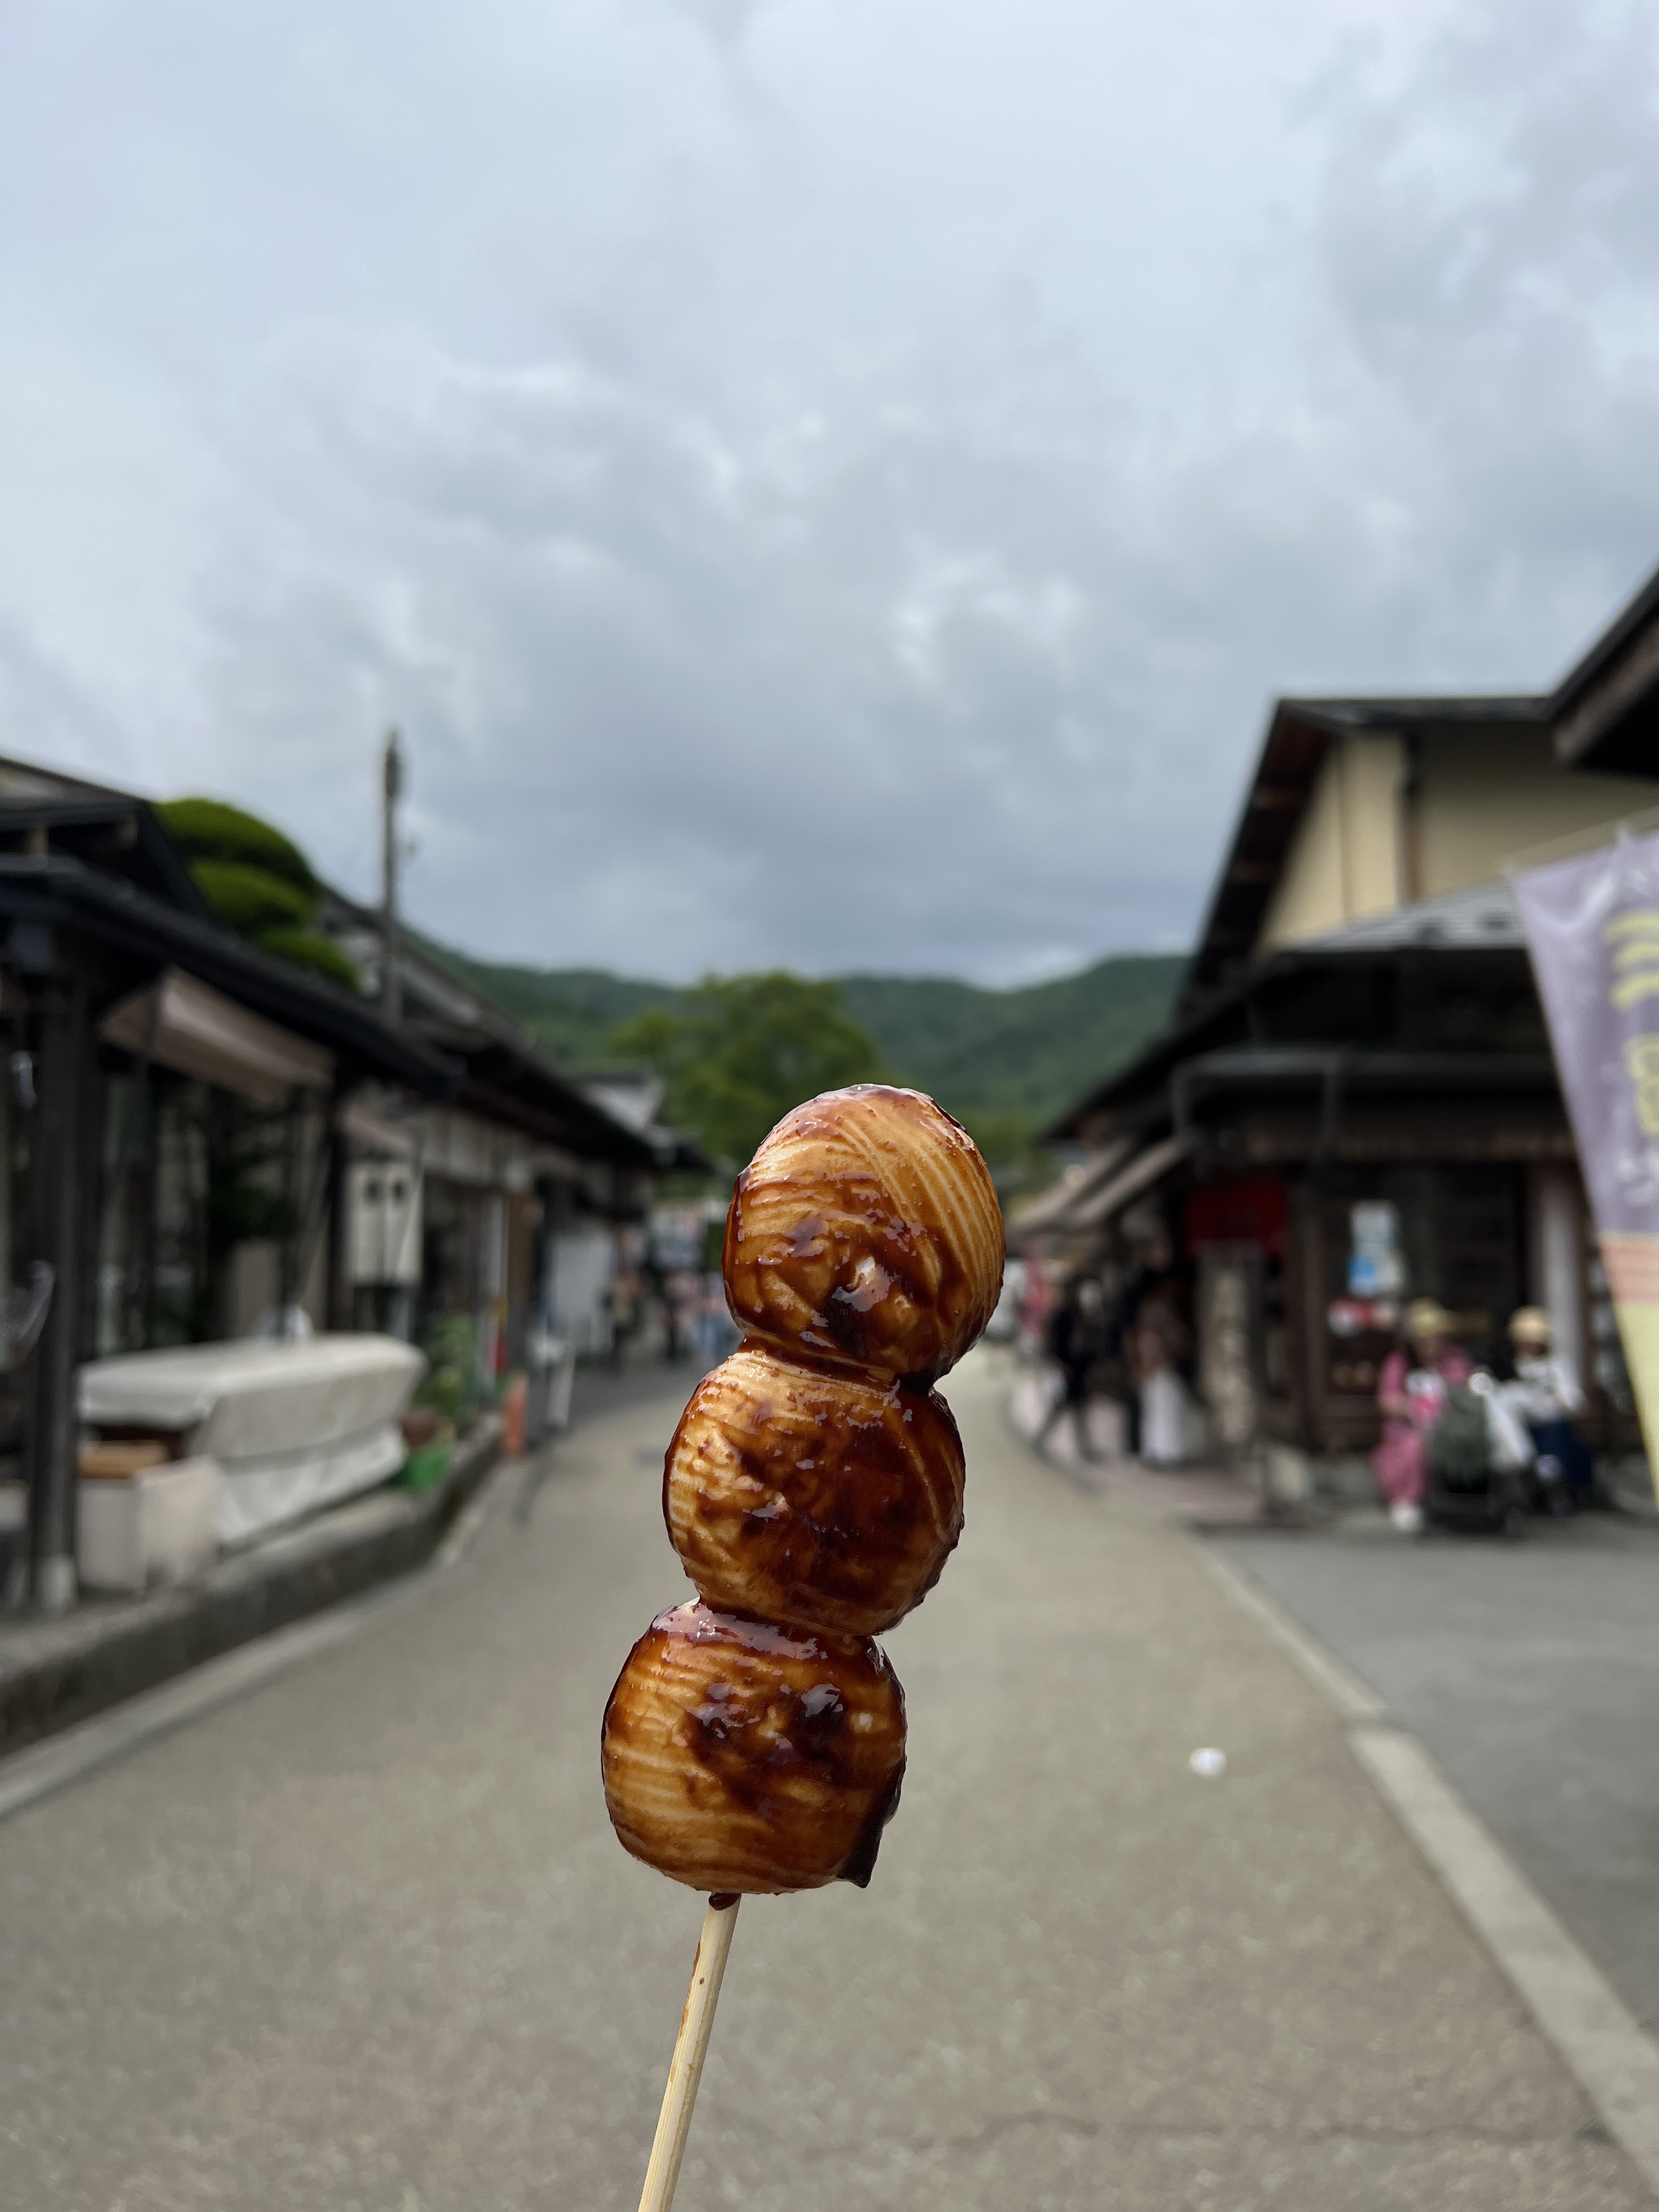
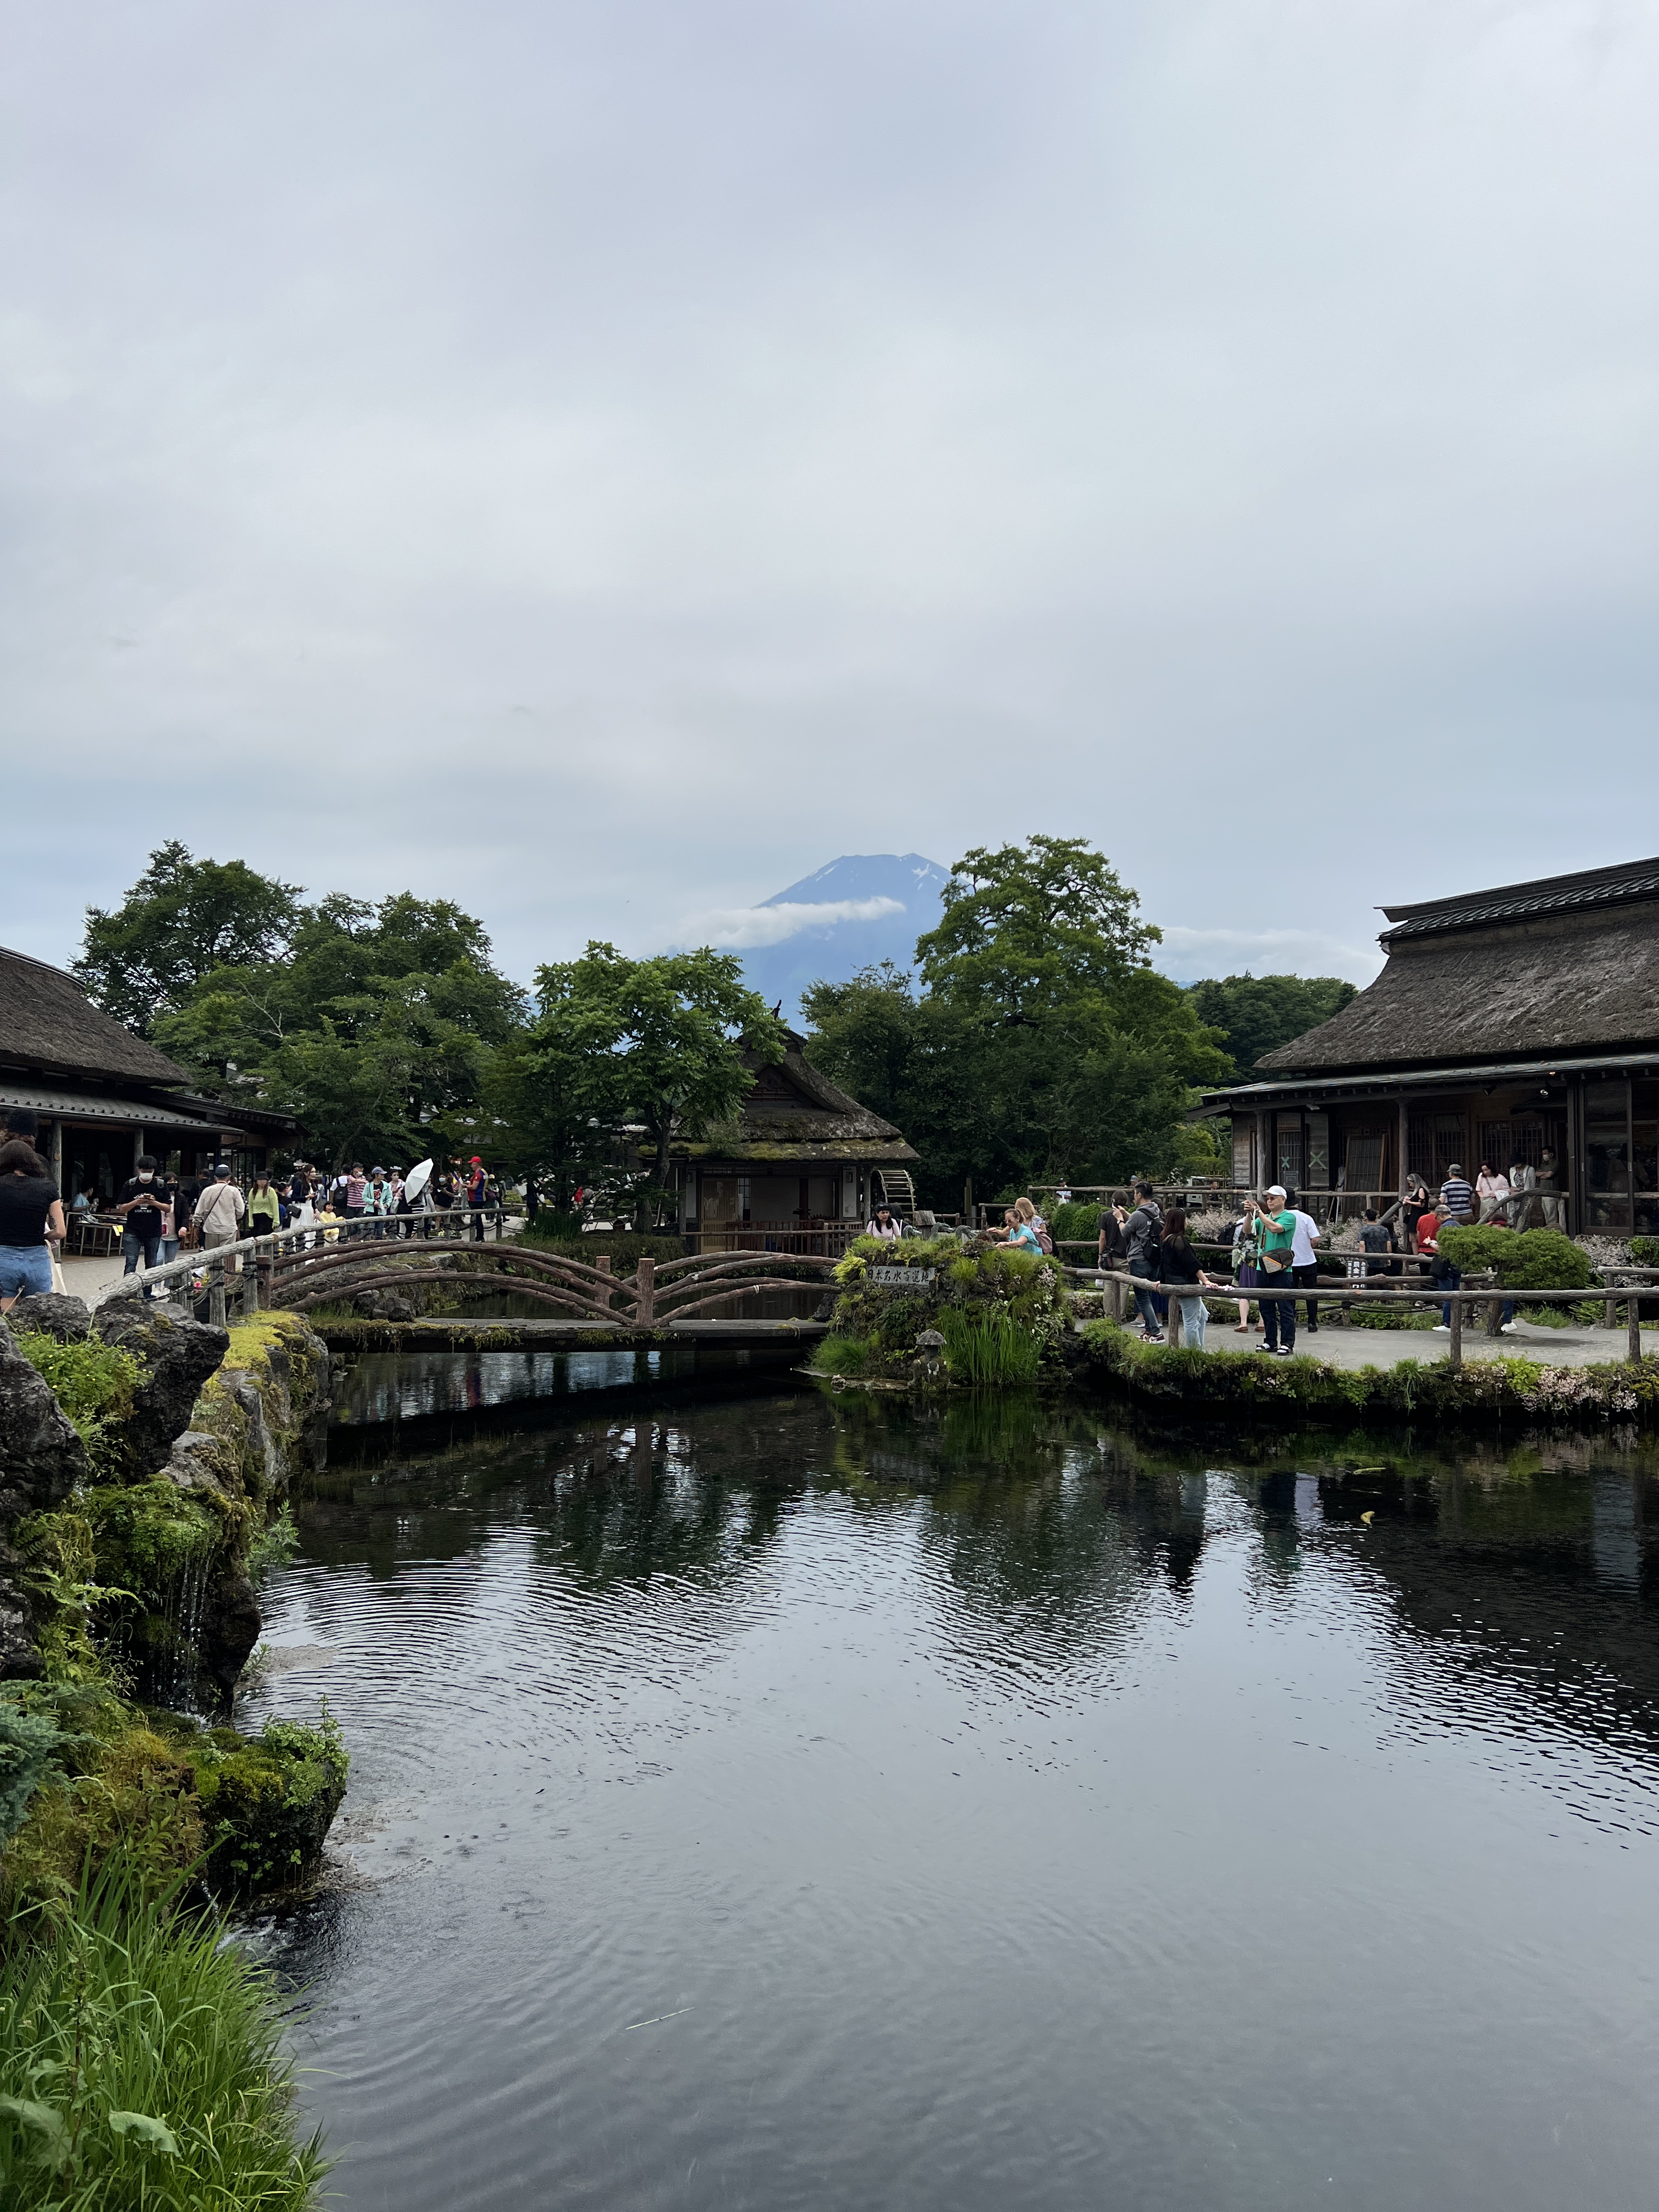
Lastly, we headed to Oshino Hakkai, a village that has eight ponds of spring water, one of which being the pond that NASA took water from to make snow in space in 1983. We explored the village, got yummy street food, and did some shopping. At this point, Mt. Fuji was no longer being shy and she came out in all her glory! We were very lucky to see her.
After we were finished exploring the village we got back in our tour guide’s car and began the 1+ hour drive back to the Tokyo city center. Not surprisingly, we both slept the whole ride.
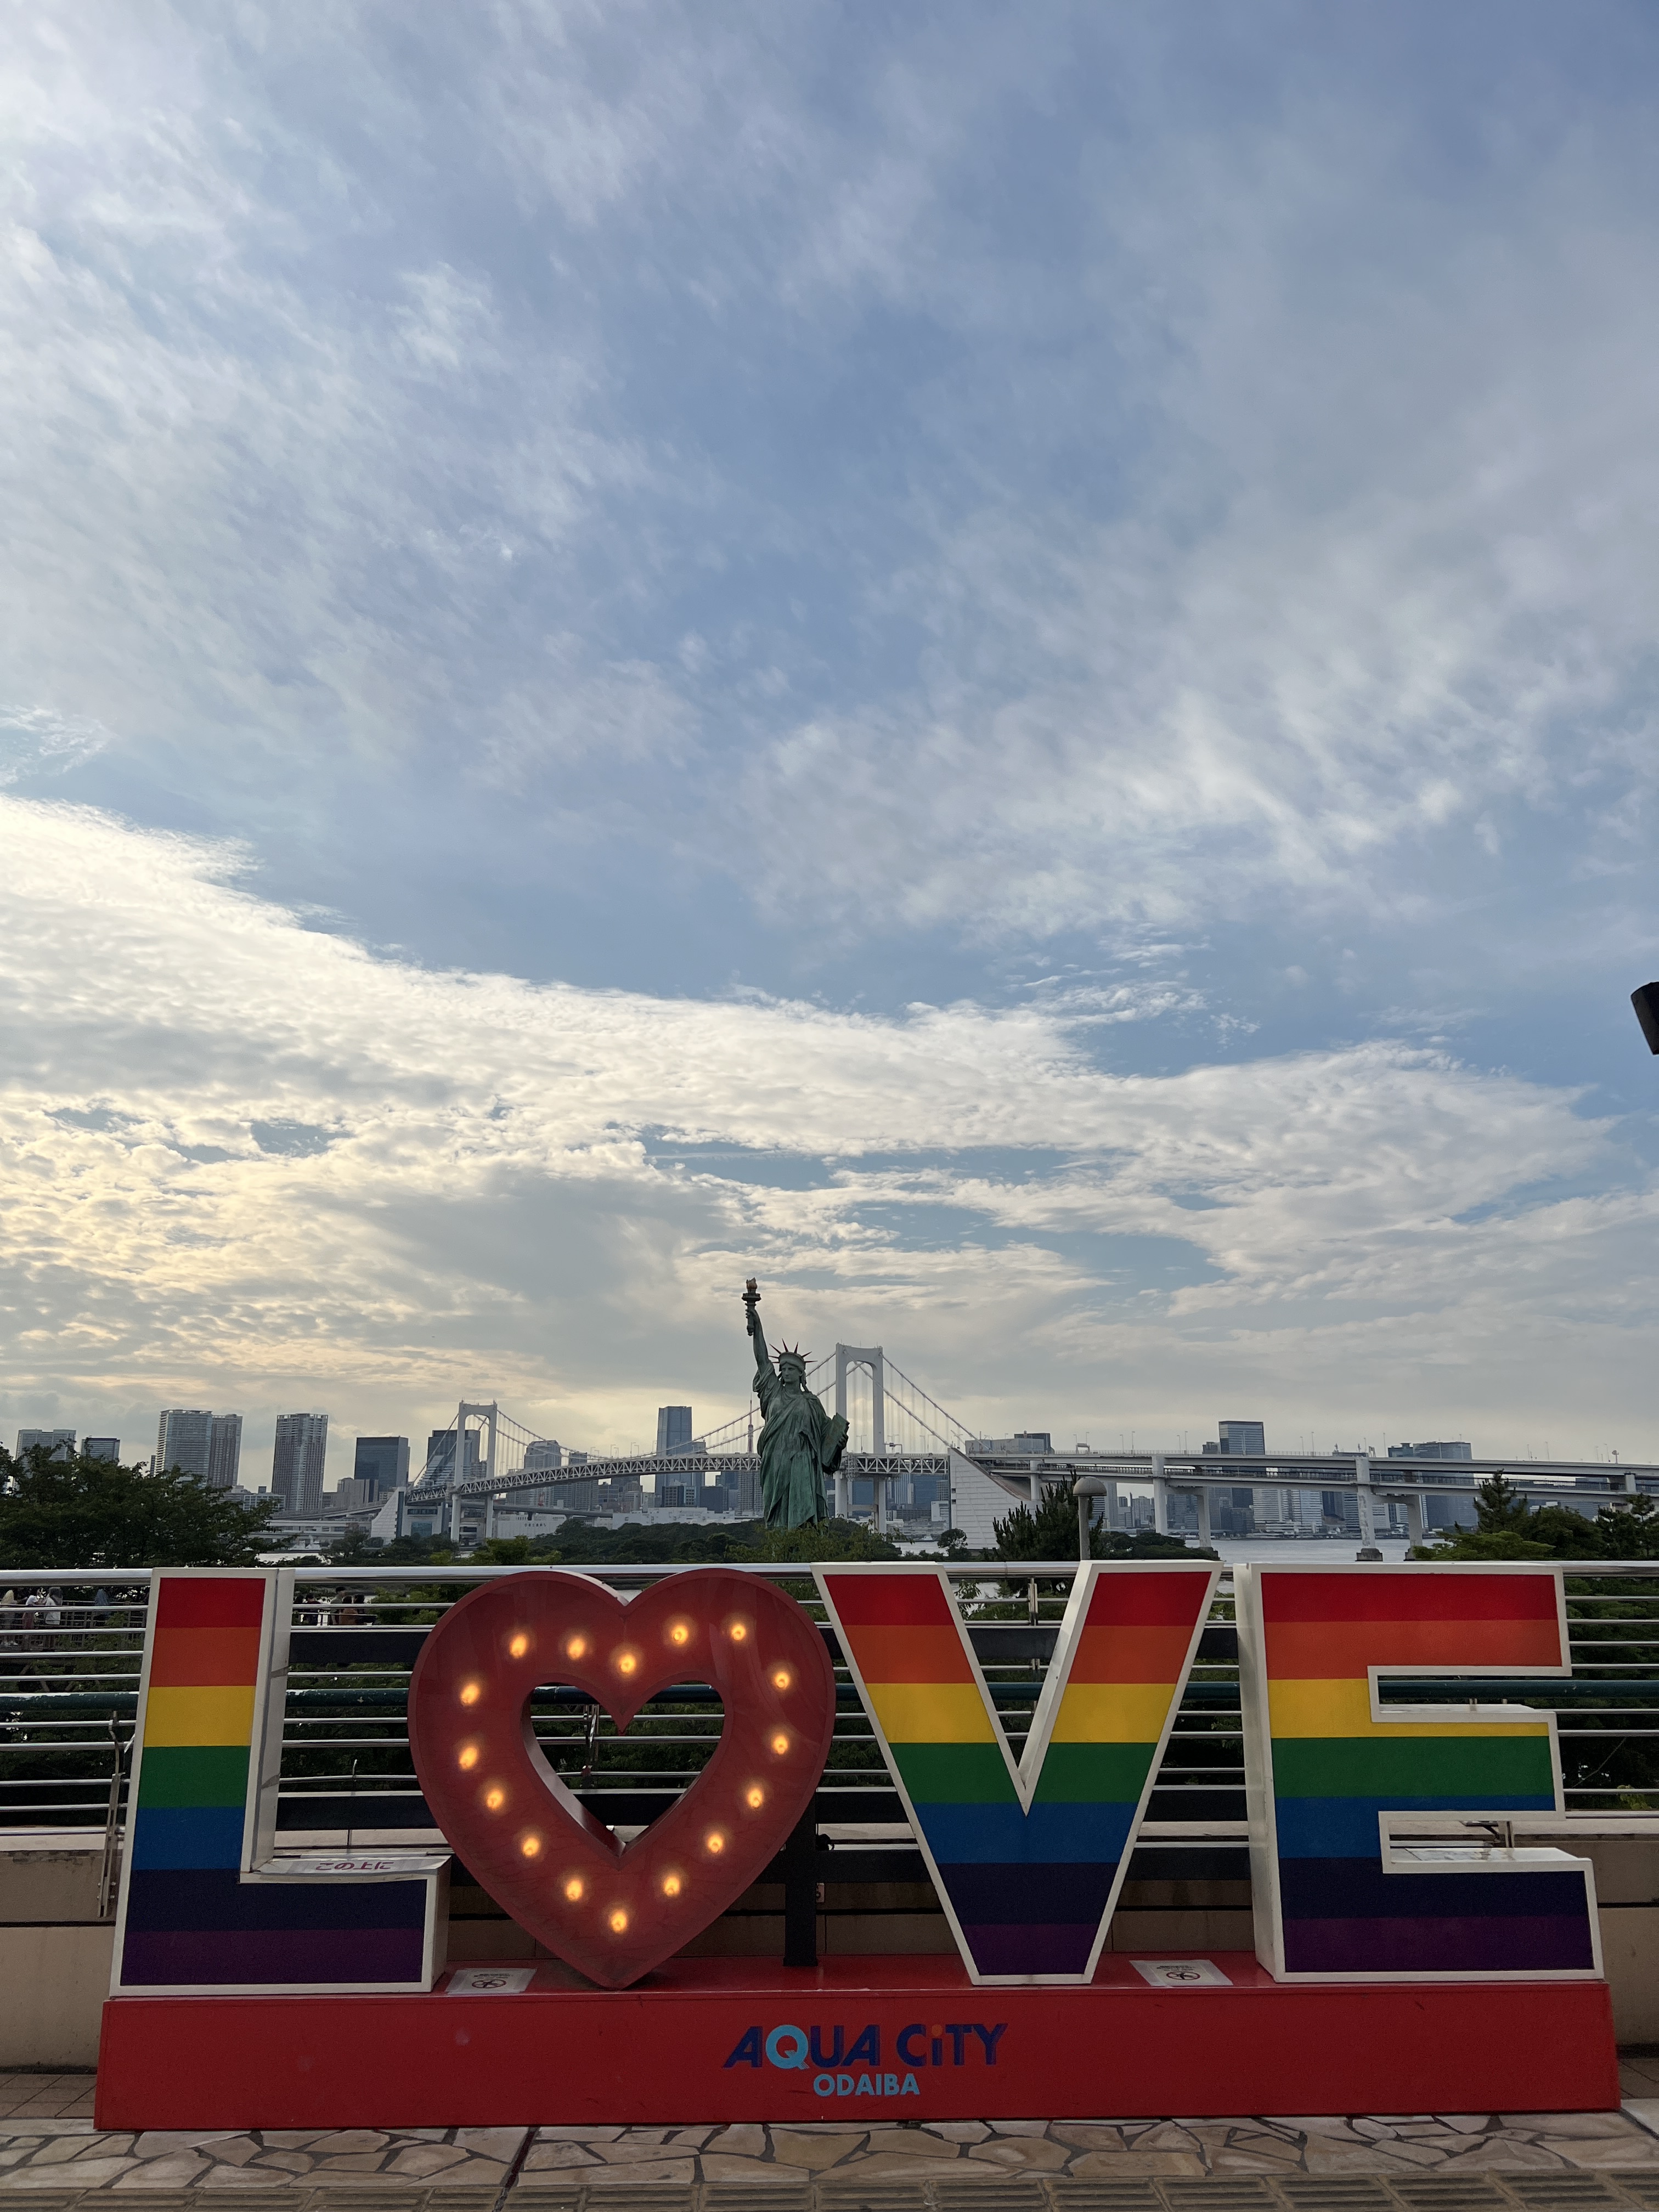
Our tour guide dropped us off in the Tokyo Bay Area where we walked around, looked at the Rainbow Bridge, the Statue of Liberty replica, and the life-size Unicorn Gundham statue.
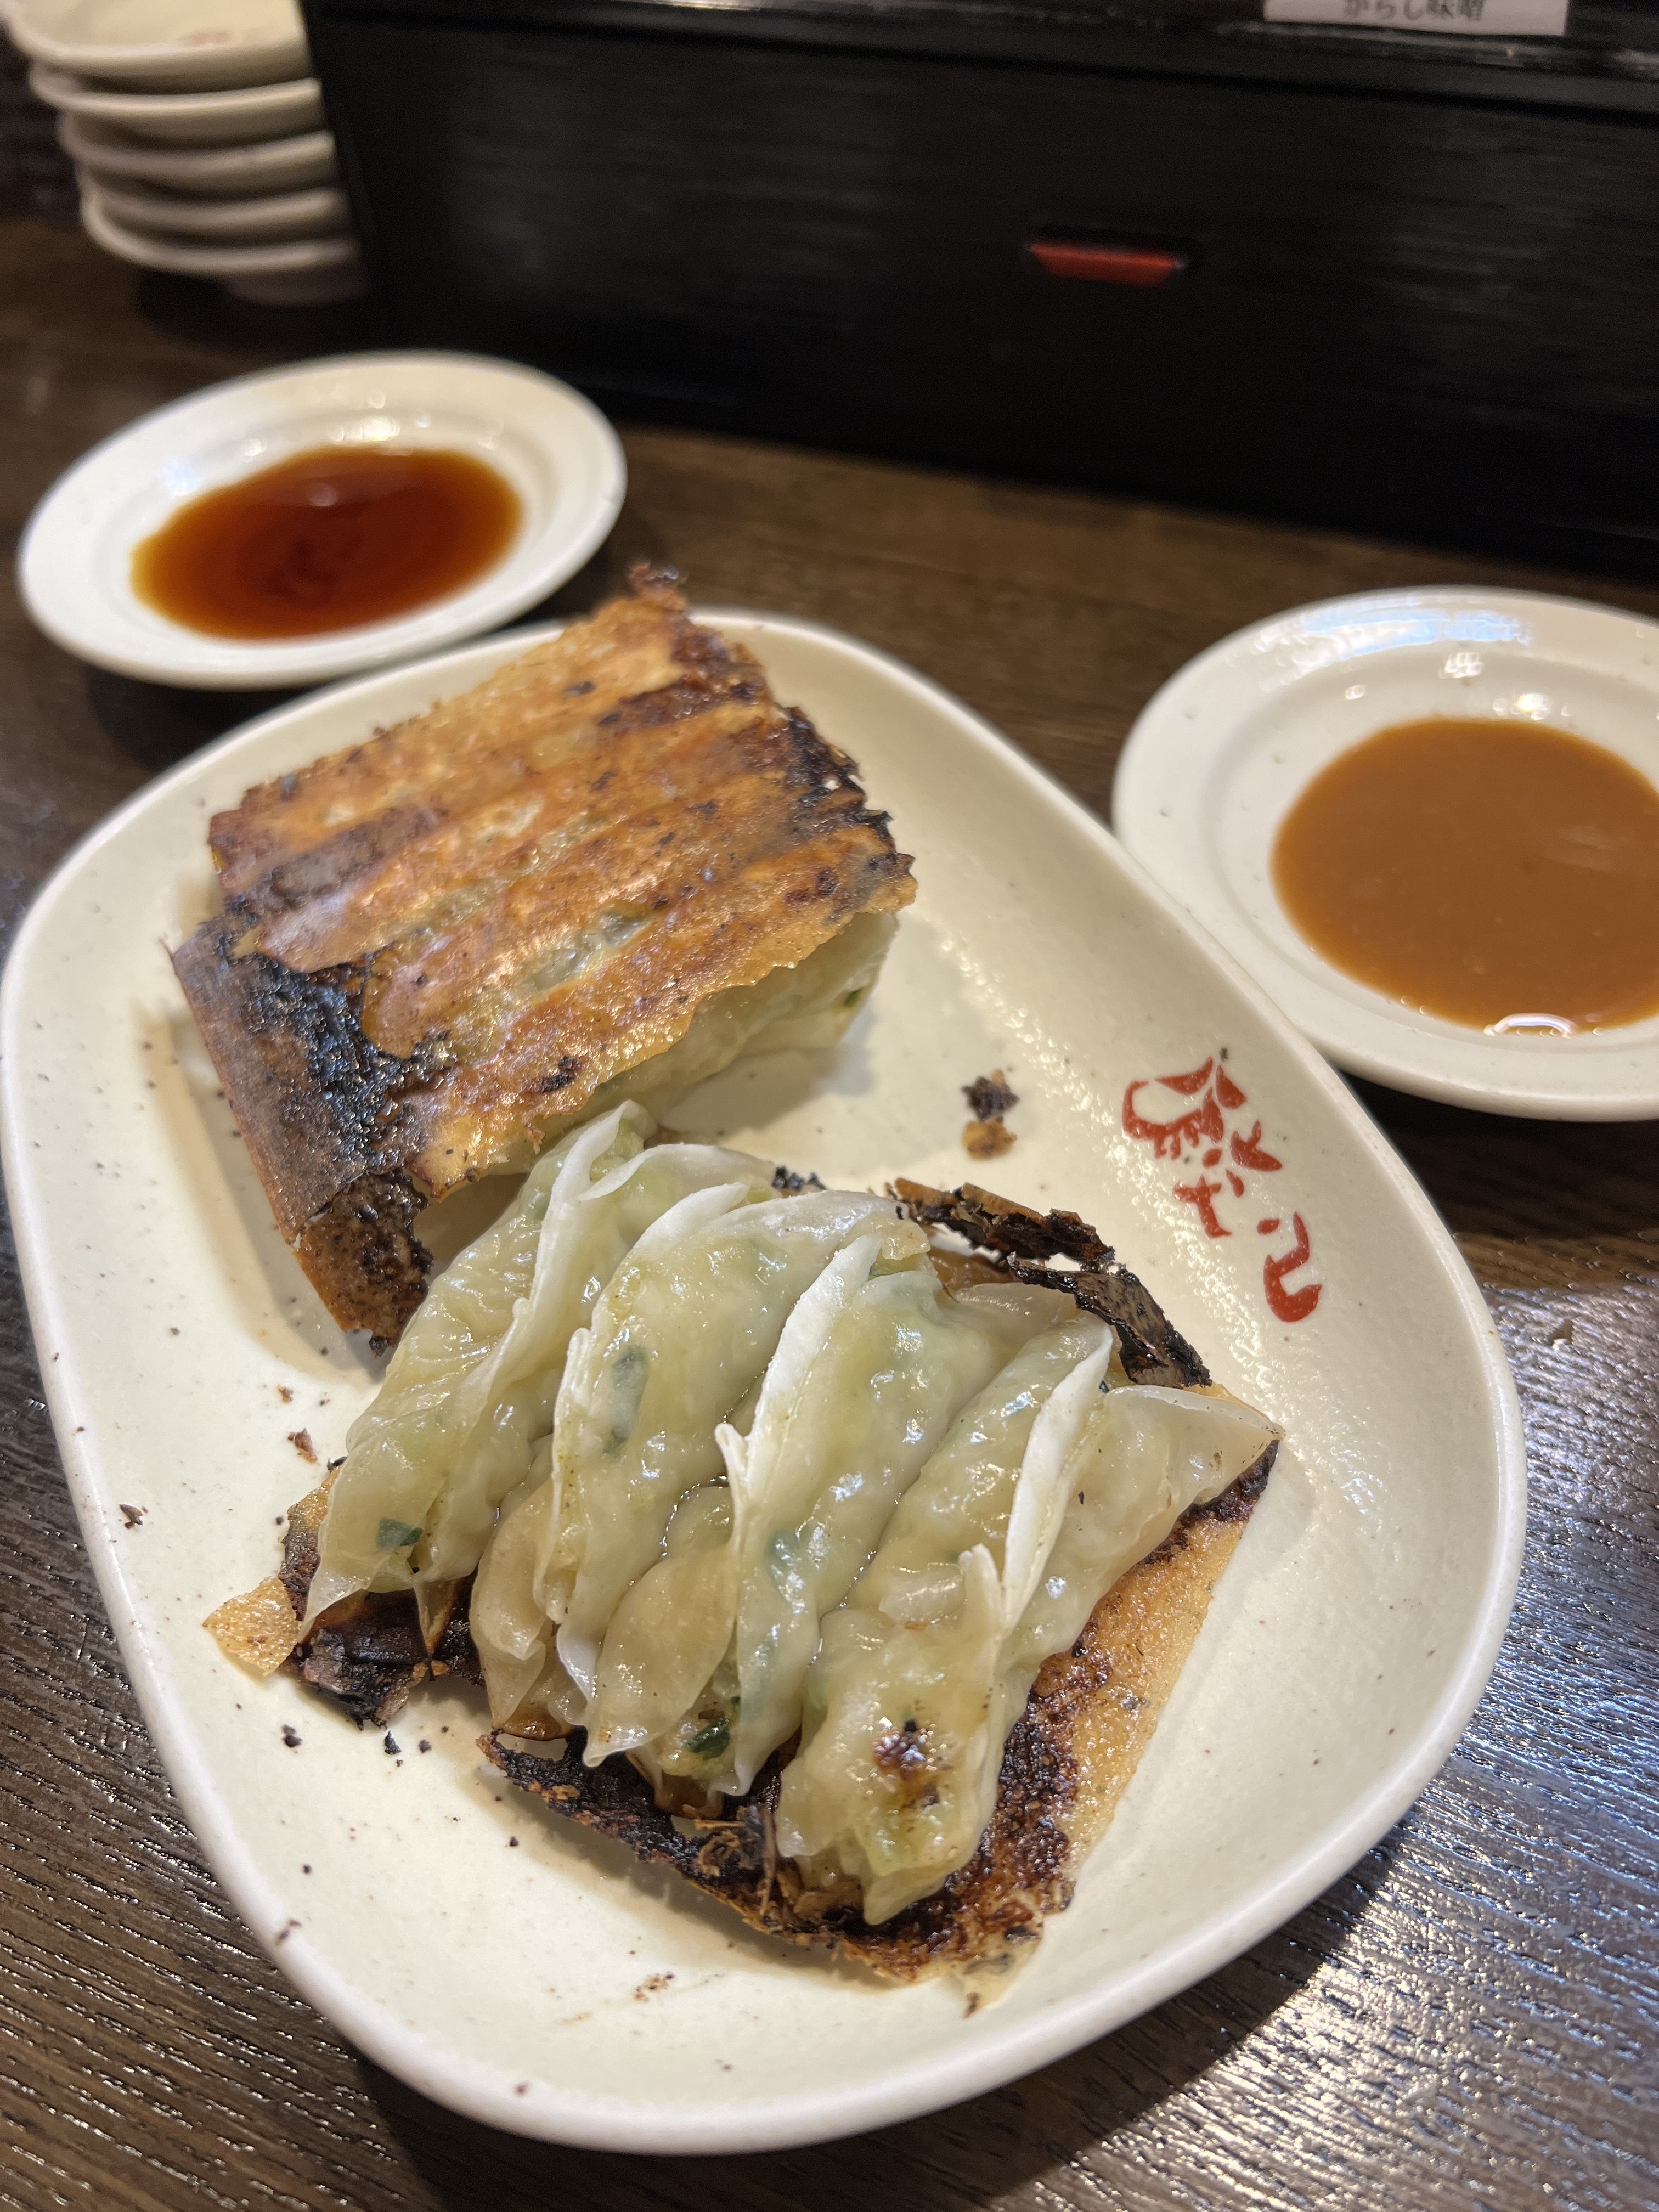
From there we went back to the hotel (cabbed), got cleaned up, and headed to Ginza for a dinner reservation. We were early and hungry so we stopped for a quick bite of gyoza nearby at Chao Chao Gyoza Ginza.
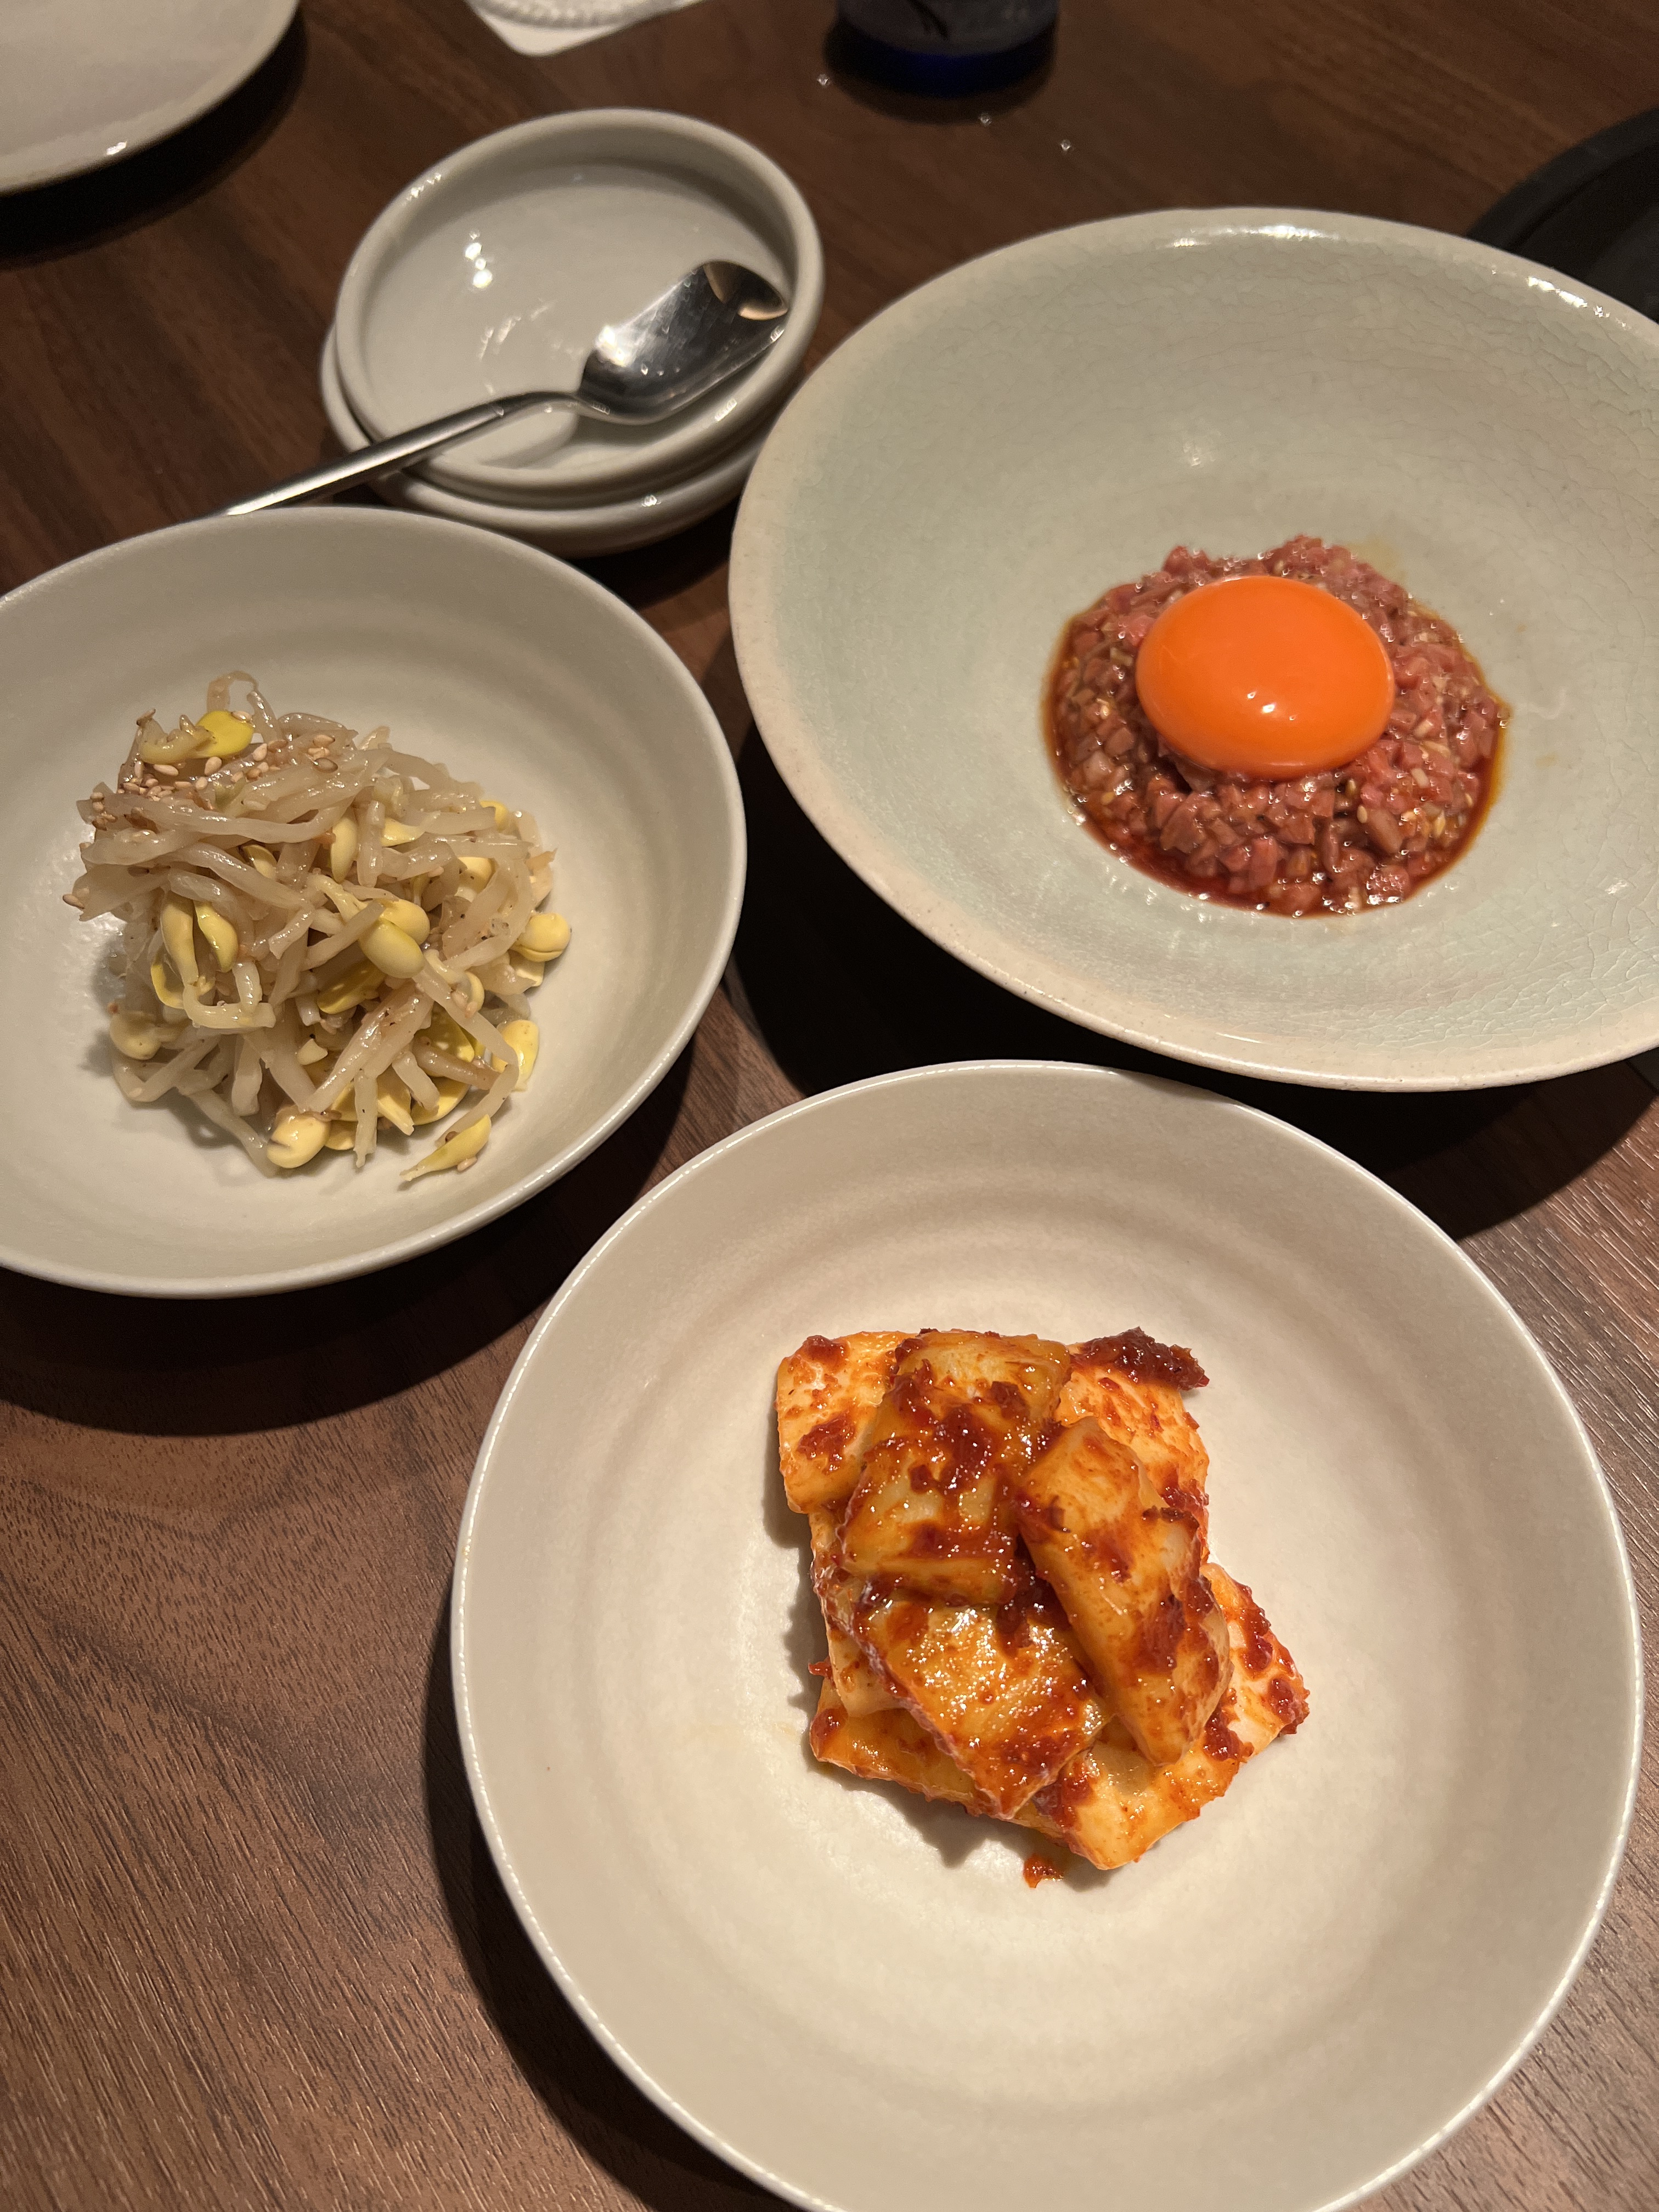
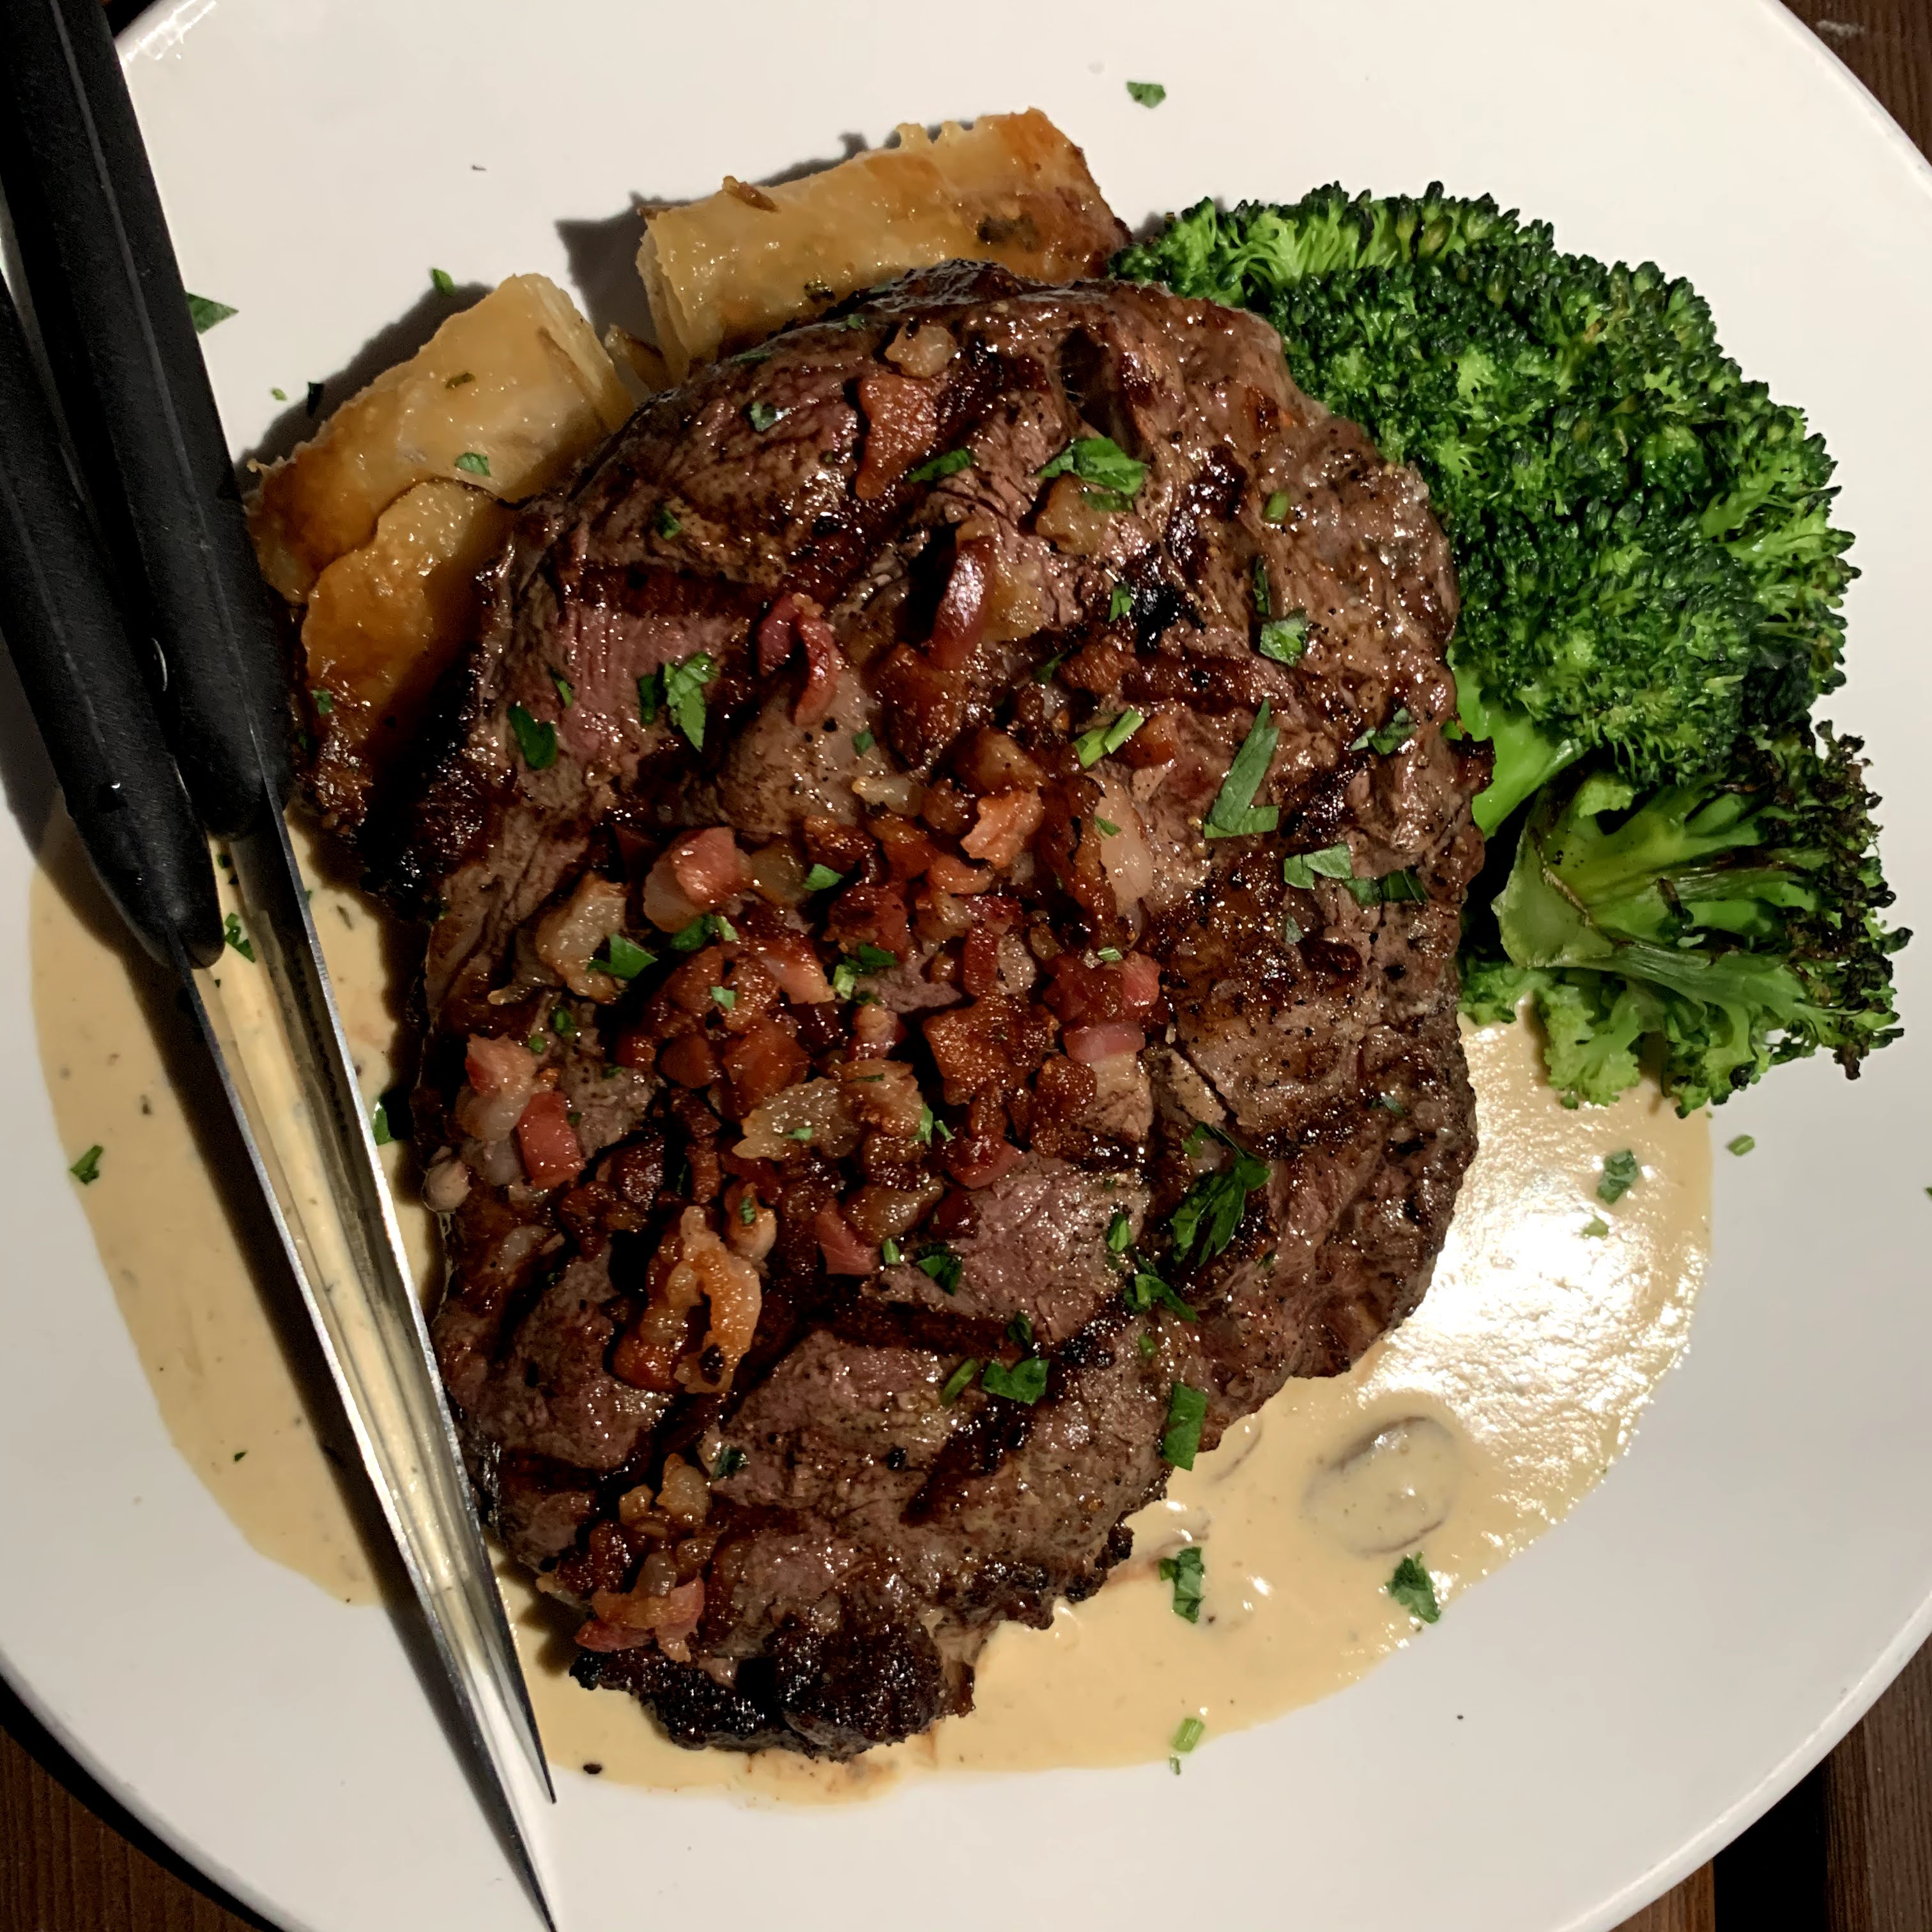
Dinner was at Ushigoro, a beef bbq restaurant where you cook the meal yourself. We did the wagyu menu, and the meal was fun, interactive, and (most importantly) delicious. This meal was one of the highlight meals of the trip, so if you have trouble getting a reservation at this specific restaurant or if you are not in the Ginza area, we certainly still recommend trying to do this style of meal at least once.
For video footage of day 5 in Hakone (as a day trip from Tokyo), check out my reel on Instagram!
Day 6 – Kamakura (Day Trip from Tokyo)
Today we had another private tour booked to explore the town of Kamakura. Today’s tour was navigated by foot and train. If you like the itinerary for the day, DM me on Instagram so I can connect you with my tour guide!
We got breakfast at a local café called Renior and I got yet another variation of my egg sandwich. This one was sliced up hard boiled eggs instead of the egg salad, and it was a bit dry. After this experimentation, I would opt for egg salad only! Nick got thick toasted milk bread with jam and cream and thoroughly enjoyed it.
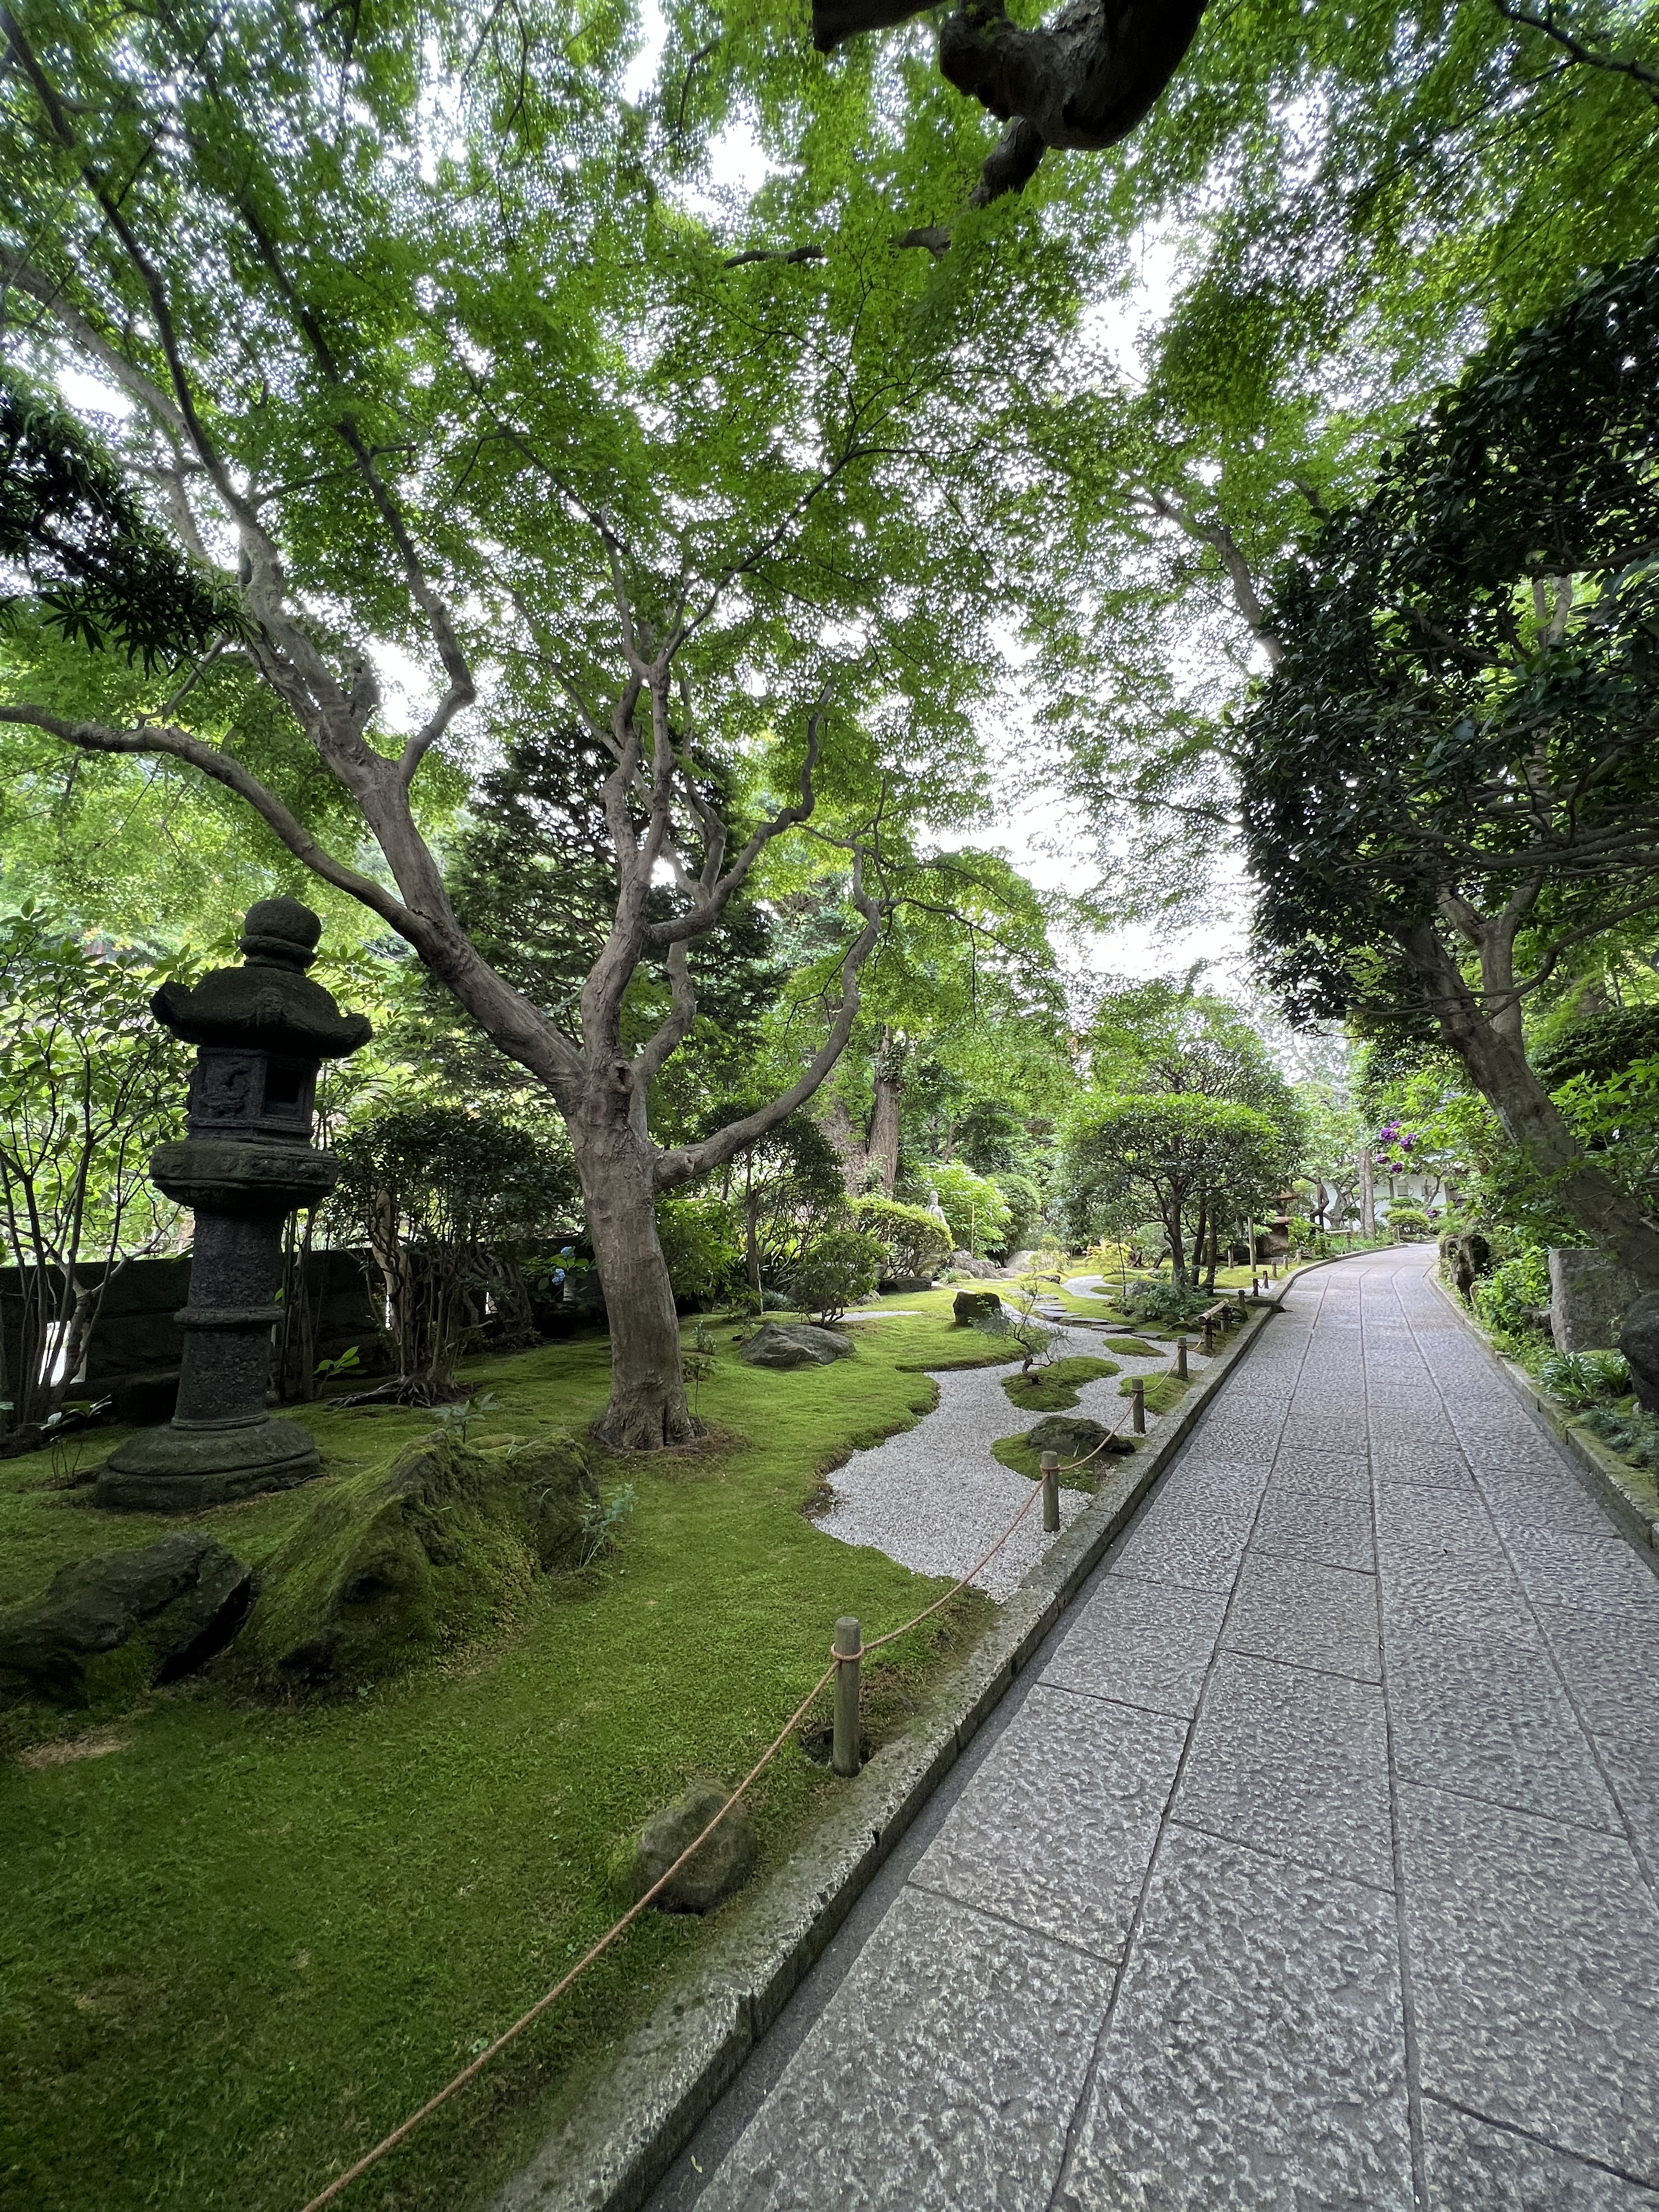
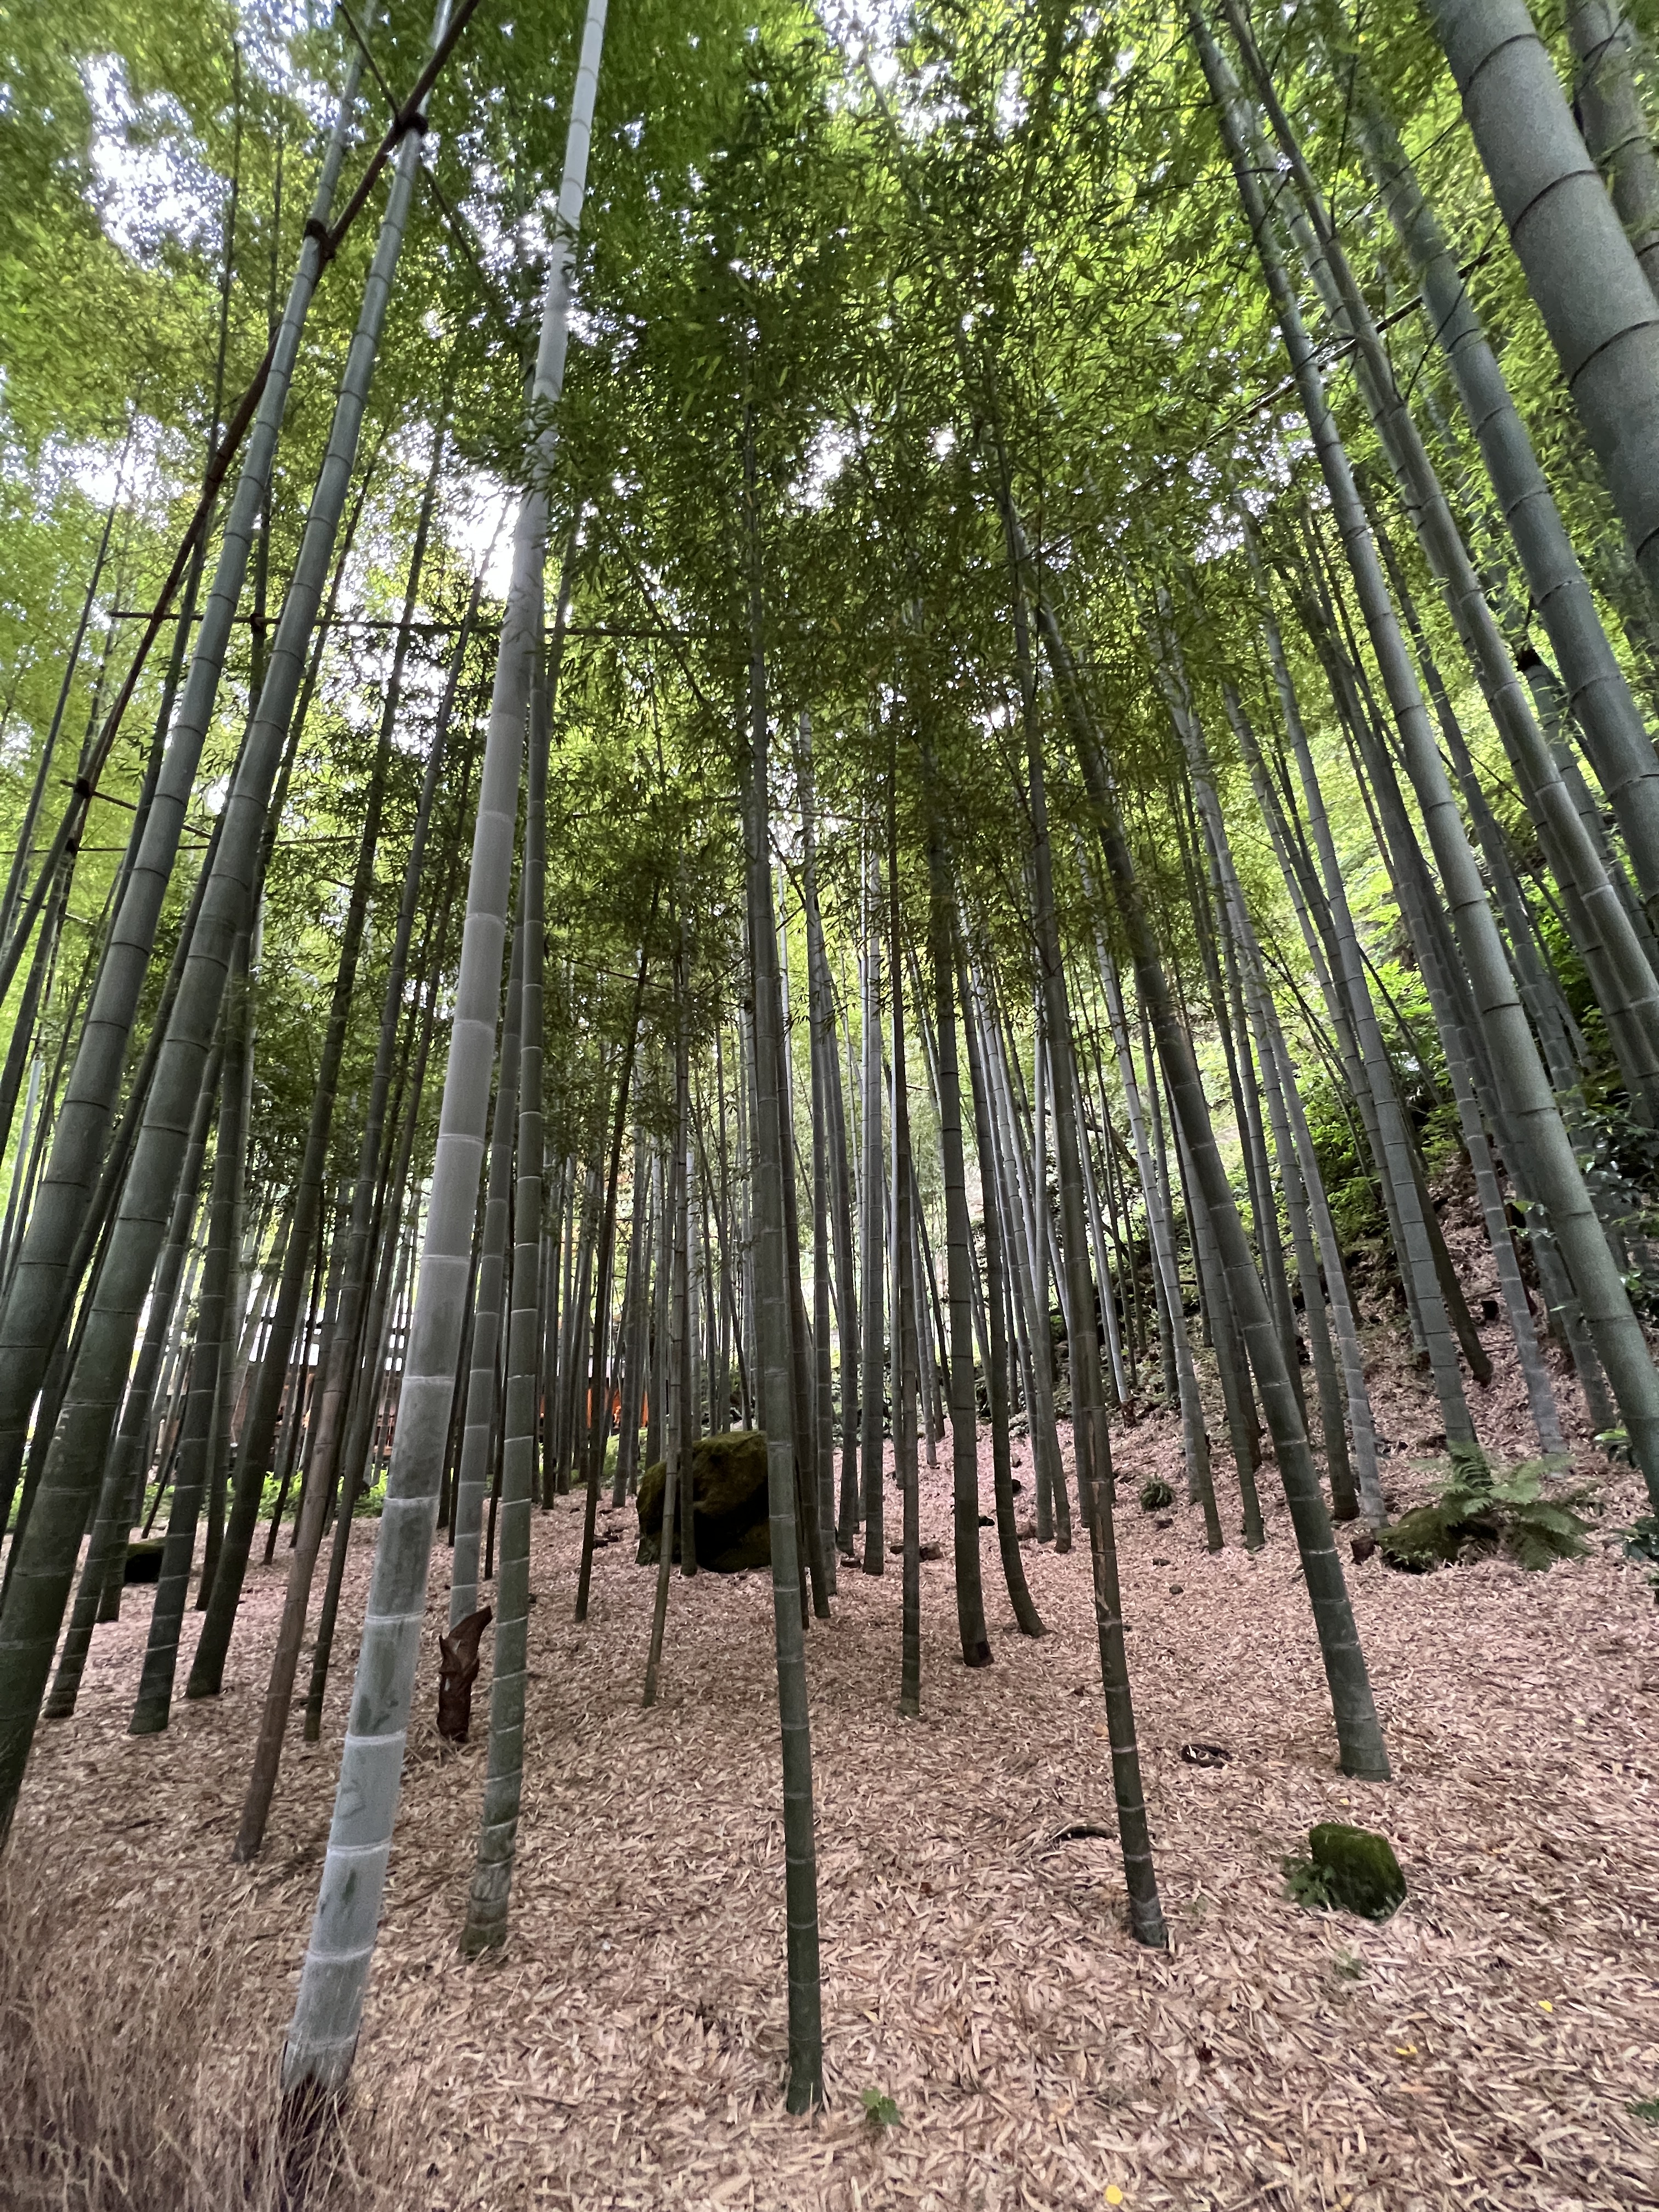
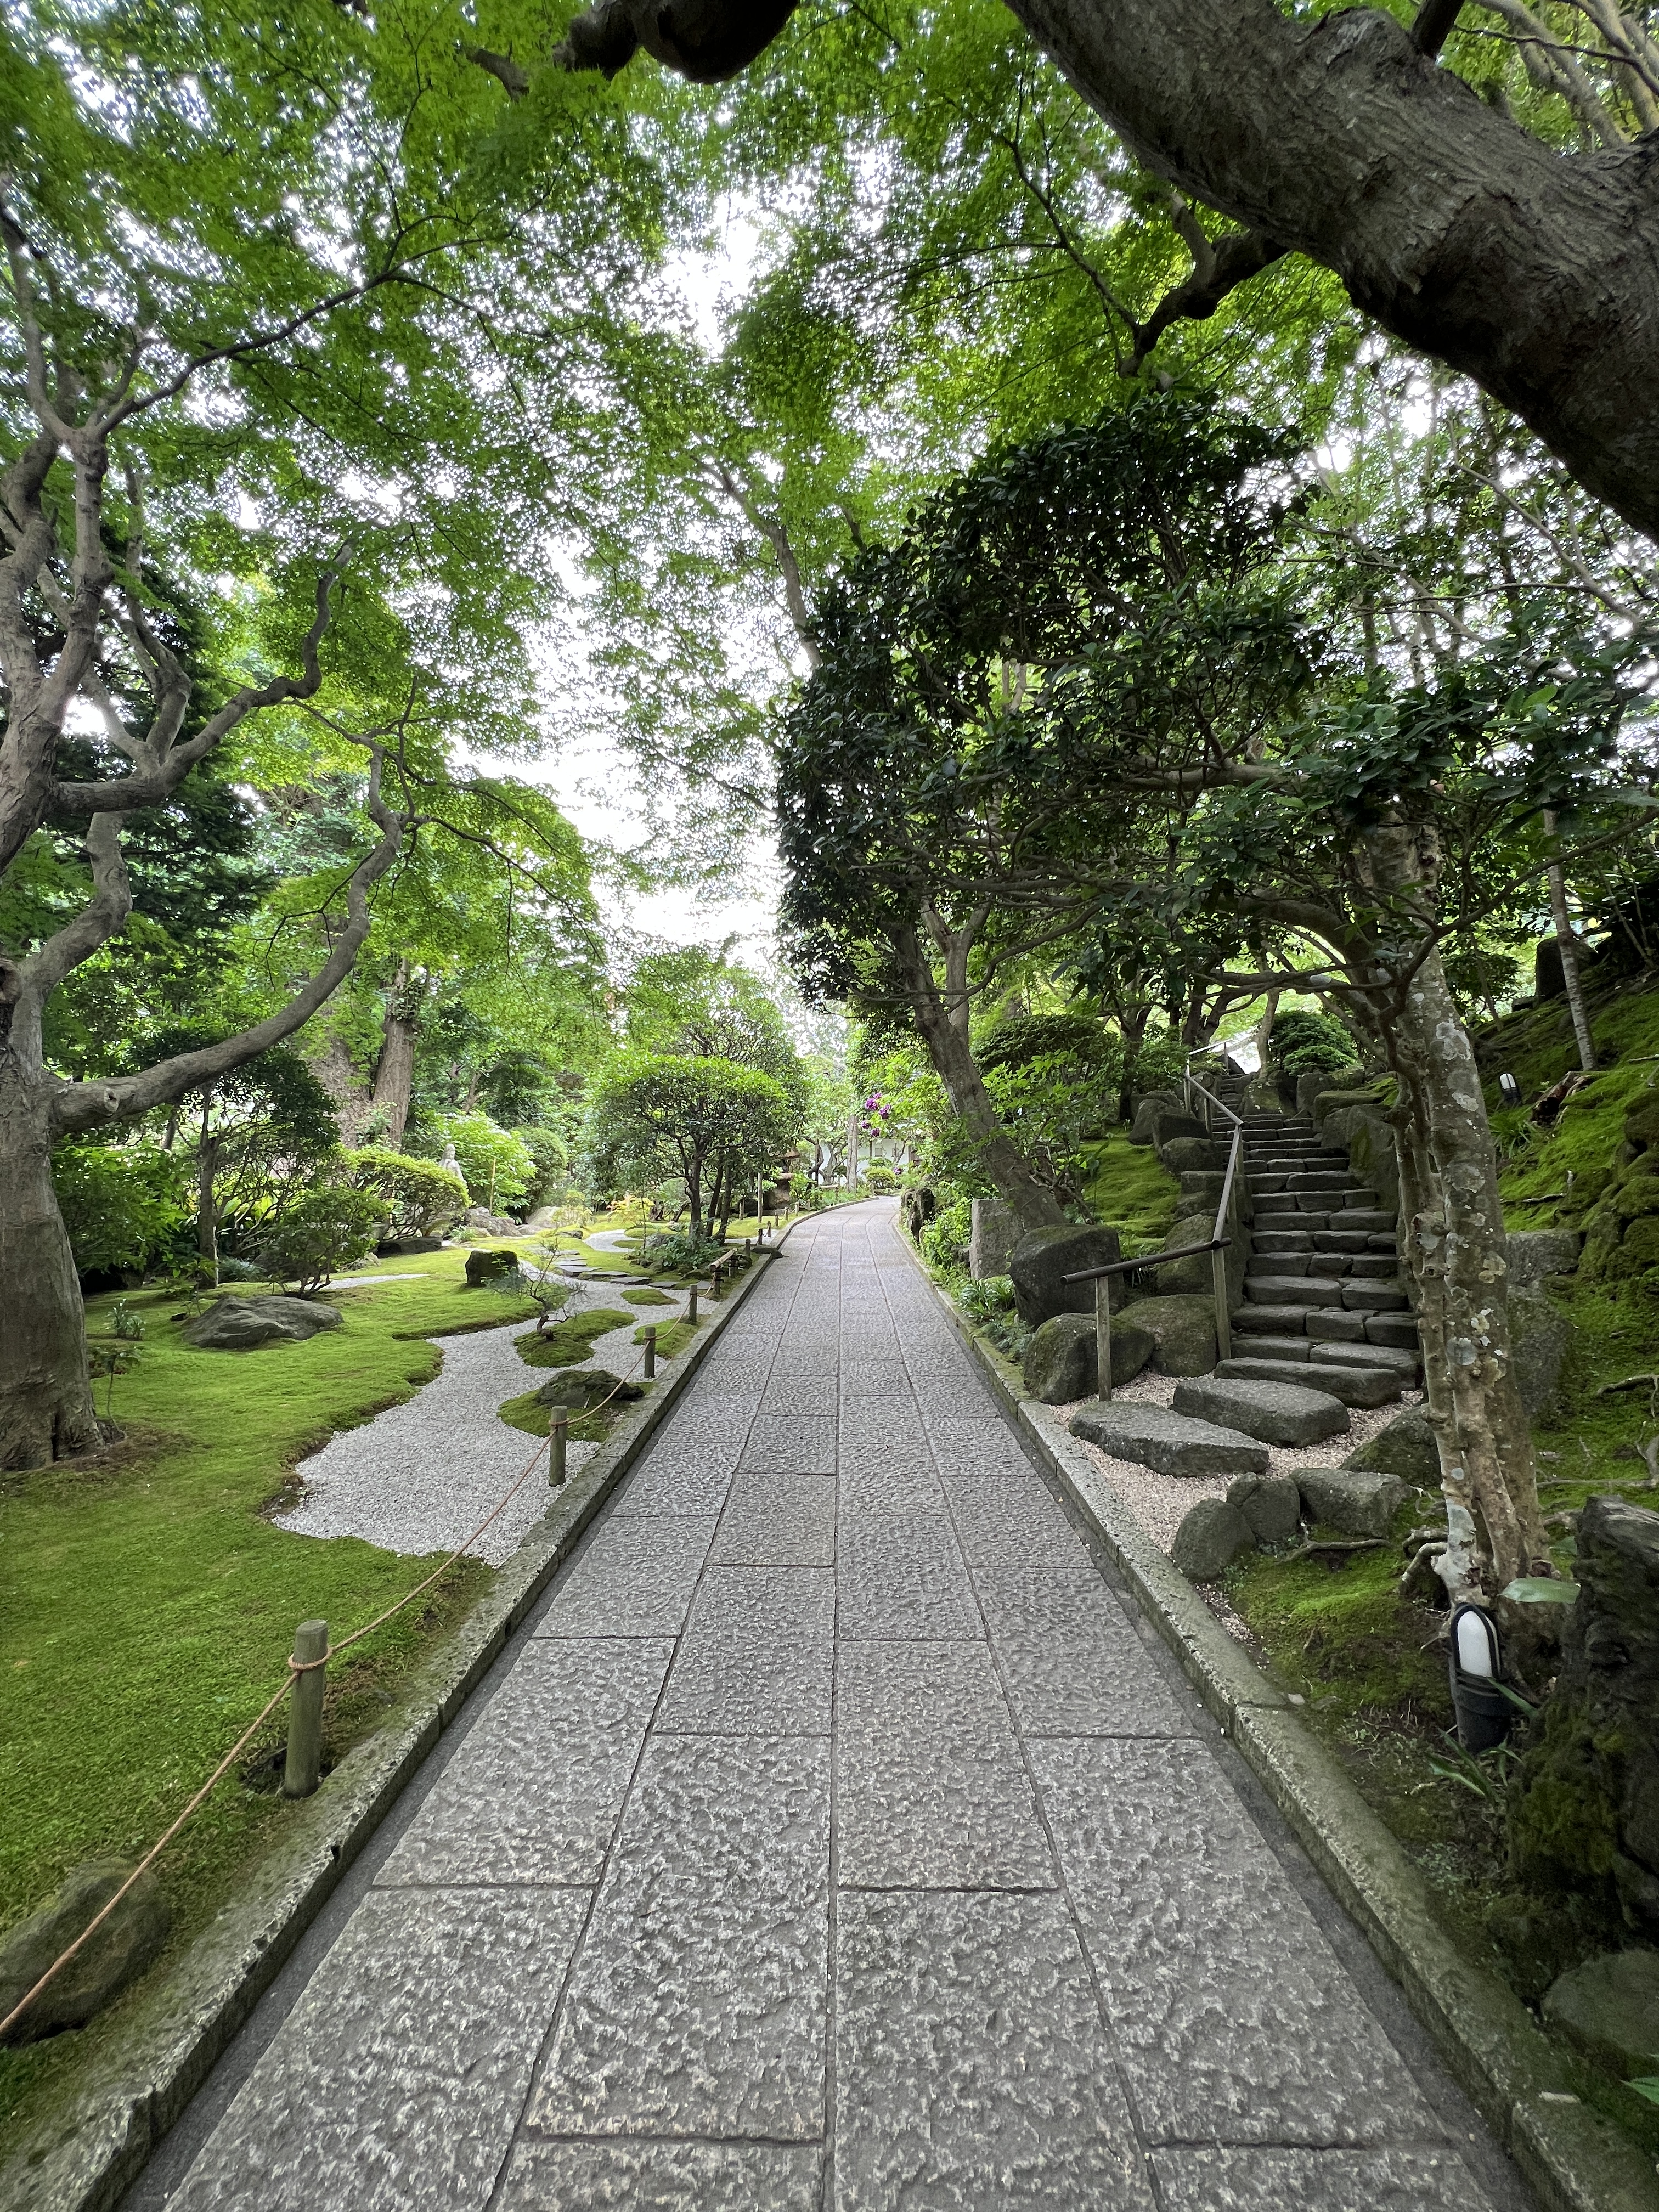
Our tour guide met us at our hotel and brought us to the train for about a 1 hour ride to our first stop. On the train he taught us about the Japanese language, as well as the written text which is much more complicated than I originally thought it was (and I already thought it was complicated). He also taught us about the different statues that we would see in a temple, what they mean, and what other symbols to look out for. It was very helpful with regard to understanding what we were looking at during the rest of our trip. We did not do many tours, but this one proved really usefull because of what we learned that we could take with us on the rest of the trip. Our first stop was the Hokoku-ji temple which has beautiful gardens and a bamboo grove. At the bamboo grove there is a tea house and you can enjoy traditional matcha with a beautiful view. This temple was a highlight of the day.
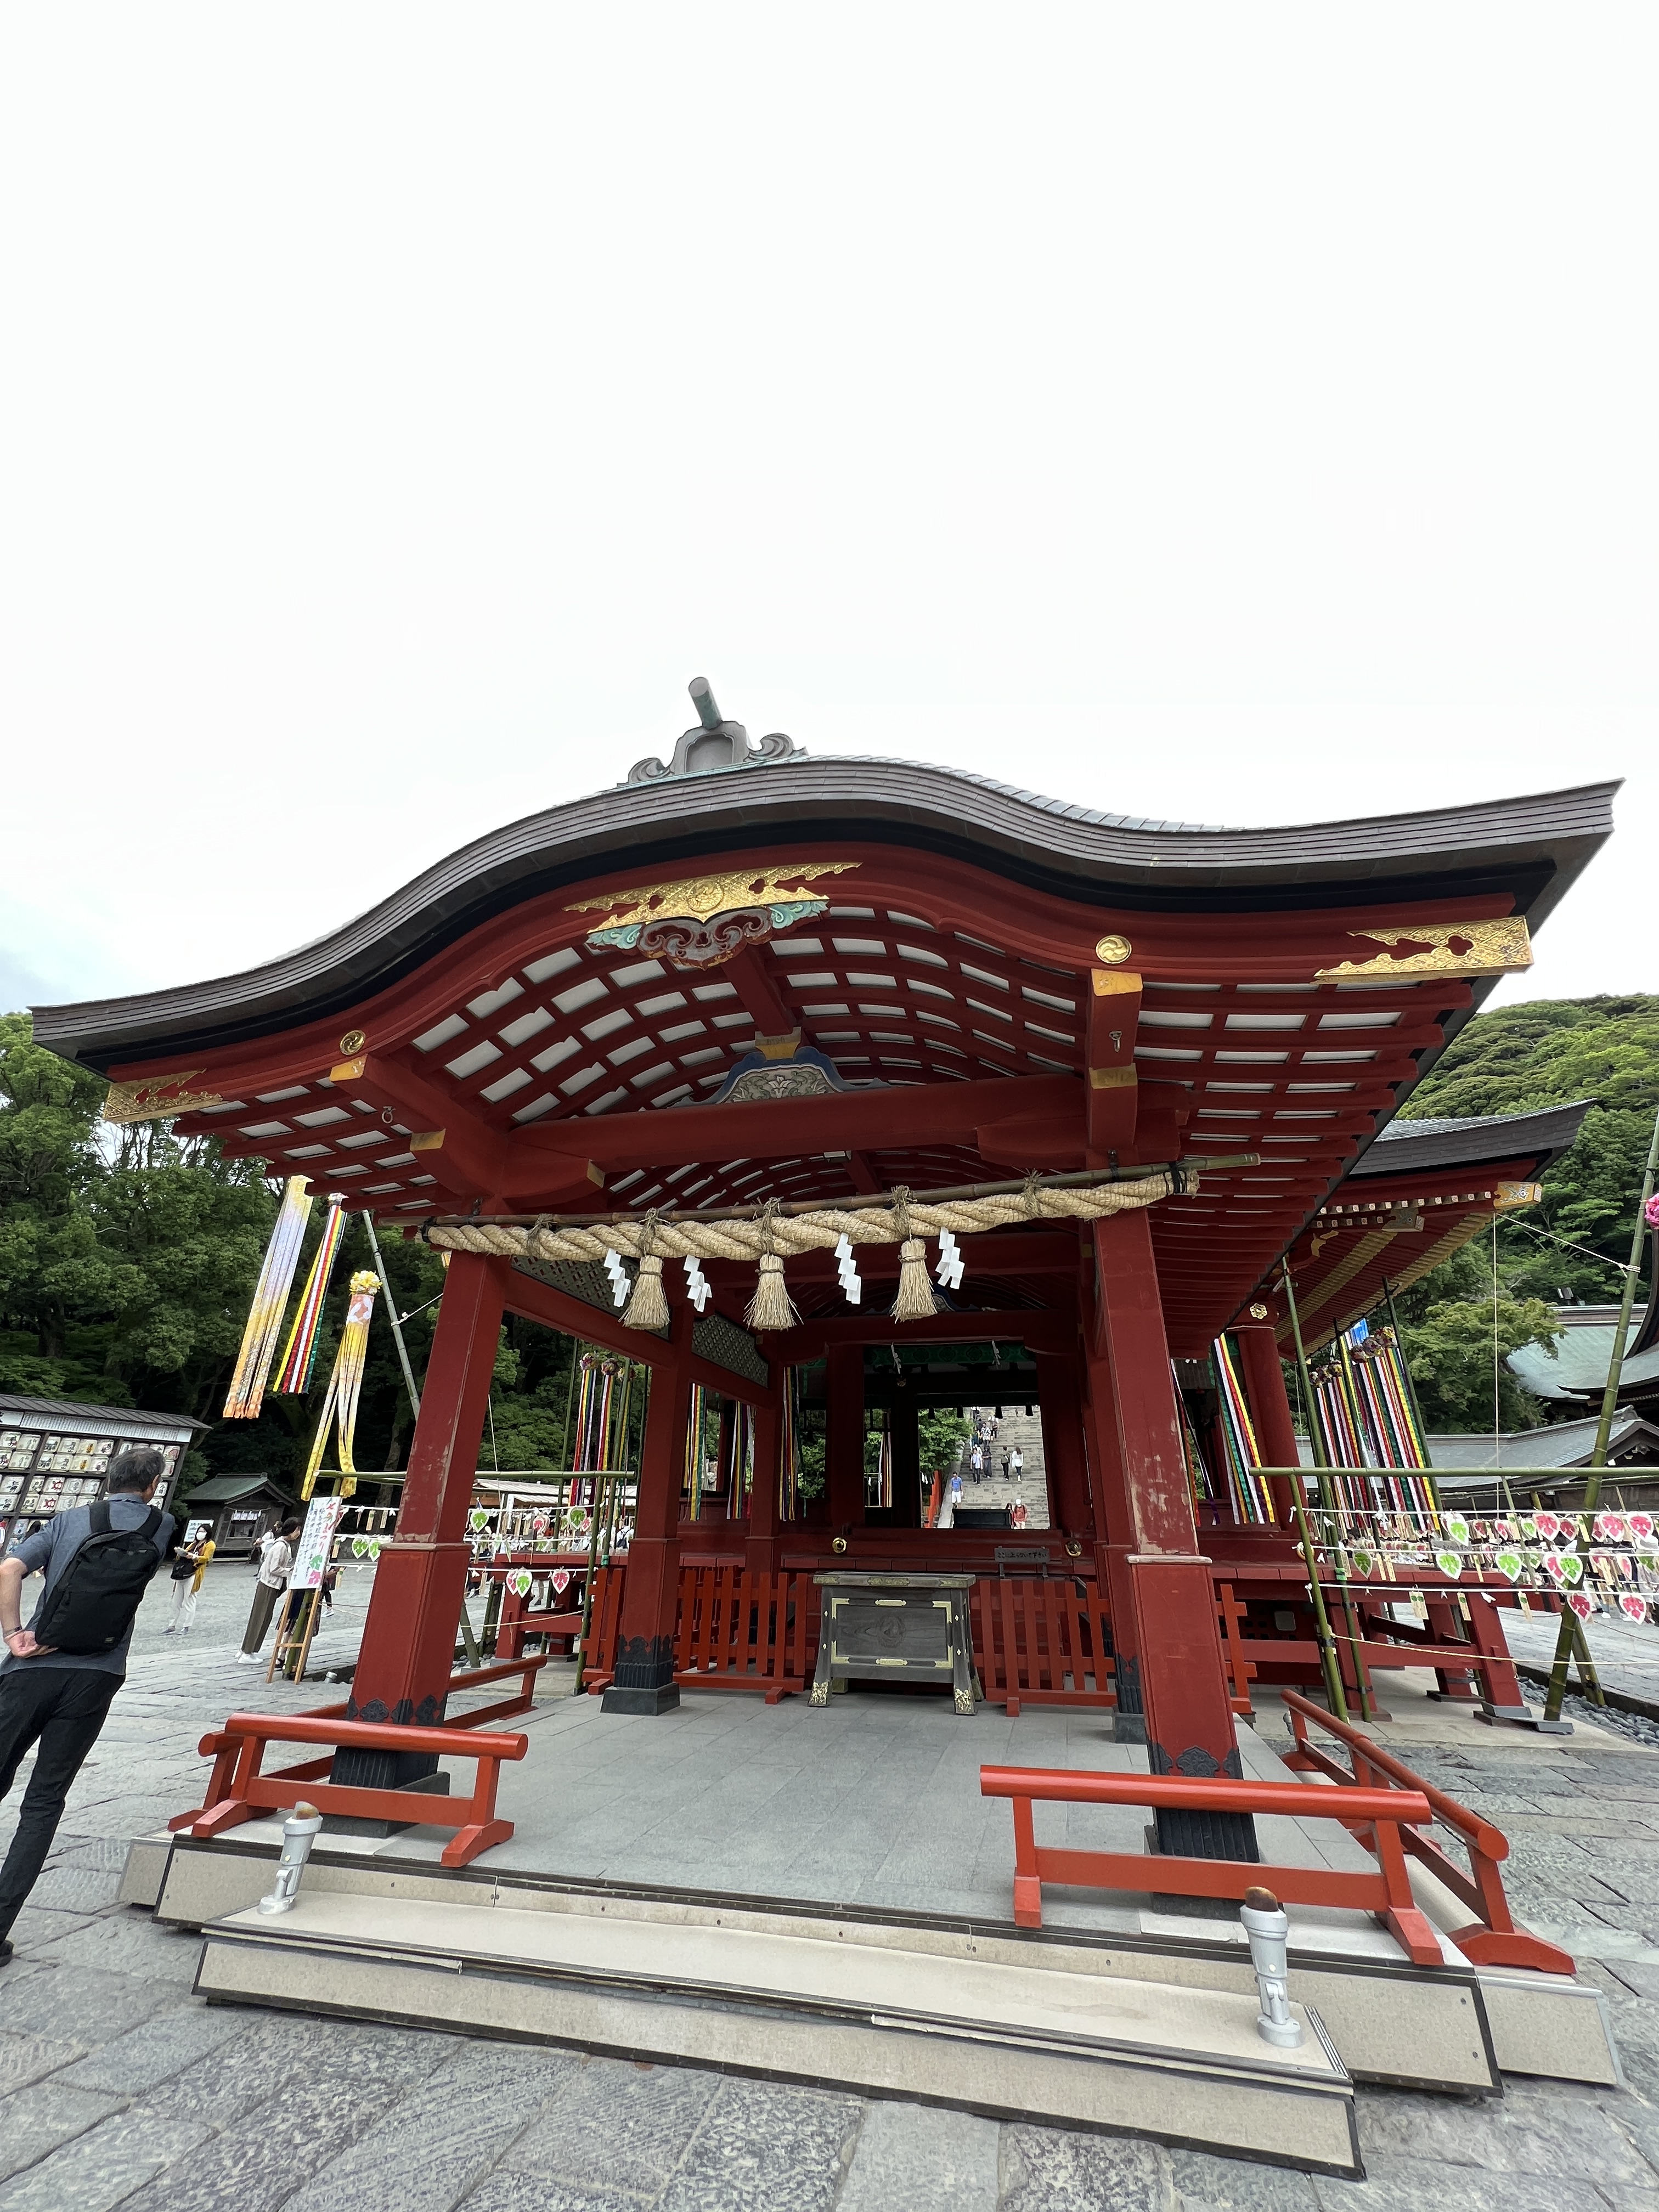
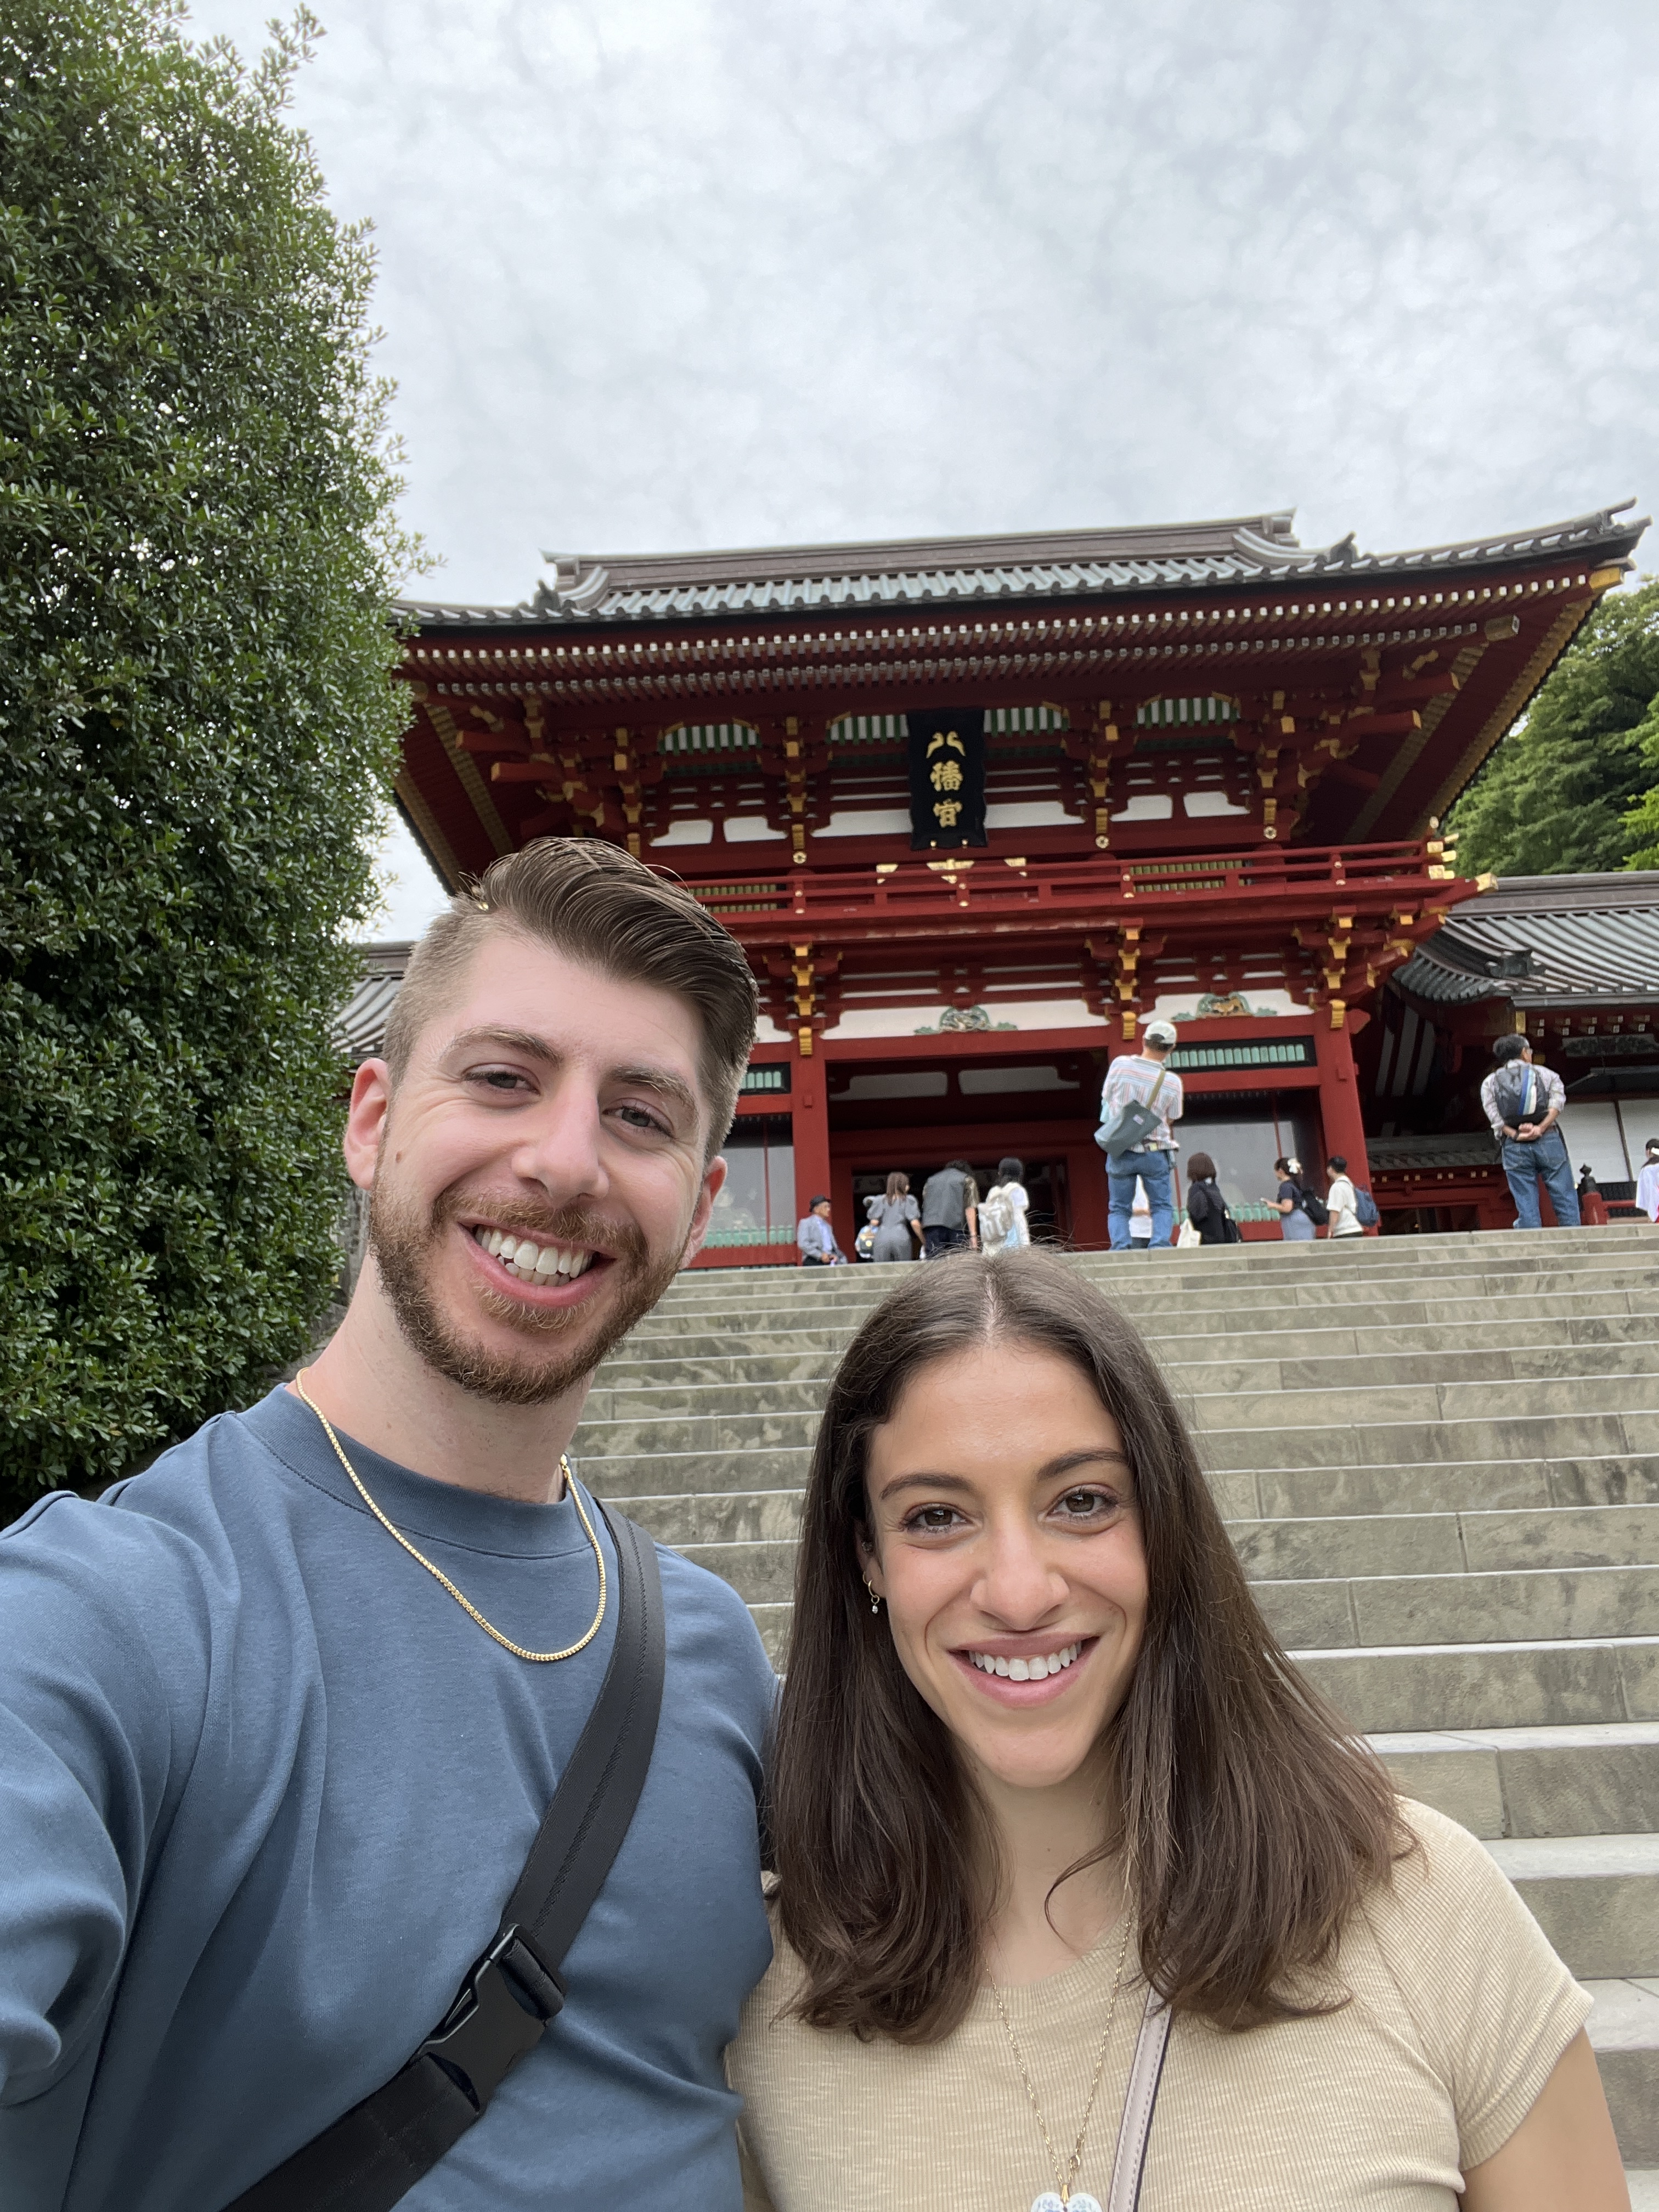
Next we visited the Tsurugaoka-Hachimangu Shrine, the most important Shinto shrine in Kamakura. It marks the city center and serves as the venue of many important festivals. The building itself has mainly served as a shrine, but also served as a Buddhist temple briefly. There is a large Tori gate right at the entrance and a long path leading up to the shrine that begins all the way at Kamakura’s waterfront.
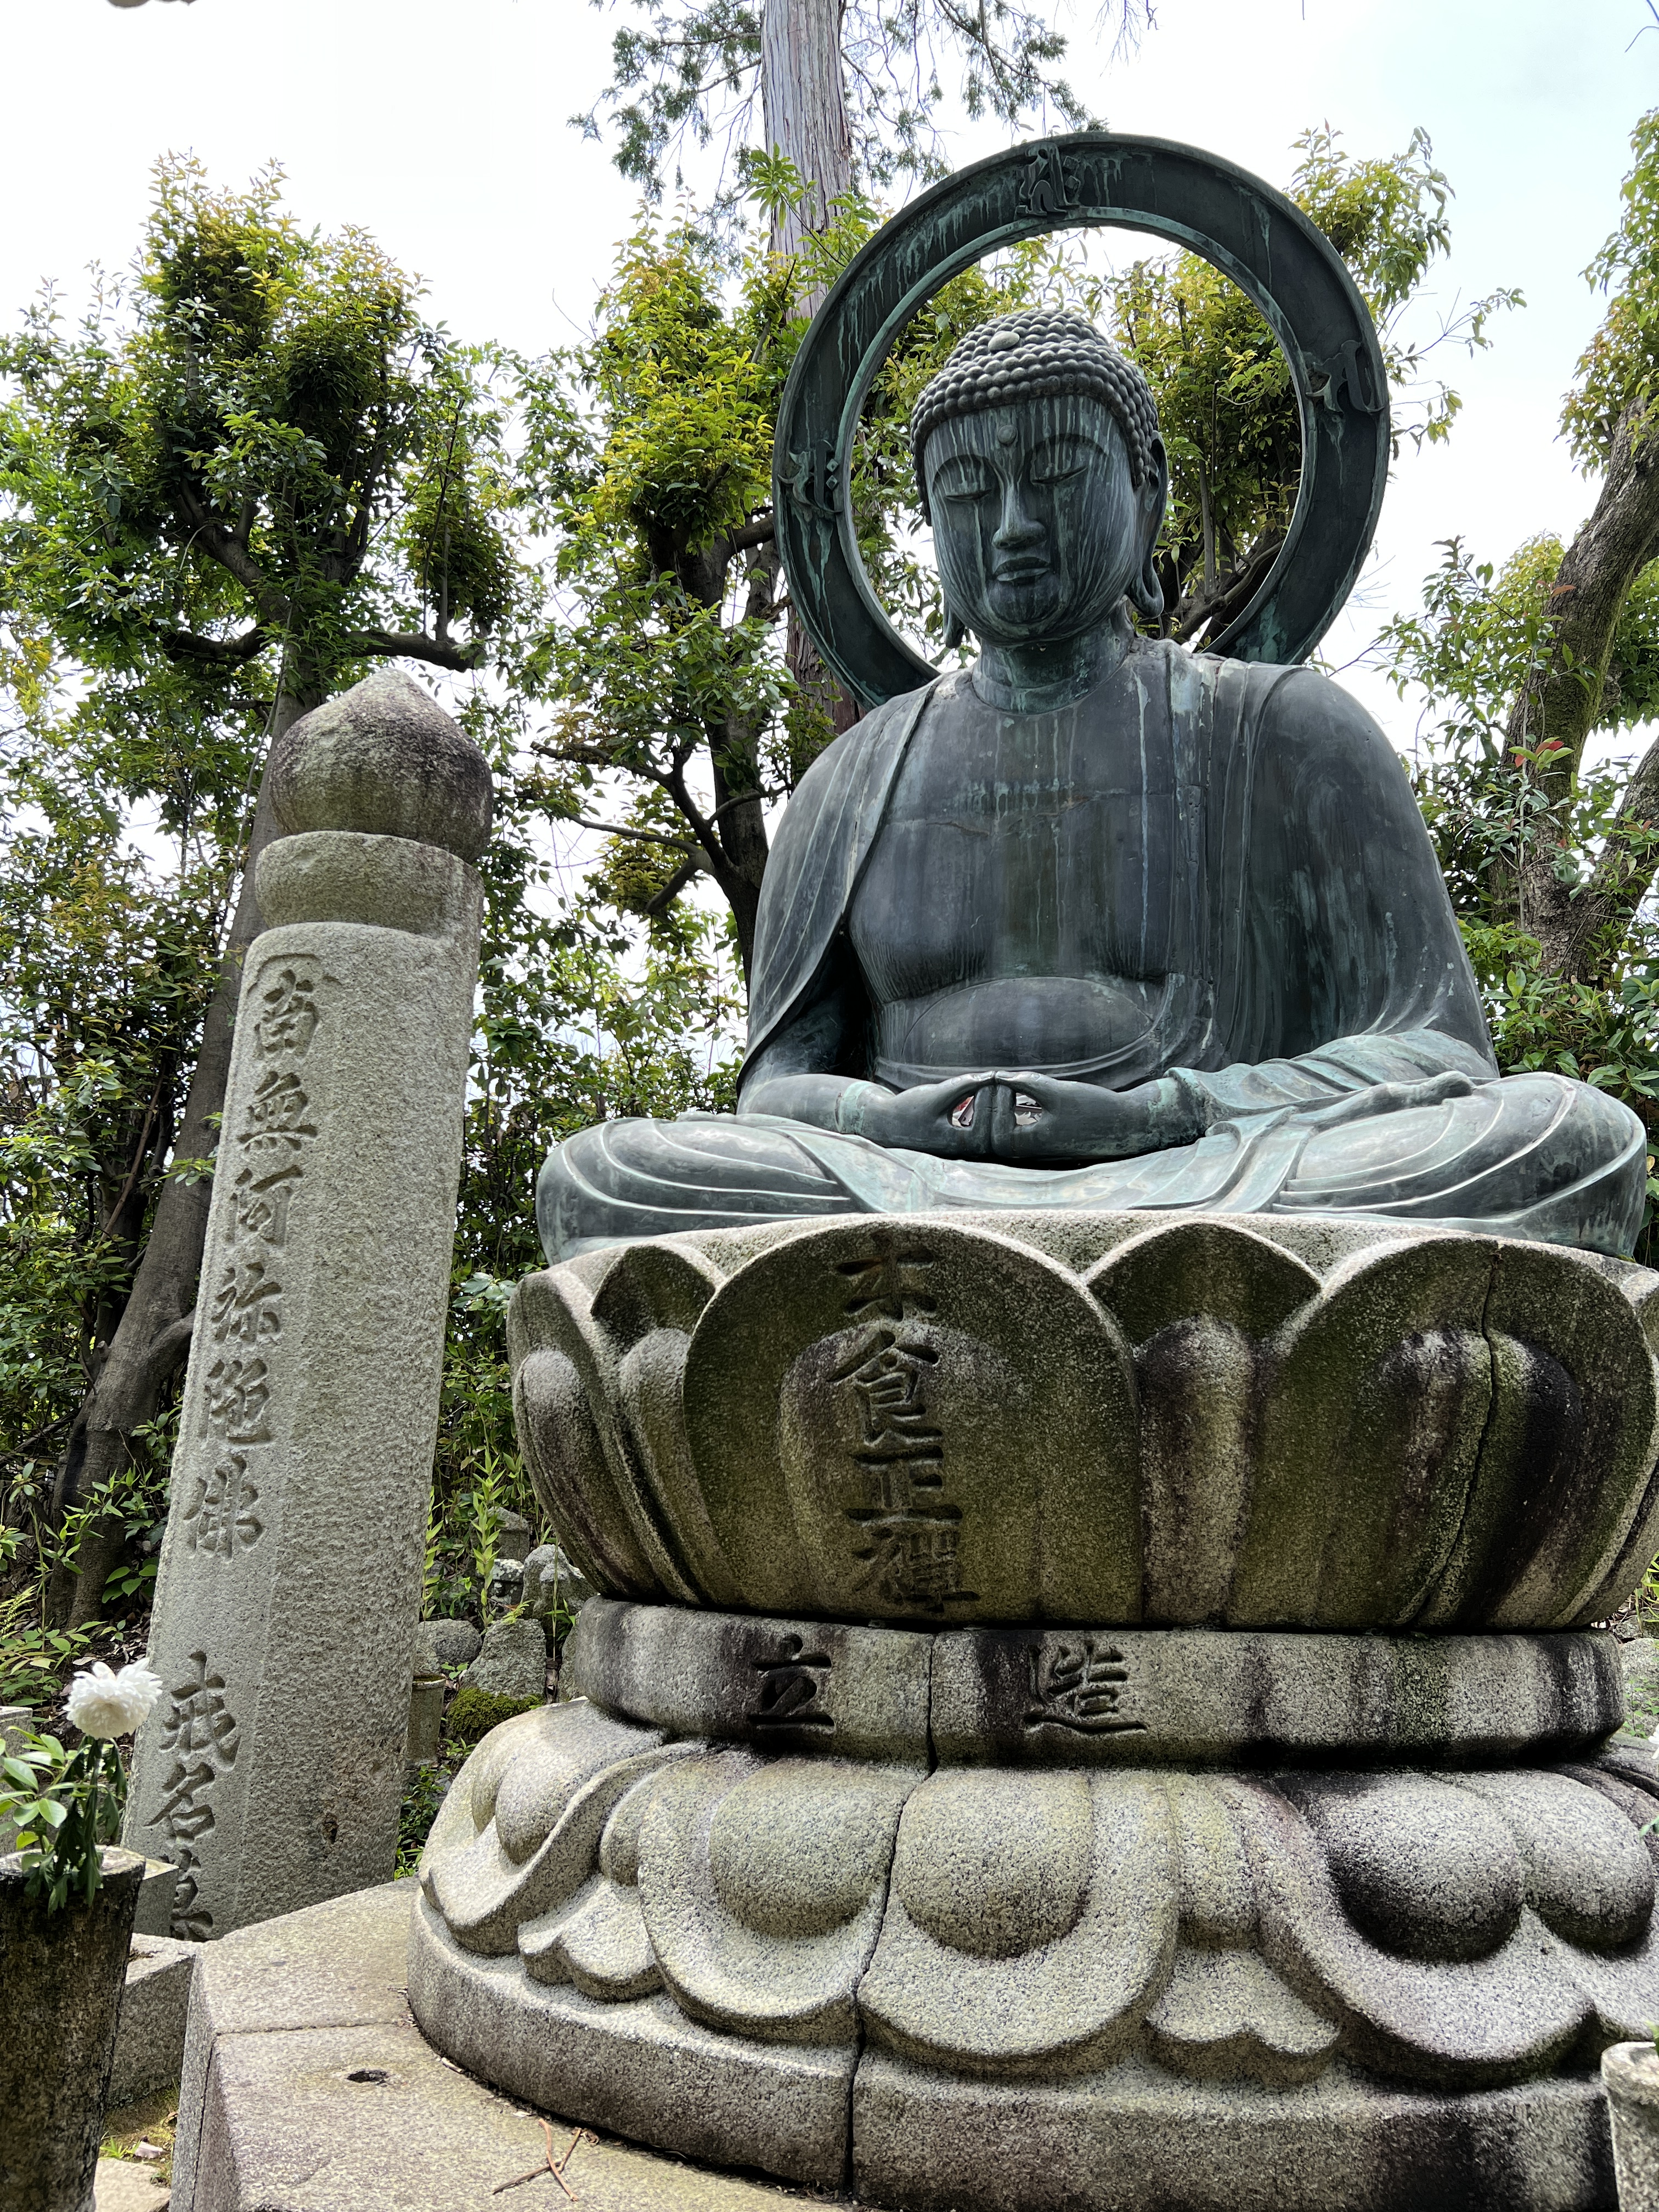
Our next stop was the Hotoku-in temple, another highlight of the day because of the Great Buddha housed within.
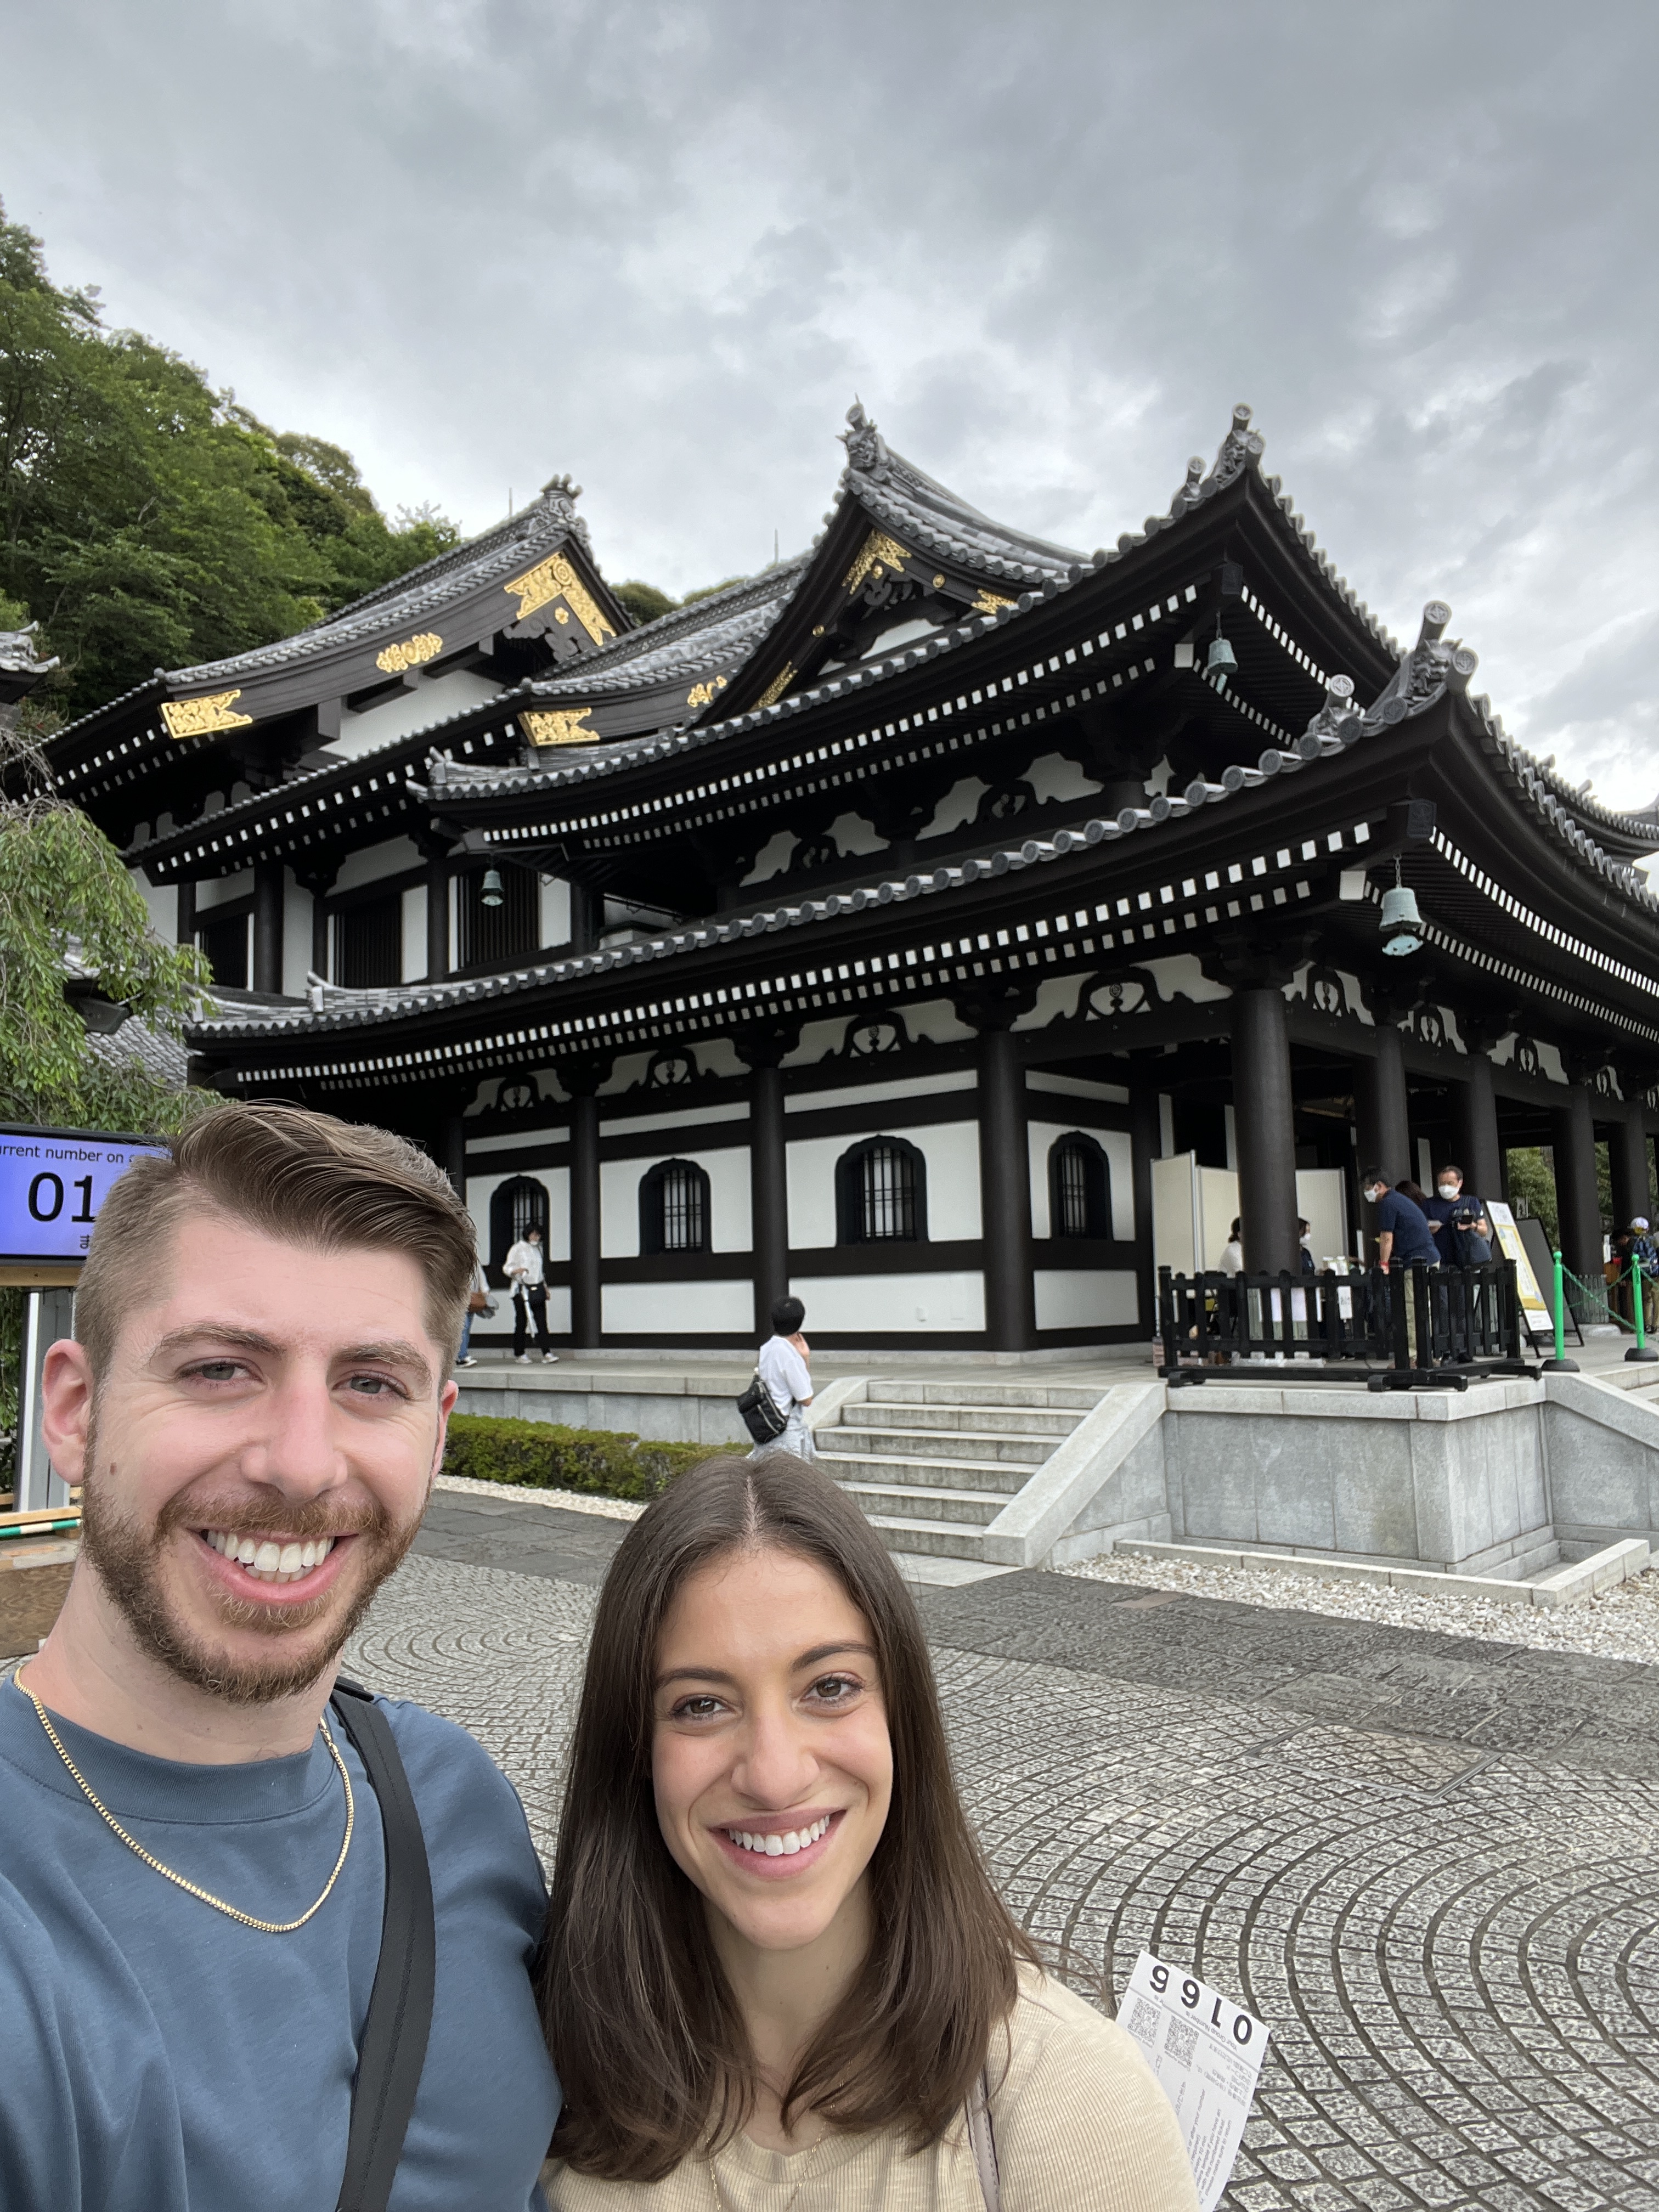
The Hasa Dera temple was next, housing one of the two Kannon statues that exist in Japan. The history is that the statue was made in Nara and suddenly appeared off the coast of Kamakura and this is why the temple was founded here in 736. You are not allowed to photograph the Kannon statue itself, though she is absolutely breathtaking. There are postcards in the gift shop that you can purchase as a souvenir or just take a picture of to hold the memory.
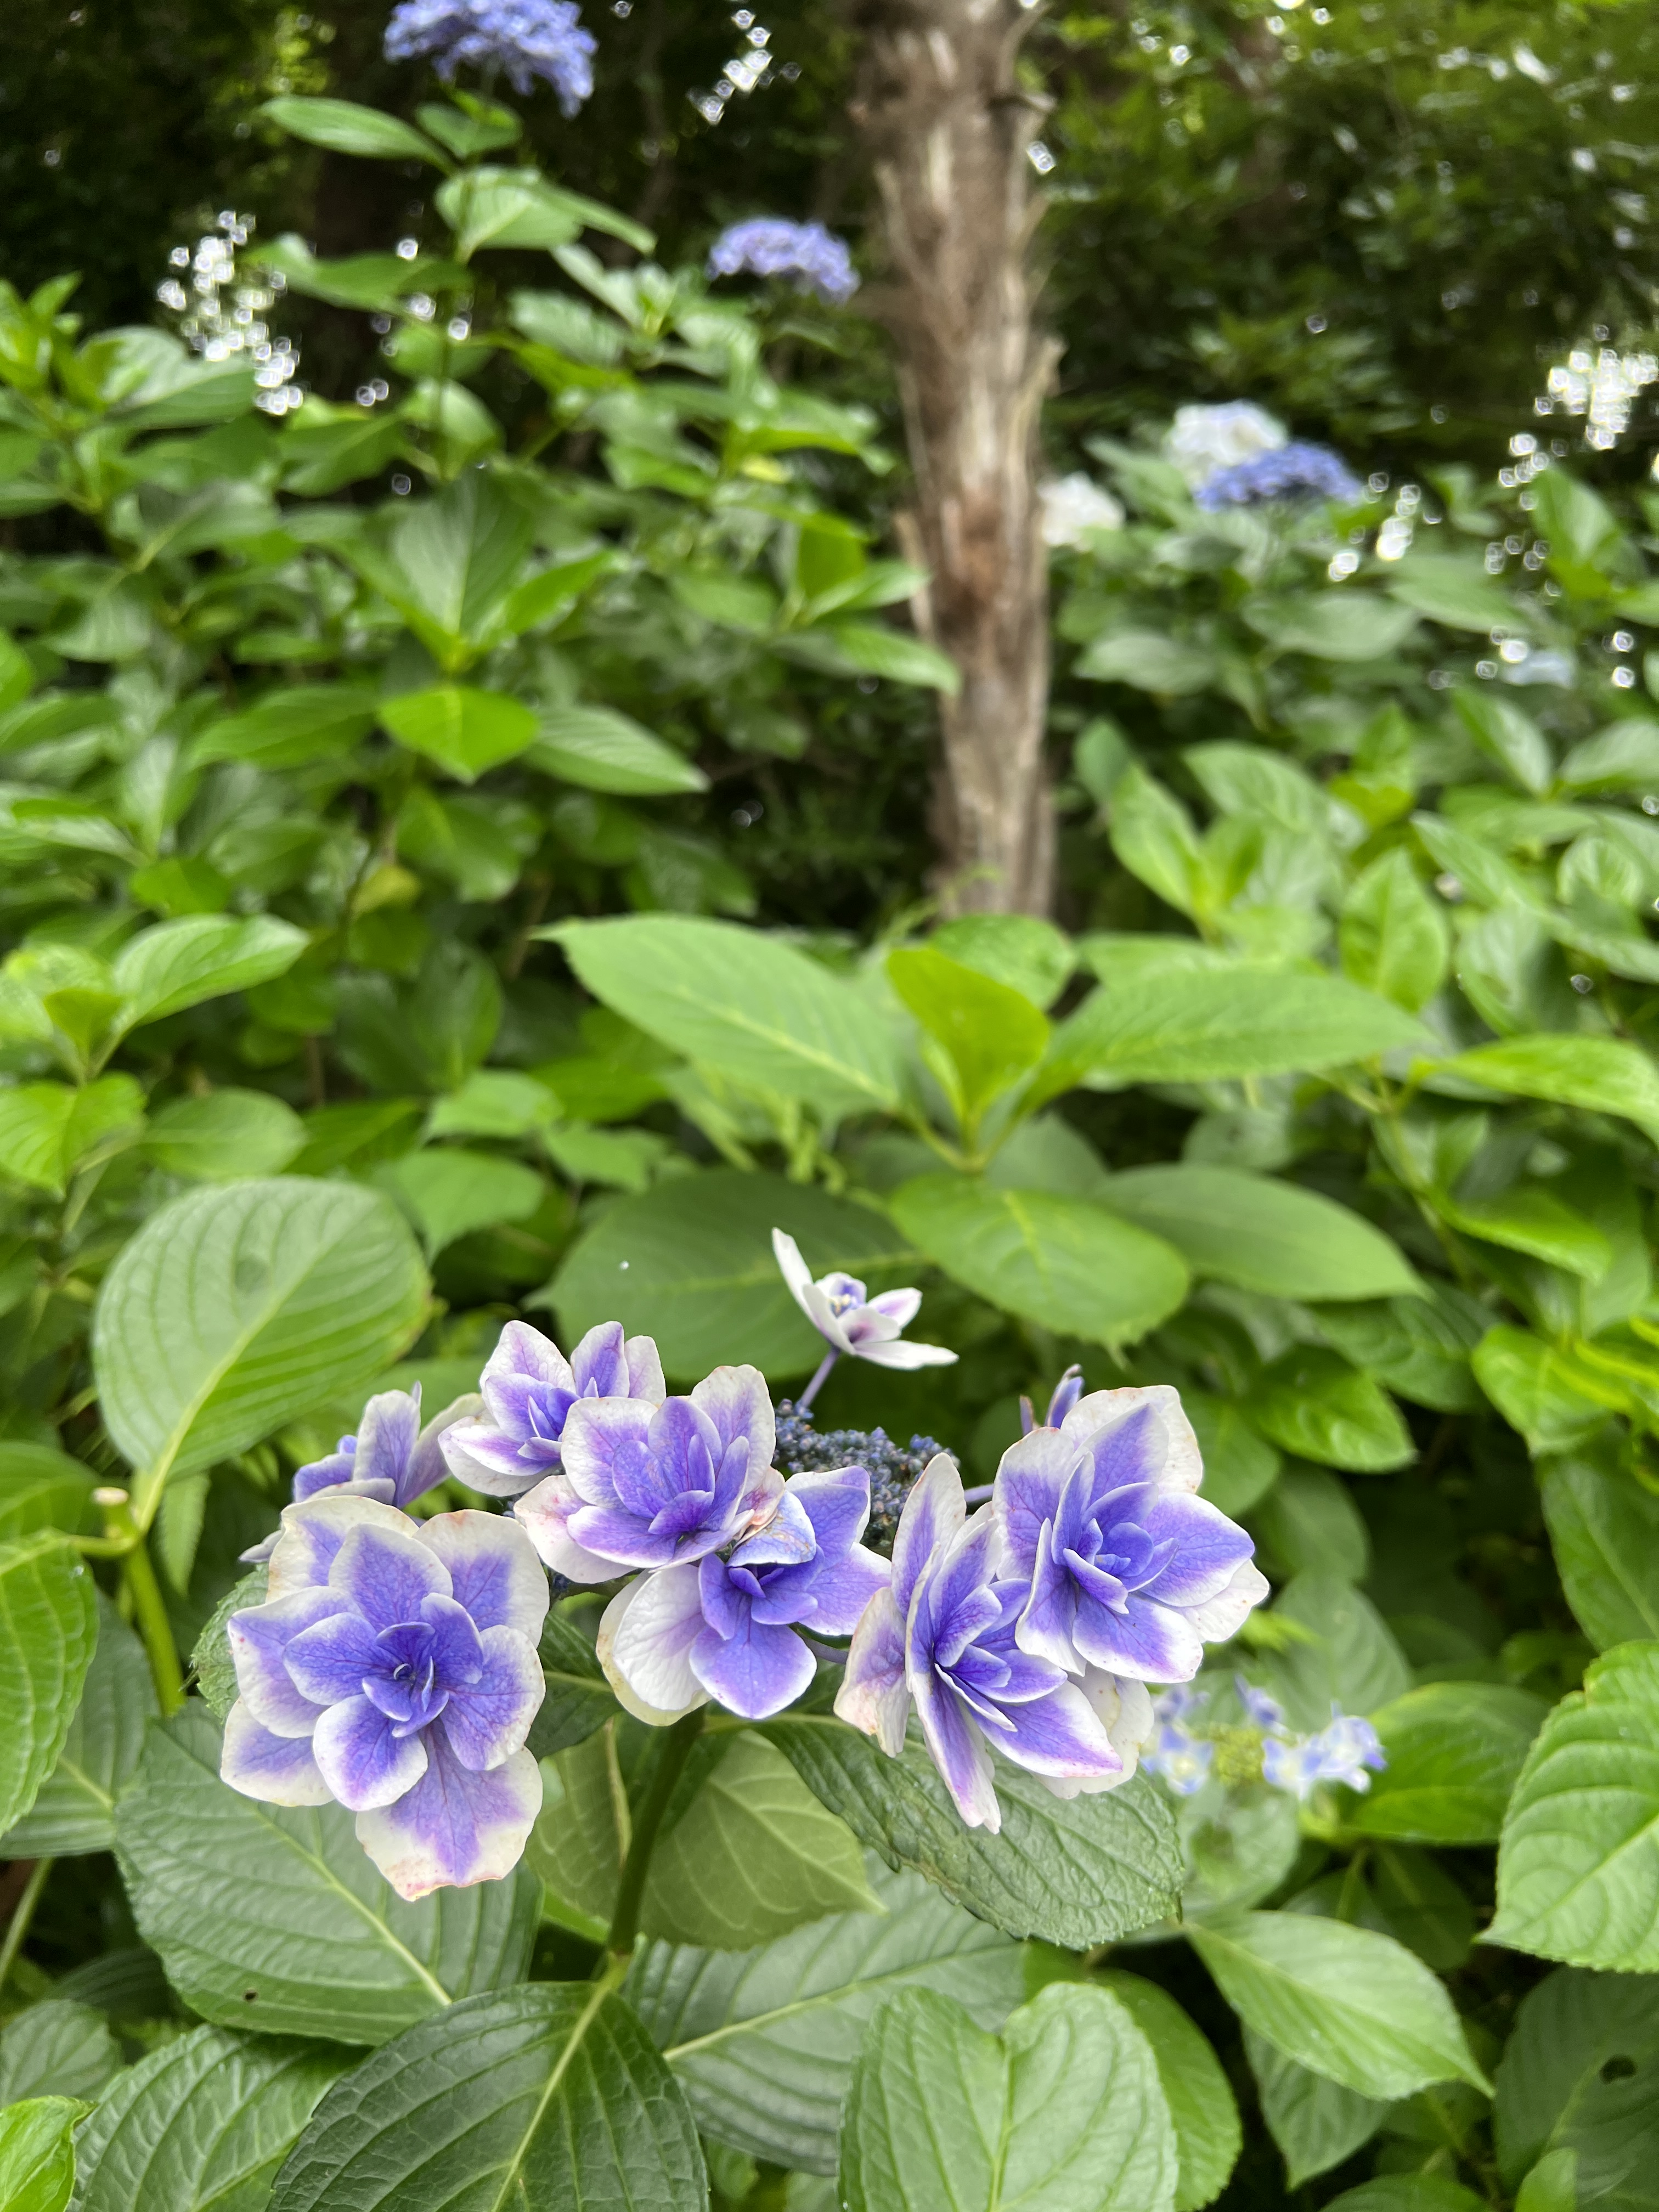
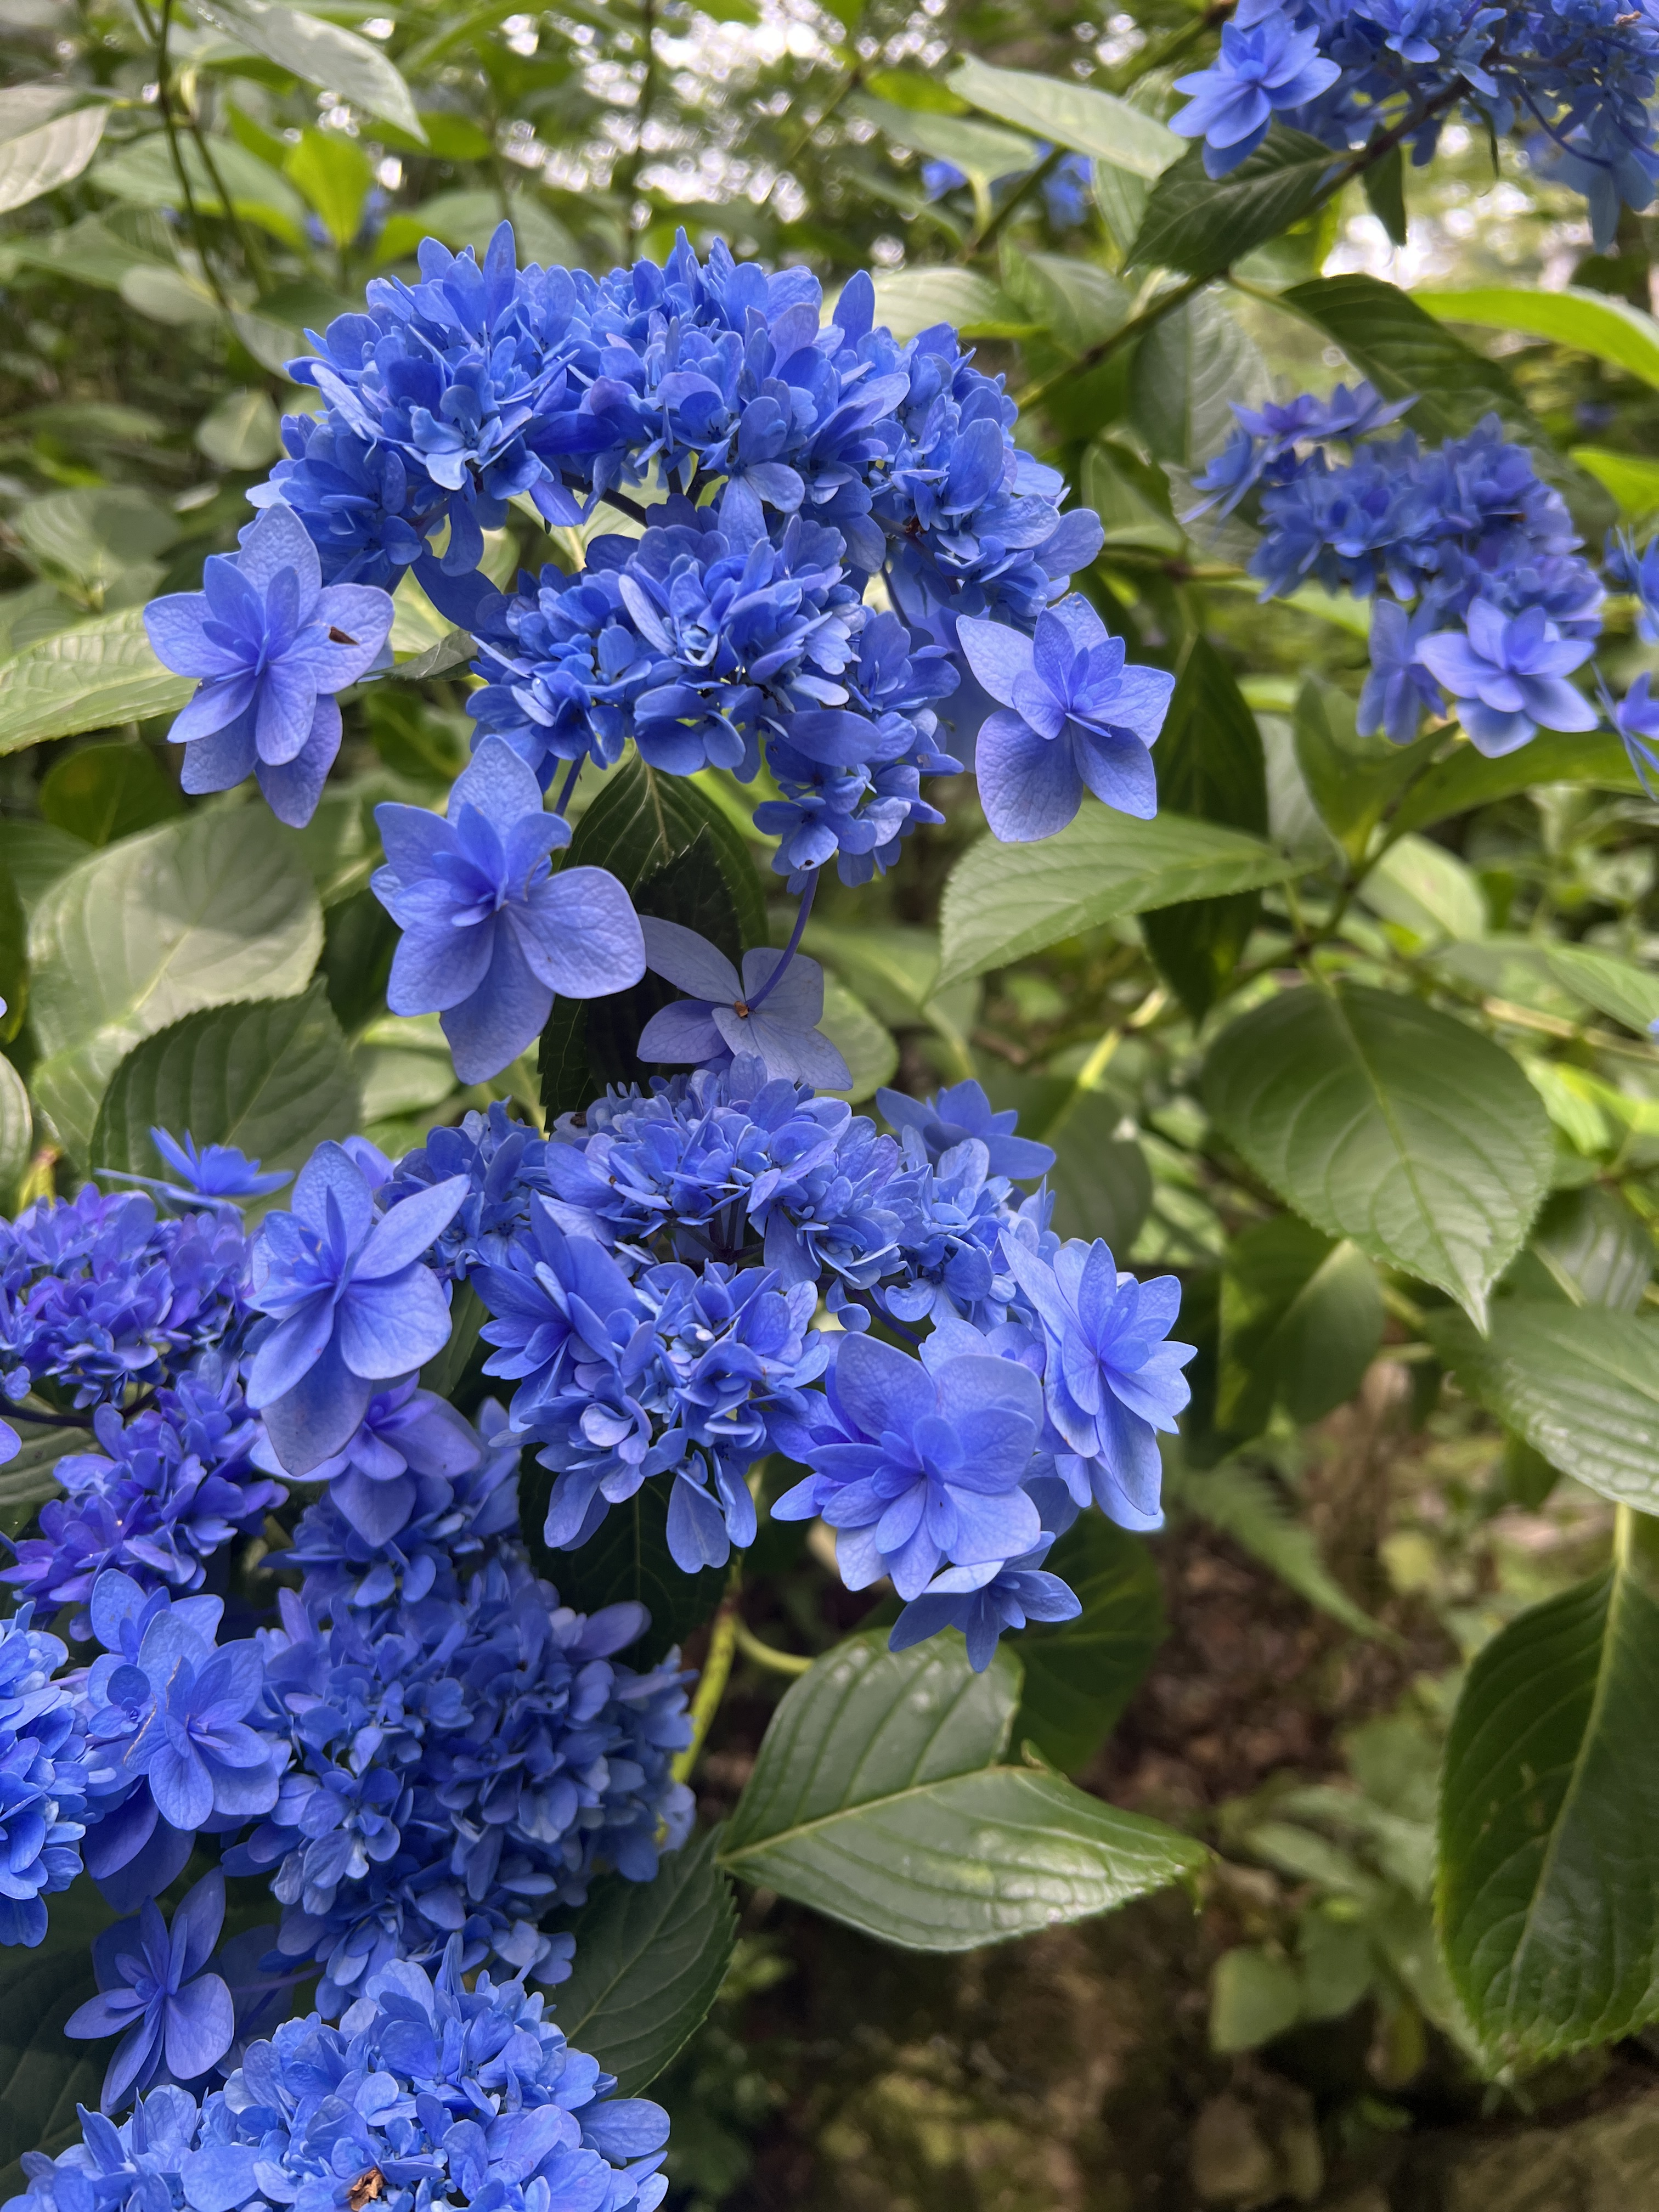
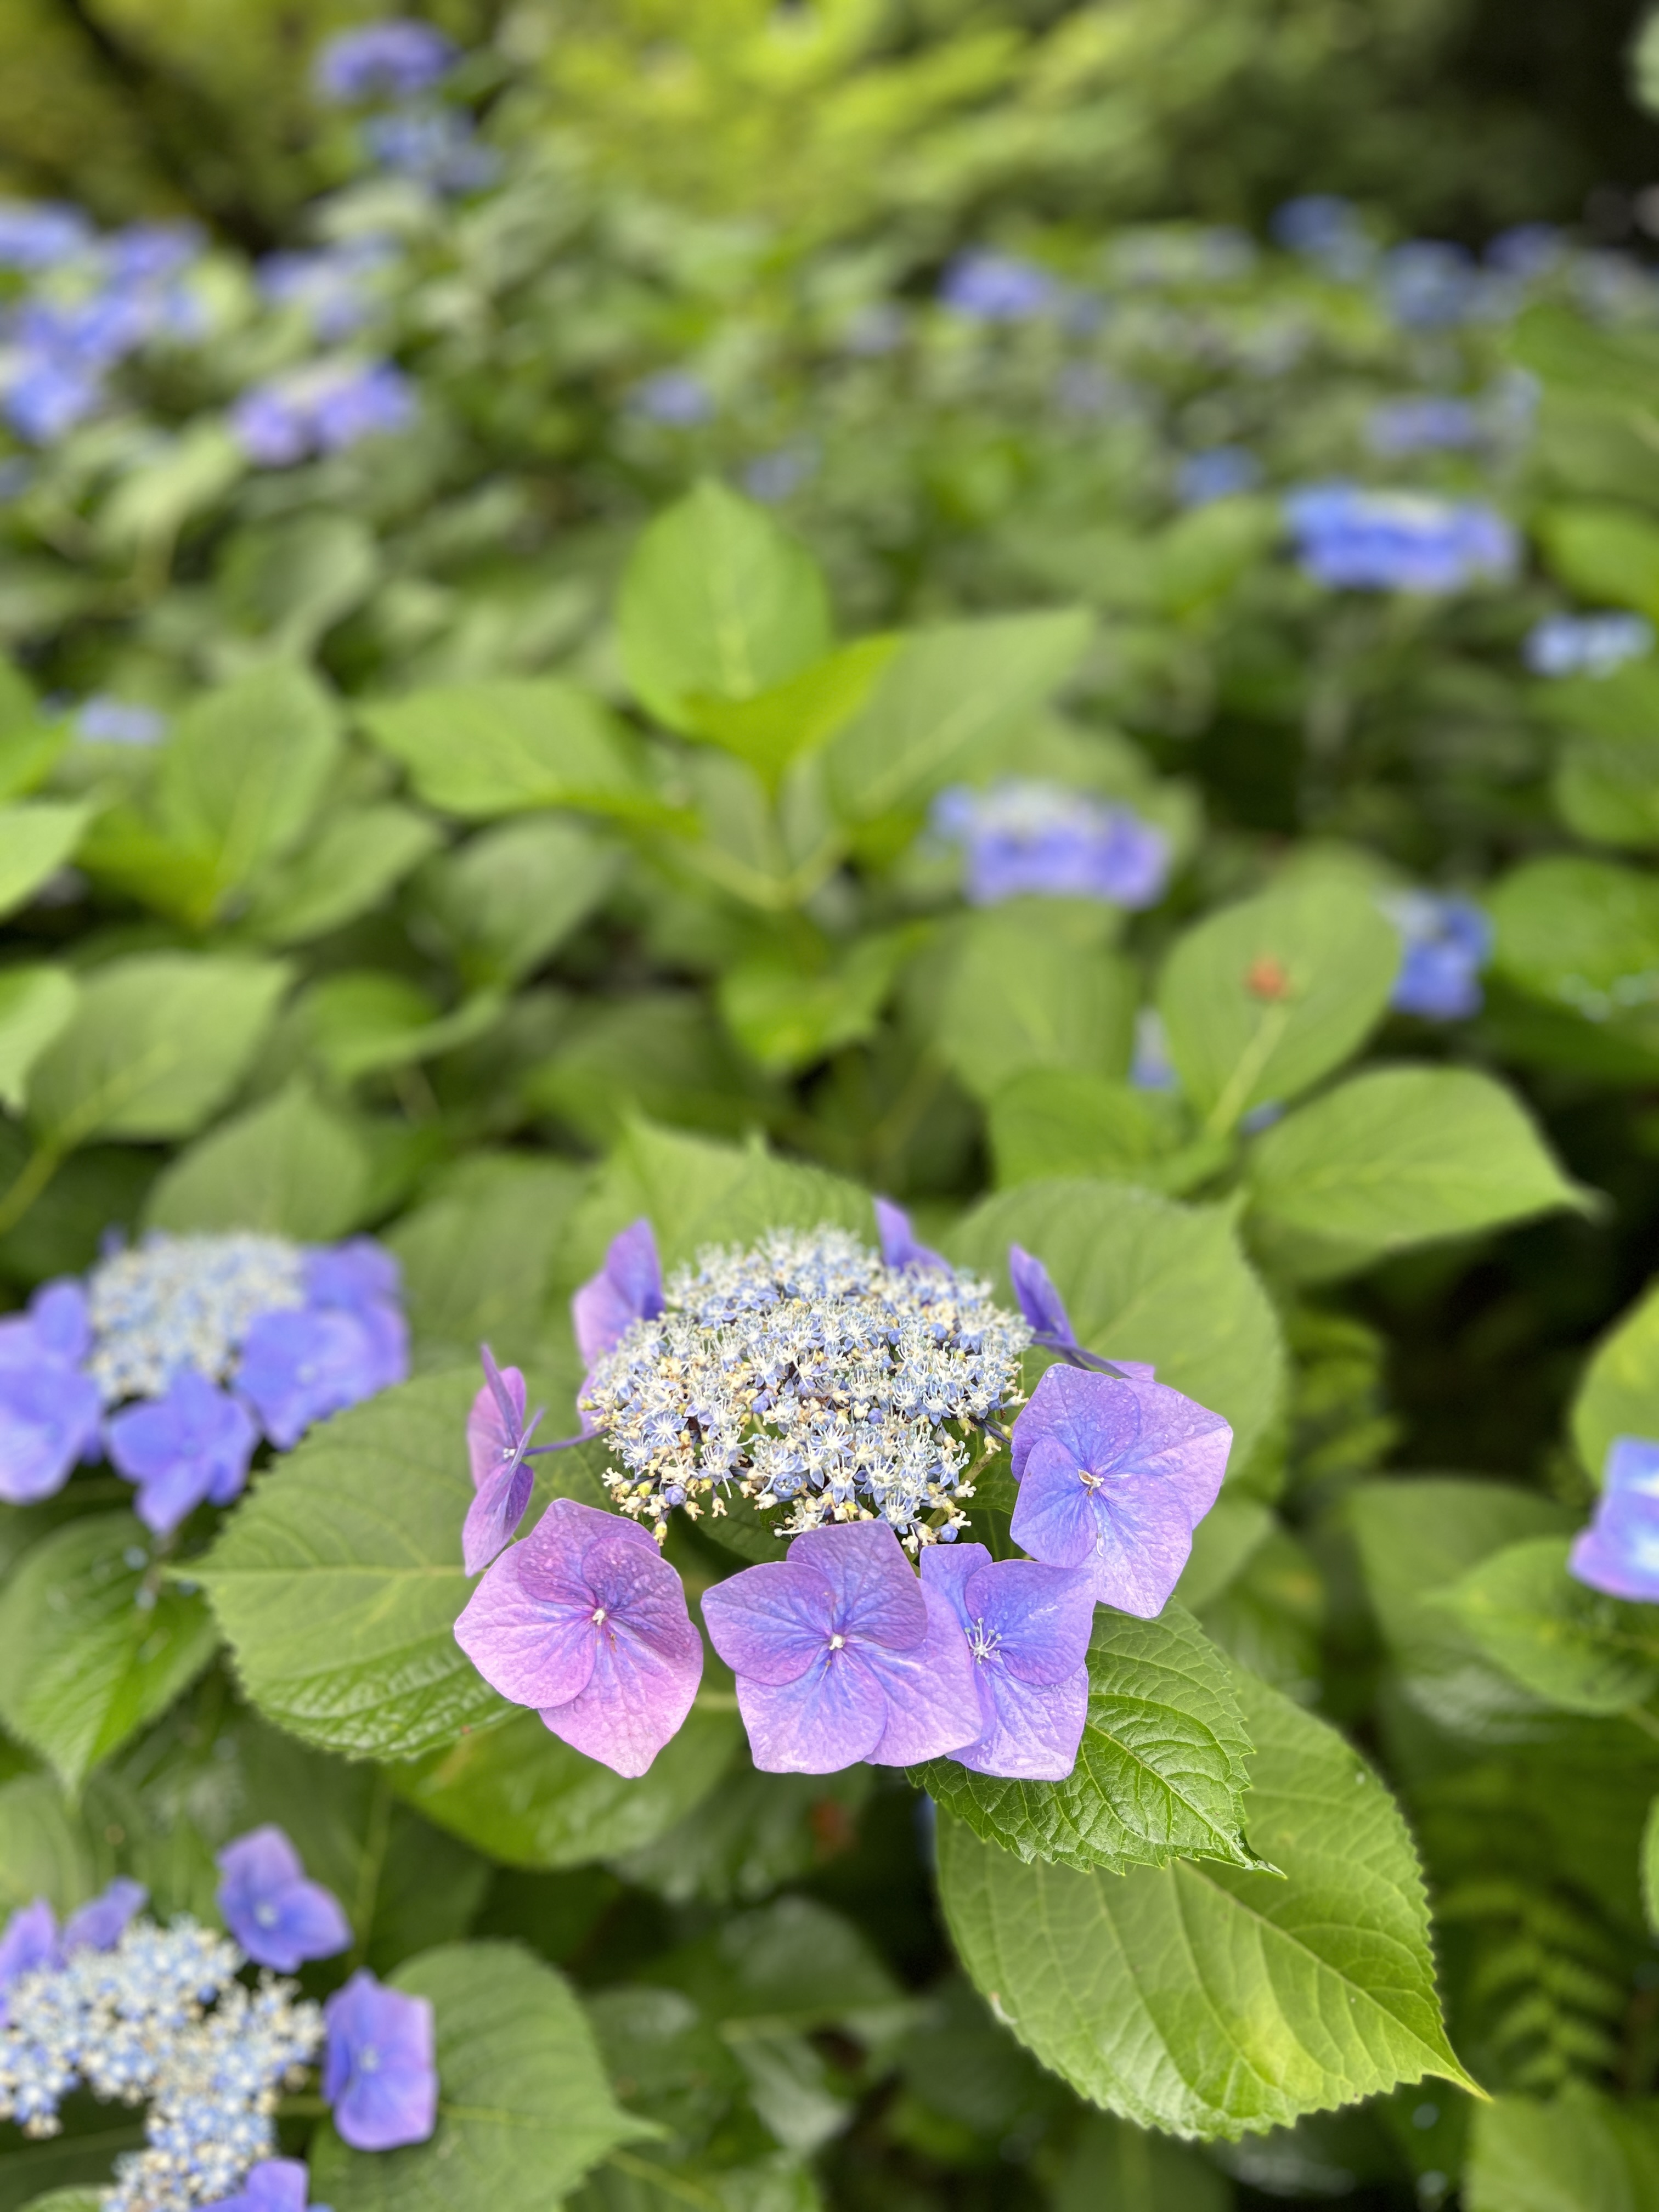
Within the Hasa Dera temple complex there is a walking path through a grove of hydrangea flowers, which were in bloom at the time that we went. It is an uphill walk but it is worth it because of the beautiful view of the town and water at the top.
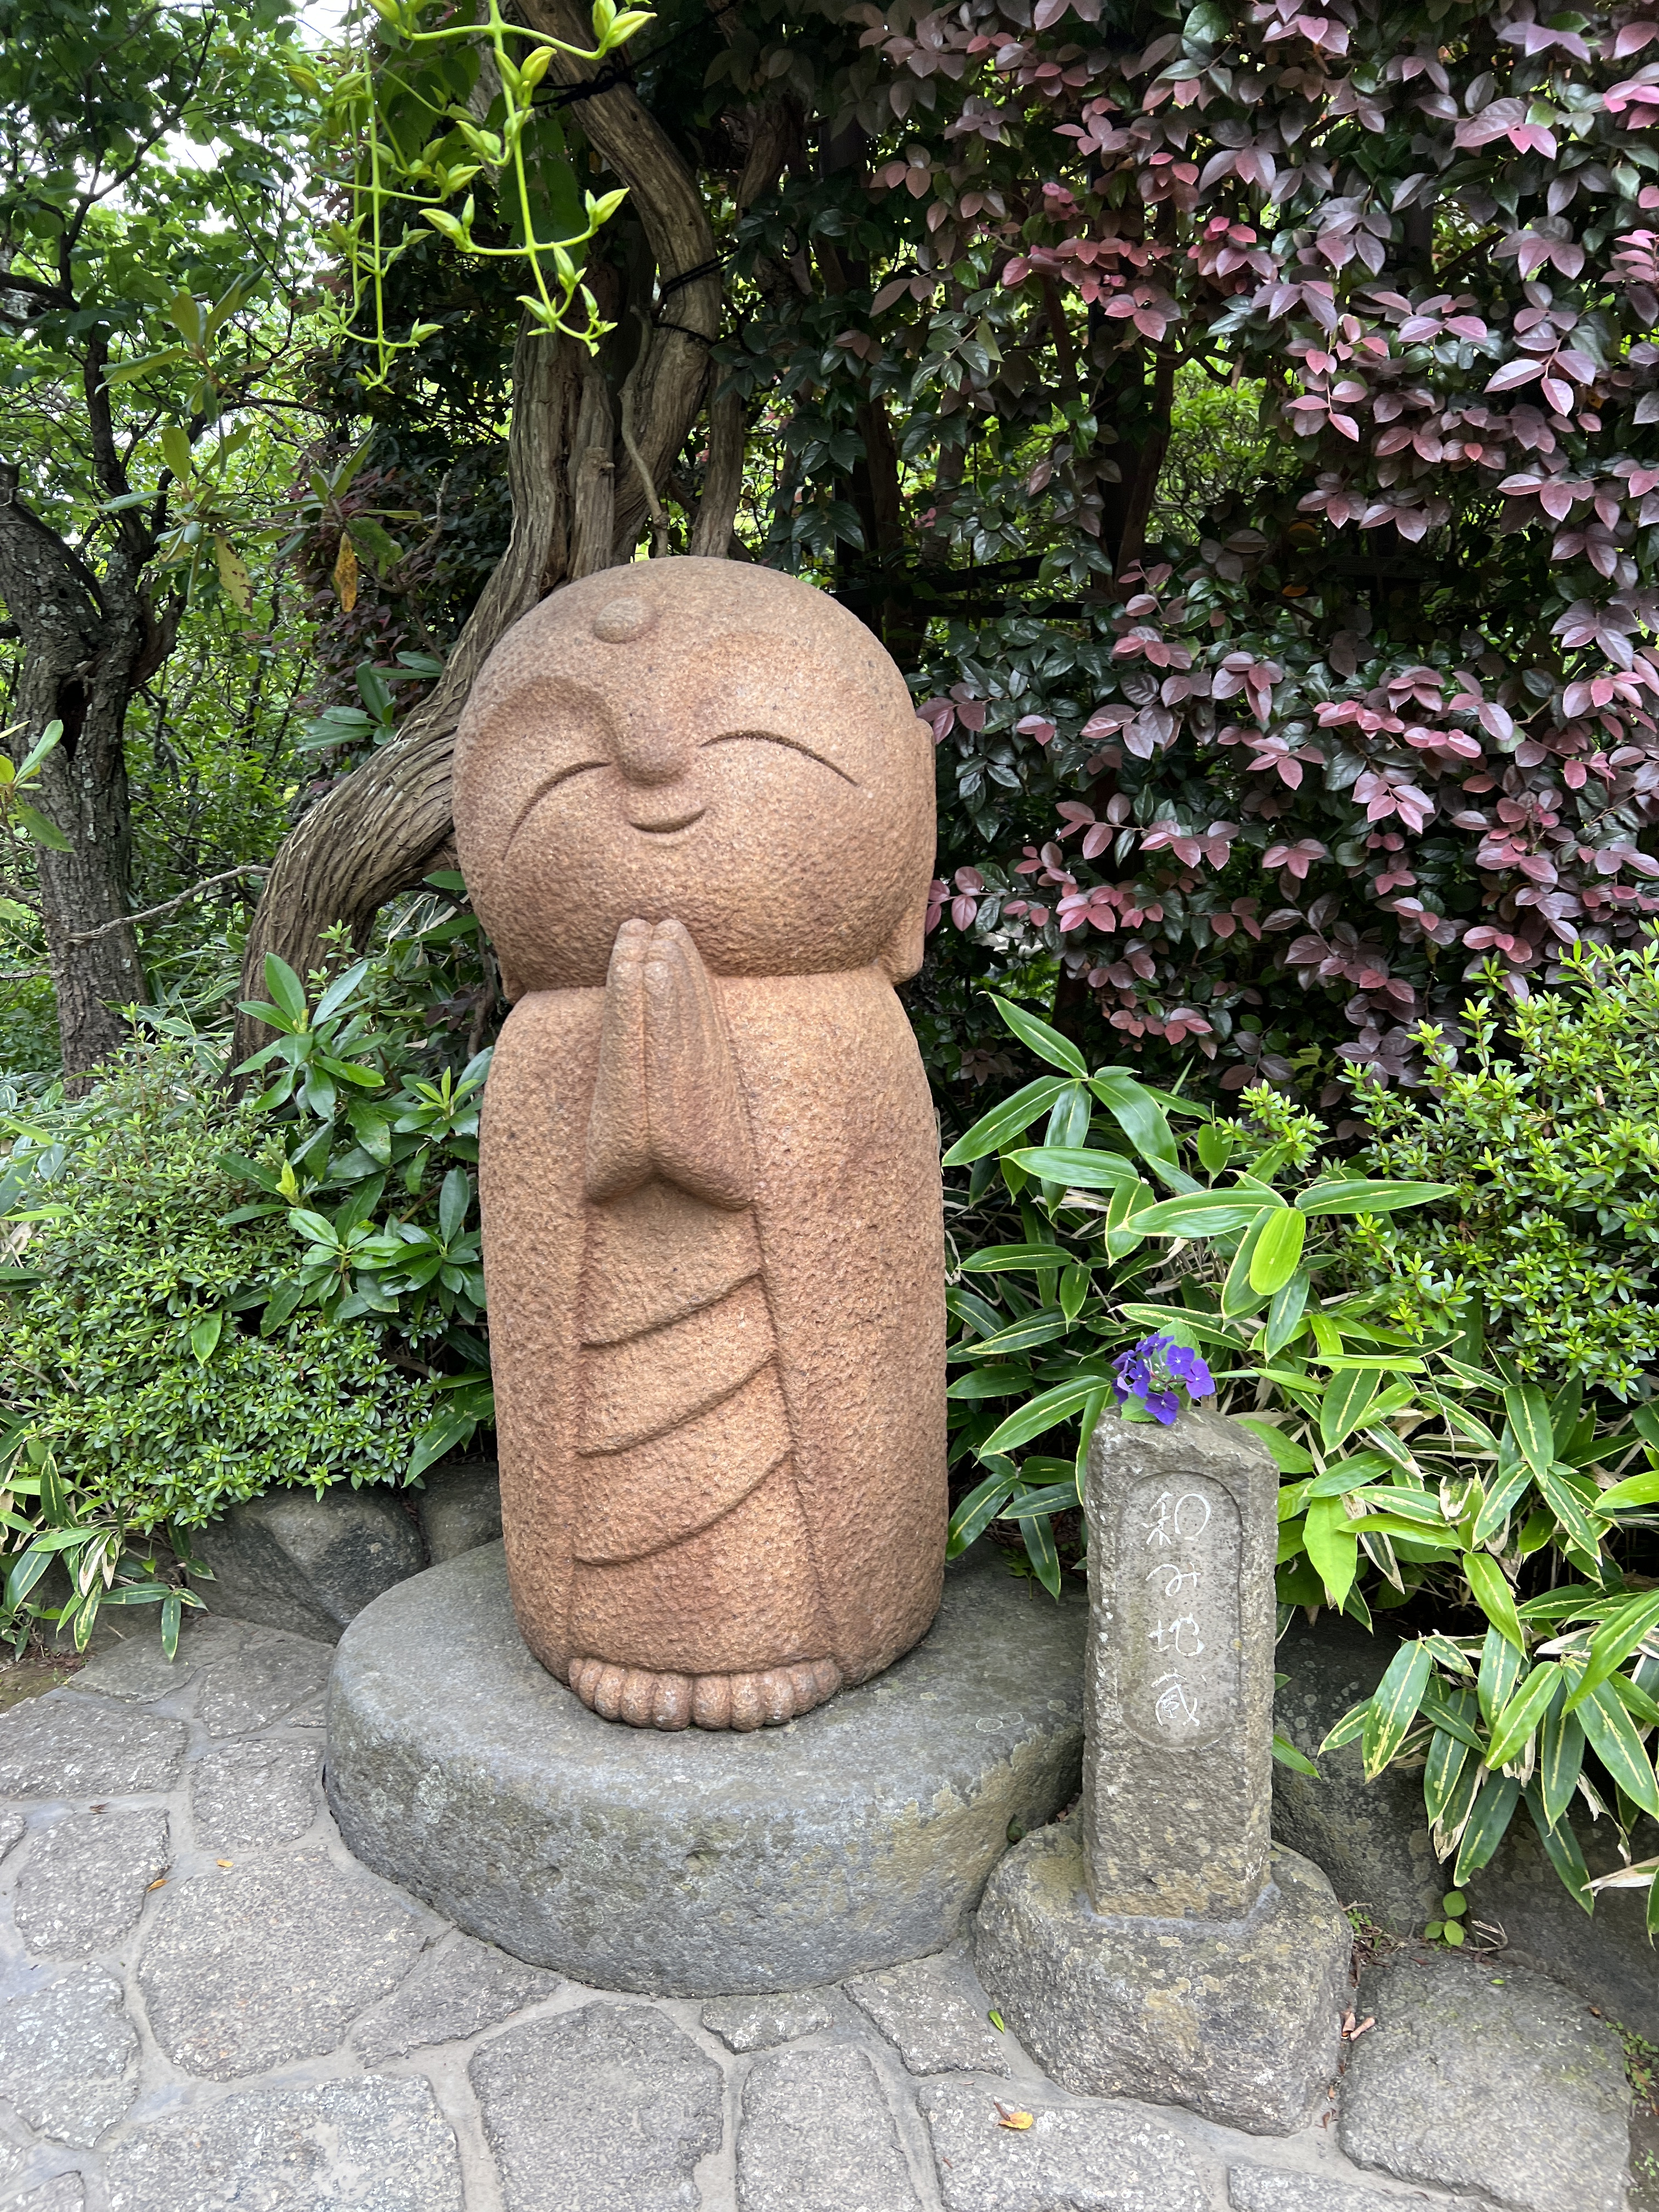
We learned about the god of business (photo on the left) and the Jizo, the protector of children (photo on the right)
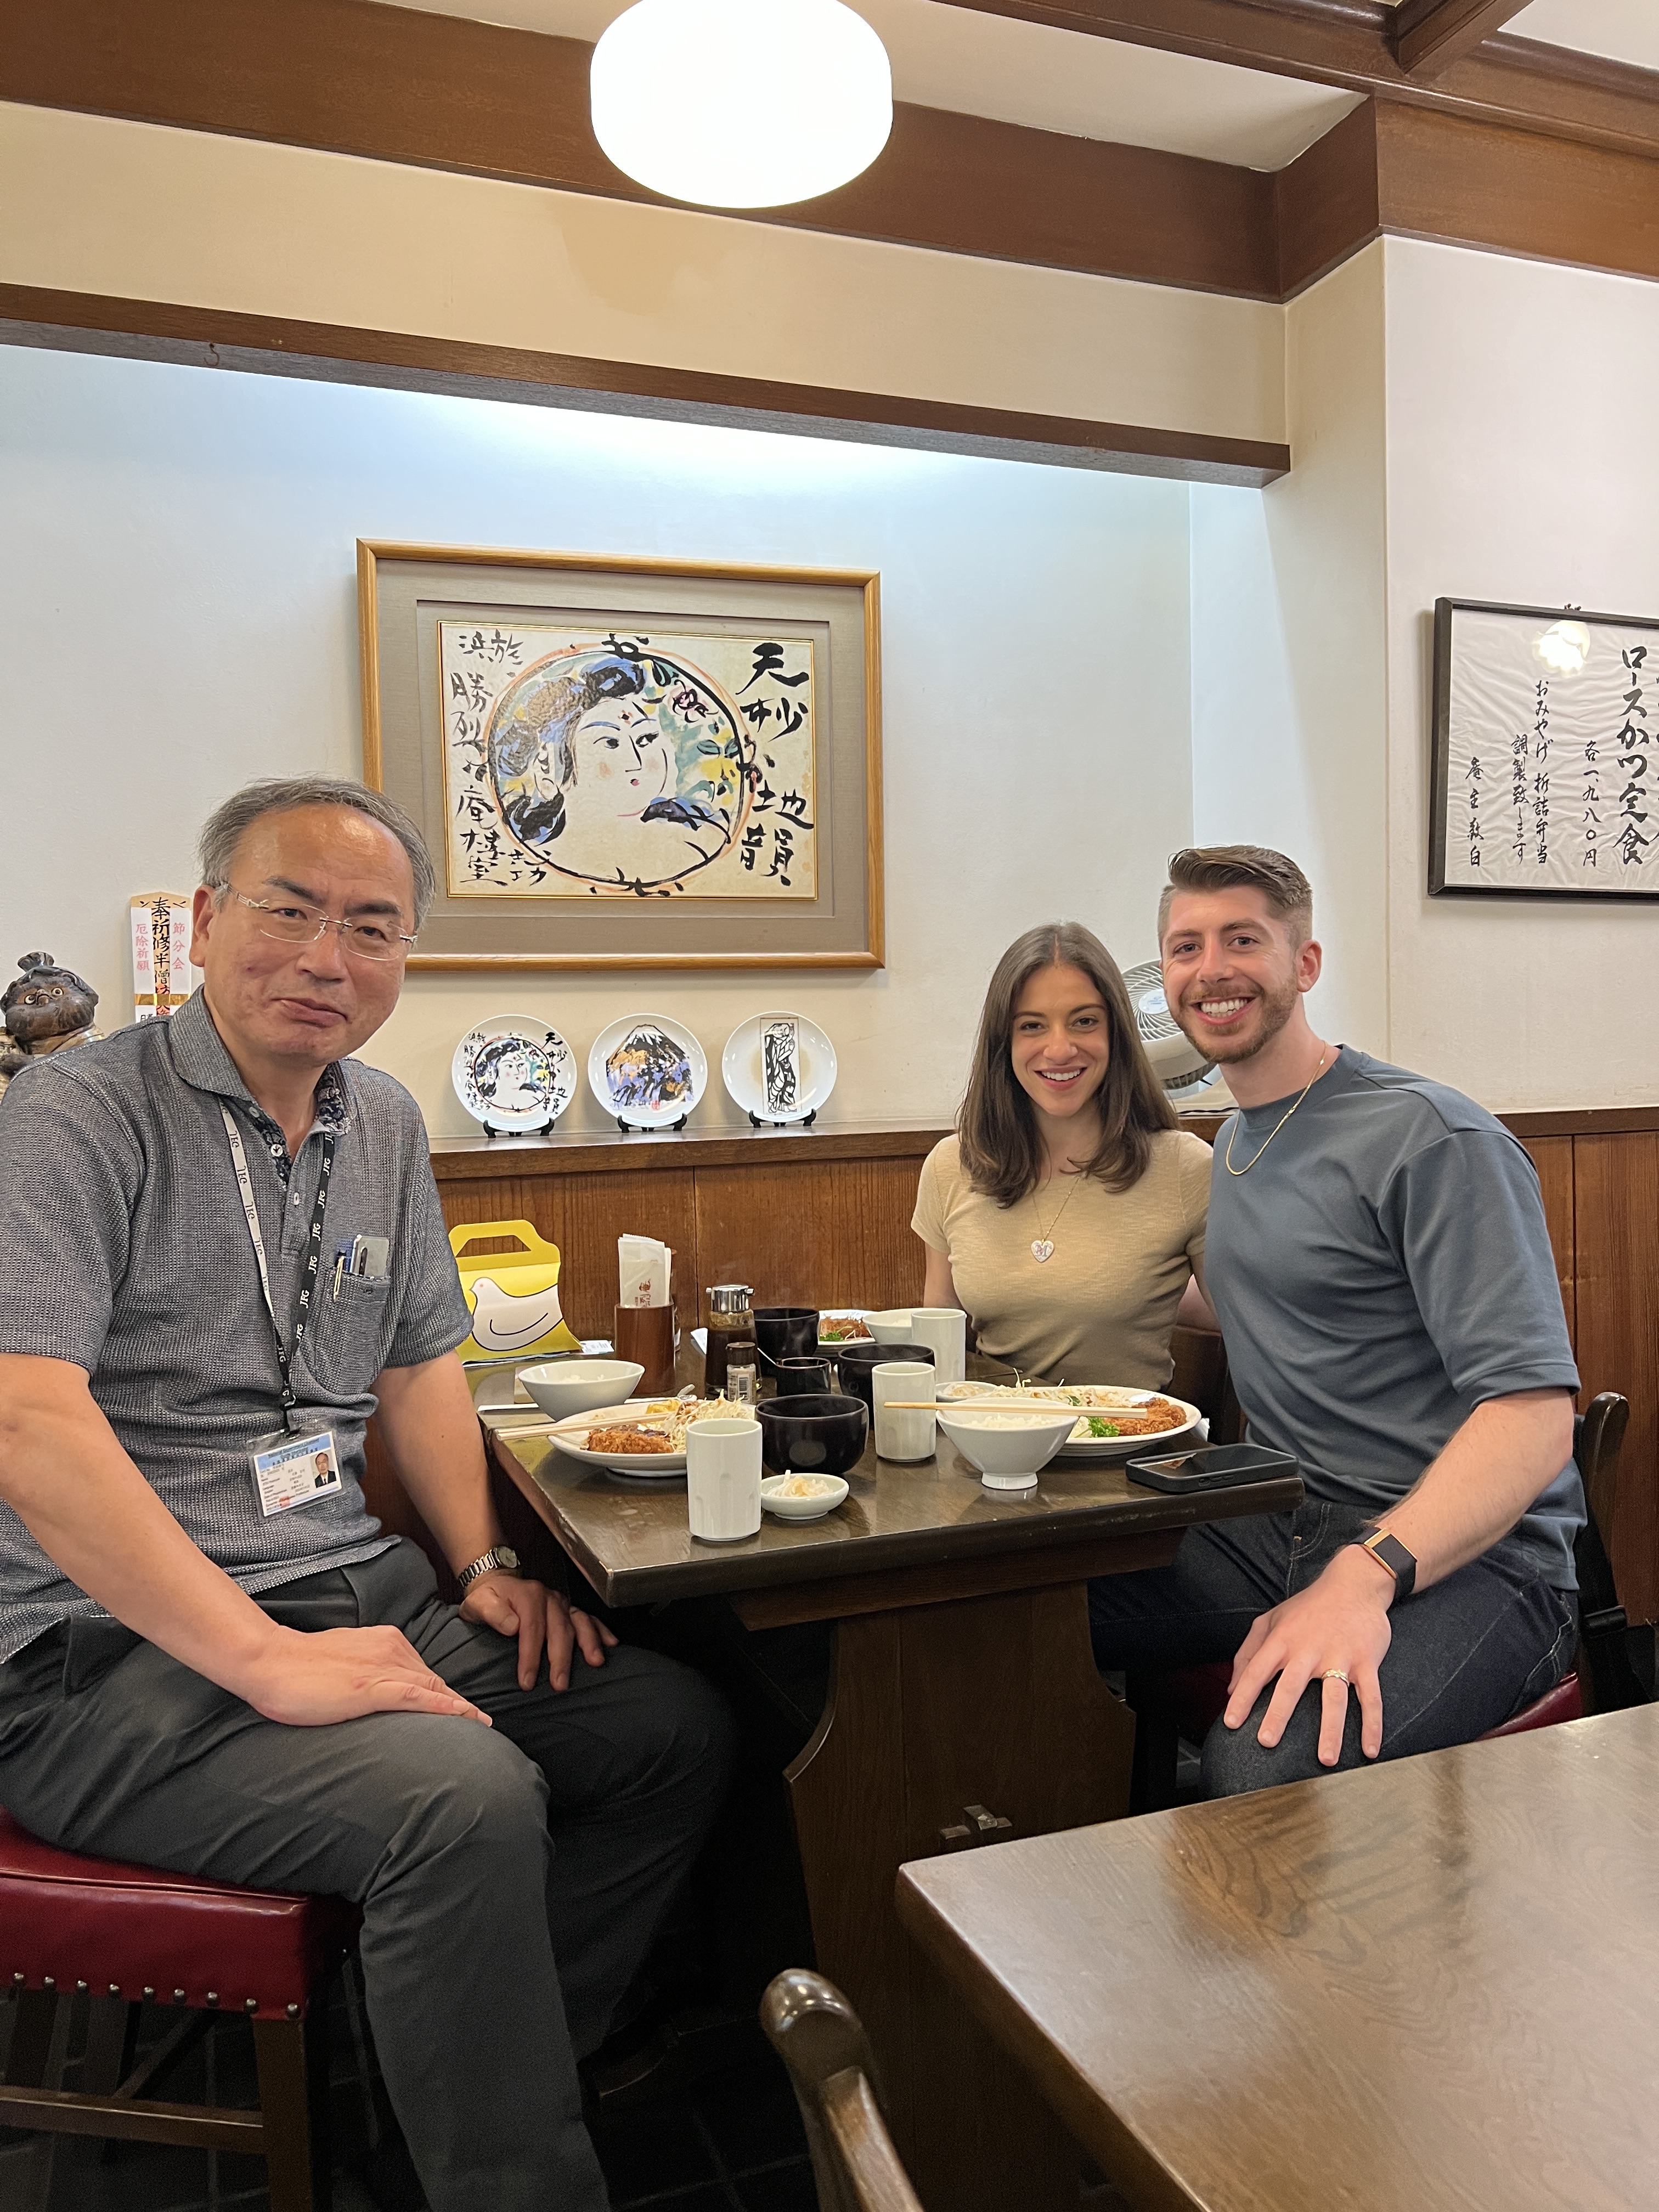
At this point we have not yet had lunch so we hopped on a retro tram to take us to another part of the city rumored to have the best tonkatsu (pork katsu) at Katsuretsu-an. We were not disappointed and we had a heck of a lunch!
We finished off with some matcha ice cream and some treats to-go from a local pastry shop that we snacked on later before dinner.
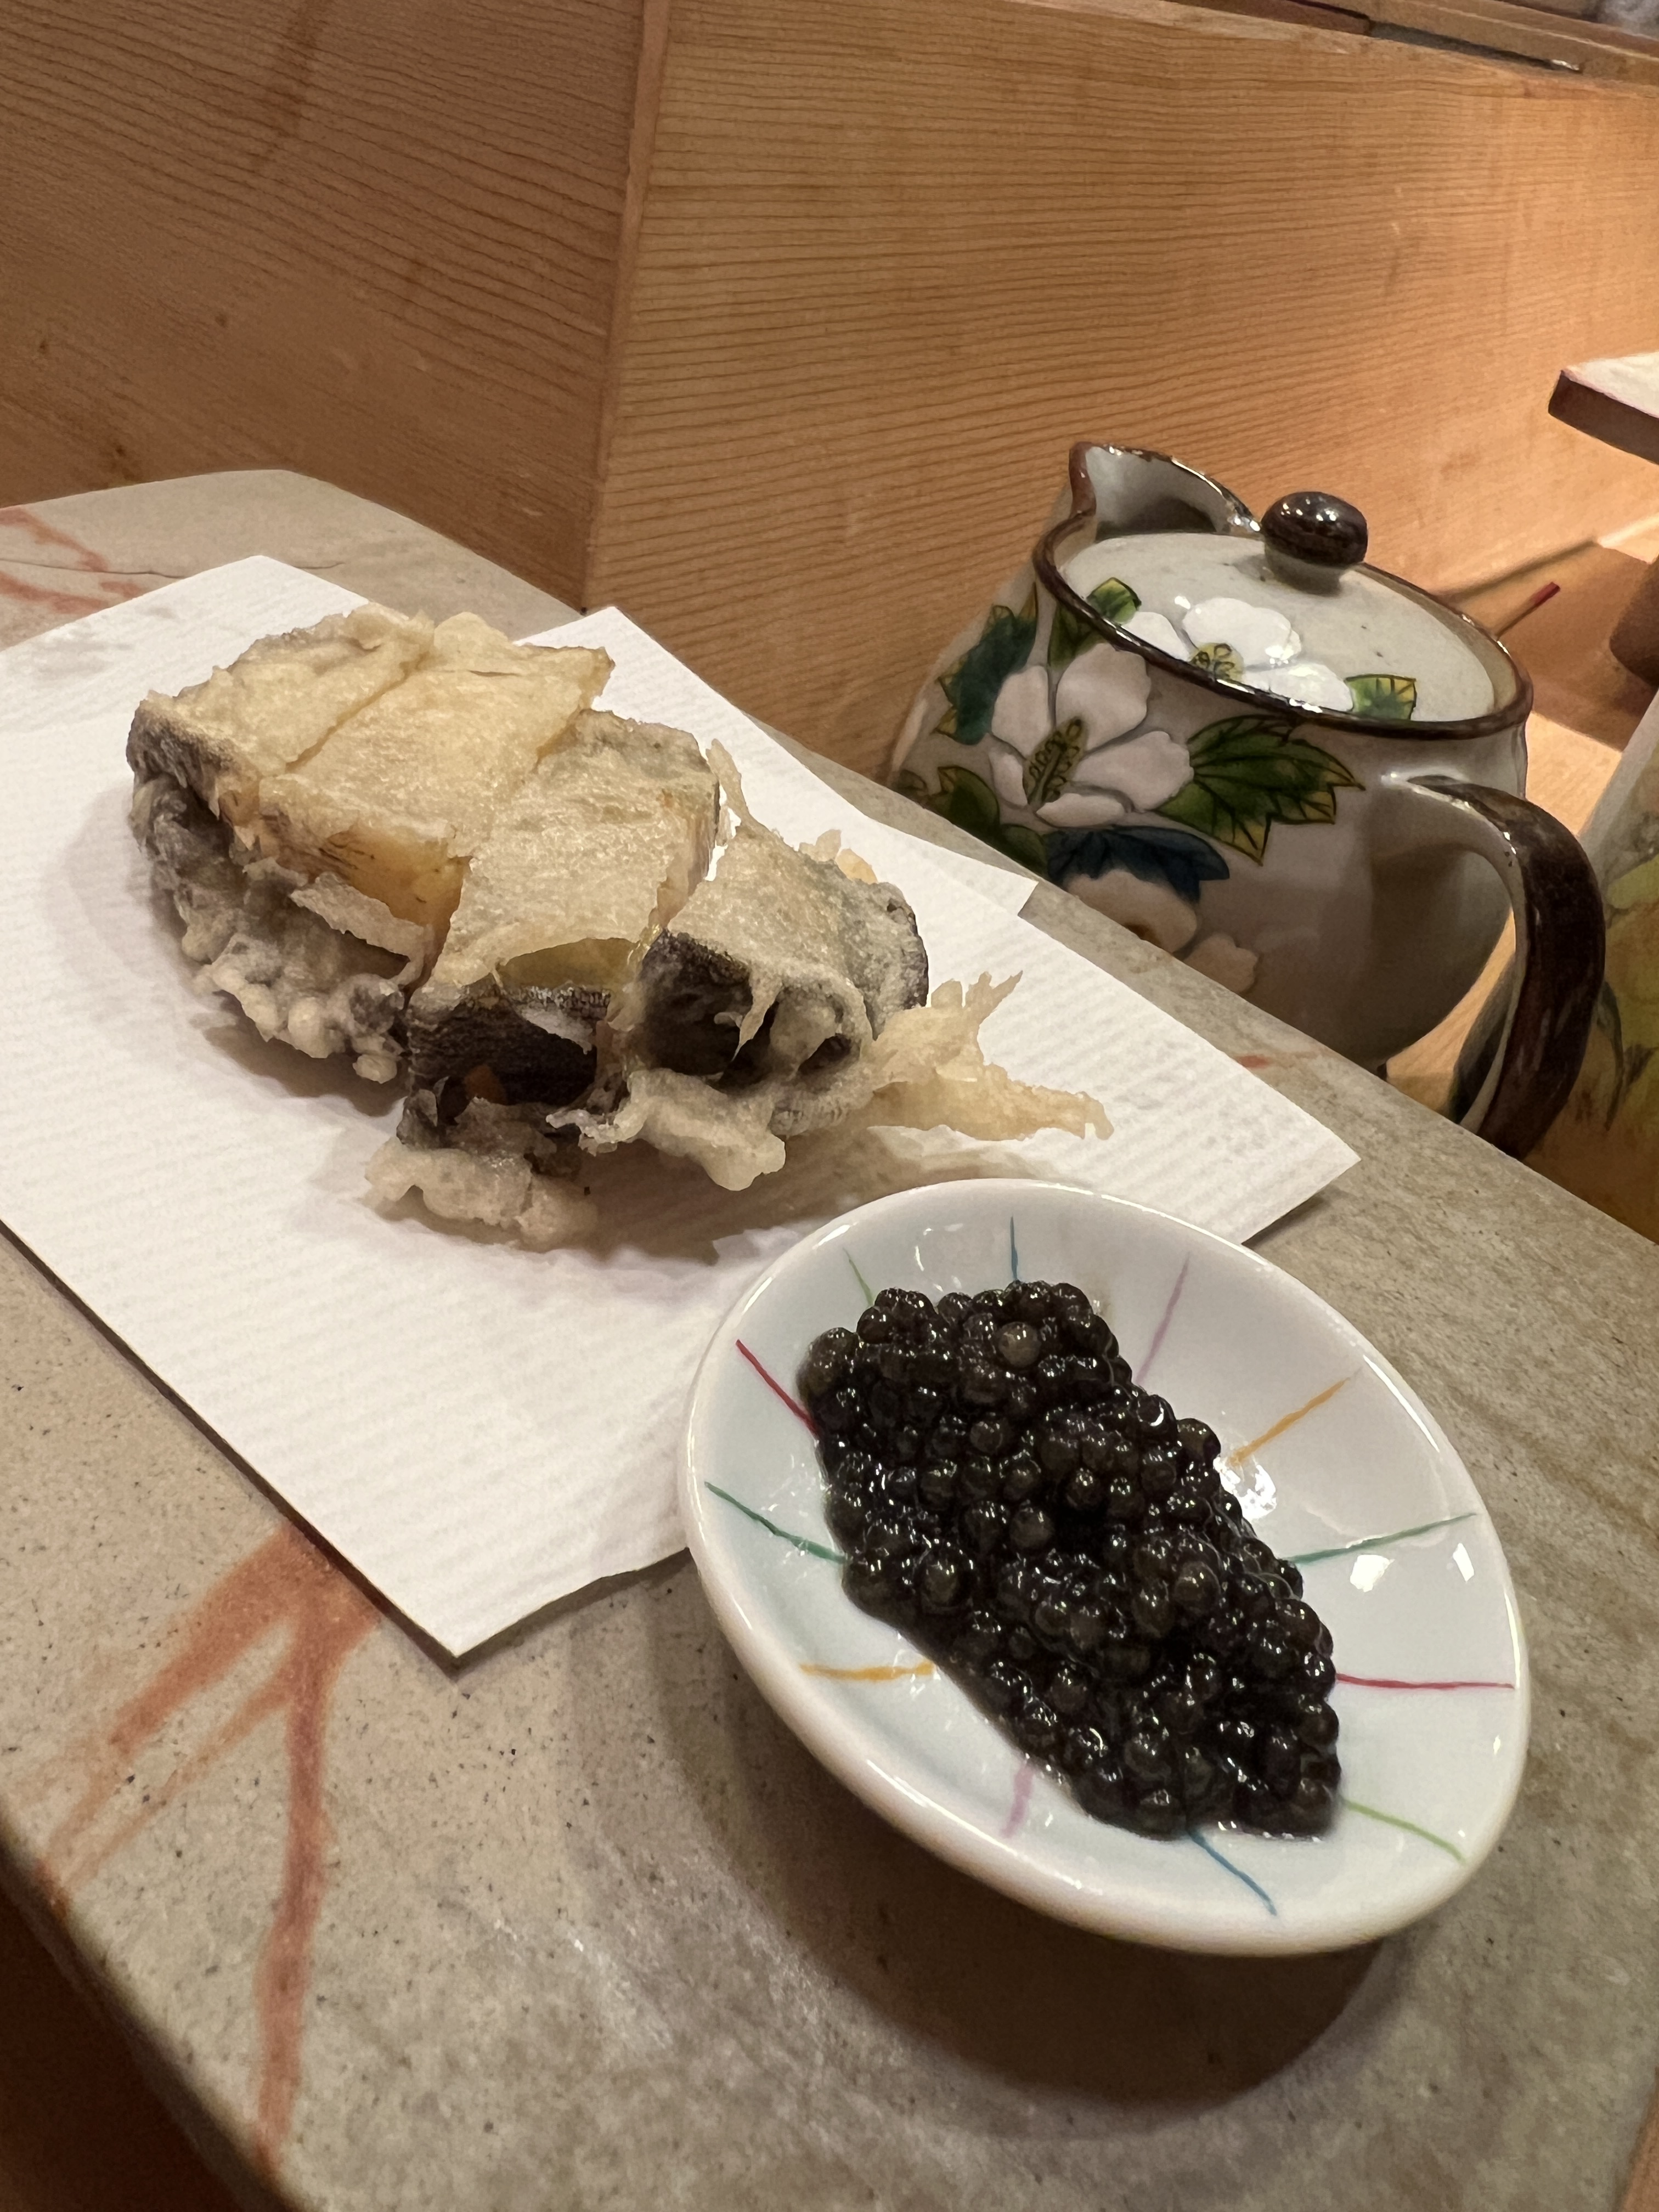
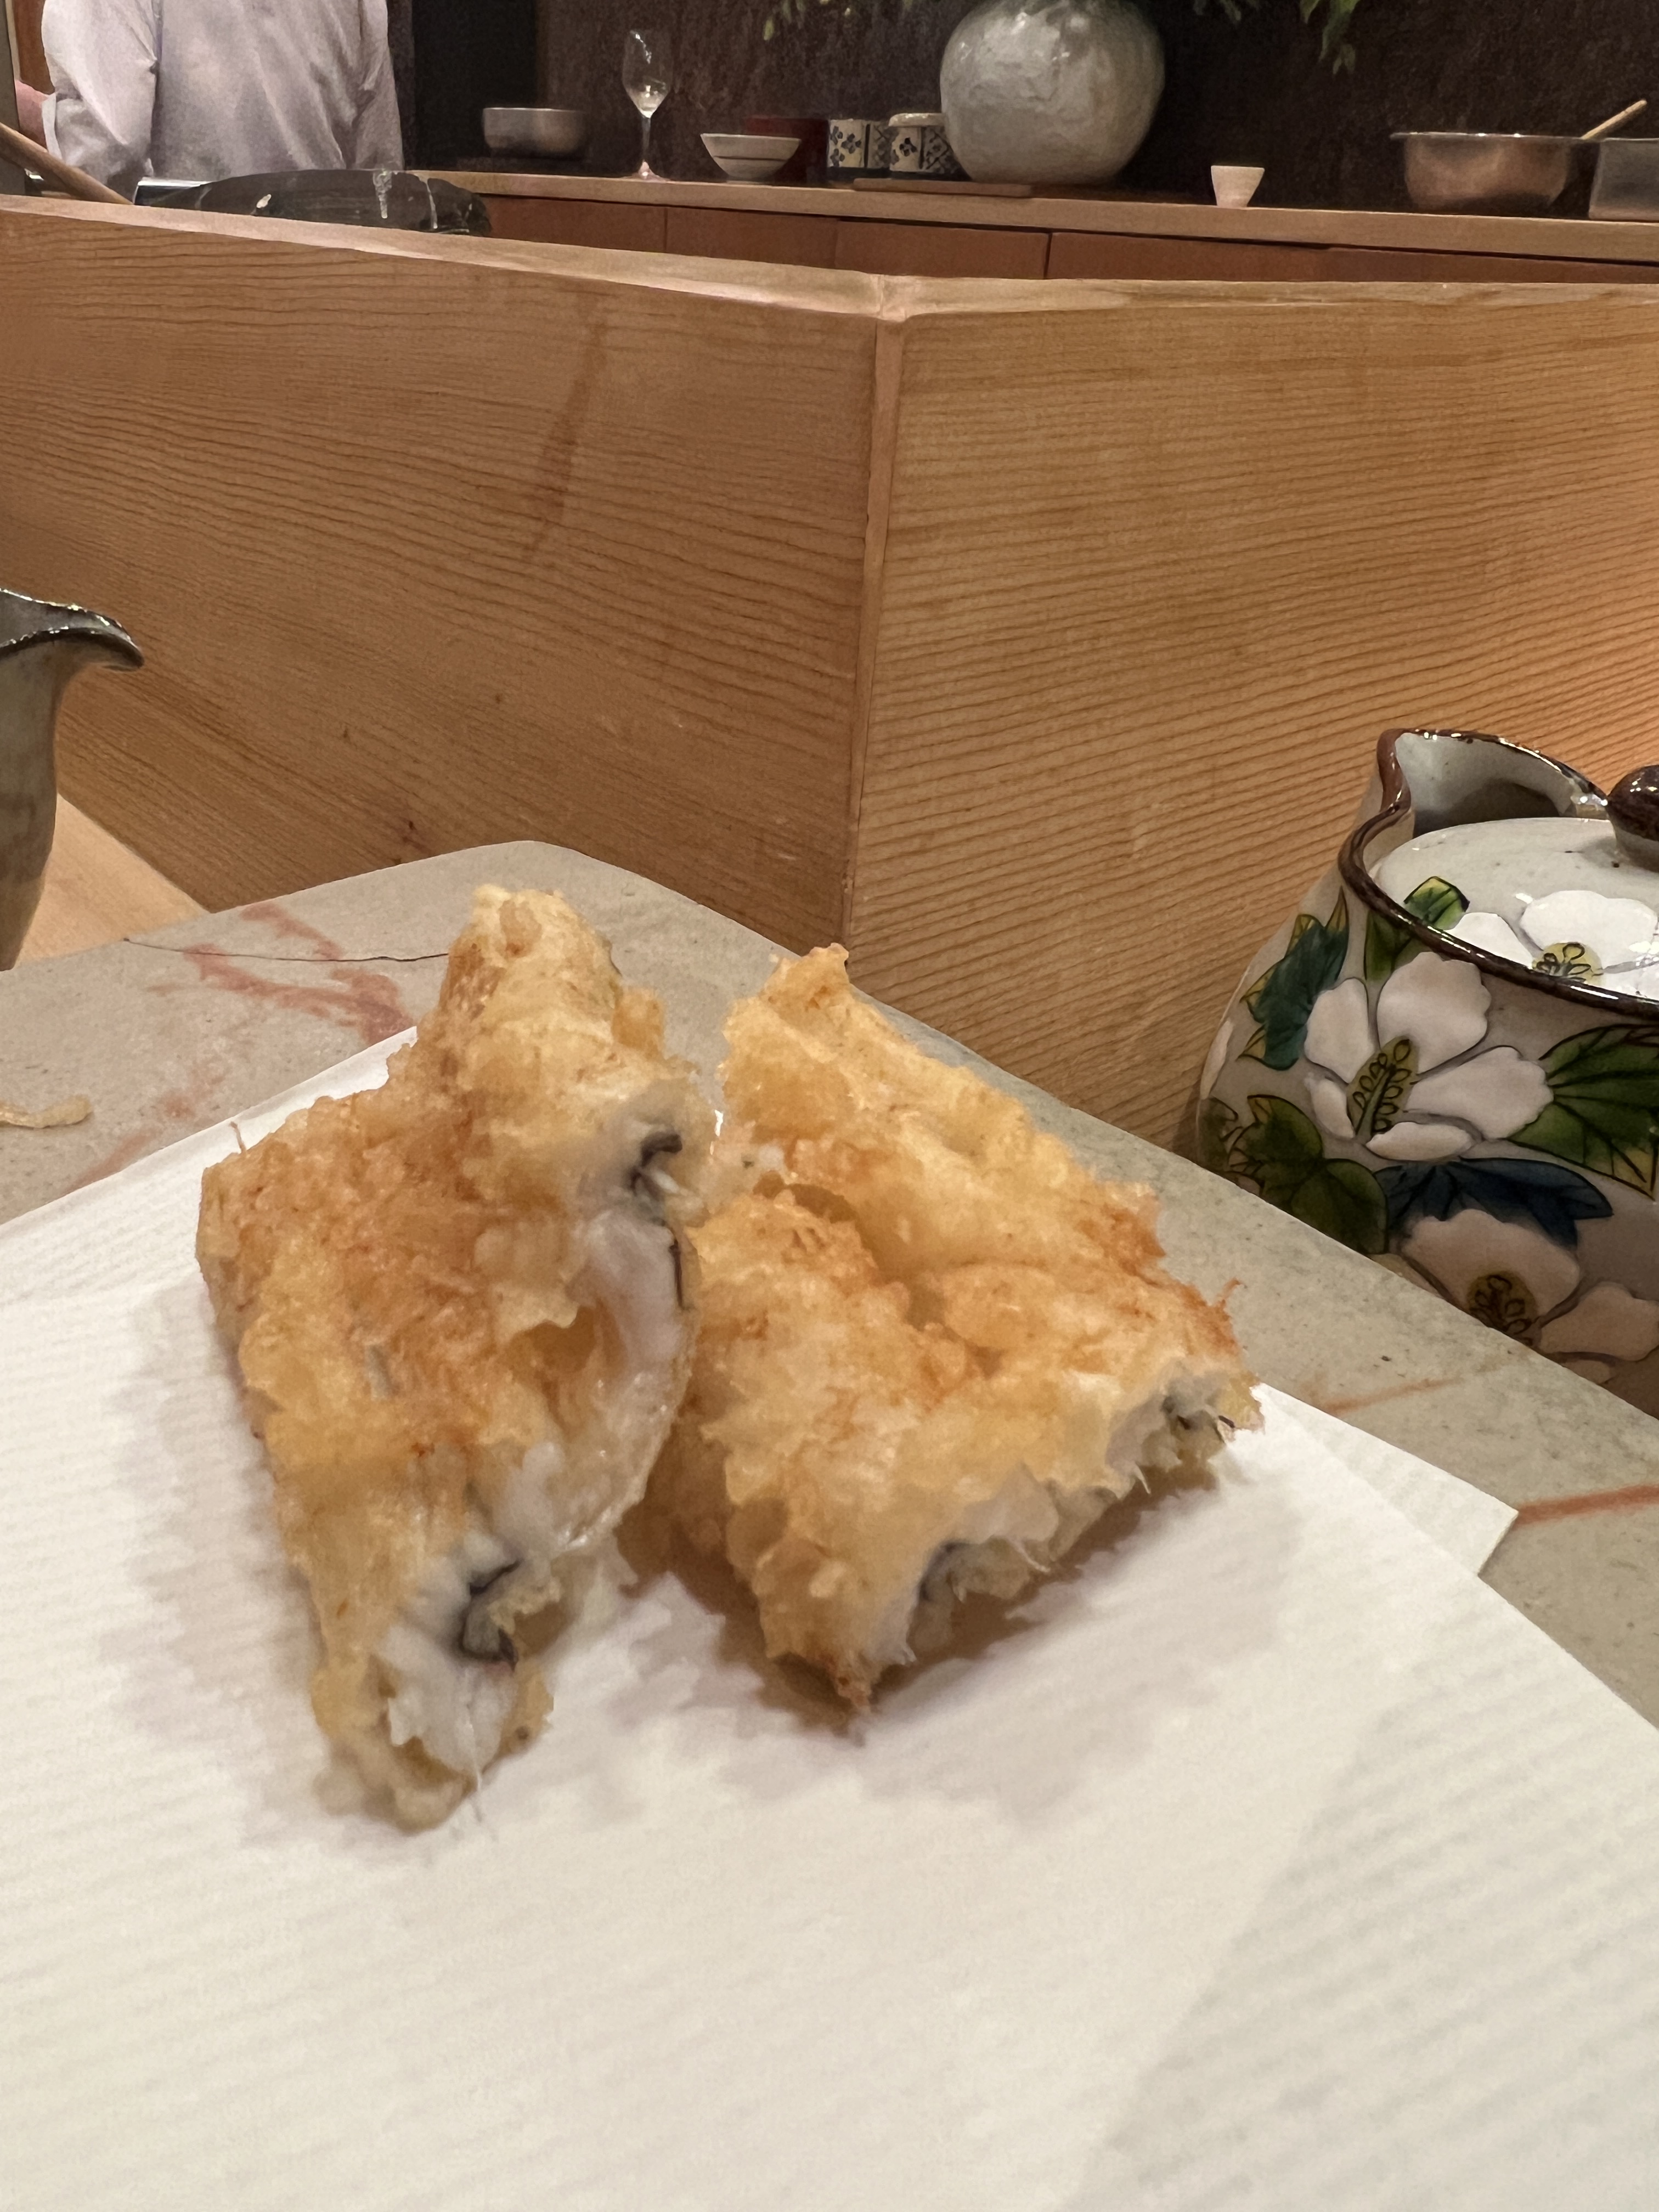
Dinner was at Ginza Tempura Masa, booked well in advance. This is a small counter-serve tempura restaurant offering the chef’s tasting menu only. If you can snag yourself a seat at this restaurant, it is absolutely worth it even if tempura is not your thing. The meal is surprisingly light (in feel only, certainly not in actual calories), and the chef is very obviously talented at what he does. The meal consists of various fried fish courses, some veggie courses like asparagus, corn, and stuffed mushroom, a fried rice course, and a soup course. We had tempura on other occasions in Japan and this was hands down the best tempura of the trip.
For video footage of day 6 in Kamakura (as a day trip from Tokyo), check out my reel on Instagram!
Day 7 – Kyoto & Kurama/Kibune
Our adventures in Tokyo were over and it was time to head to Kyoto. We picked up a coffee on the way to the Shinkansen, grabbed our tickets, and headed out for the roughly three hour train ride. It is worth mentioning here that we had a *little* bit of experience with the Shinkansen from having gone to Nagano earlier in the trip, but we were still pretty confused while purchasing the tickets. Without the commuter pass you have to purchase the ticket based on your destination or the total price of your ride if you know it, and you also have to purchase a “fare” ticket in addition to your destination ticket so you travel with two slips in your pocket the whole way. We have yet to figure out how to get the “fare” ticket from the machine, but in every station that we needed a Shinkansen there was a ticket window with an employee that was always very happy to help us. Also worth noting is that we never purchased assigned seats tickets and we were always able to find a seat, giving us some leeway with timing since these tickets are not specifically timed (I think you have to use it on the same day, though). The trains come very frequently but on different platforms and the platforms are not very close to the ticket booths. If you do not have an assigned seat you are also limited to specific cars on the train and you will likely have to walk all the way down the platform before you can board, another time consuming activity to account for. Keep these things in mind when trying to decide which train to run for (i.e. if there is a train leaving in 5 minutes and you are still at the ticket window, it might not be worth running to that platform if there is another train leaving in 10 minutes from a different platform, especially if you are sporting luggage). If you purchase a ticket with an assigned seat or that requires you to make a specifically timed train, give yourself a conservative amount of time to get from the ticket booth to your platform.
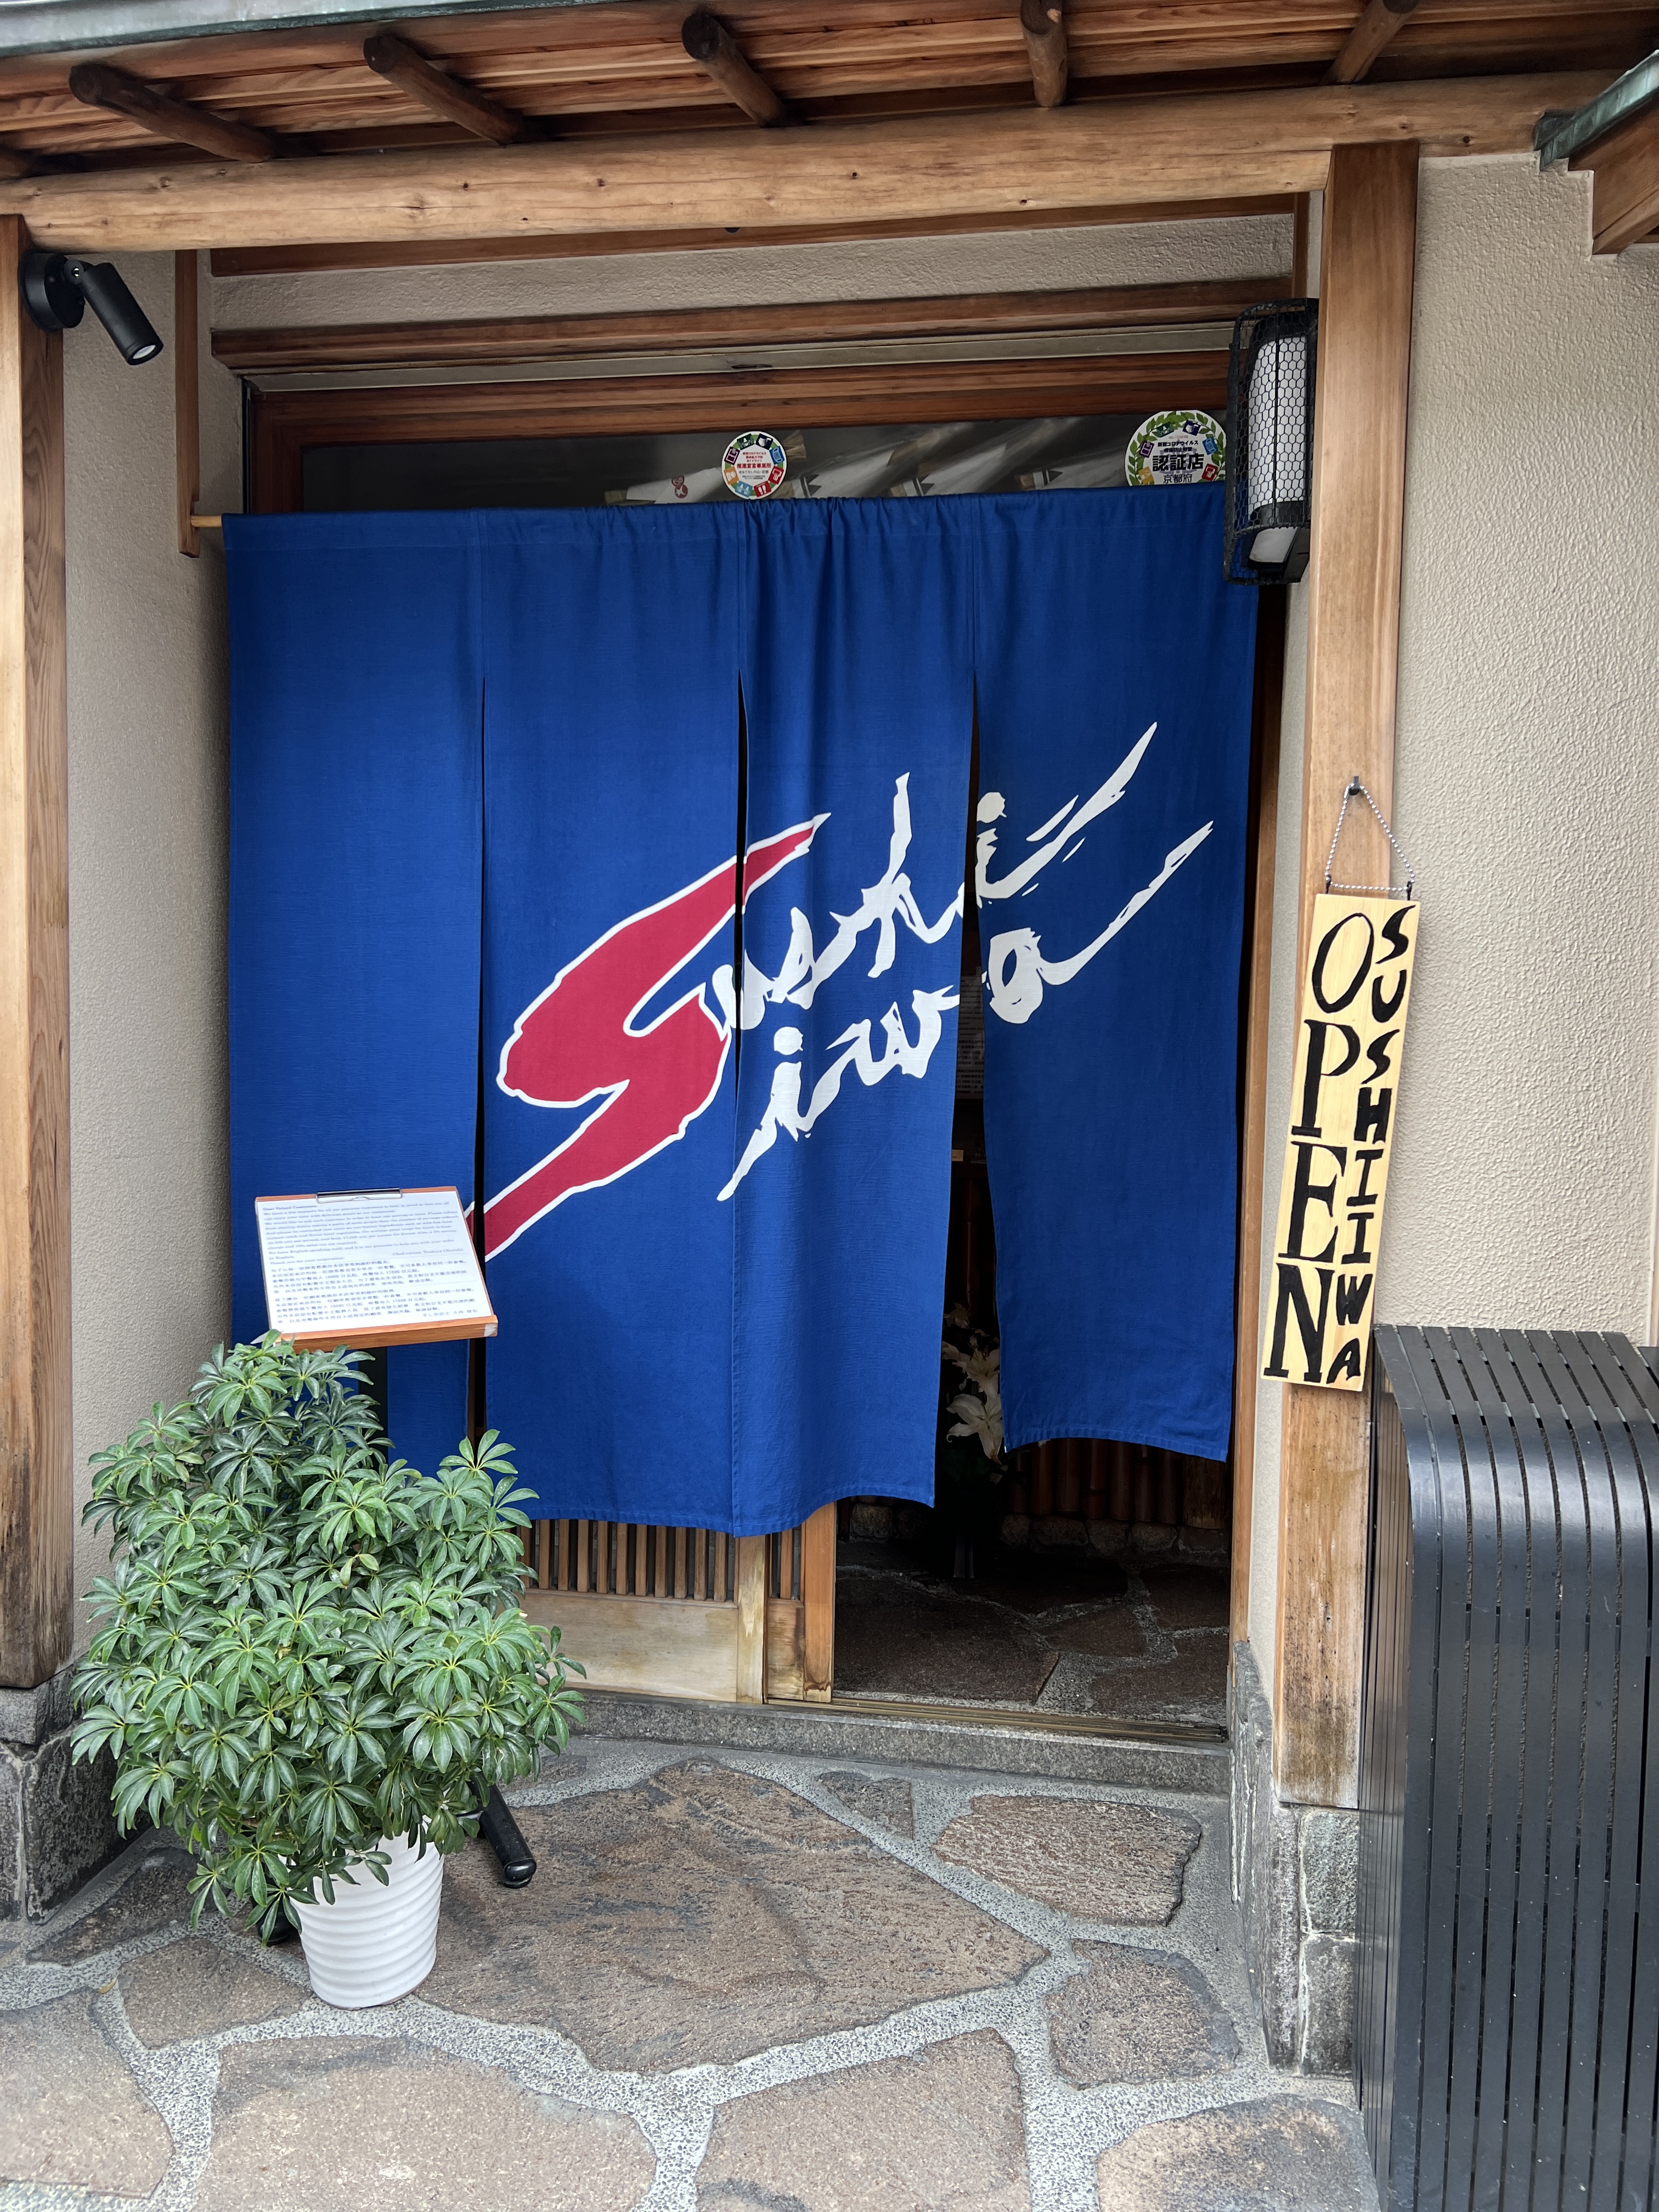
Once we arrived in Kyoto we checked into our hotel, dropped our luggage because the room was not yet ready, and found a lunch spot. We stumbled upon Sushiiwa on Google and decided to go for its fantastic reviews. Little did we know, this would quickly become one of our favorite meals of the whole trip!
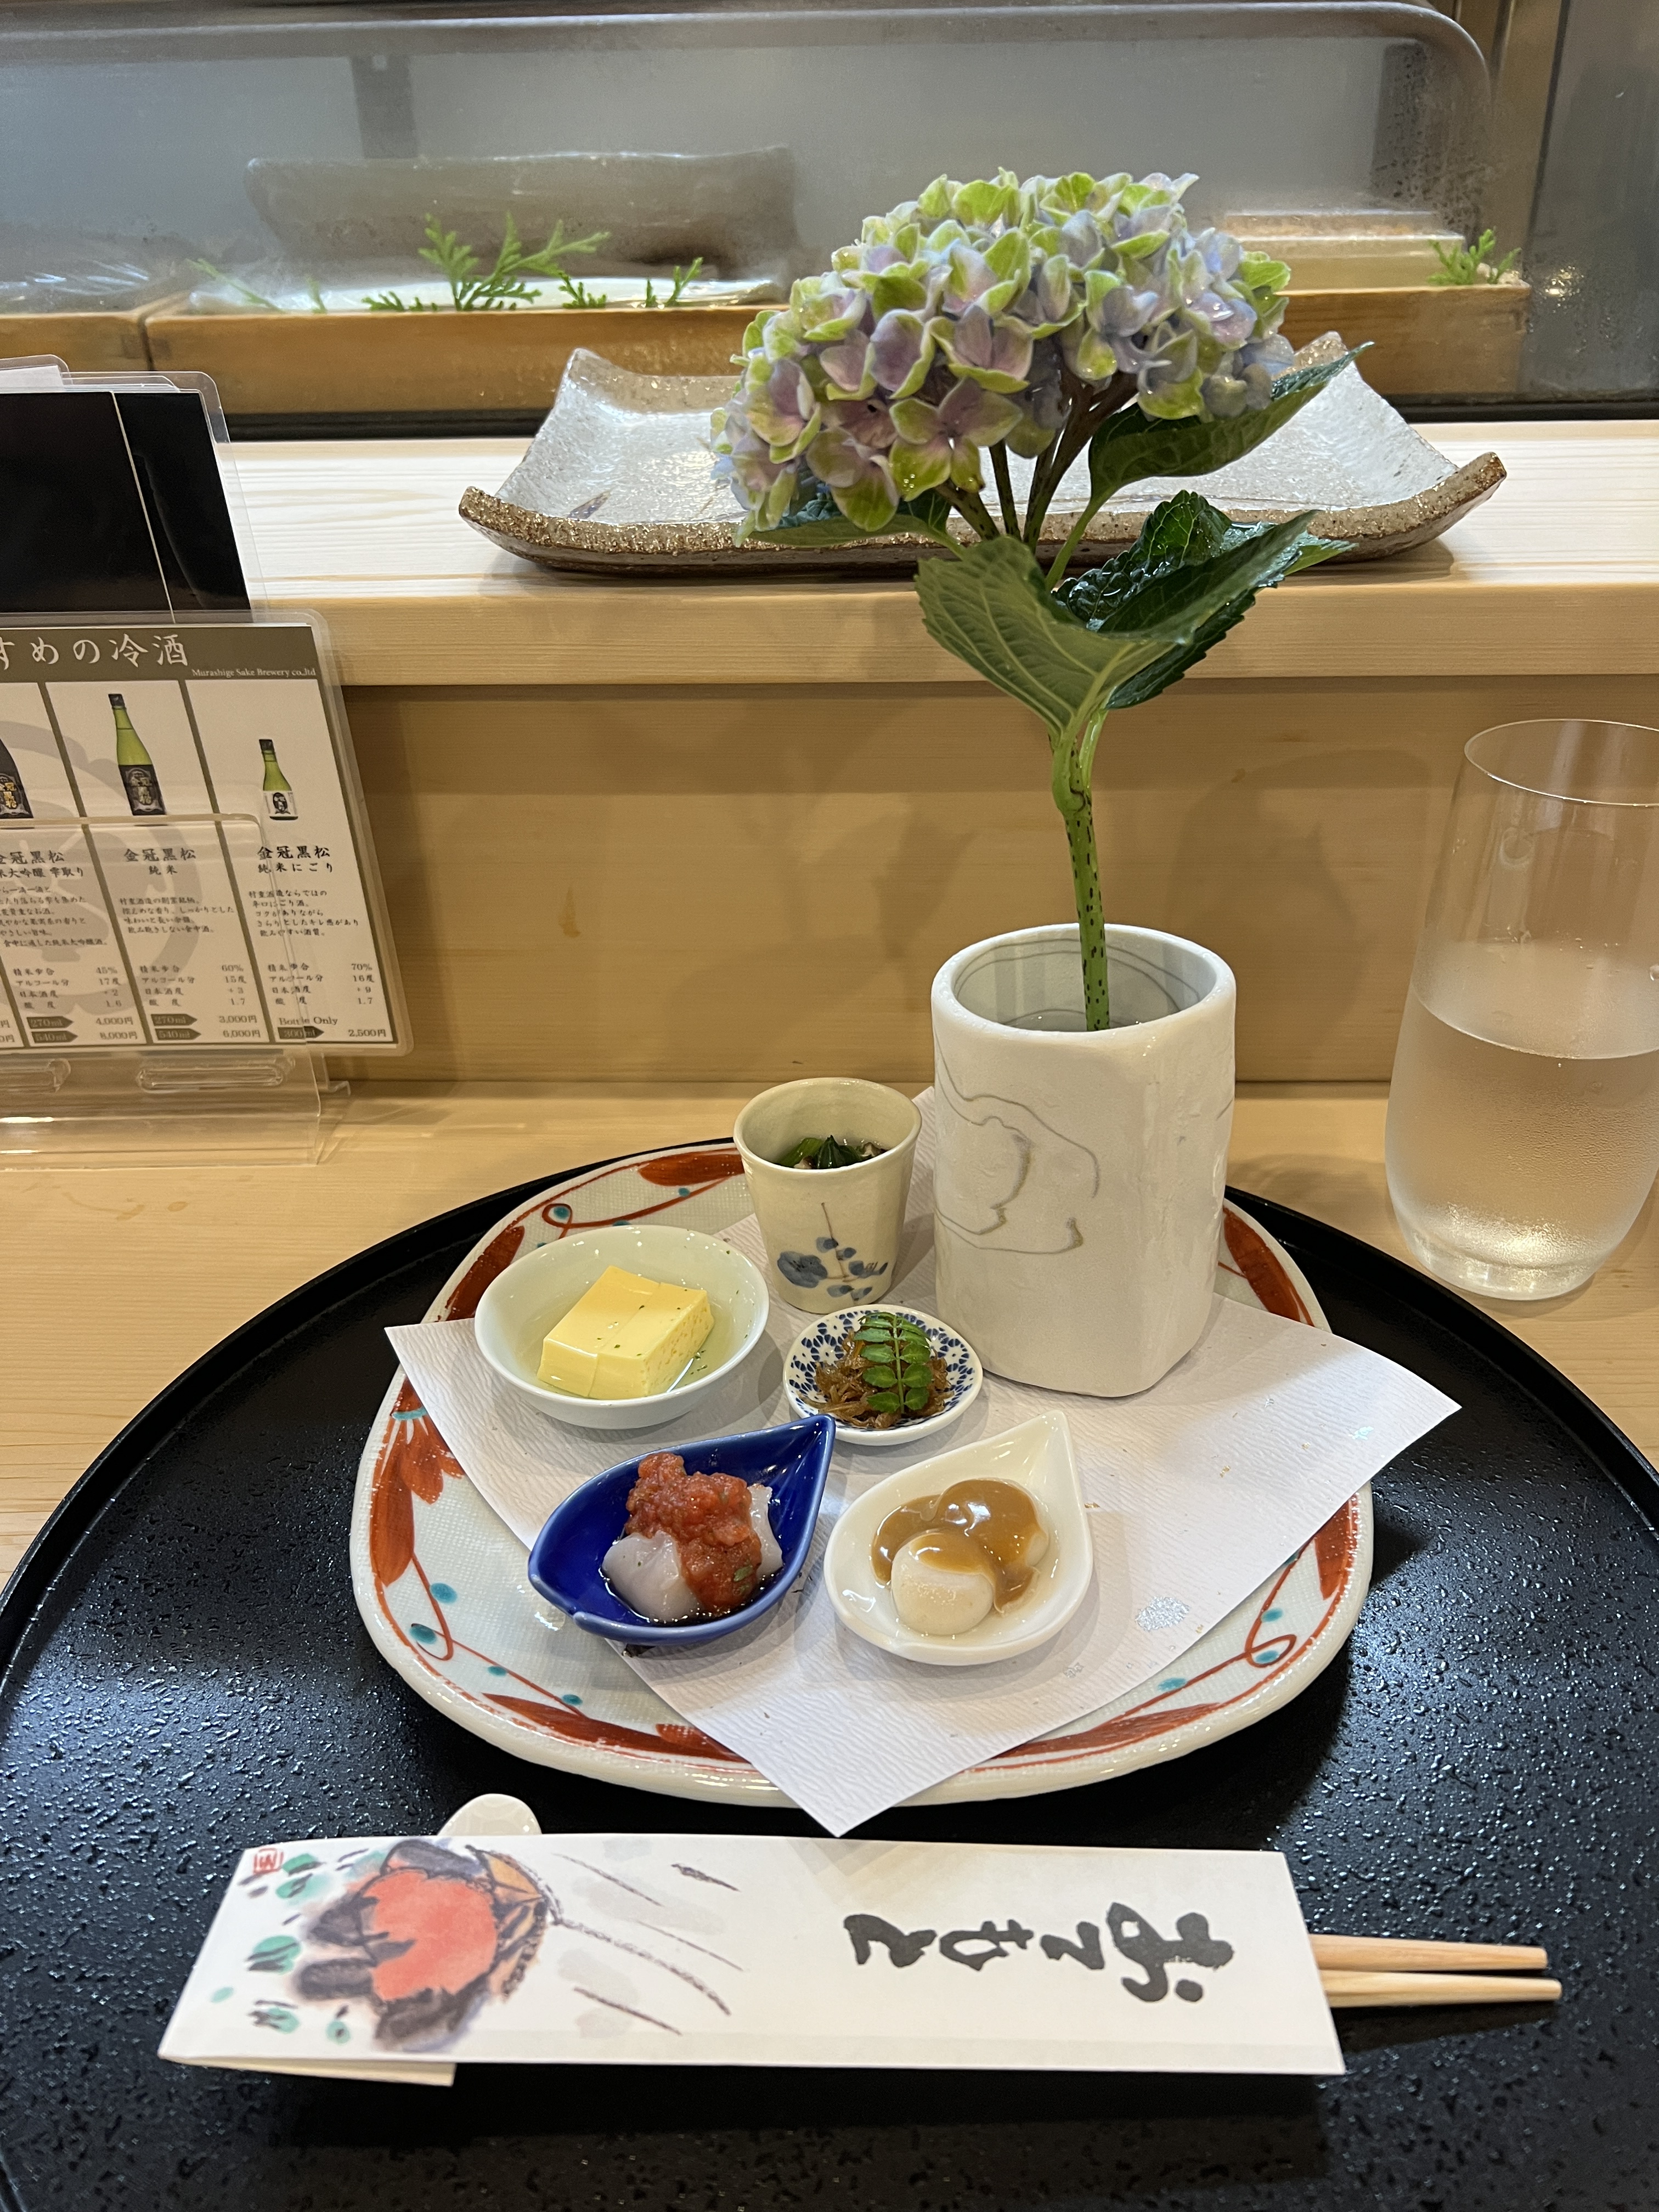
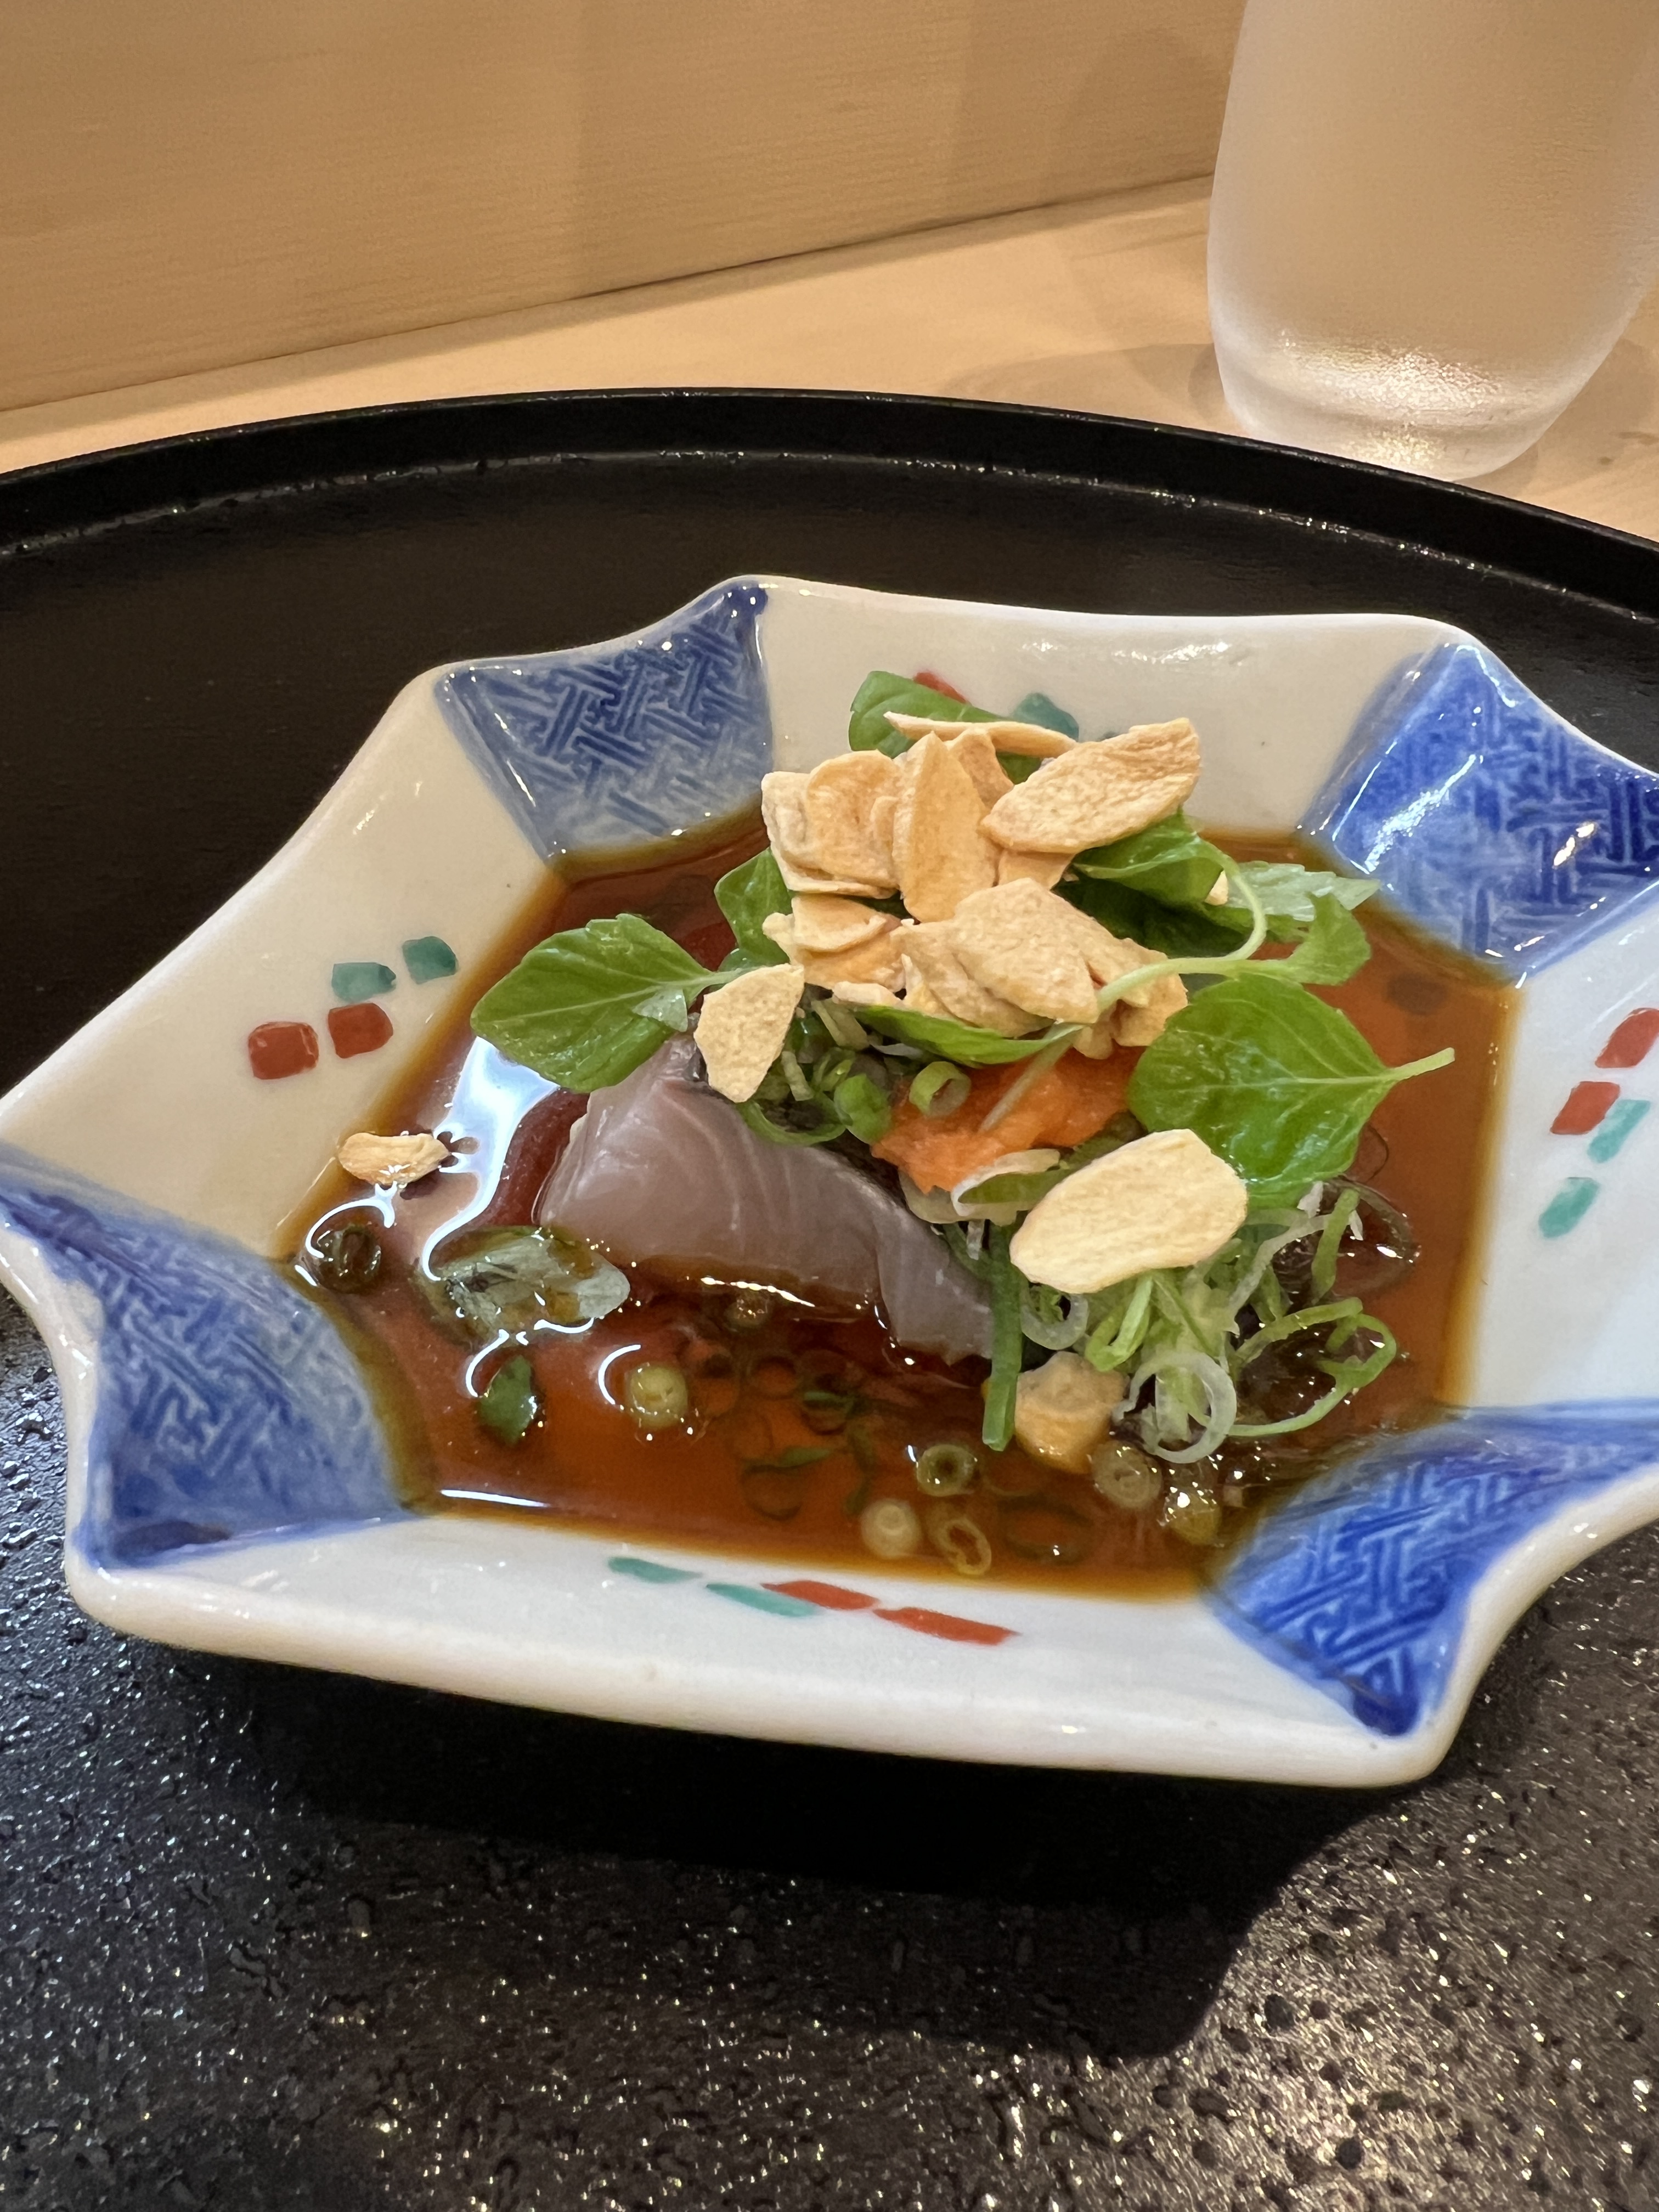
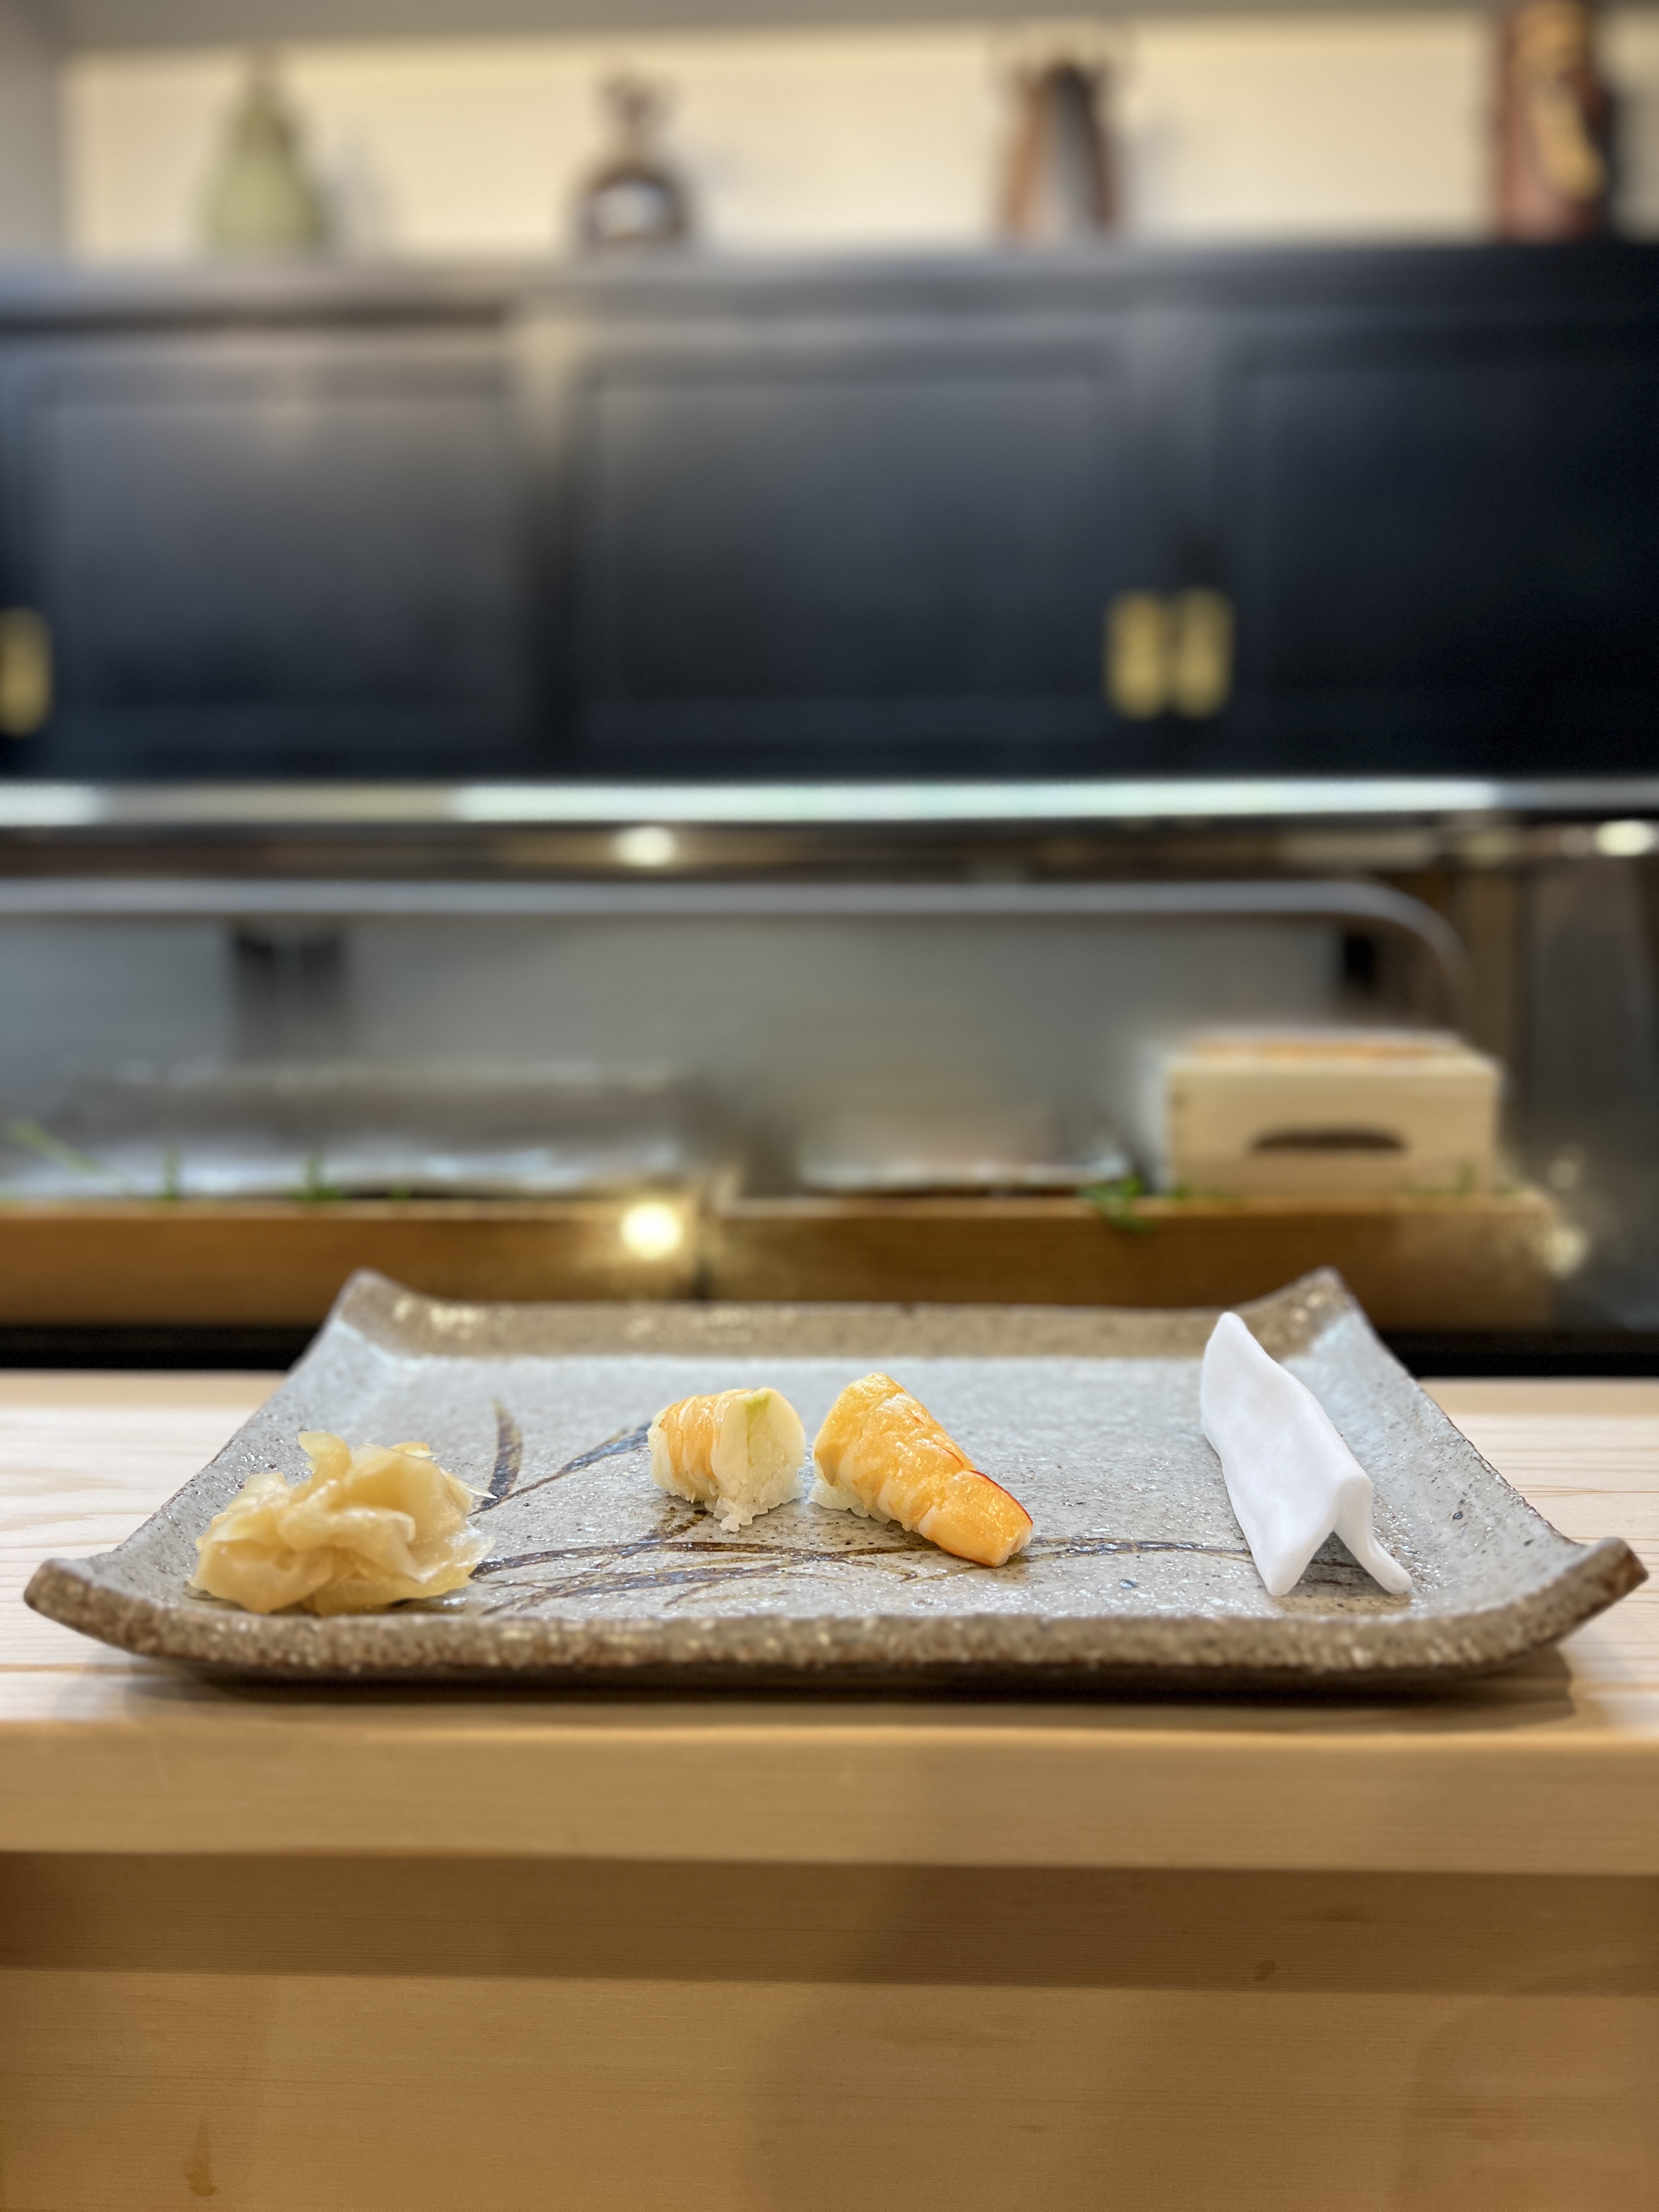
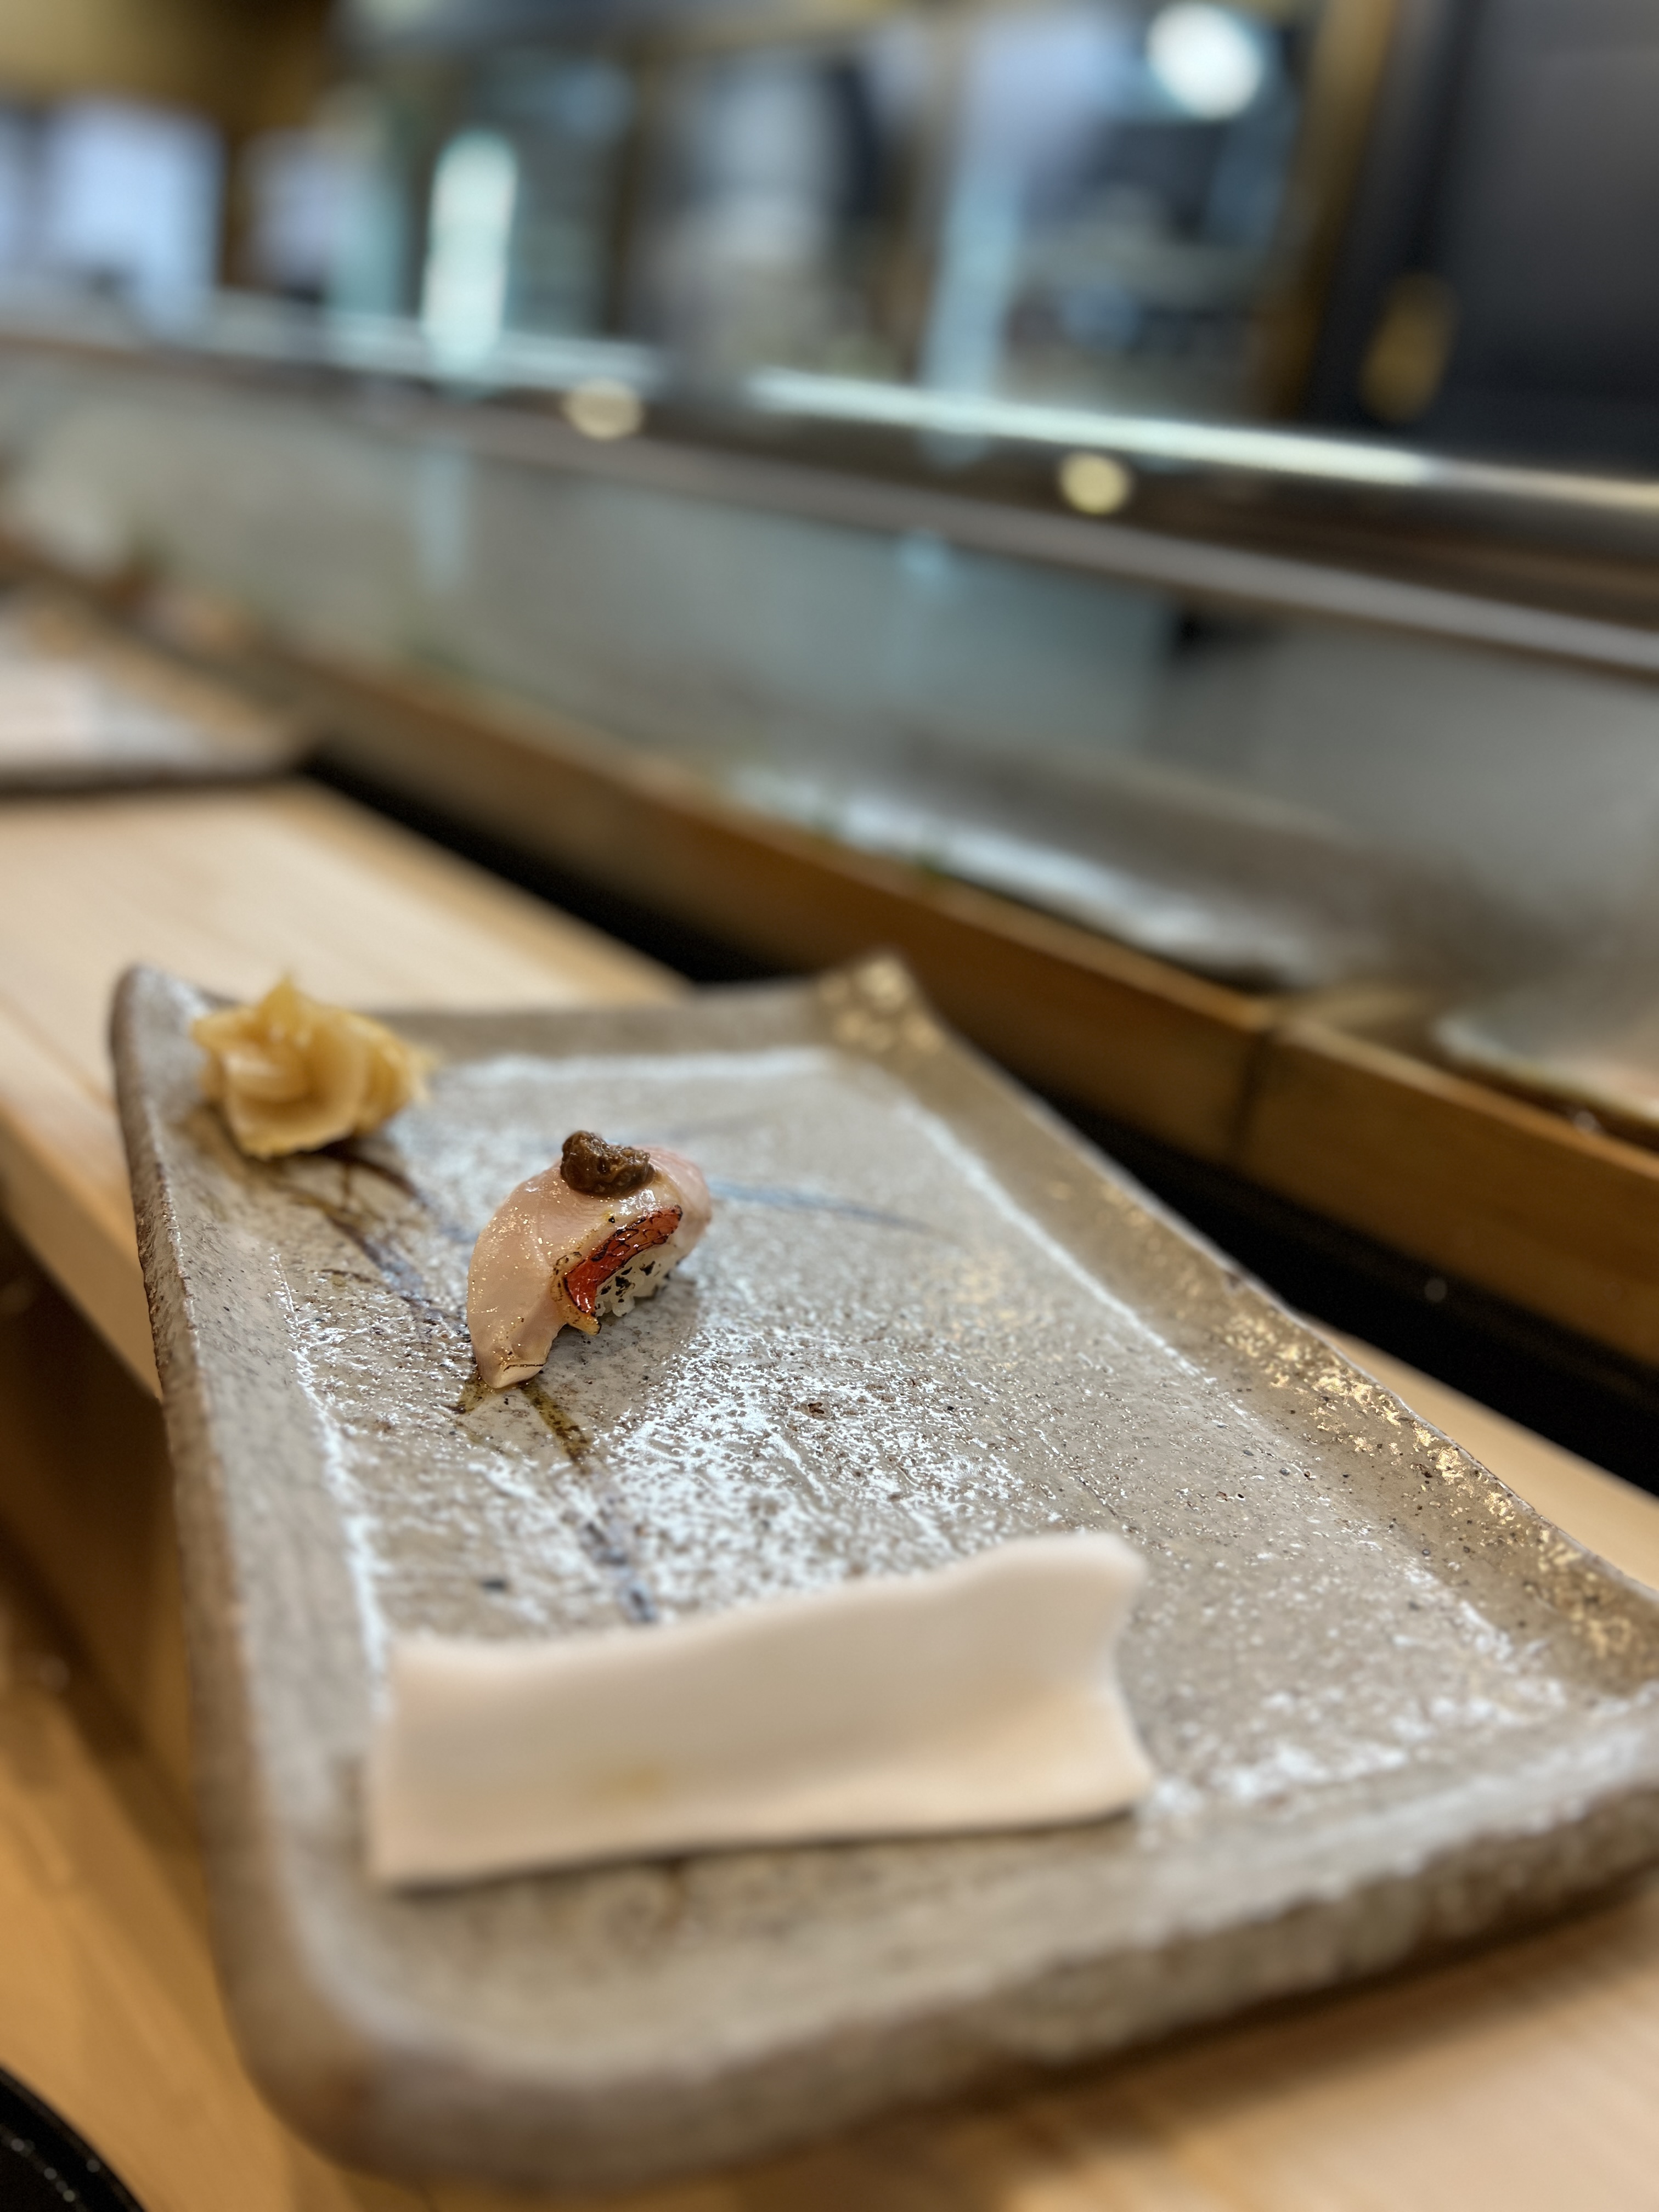
We went for the chef’s tasting omakase lunch and were presented with a beautiful appetizer plate consisting of a scallop with tomato, egg tofu, potato in sesame sauce, mushrooms in broth with greens, and baby sardines with a kinome leaf which has a very unique flavor with notes of citrus and mint. The next course presented to us was mackerel with crispy garlic chips in a vinegar sauce. The flavors were unreal!
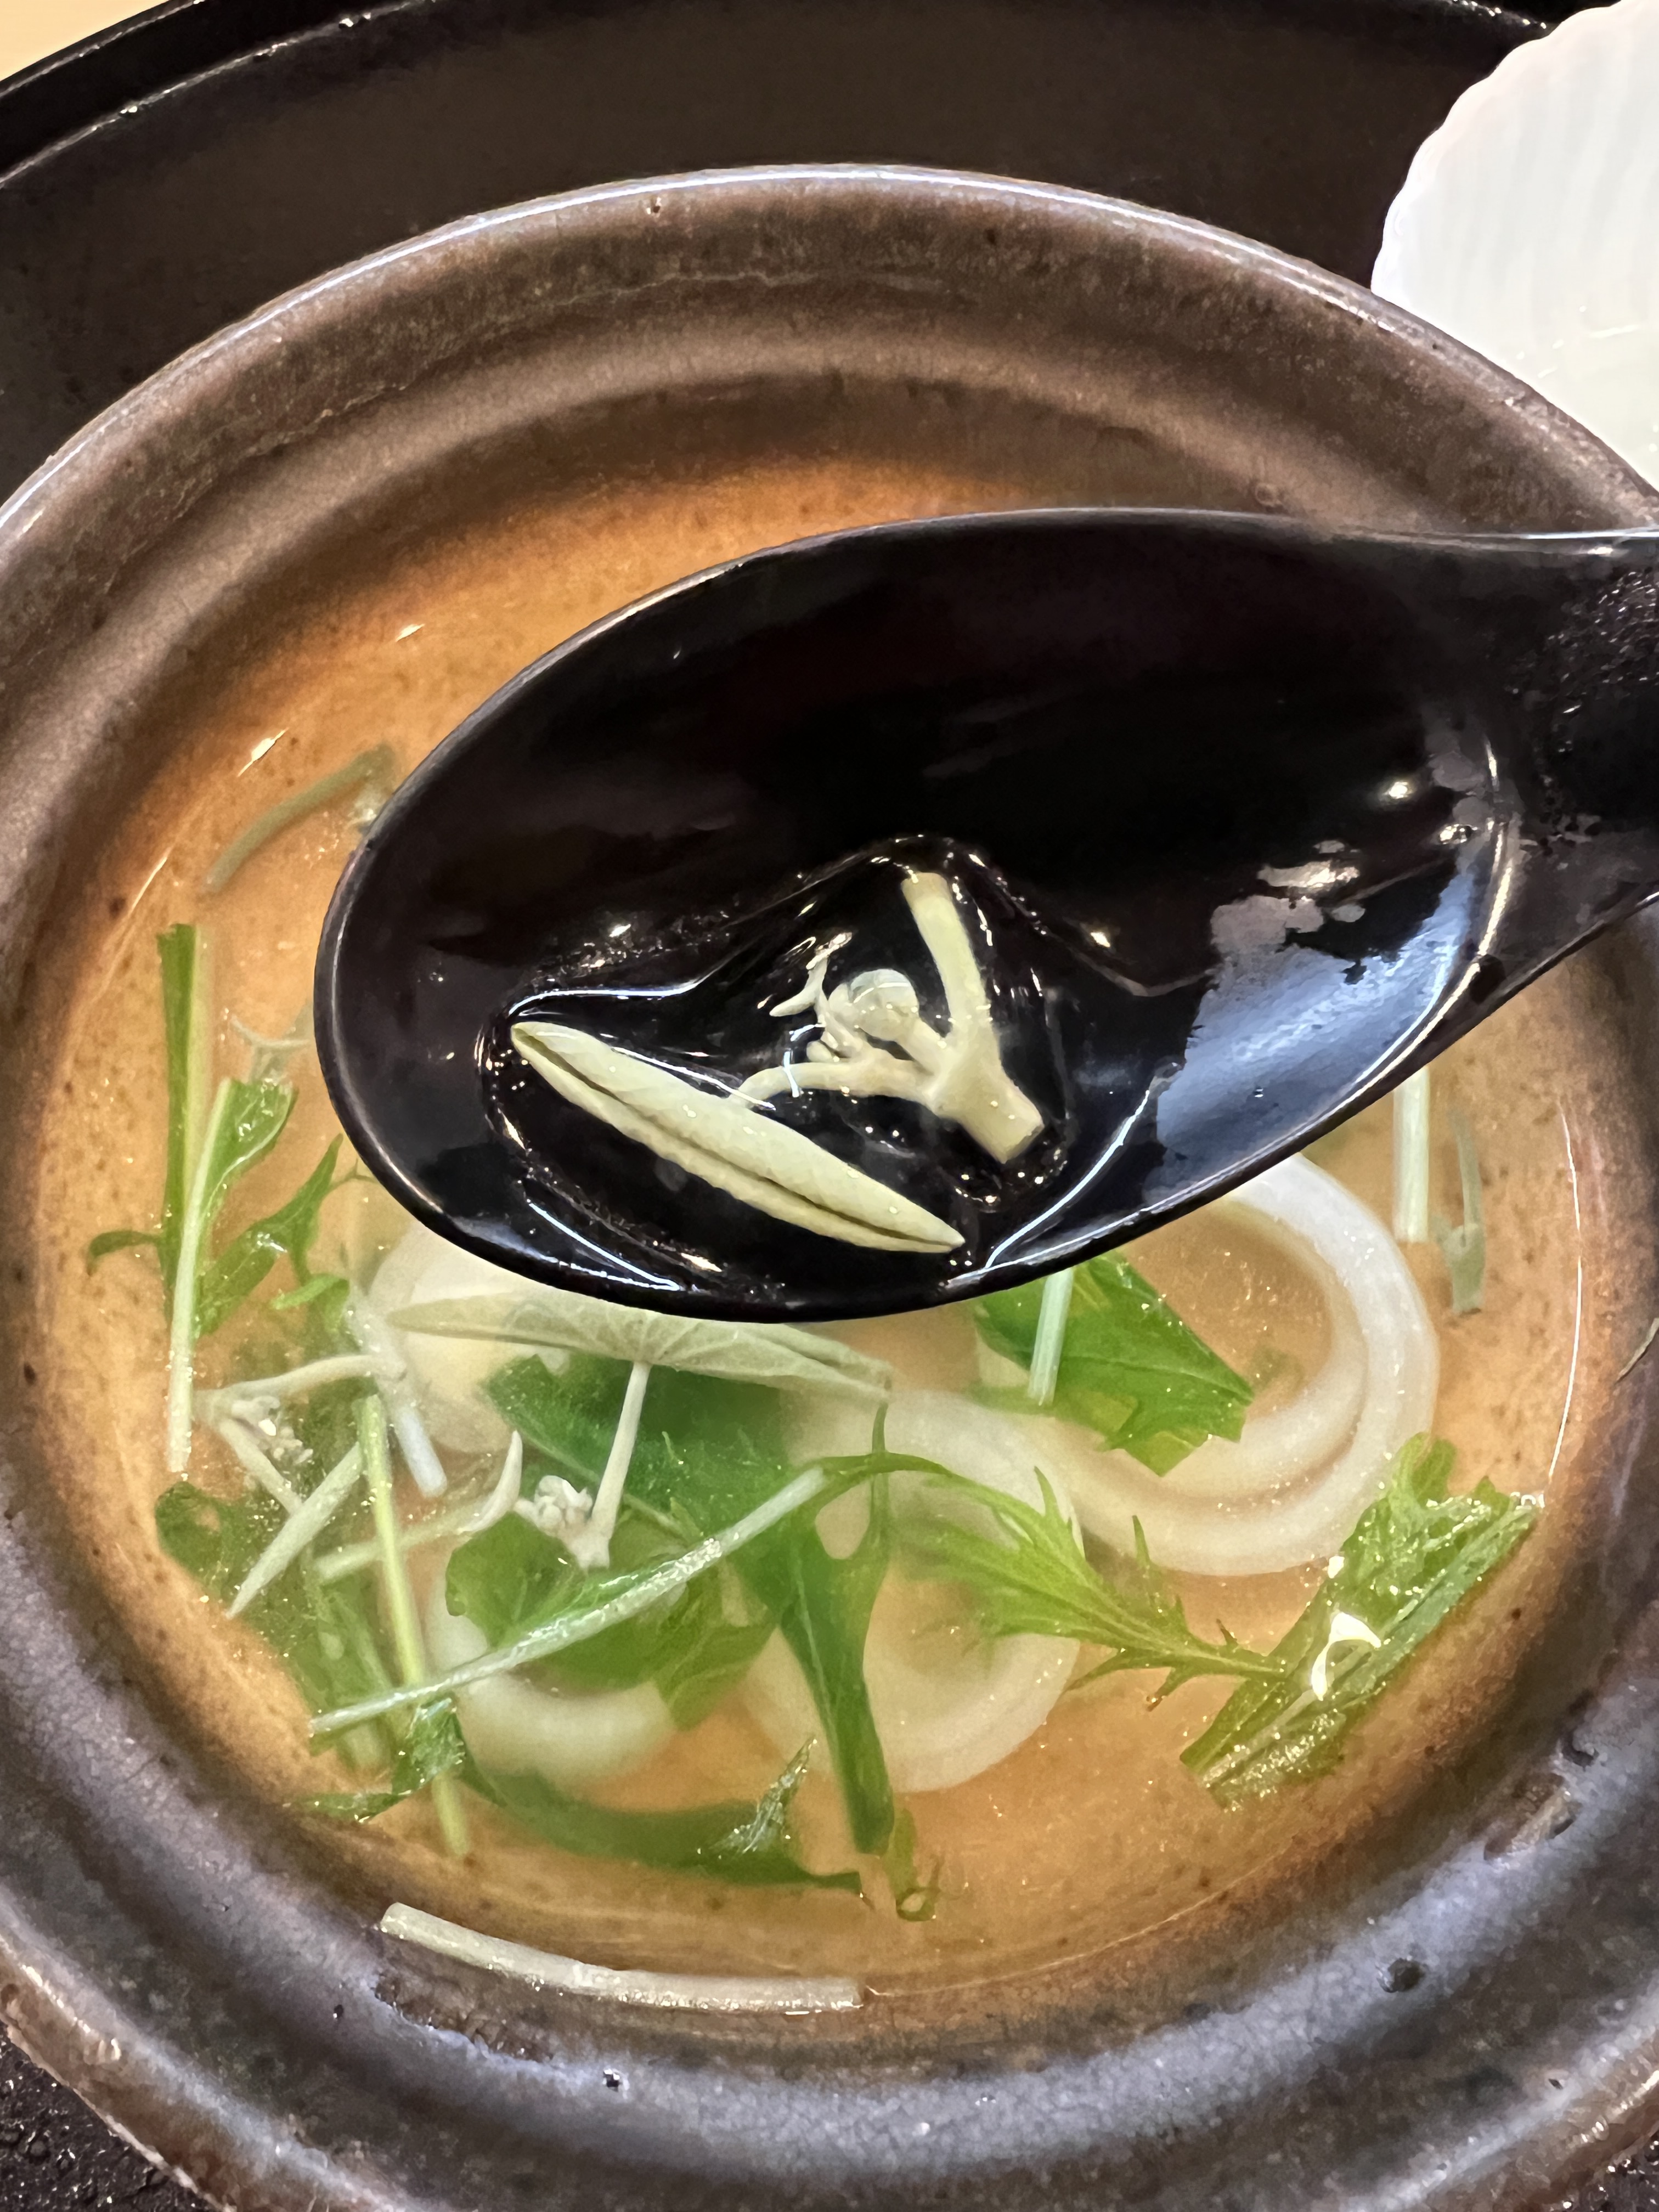
The rest of the meal was sushi and sashimi with a soup course in between. We had our first experience here with a very interesting ingredient, the water shield, which is a plant that holds a little gelatinous orb around it and has an interesting crunchy soft texture. We were certainly intrigued by this and the many other unique ingredients that were used in these dishes.
The dessert was a matcha flavored shaved ice with little mochi balls. This restaurant was an absolute slam dunk and we would totally recommend it – we almost insist. If you do not trust us, you can take it from Steve Jobs, as this was apparently his favorite restaurant in Japan too!
From here we went to the Higashi Honganji temple, up the block from Sushiiwa and recommended by the owner. It is a fairly small and peaceful complex with a large space in between the different buildings. The founder’s hall is one of the largest wooden buildings in the world!
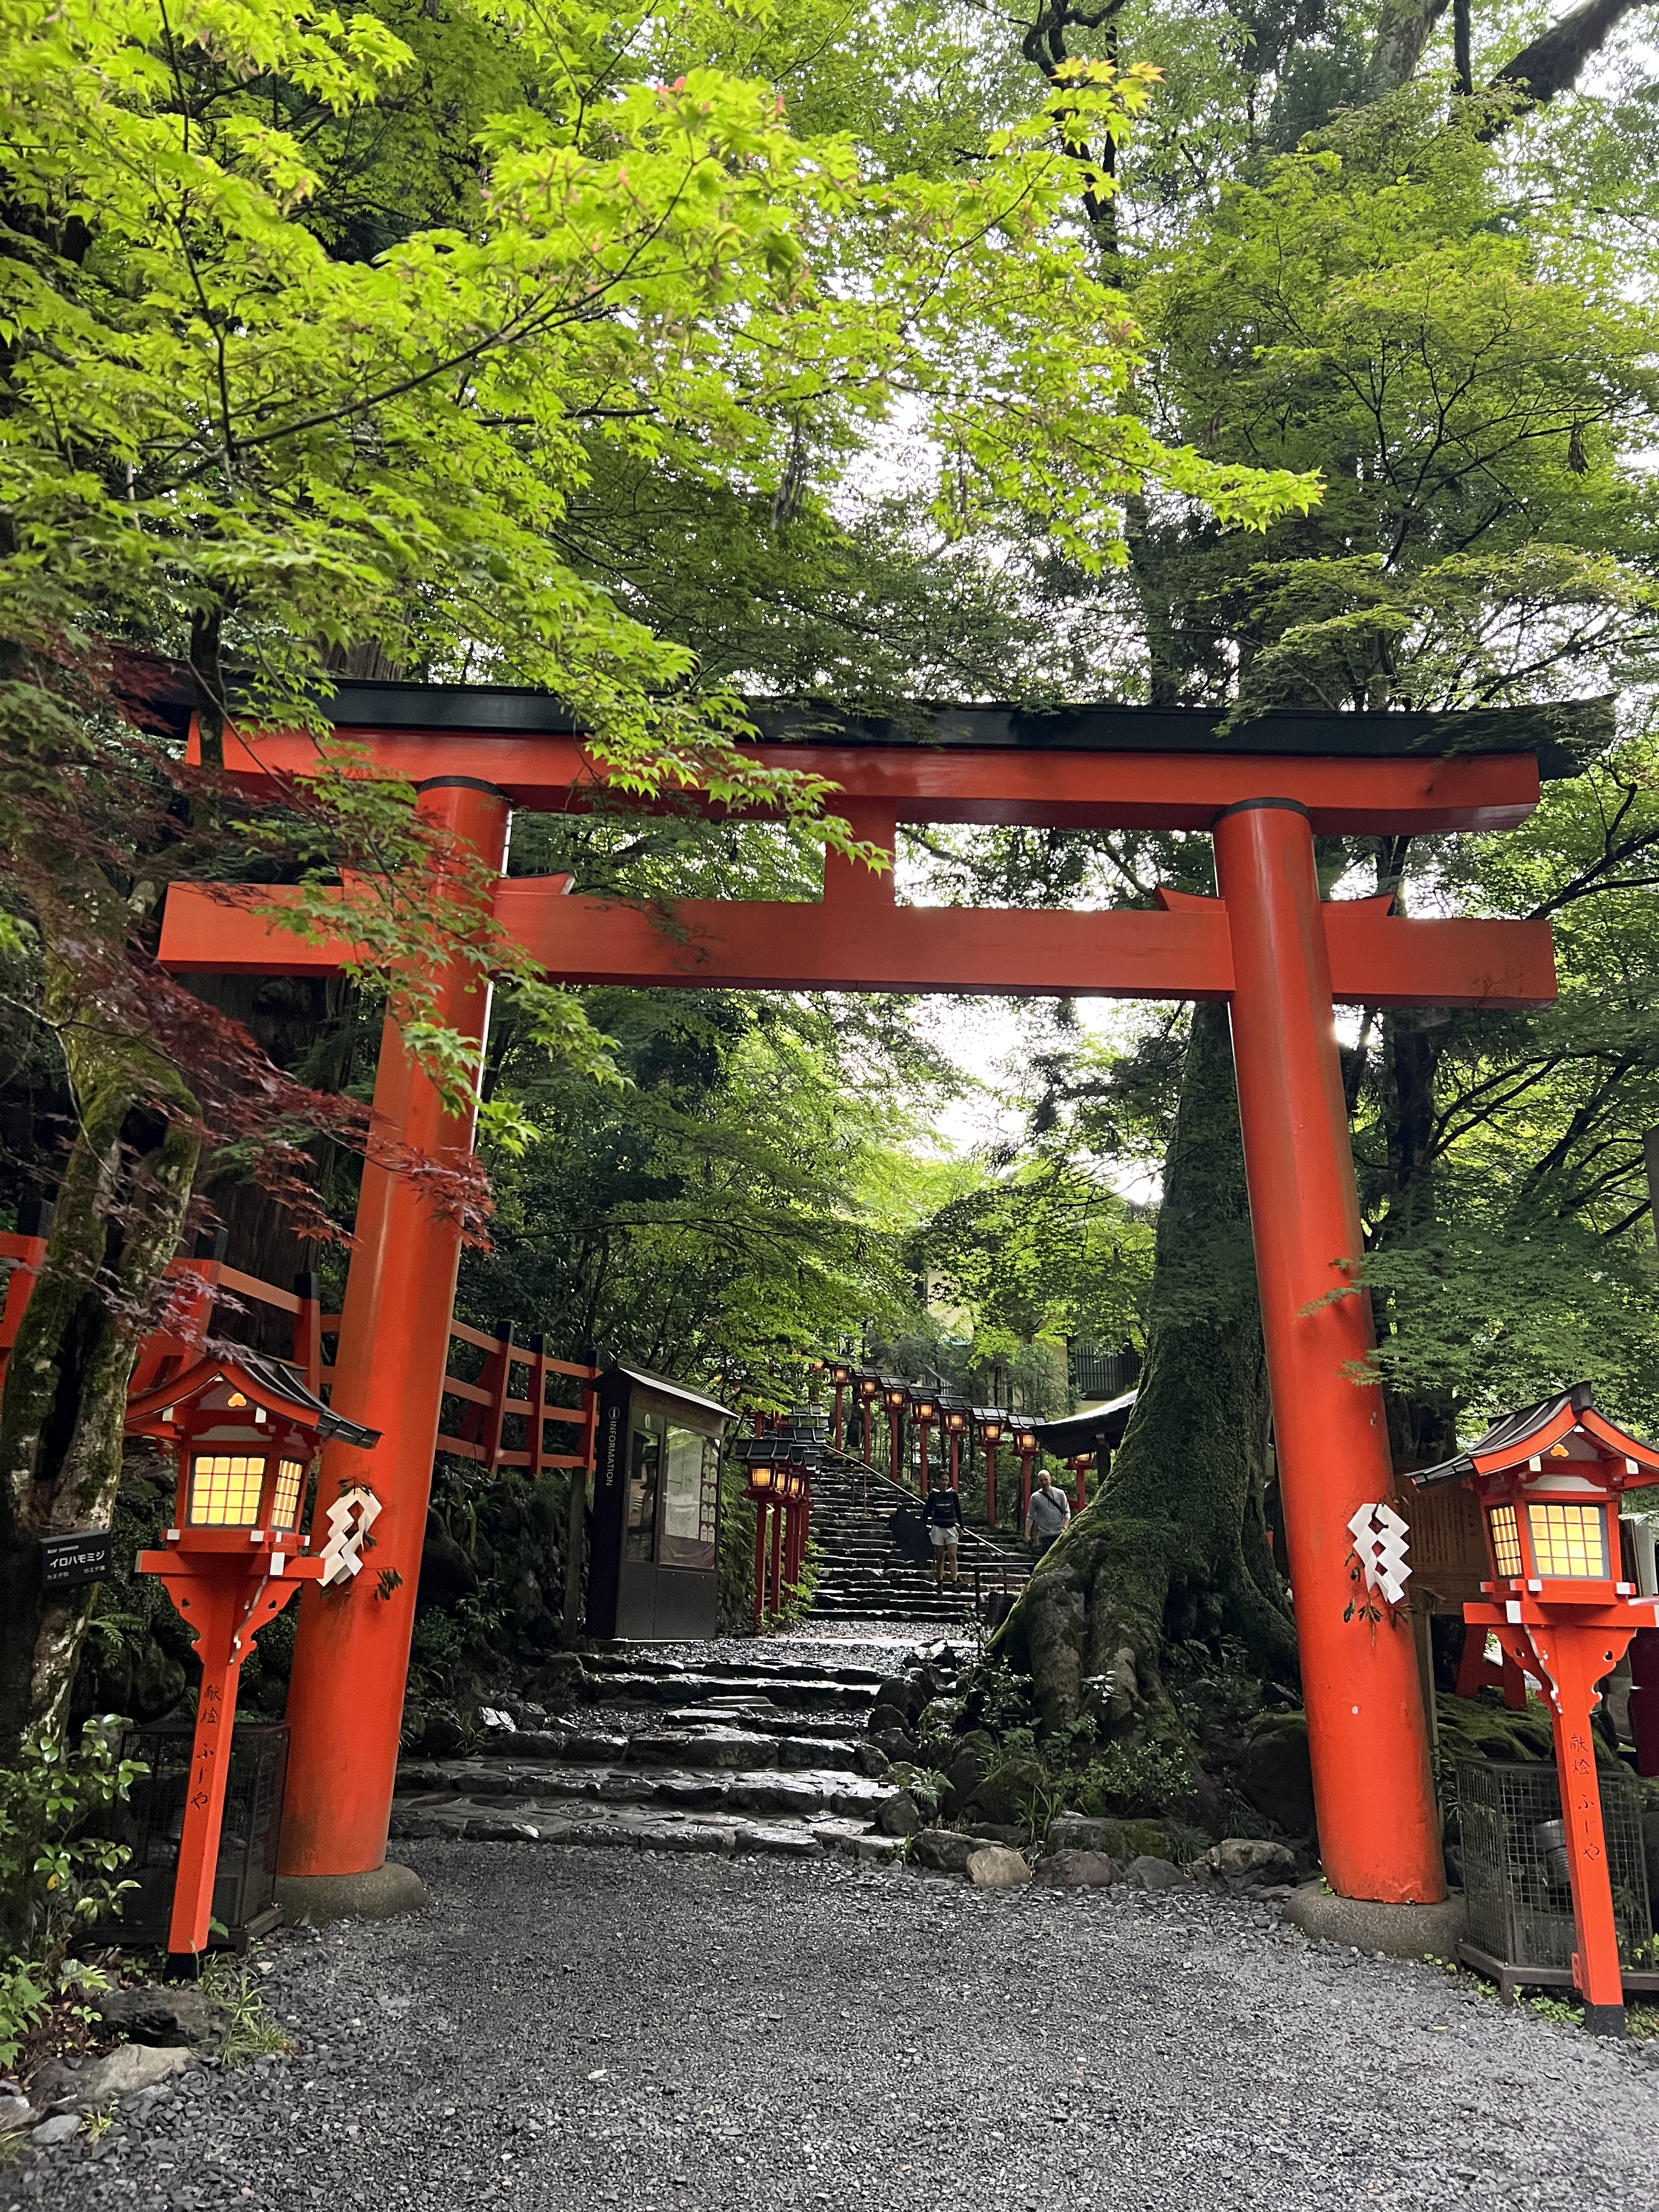
Even though we just arrived in Kyoto, our first itinerary item in Kyoto was actually outside of Kyoto, so we hopped in a cab headed to Kurama. In my research I learned that the Kibune River (nearby Kurama) is quite special. Inns and restaurants set up platforms over the river on which you can enjoy your meal with the river rushing on either side of you. We found a restaurant and booked the meal about 3 weeks in advance, and later looked up the most ideal hike to get you from Kurama to the river. If you want to follow this itinerary for your trip to Kurama, put “Kurama-Dera Temple Niomon” into your GPS/Uber (or tell your cab driver) to bring you to the trailhead where you will head up the staircase and follow the winding path up the mountain. This is a great half-day excursion from Kyoto.
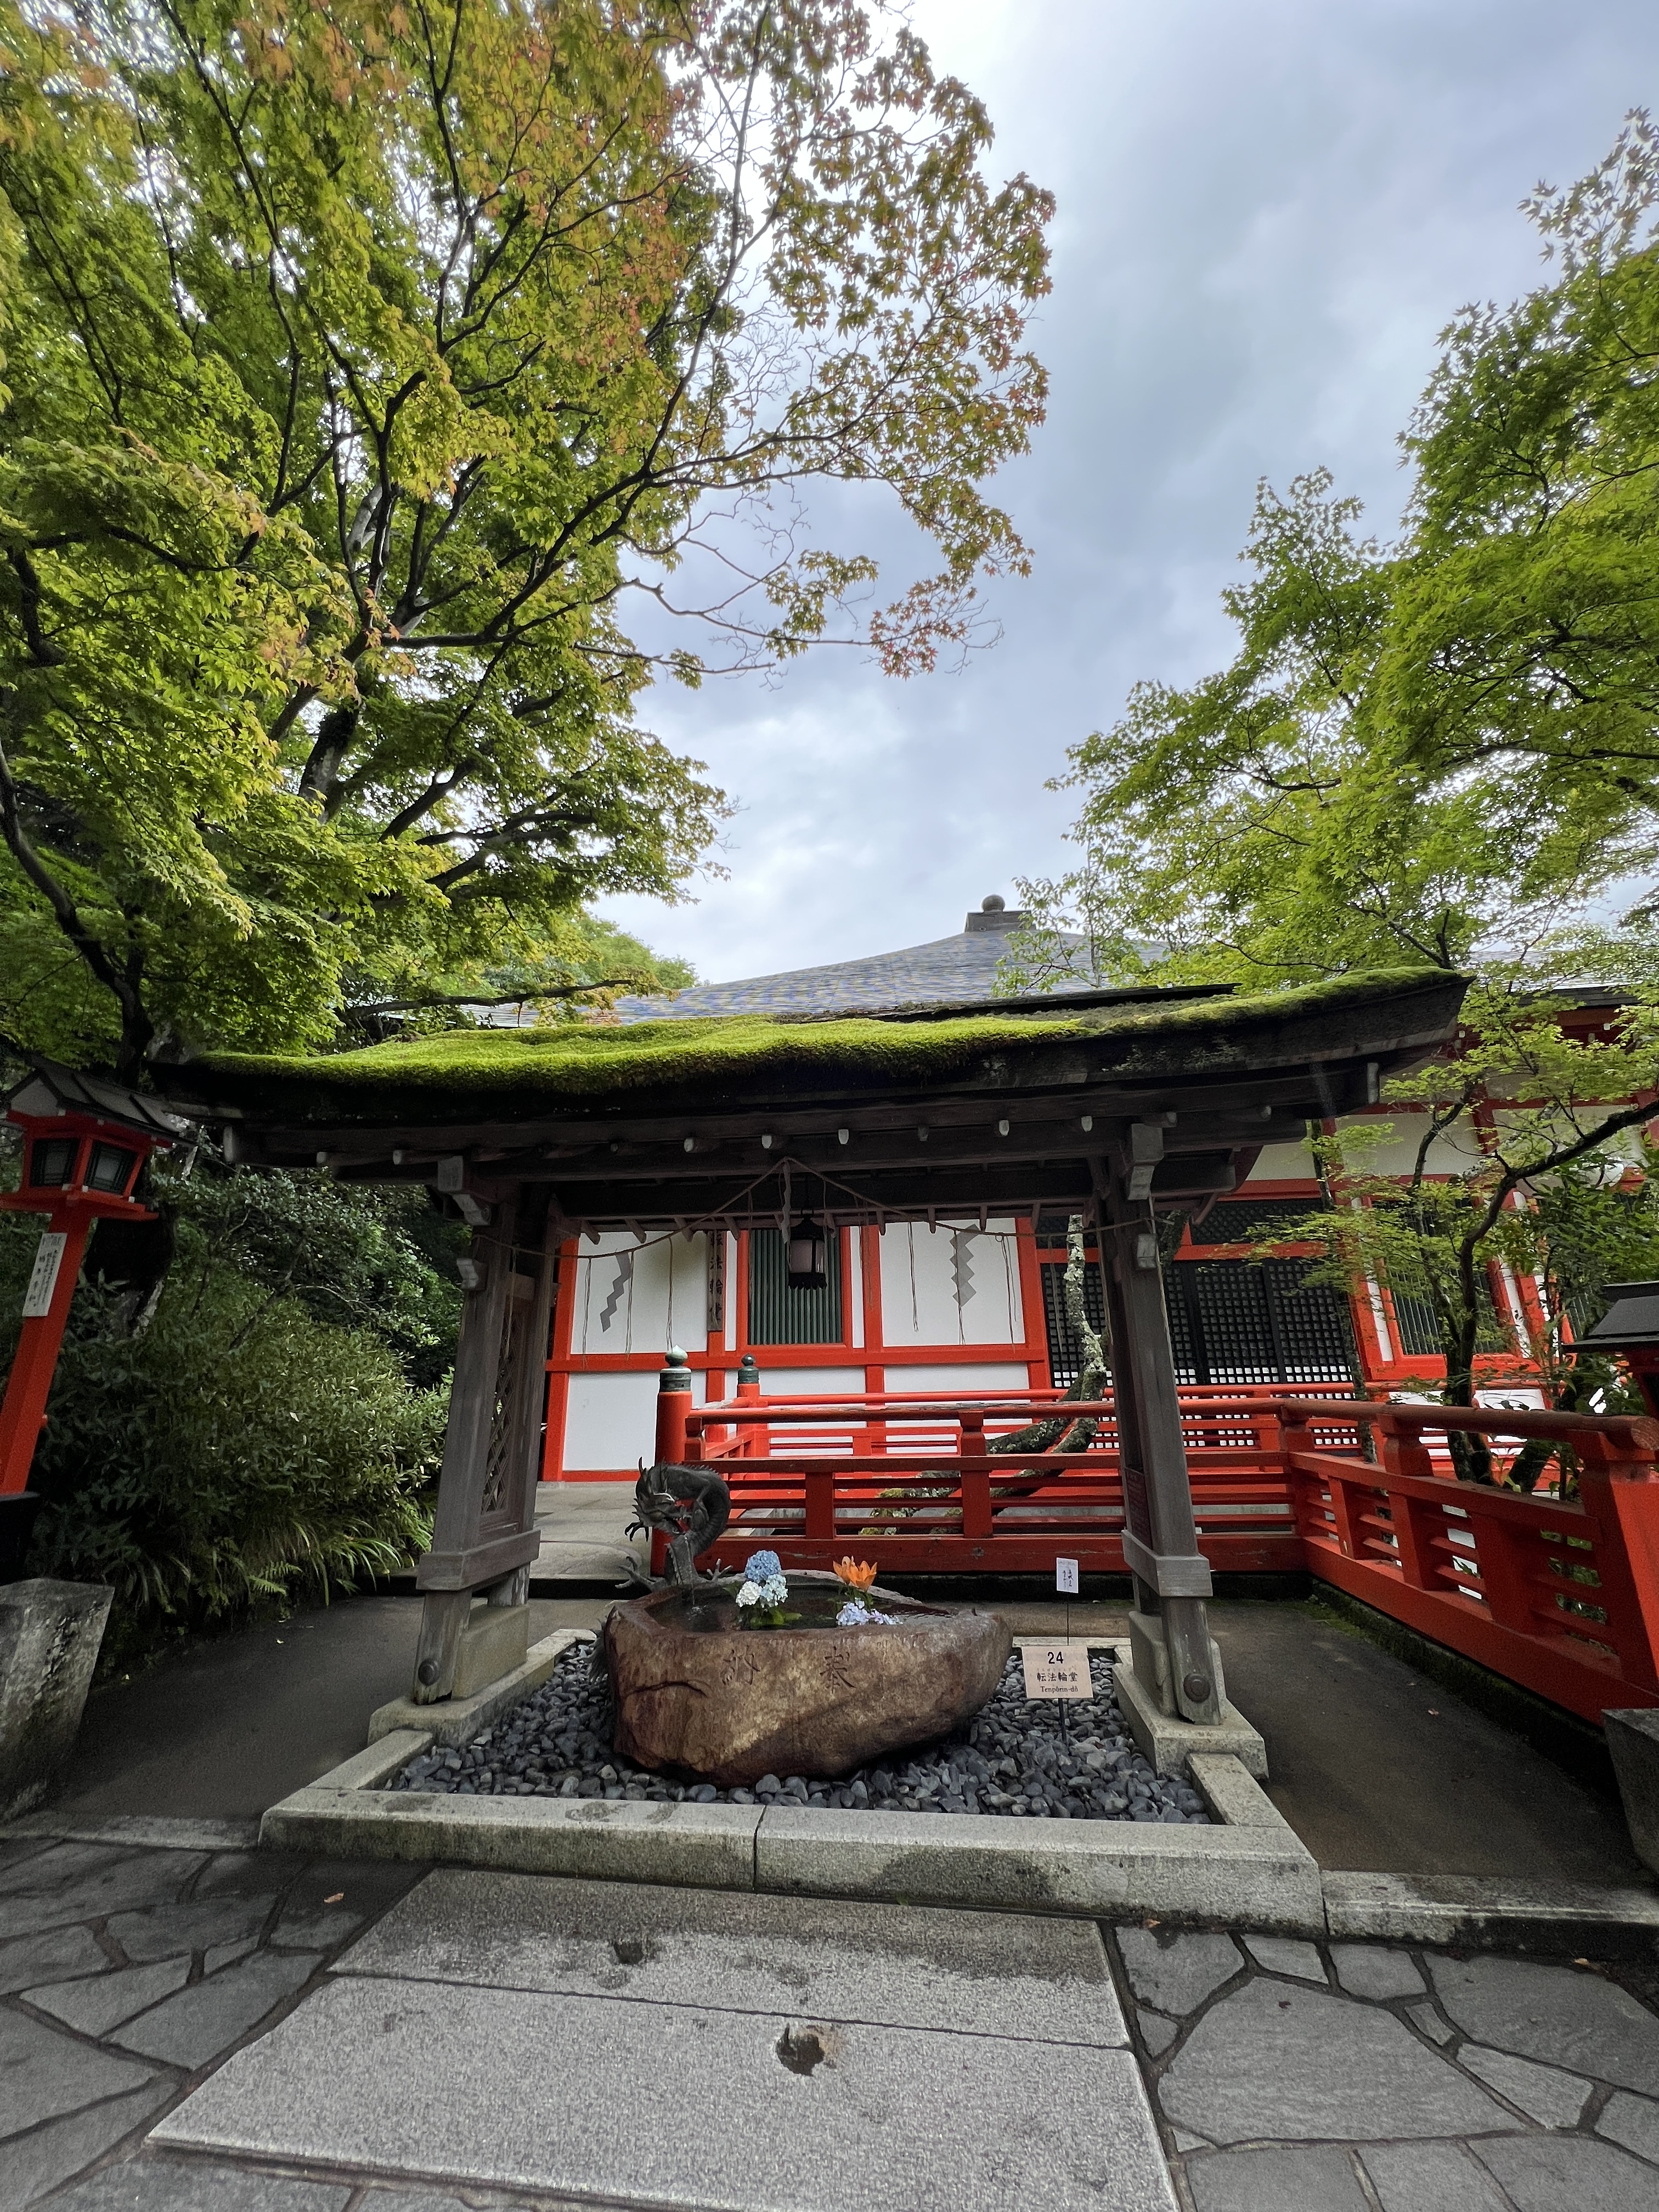
The trail is decorated with shrines at every twist and turn and you will eventually come upon the Kurama-Dera temple which has a beautiful tiled courtyard, a spectacular view, and a HUGE bell that you are allowed to gong.
You will continue on the path and will eventually stumble upon the “Root Path,” which consists of a network of tree roots above the ground that you walk through. You might also notice a section of wooden benches which once served as a meditation area for samurai passing through. Nick and I stopped here for a ten minute meditation before continuing on.
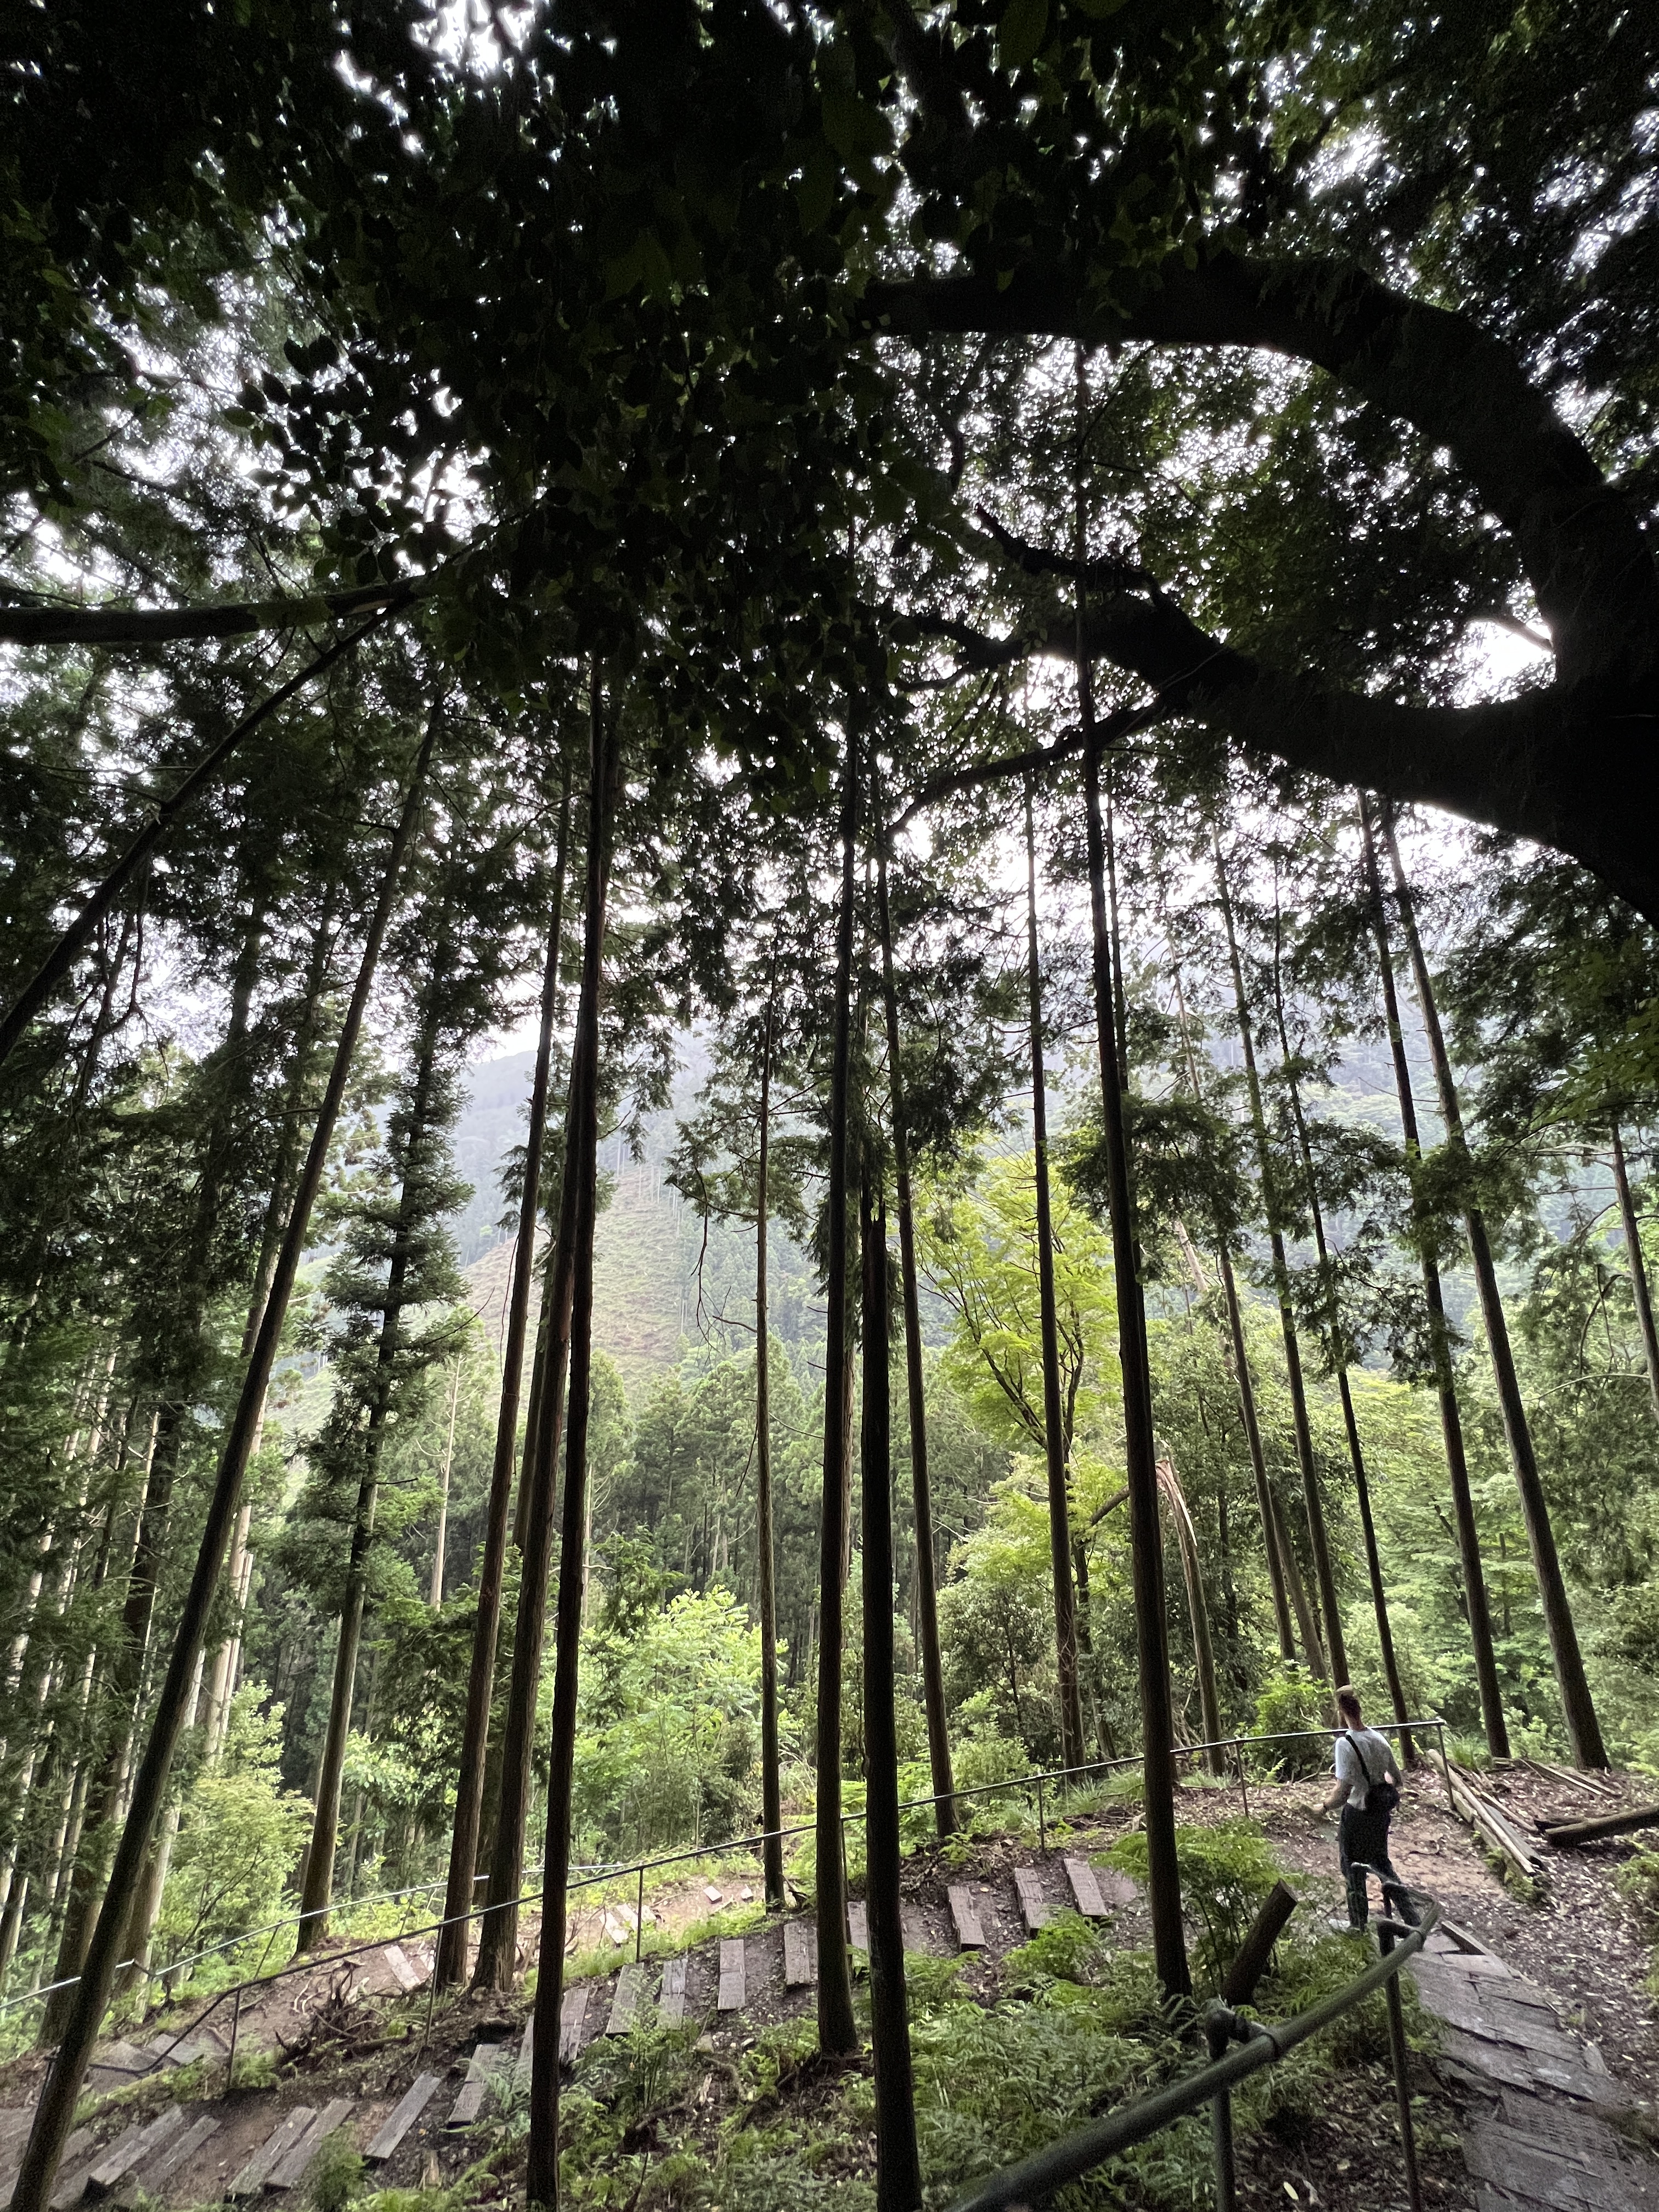
The trail turned into a grove of cedar trees which grow impressively straight and tall! The last milestone on this hike is the Kifune shrine which indicates your arrival at the river.
The restaurant that we booked for dinner is called Okukifune Hyoue and the whole experience was fantastic. As we approached the restaurant it started to rain, which was not good for our hopeful outdoor river meal. We began the meal inside but expressed that we were really hoping to sit outside as soon as it was possible to do so and the restaurant staff worked hard to dry off the platform, tables, chairs, and even the greenery above to make the outdoor space ready as soon as it stopped raining.
The meal was a kaiseki meal, a Japanese banquet with a set menu. We had probably 10 or more courses of food including a soup, a whole fried fish dish, a tempura dish, a hot pot course, and a rice dish. It was a ton of food and we were so full and satisfied by the end of it. This was our last event of the day and after the meal we headed back to the hotel for a good night’s sleep. While Kurama was an unforgettable experience, if you are on a tight schedule I would understand if you do not make it out here.
For video footage of day 7 in Kurama (as a day trip from Kyoto), check out my reel on Instagram!
Day 8 – Nara (Day Trip from Kyoto)
I know it seems like right off the bat we are not giving Kyoto enough love since we are taking so many day trips, but we promise that there is good Kyoto content coming! During our second day in Kyoto we did leave again for a day trip to Nara, starting off with a quick breakfast at the complementary hotel buffet and then running off to the train.
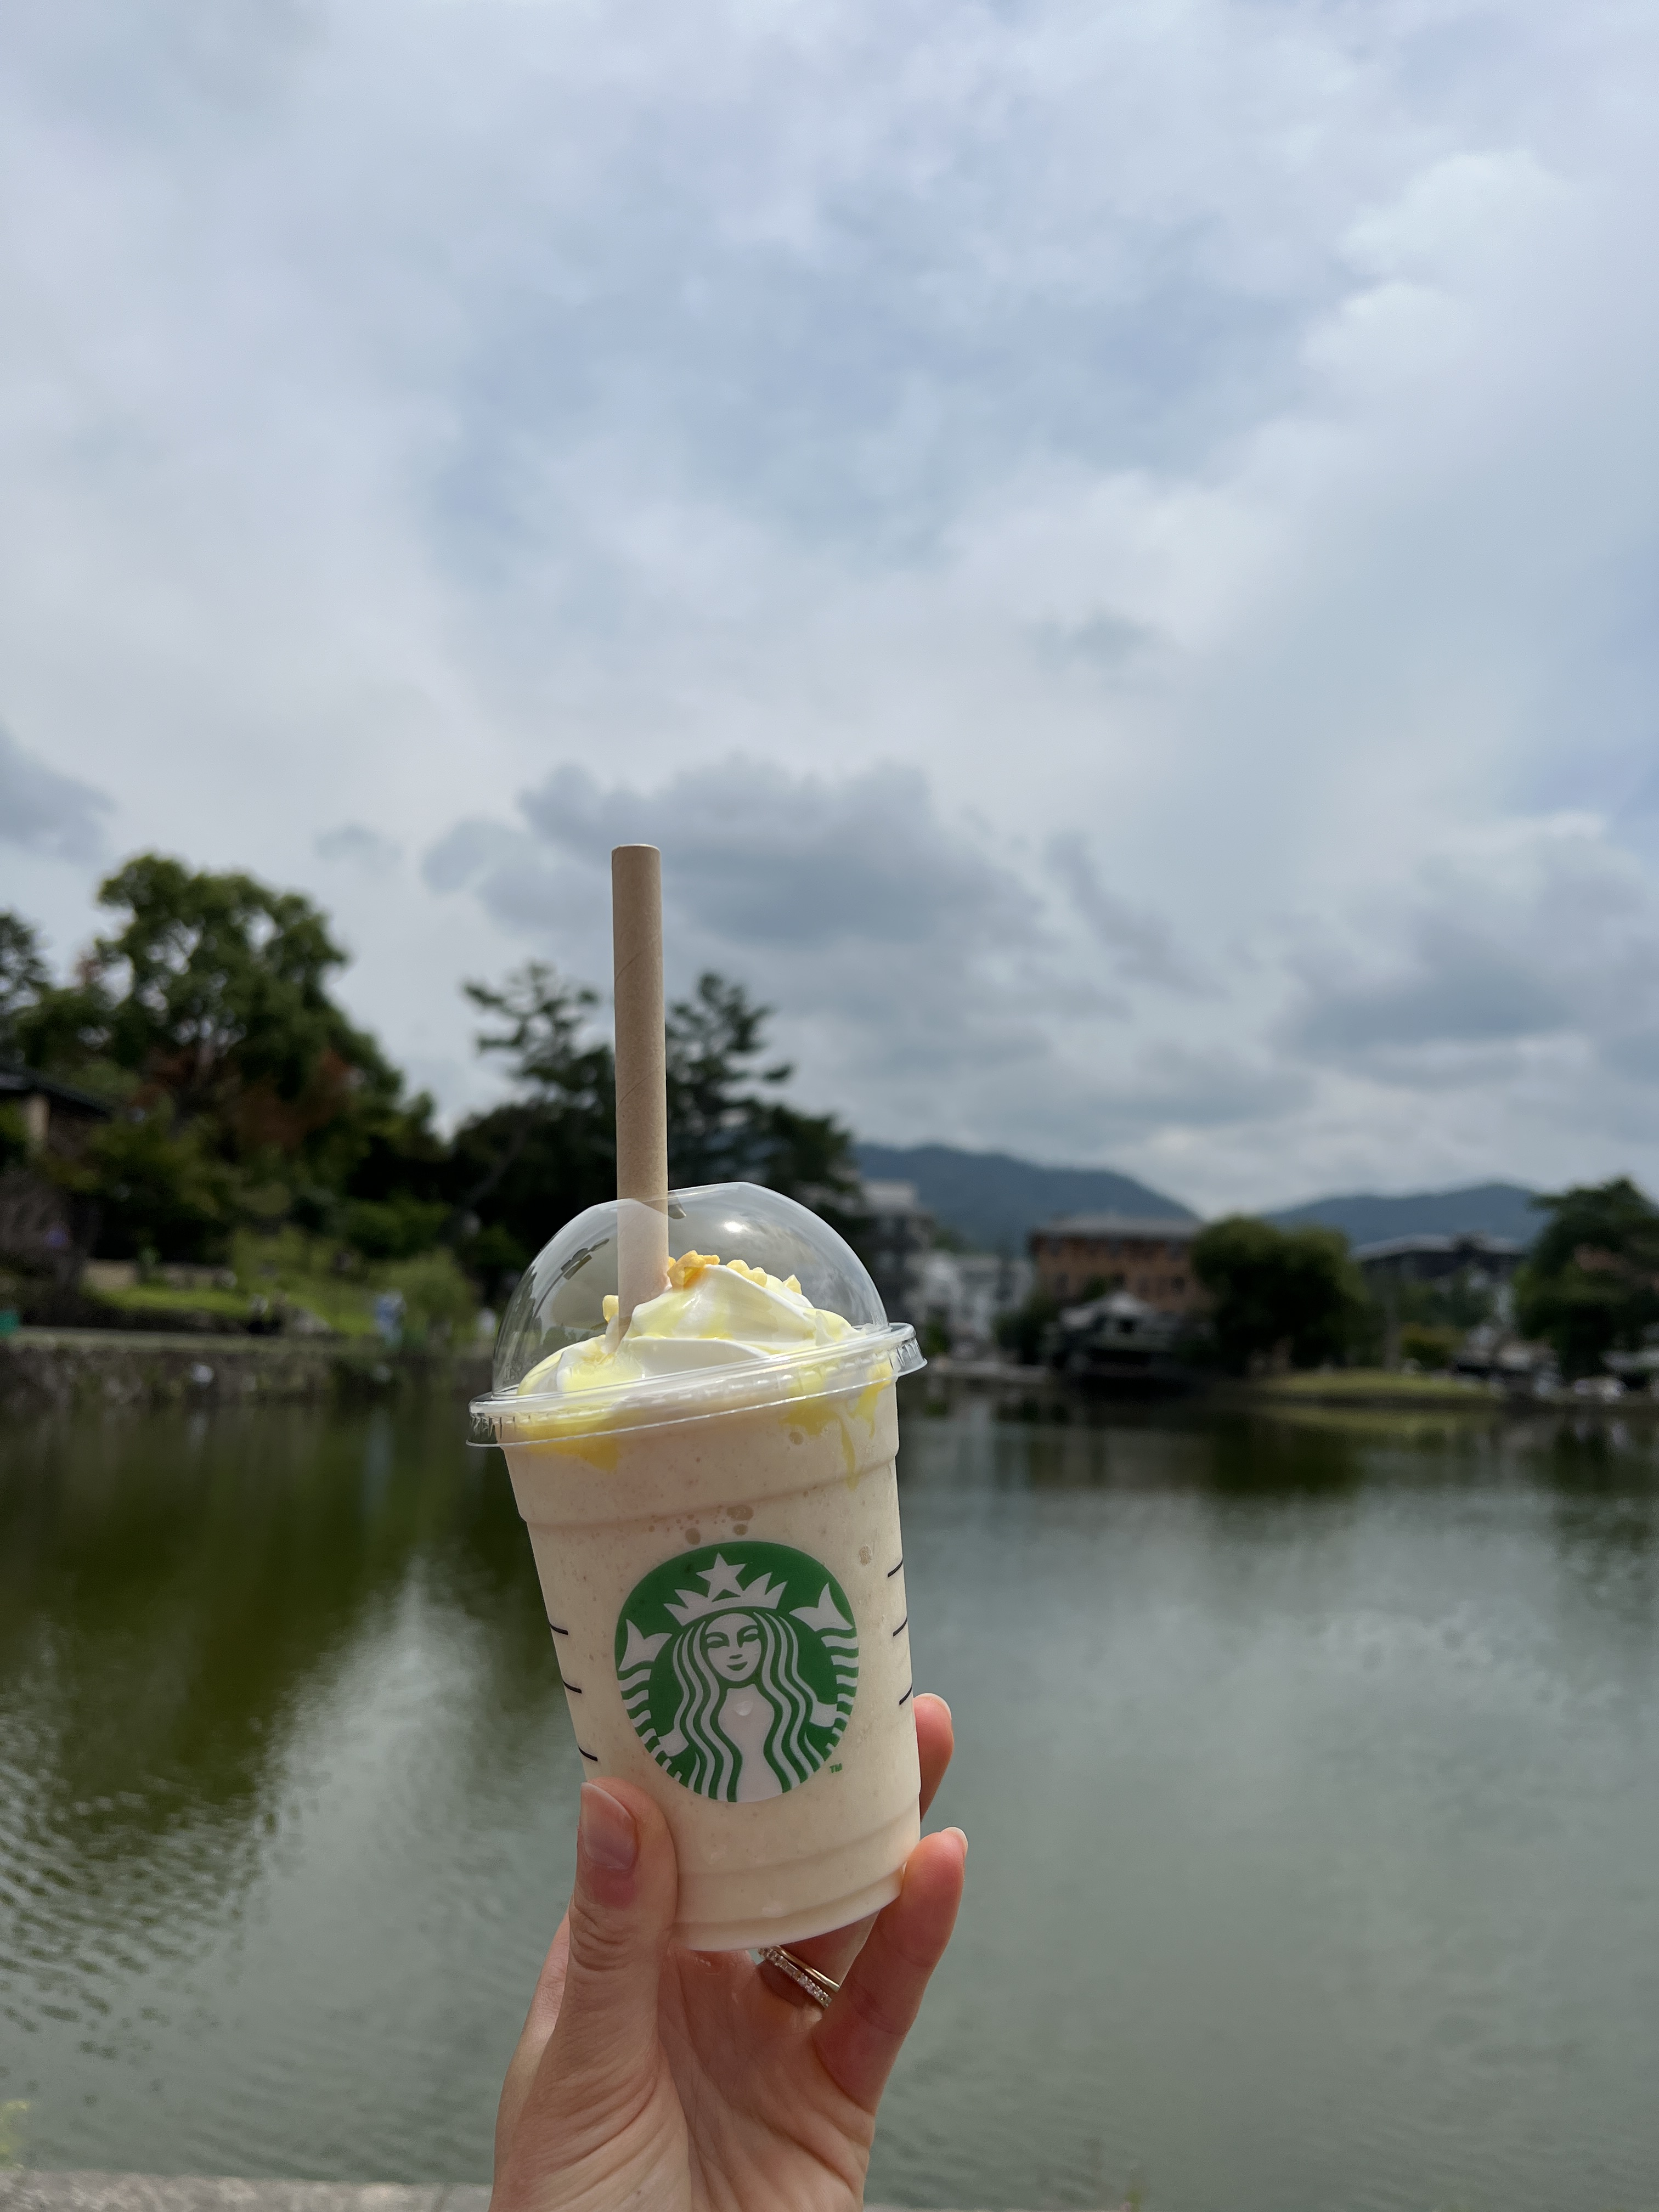
Our first stop in Nara was Starbucks to try the lemon cake drink that we had been seeing everywhere since we landed in Japan. It tasted exactly like a lemon pound cake, which was pretty remarkable. We walked with our tasty drink to the Kofaku-ji temple to see the impressive five story pagoda.
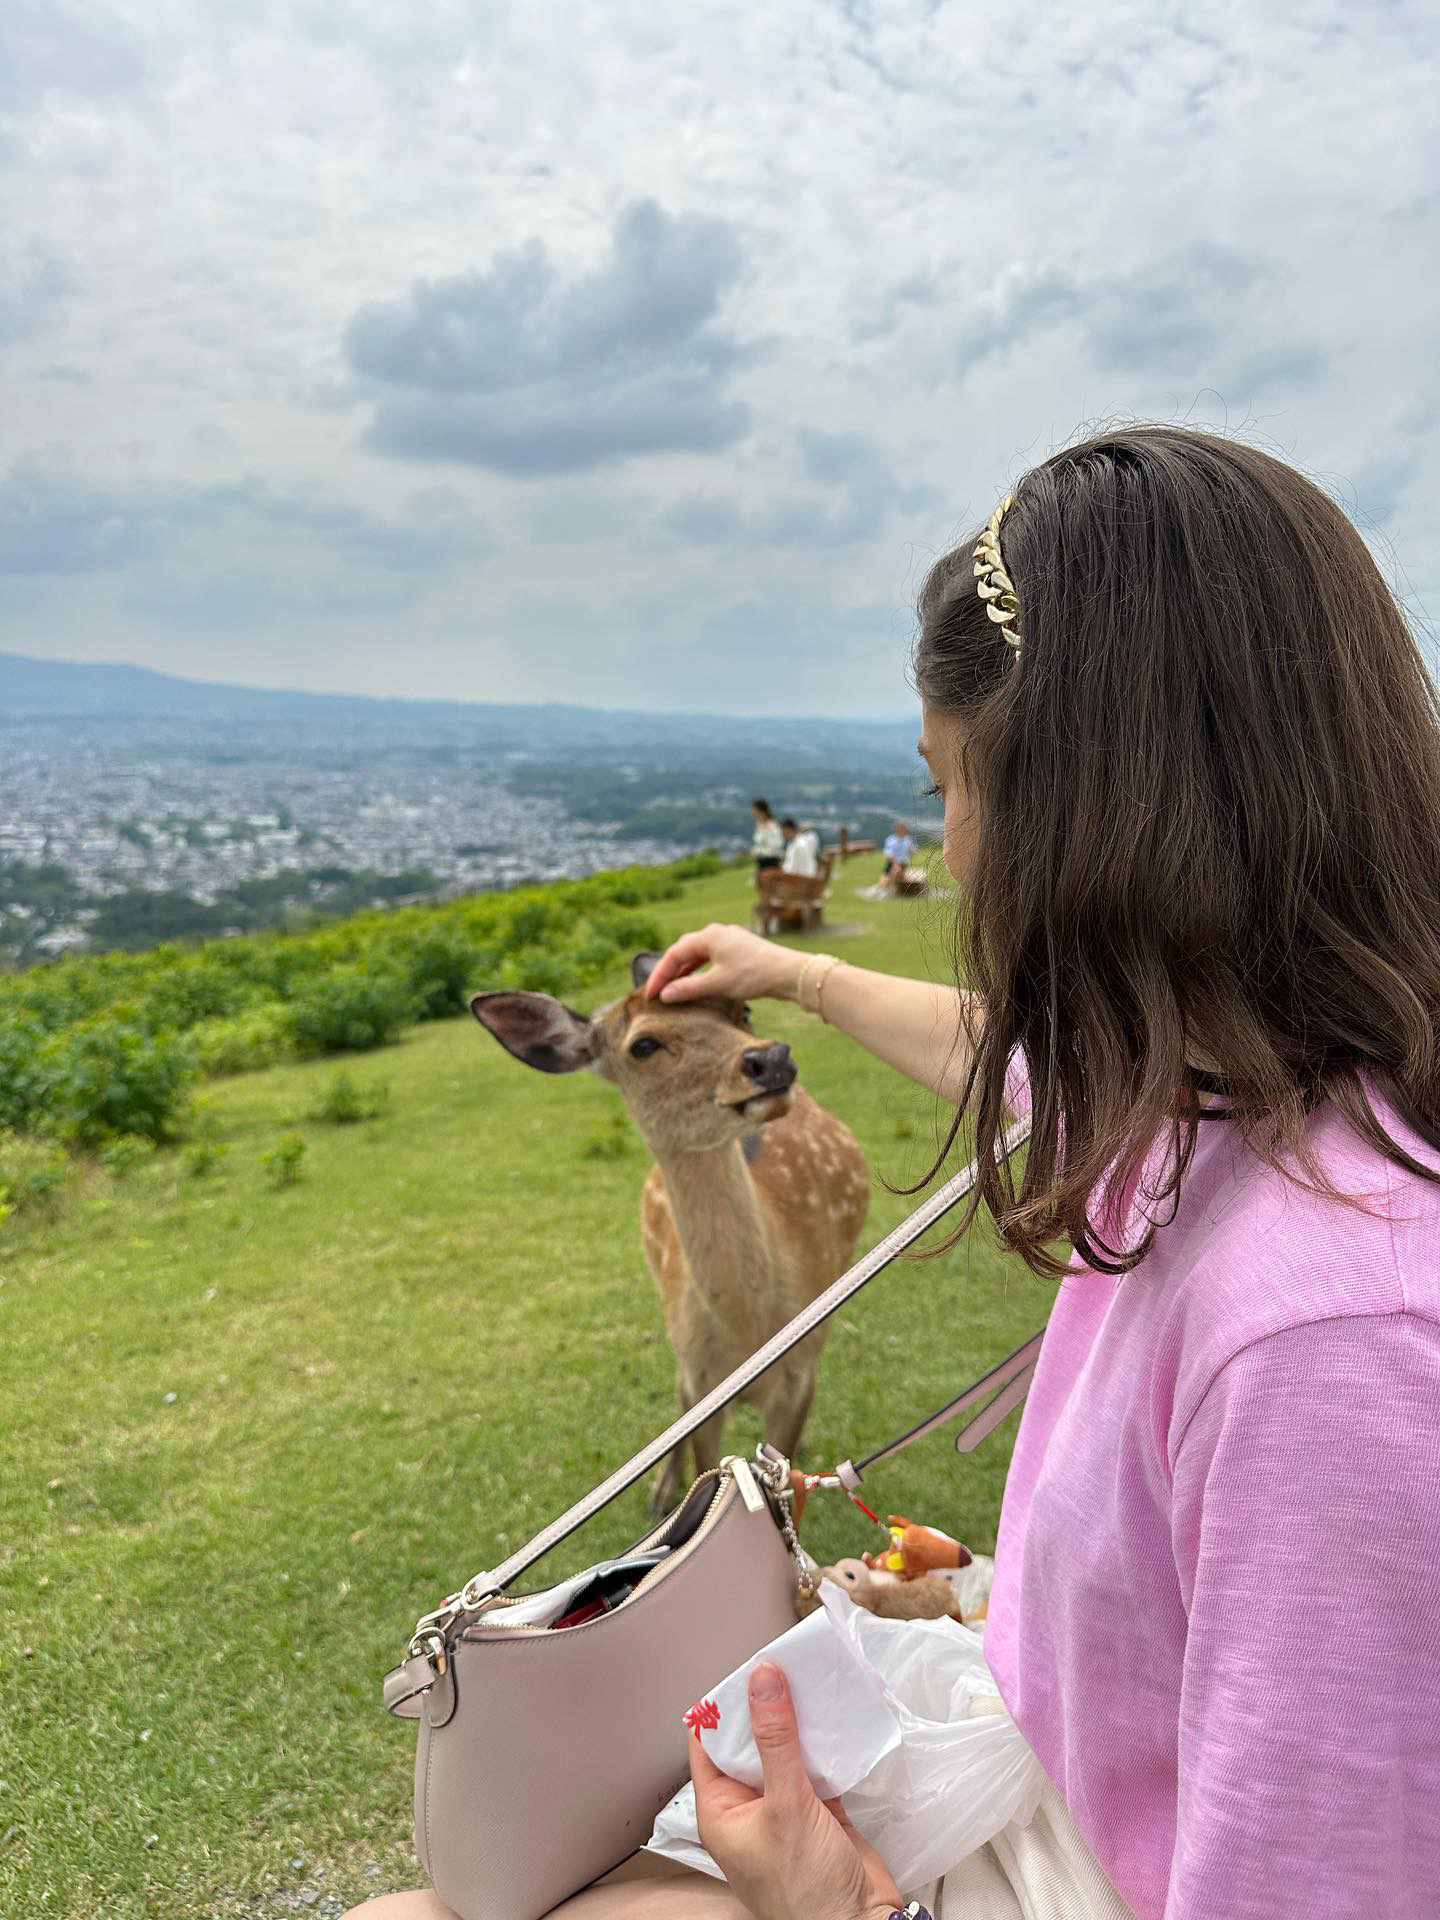
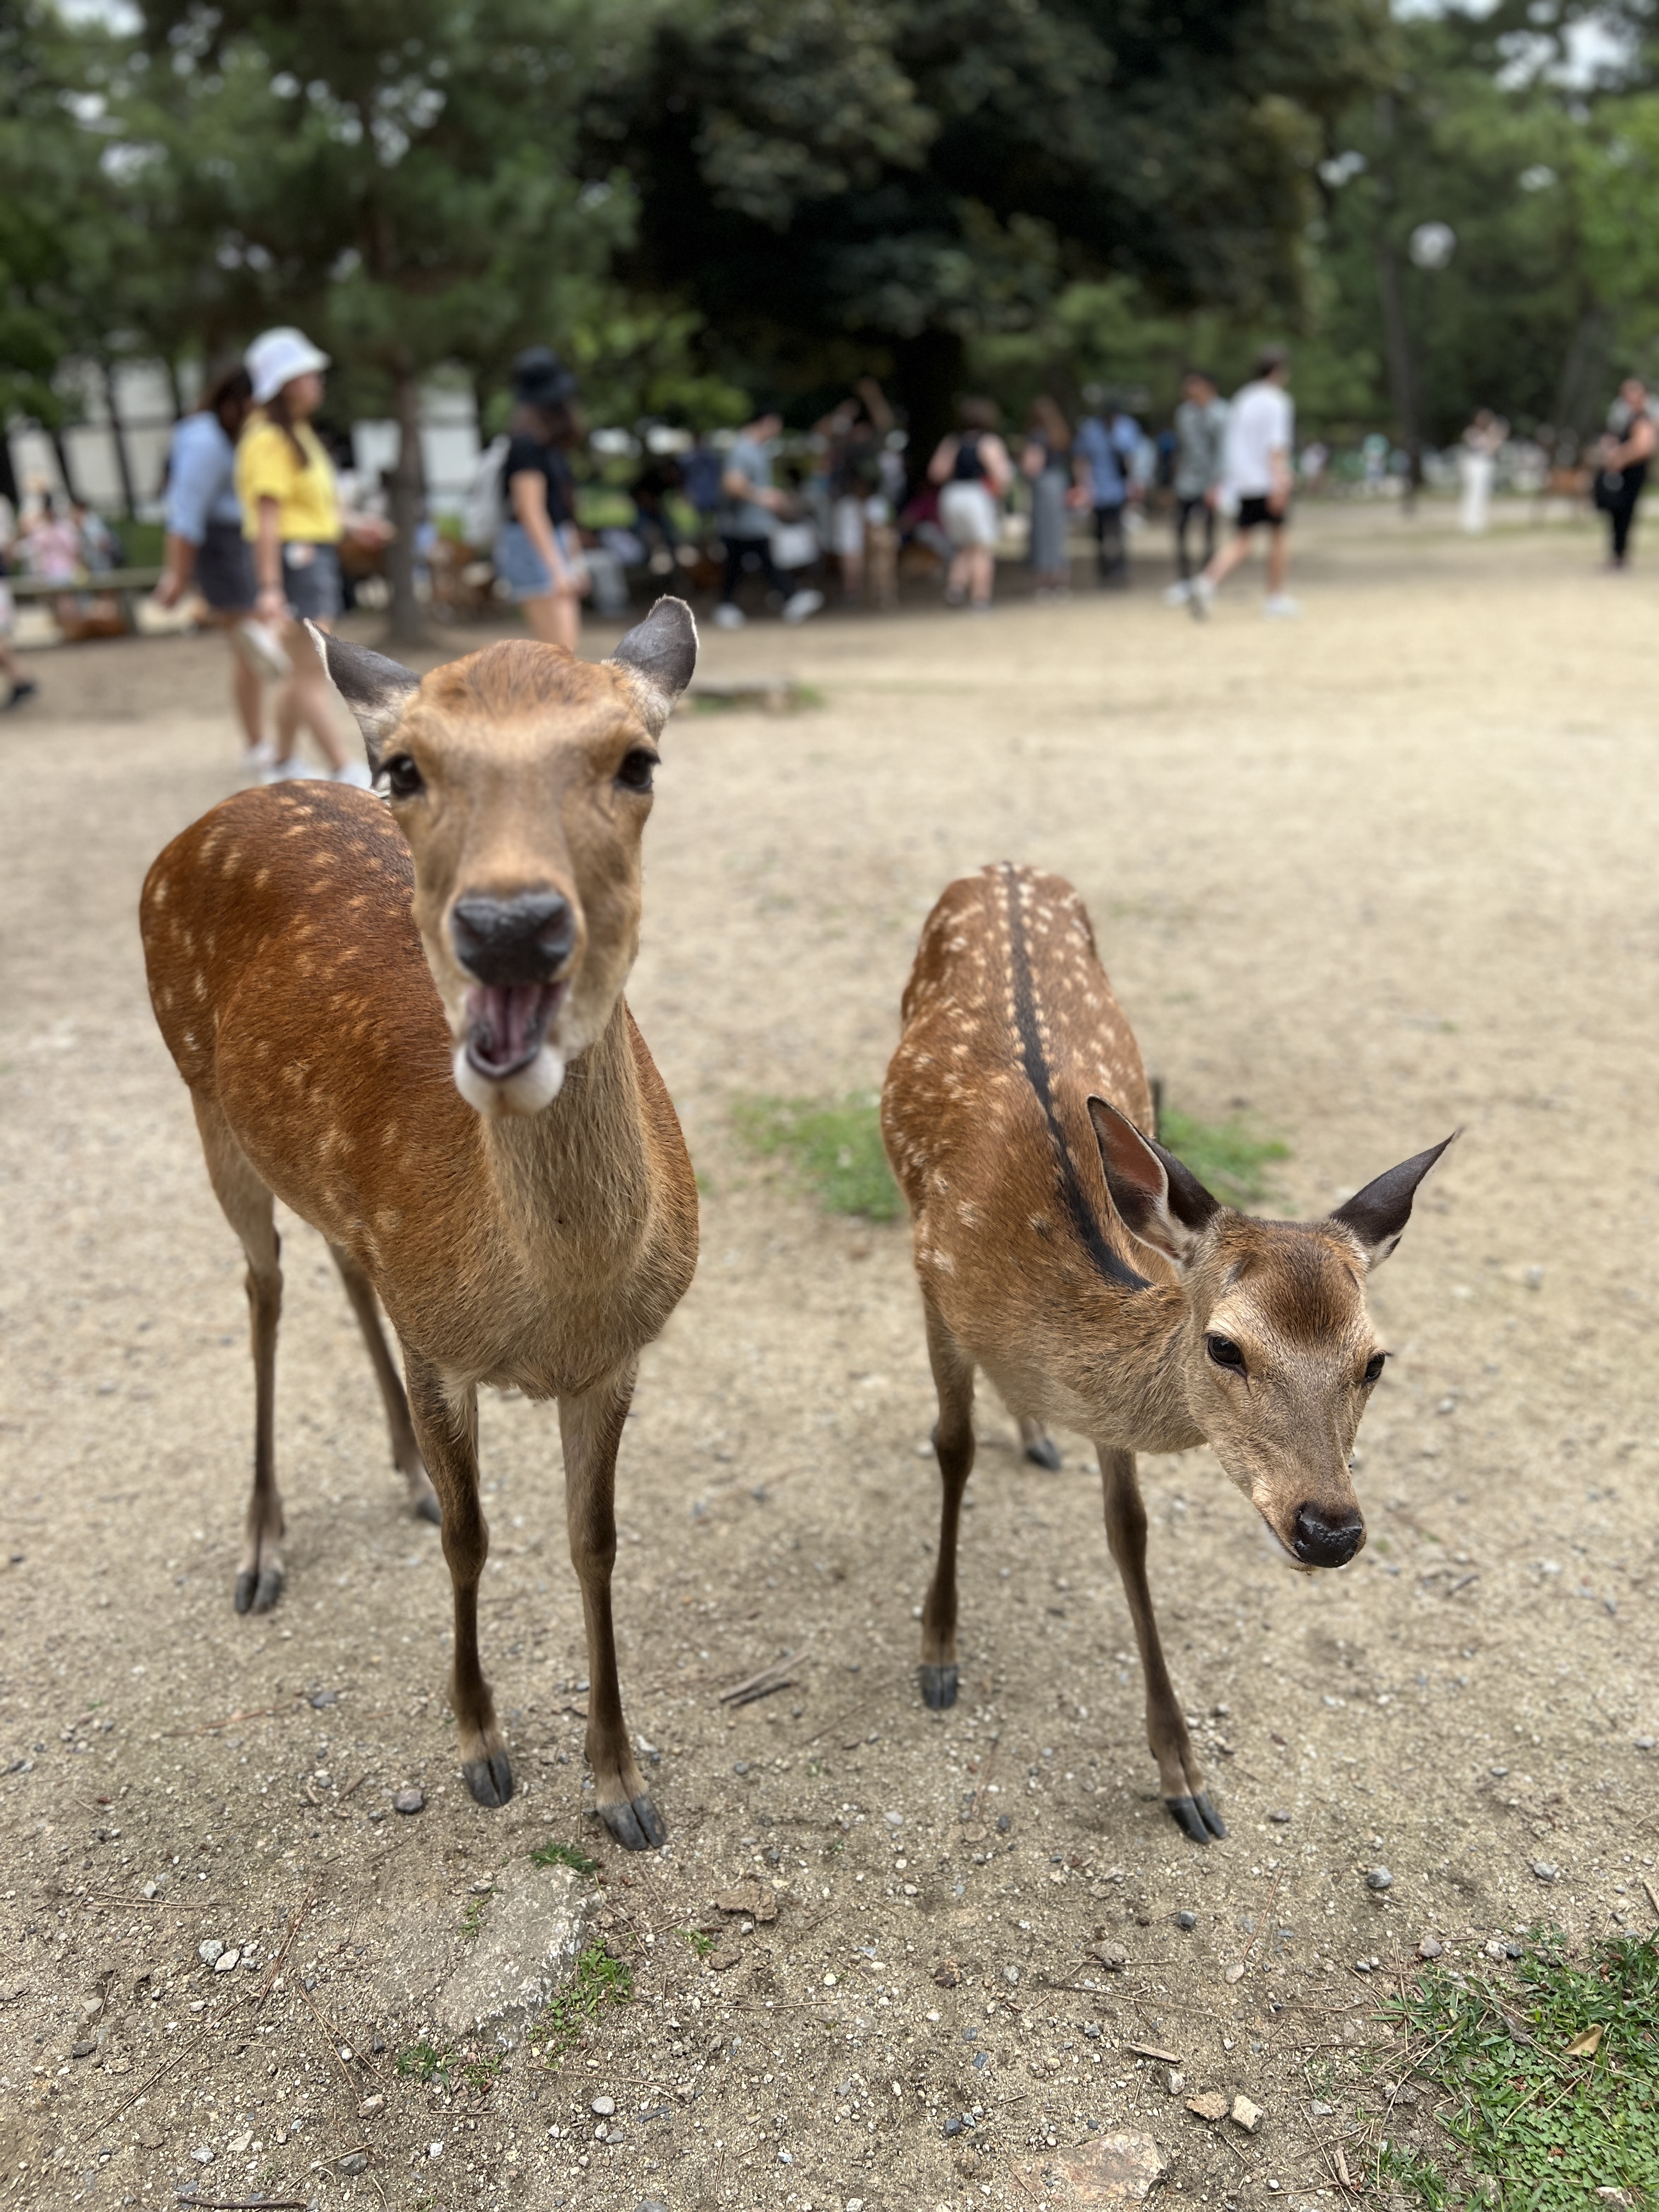
Next, and the reason why most people journey out to Nara, we went to Nara Park where you can interact with the deer that bow to you in the hopes of scoring a rice cracker.
We played with the deer feeding them crackers as we walked through the park and moseyed on over to the Todai-ji temple, housing one of the three Great Buddha statues in Japan.
Next we climbed a hefty set of stairs at the Nigatsu-do for a view of the city below. While the picture does not look like much, the view was beautiful and the stairs were not very steep so I would recommend giving it a shot.
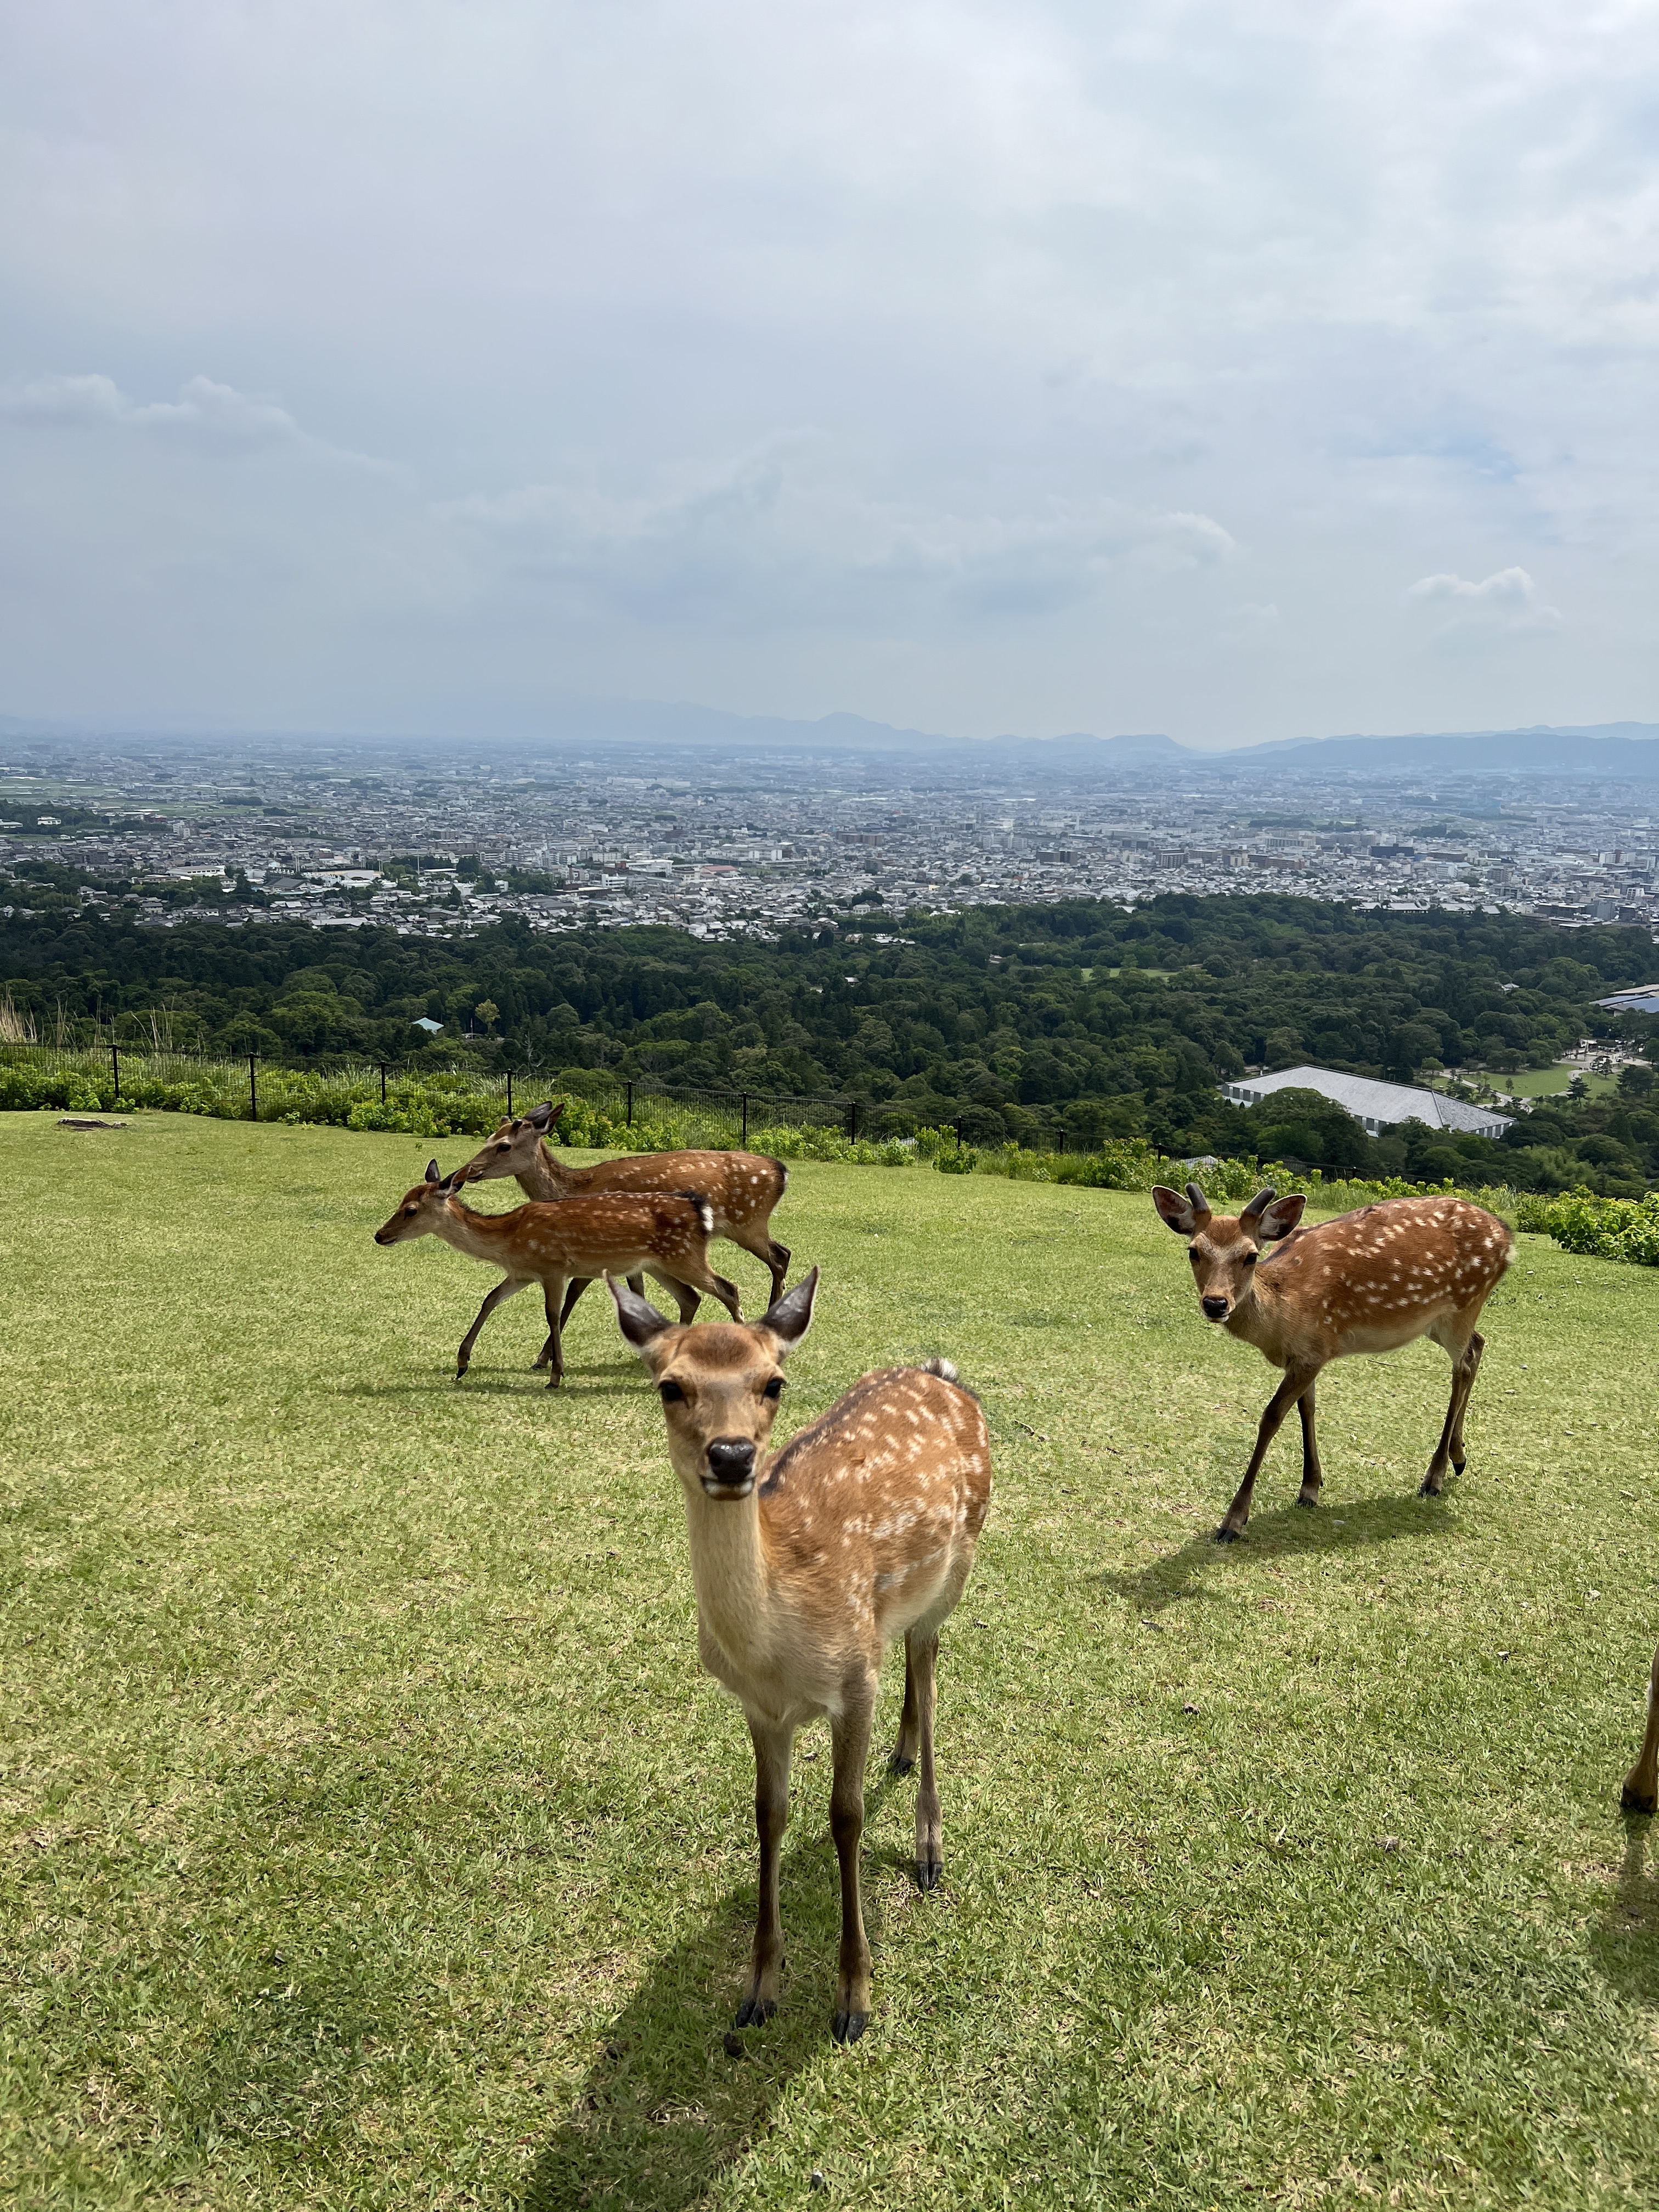
We then headed over to Mt. Wakakusa which promised even more sweeping views of the city below. These views were absolutely SPECTACULAR, but you do have quite a climb to get to the top – about 20 minutes of stairs. Bring lots of water and take some breaks along the way. At the top of the mountain there is a restaurant with refreshments like shaved ice, coffee, tea, and meals like udon bowls.
Our last stop inside the park was the Kasuga-Taisha Shrine, housing 3,000 moss colored lanterns making it quite unique.
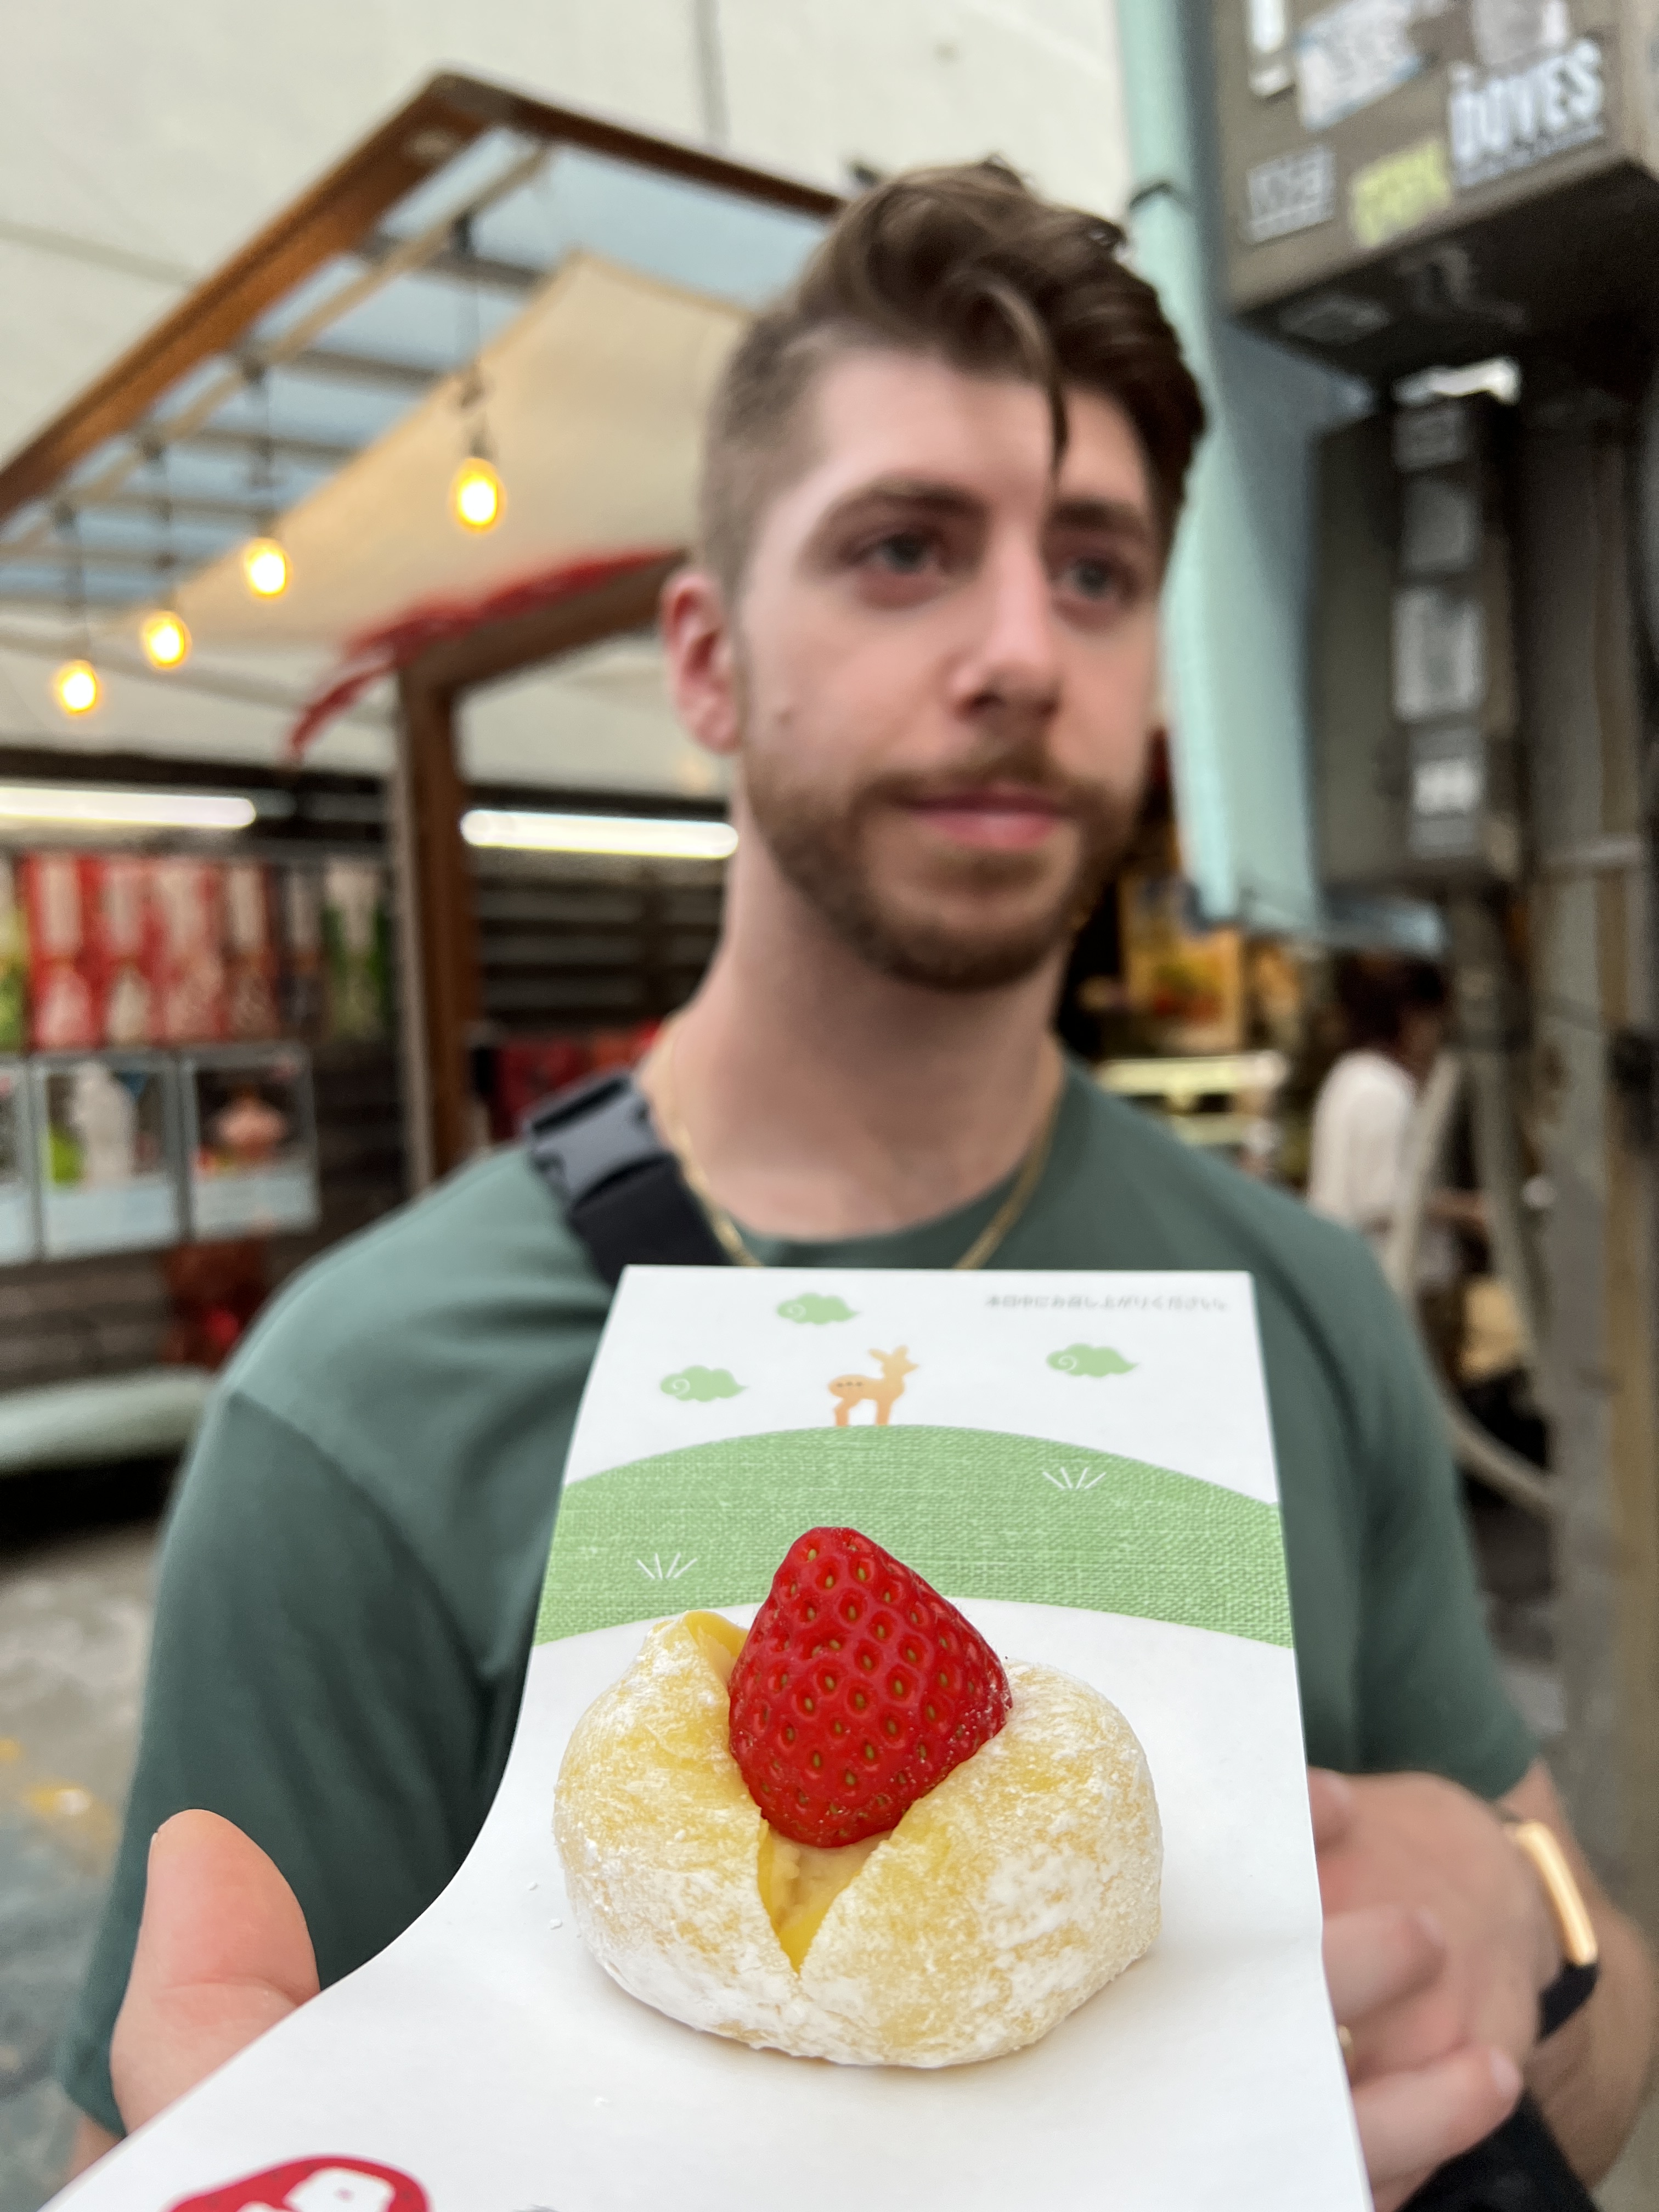
Once we left the park we walked down the main strip called Sanjo Dori Street and caught a view of the live mochi pounding inside Nakatanidou. After watching the hard work it takes to get the mochi perfect, we obviously had to try some fresh mochi. It was the best mochi we had in japan – perfectly soft and chewy, still warm from being prepared, and filled with a yummy red bean paste. Most definitely try this while you are in Nara!
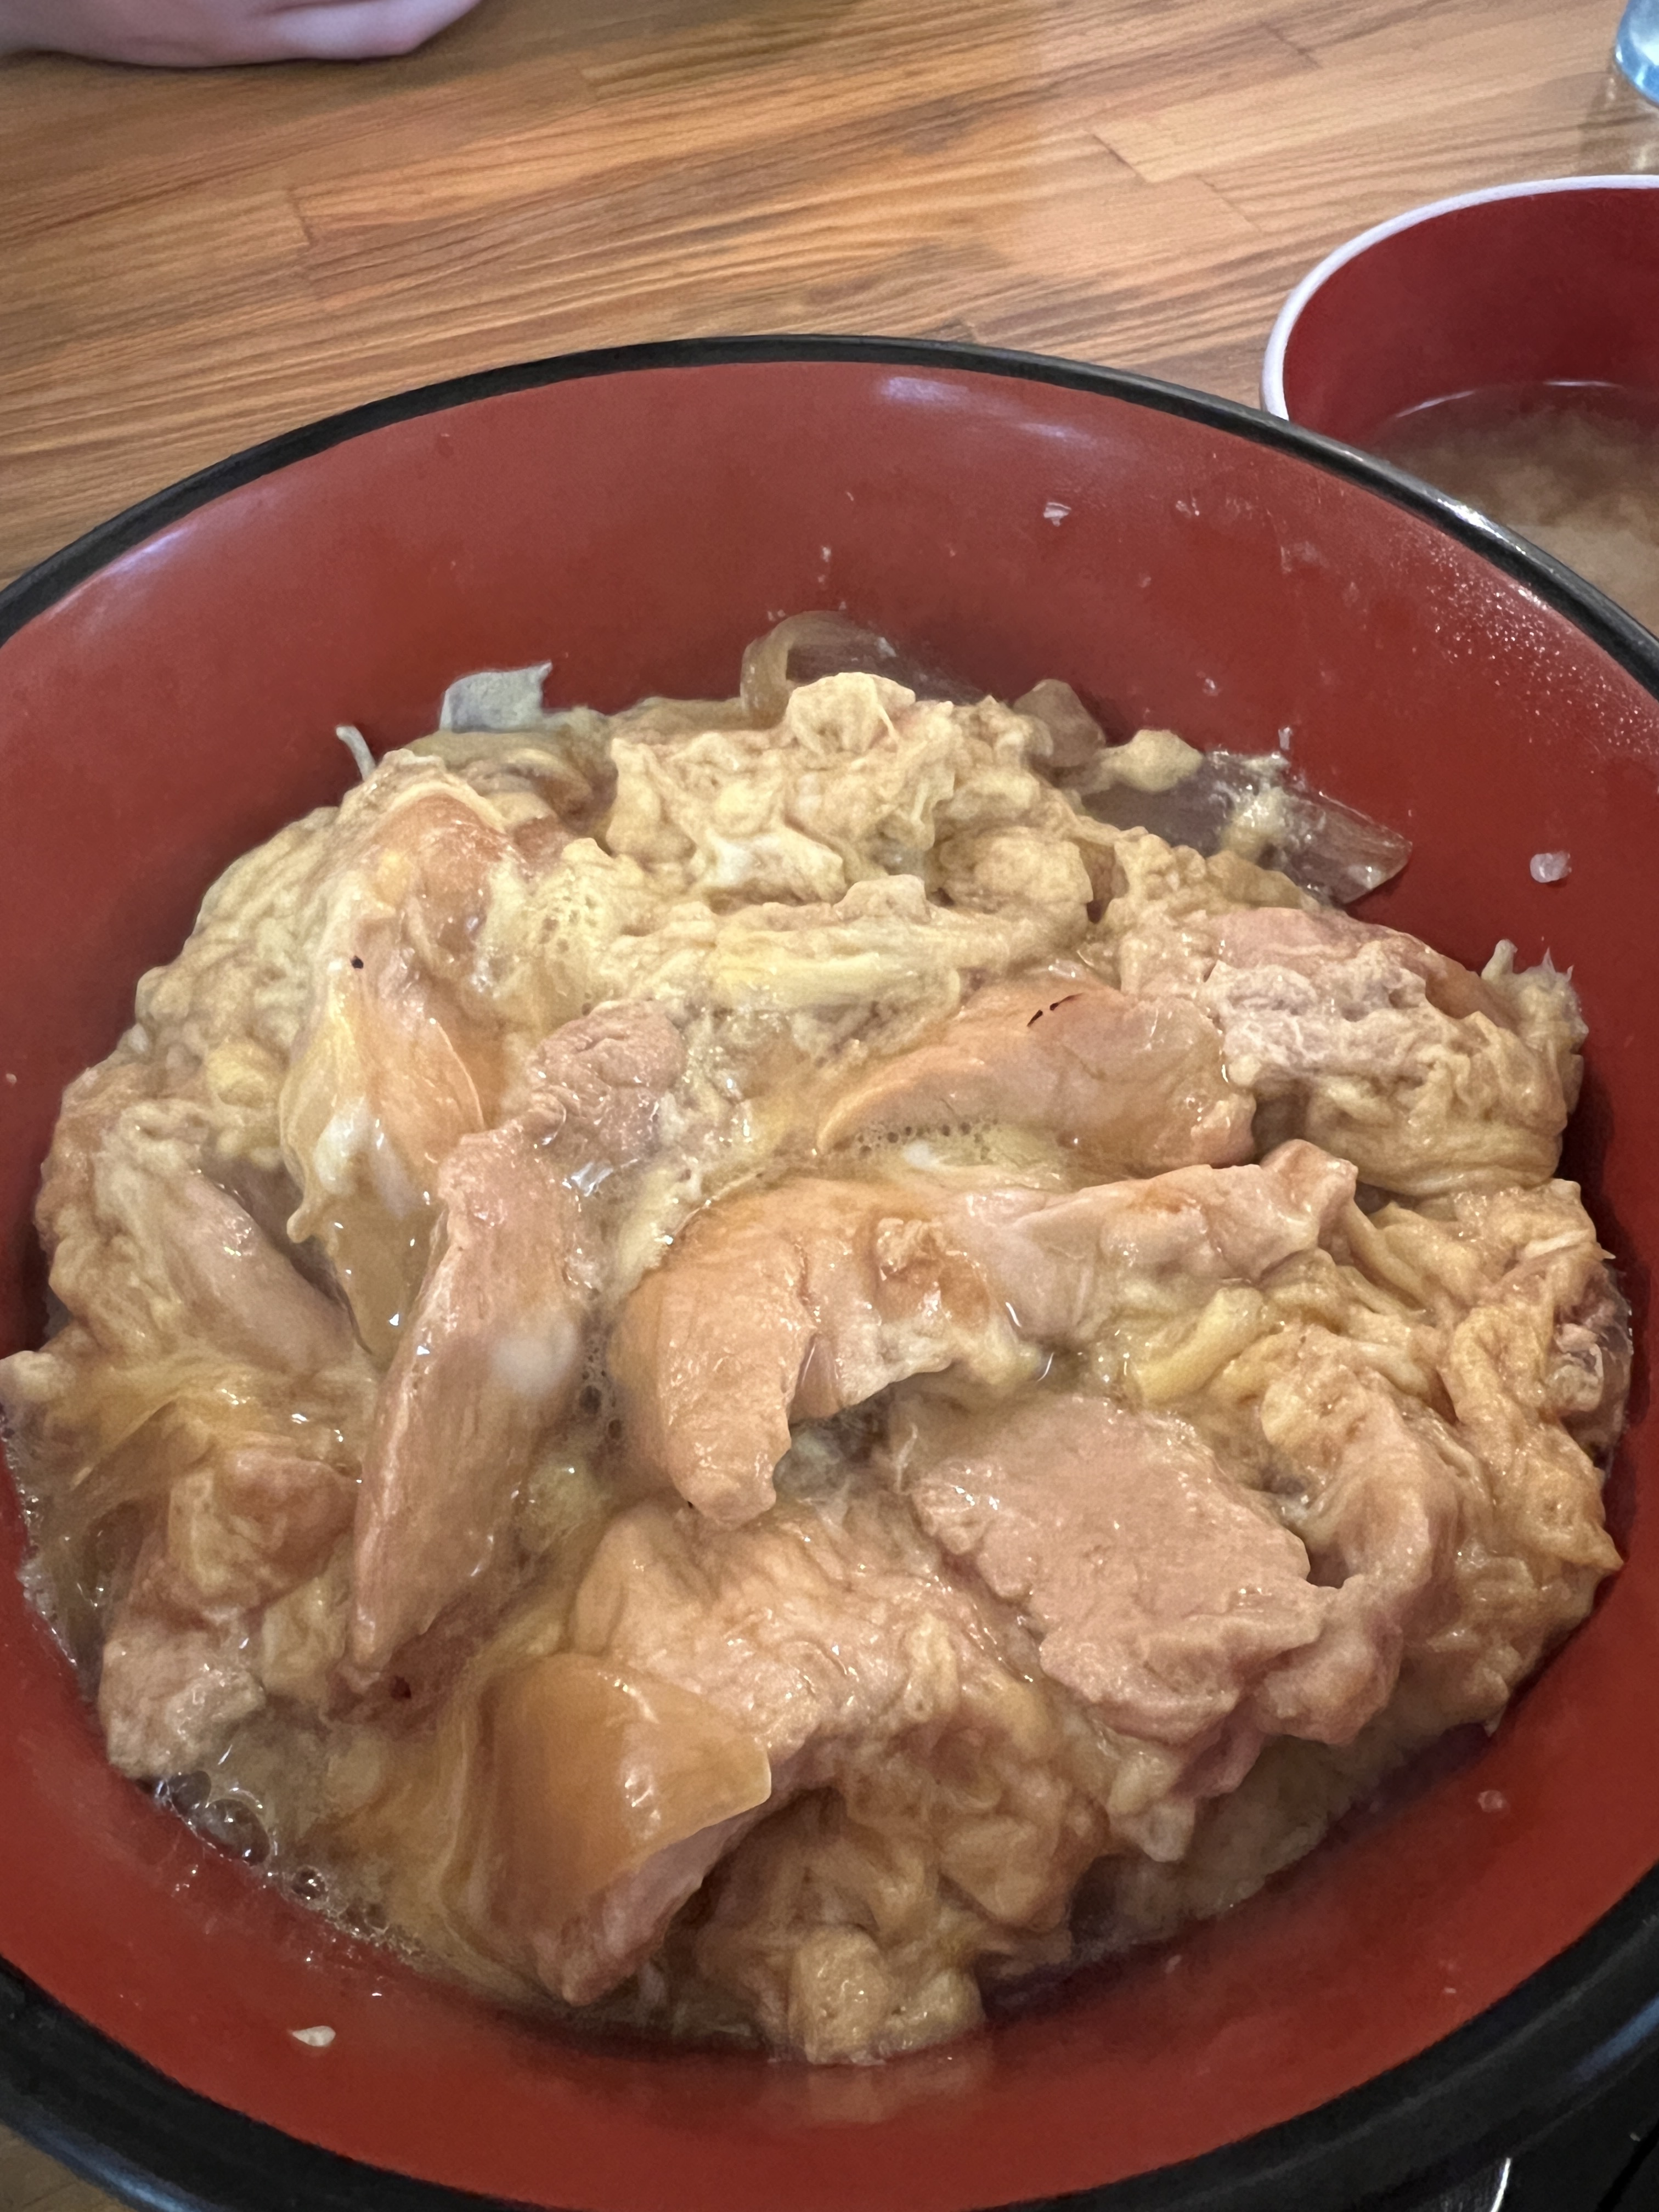
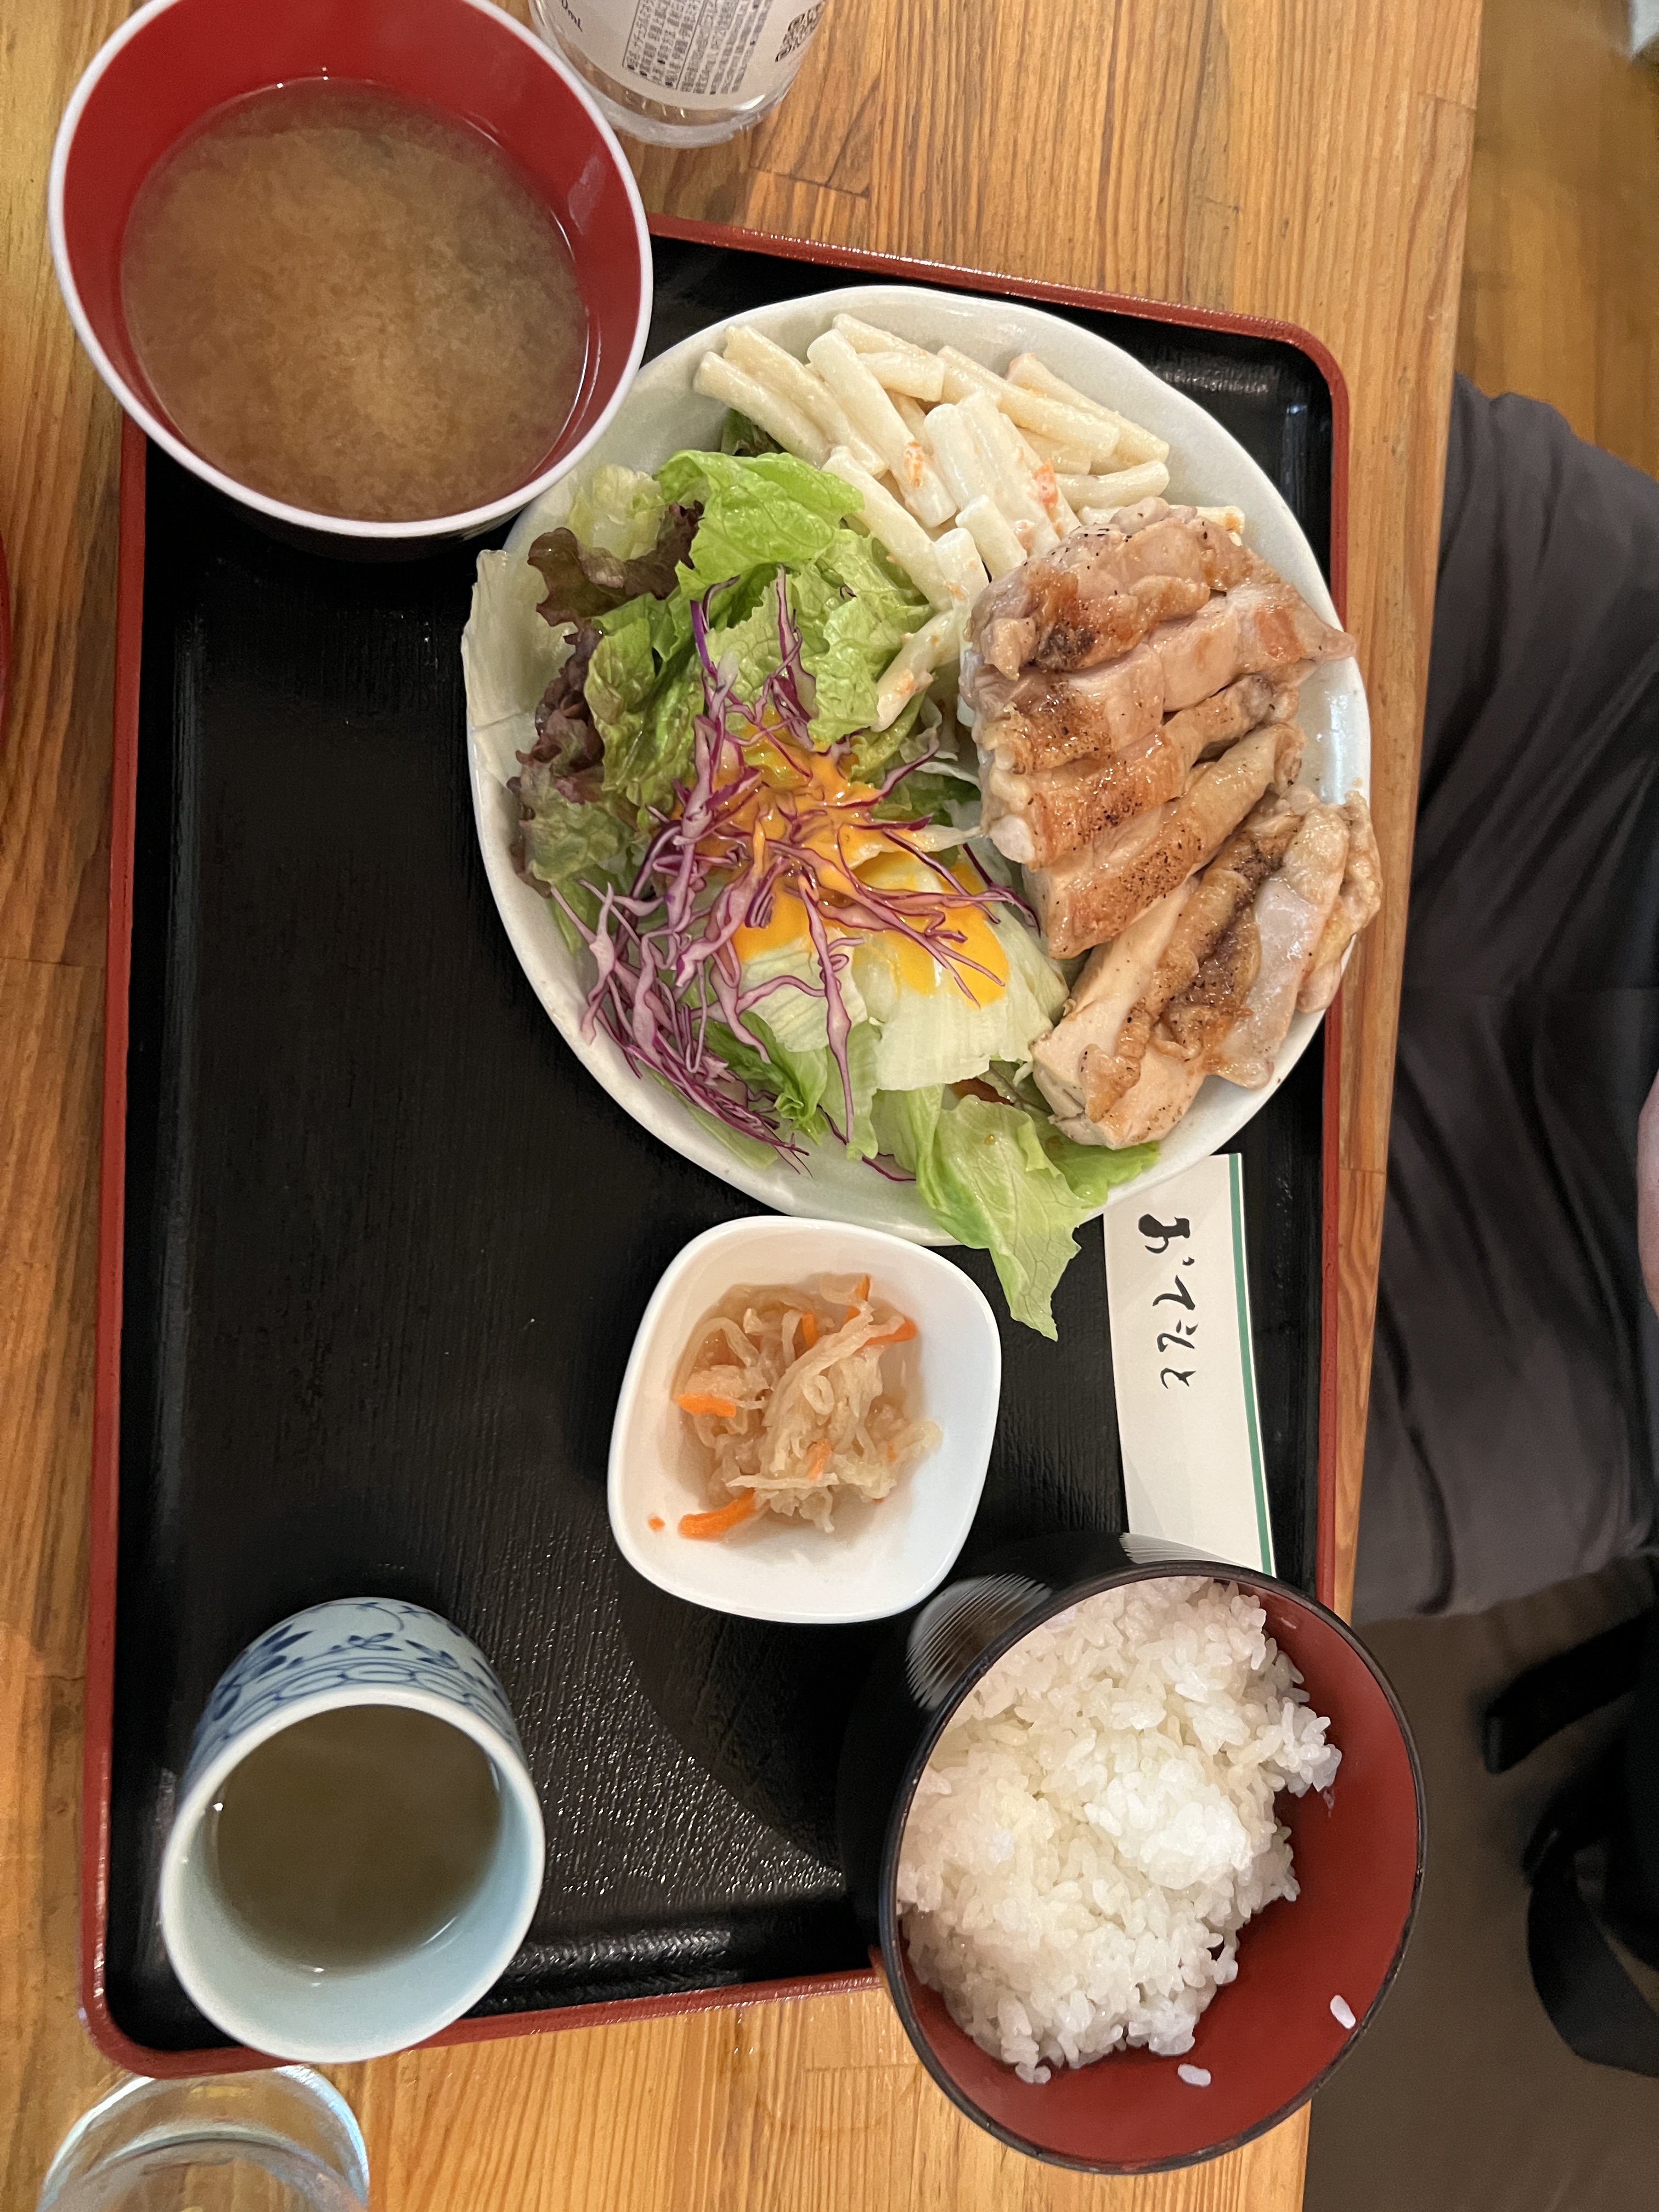
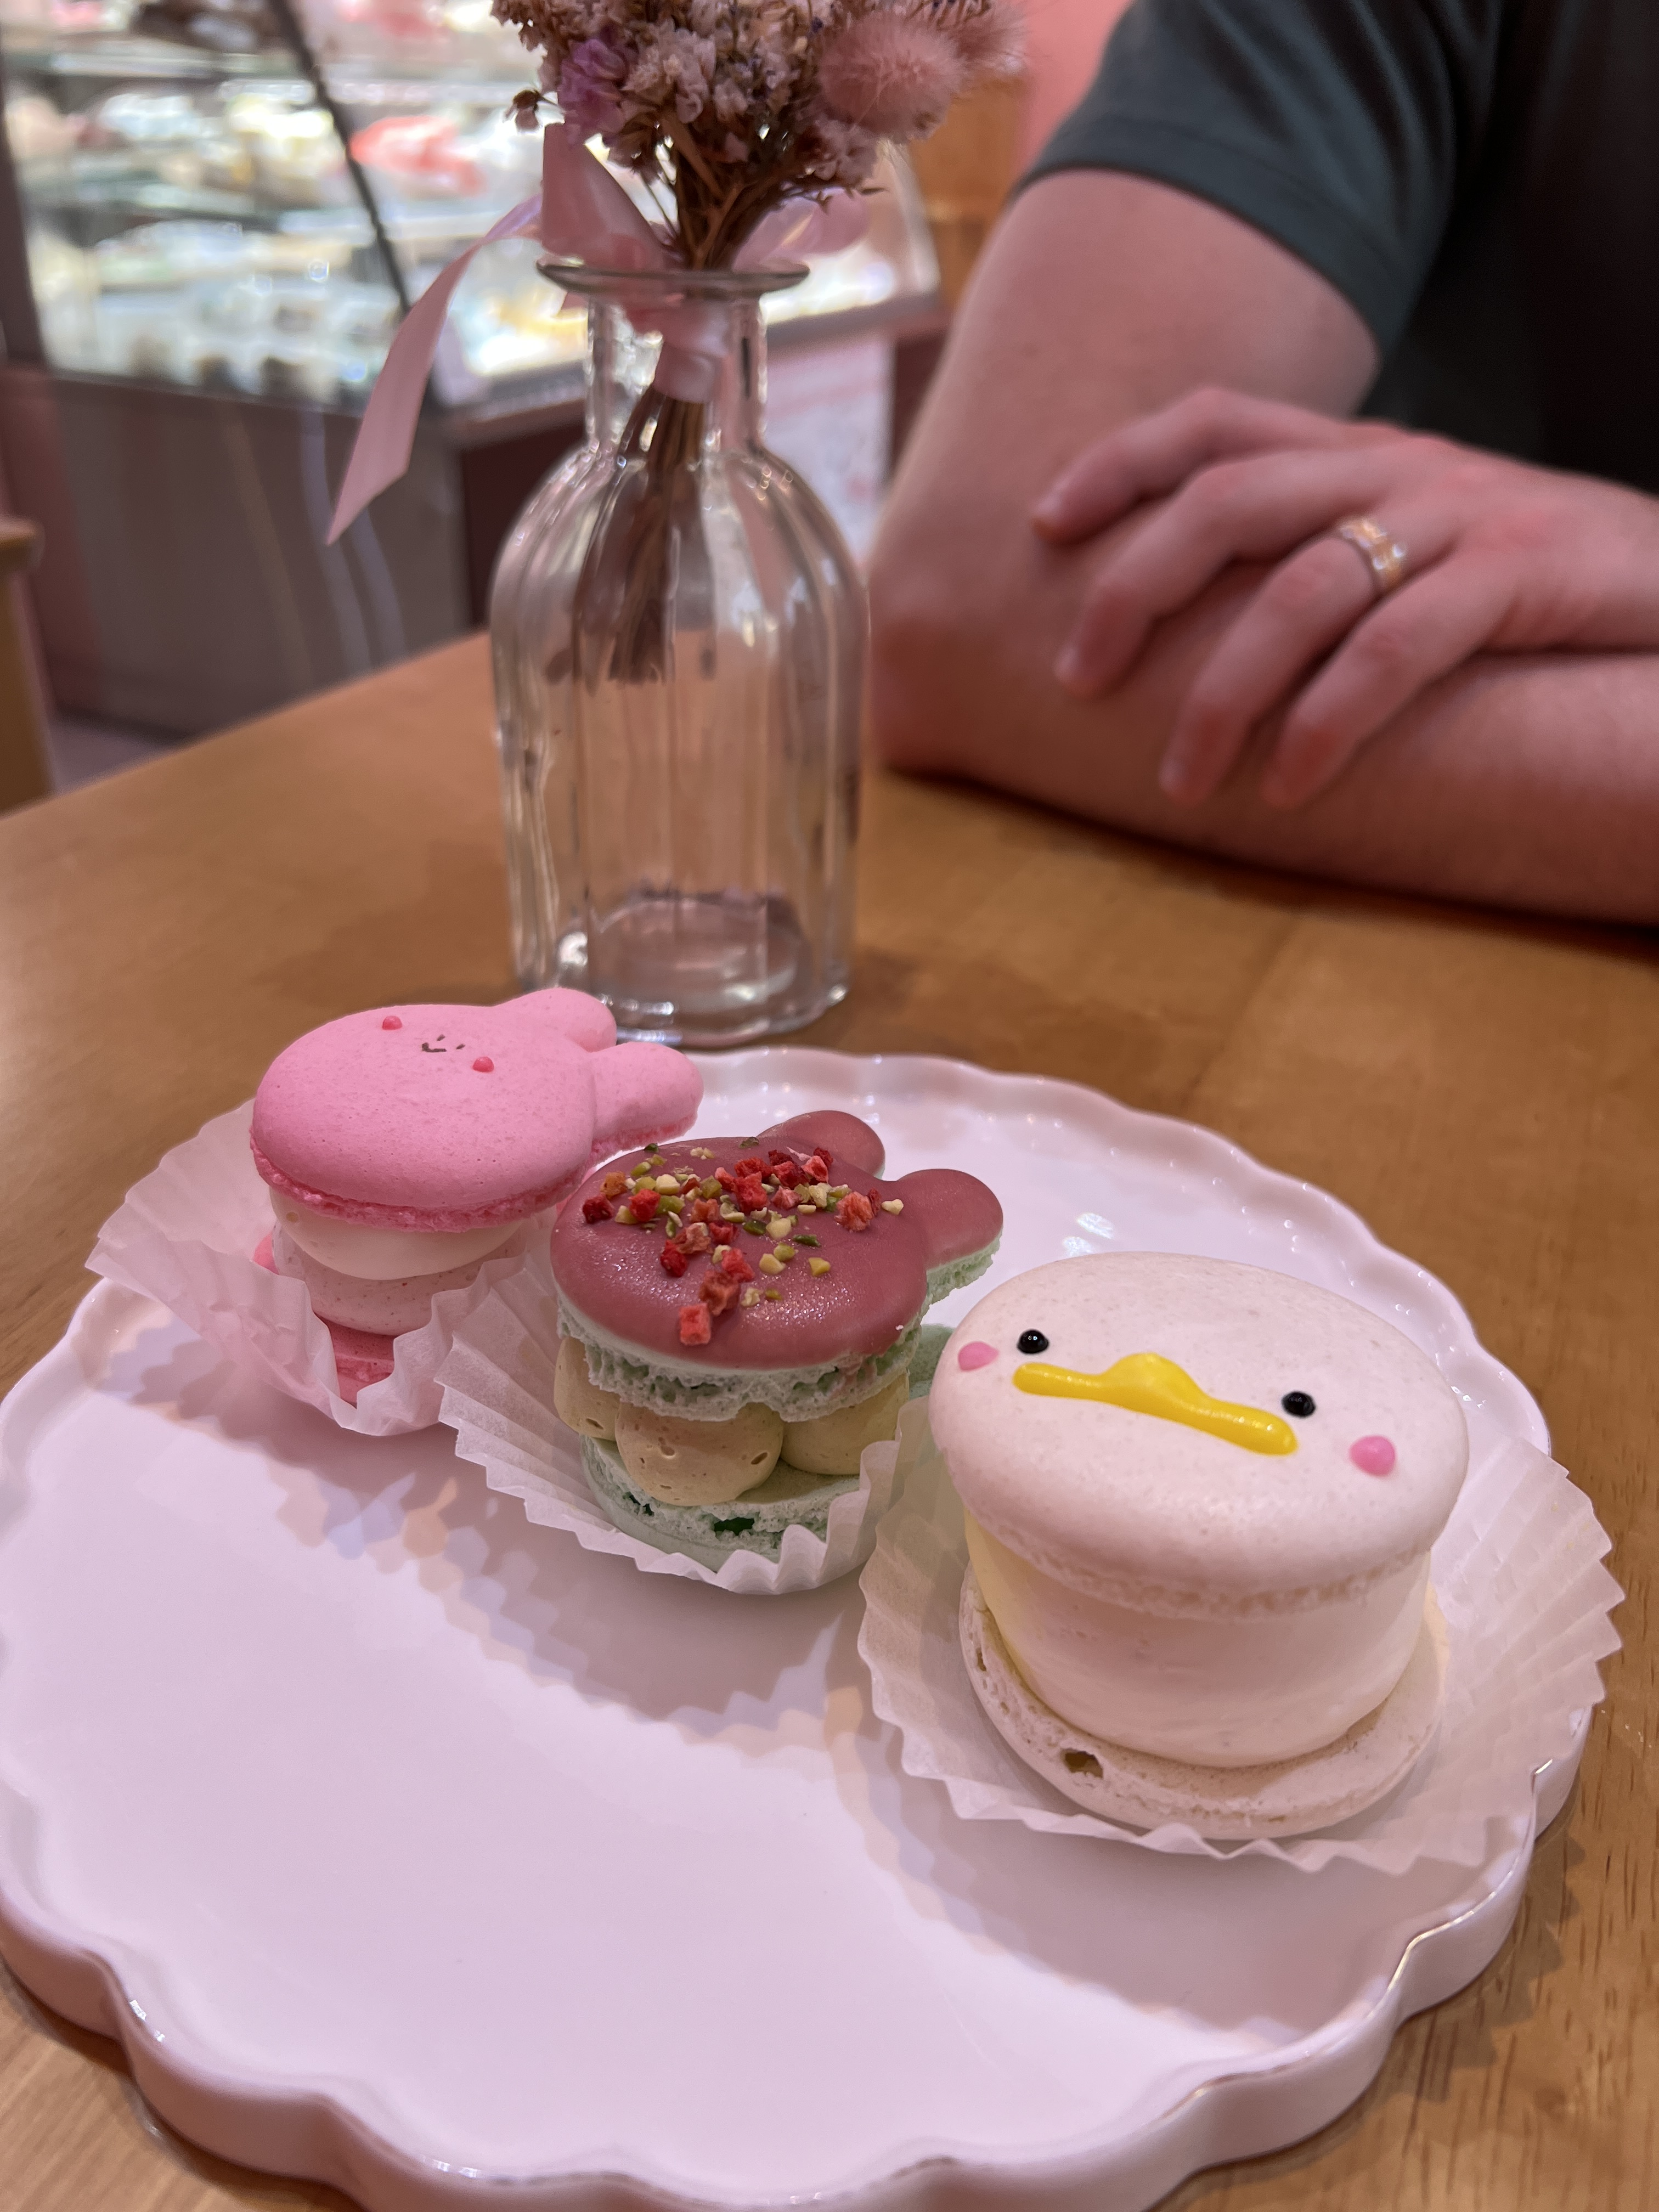
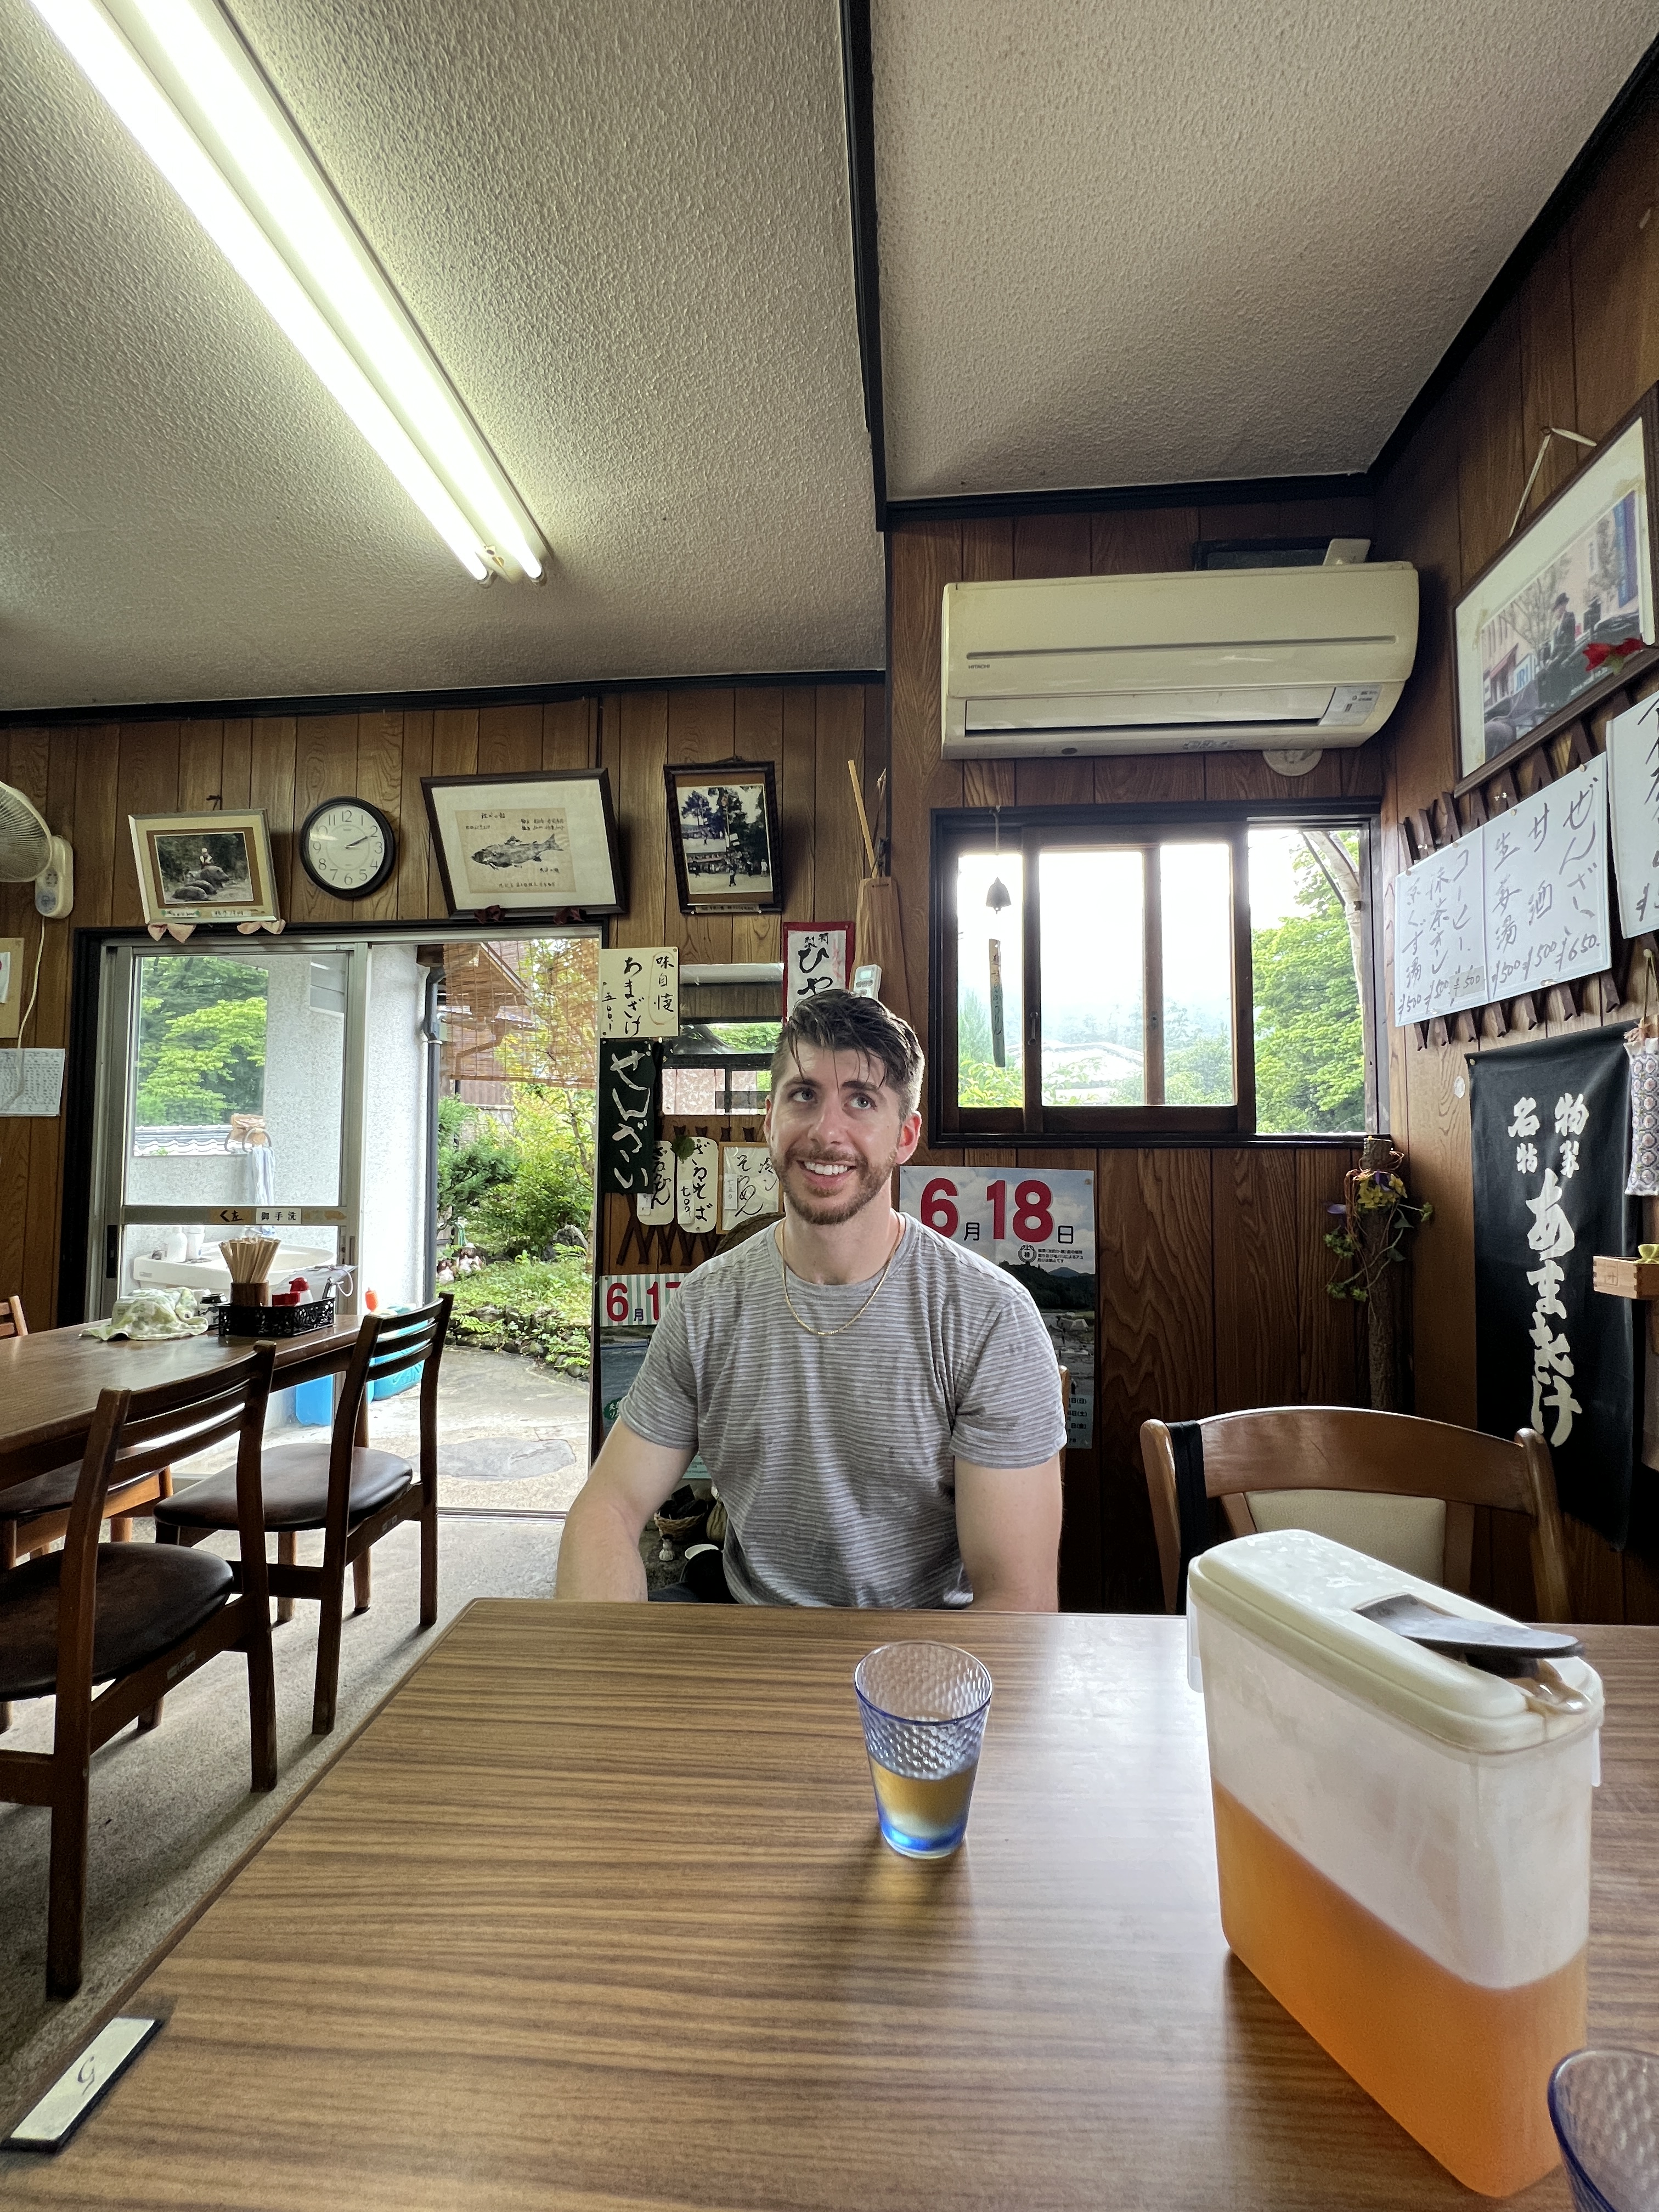
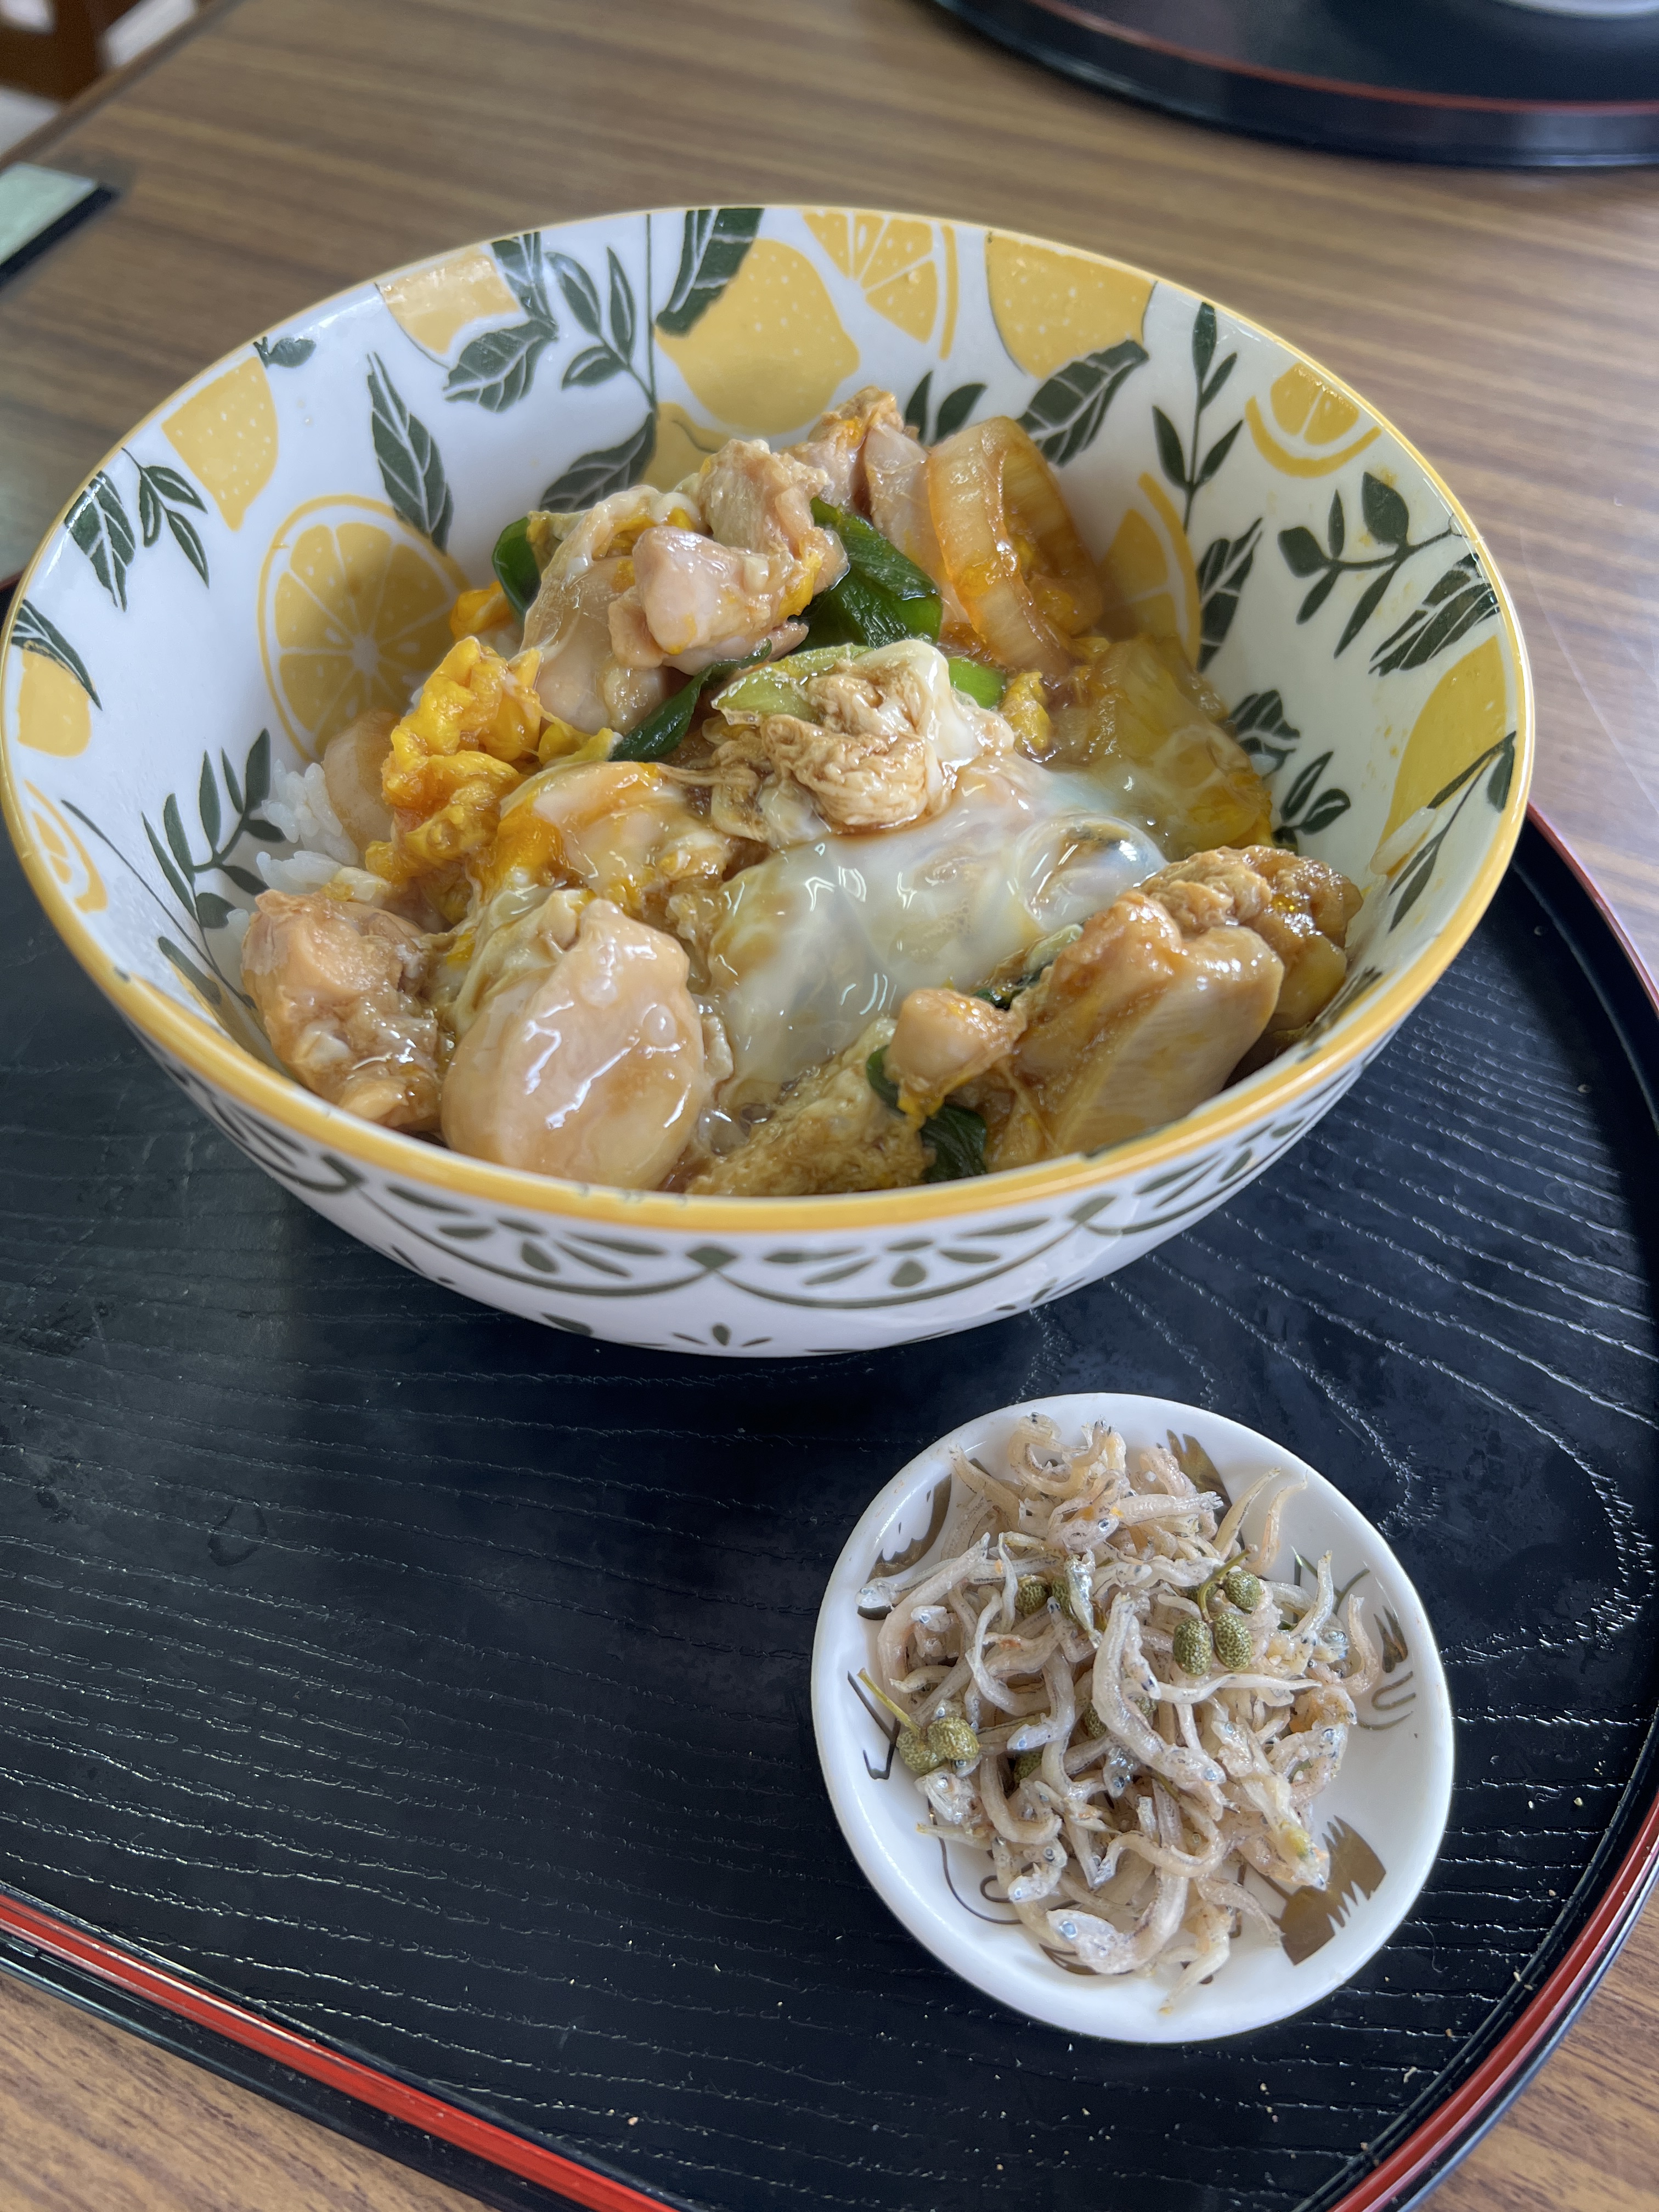
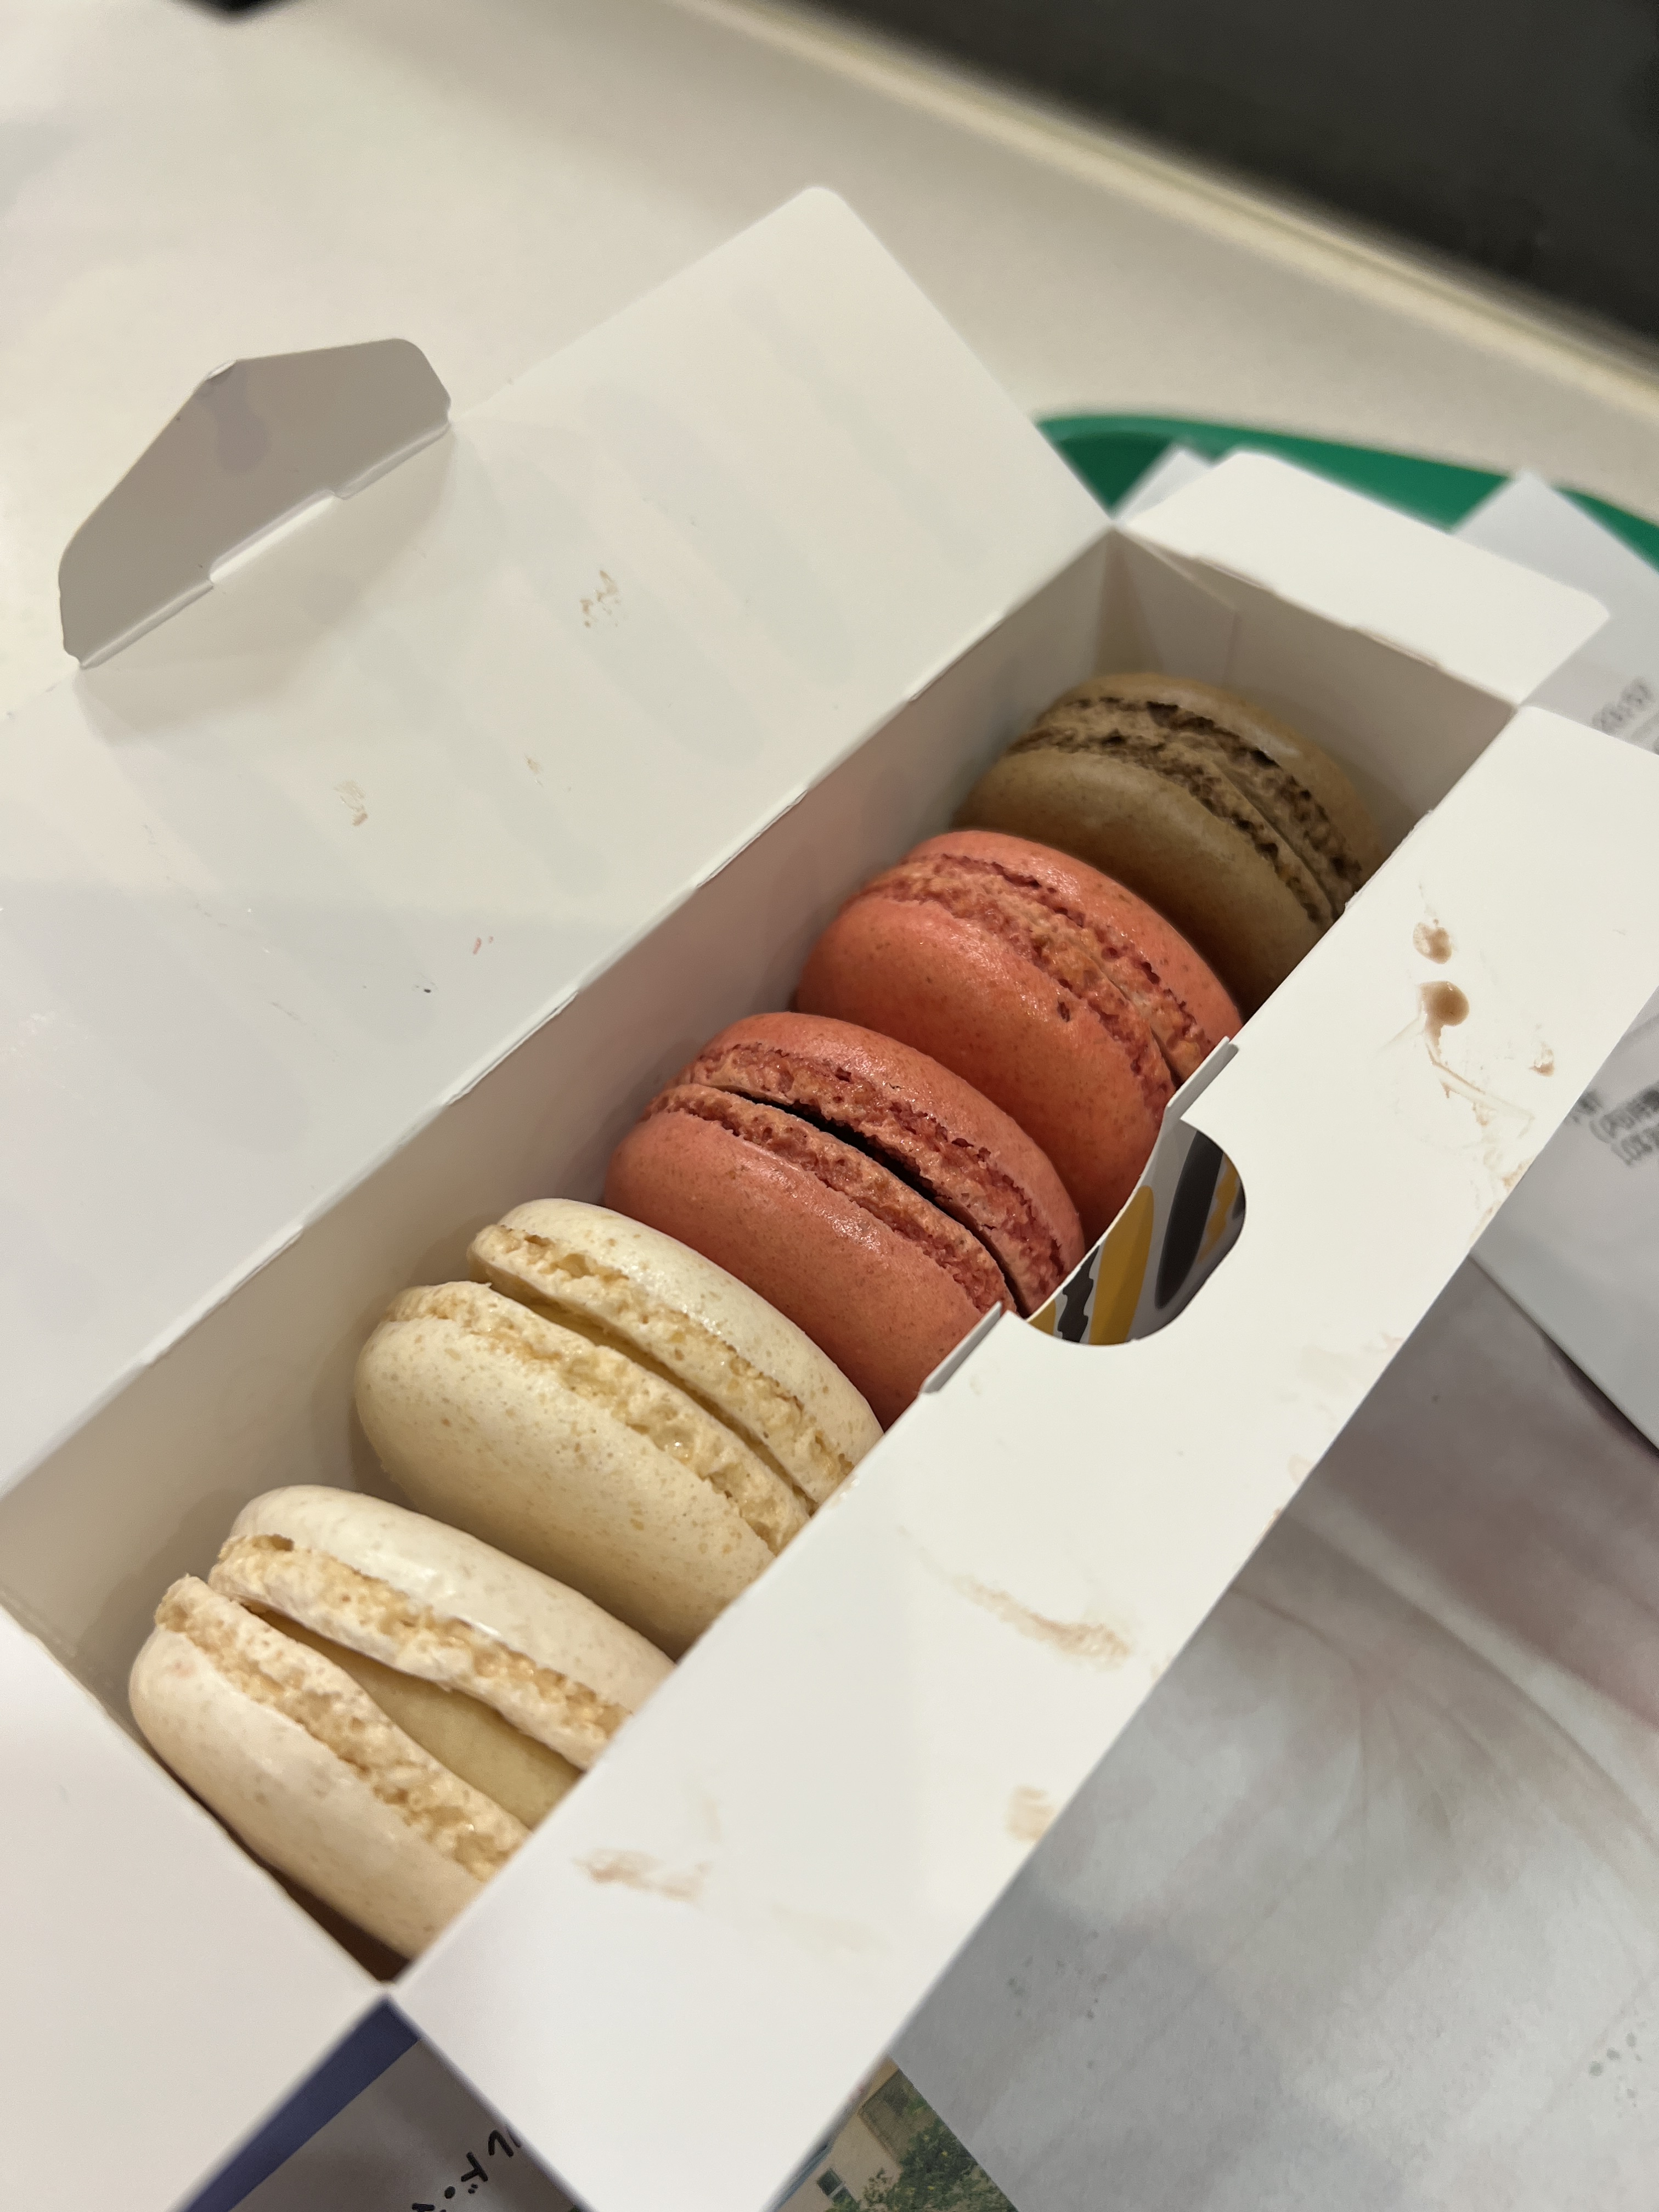
We had skipped a meal at the top of Mt. Wakakusa, but now at this point we were starving. We stopped into Ichizoku right along that same strip for a no-frills rice bowl with chicken. It was simple but really hit the spot. We were in the mood for something sweet afterwards and spotted a cute macaron spot, Over Macaron, so we popped into there and had some very tasty and cute macarons.
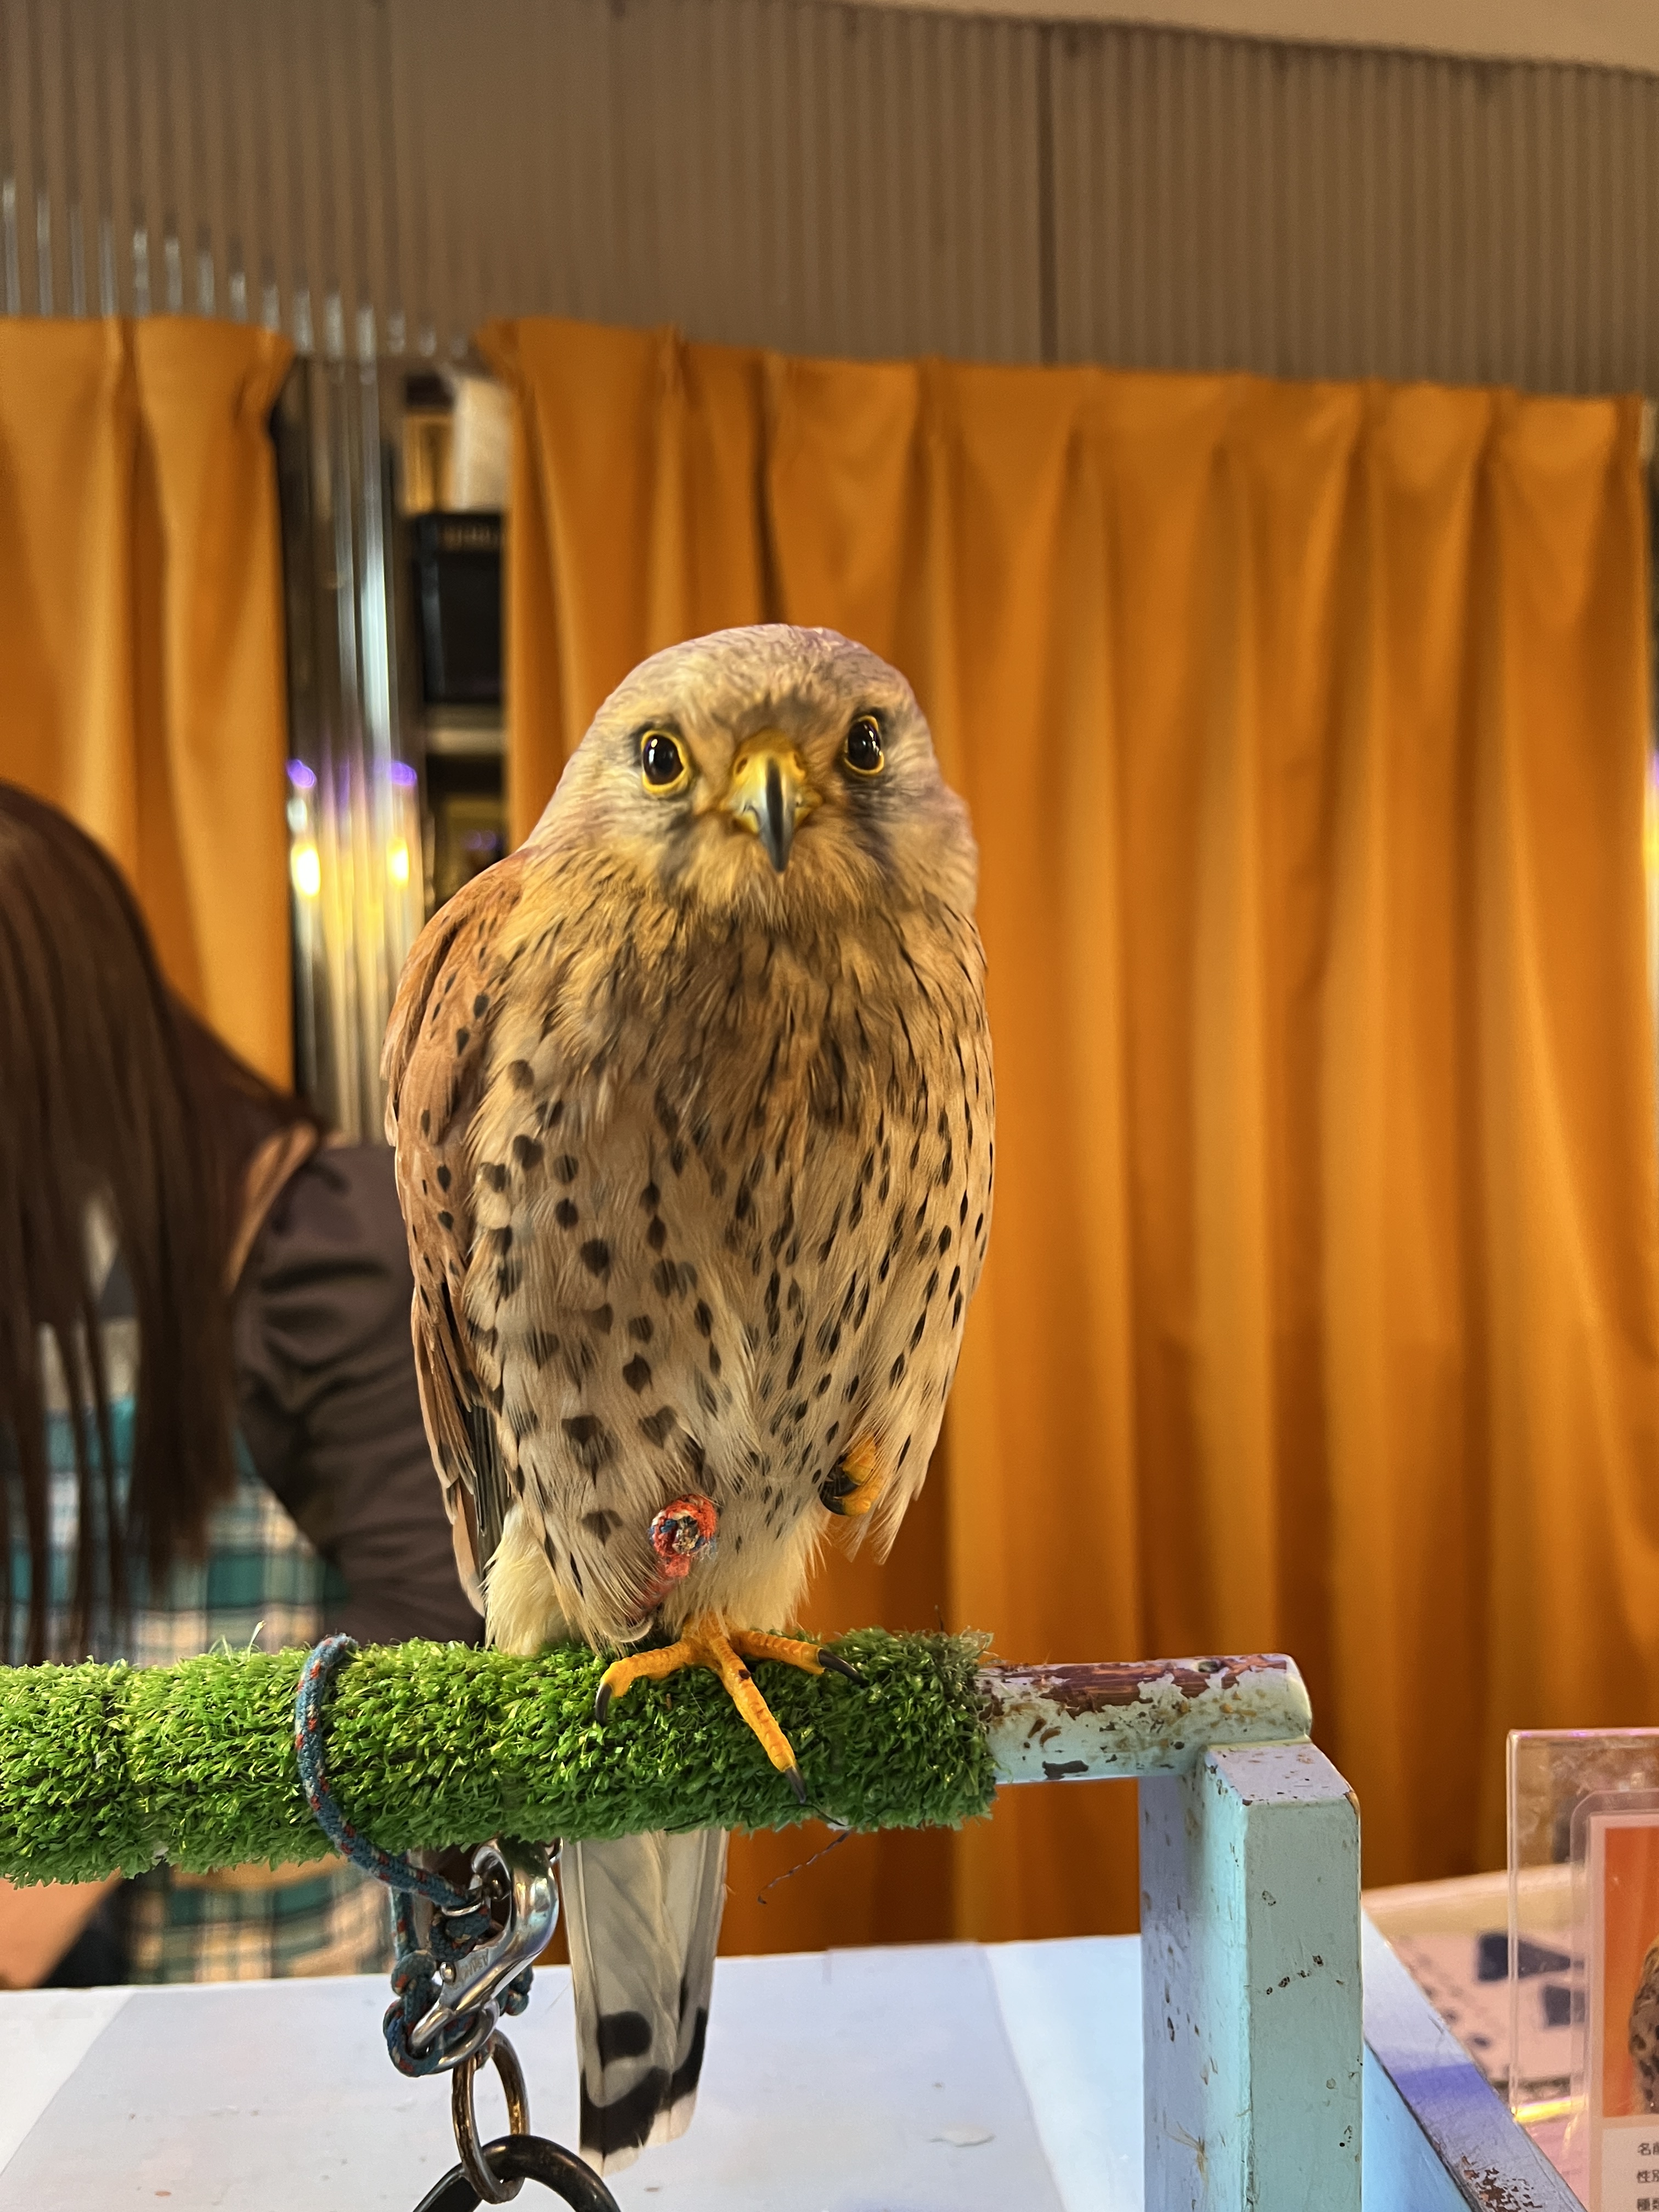
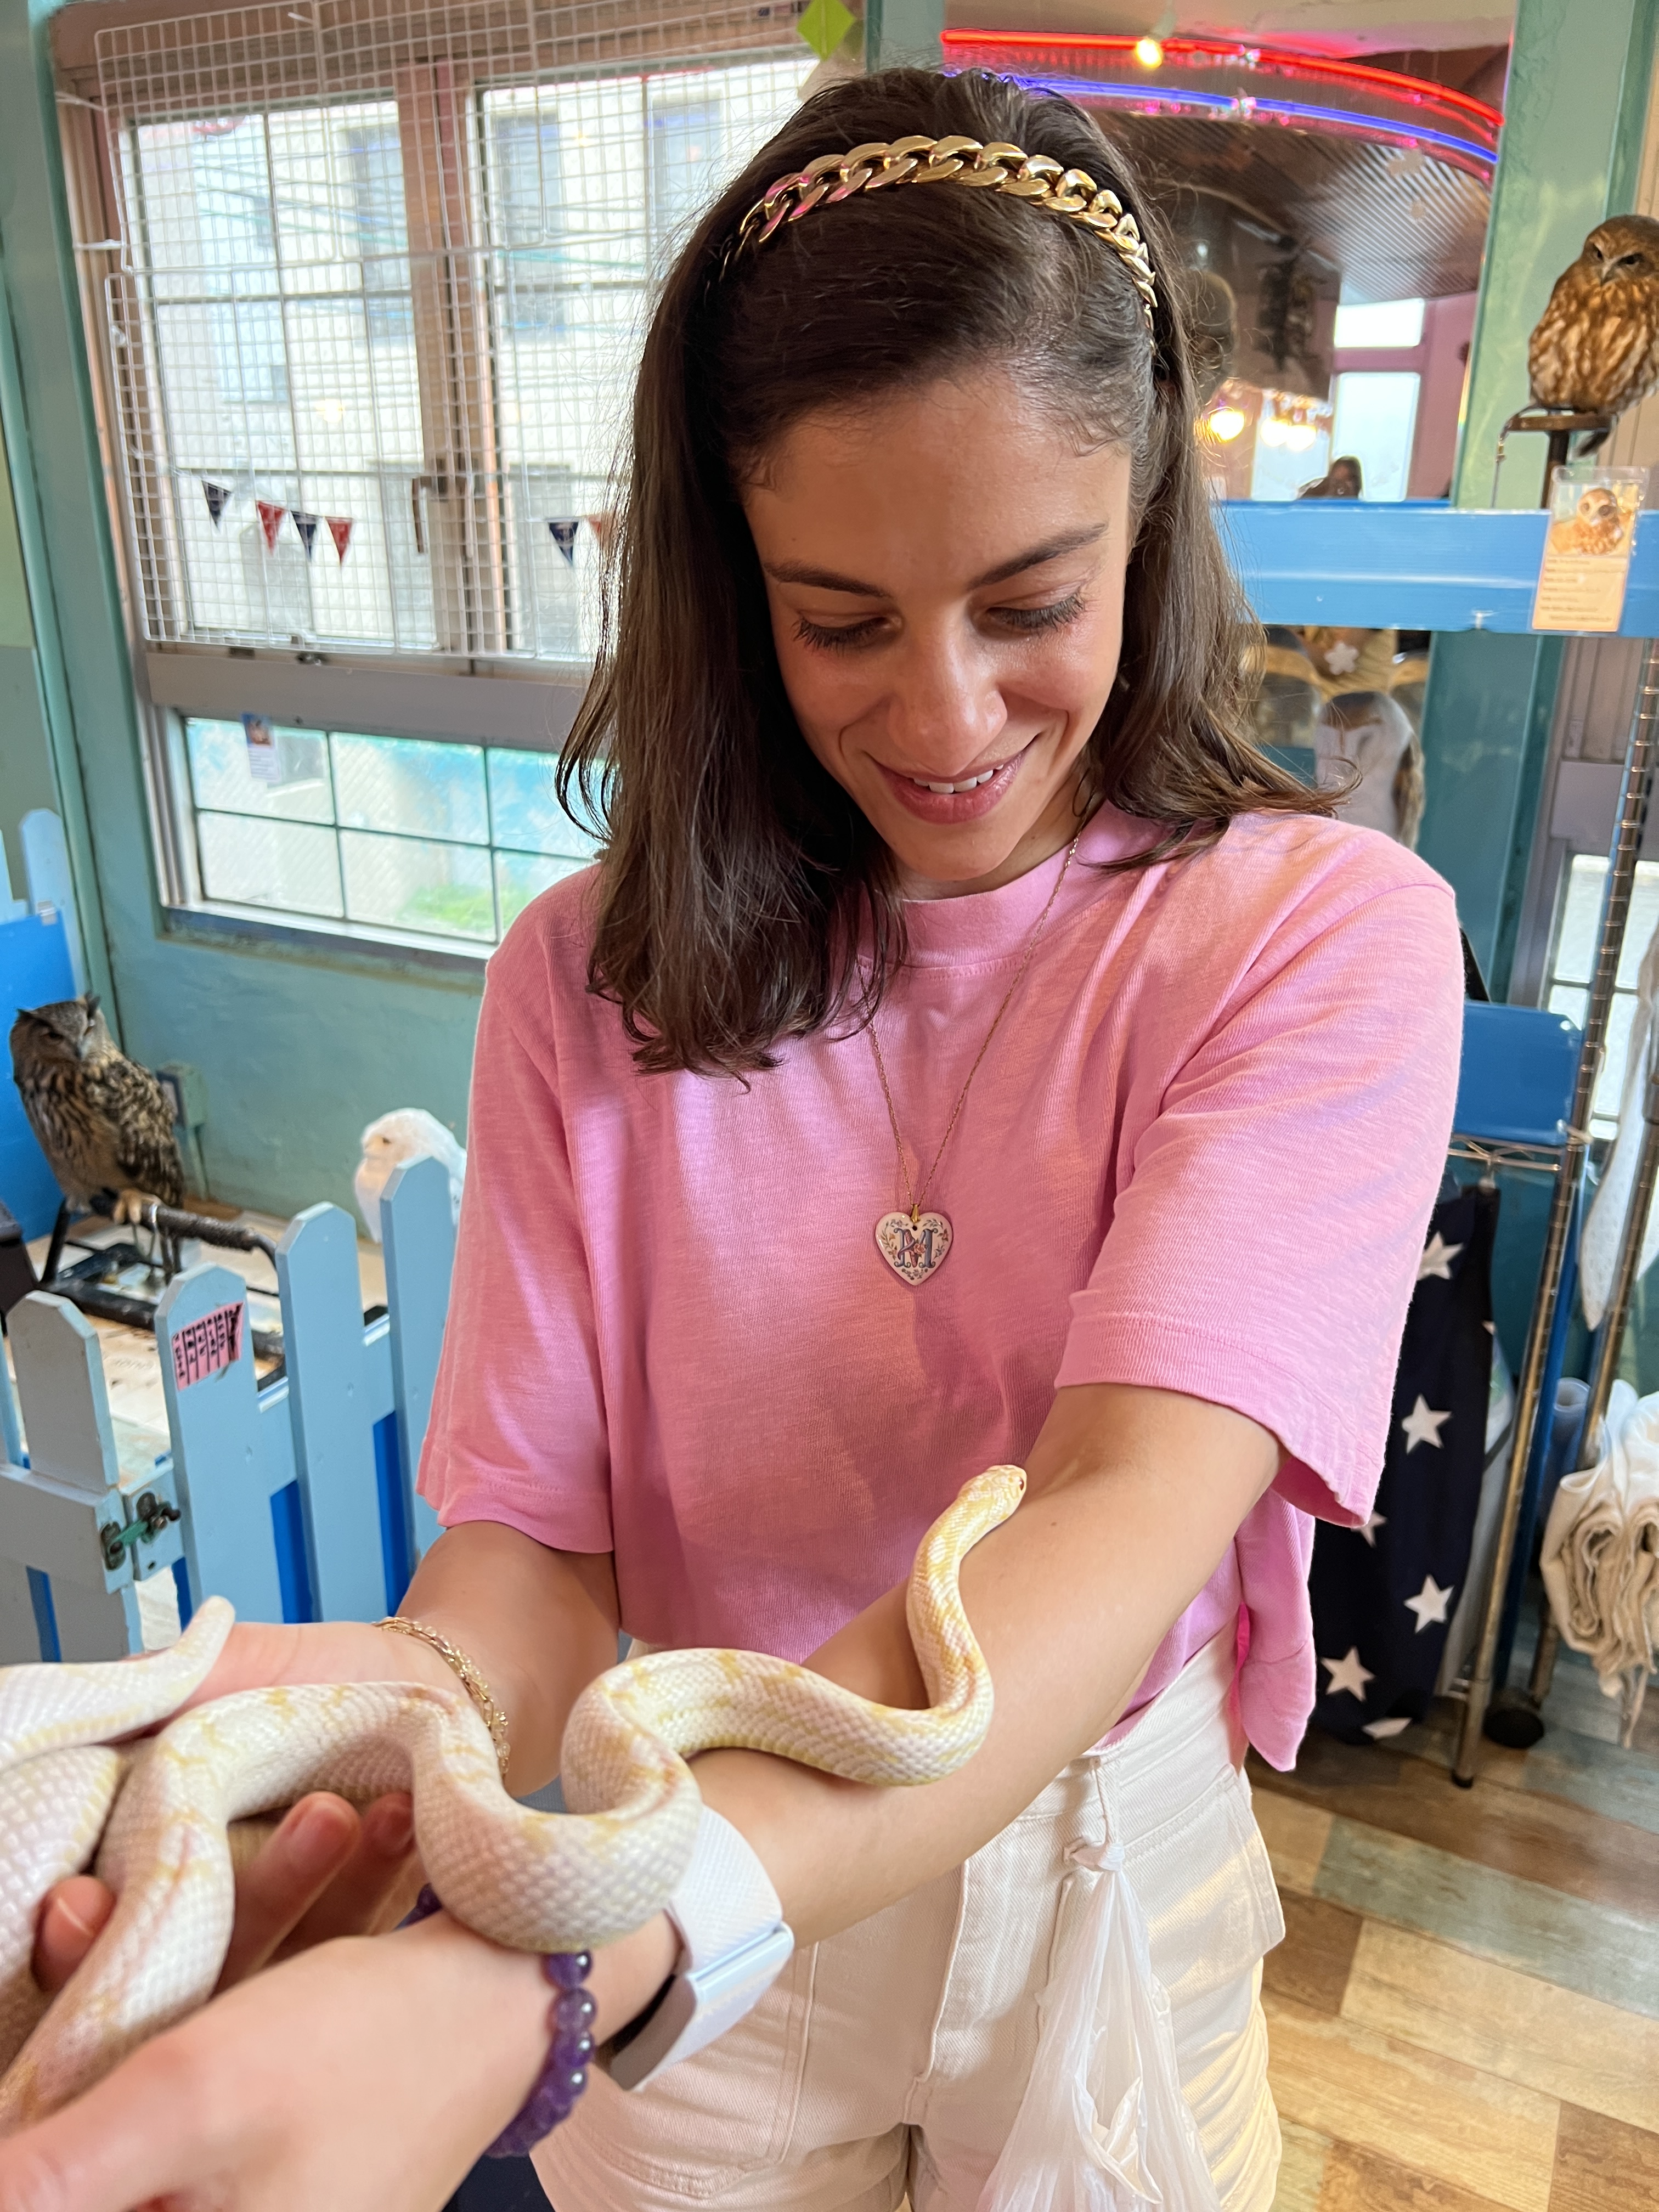
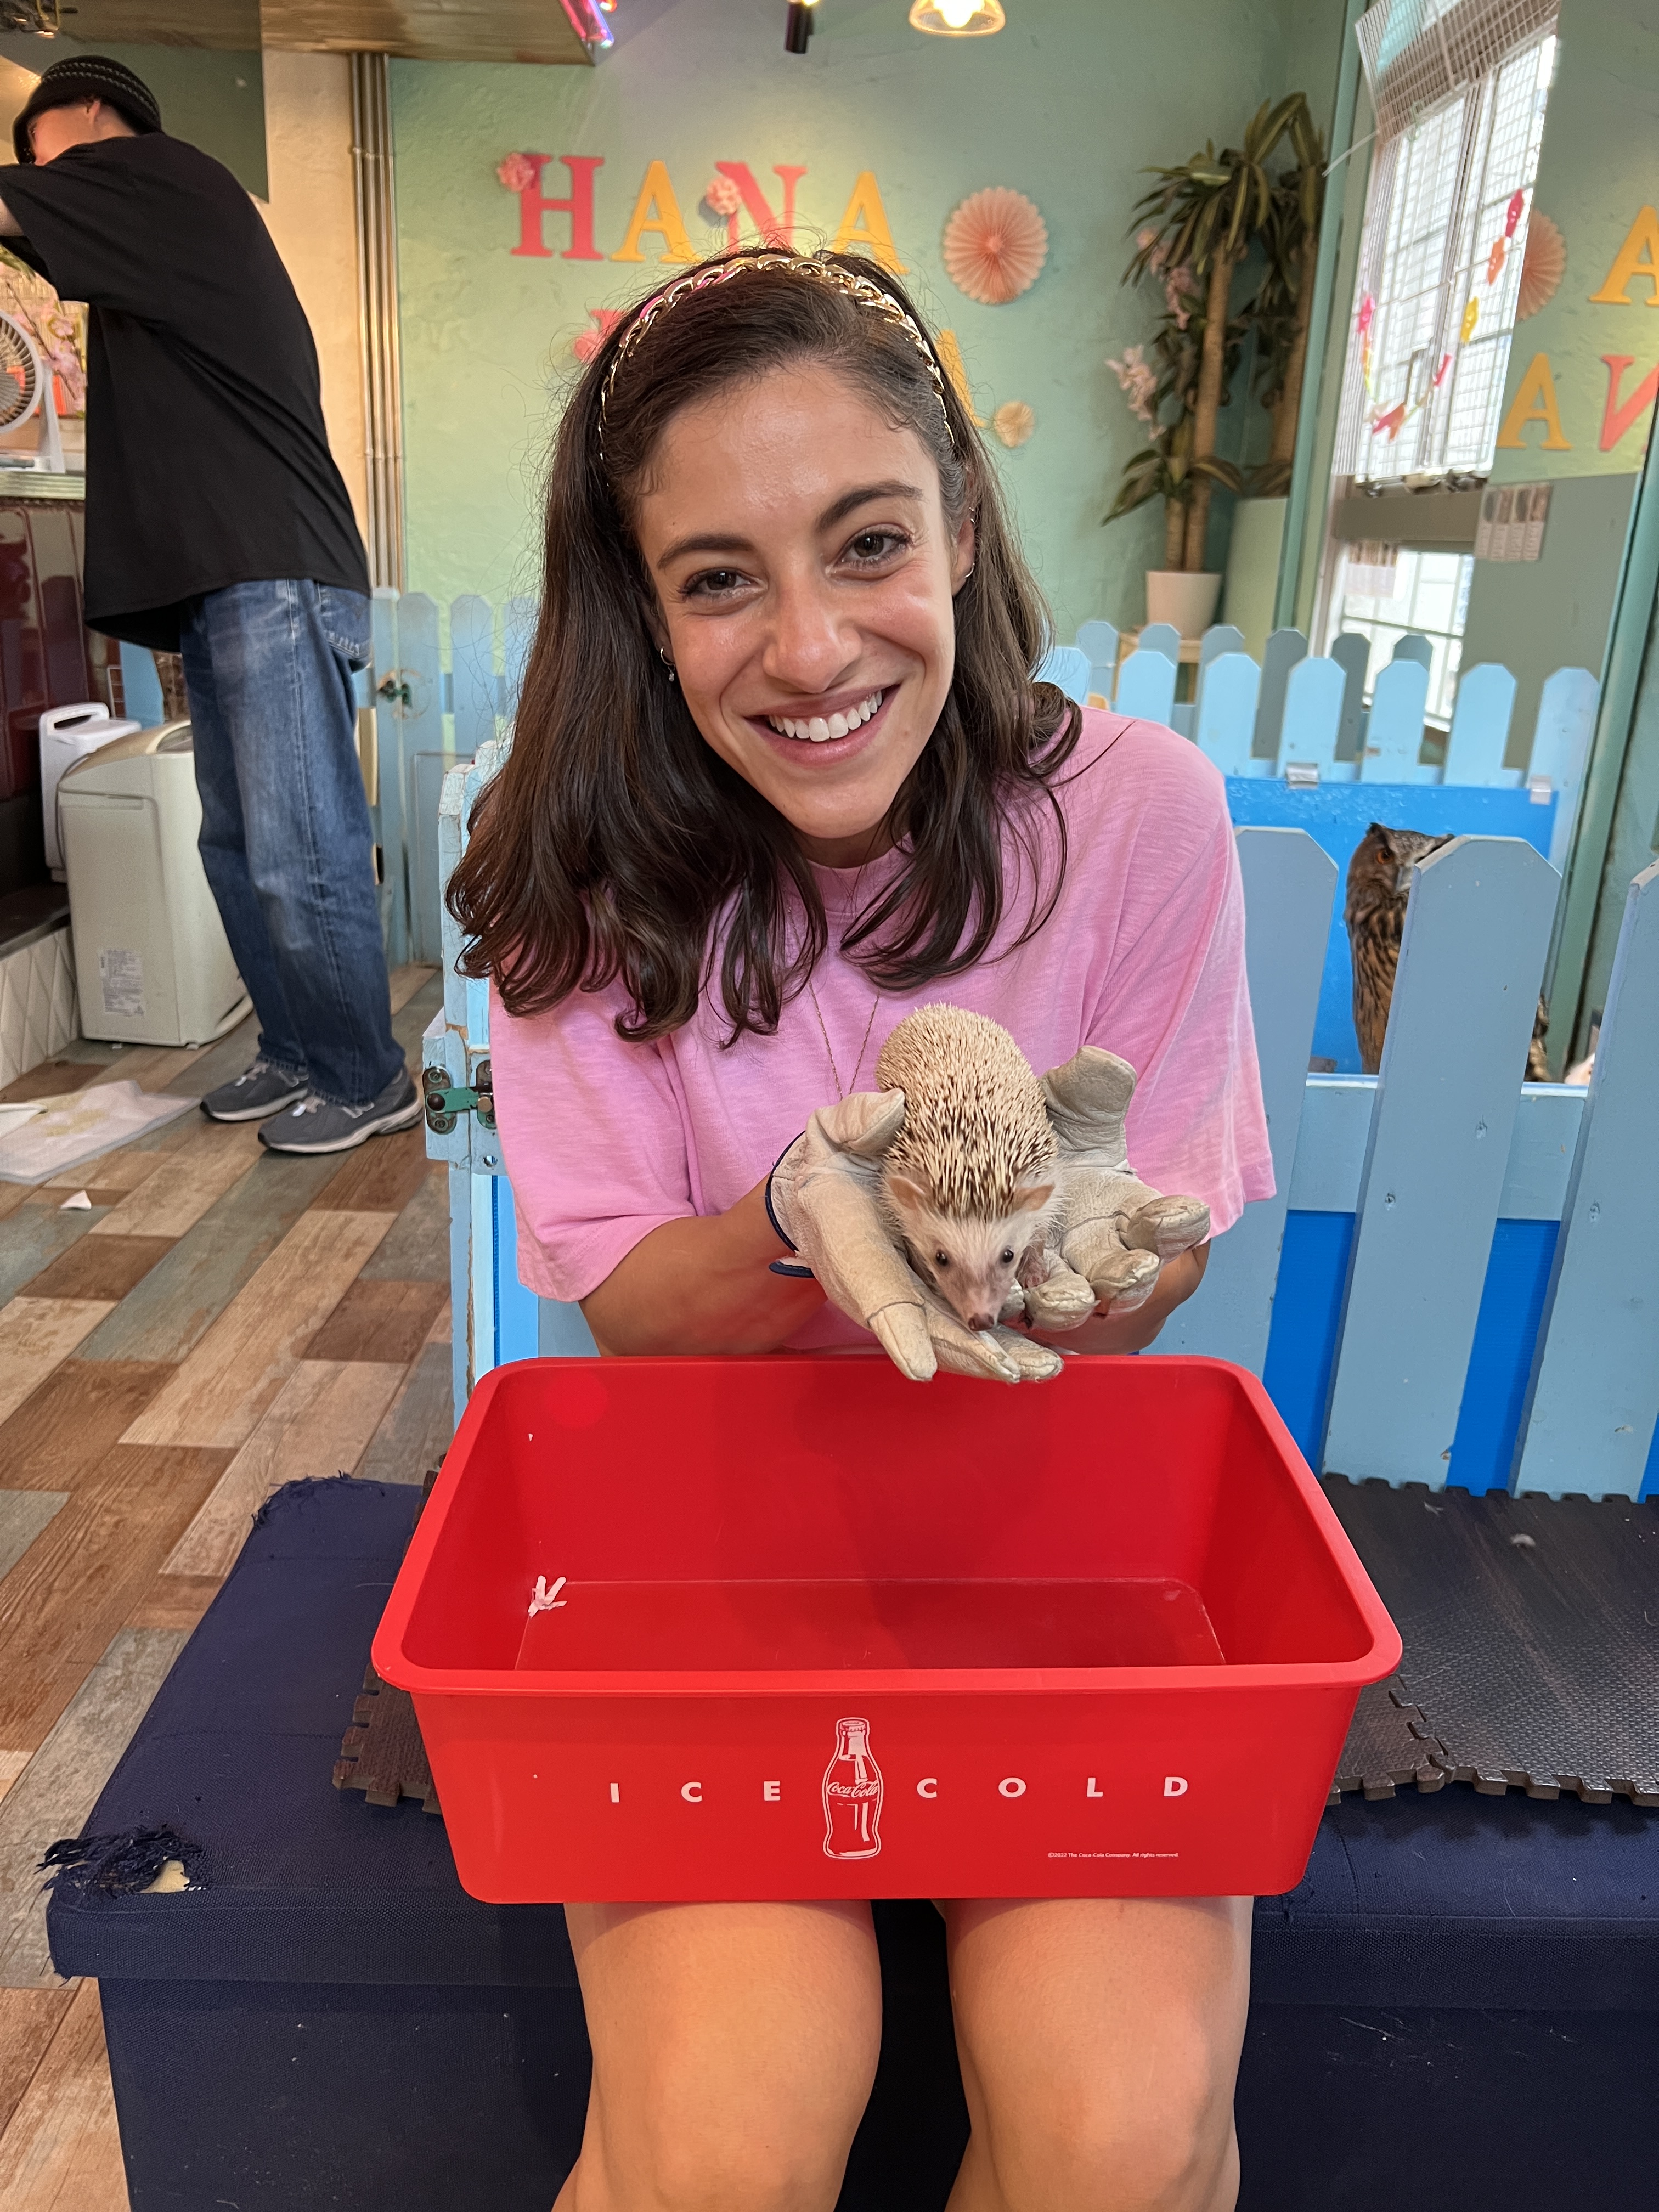
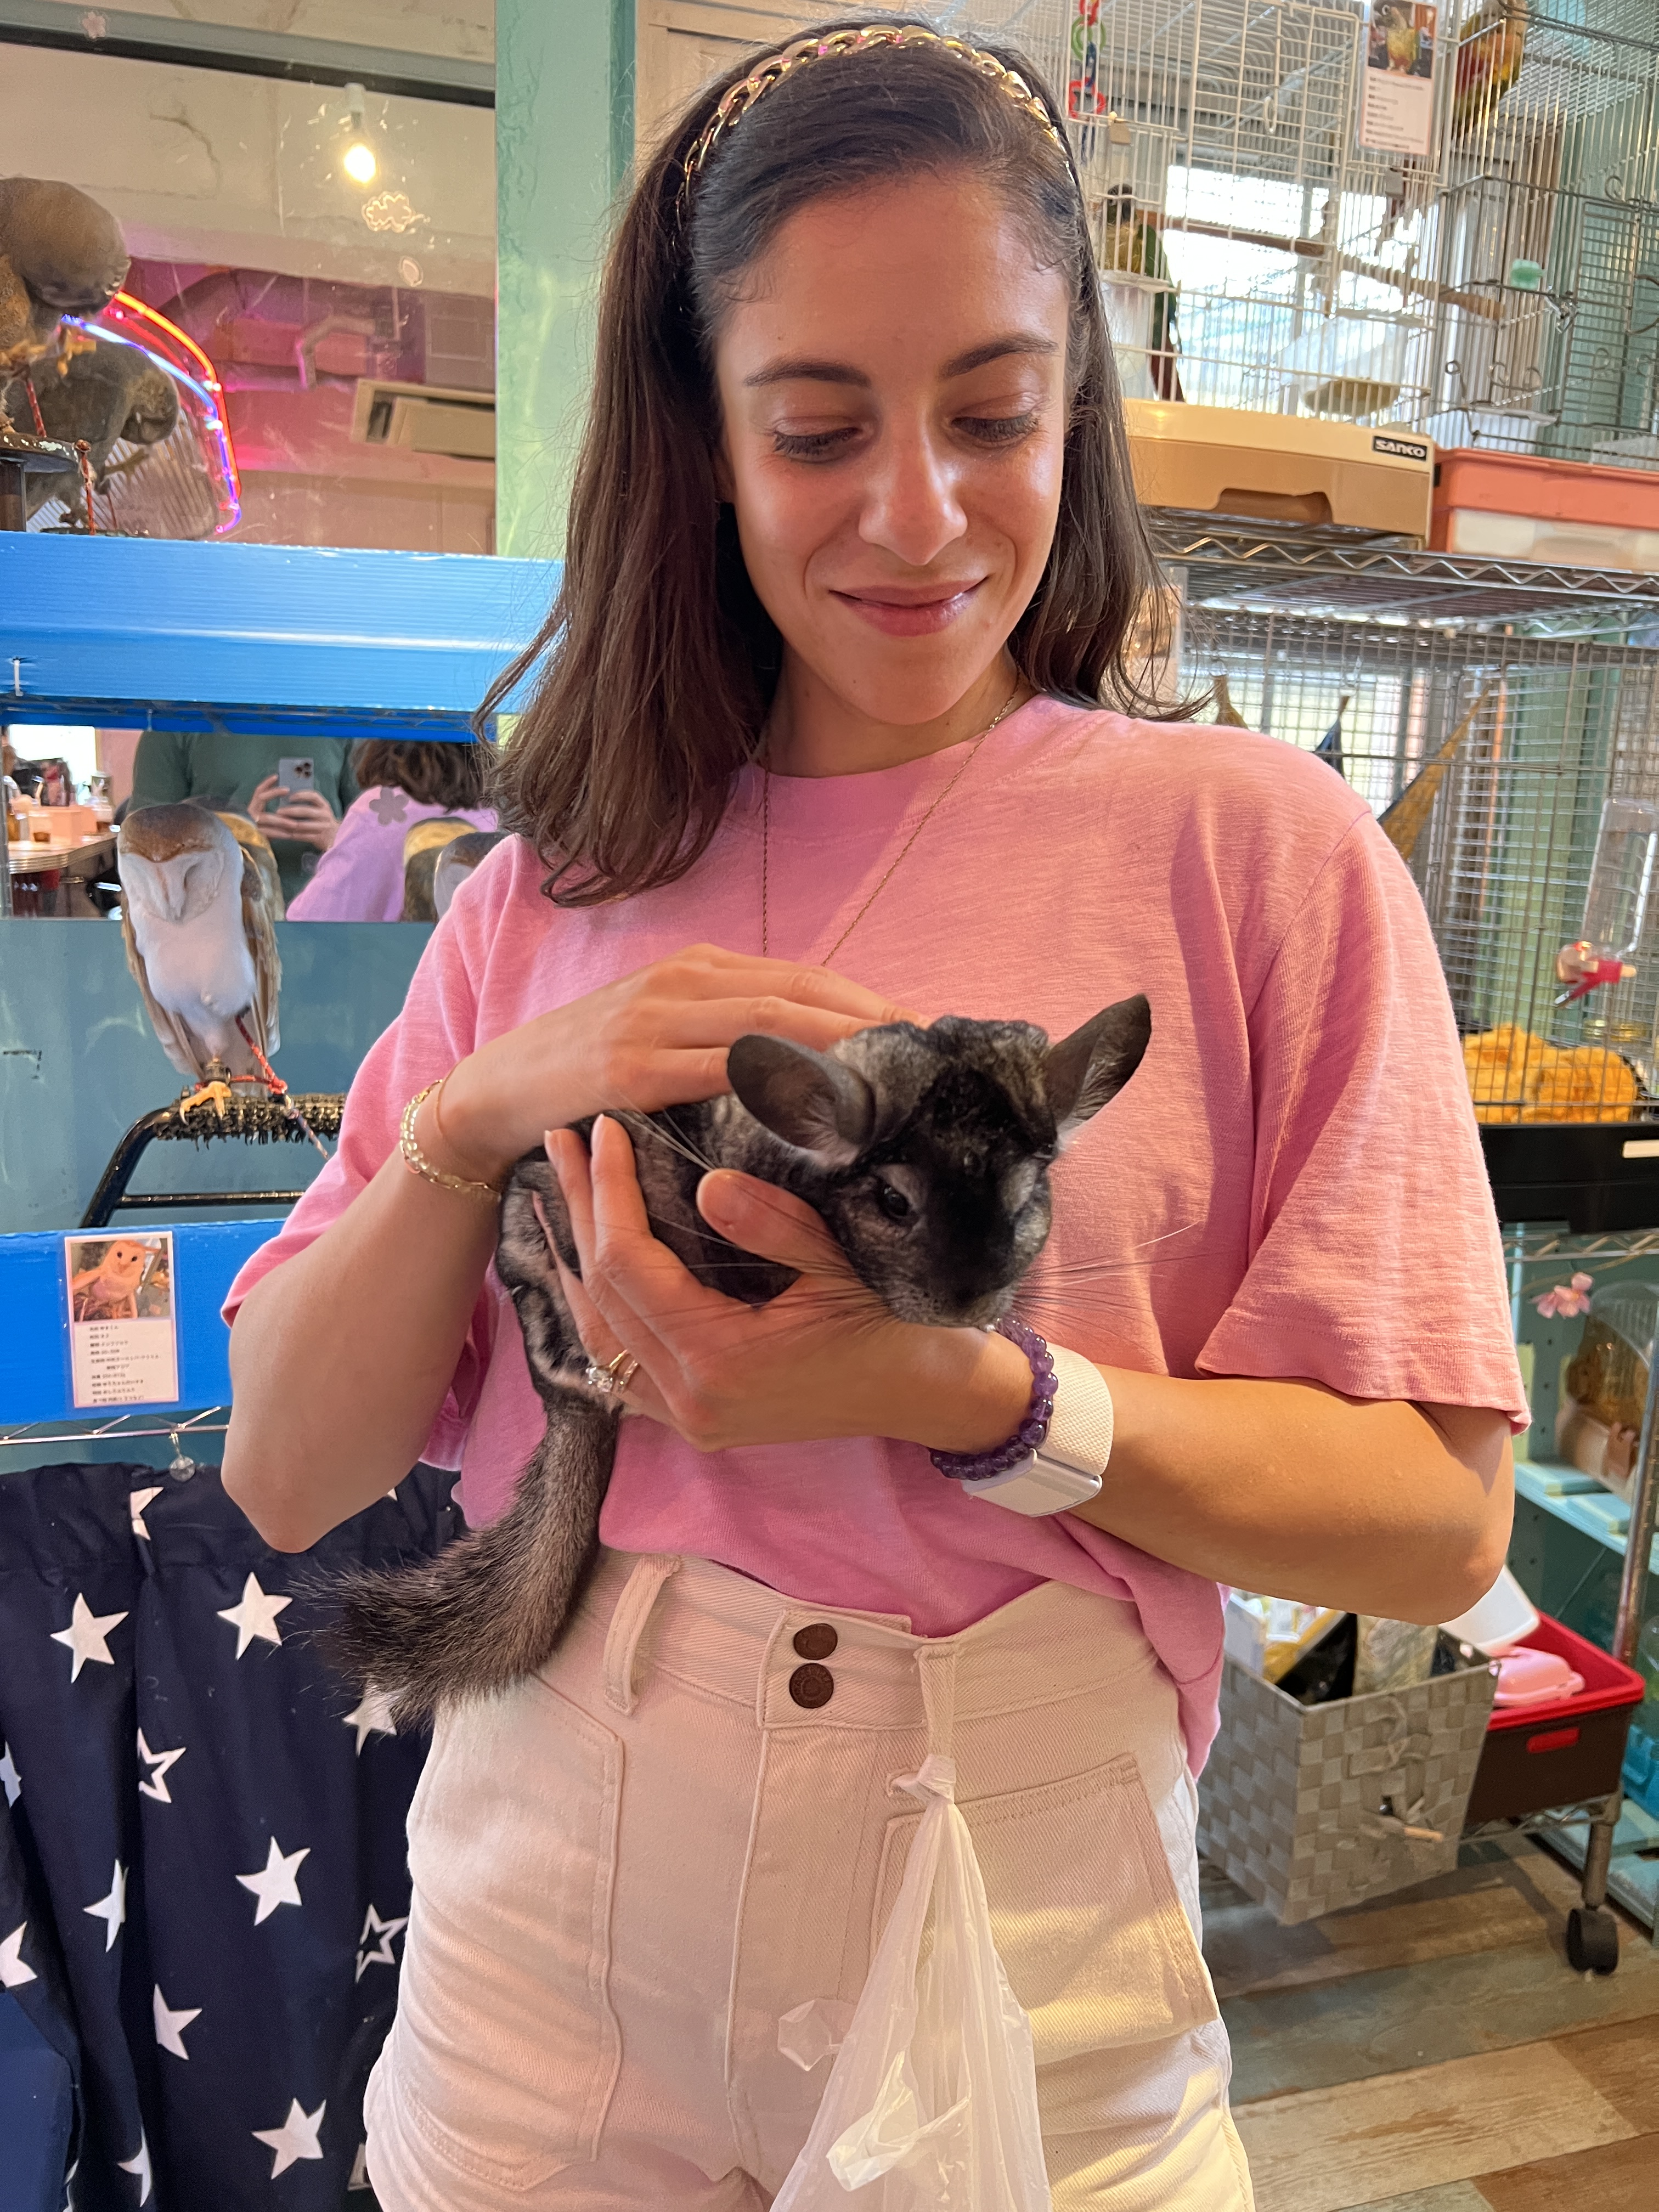
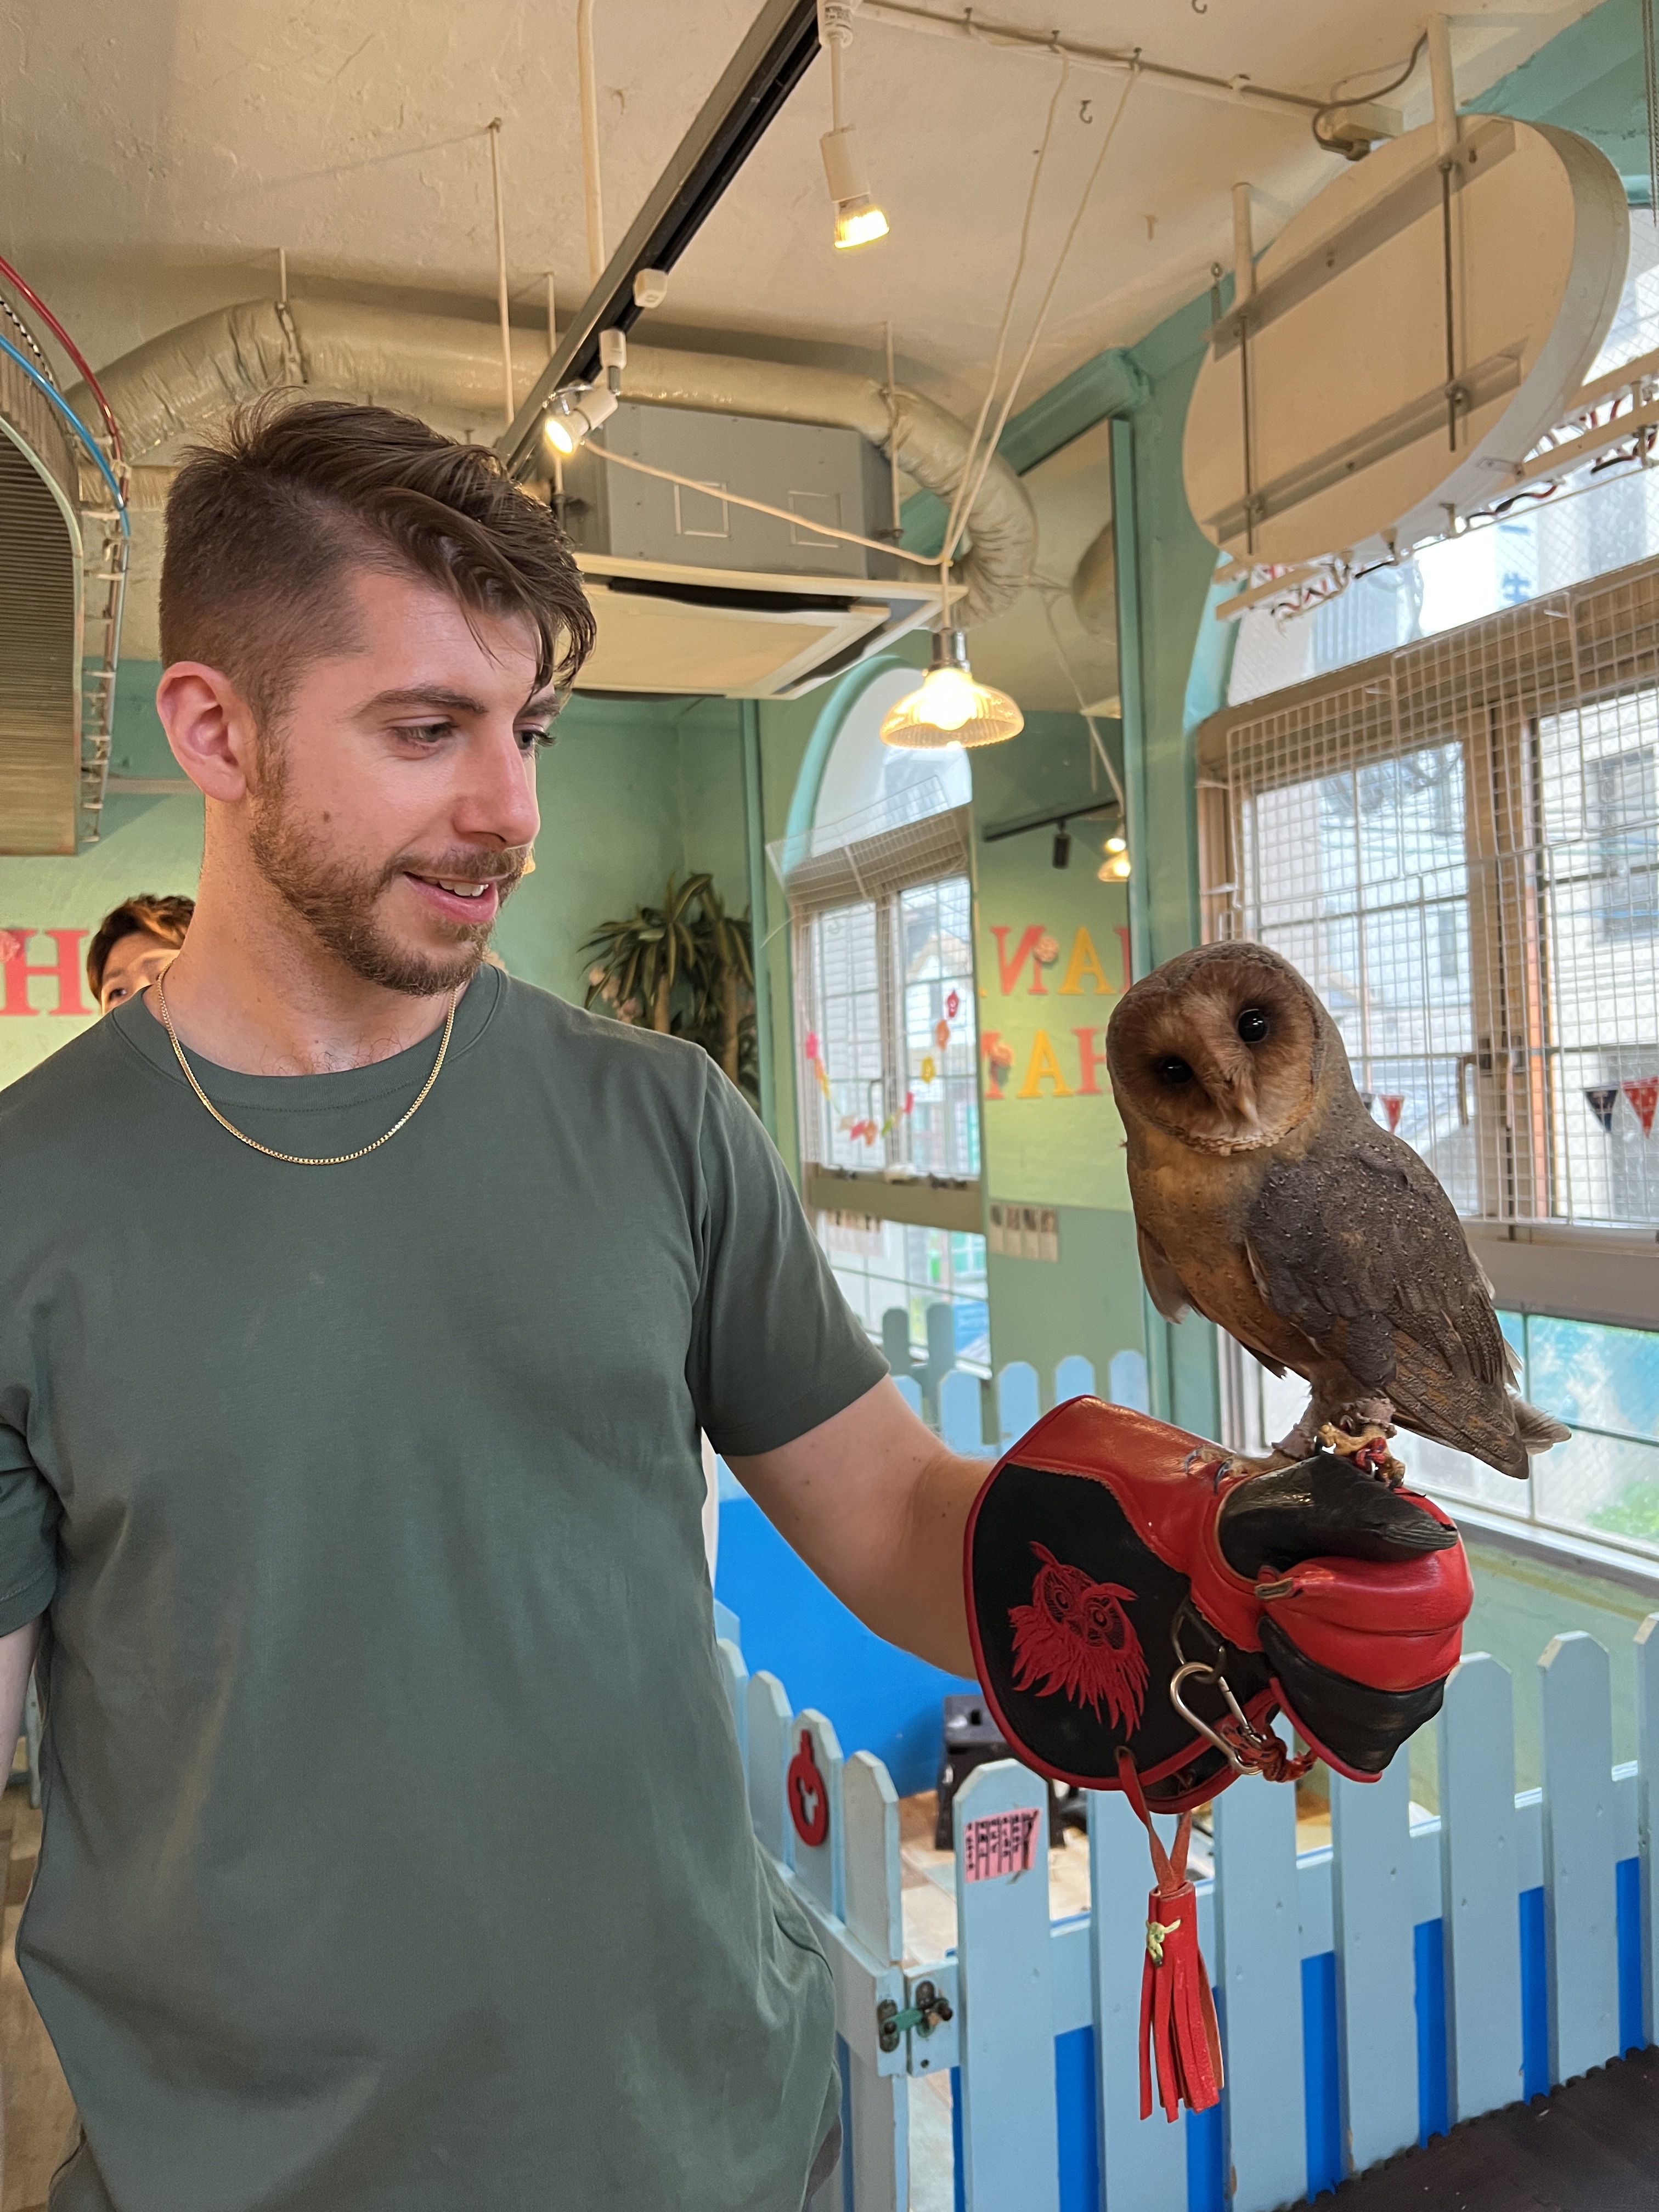
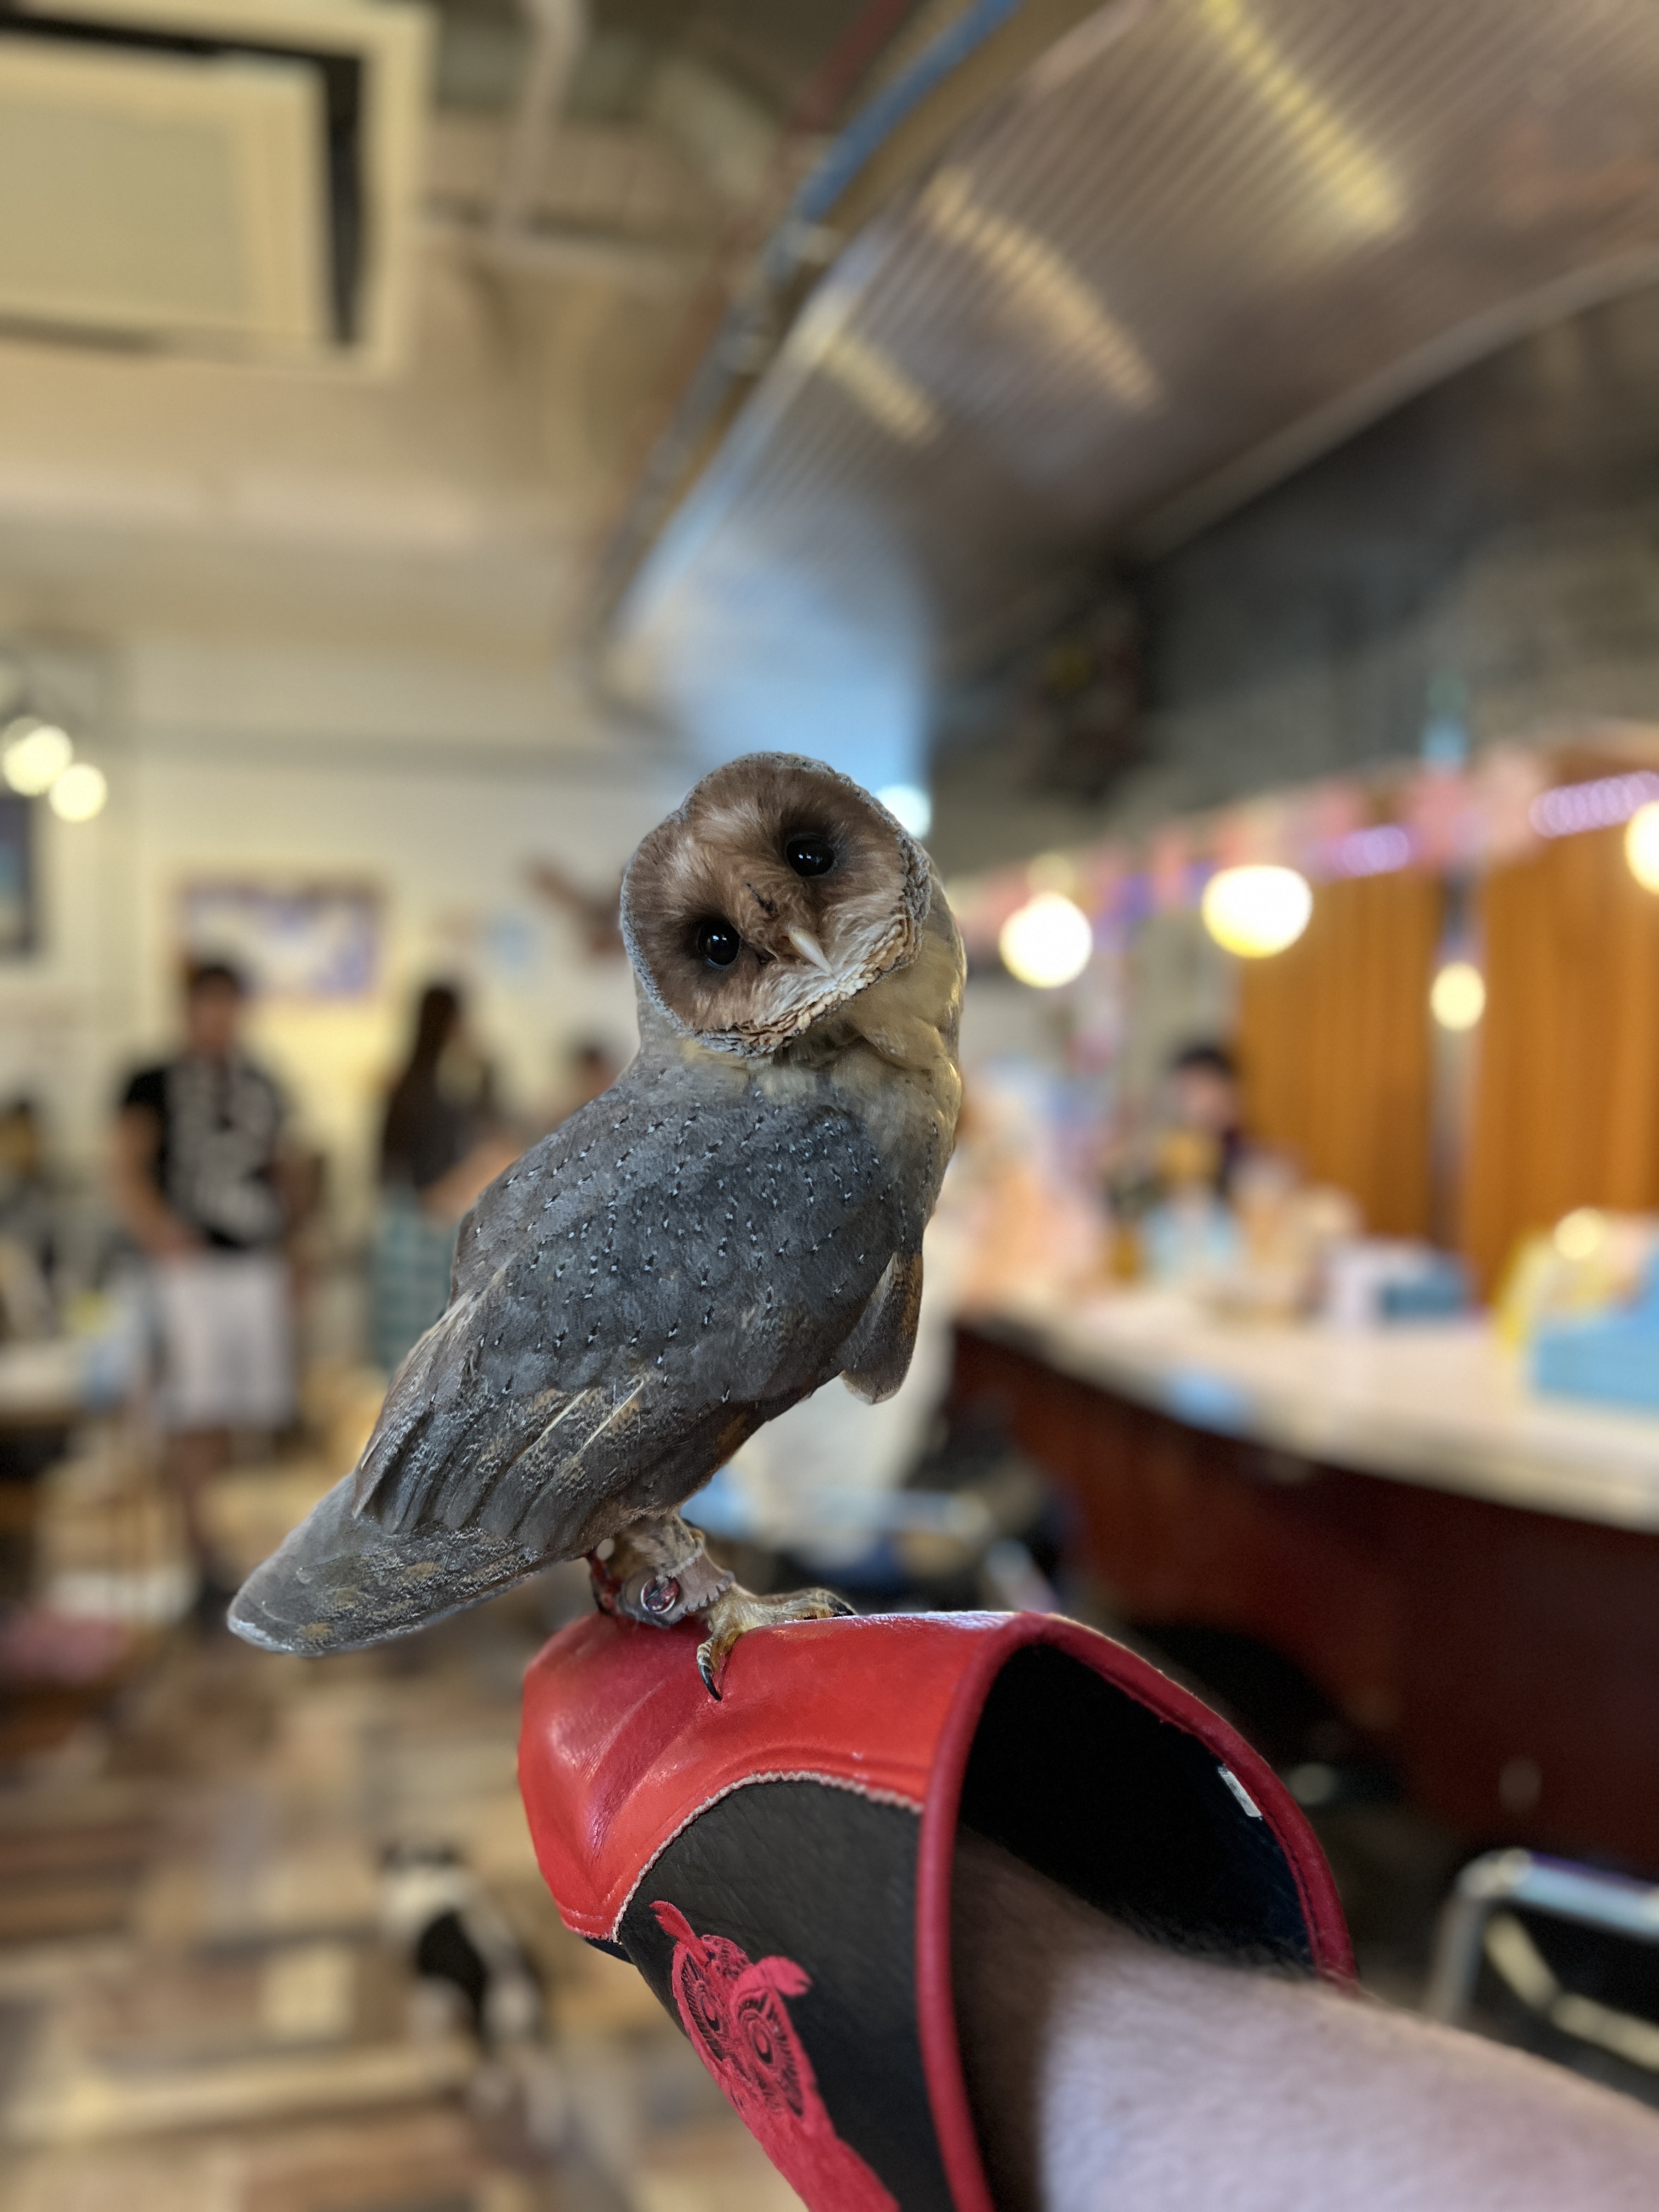
We had one last stop to make on this long day, a small animal café that we had spotted earlier on our way into the park. We went up the stairs, read through all the instructions, signed the appropriate waivers, and then wandered through the café to take a look at the various tiny animals within. It was definitely a novelty type of shop, fun to do once, but we did not have to do something like this again on the trip.
We closed out the day with a daifuku (filled mochi) from a cart on the street and then hopped on the train to get back to the hotel. Given the two large meals we had and all the snacking we did throughout the day, by the time we got the hotel we were still full and sleepy so we called it a night!
For video footage of day 8 in Nara (as a day trip from Kyoto), check out my reel on Instagram!
Day 9
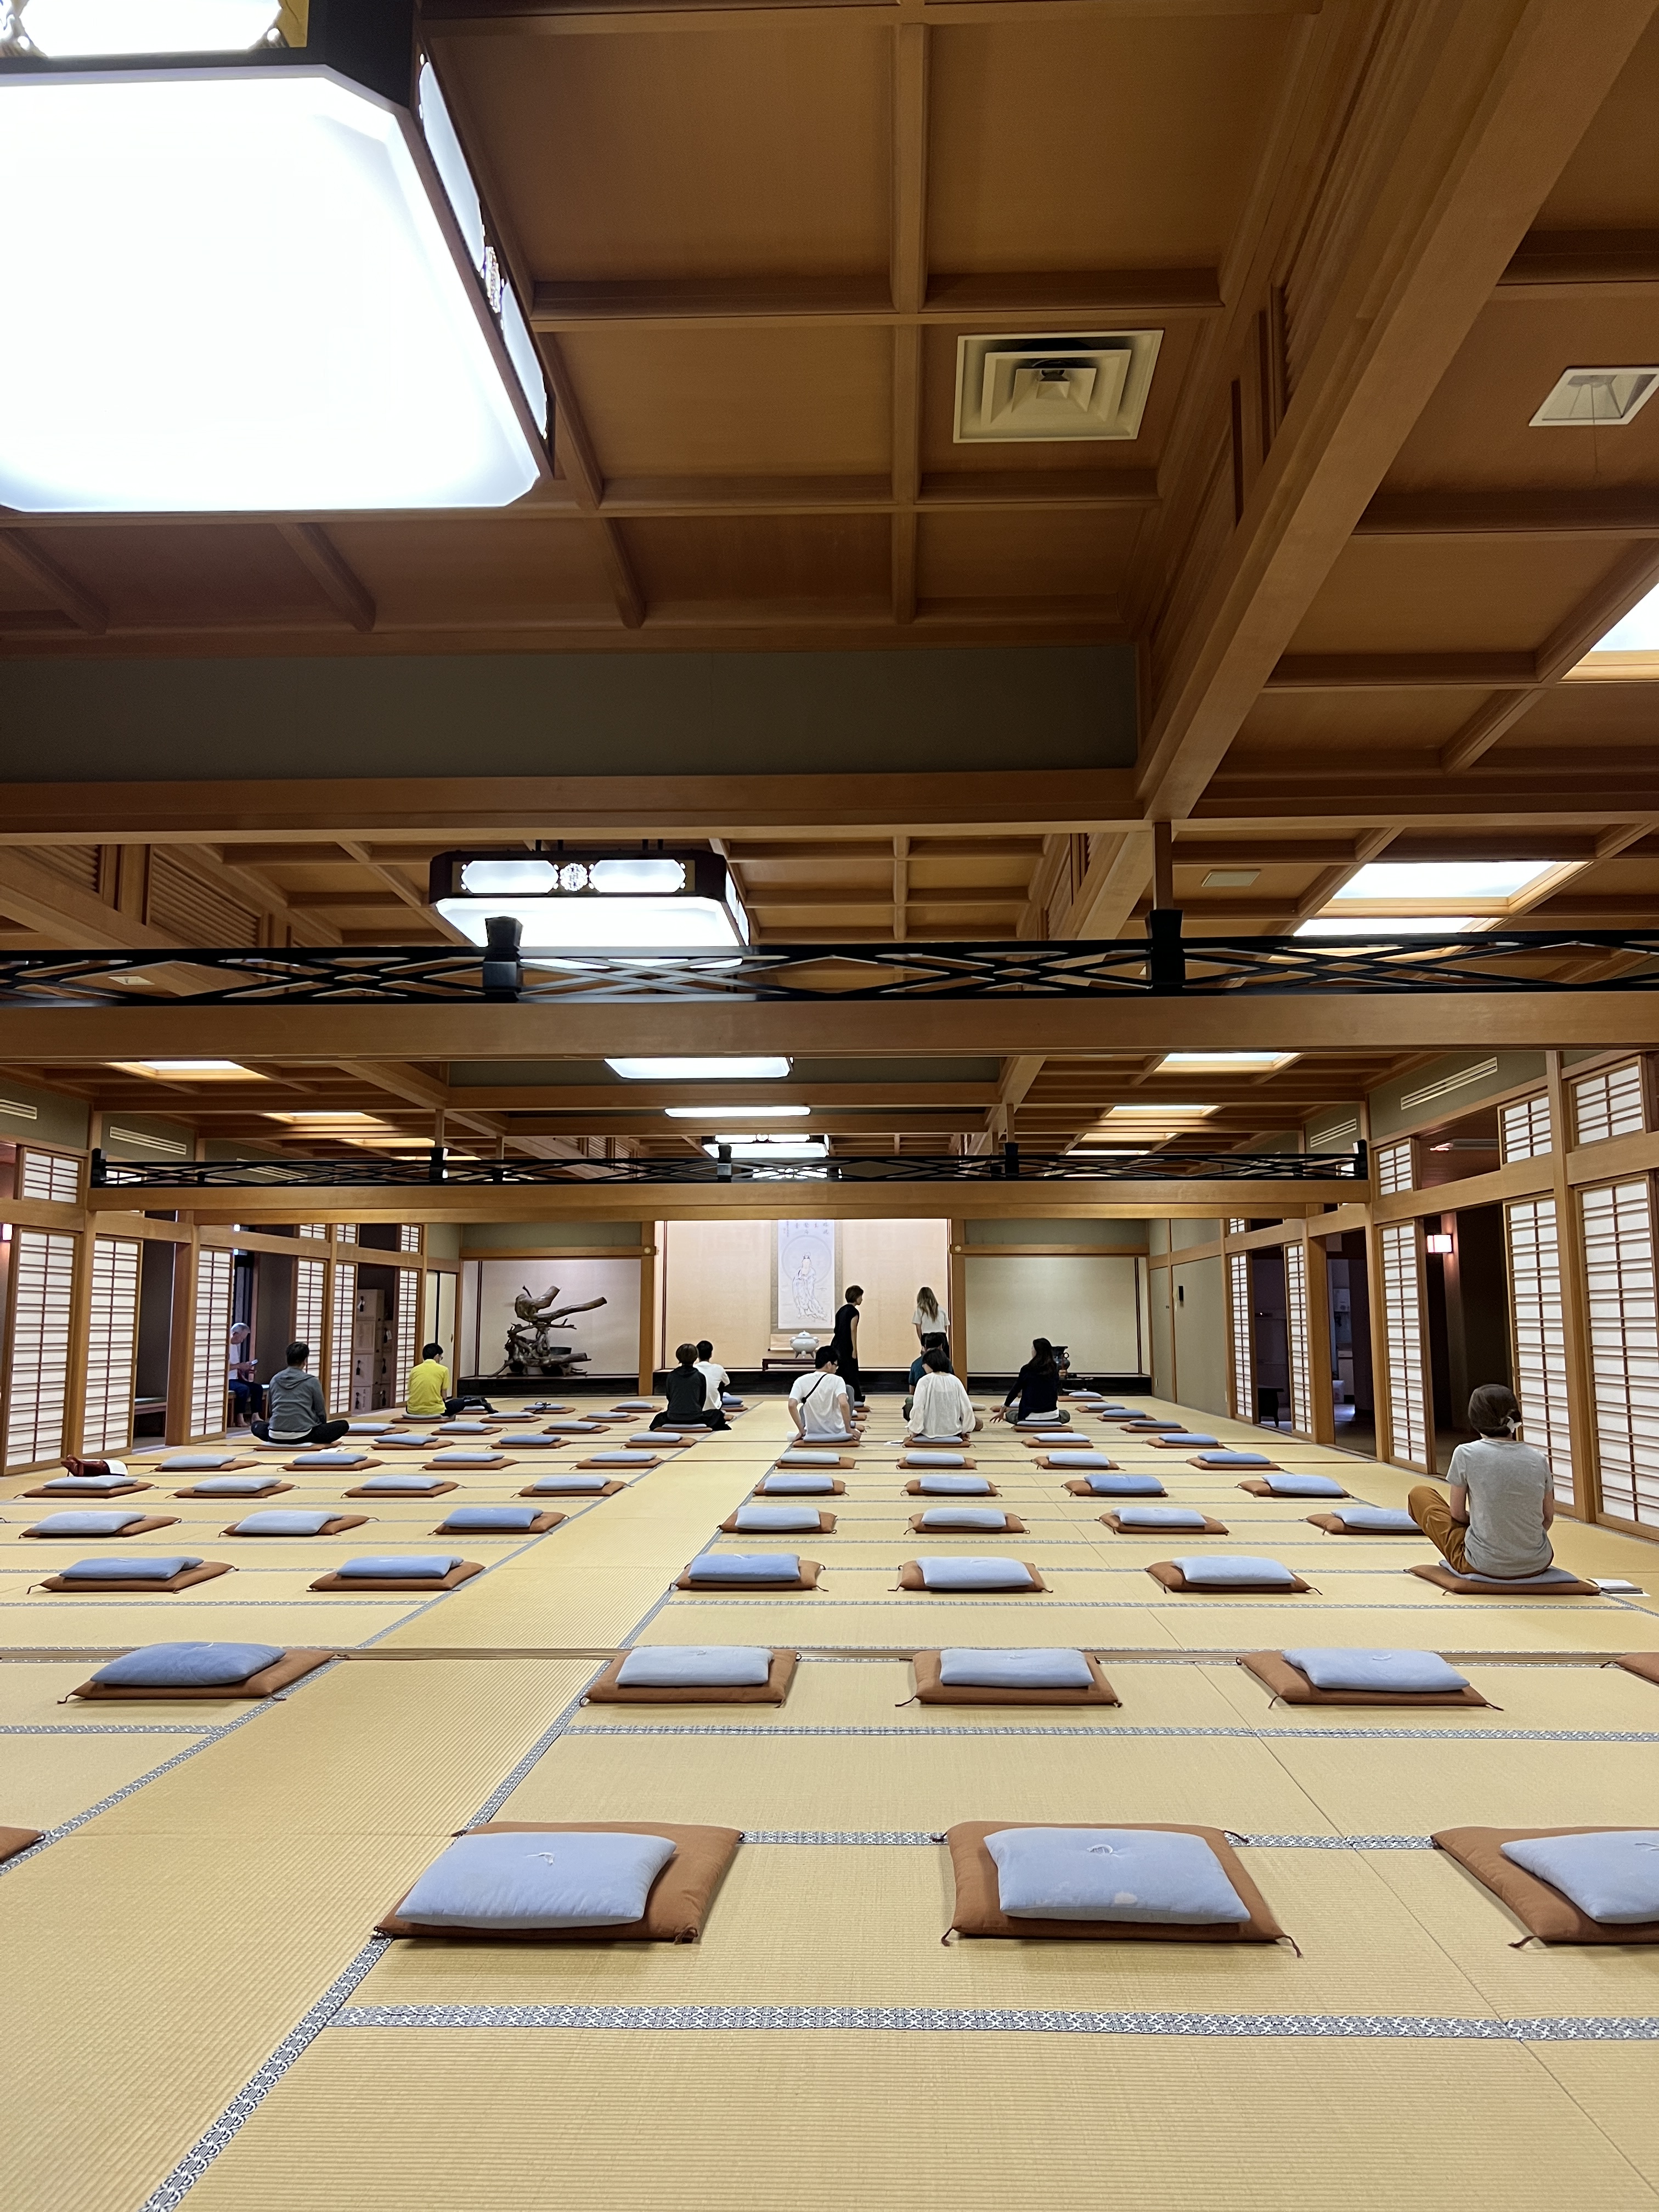
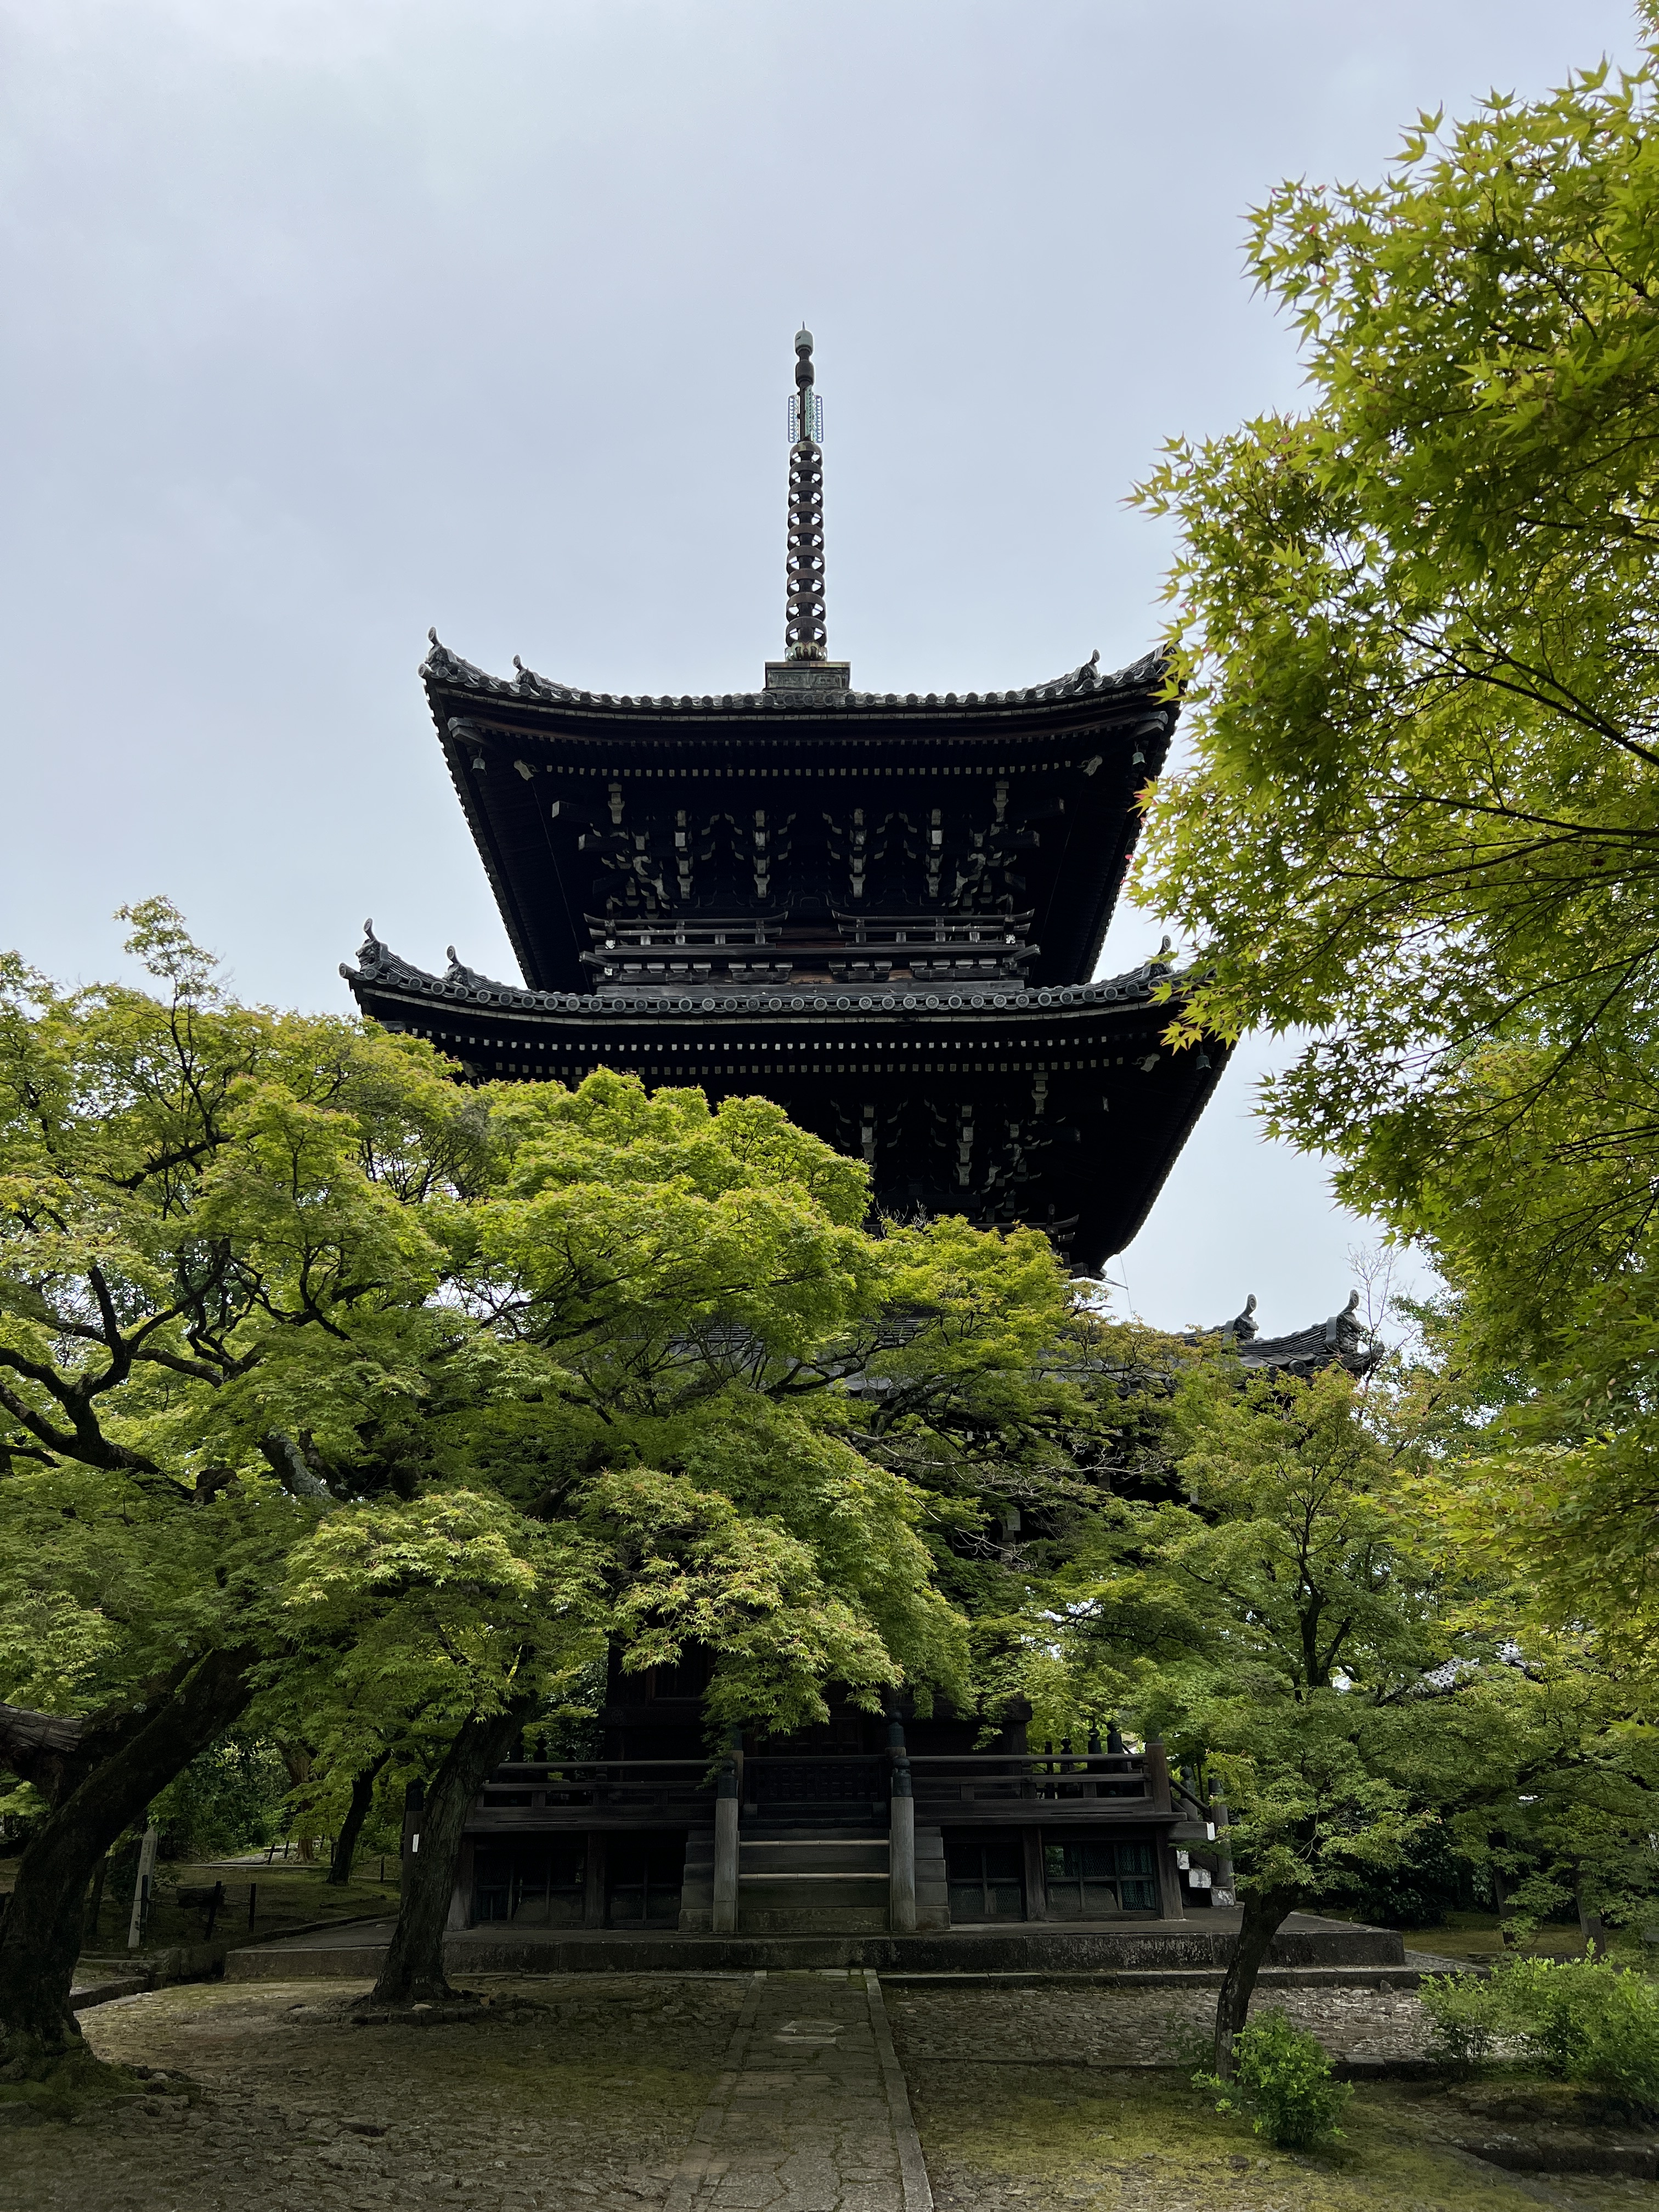
This morning we had a very special experience participating in the Buddhist Zanzen ritual which happens the fourth Sunday of every month in the Nanzen-ji Temple complex. The ritual runs from 6-7 AM and is entirely in Japanese. There is a chant provided that is spoken all together towards the end of the ritual, and Google’s best translation of that is included in the gallery below. It was a very cool experience if you are into the Buddhist culture and want to participate in a very local and authentic experience. Since we wanted to have this experience, and since it was held at the Nanzen-ji temple, the rest of this day’s itinerary is a bit weird because we wanted to come back to Nanzen-ji later to explore (as it was not open to the public yet once the ritual was over). Keep that in mind when planning your own trip, and re-order these activities to best suit your needs!
After our Buddhist Zanzen ritual we headed to the entrance of the Philosopher’s Path, a peaceful river walk lined with flowers and greenery.
Our first stop off the Philosopher’s Path was the Honen-In Temple, a small and peaceful with beautiful artwork. There was literally no one else at this temple when we were there at 8 AM.
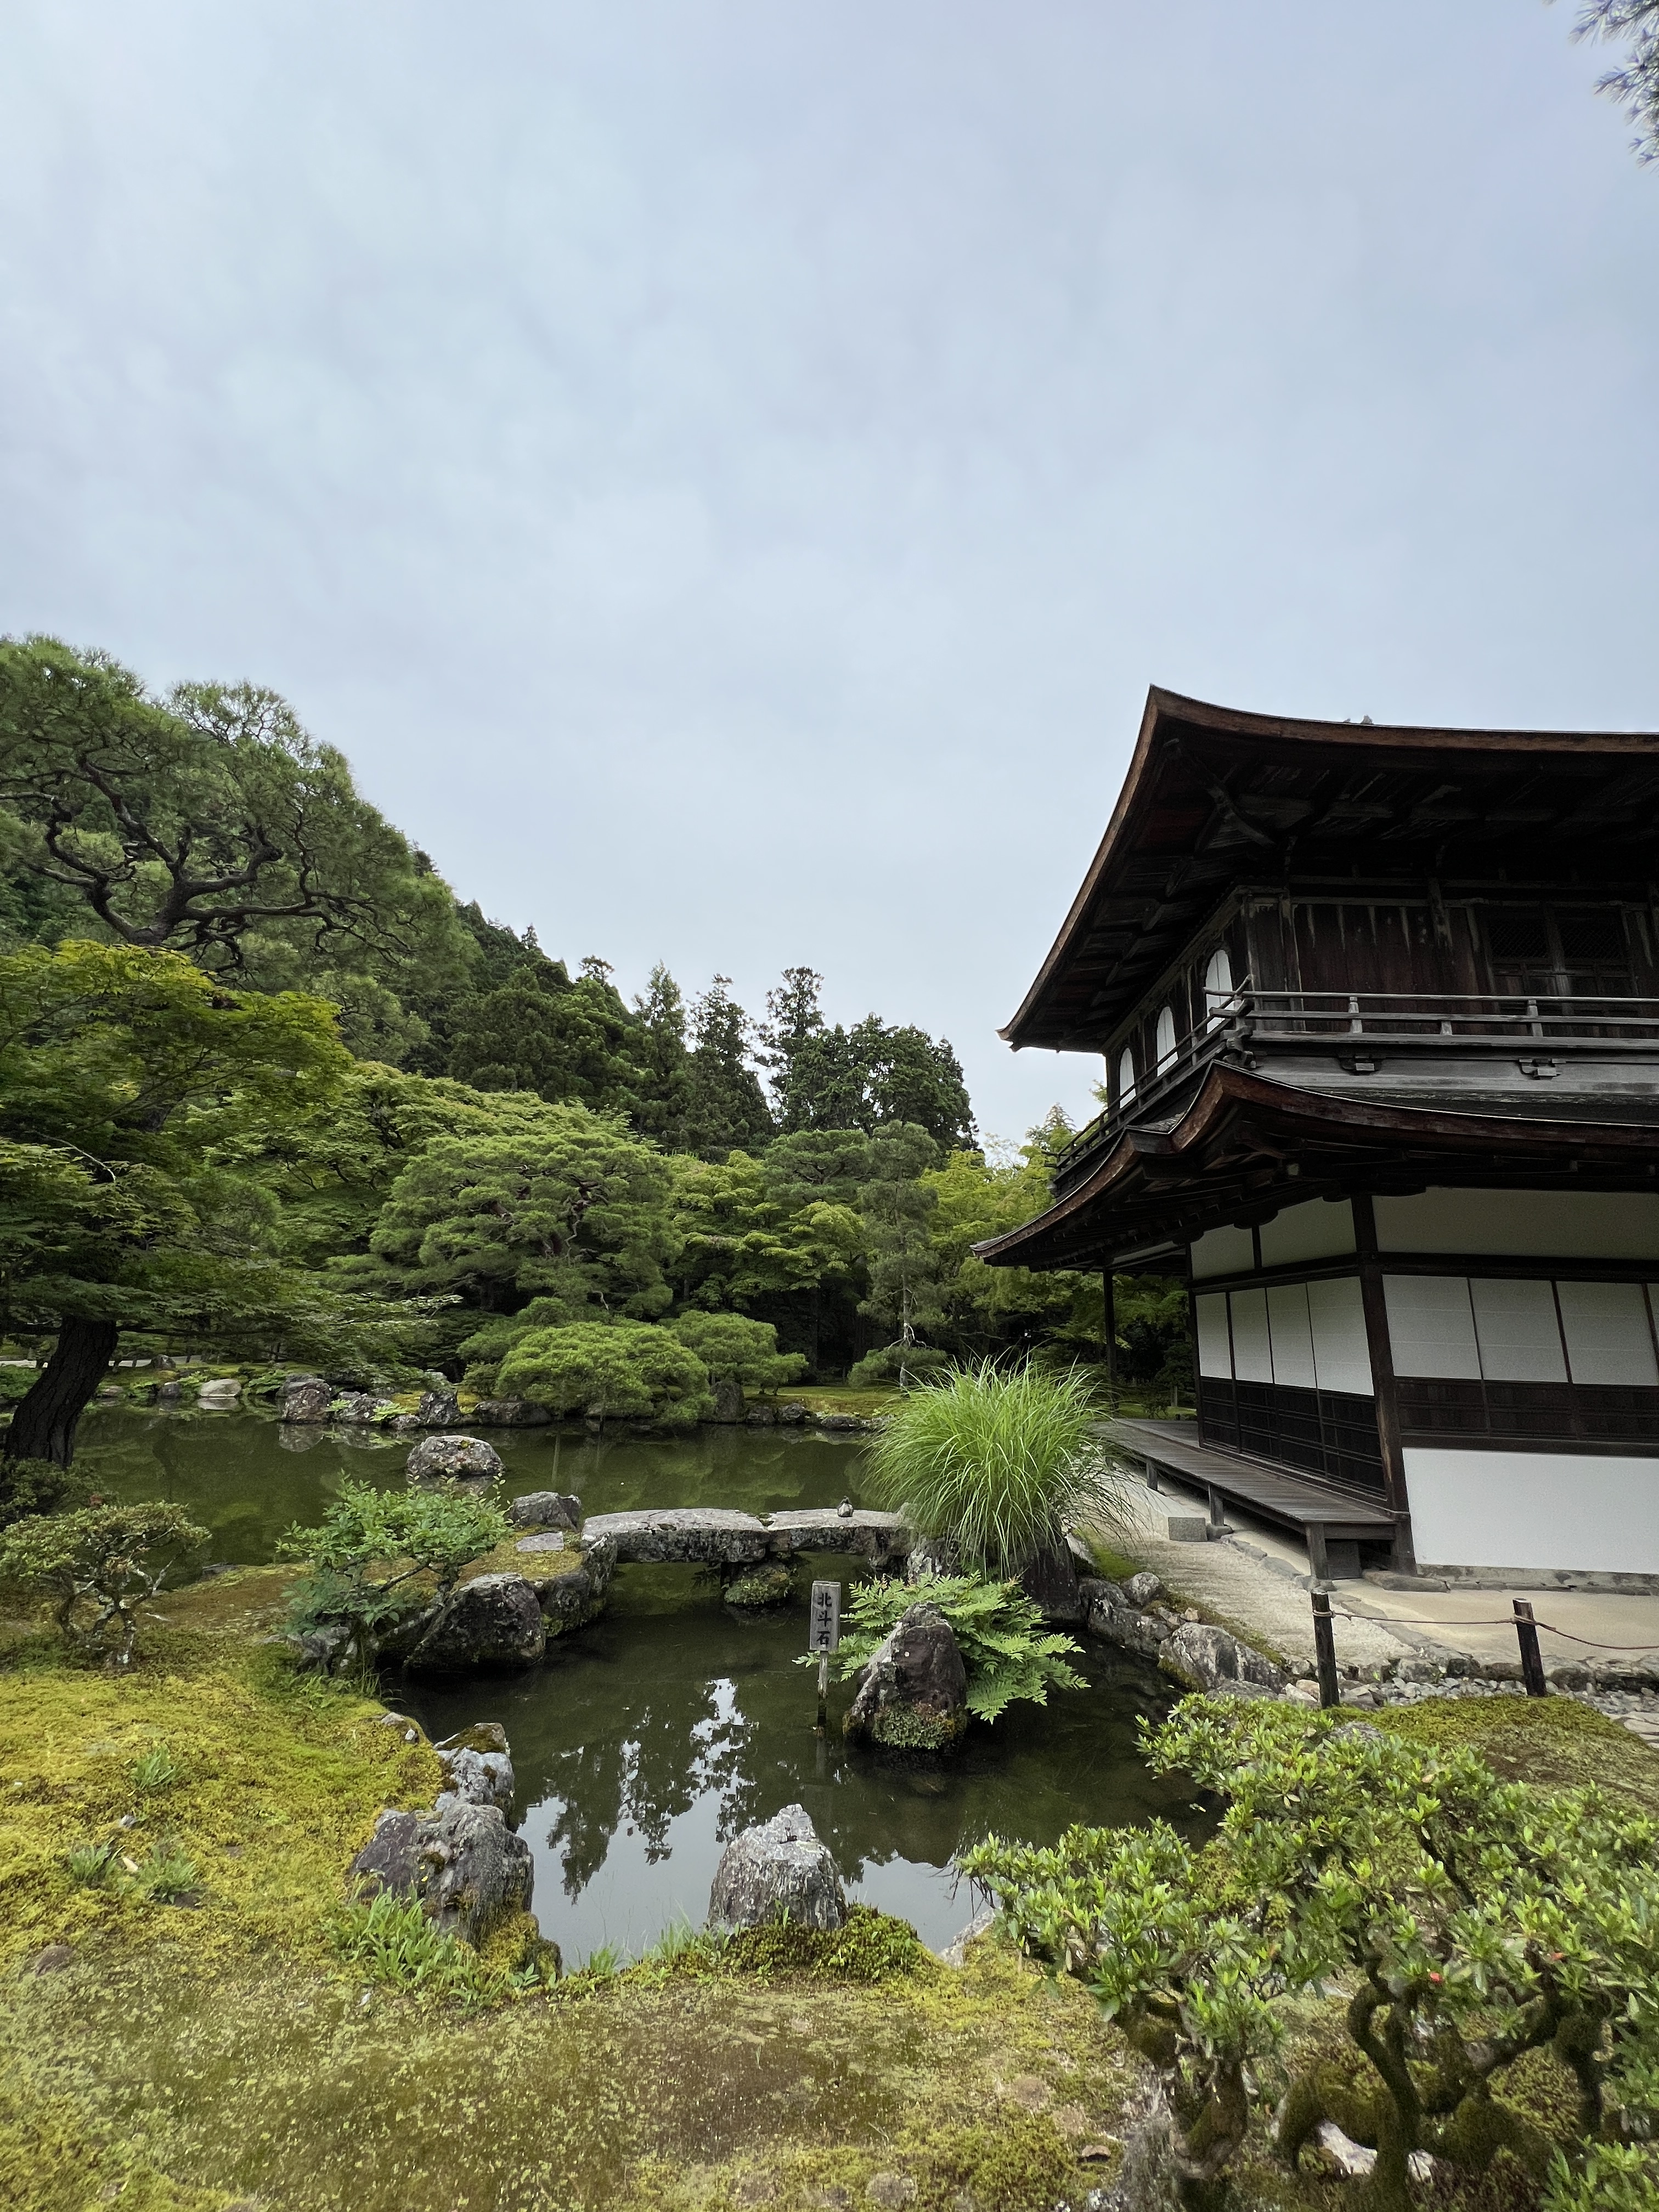
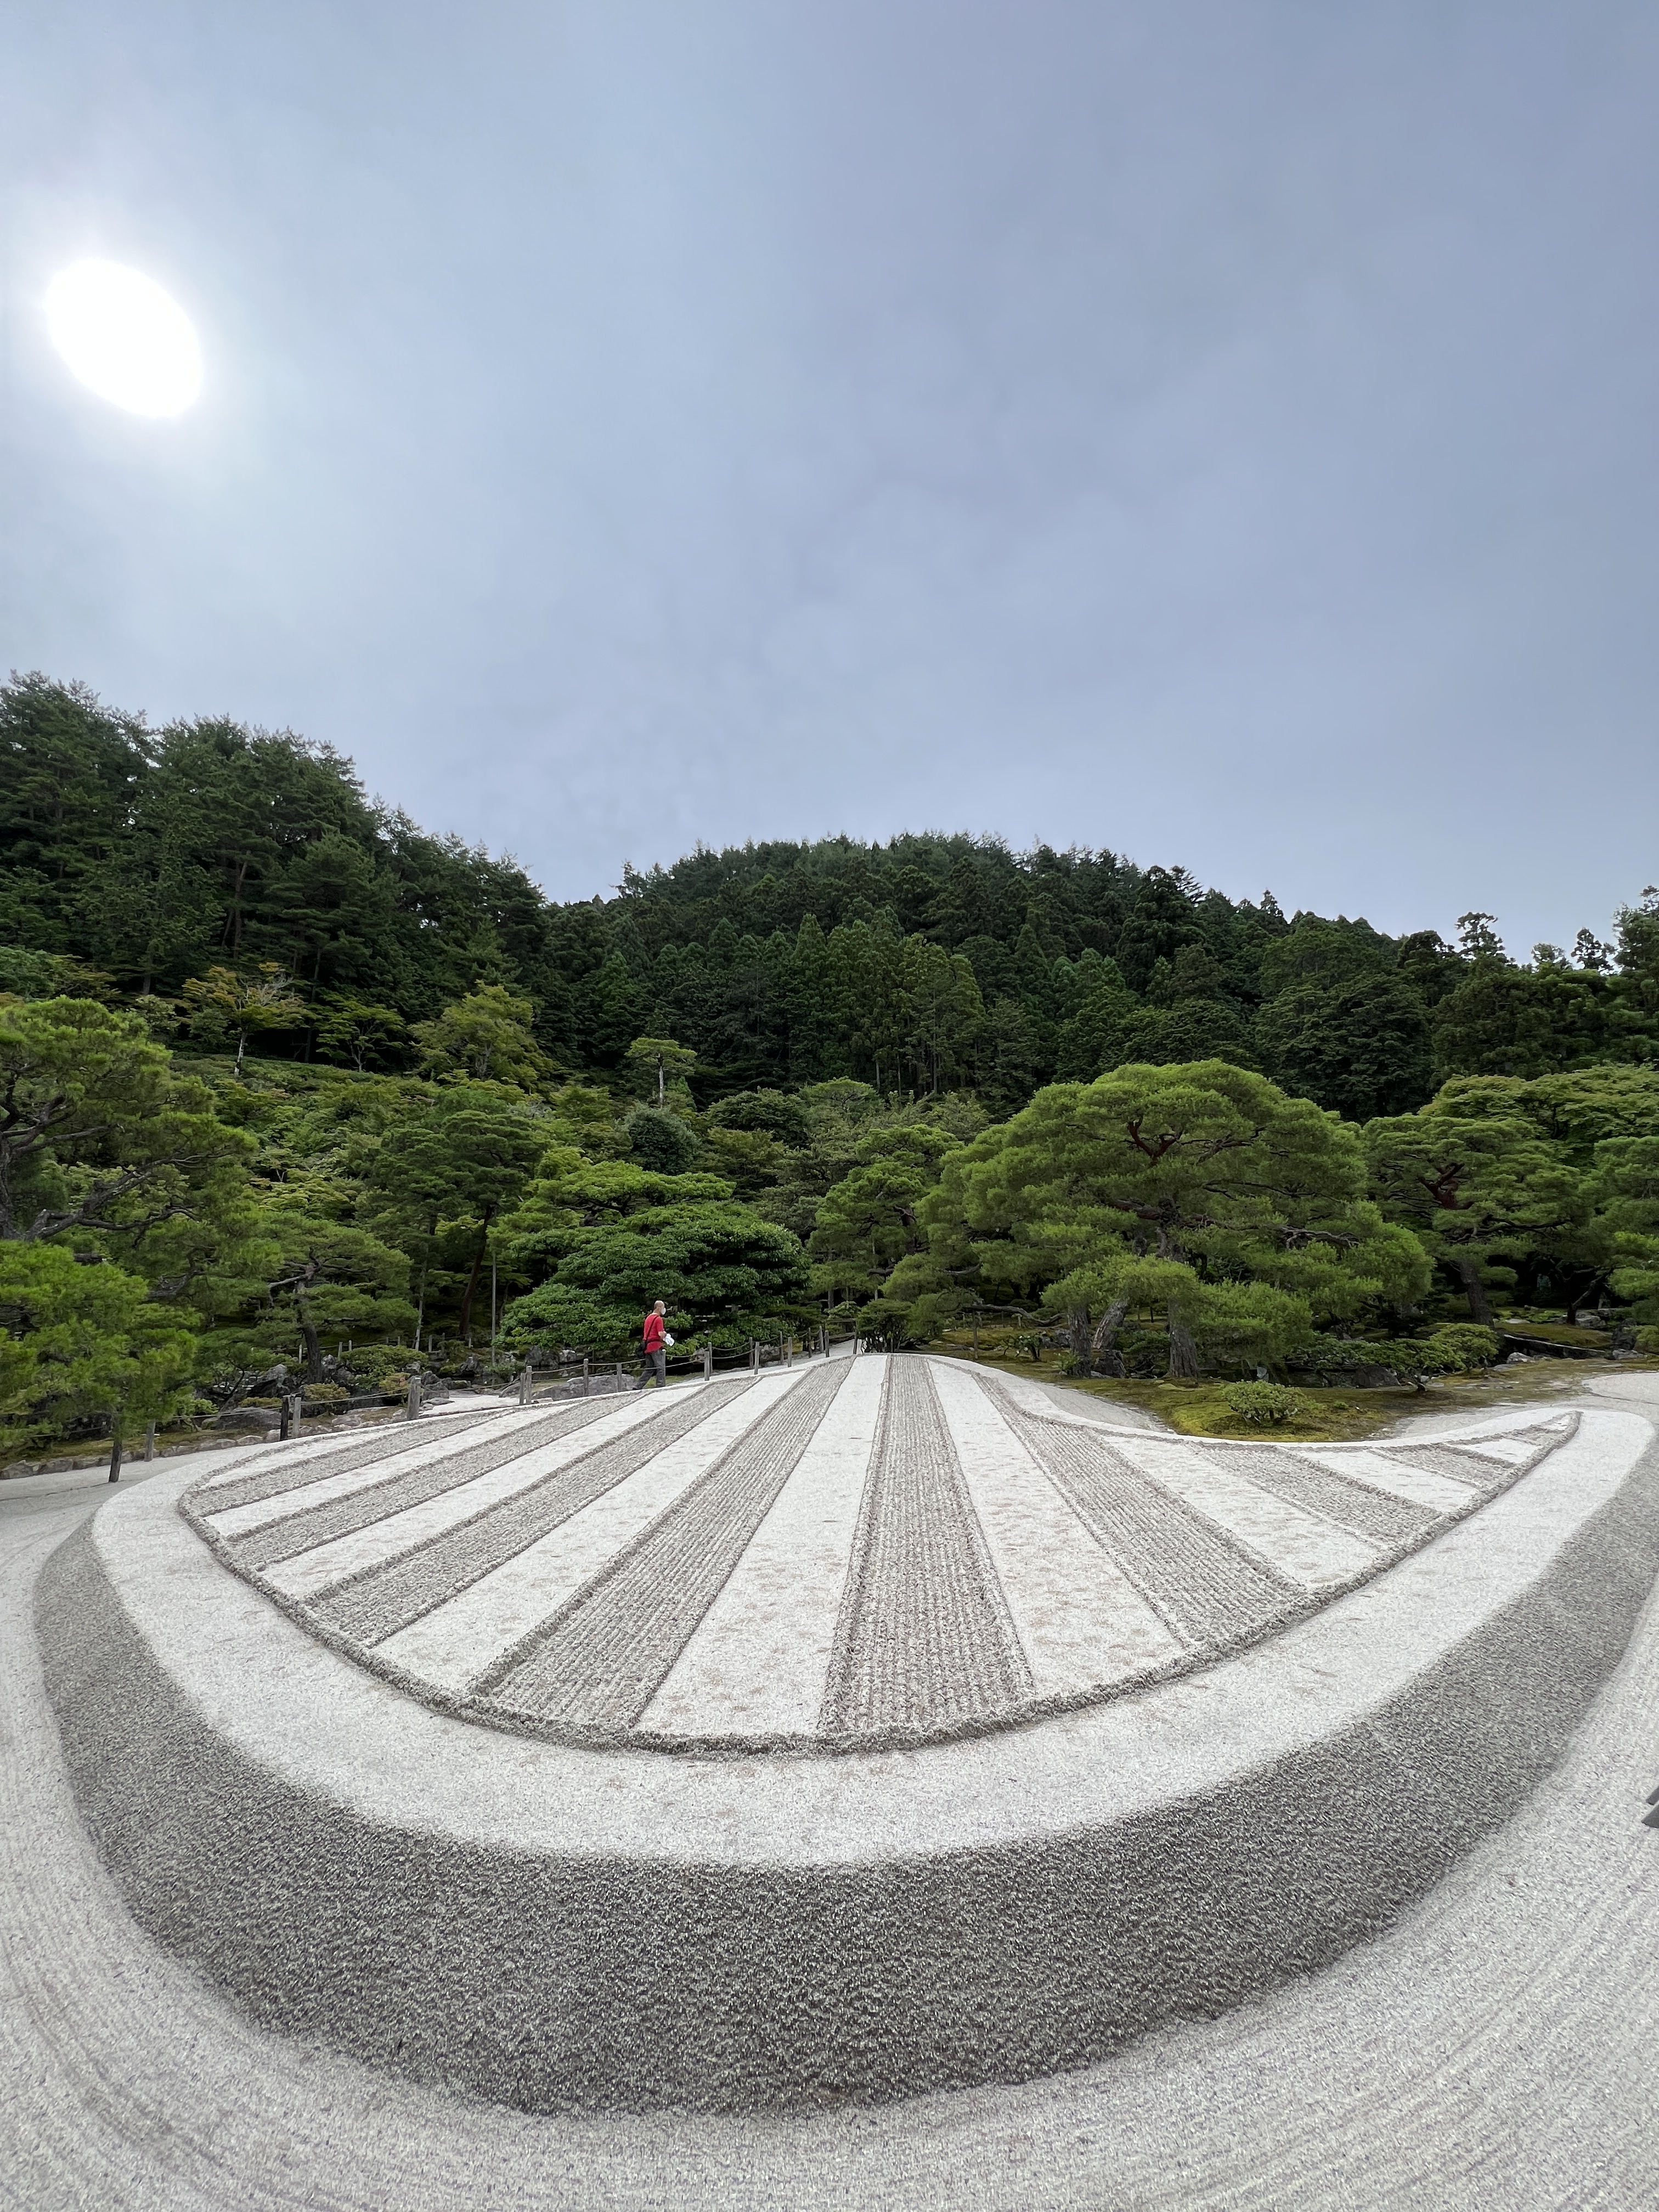
Next was the Ginkaku-ji Temple, also known as the silver pavilion, which we got to right as it opened to avoid crowds. This complex is stunning with beautiful zen gardens (the white ones with patterns drawn in) and a view of the city. It is fairly small and we spent about 20 minutes here.
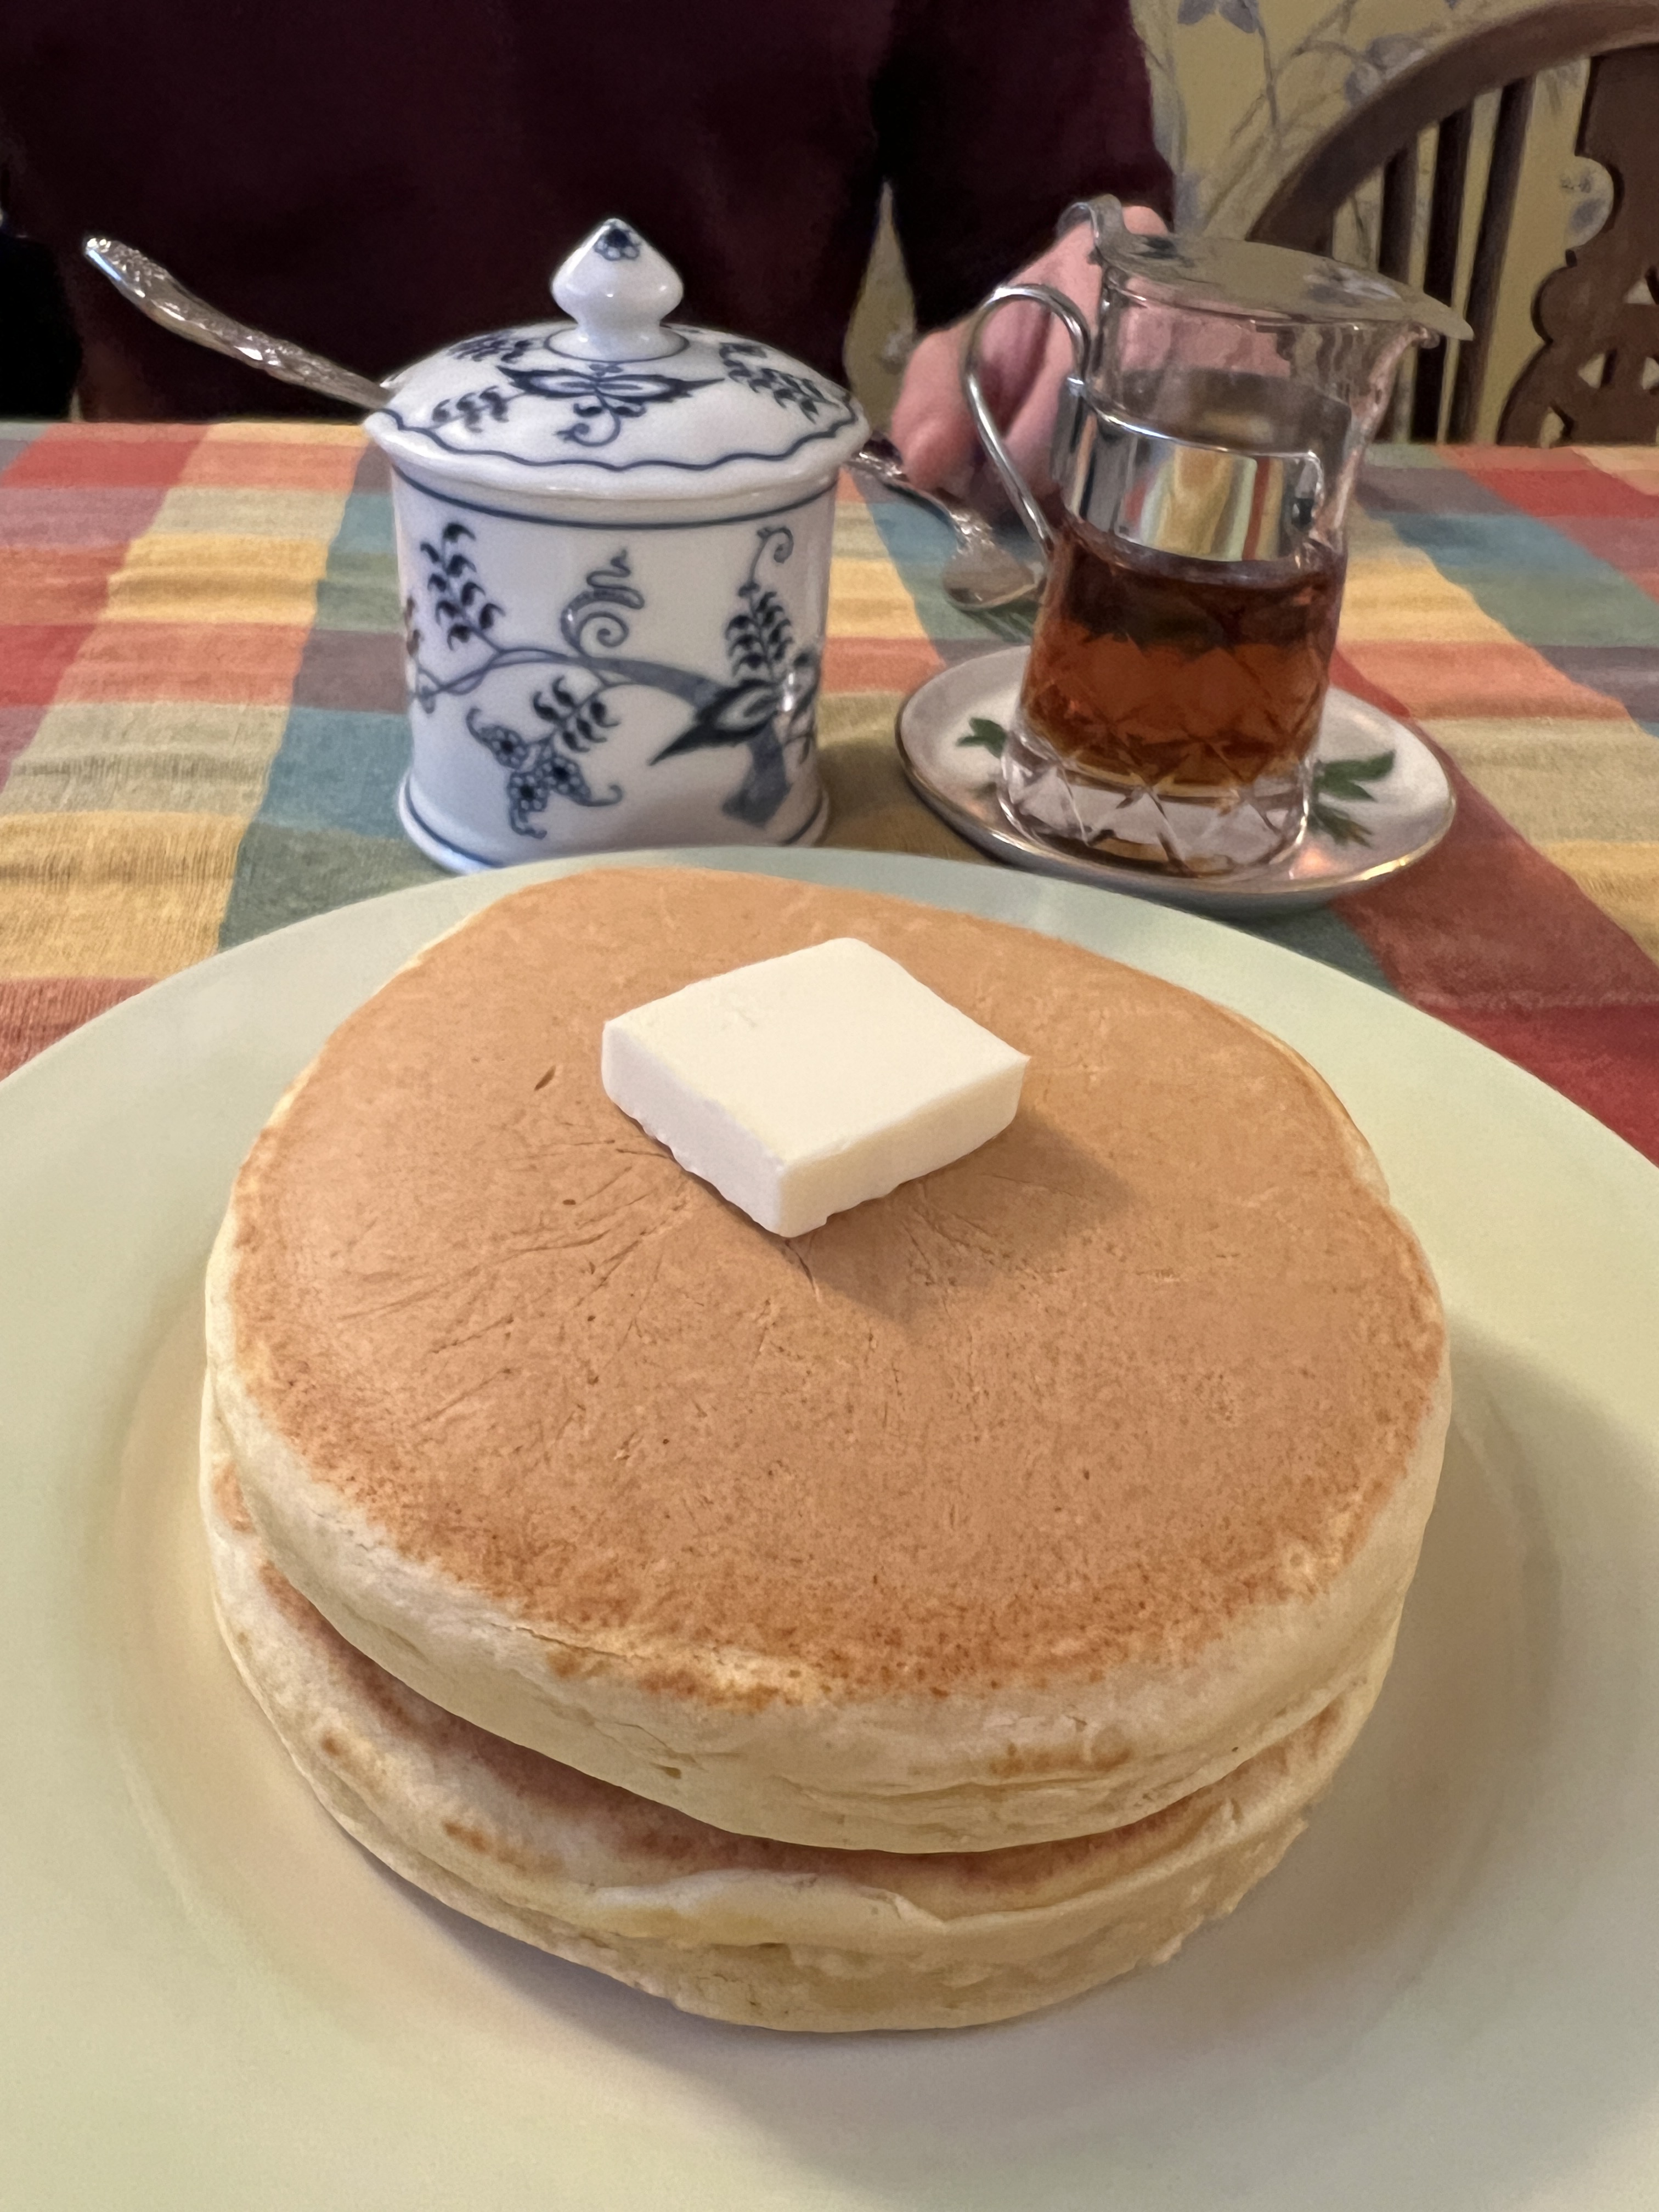
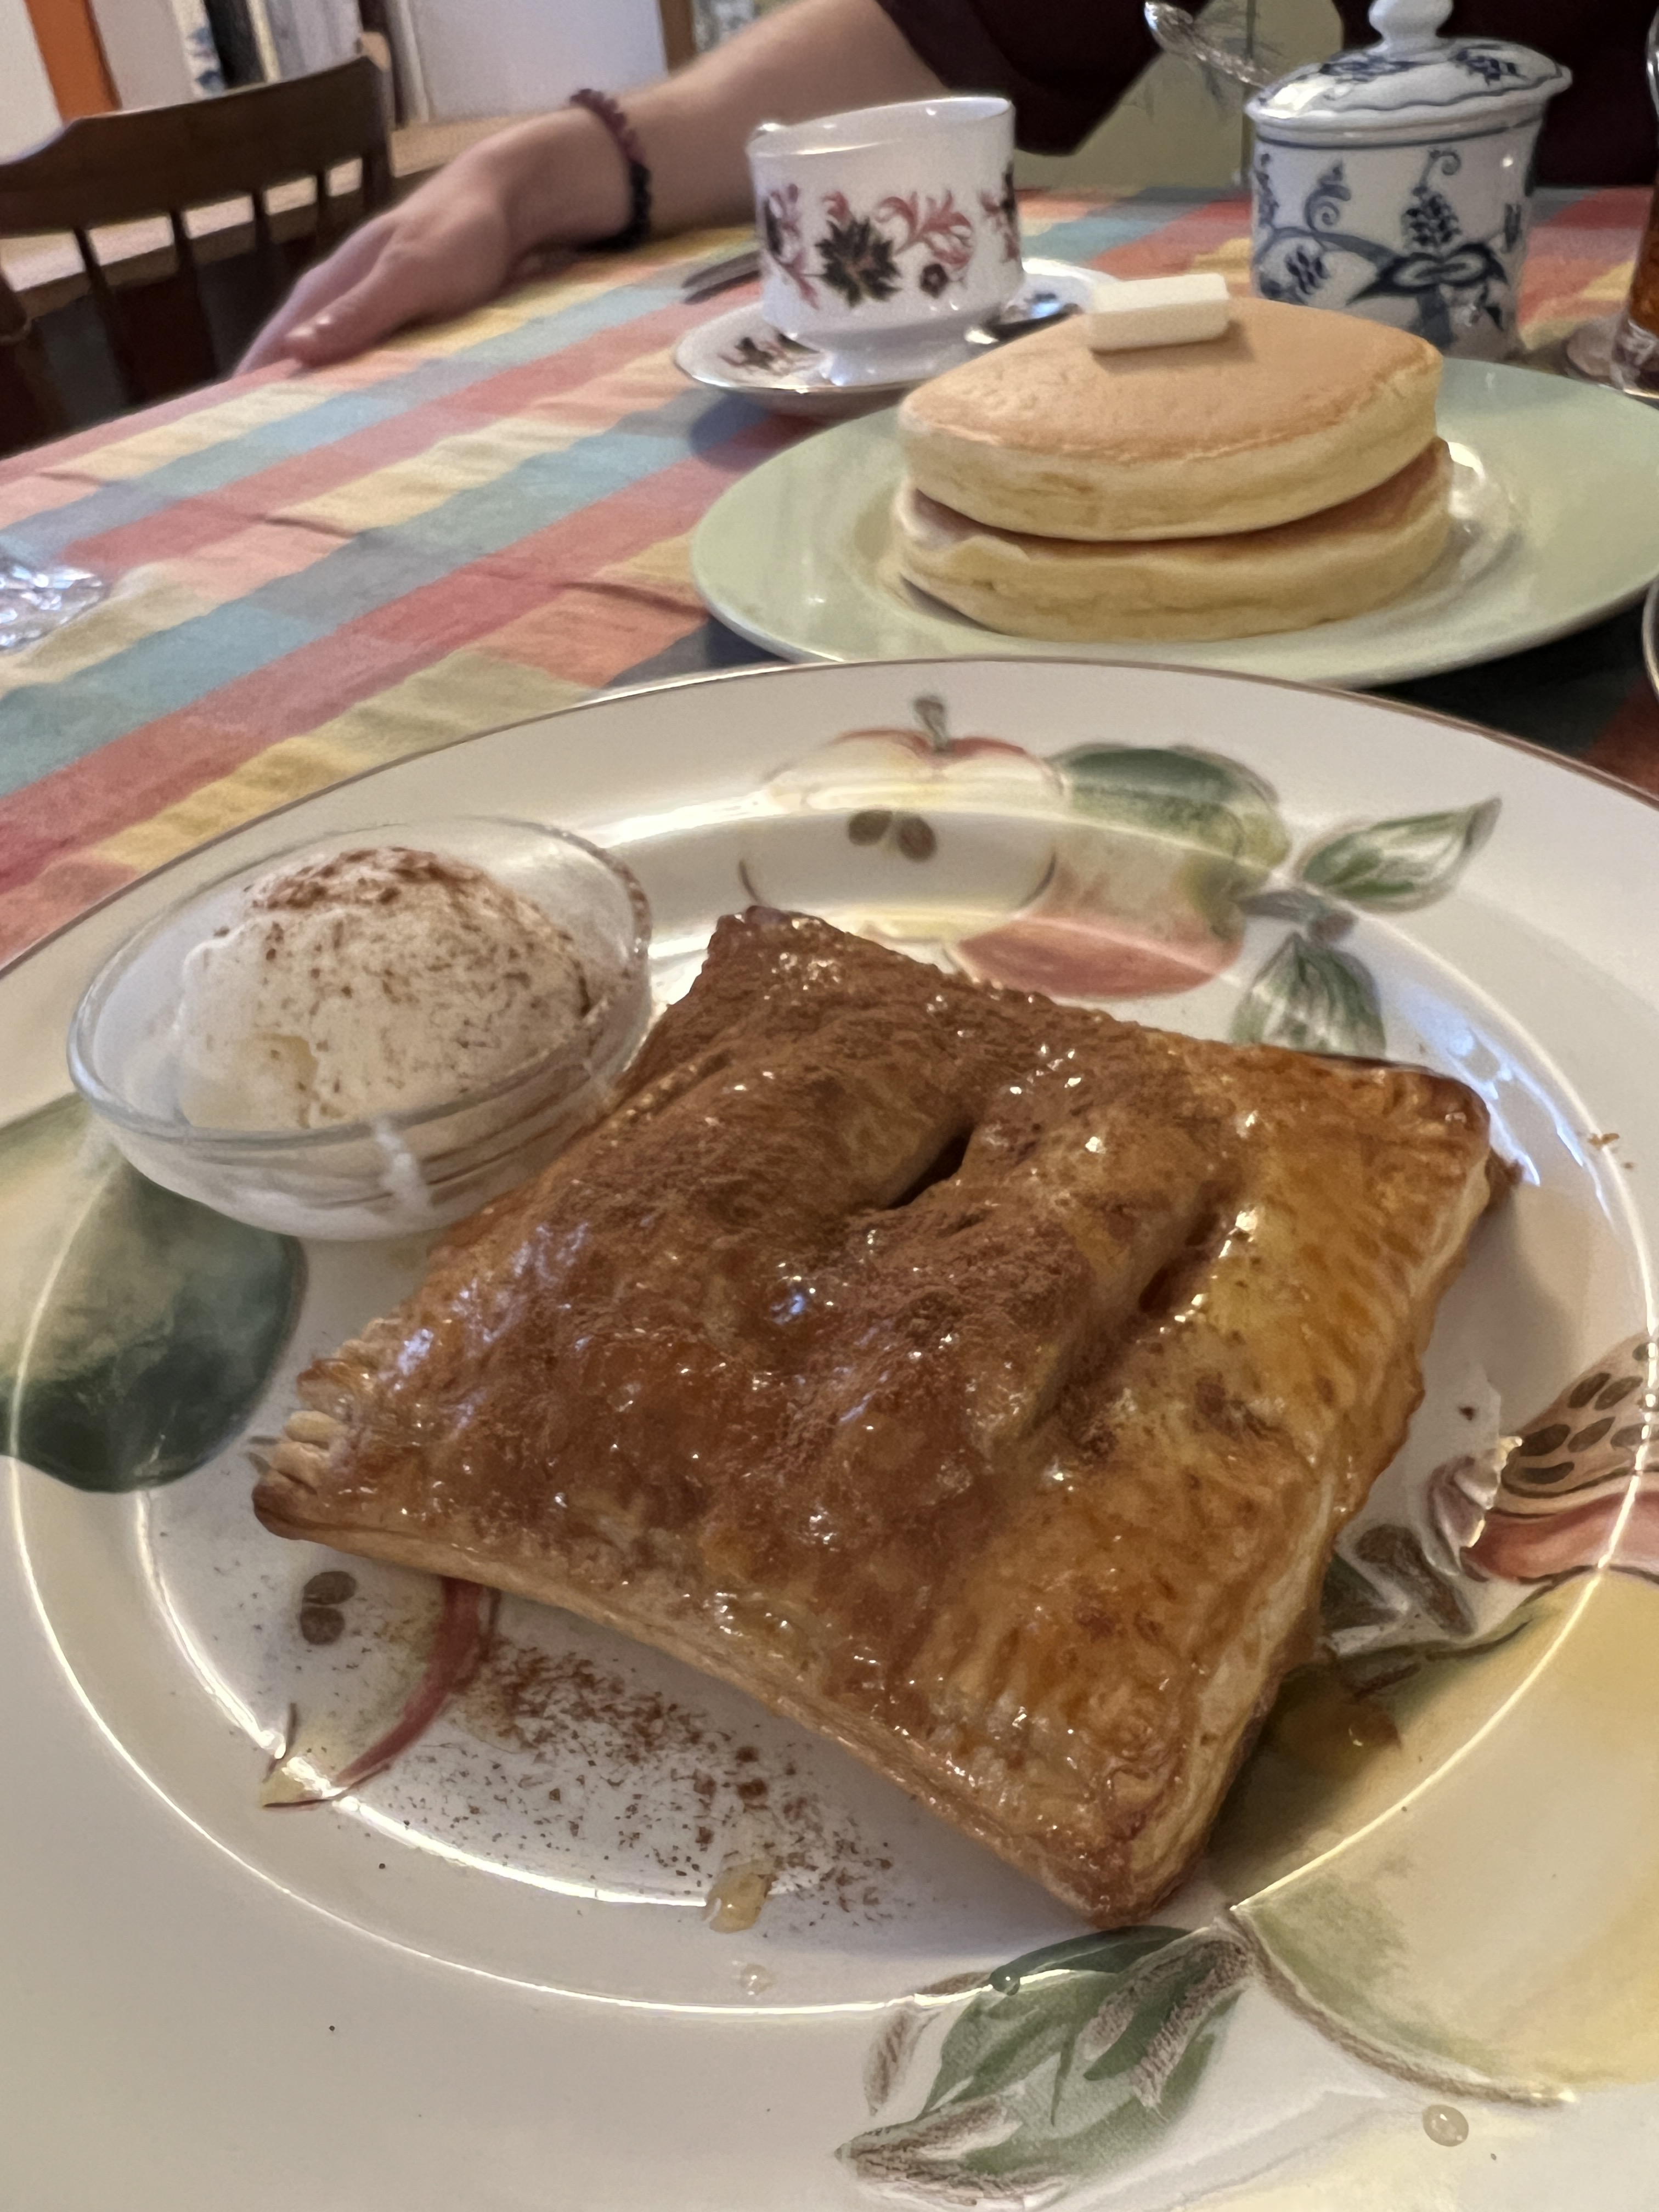
Our next stop was breakfast at the coziest little café called Botanic Coffee. Everything here was made to order – each cup of coffee freshly brewed and each order of pancakes made from scratch starting with the bag of flour every time. If you are in this area around breakfast time, I highly recommend checking out this café!
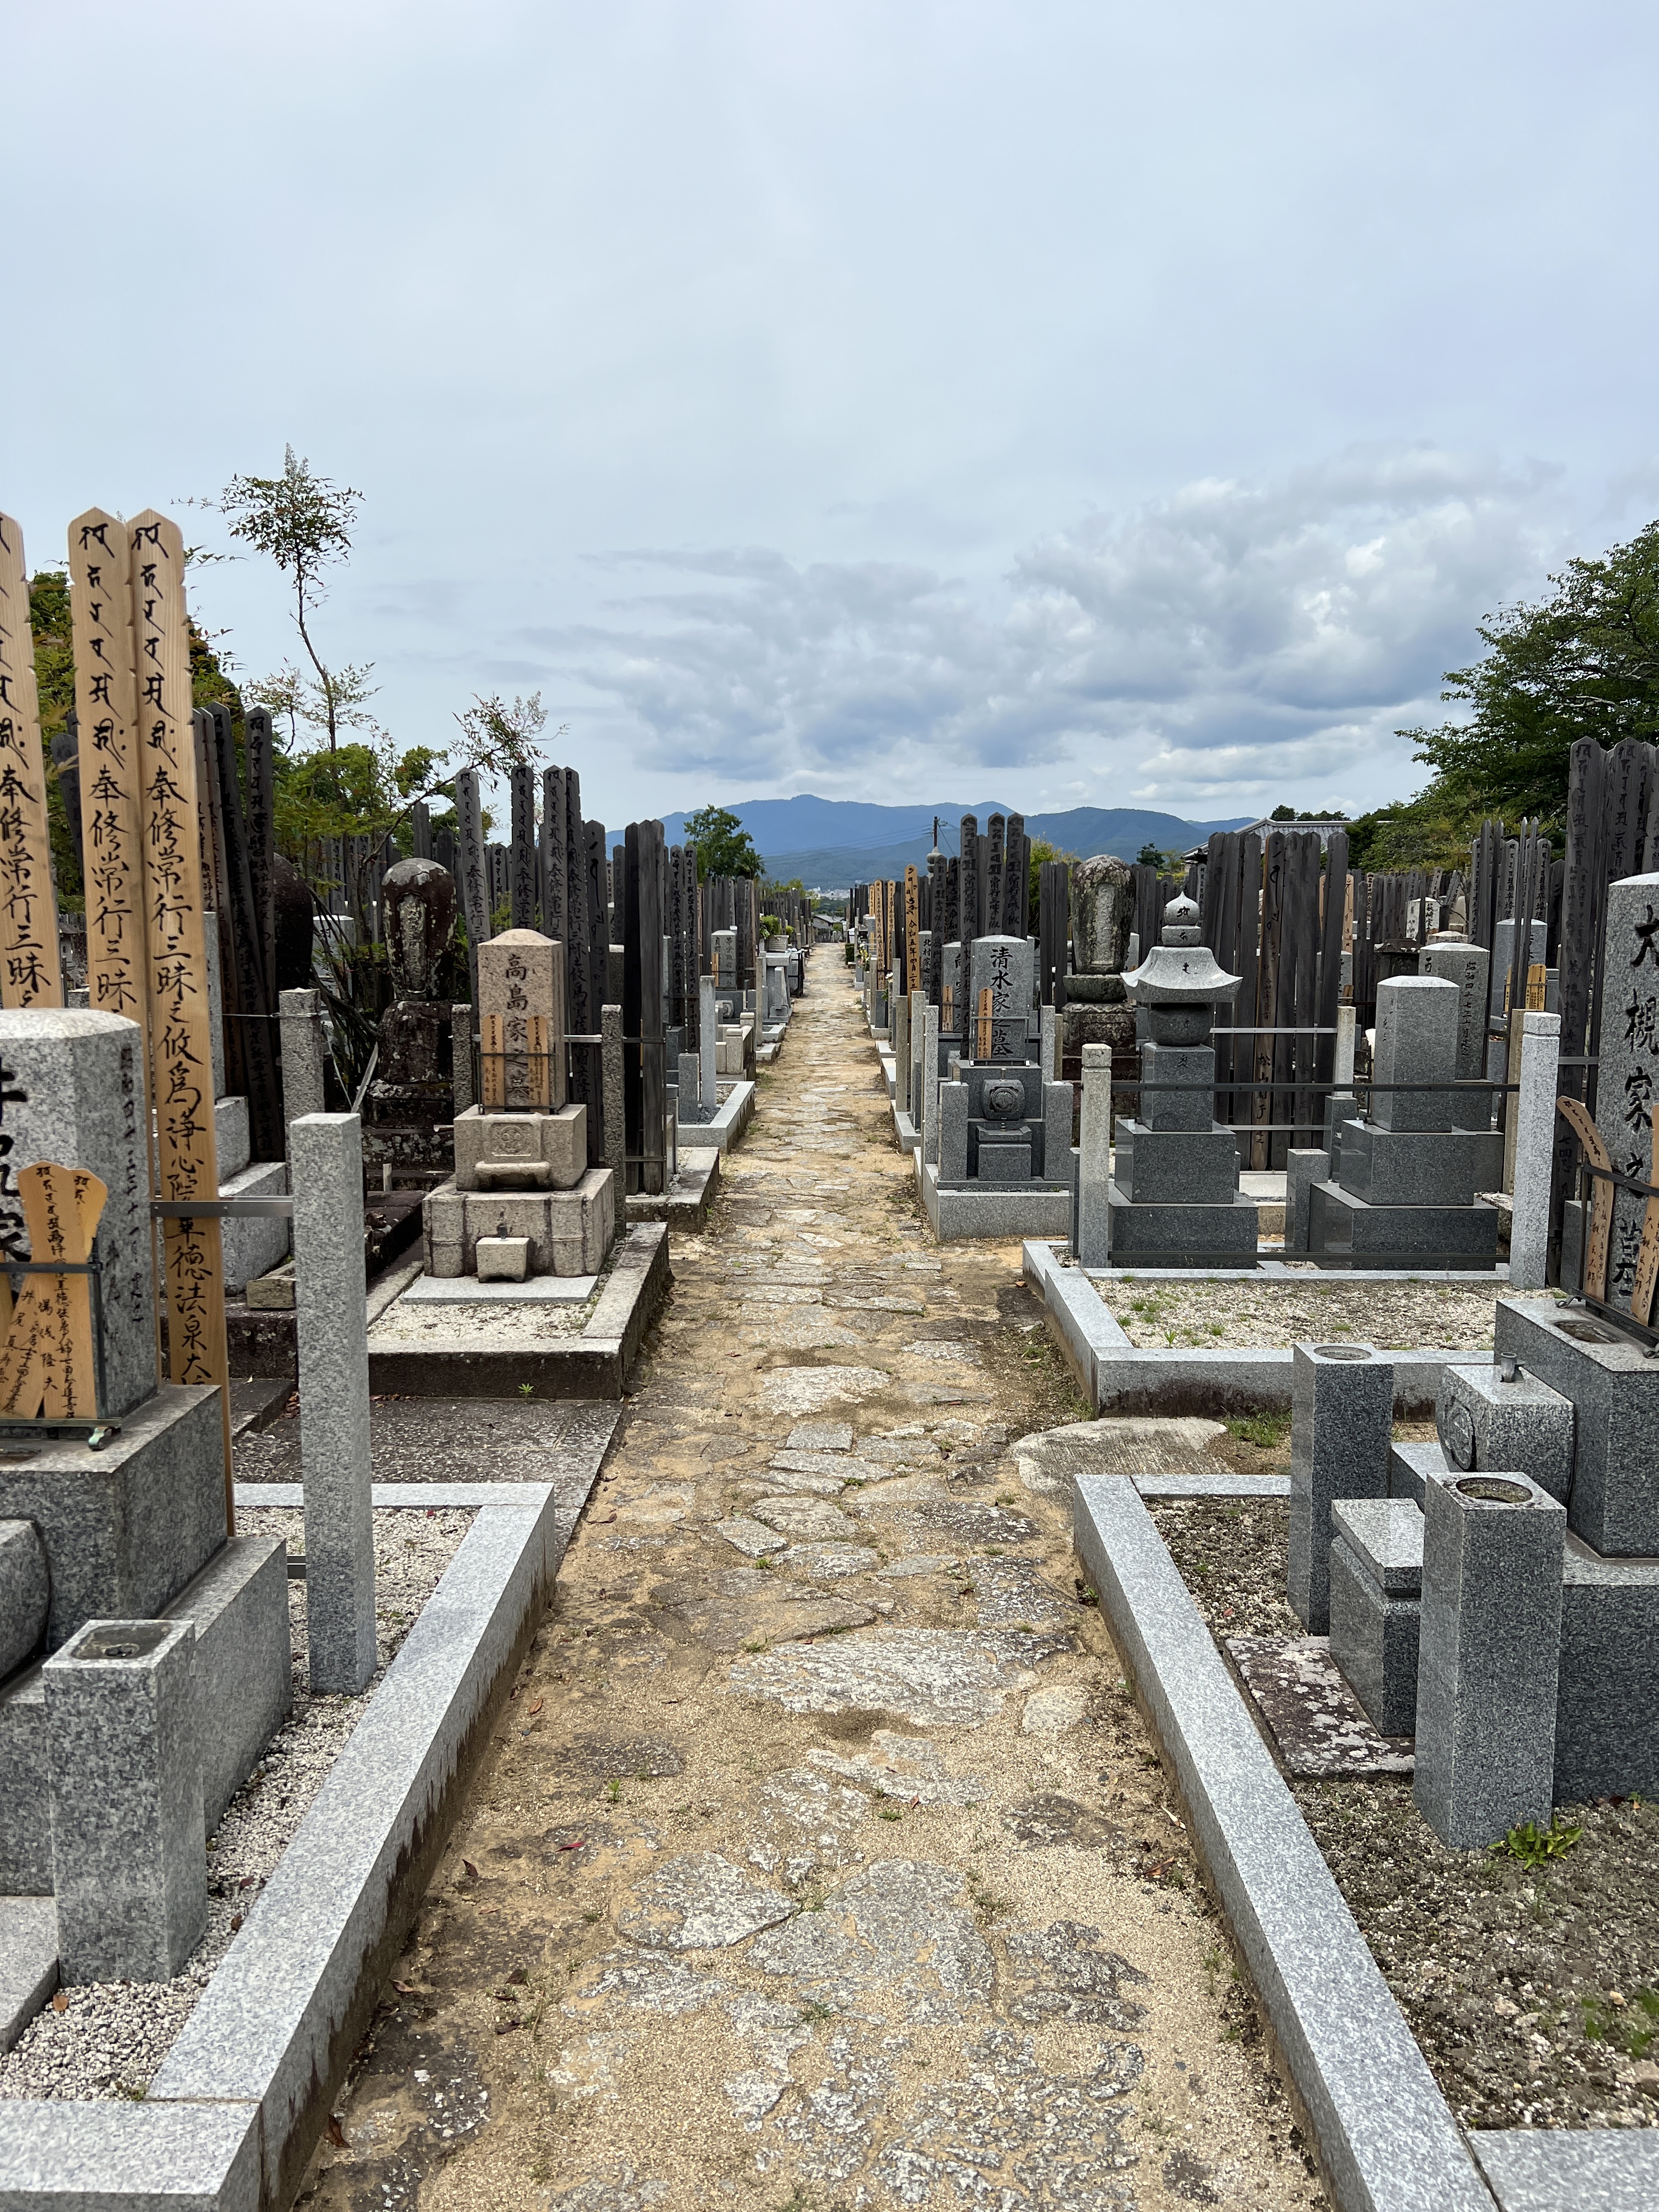
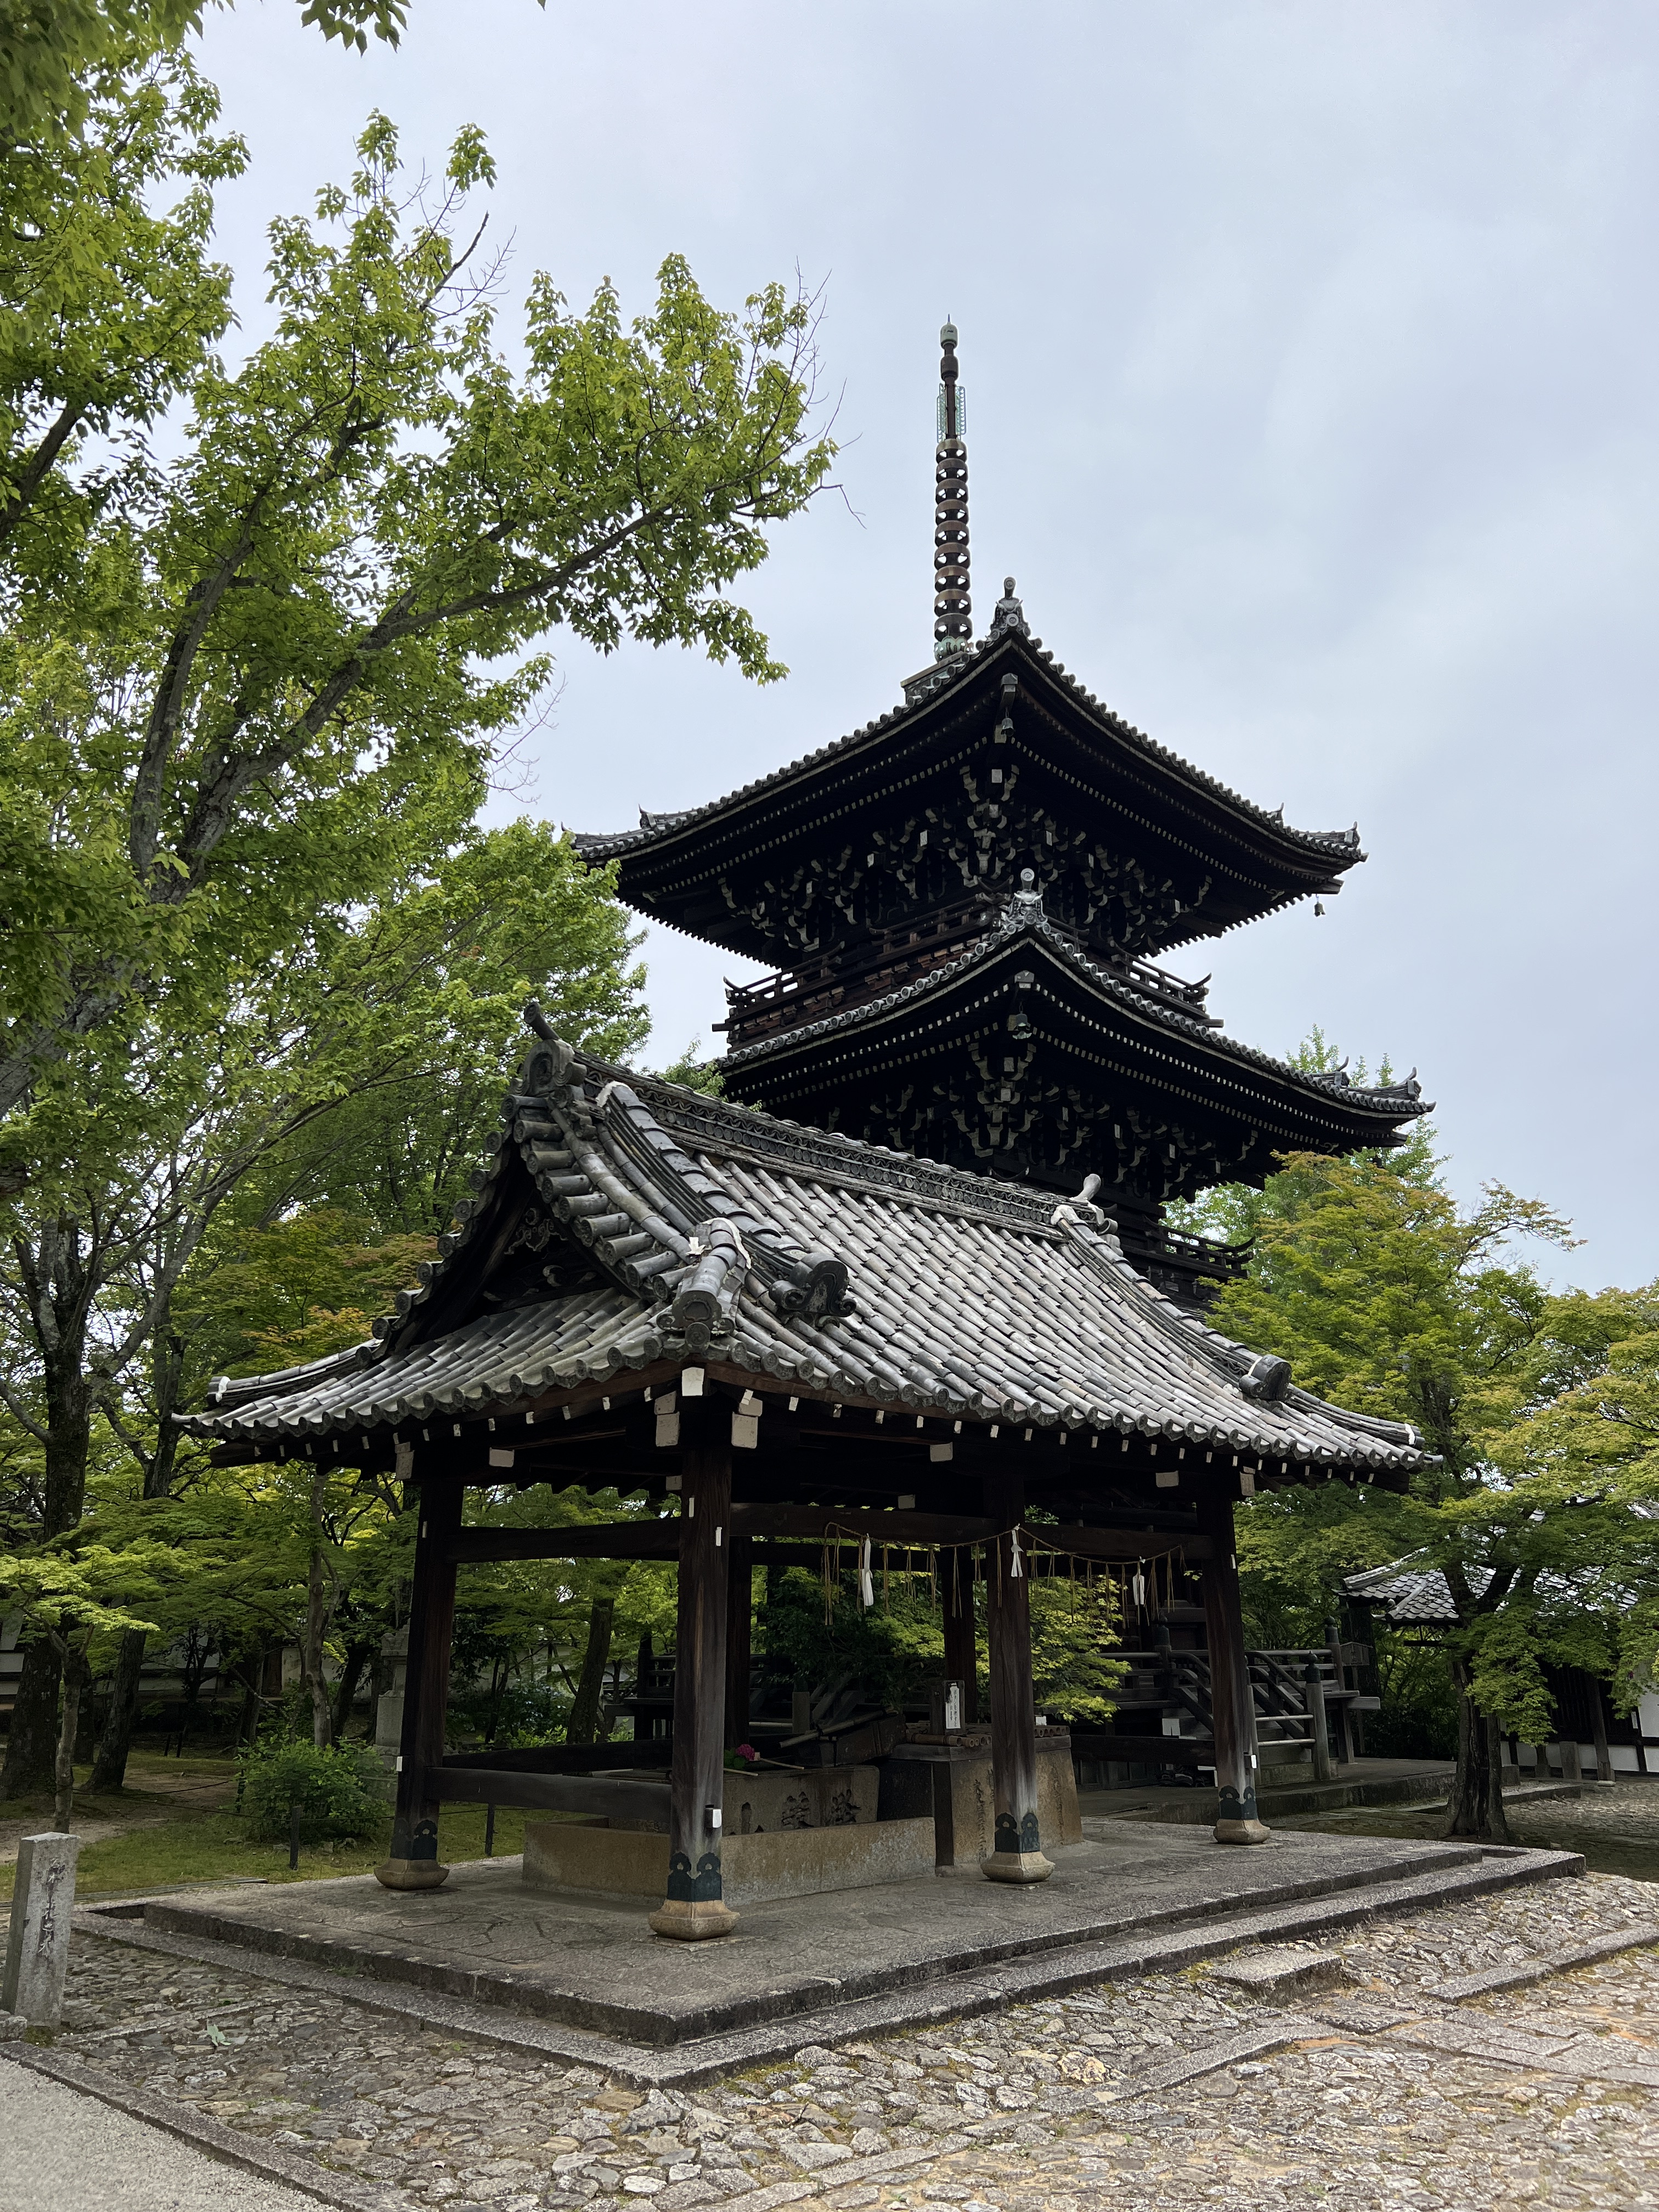
Next we went to the temples at Yoshida Hill, a little hill with a few temple complexes on top all clustered together. There are beautiful hydrangea gardens, buddha statues, impressive pagodas, and a cemetery. This hill is worth the walk through!
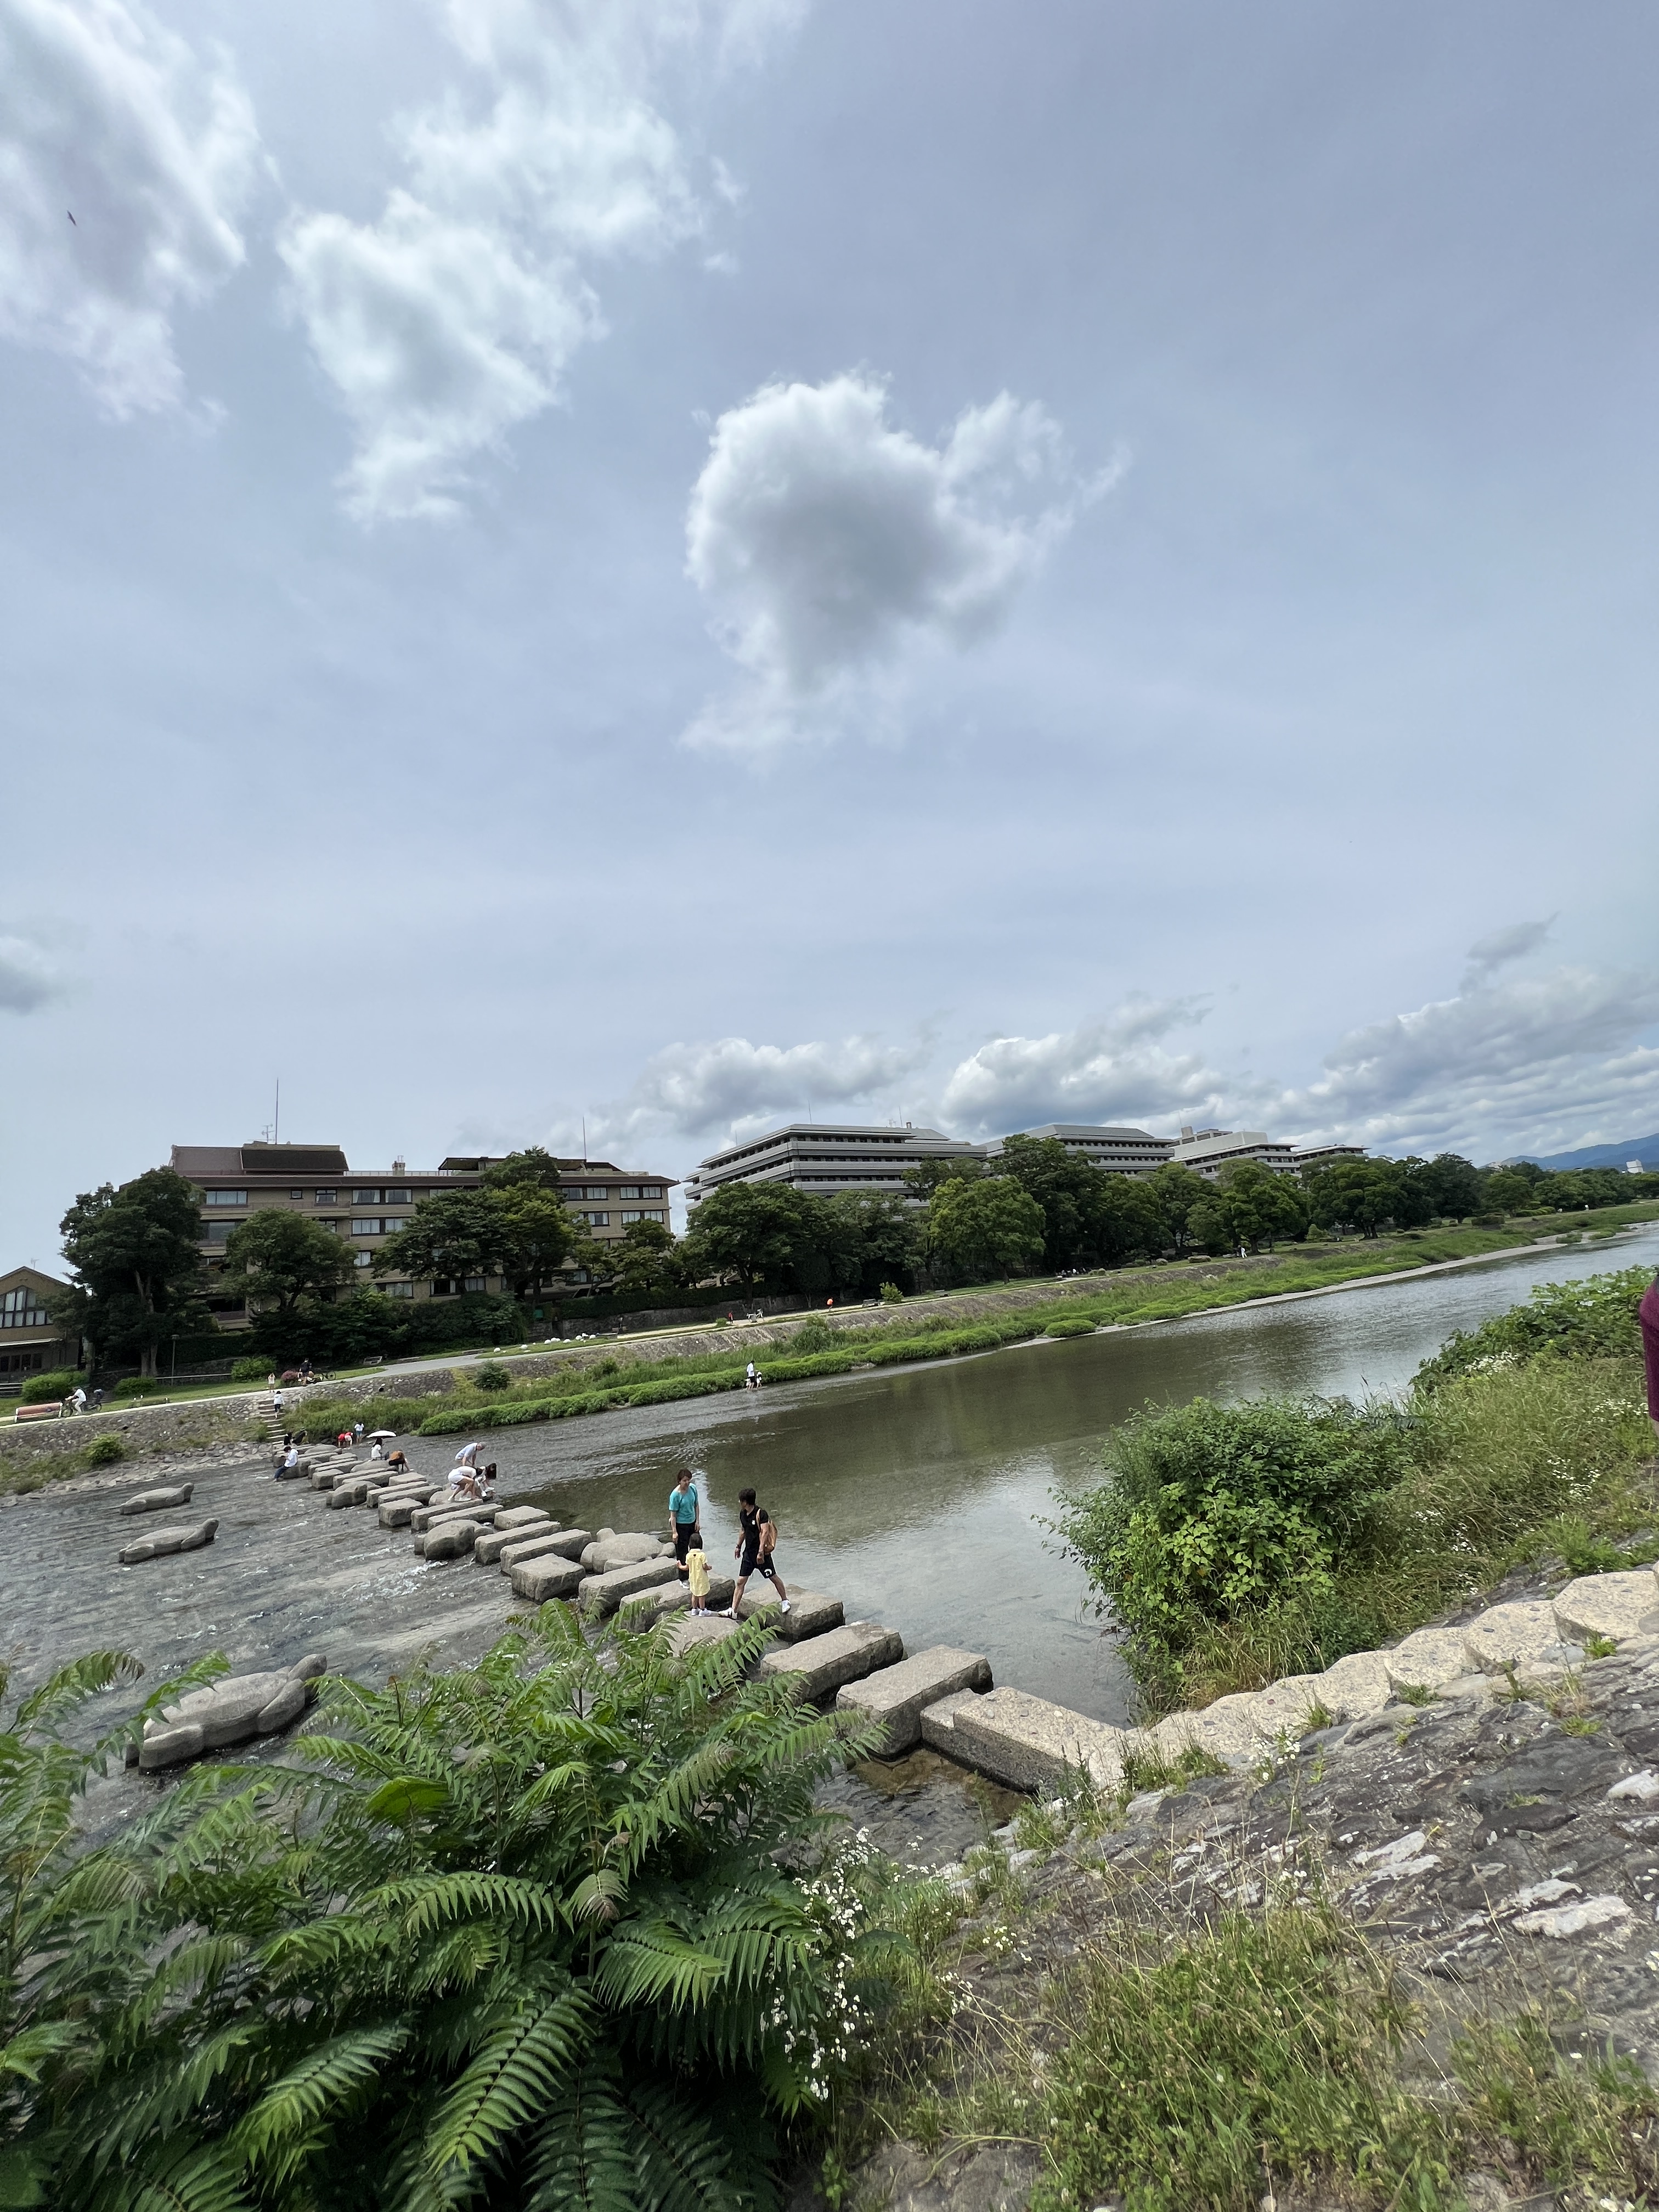
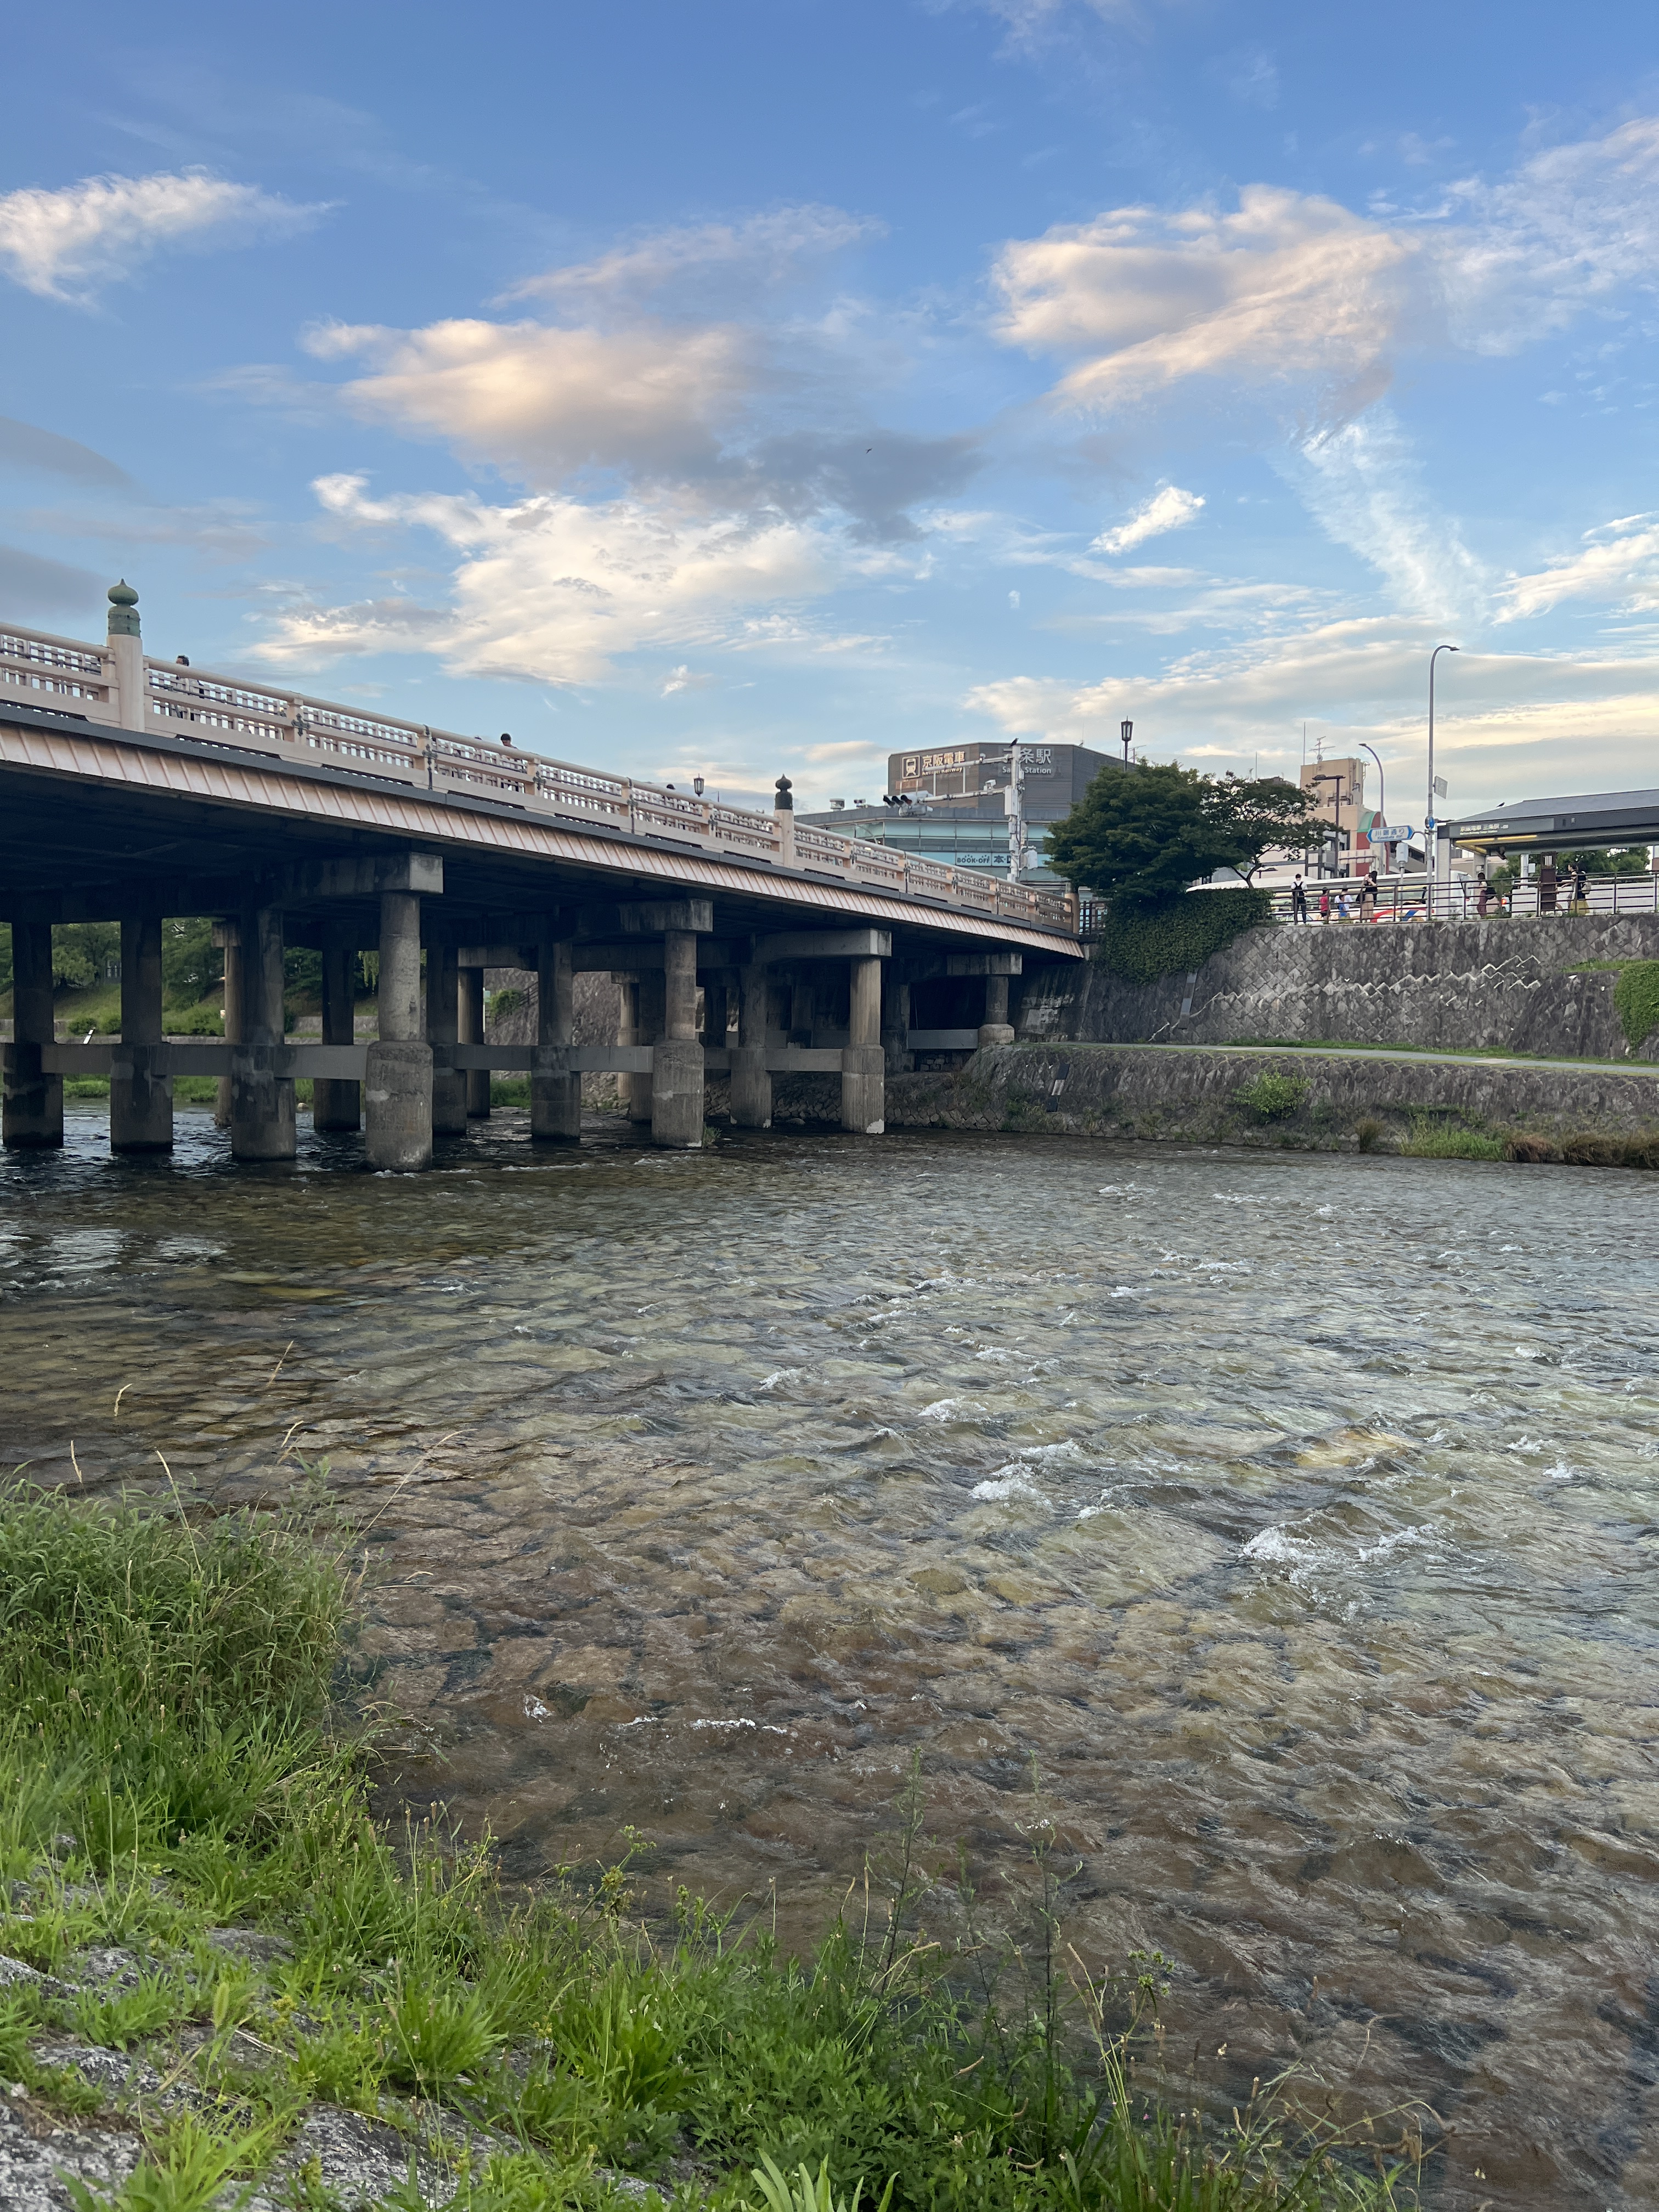
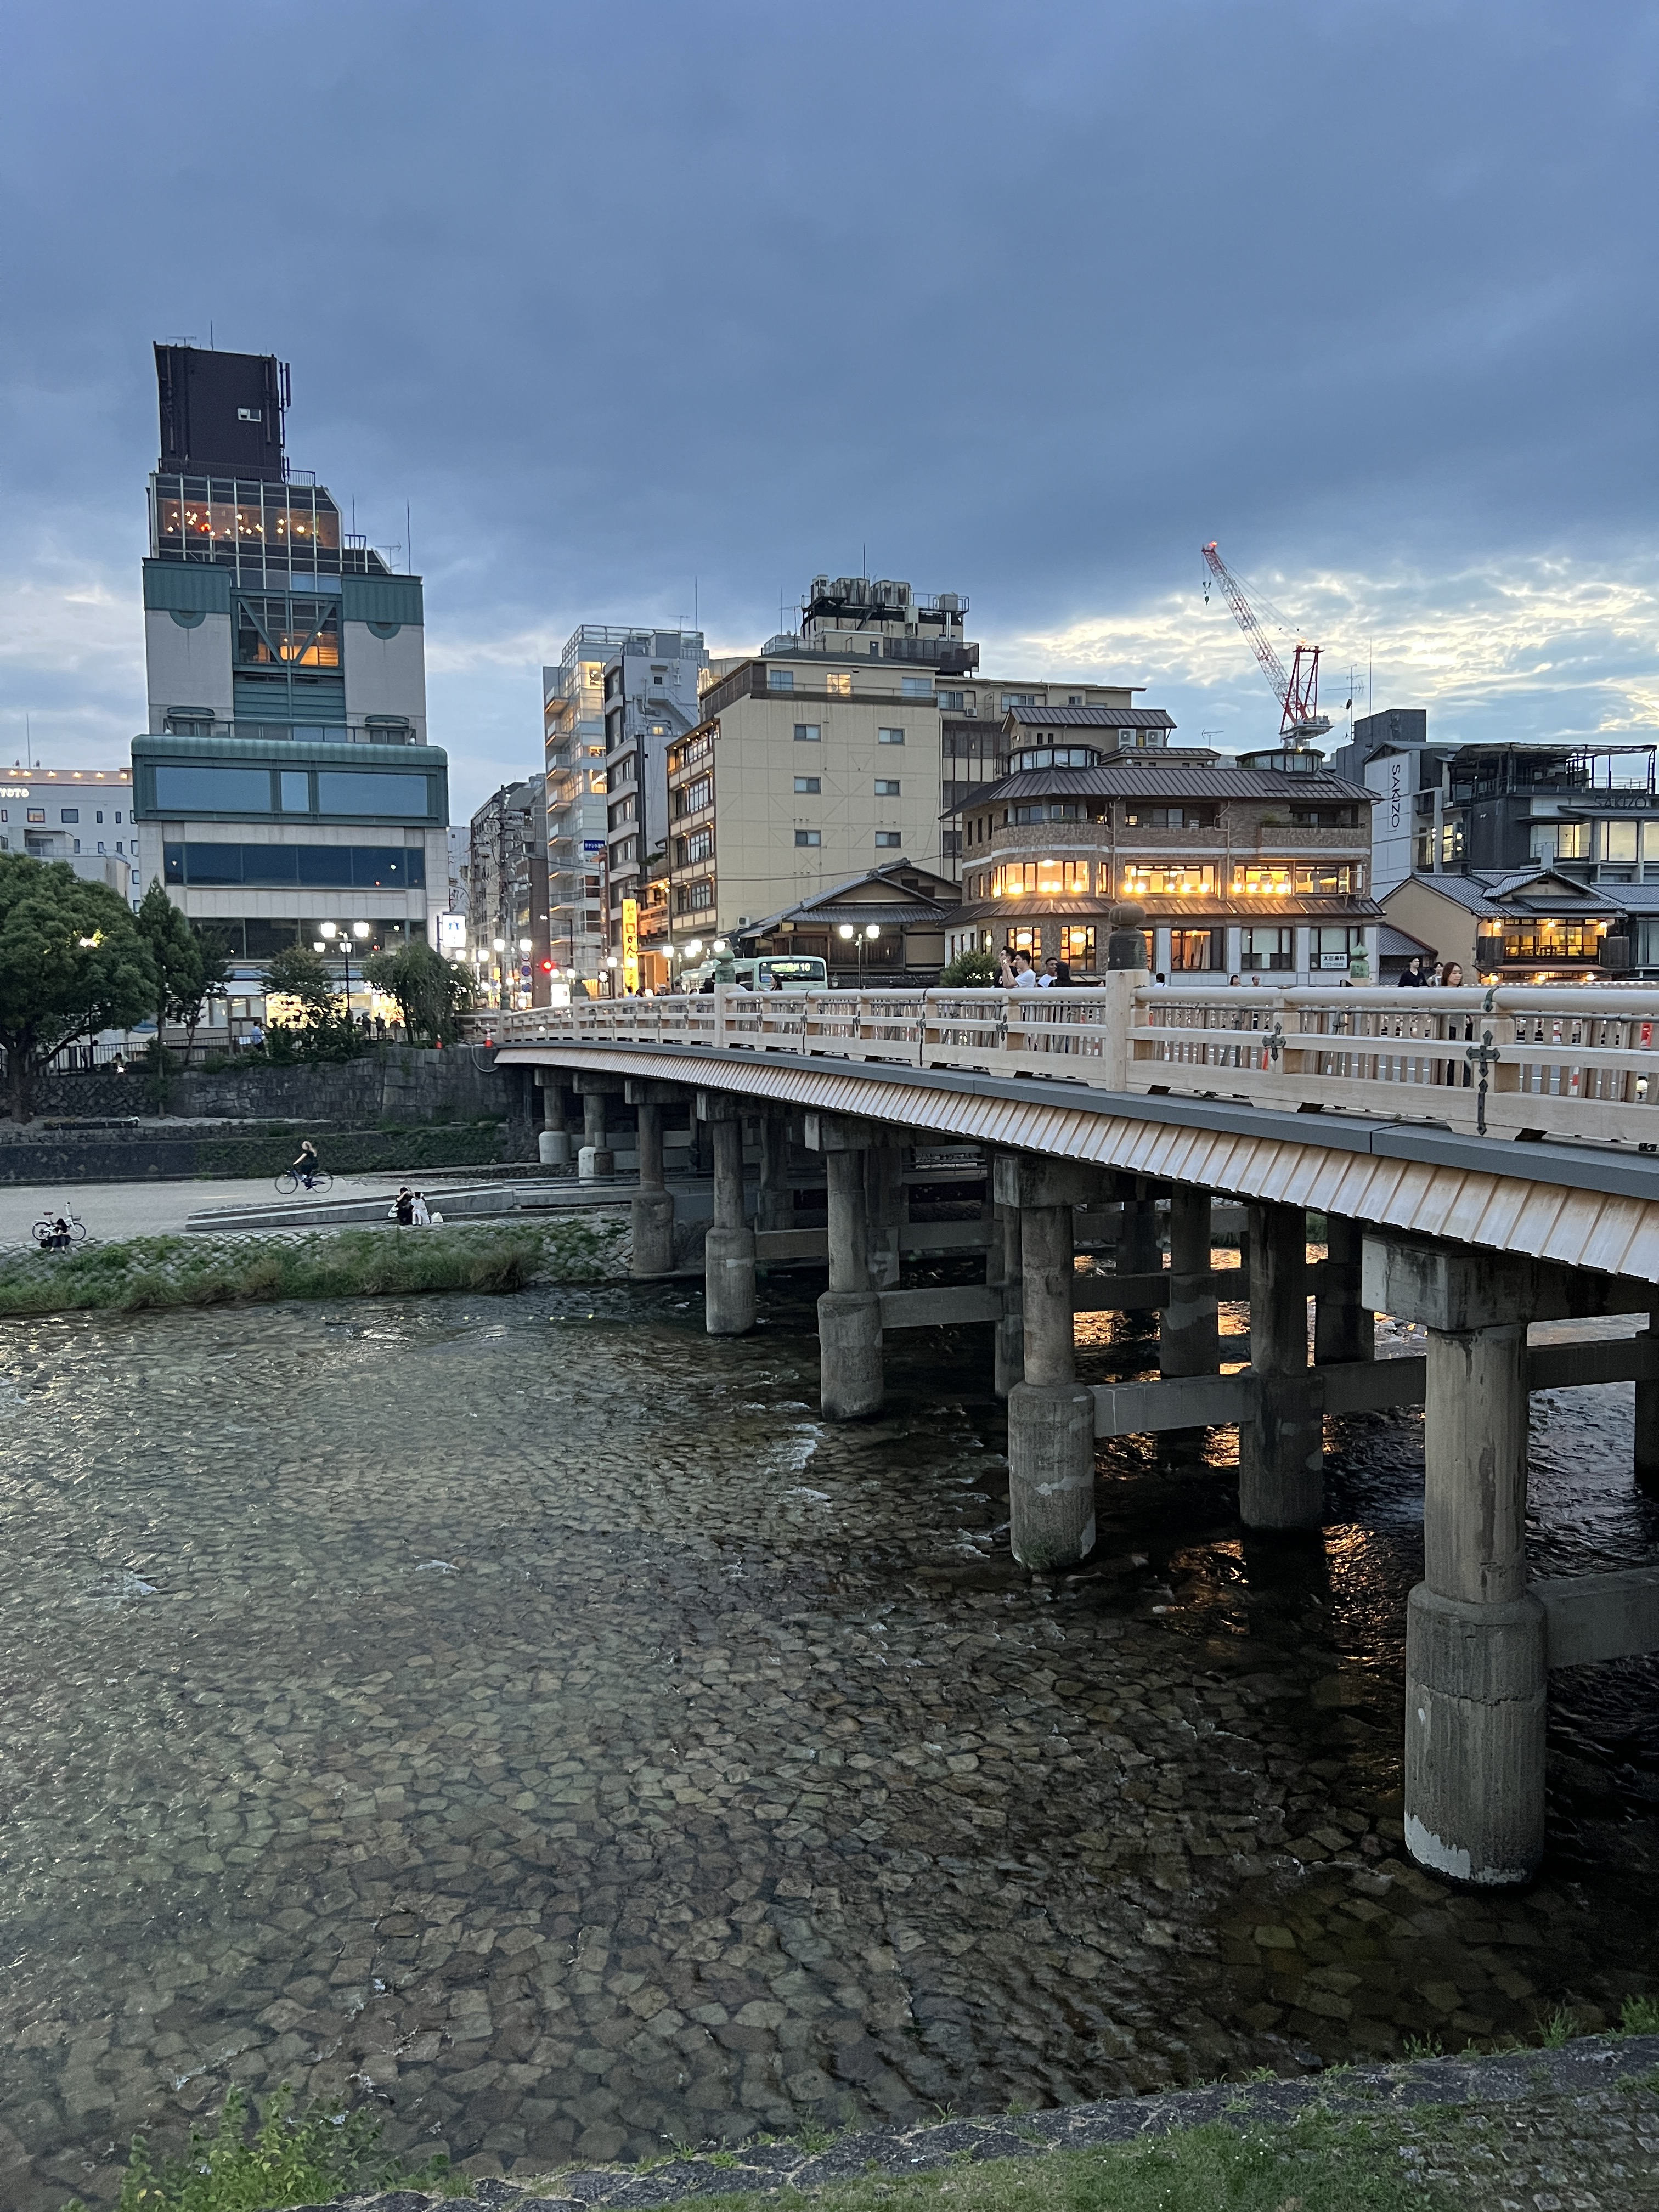
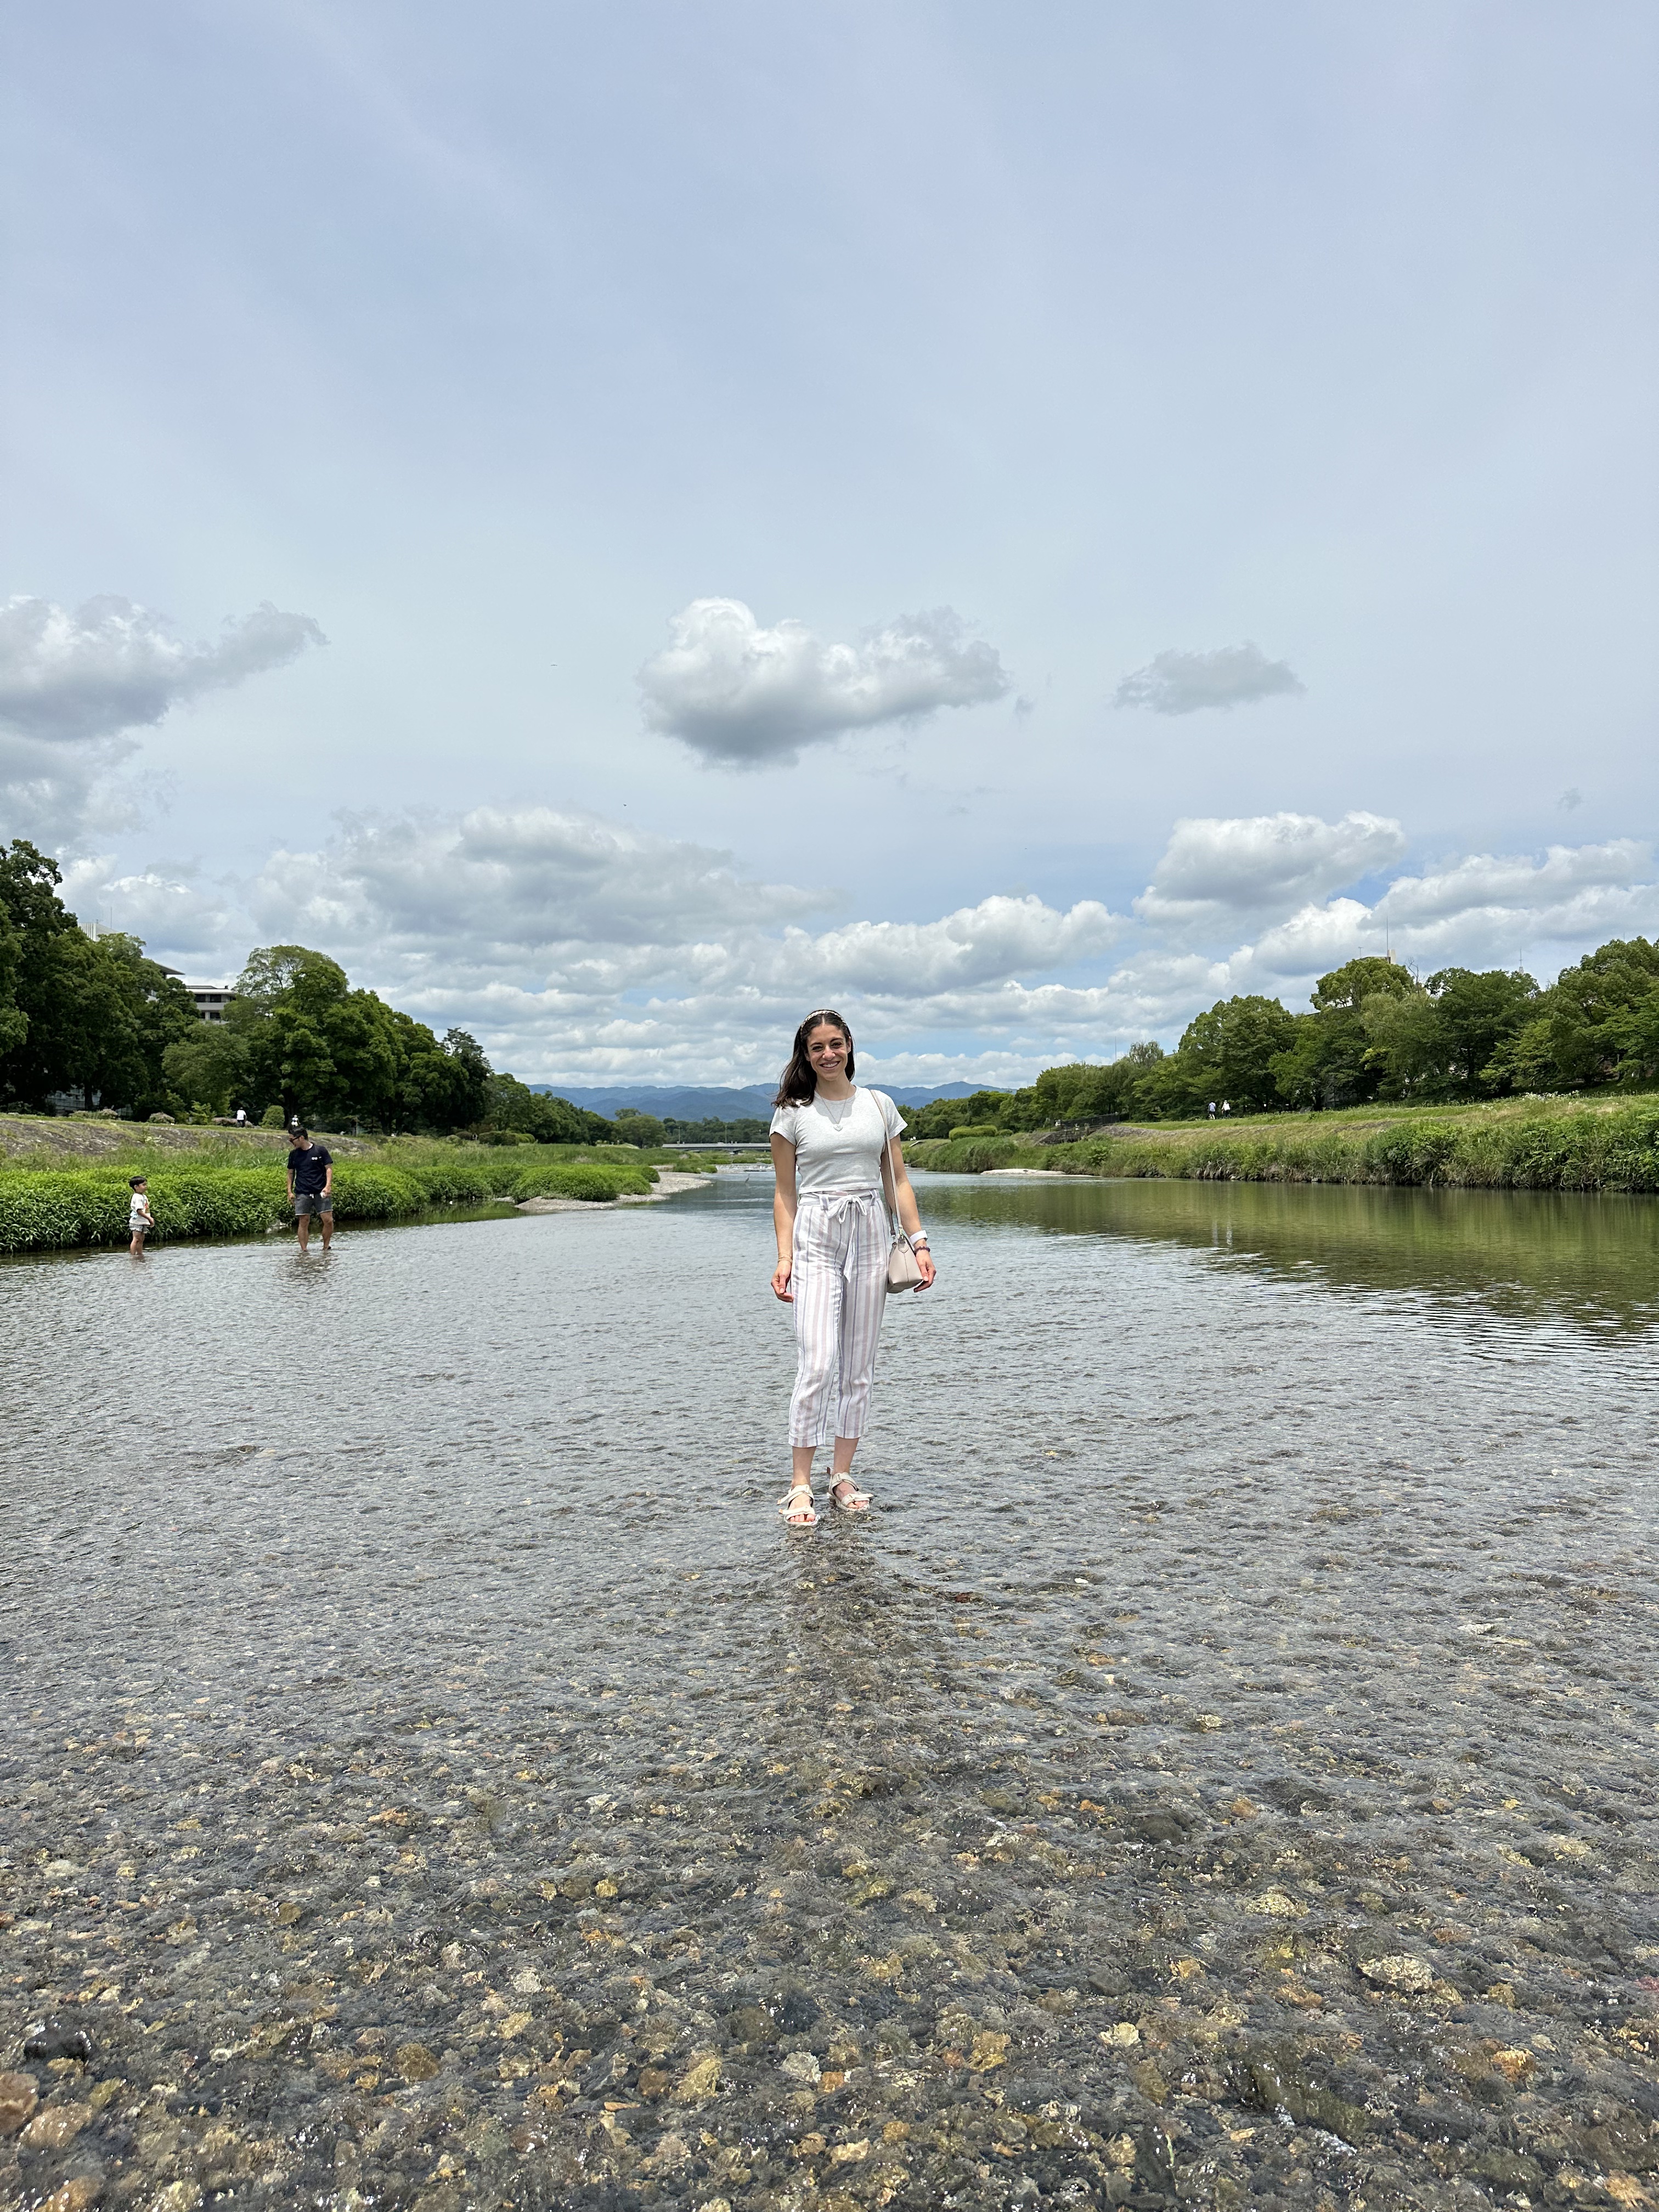
We started to make our way down Yoshida Hill and towards the Kyoto Imperial Palace and we found ourselves at the Kamogawa river. There is a bridge that gets you across, but there are also stepping stones that take you across at the water level which is really nice. The water is really shallow so since I was wearing sandals I walked through the water half the way. Unless there is some reason that you cannot use the stepping stones, these would be my recommended way of crossing the river every time!
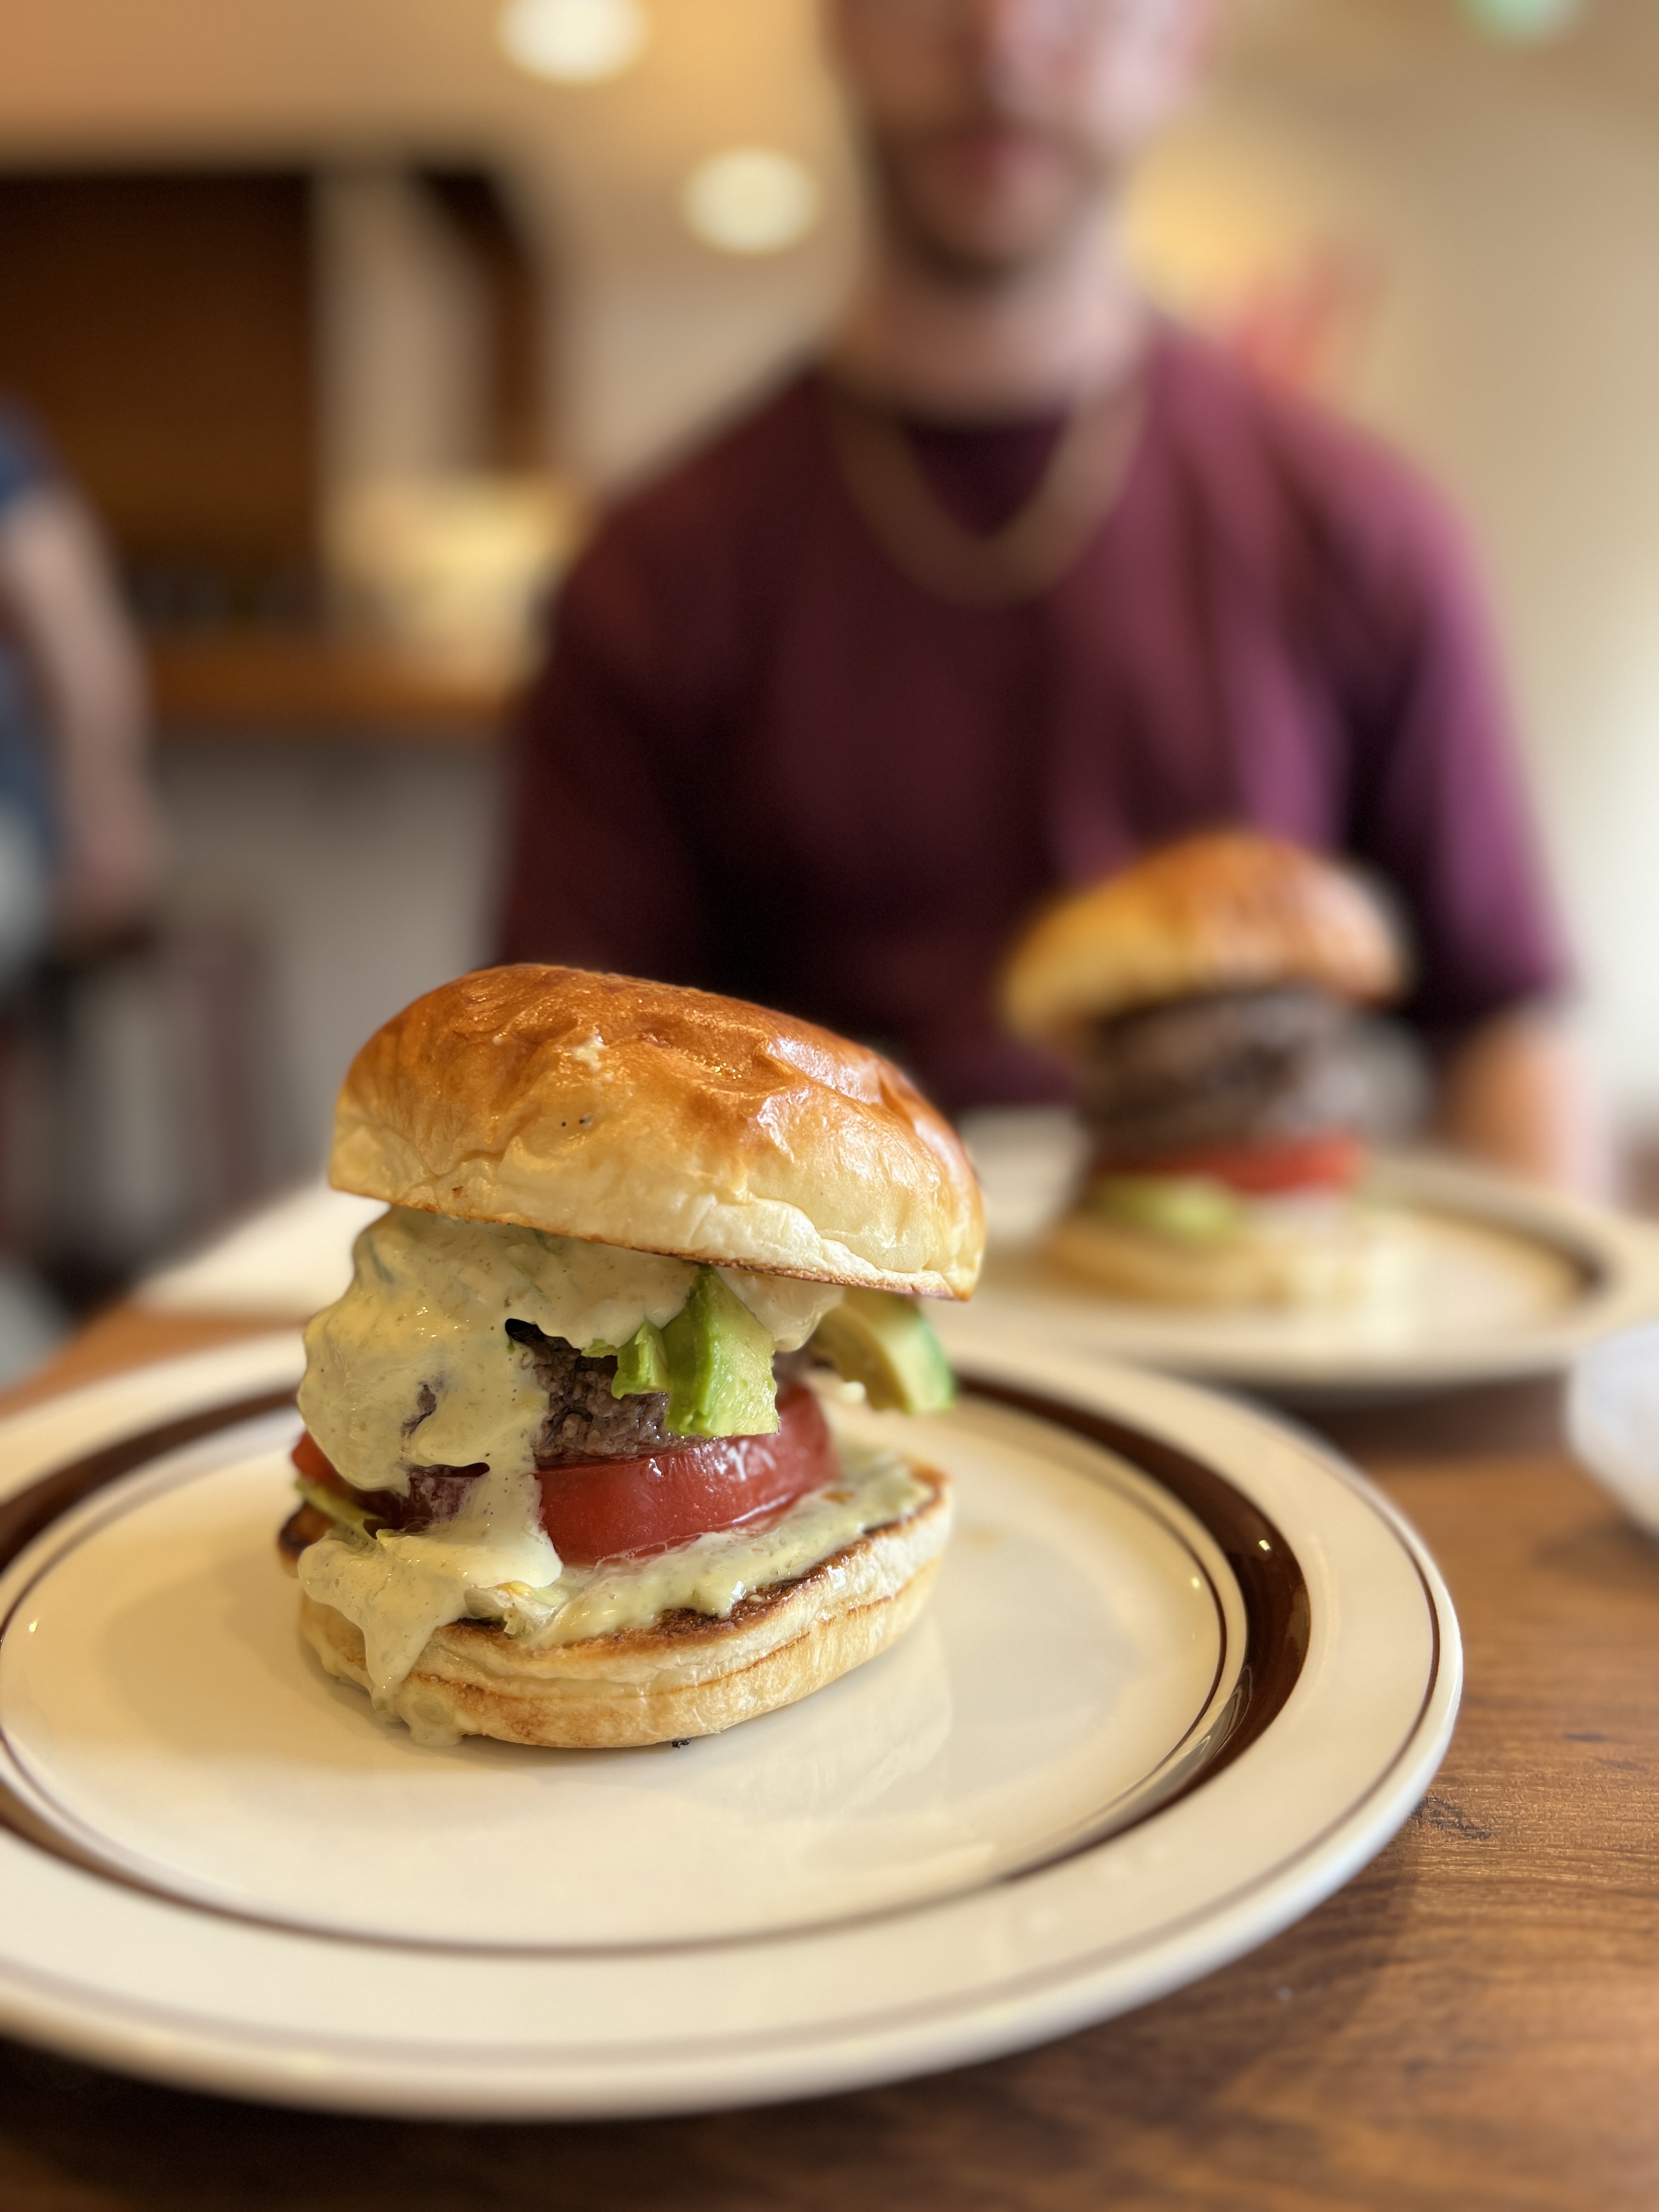
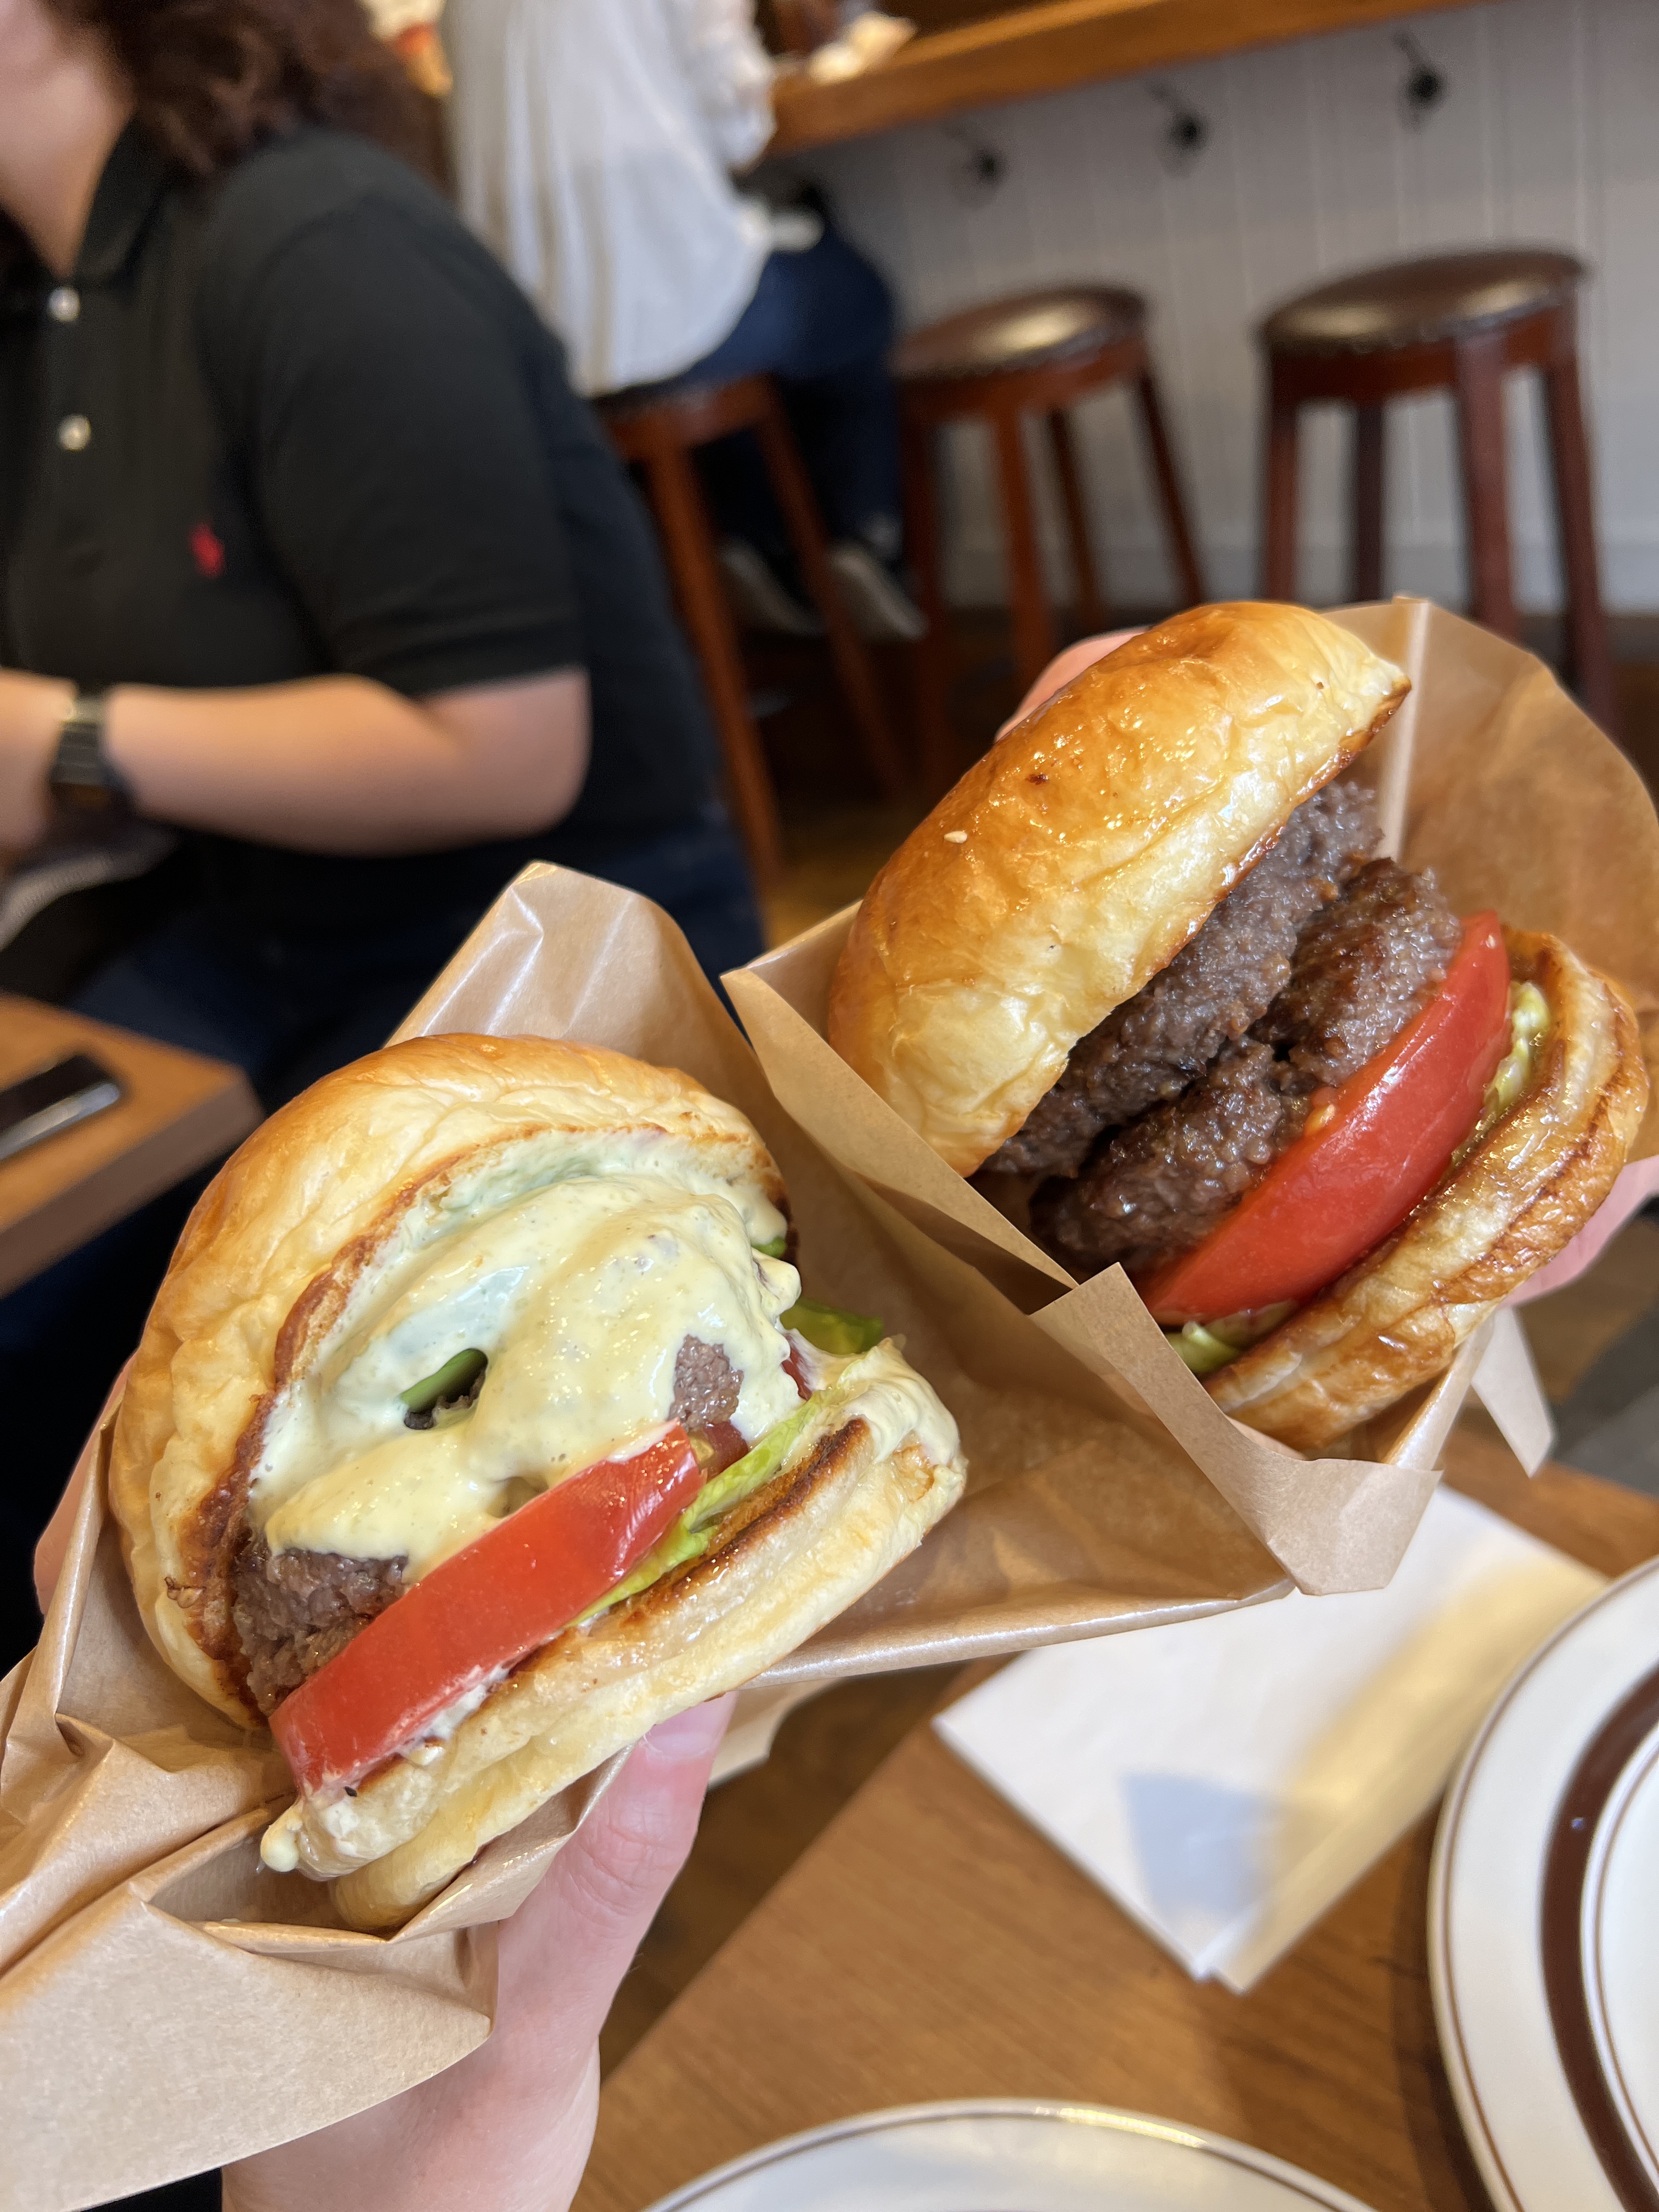
Once across, we continued to make our way to the Kyoto Imperial Palace and got distracted by a burger spot right outside of the entrance to the palace complex. We decided to stop for lunch, as it somehow already was after 12 PM and we had walked probably about three hours straight already!.Olu Burger did not disappoint us with its wagyu patties and decadent sauces. Nick got the teriyaki burger with a double wagyu patty, and I got a single patty avocado wasabi burger. These were incredible.
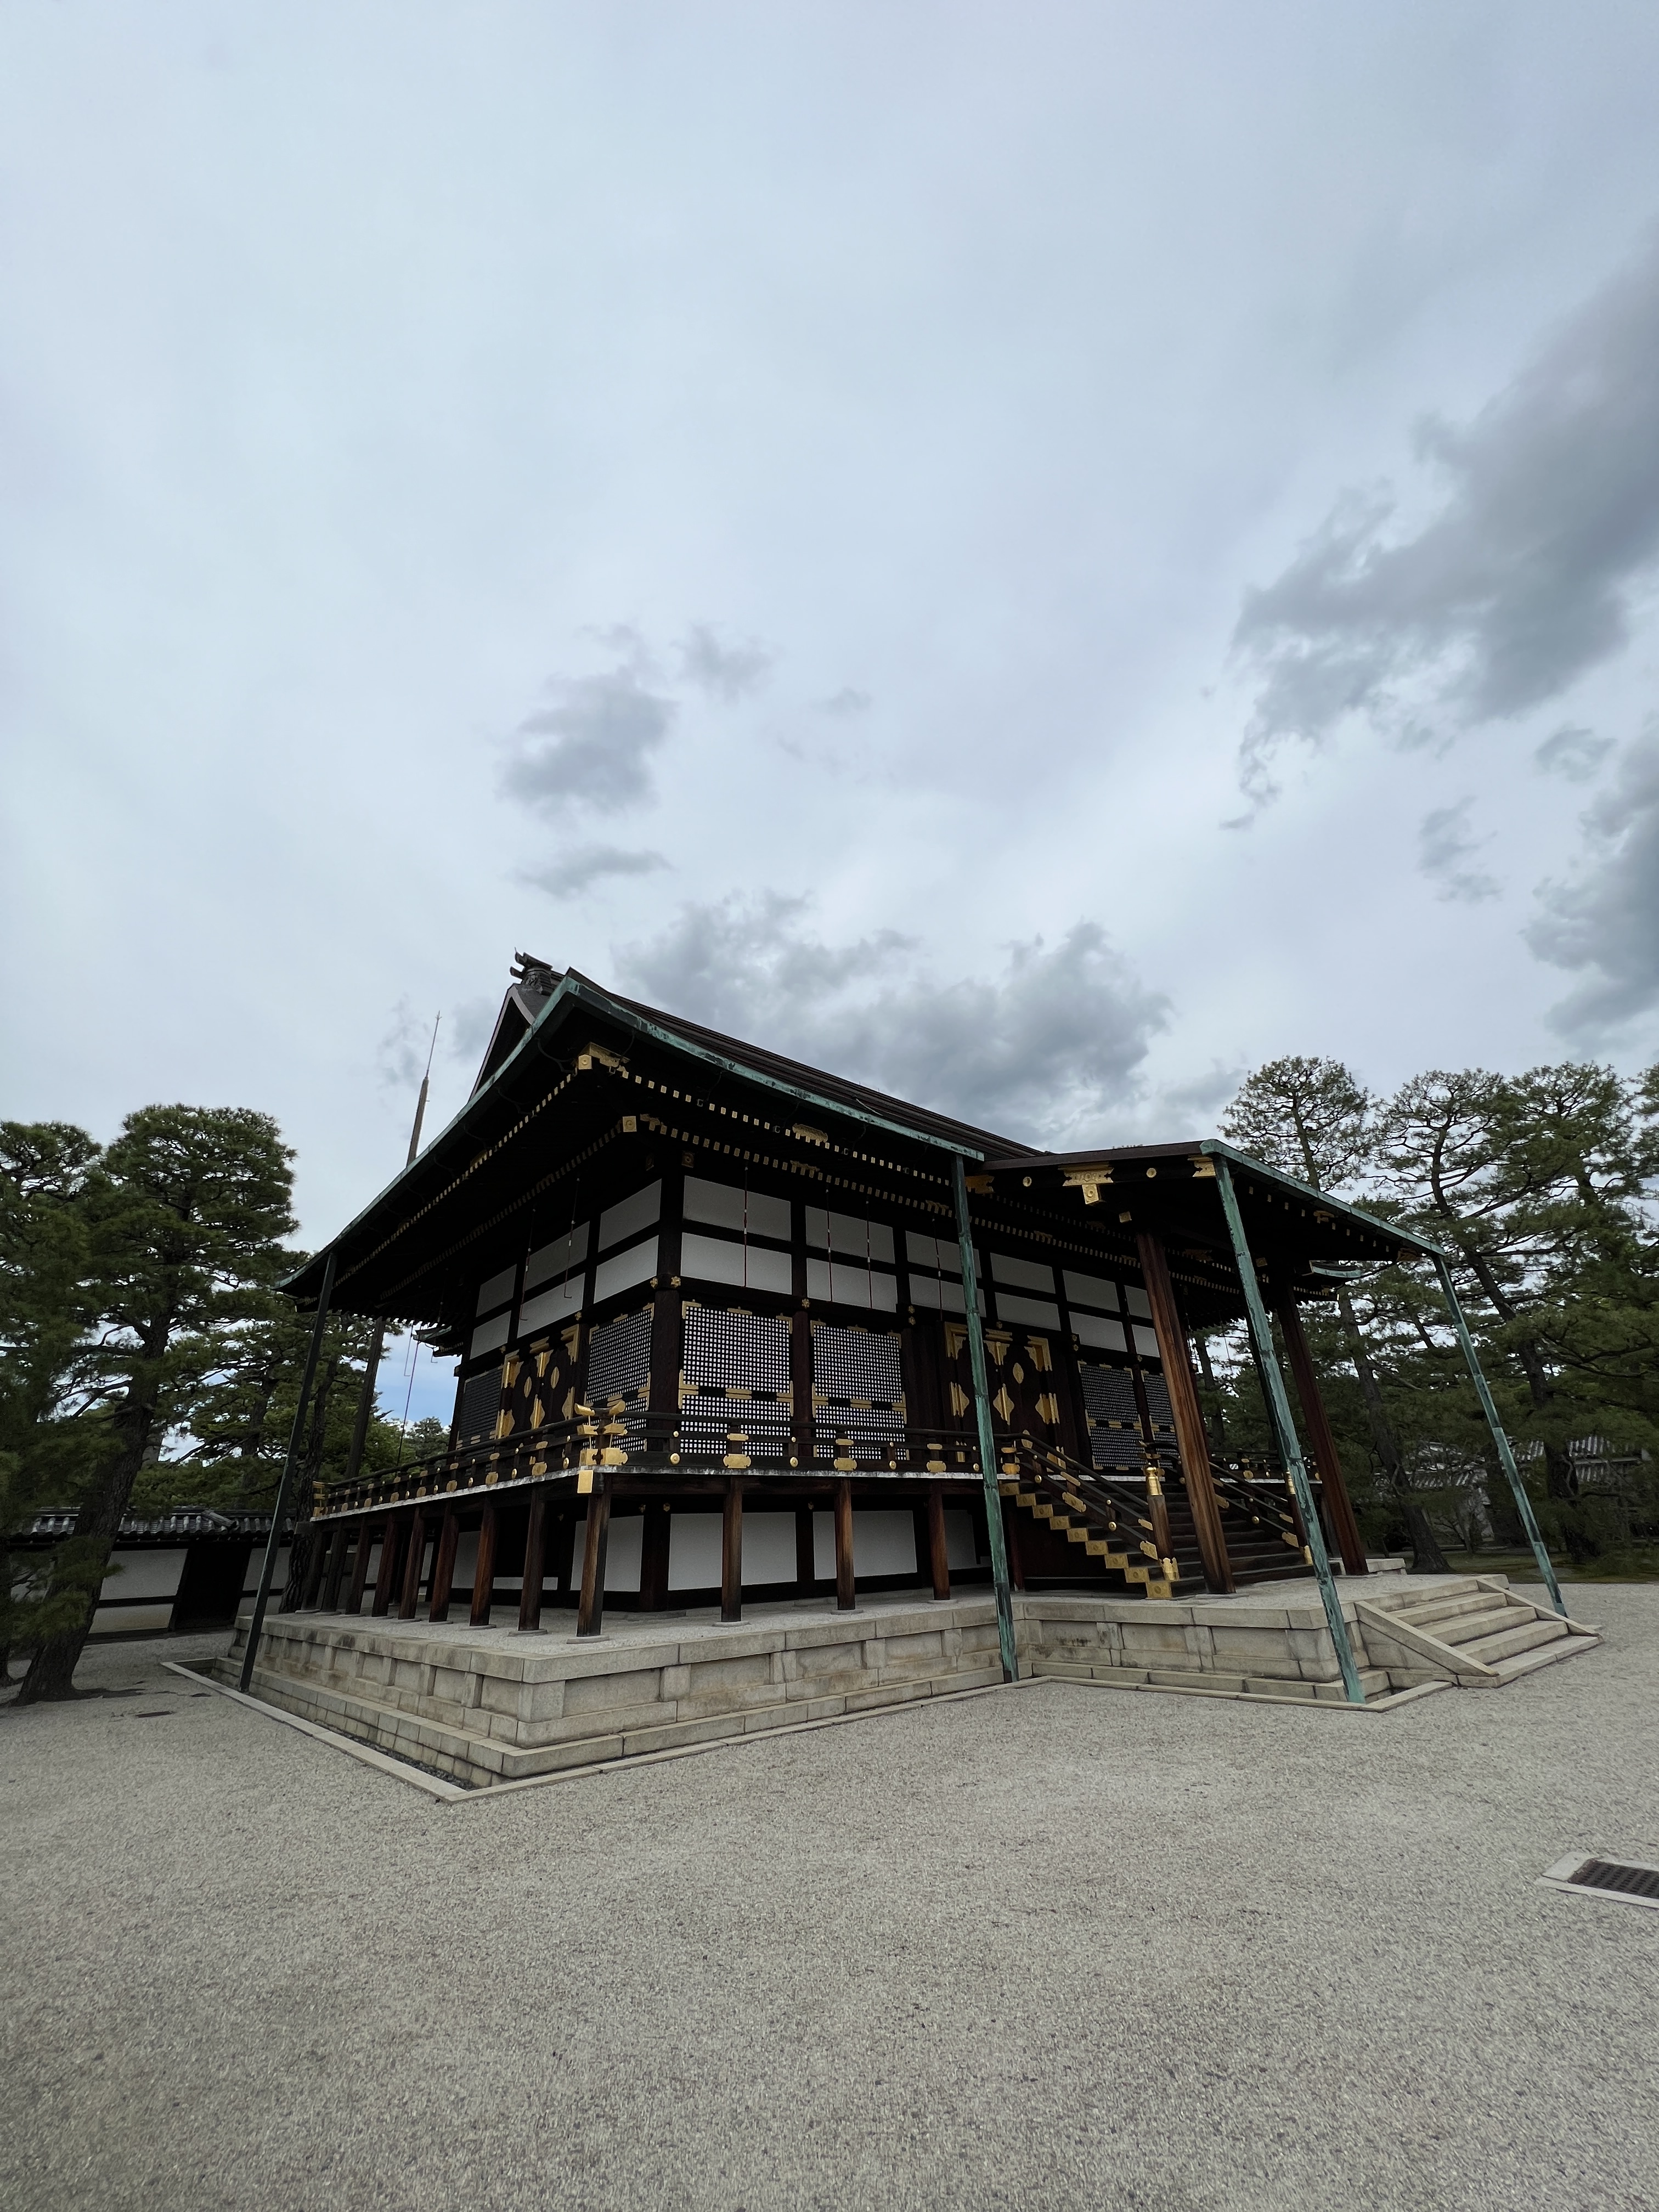
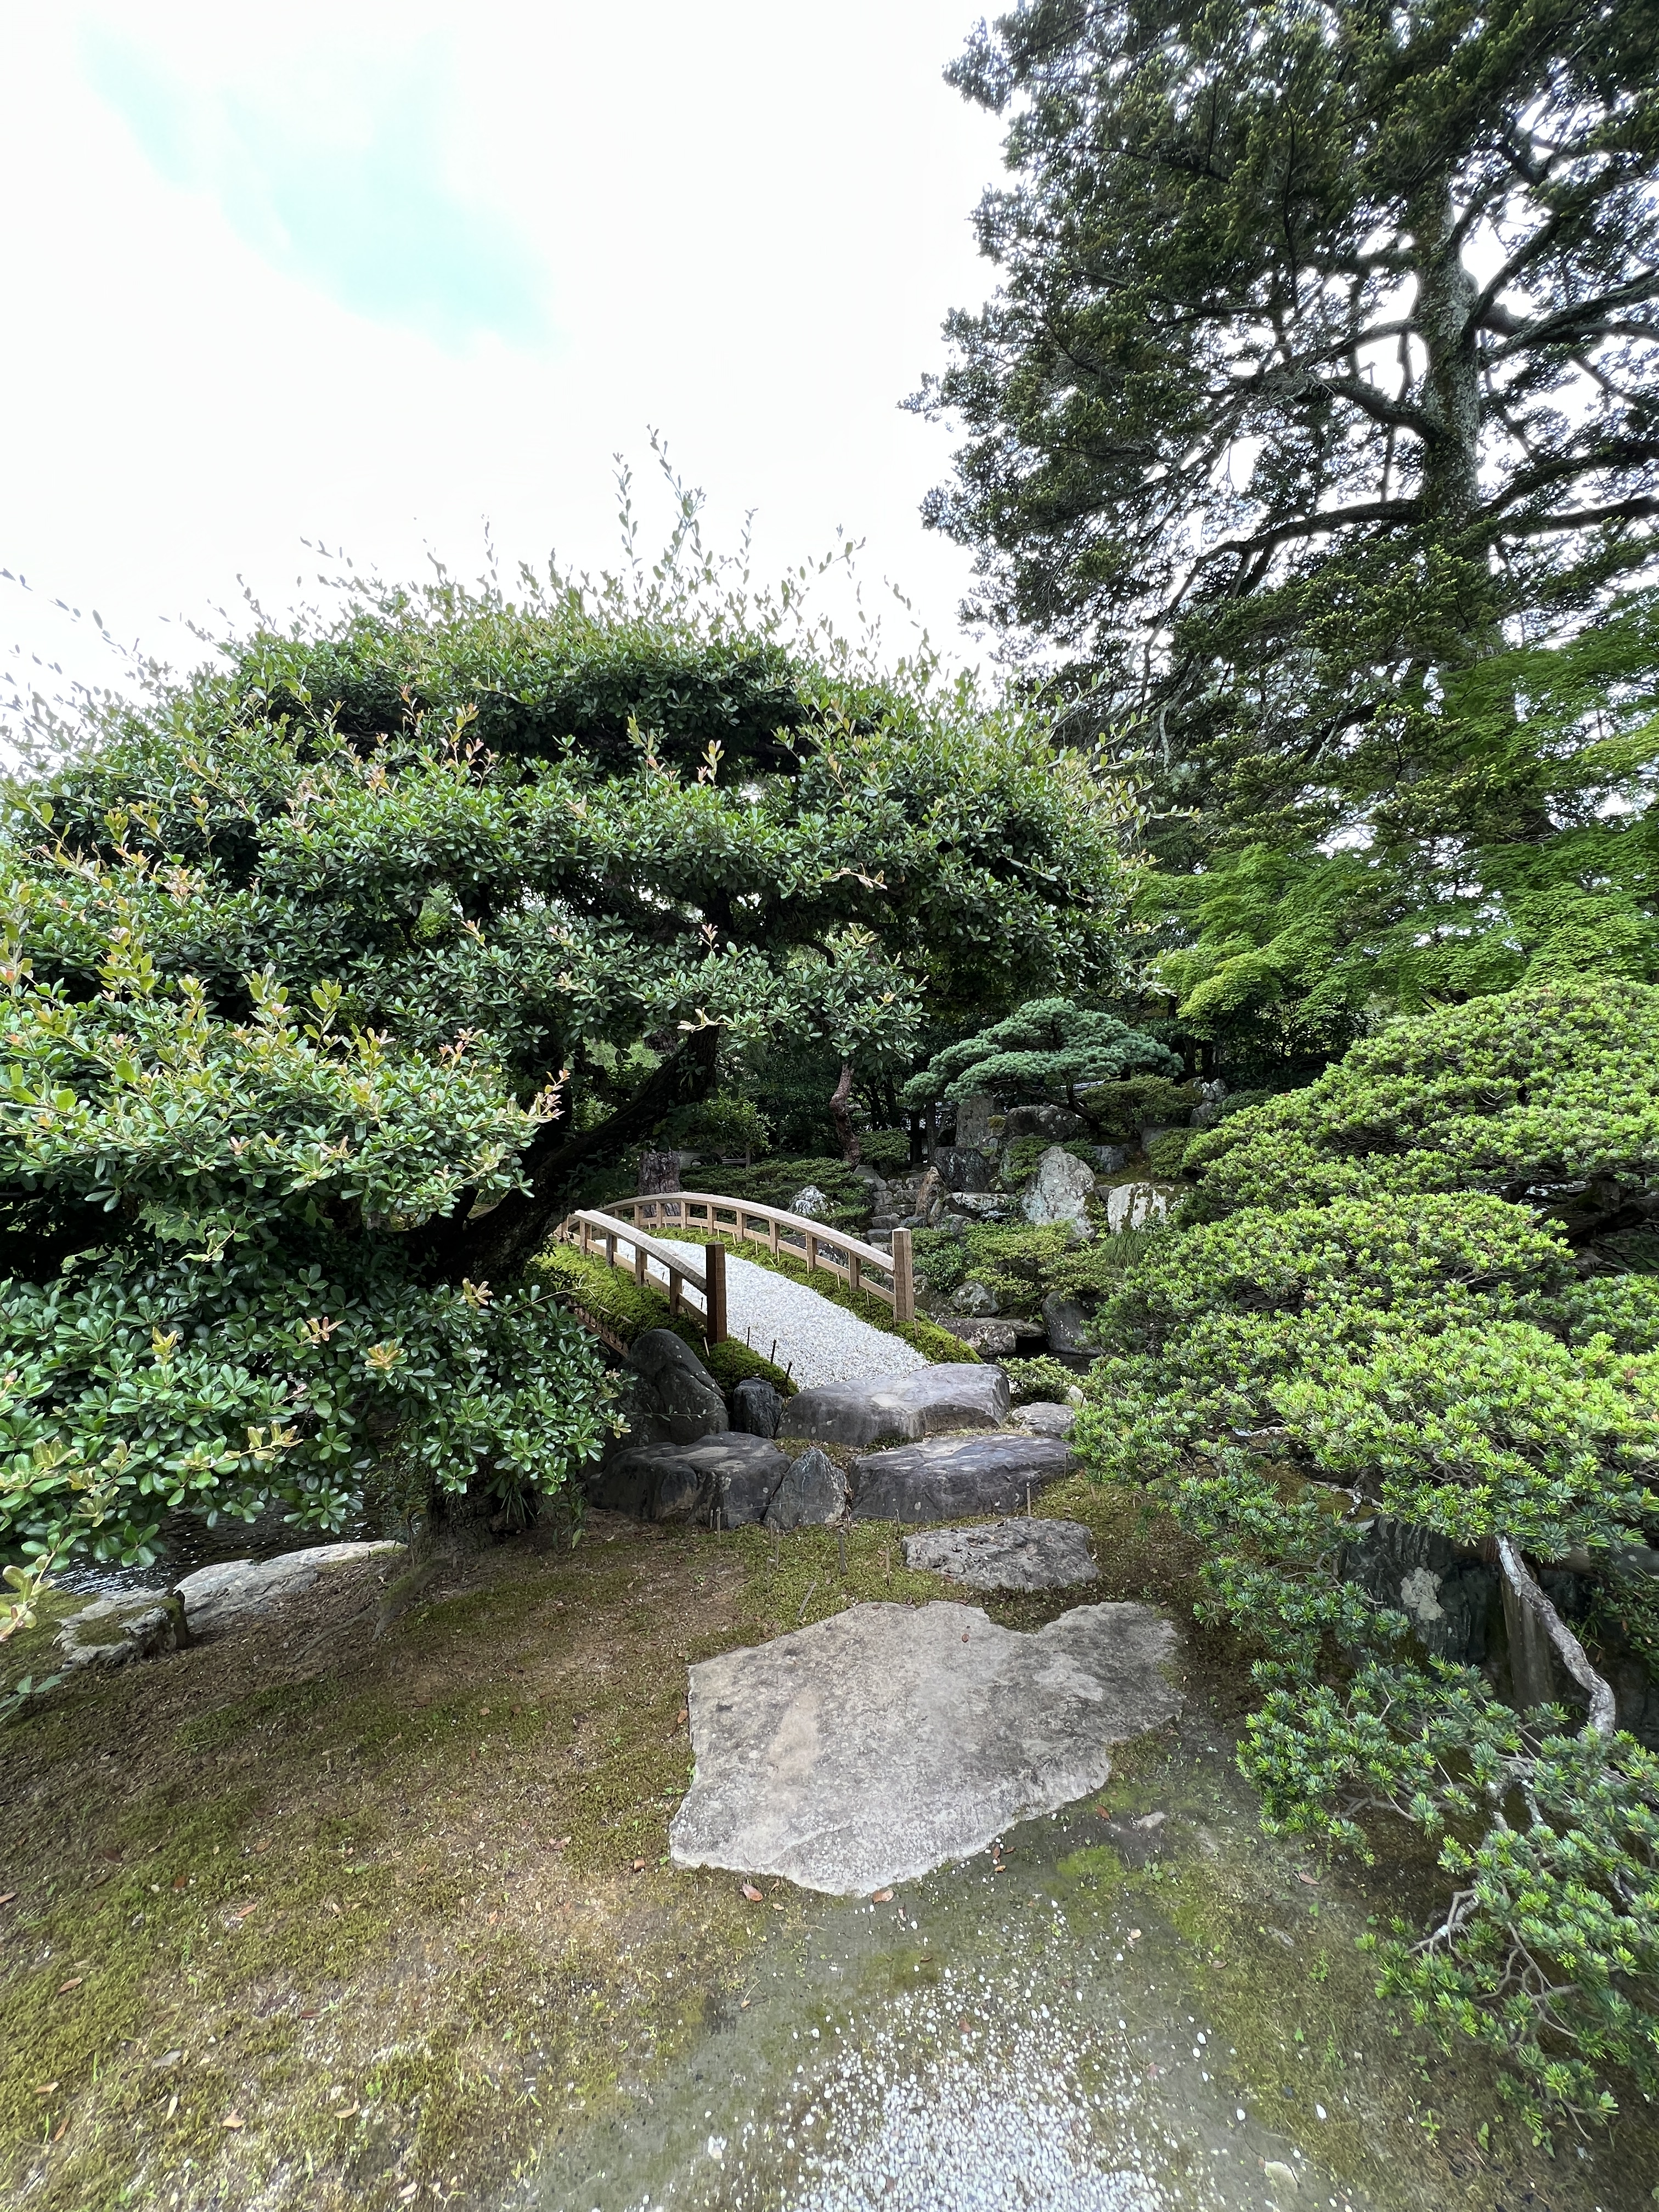
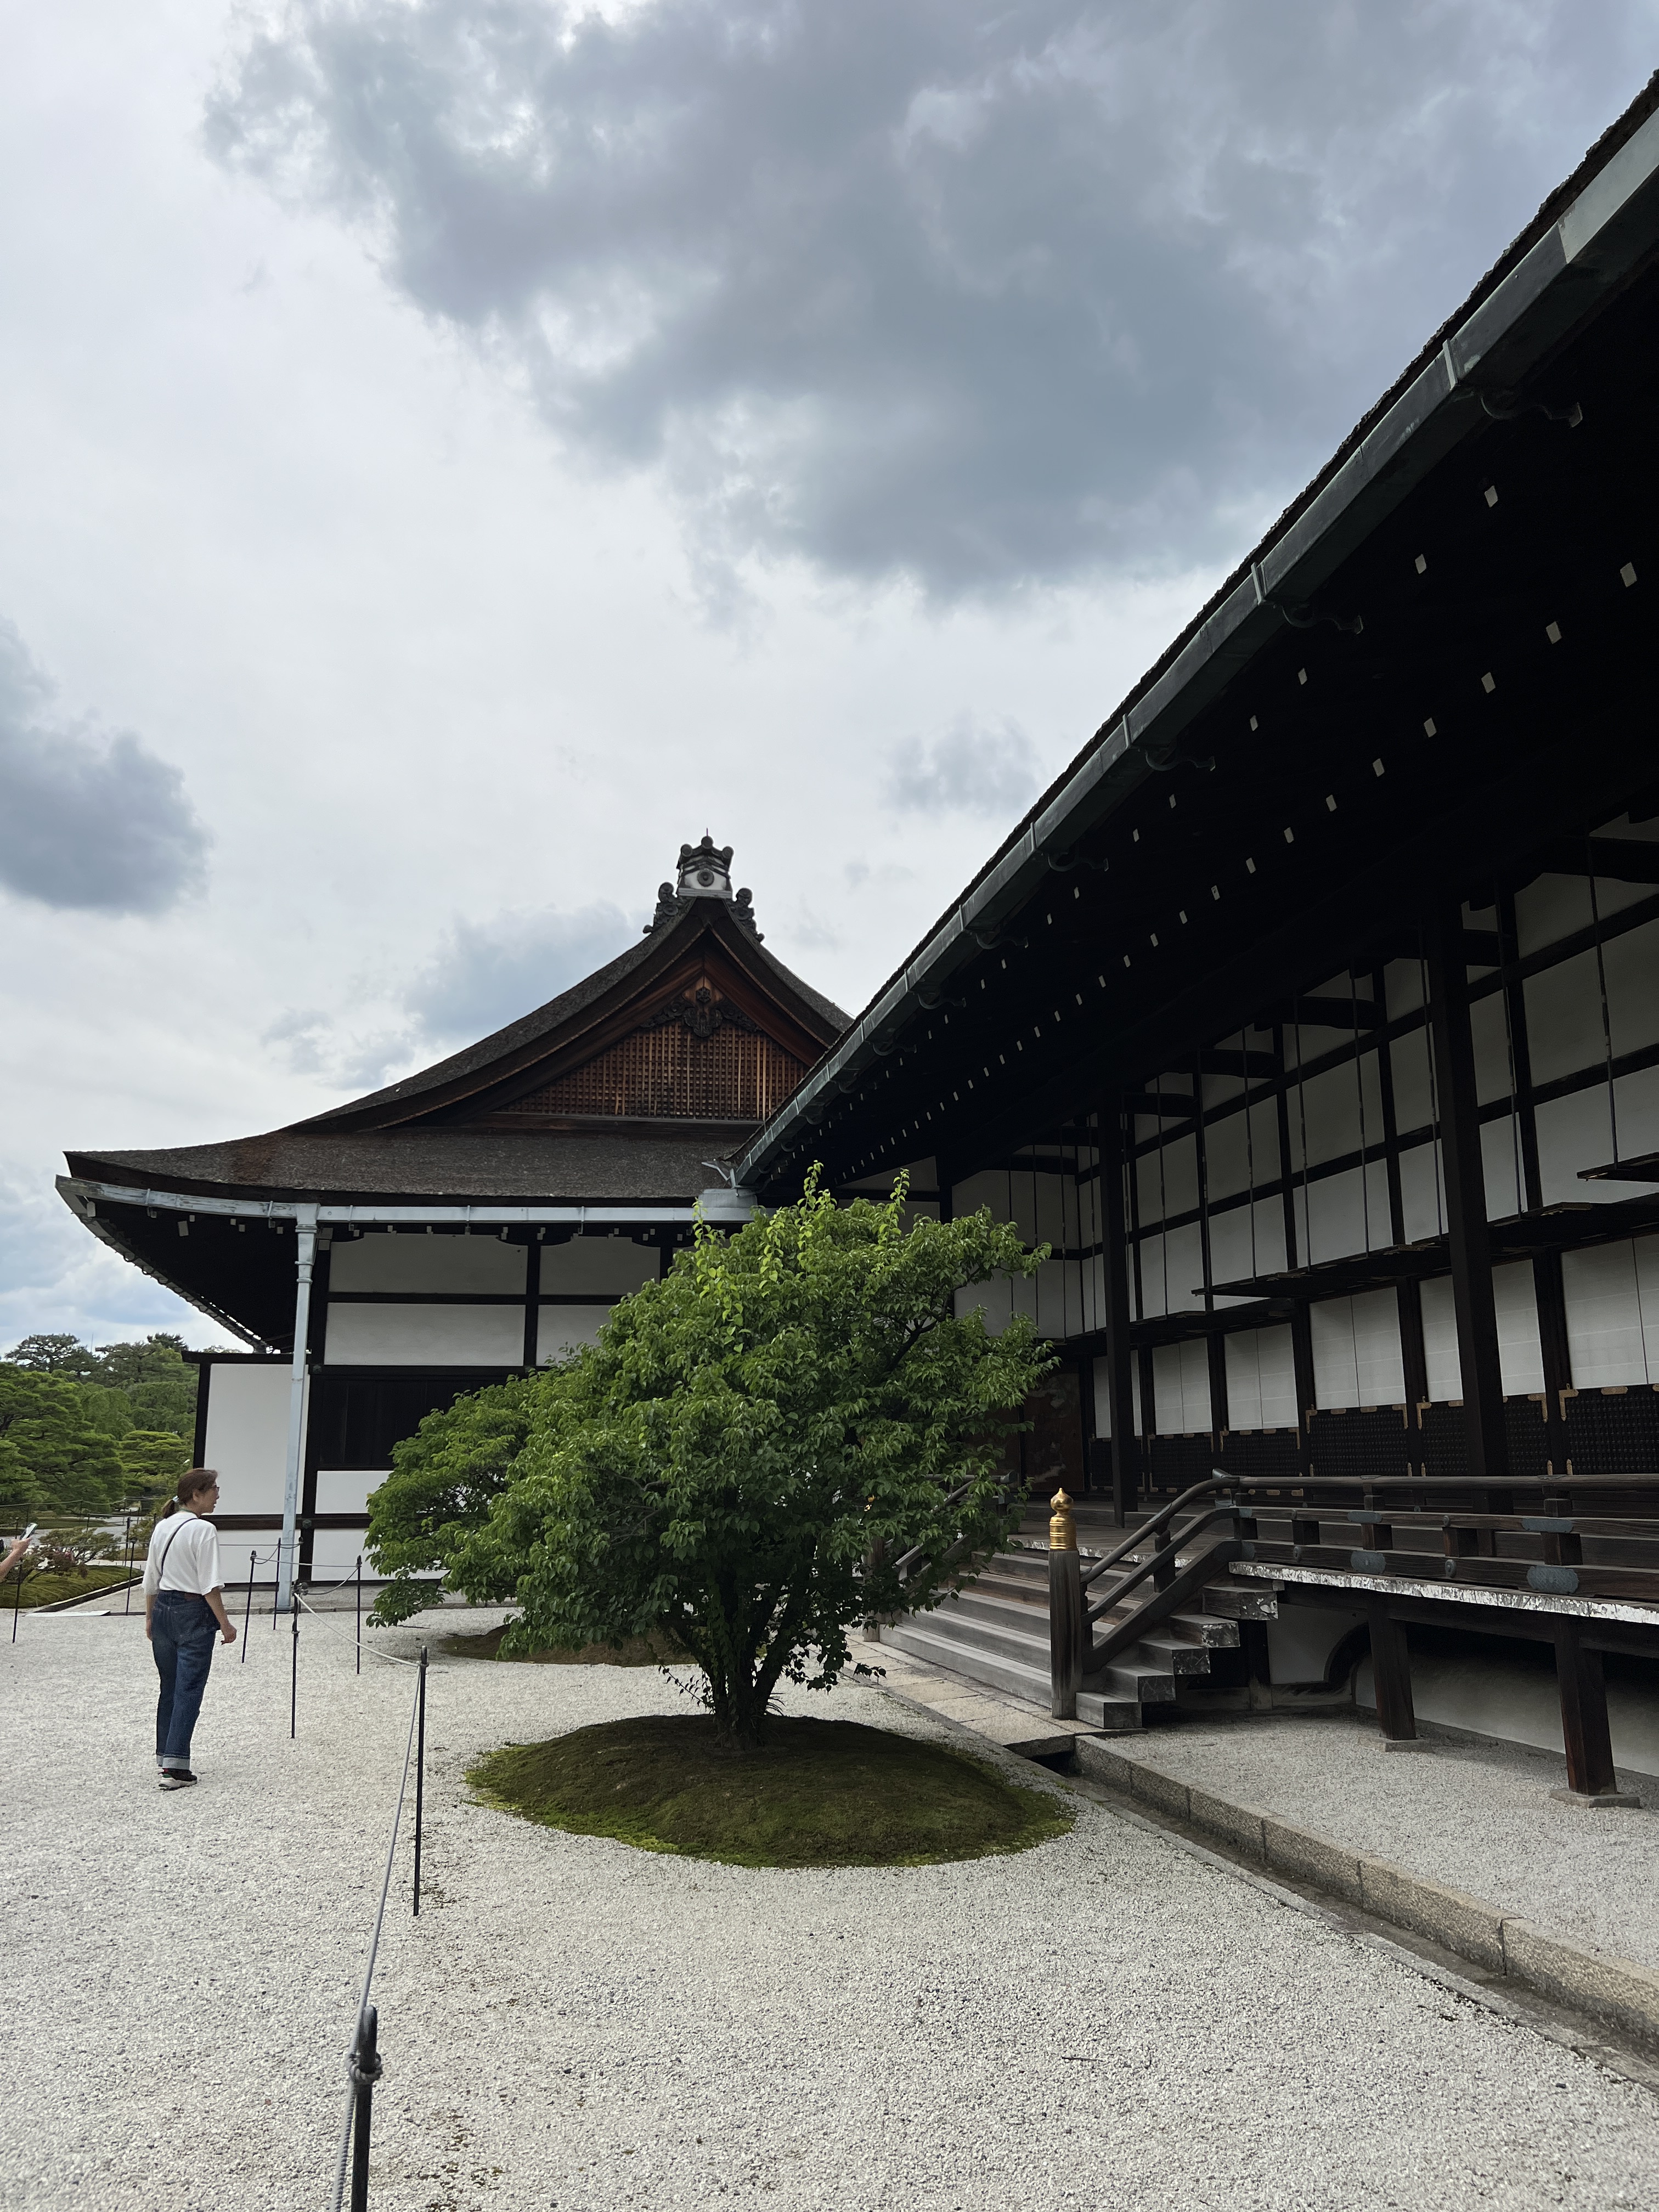
We finally made it inside the Kyoto Imperial Palace! The grounds of the palace are HUGE and you have to walk nearly 30 minutes through the fields and gardens before approaching the palace itself. There are free tours here at set times for different languages so we got lucky that we caught a tour, but I would recommend checking in advance so that you do not miss the tour – it was worth it. There is a lot inside the Imperial Palace complex and it is much more interesting to hear the history behind each building and garden than it would have been to just walk through and look without context. This was a nice experience and the gardens were my favorite part, but this is certainly an activity that can be skipped if you are at all pressed for time.
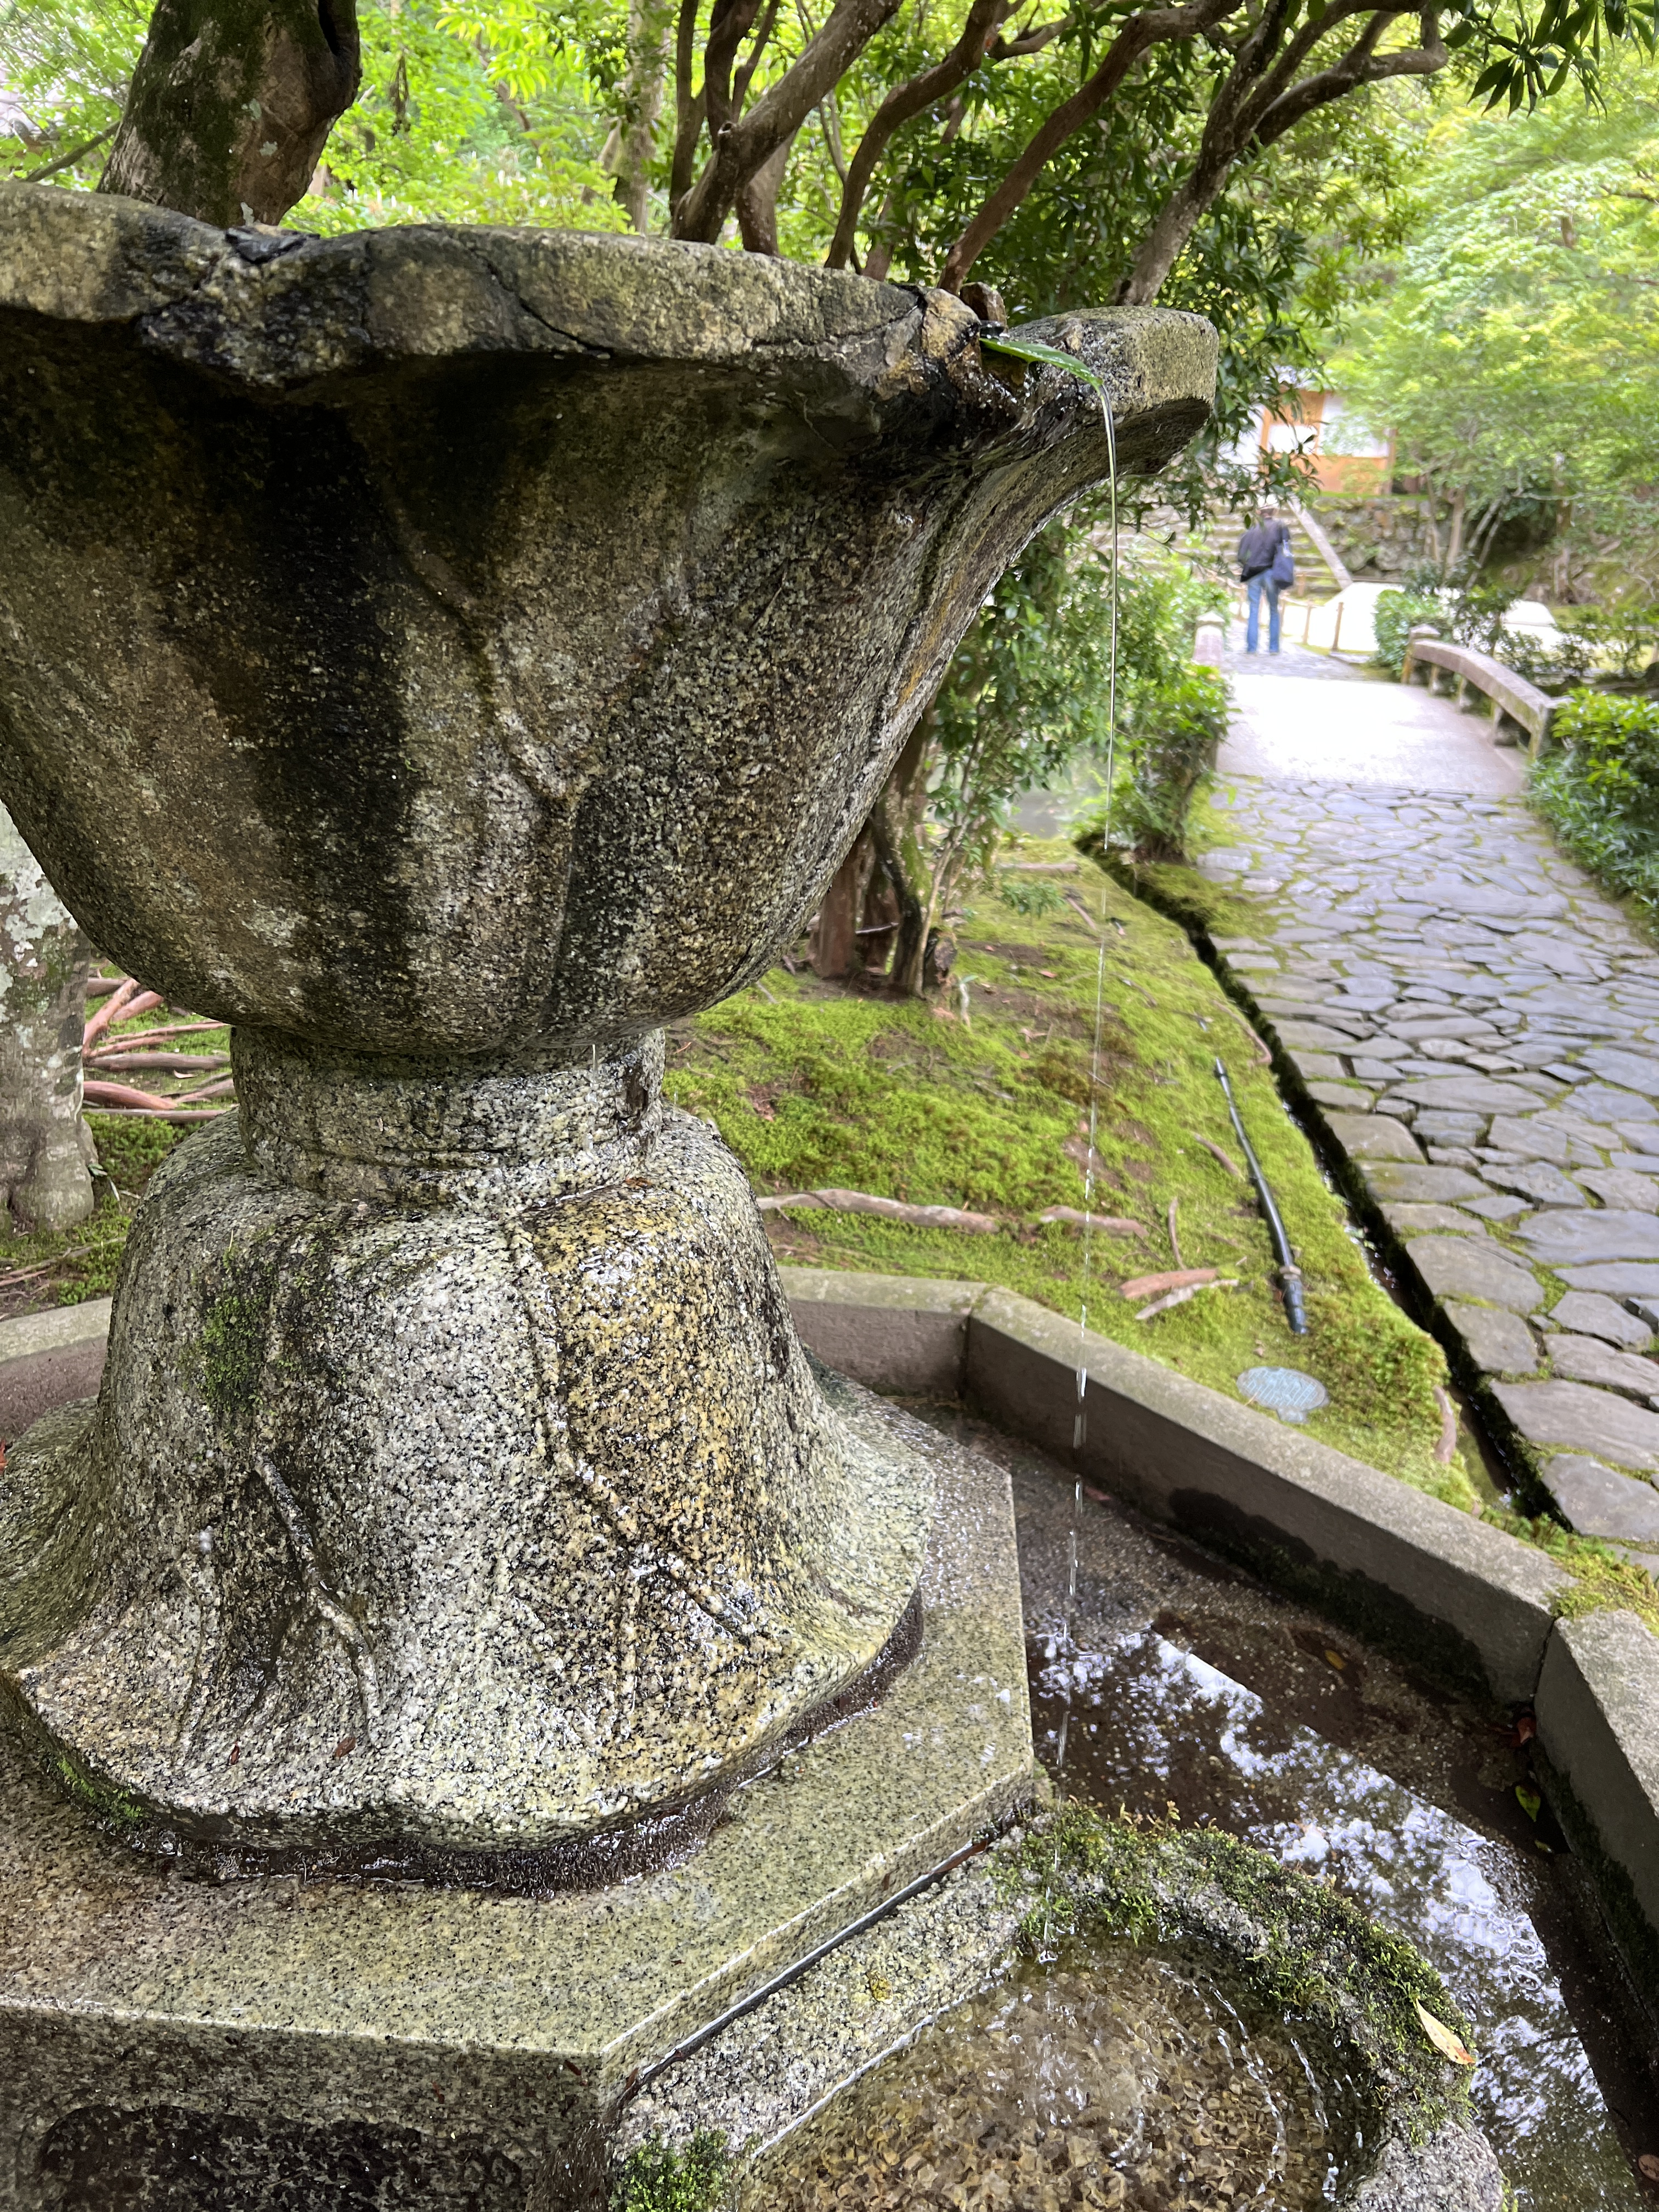
Once finished at the Imperial Palace, we b-lined out of the complex to the nearest street so that we could call an Uber to take us back to the Nanzen-ji Temple to explore the inside. There is a garden that you have to pay a fee to get into that we prioritized first, and this beautiful garden and small bamboo grove was well worth the entrance fee. The building complex is also gorgeous with beautiful artwork and gardens – this temple is an absolute must-see on your Kyoto itinerary!
The Nanzen-ji temple is unique because it is attached to a network of hiking trails behind the temple. We ventured into them for a little while but had to turn back around because the temple was closing shortly. If I planned this trip again, I would plan to spend at least a half-day here exploring not only the temple but also the surrounding hiking trails.
We were, surprise surprise, hungry again! We walked down Hanami Koji Street which is full of coffee shops, souvenir stores, and restaurants. We grabbed a little snack of mochi while we walked down this strip and googled where we should go for dinner.
We were in the mood for sushi so we found an omakase counter that could take us without a reservation, Sushi Hananoi. This meal was expensive but was also very delicious. We were served various courses of cooked and raw fish and at the end the chef even asked us if there was anything we wanted that he did not already bring us, which was a nice personal touch.
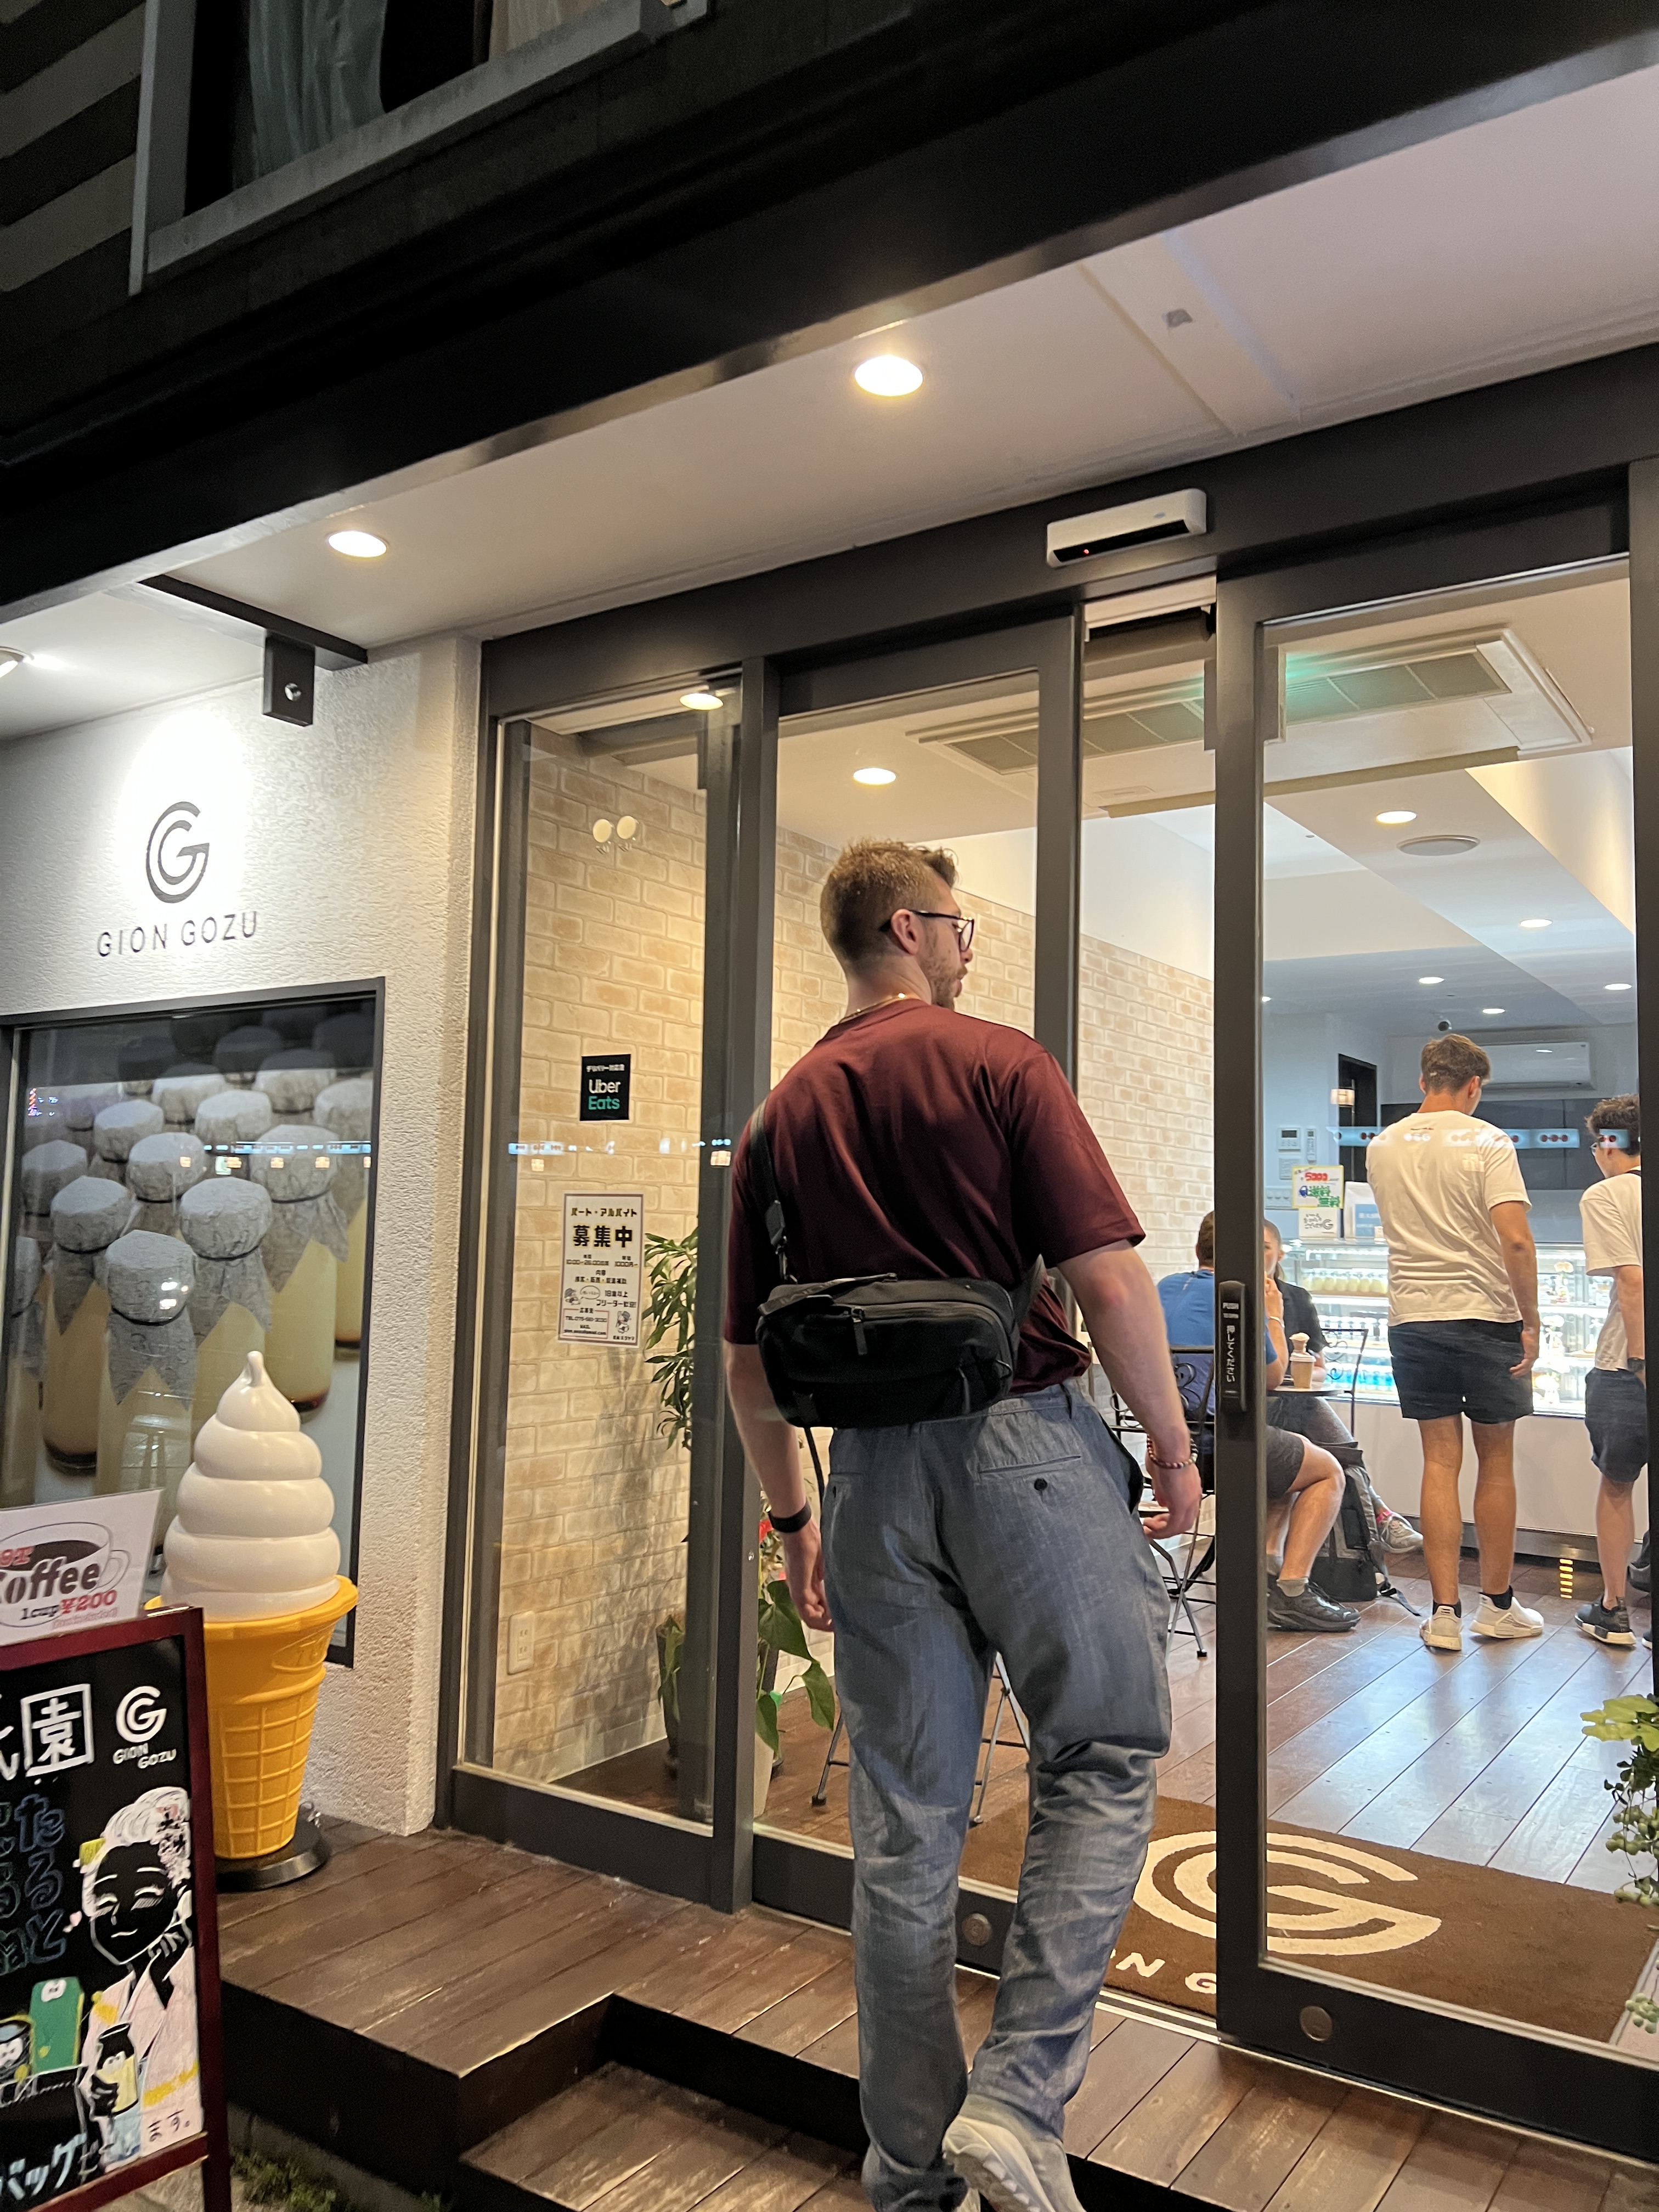
For dessert we stopped into a sweets shop nearby called Gion Gozu selling specialty puddings.
Then back to the hotel for much-deserved sleep.
For video footage of day 9 in Kyoto, check out my reel on Instagram!
Day 10 – Kyoto
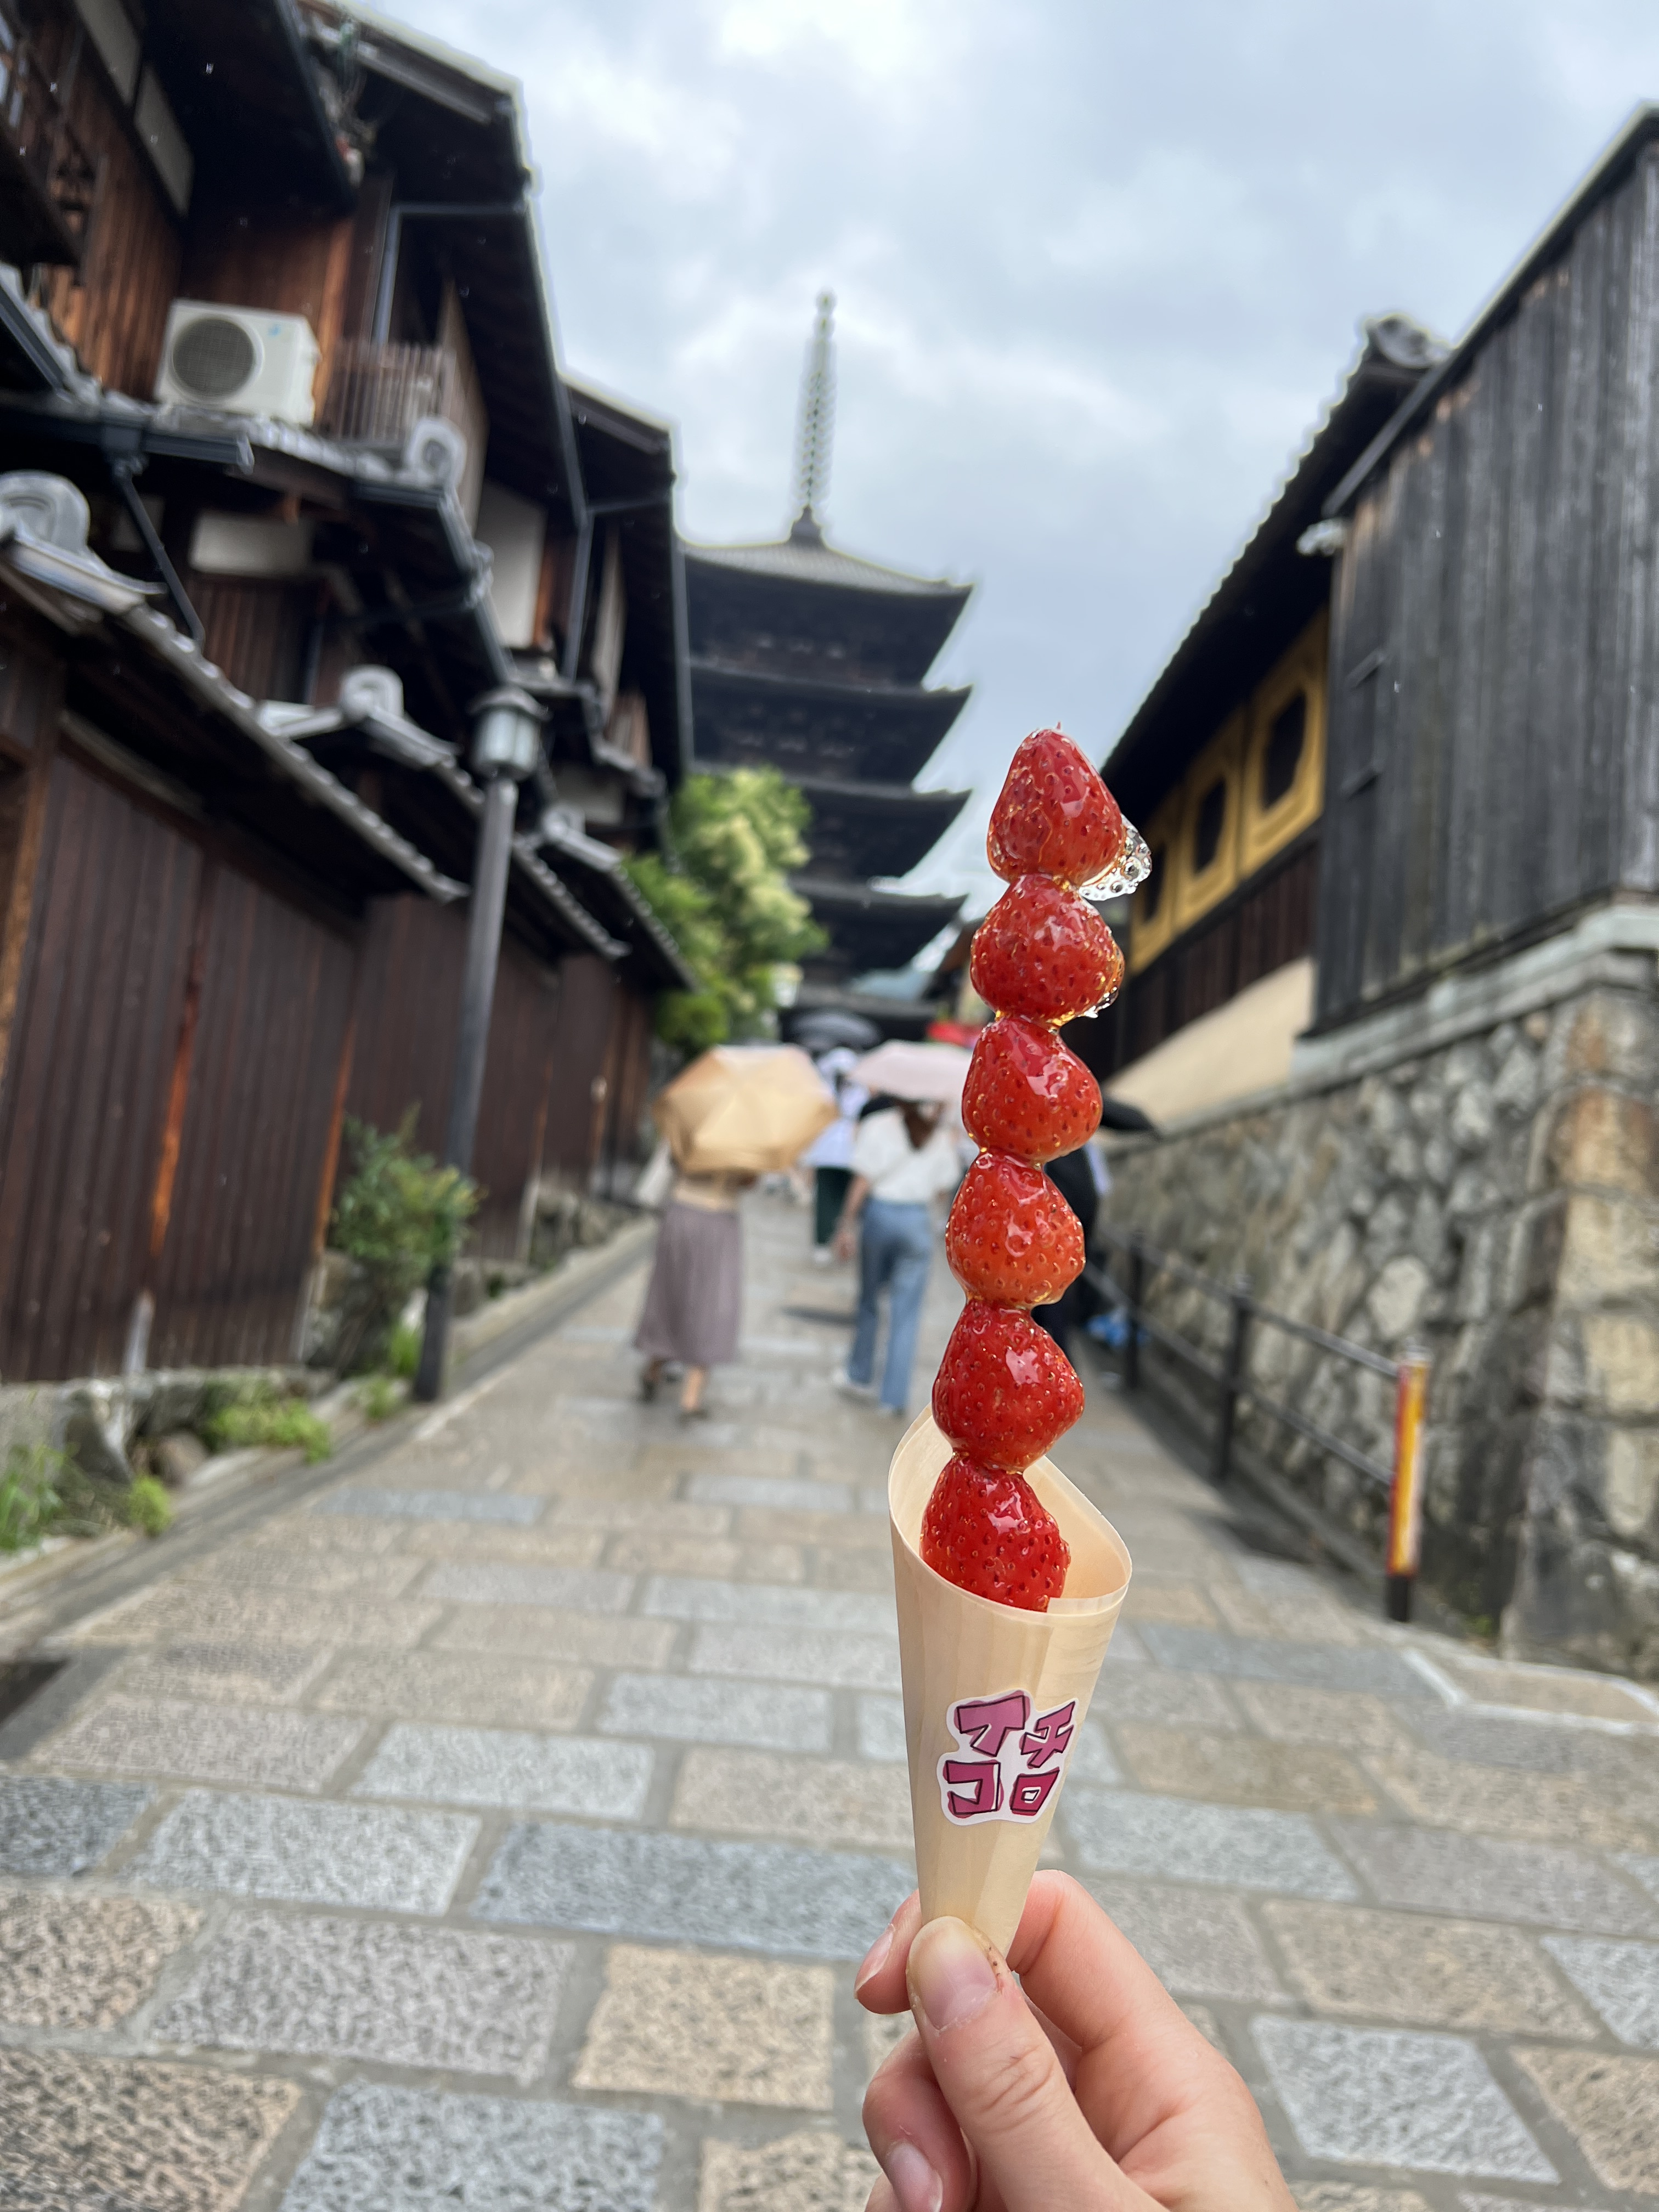
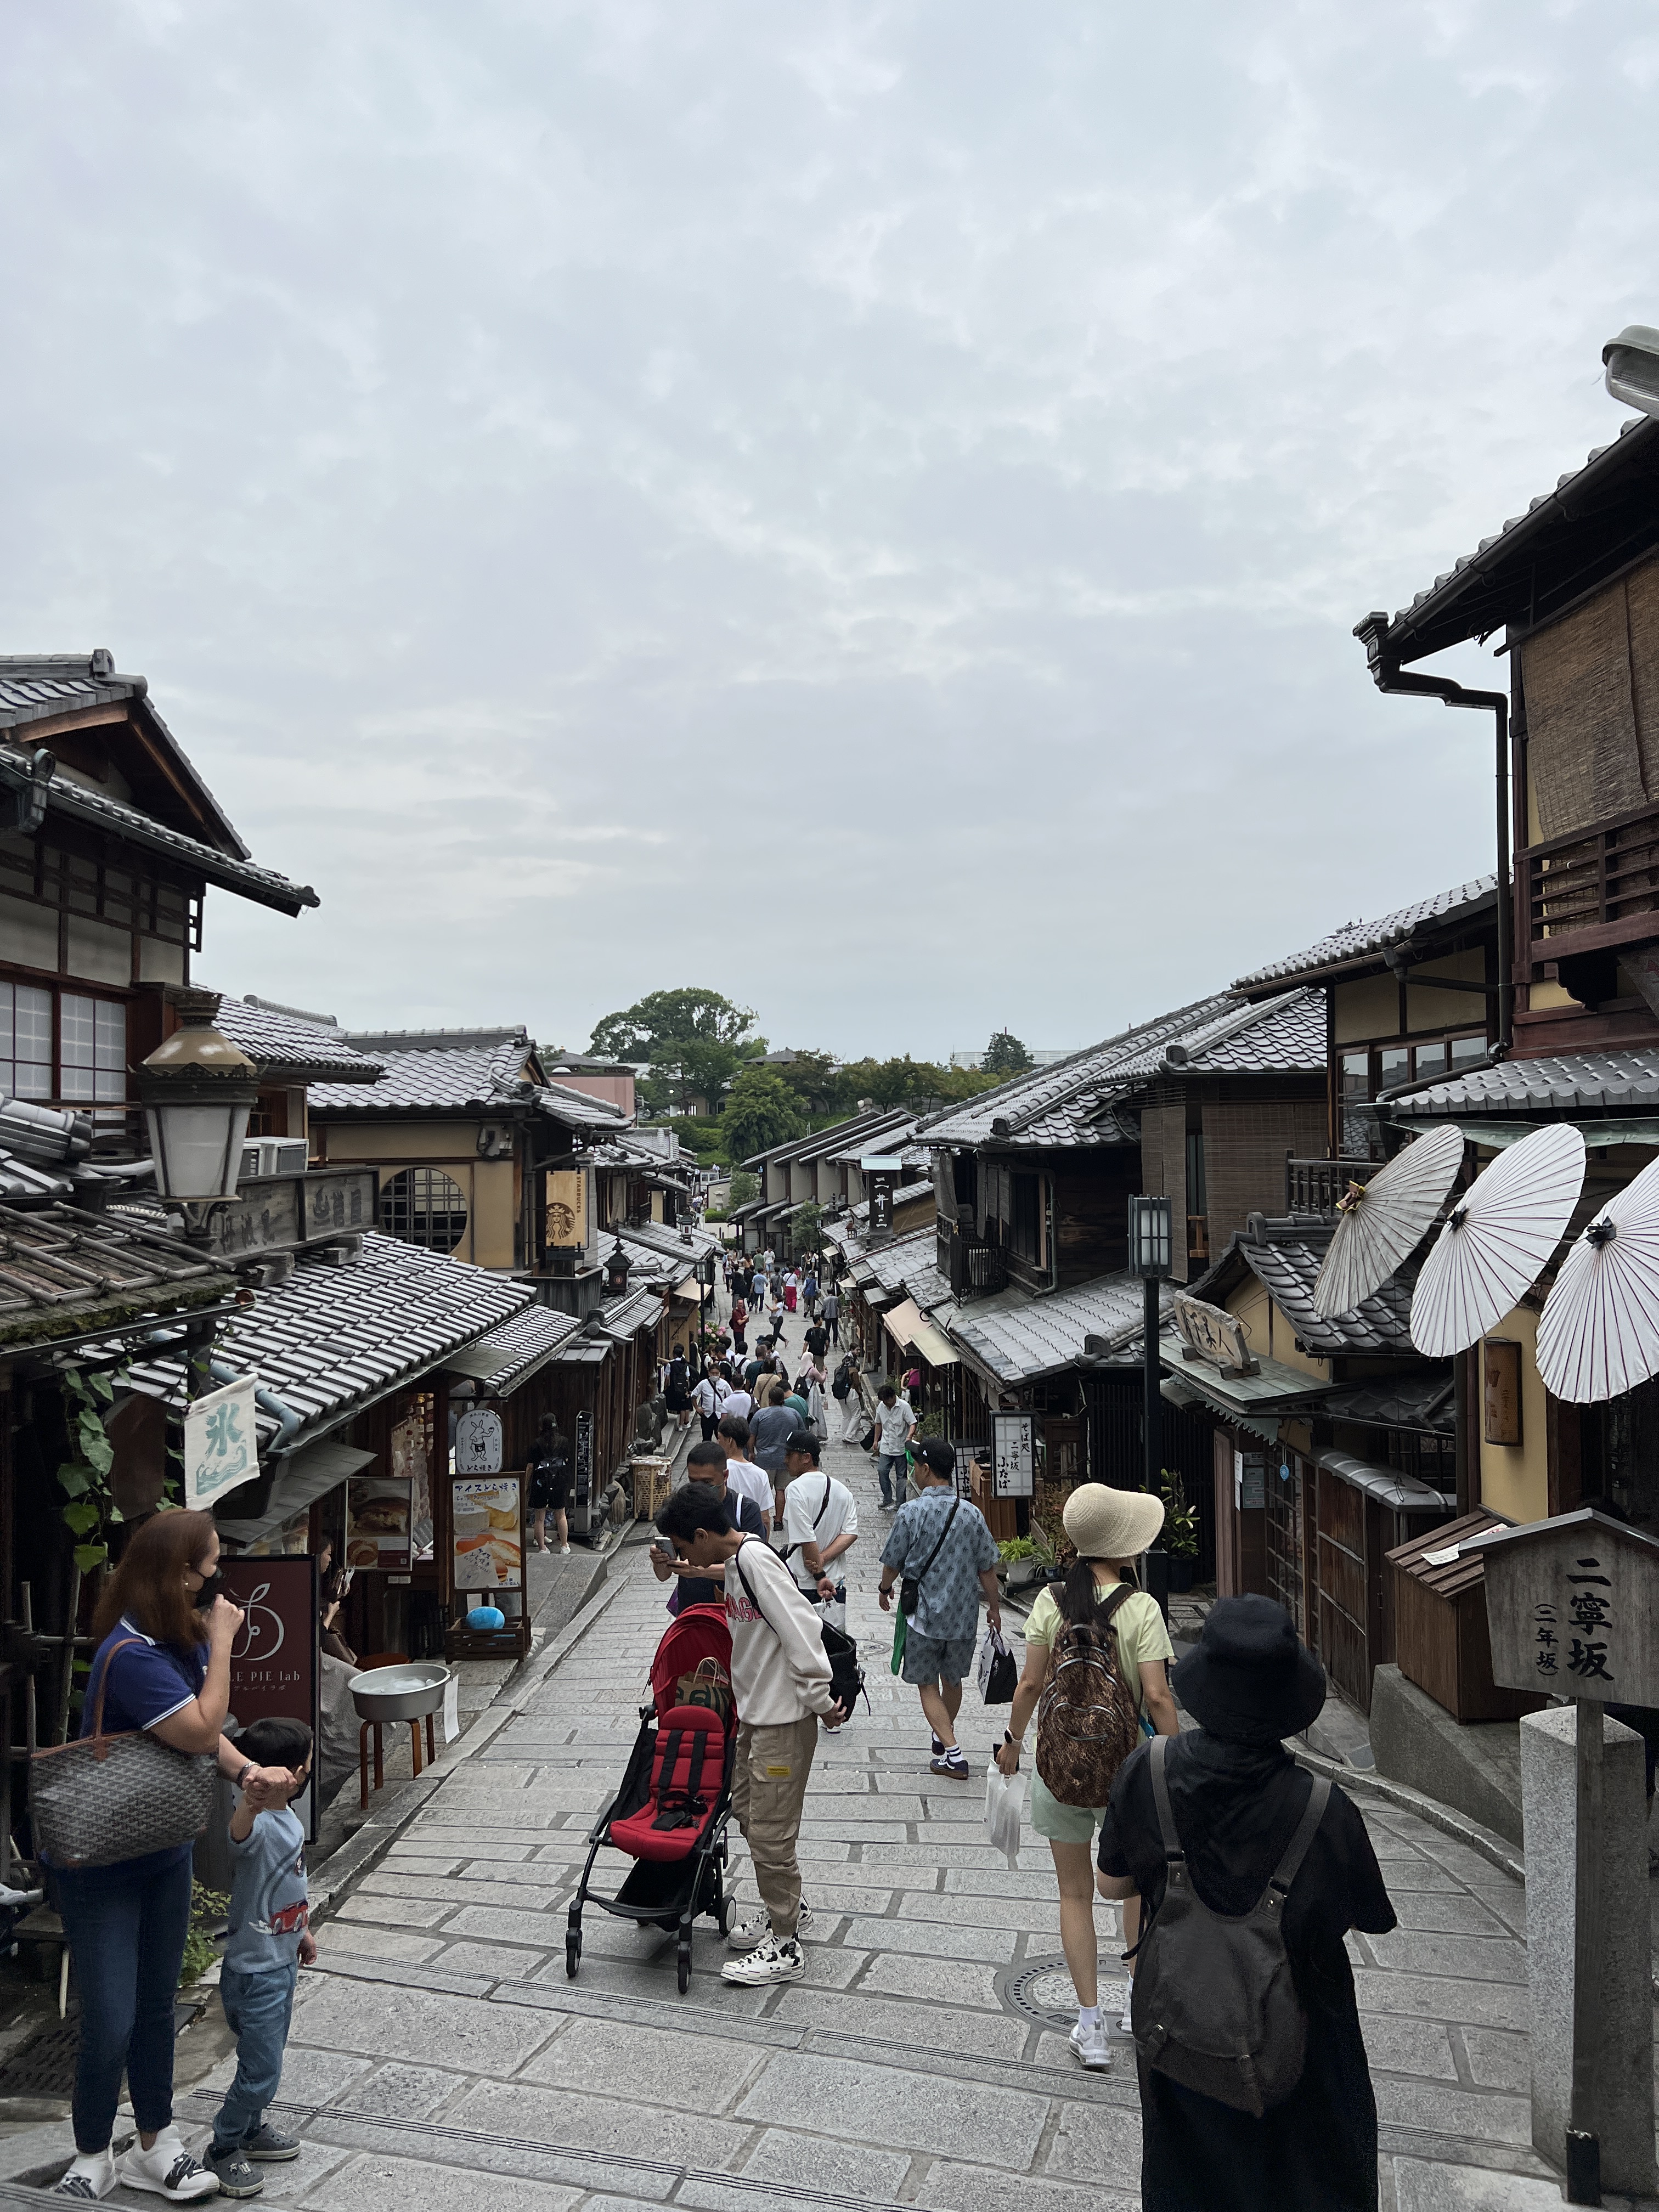
We started the day again with the hotel buffet breakfast and then headed out to explore the Gion district. Our first stop was the Kiyomizu-Dera Temple. This temple is certainly a highlight as far as temples go. The colors are beautiful and bright, compared with the dark brown or black that we saw on other temples. This temple consists of a large complex with multiple different buildings that all have beautiful views of the countryside. There is even an opportunity to attempt to pick up some heavy duty equipment that literally no one can lift! Would you give it a try? We got here as soon as it opened in order to avoid crowds and we spent about 30 minutes. We absolutely recommend!
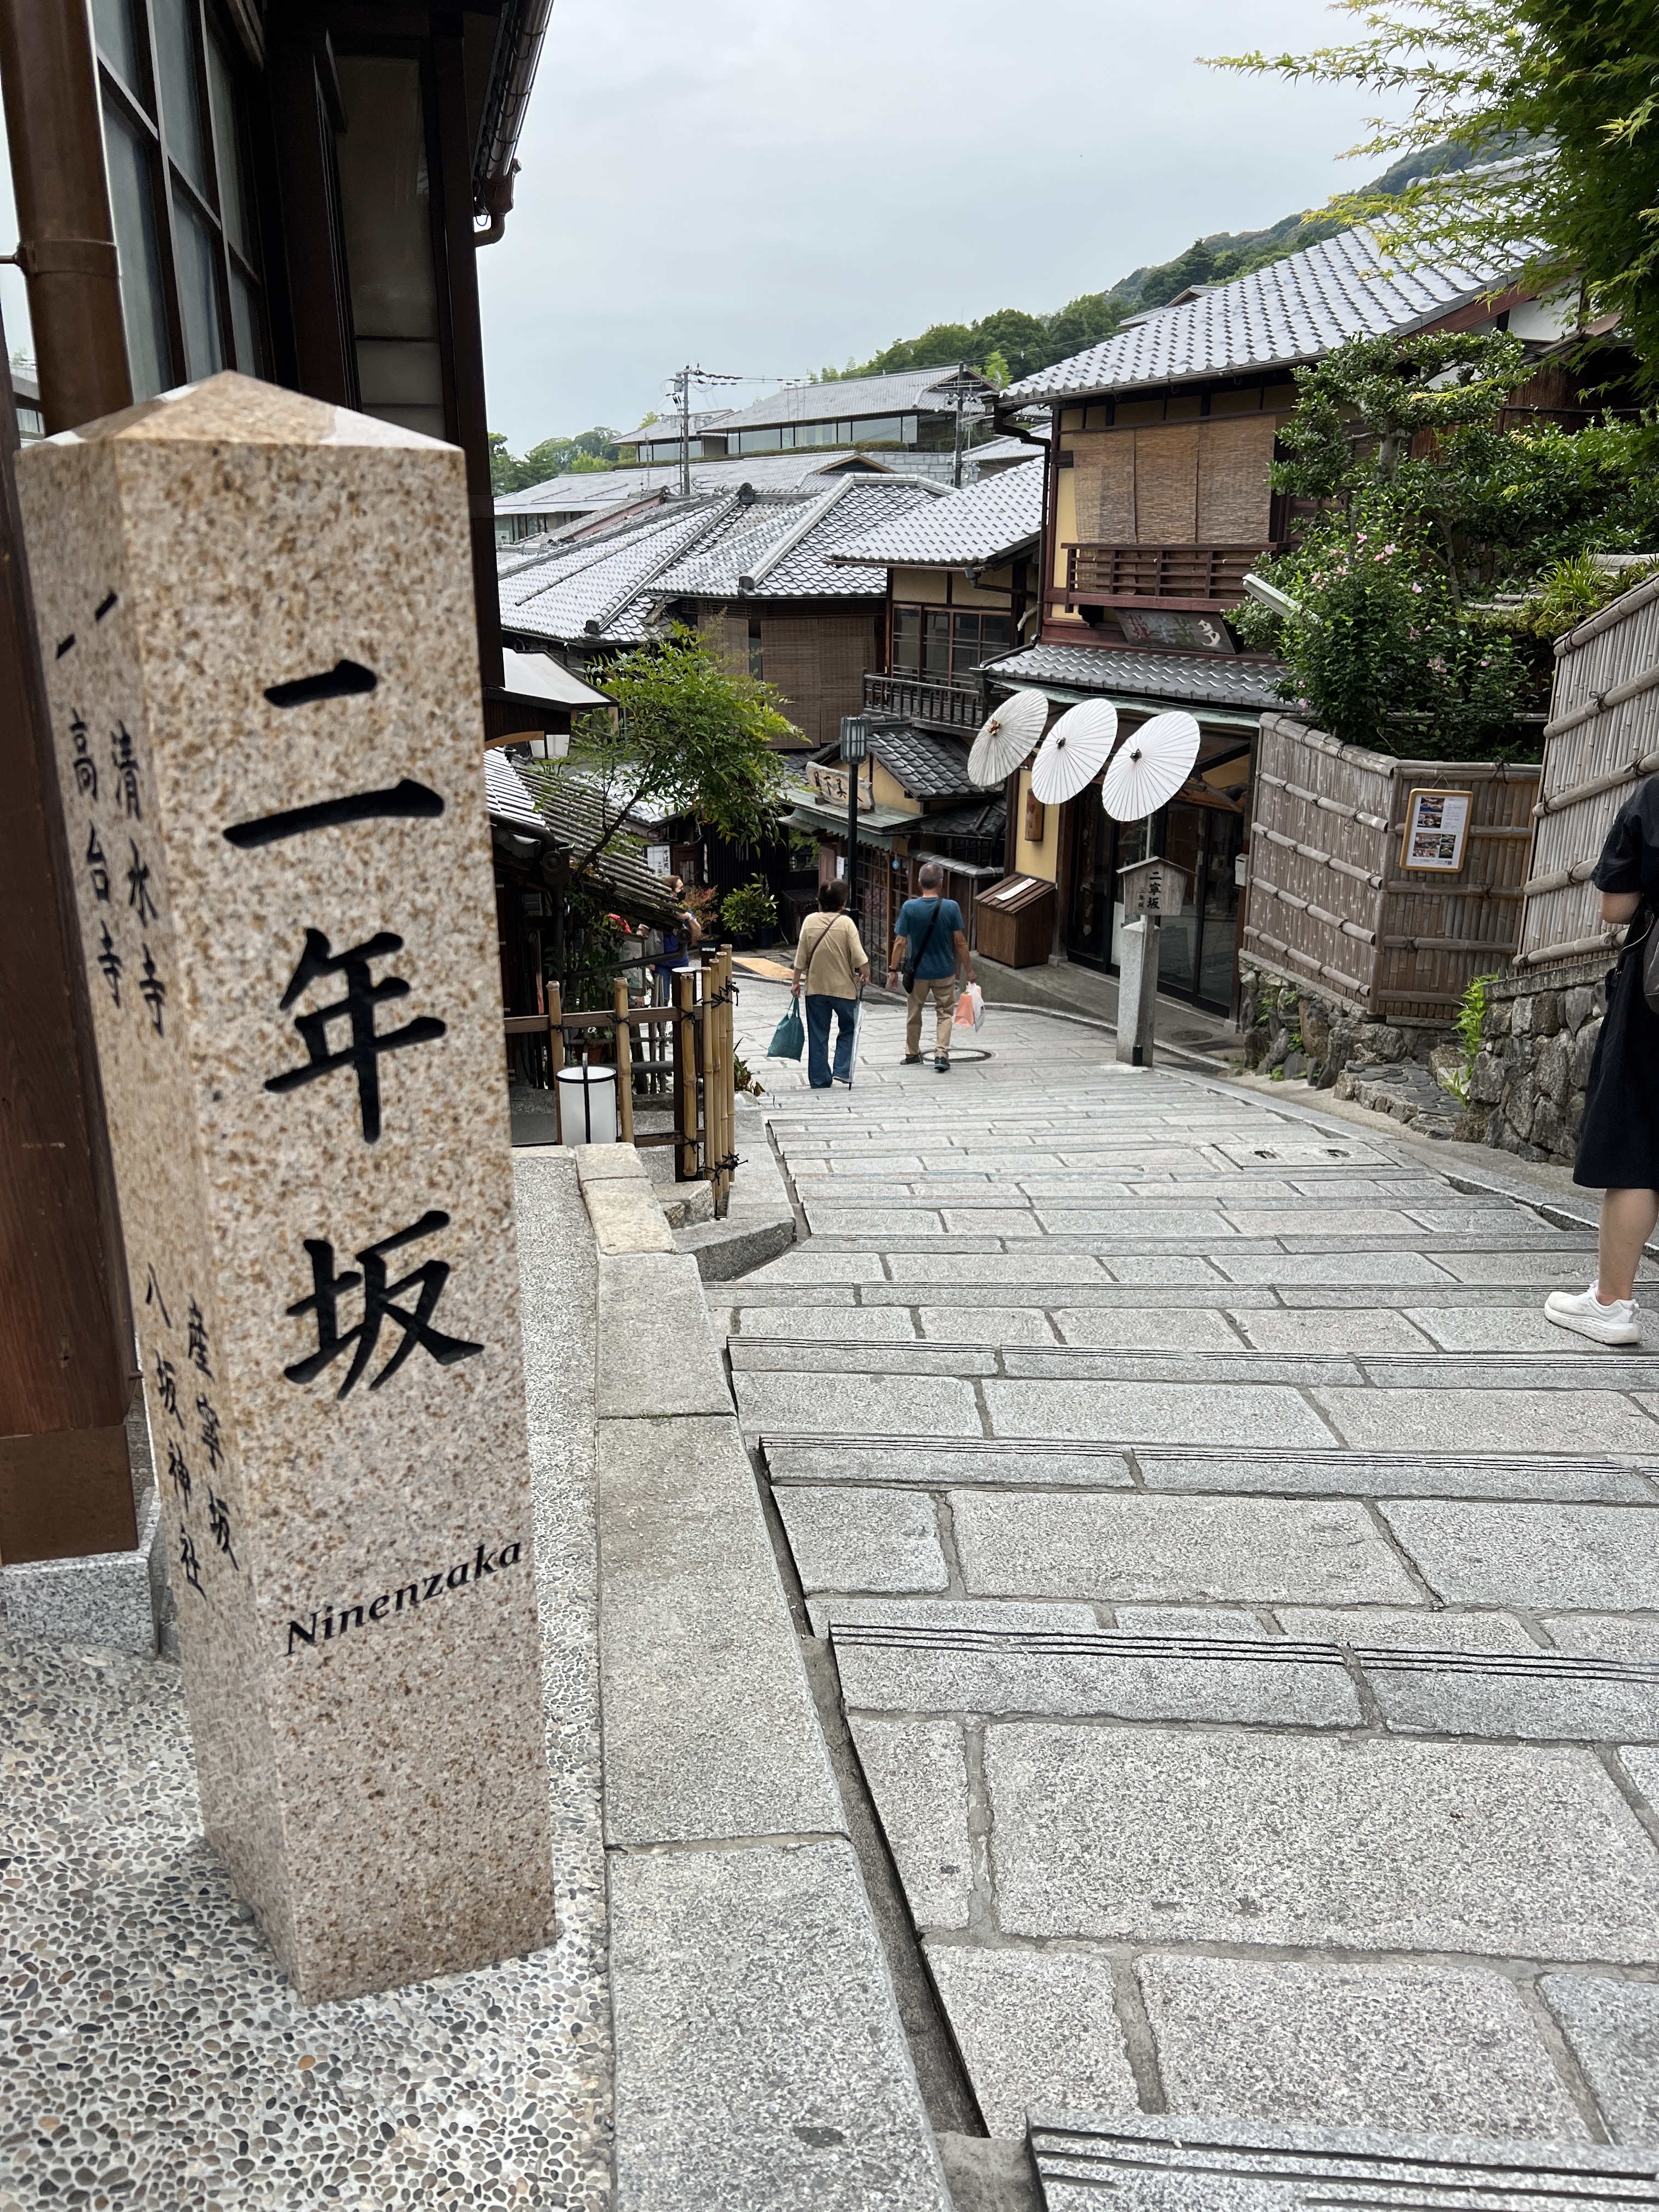
Next we tried to locate a few different shopping streets, Ninenzaka, Sannen-Zaka, and Yasaka-Dori Street. These are all generally in the same area but it was a bit difficult to determine where each one started and ended because most signs were in Japanese. We walked down what I think was Ninenzaka street to take a look at all of the shops and restaurants. We found a cool ring store where they hand-make your custom ring in whatever material you want (they have up to 18k gold). Nick and I got souvenir rings at this shop.
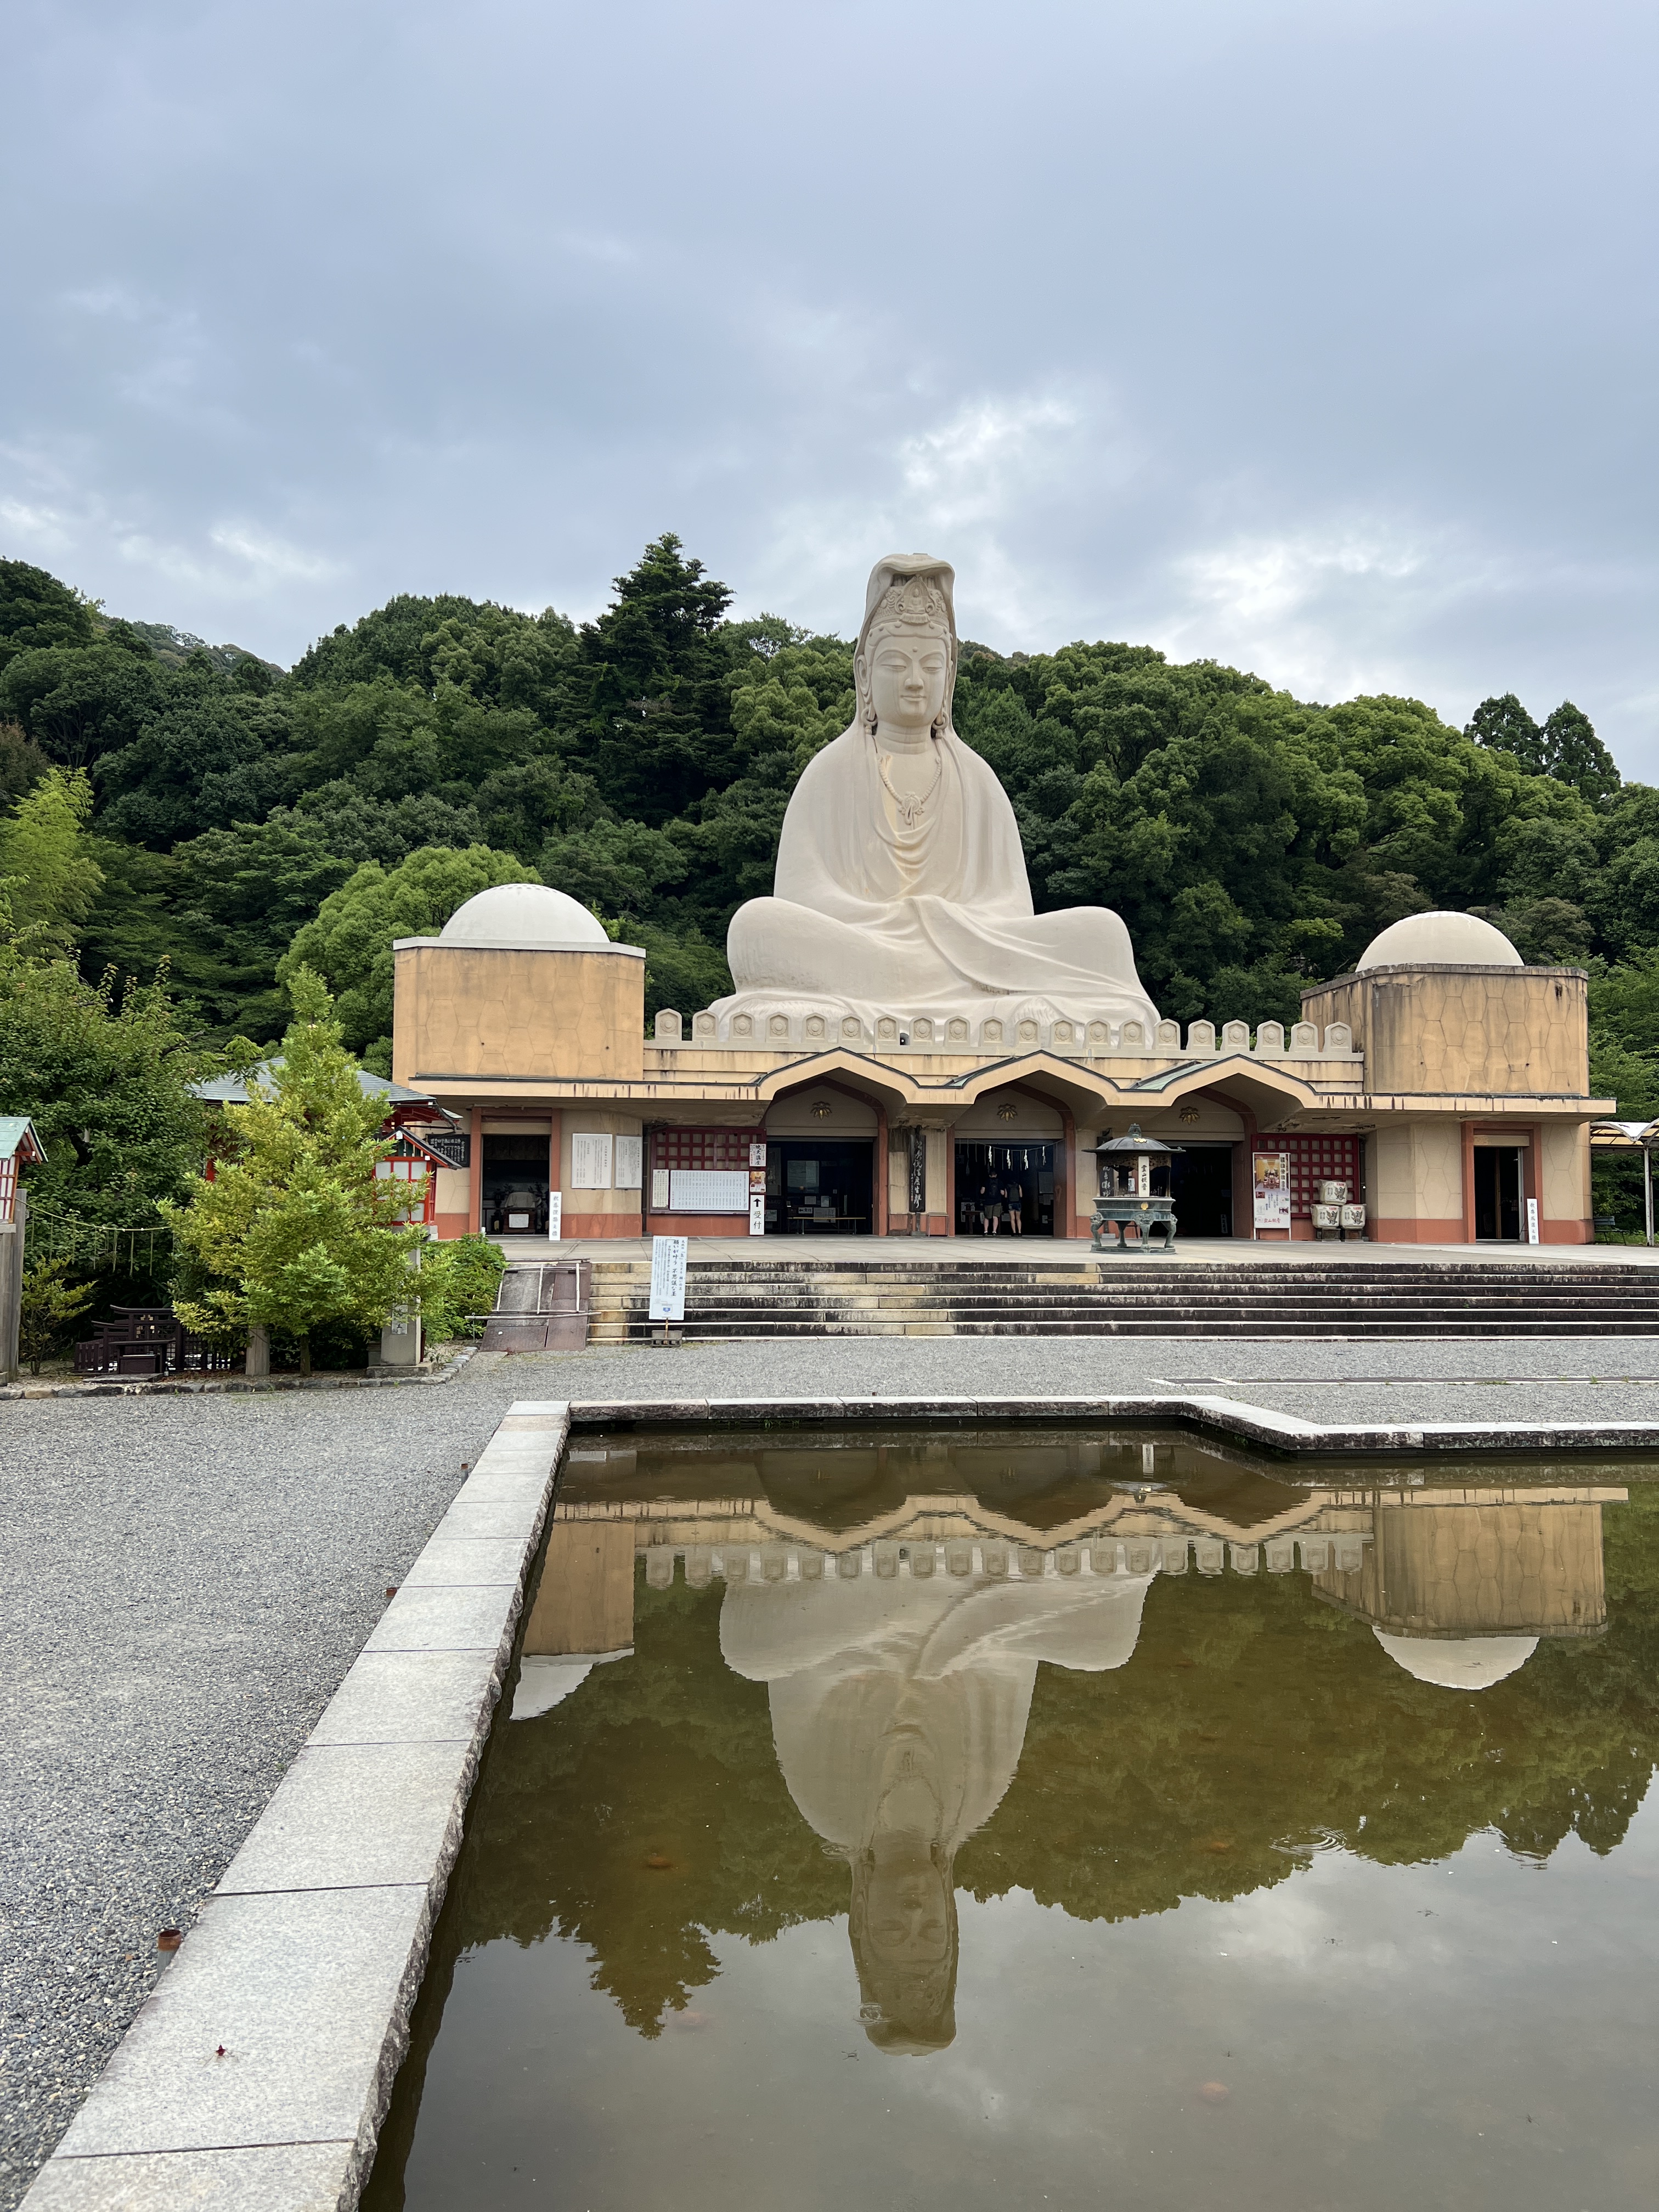
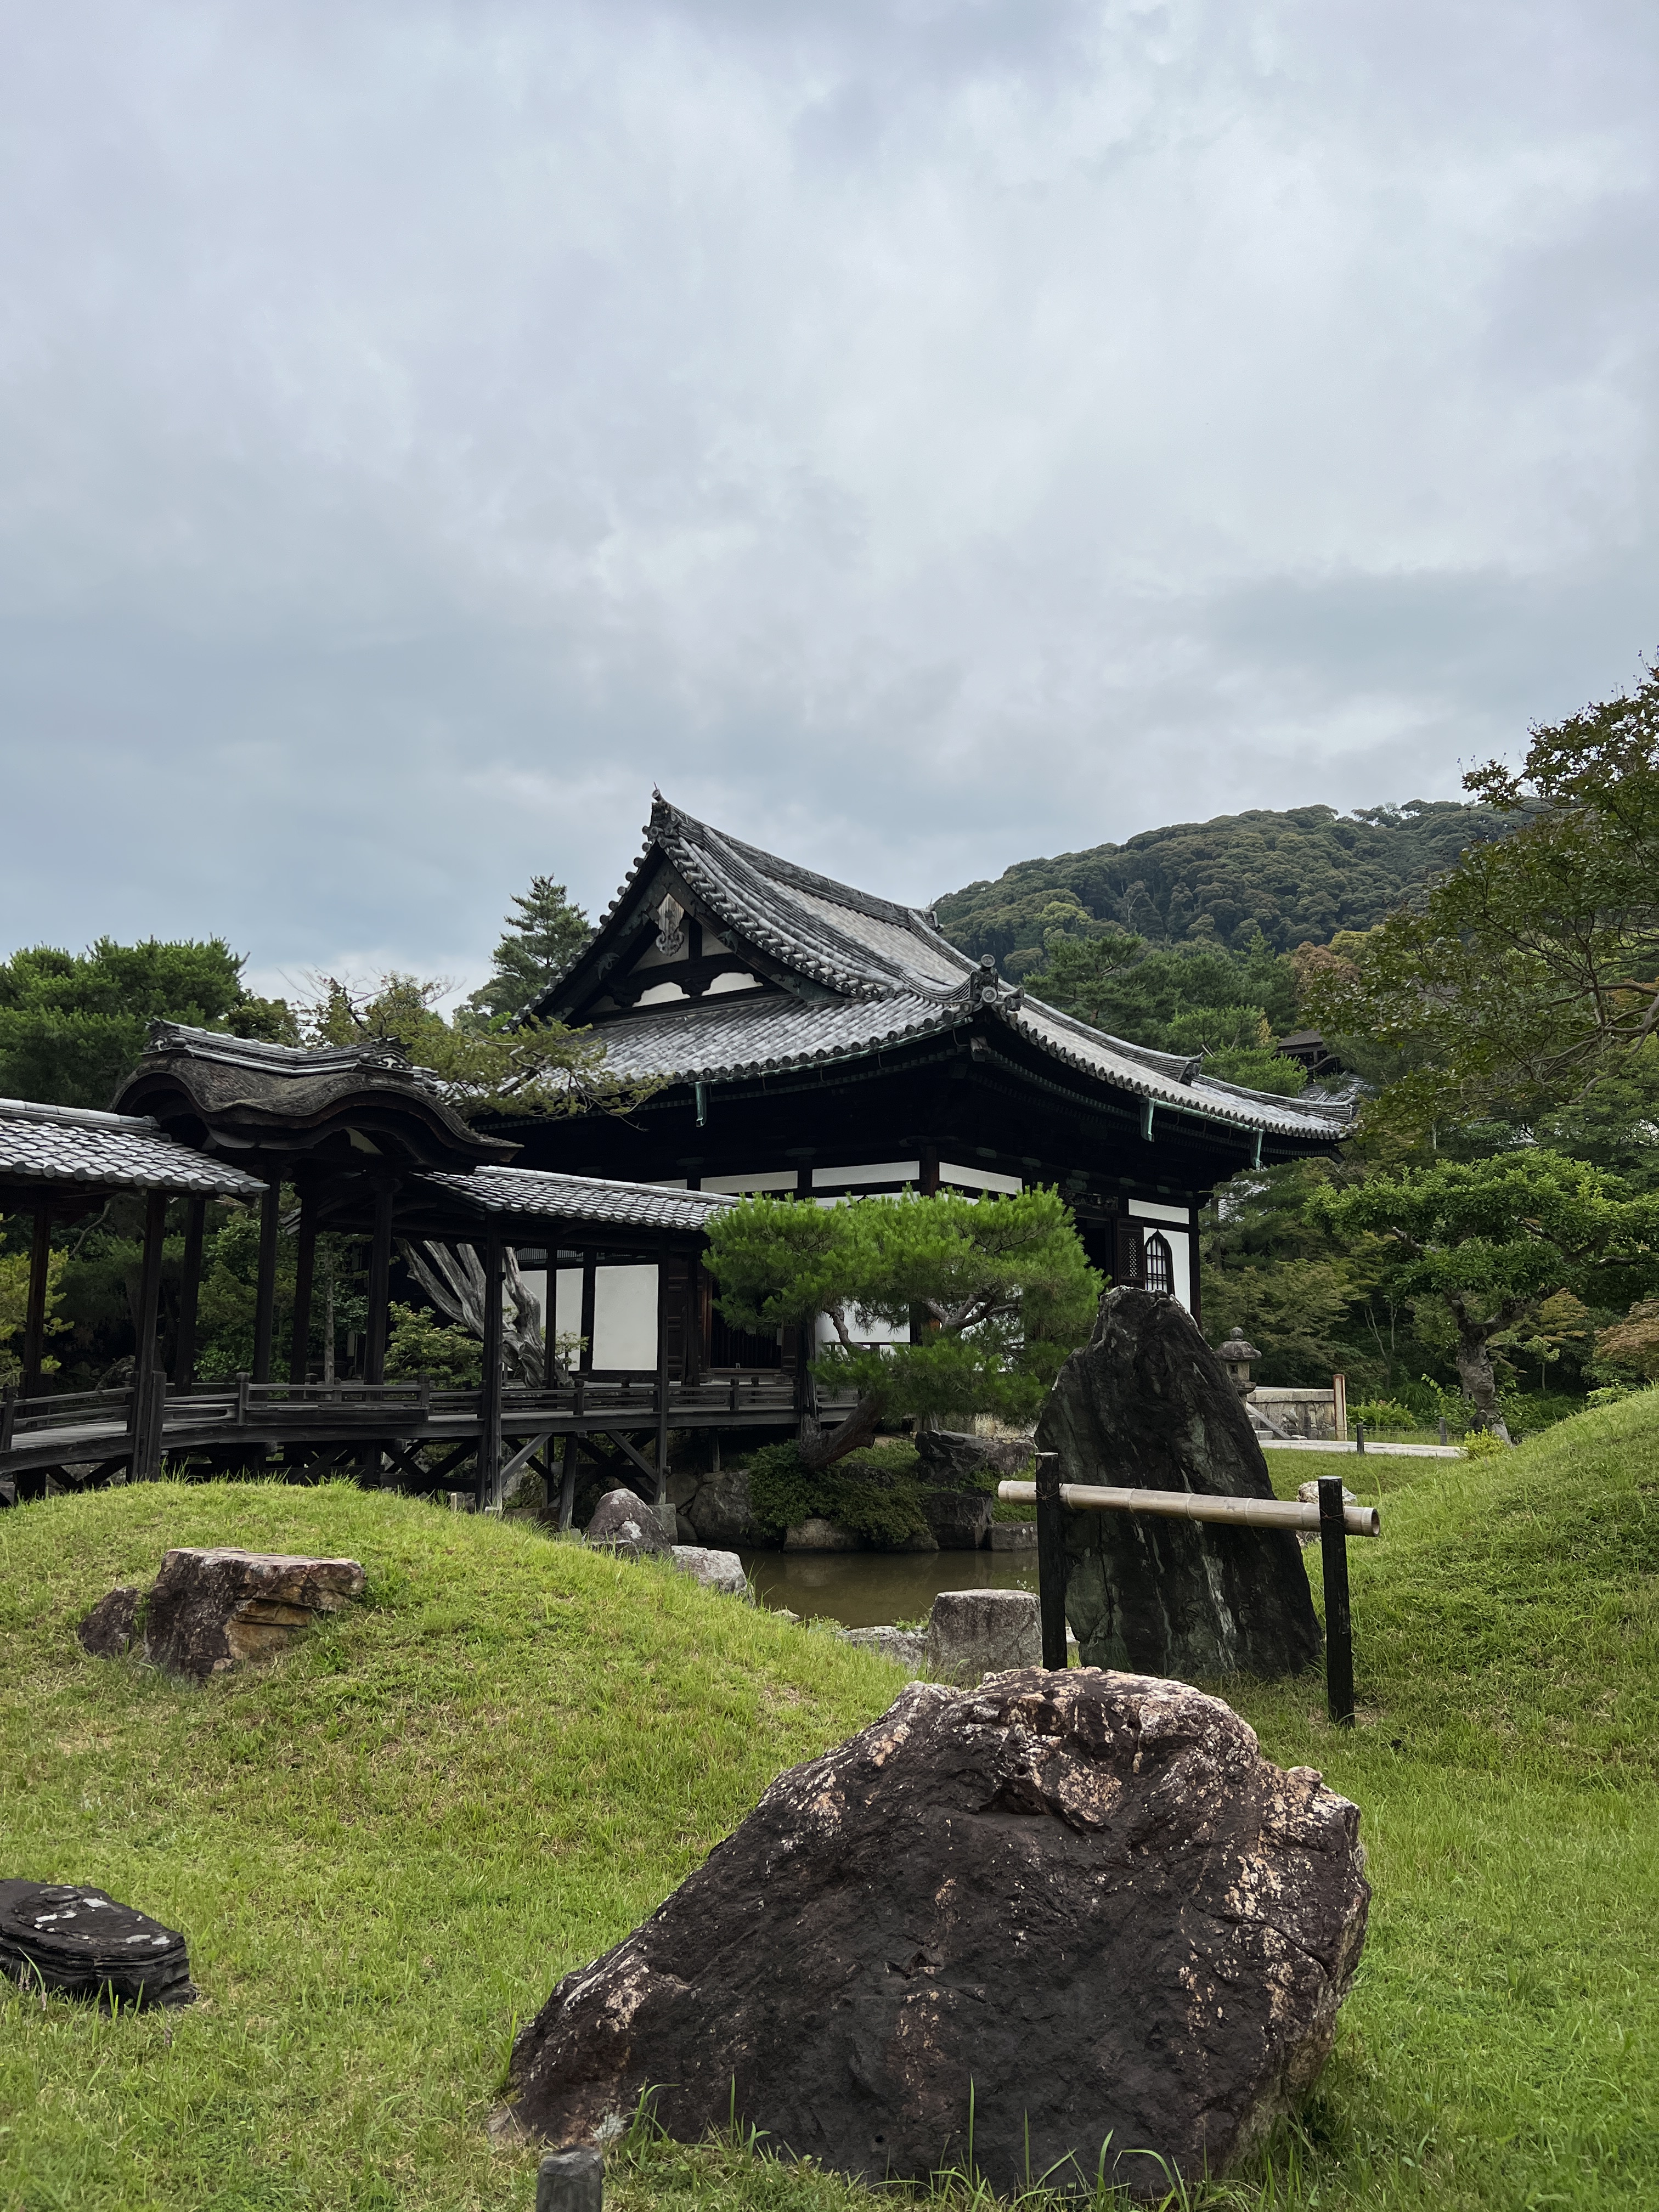
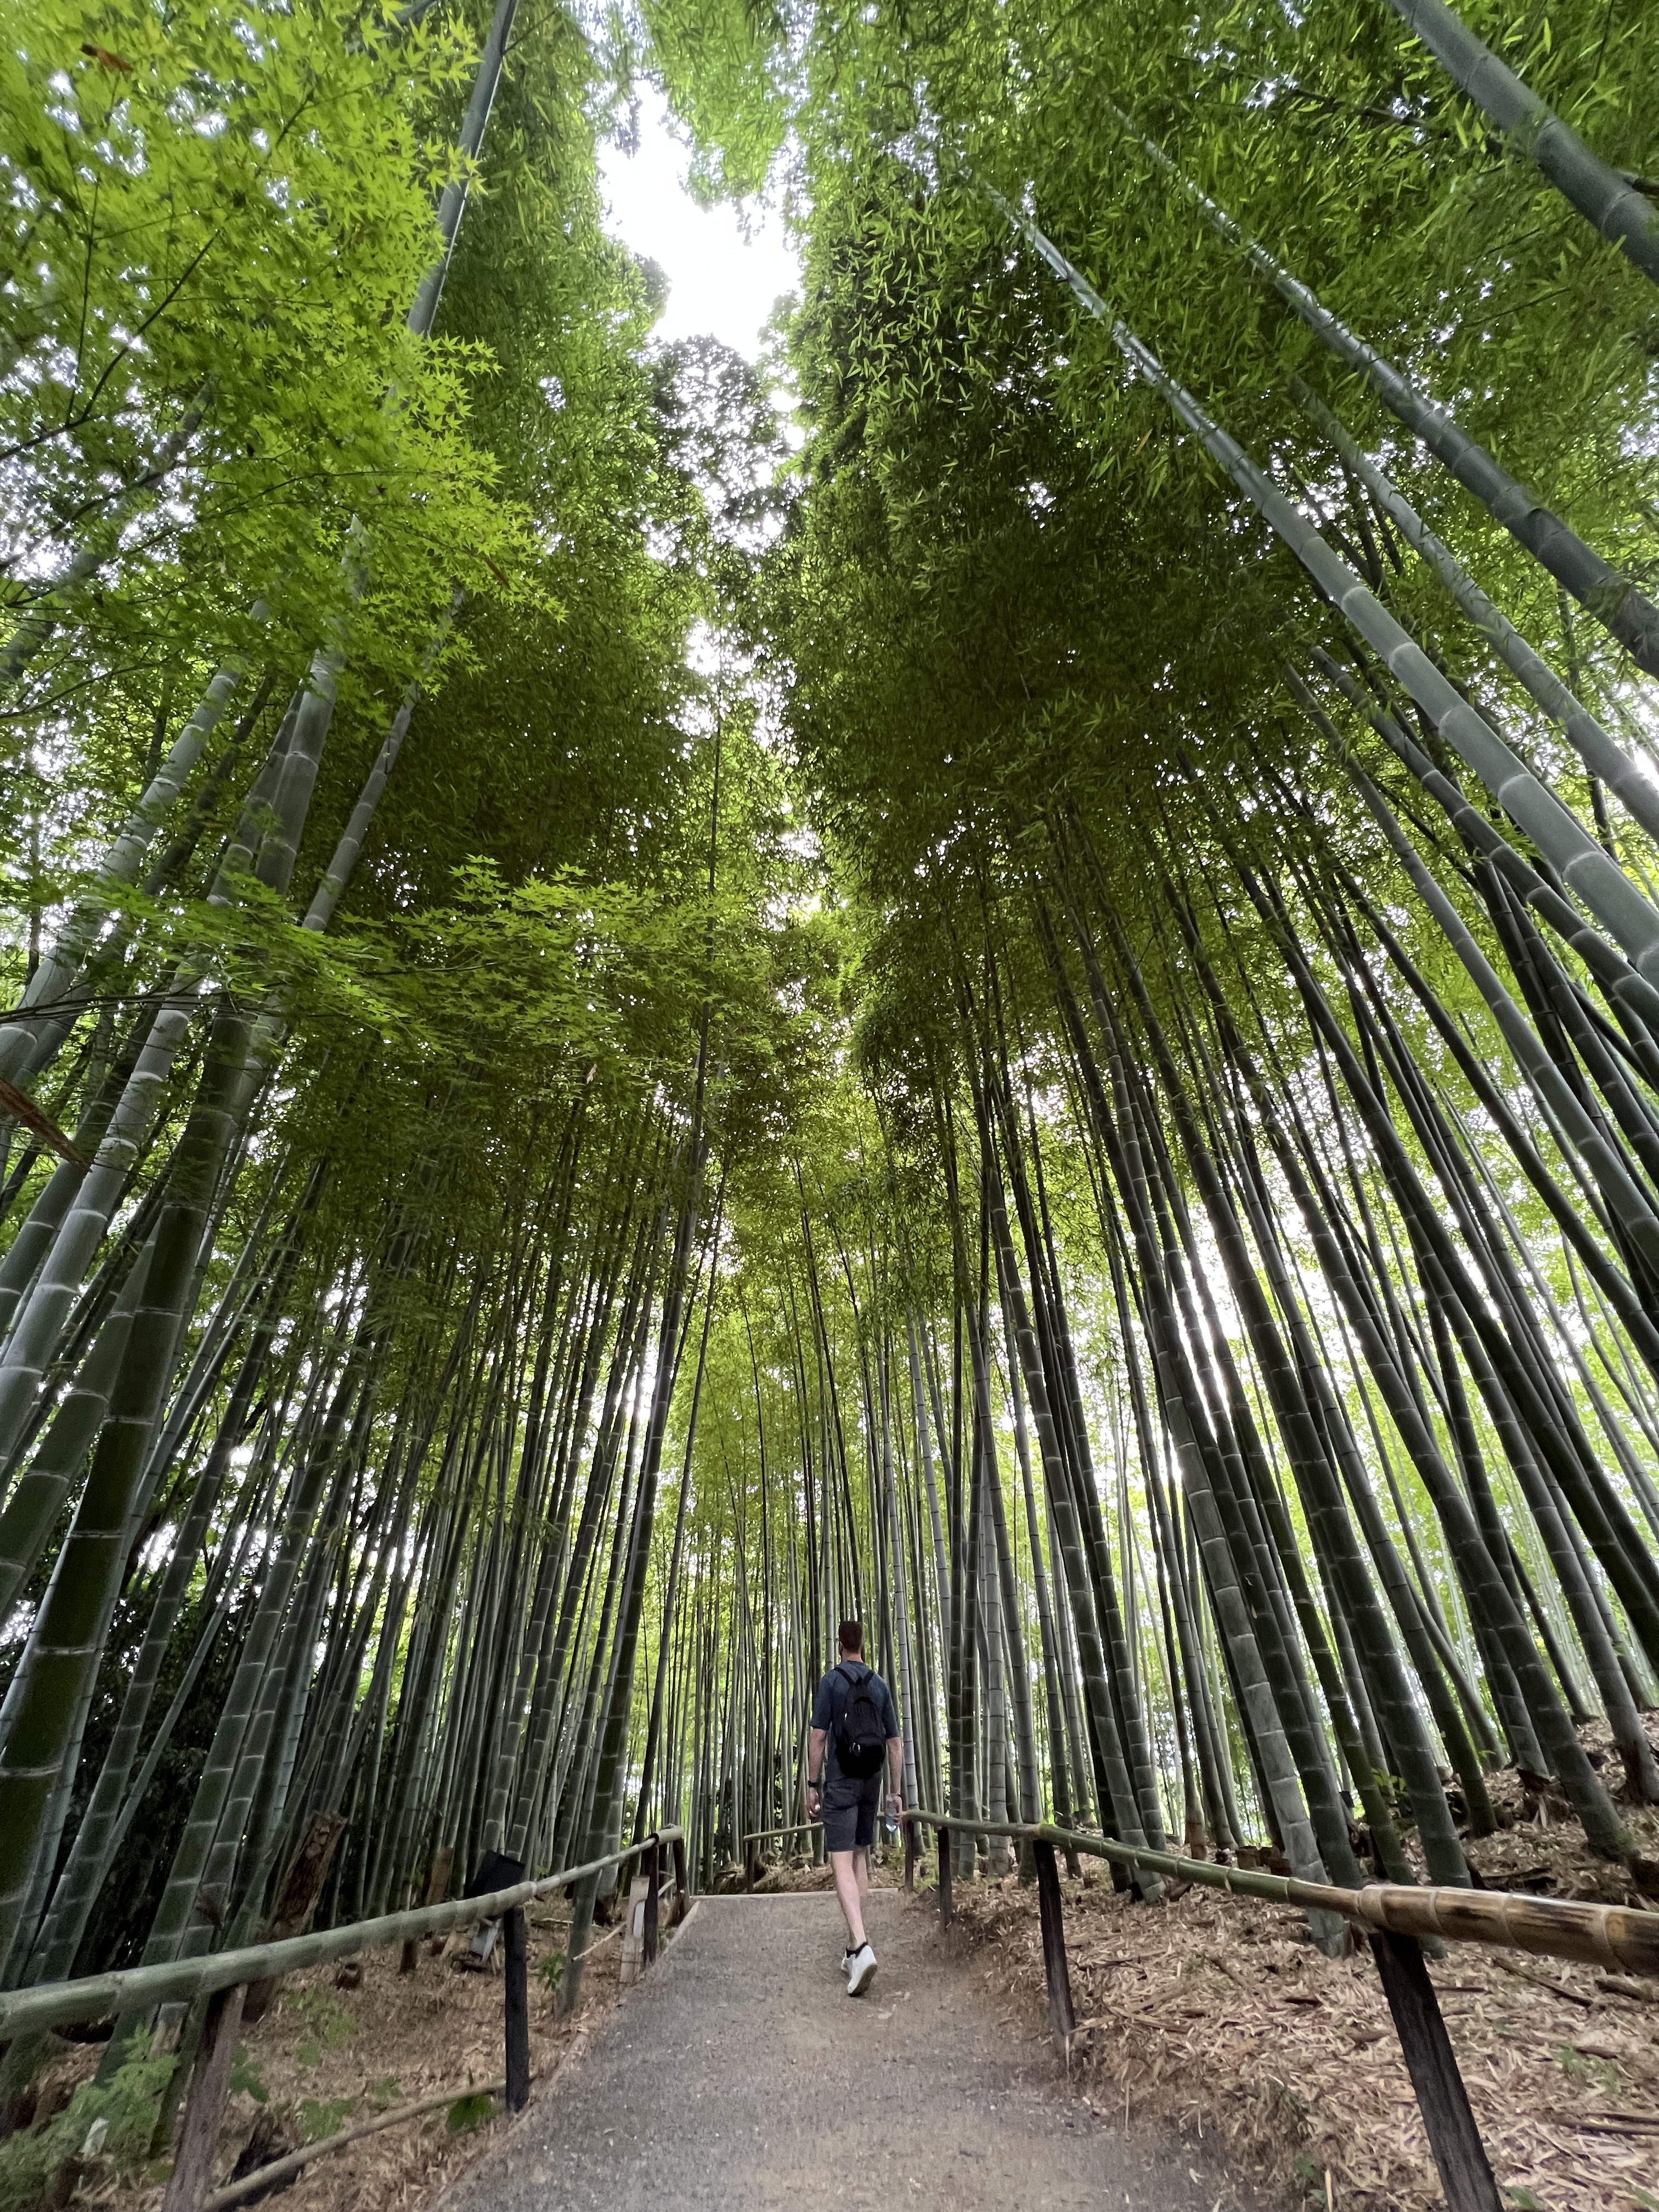
While we waited for our rings to be made, we moseyed around the area and popped into a couple of other temples. The first was the Ryozen Kannon which houses a GIANT Kannon statue overlooking a reflecting pond. The second and third were the Kodai-ji and Entoku-in Temples which are right across the road from each other and are technically part of the same complex. Kodai-ji has a beautiful rock garden and a bamboo grove. This one is totally worth it, even if for the bamboo grove alone – it is much more quiet than some of the more popular bamboo groves and it felt a lot more natural. Entoku-in is smaller and has very cool artwork in its buildings.
By the time we were finished exploring these temples we went back to the ring shop to pick up our souvenirs. We continued down the shopping street winding into the Sannen-Zaka Path where we caught a great view of the Hokan-ji temple. This temple consists of one five-story pagoda which is not always open to visitors, but when it is there is a lookout on the 2nd floor. We did not go into this one.
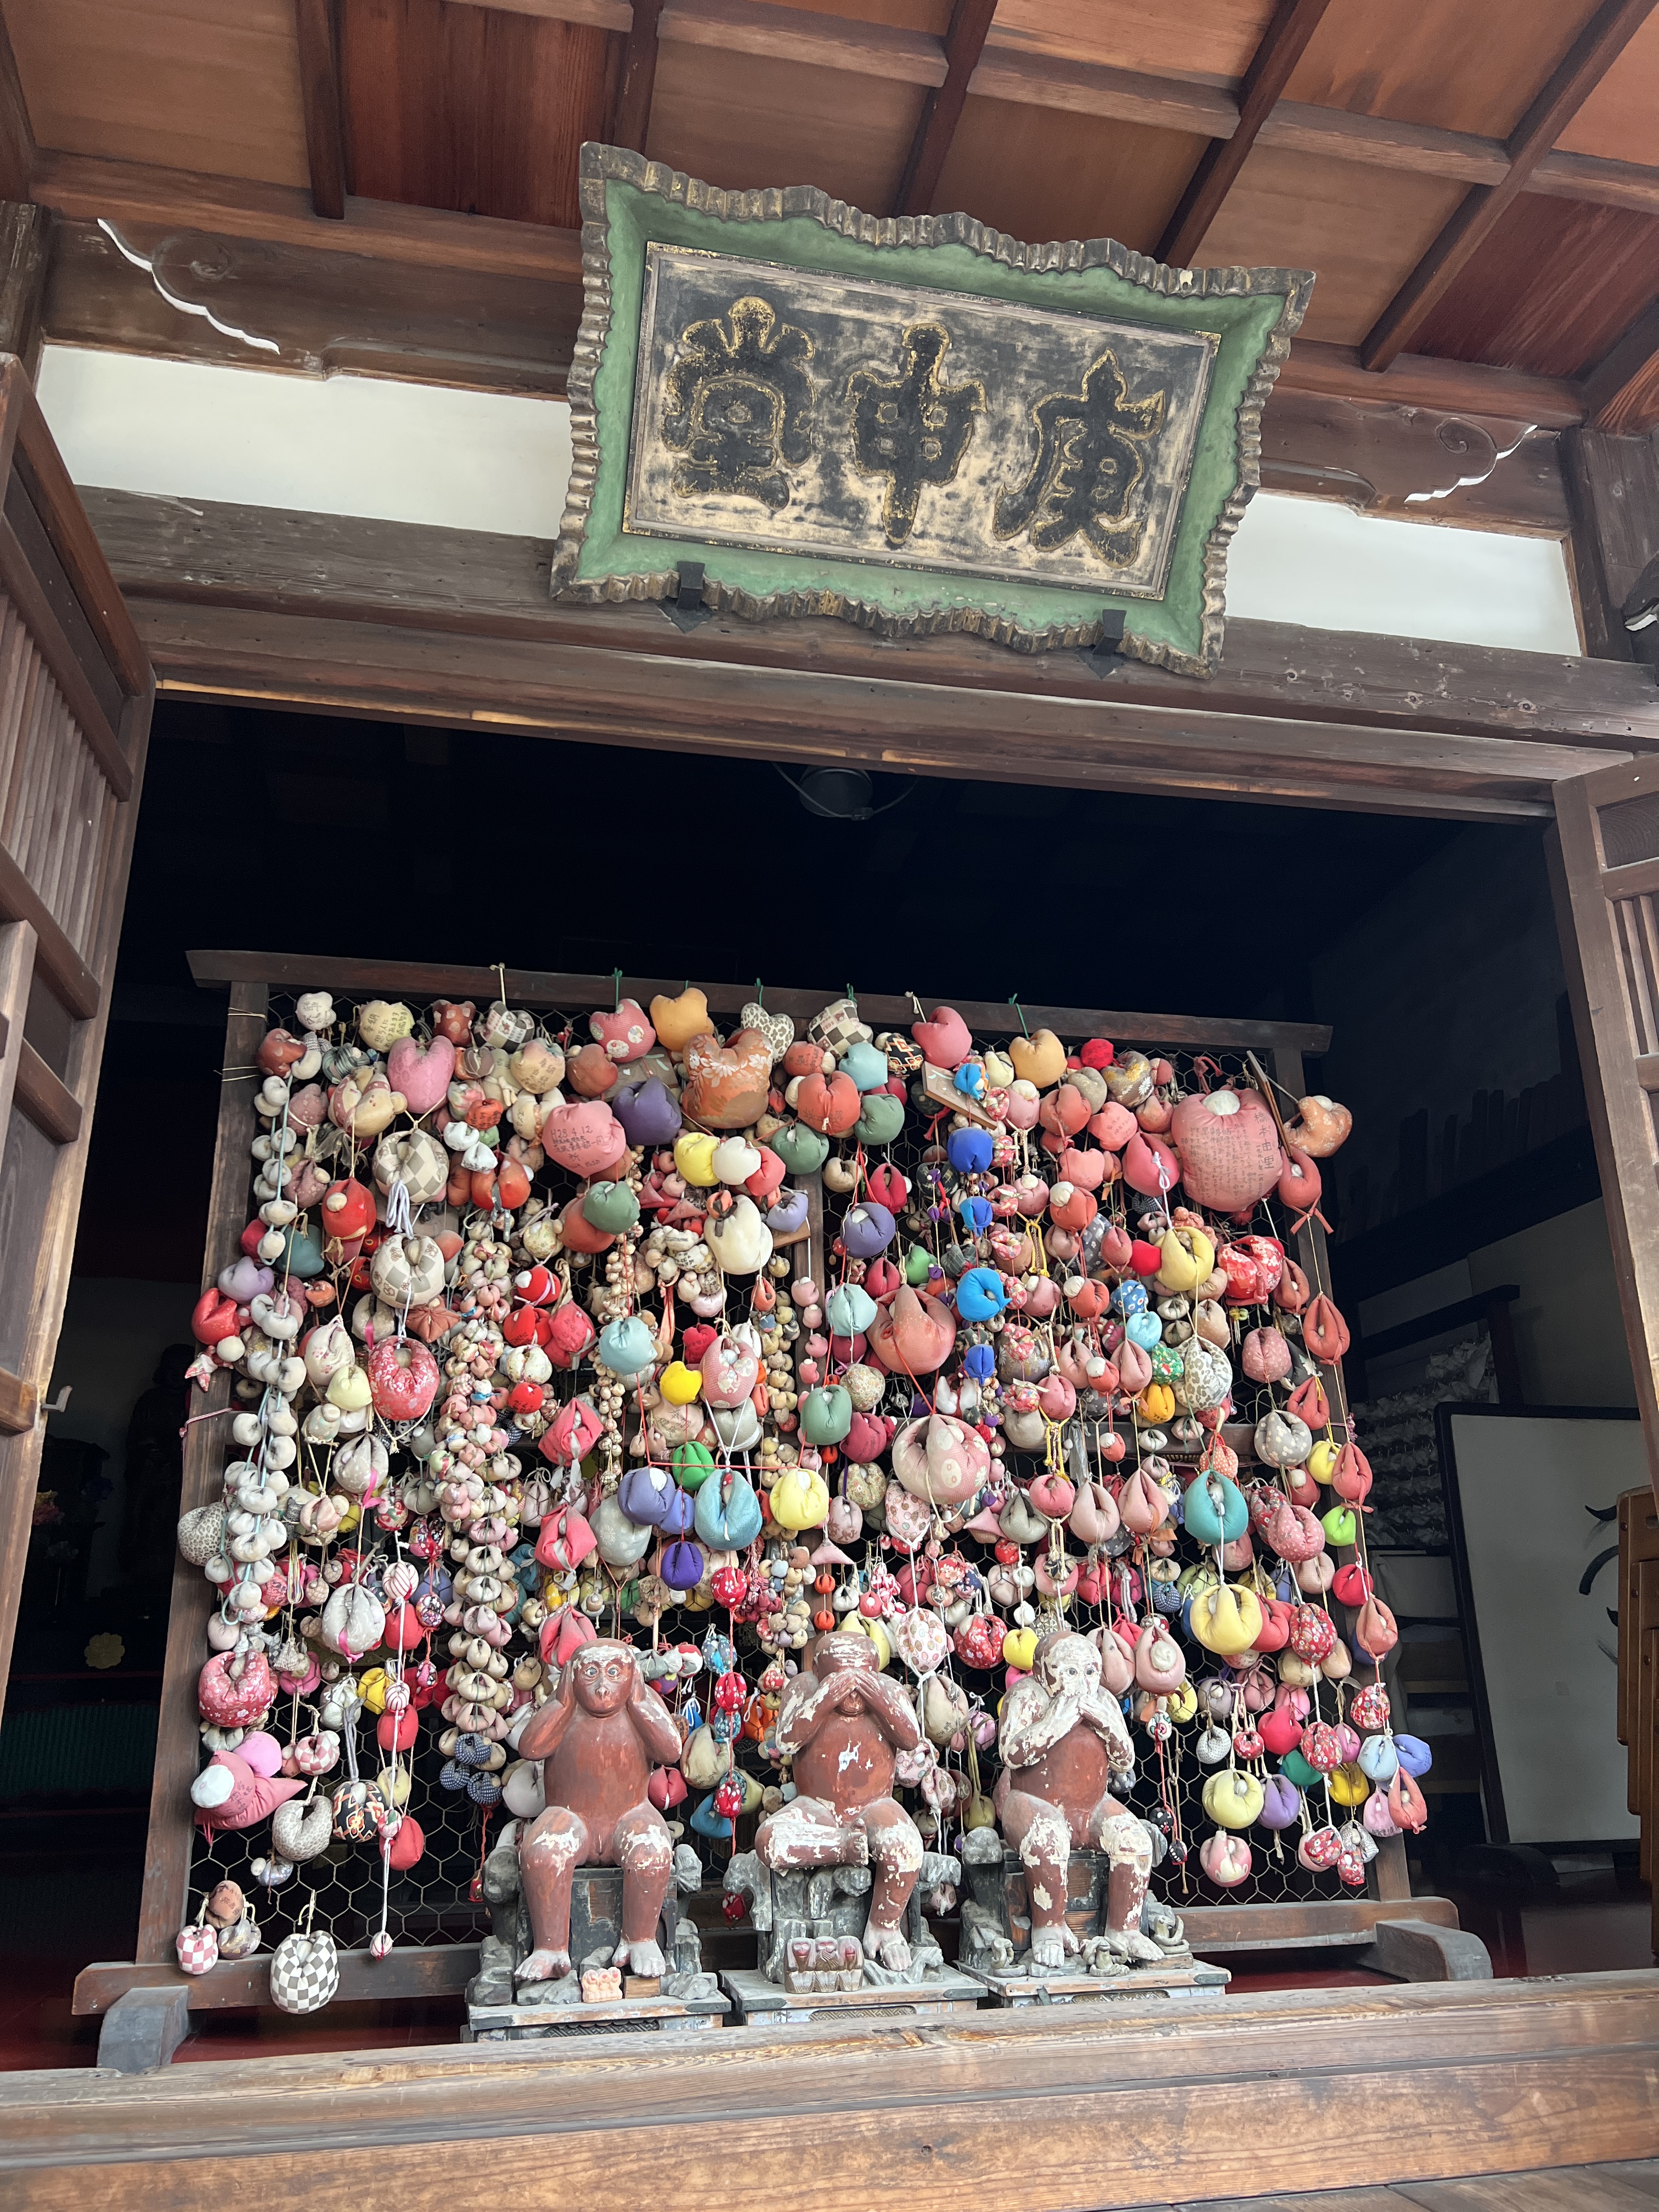
Our last stop of the day before lunch was the Yasaka Koshin-do temple which is named the most colorful temple in Kyoto. The method of worship in this unique temple is to write your wish on a small ball-shaped talisman made of cloth which represents the good faith monkeys. If you give up one of your “greeds,” it is believed that your wish might come true! The good faith monkeys can also be spotted at this temple, and you might liken them to the Japanese “three wise monkeys” – hear no evil, speak no evil, see no evil. This temple was beautiful and fun, and we recommend!
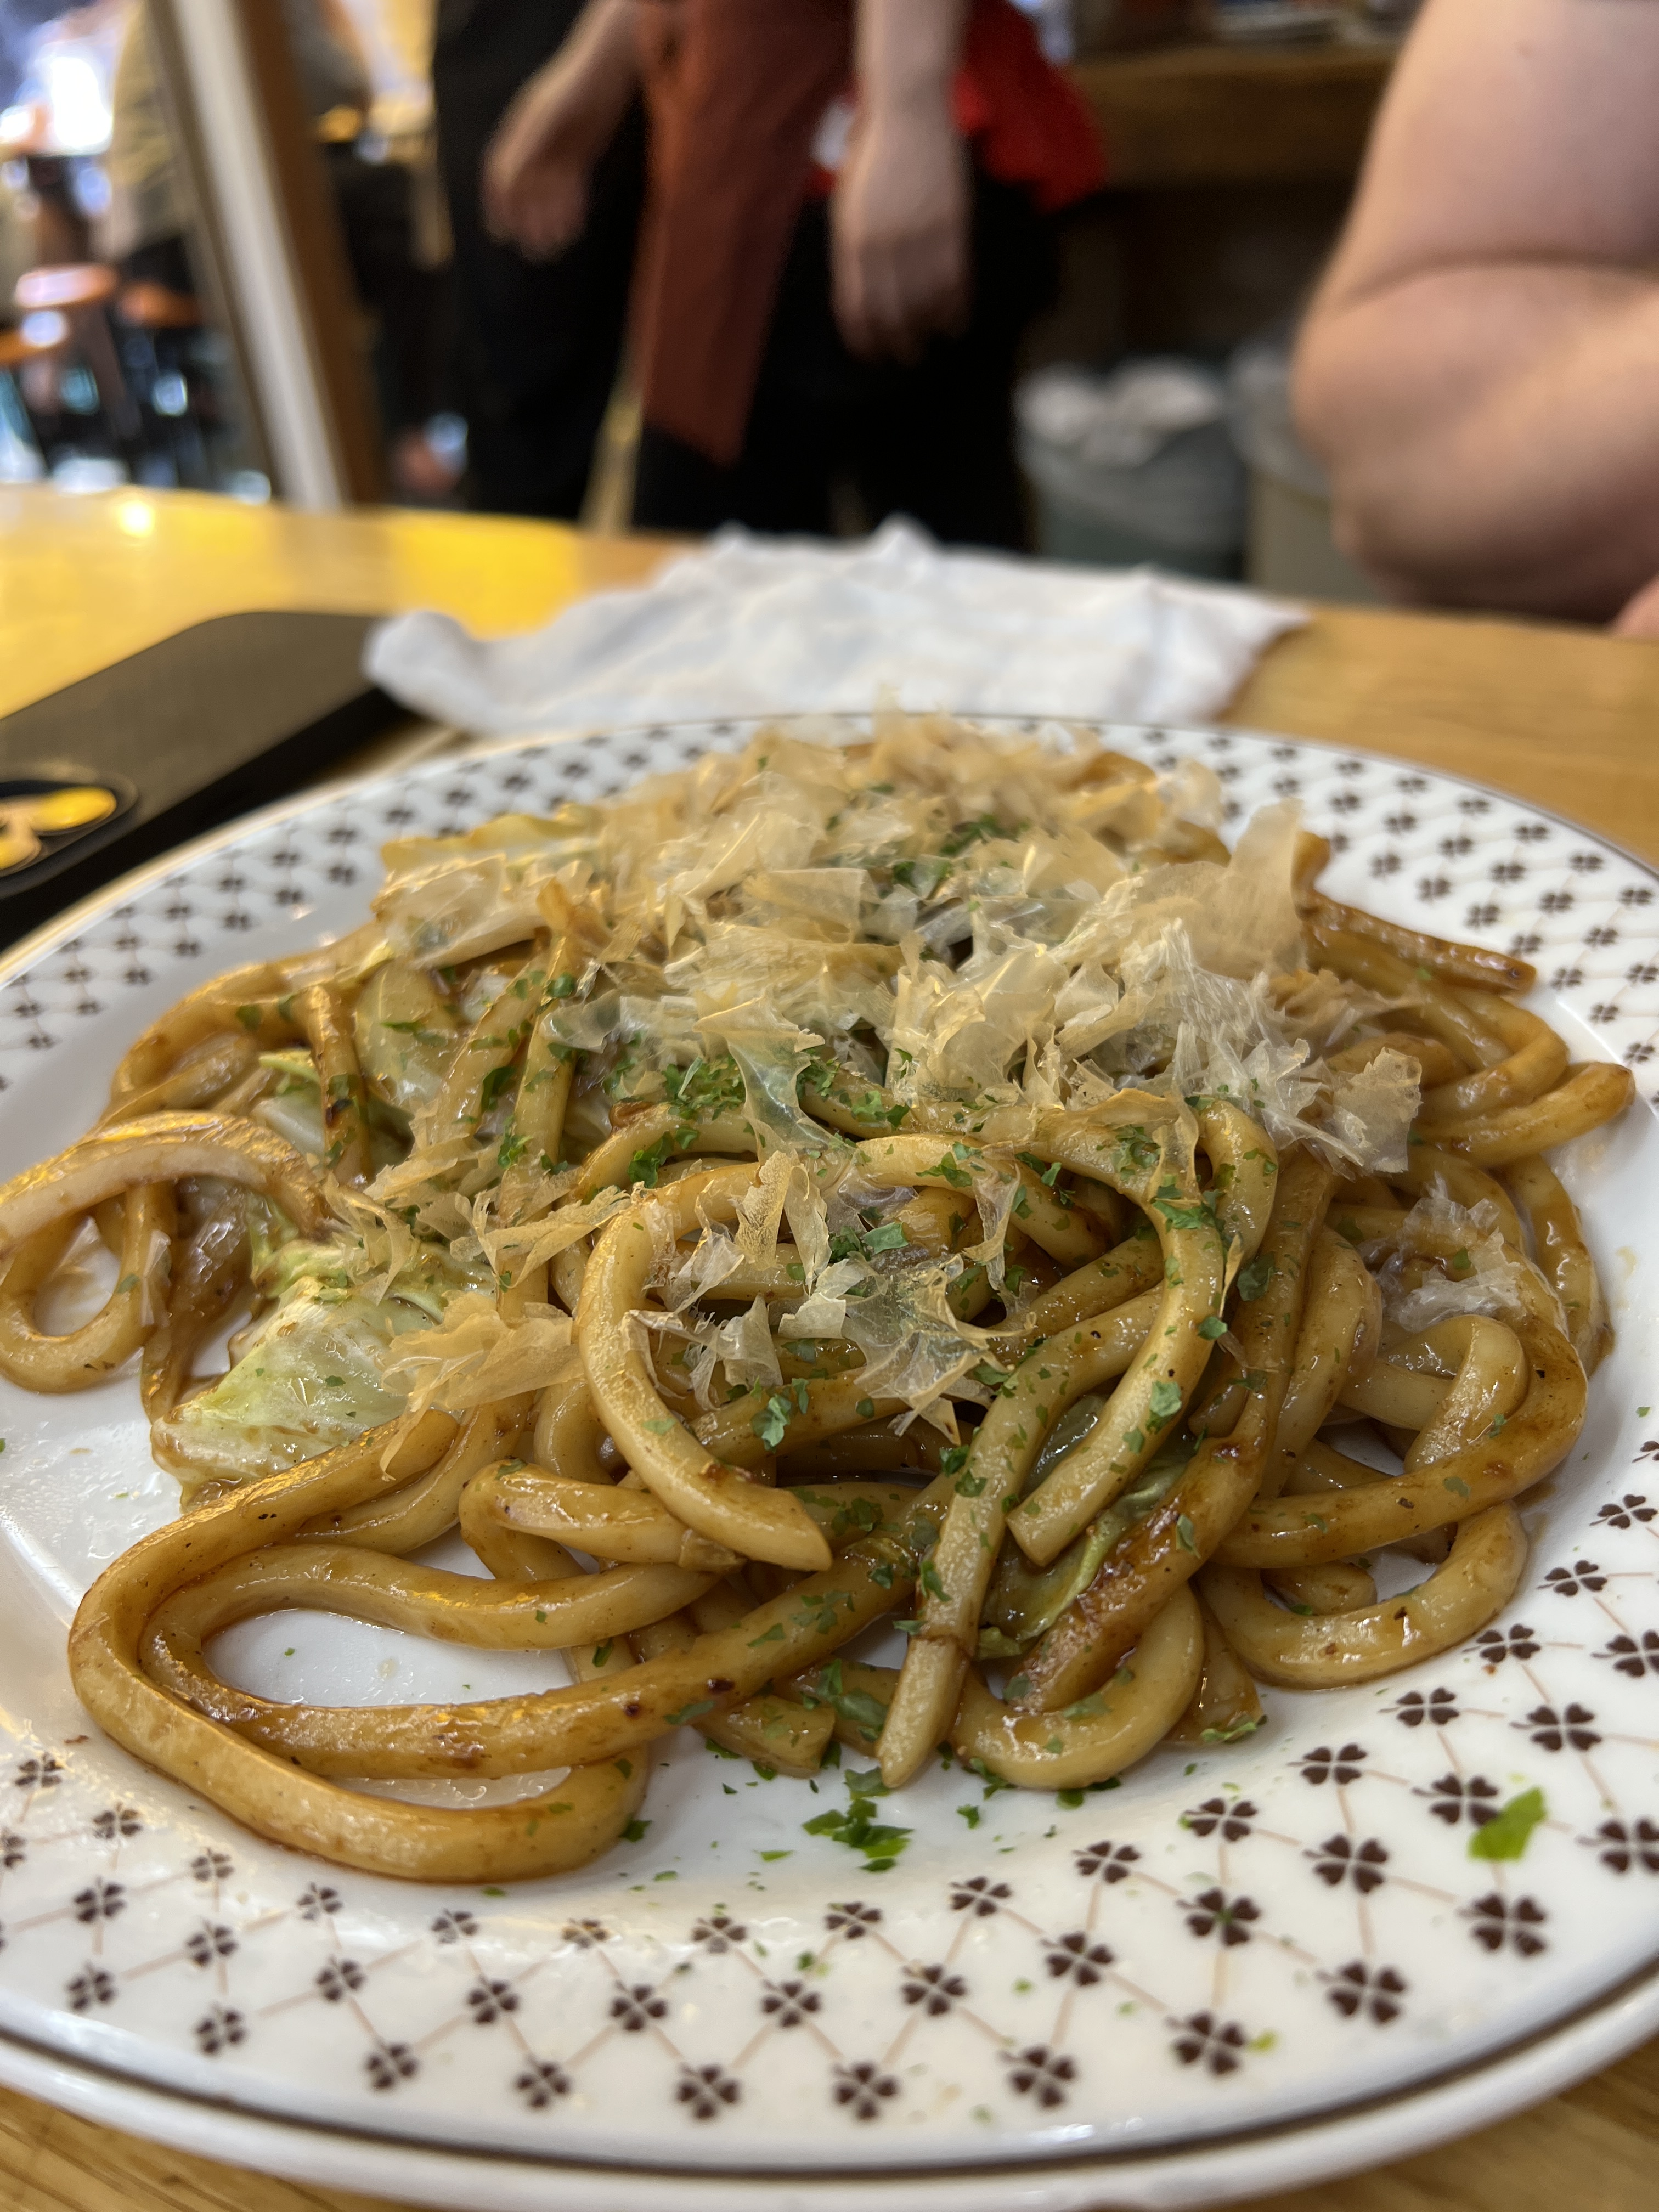
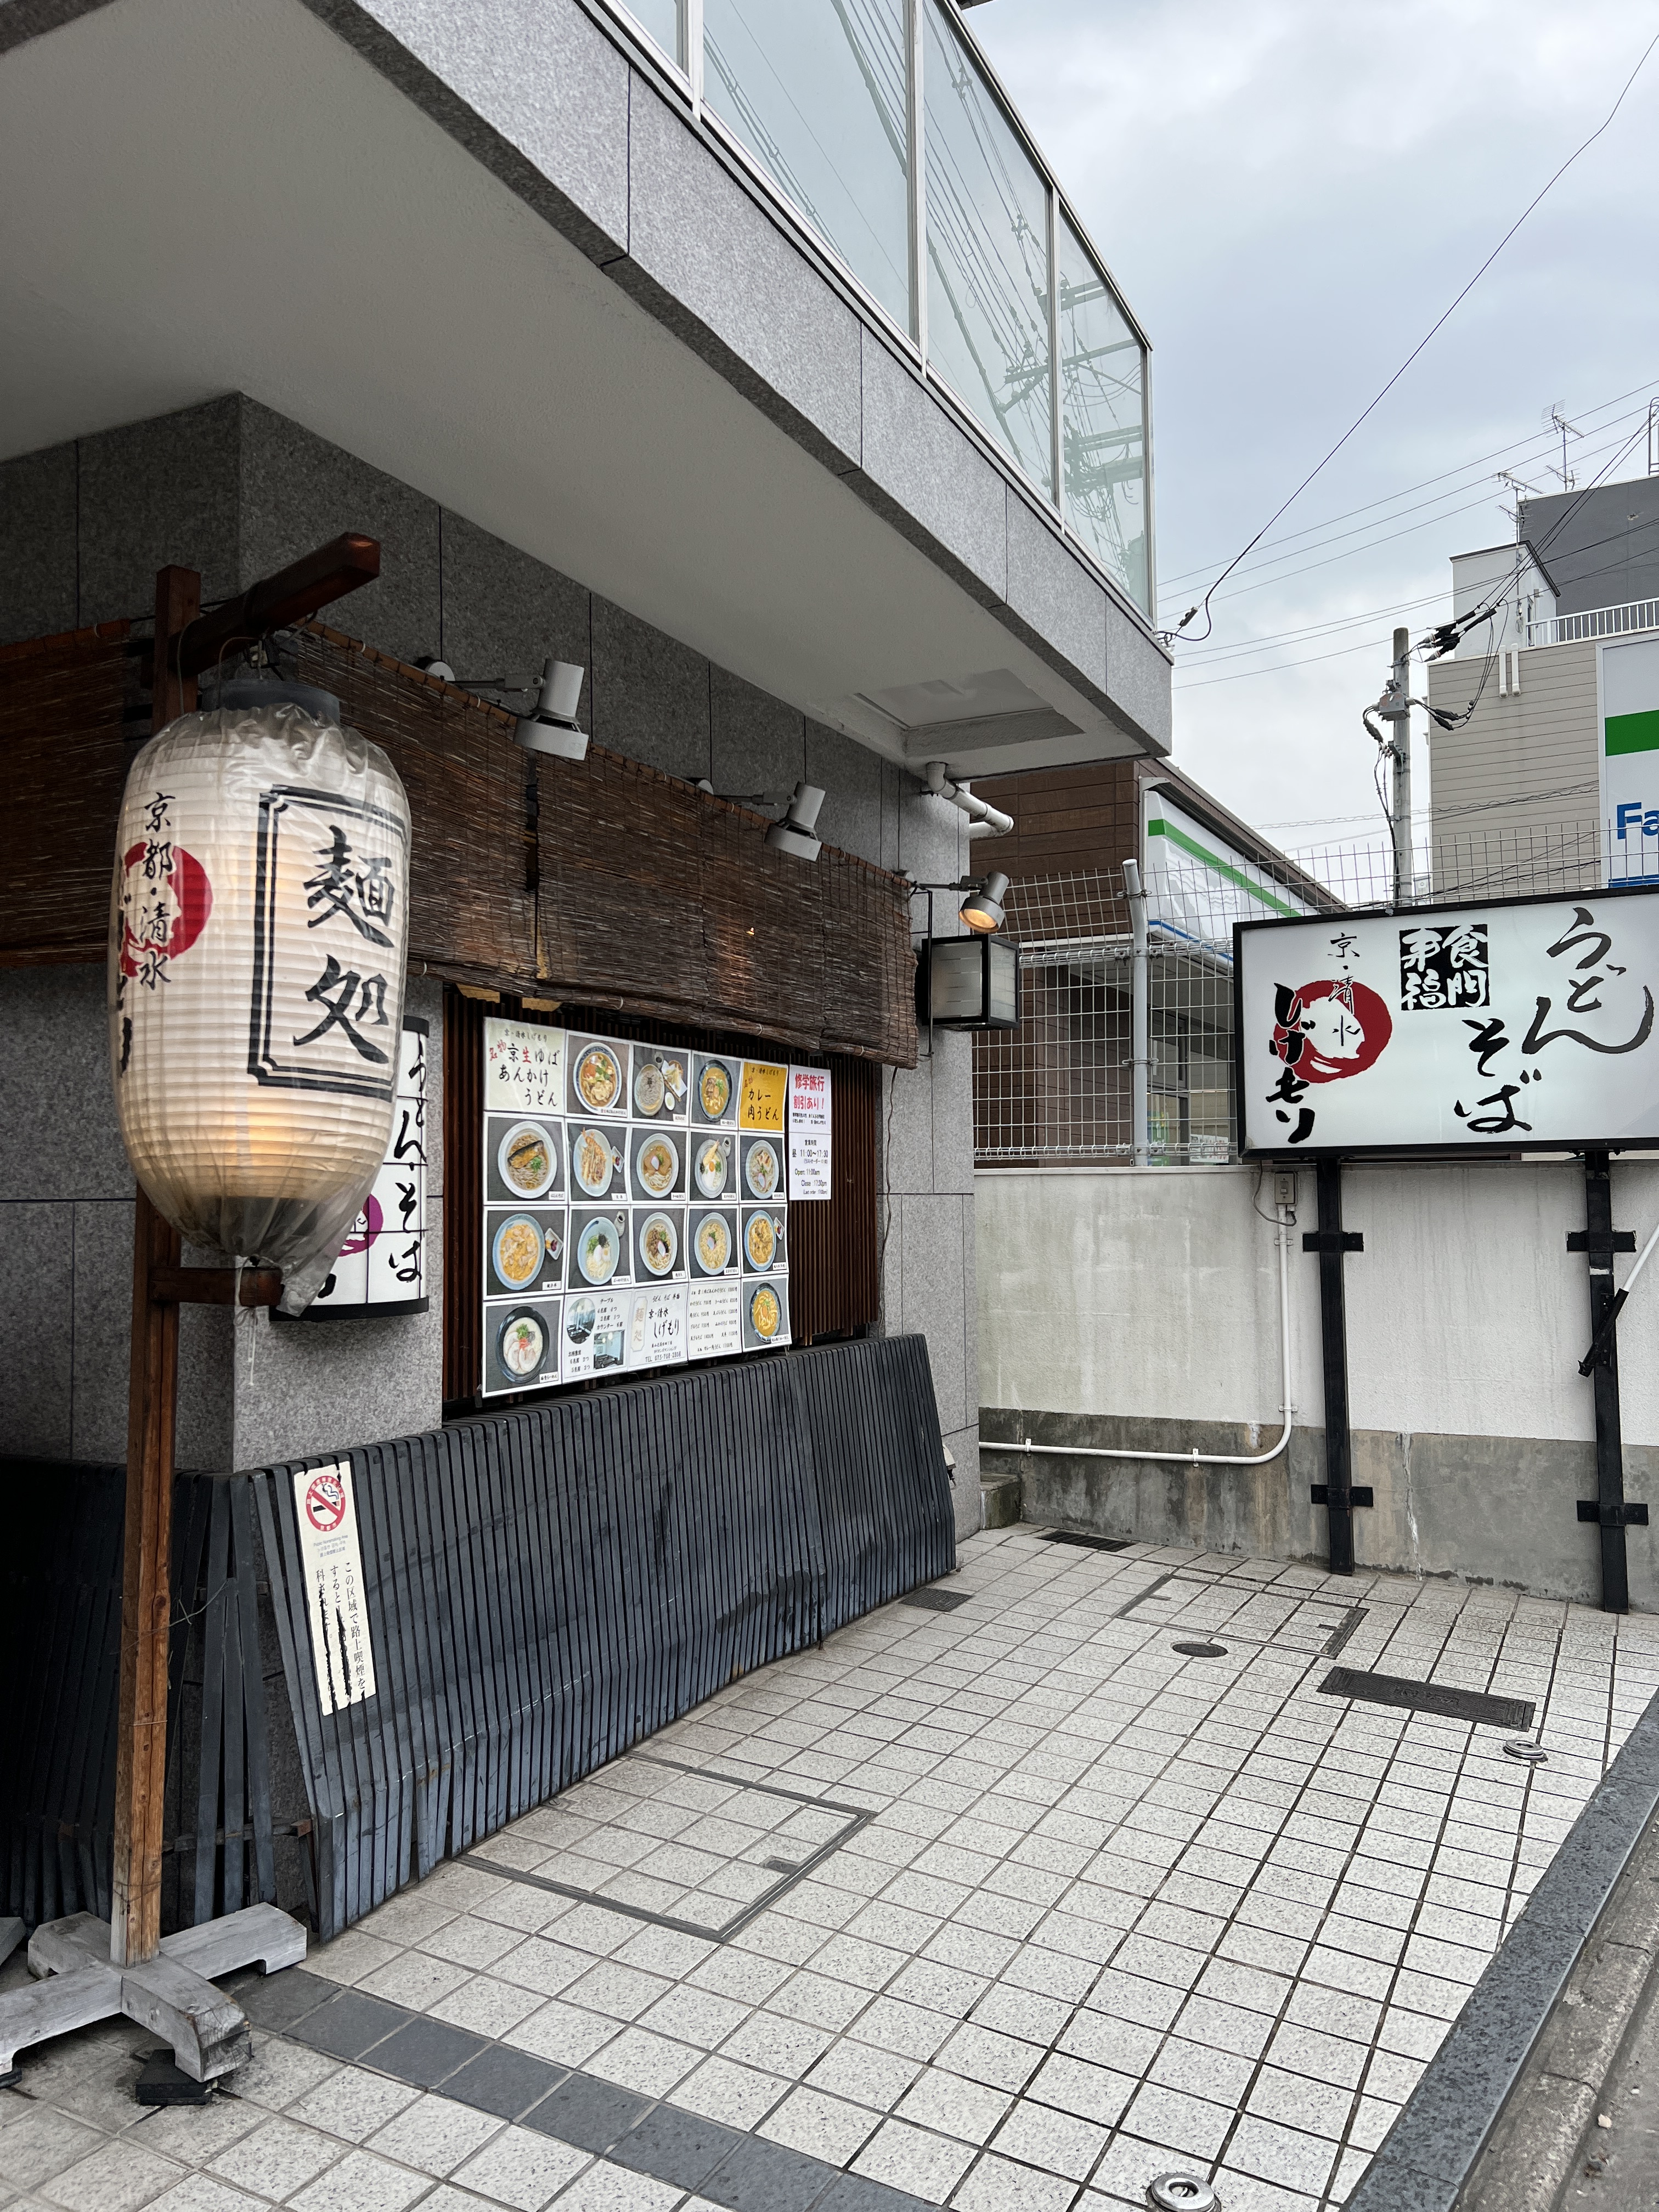
We grabbed a snack of candied strawberries off a street stand and then for lunch we stopped into Kyo-Kiyomizu Shigemore for some udon. It was tasty, but nothing to write home about – do not go out of your way to check out this specific restaurant.
After lunch we grabbed a little coffee pick-me-up and then headed to the Yasaka Shrine which has a large bell that you can ring.
Our last stop of our afternoon exploring Gion was the Chion-In Temple which has the largest entrance gate in all of Japan. Once you pass through the gate, which is truly HUGE< there is a giant staircase to get you to the rest of the temple complex, giving perspective to the size of the entrance. In the last picture below, you can see me waving my arms around in the entrance, for size reference. This one is worth the visit!
By the time we left the Chion-in Temple it was around 2:30 PM and it was time for us to take about a 45 min walk to the Hiiragiya Ryokan, a traditional Japanese inn. We were excited about experiencing a Ryokan for a few reasons – for one, traditional experiences are what we are after and this seemed like a quintessential one from our research. Second, the Ryokans offer what is supposed to be one of the most exquisite kaiseki meals in all of Japan. Lastly, most Ryokans offer some sort of onsen experience and we were hoping that this one had something like that. When looking for a Ryokan, we looked specifically for one that had a traditional tatami mat room in which dinner and breakfast are served to you directly in your room. It is helpful to book this well in advance – I had booked about 3 weeks in advance and a lot of the ones that looked really nice were already booked. The Hiiragiya Ryokan did not disappoint us, though!
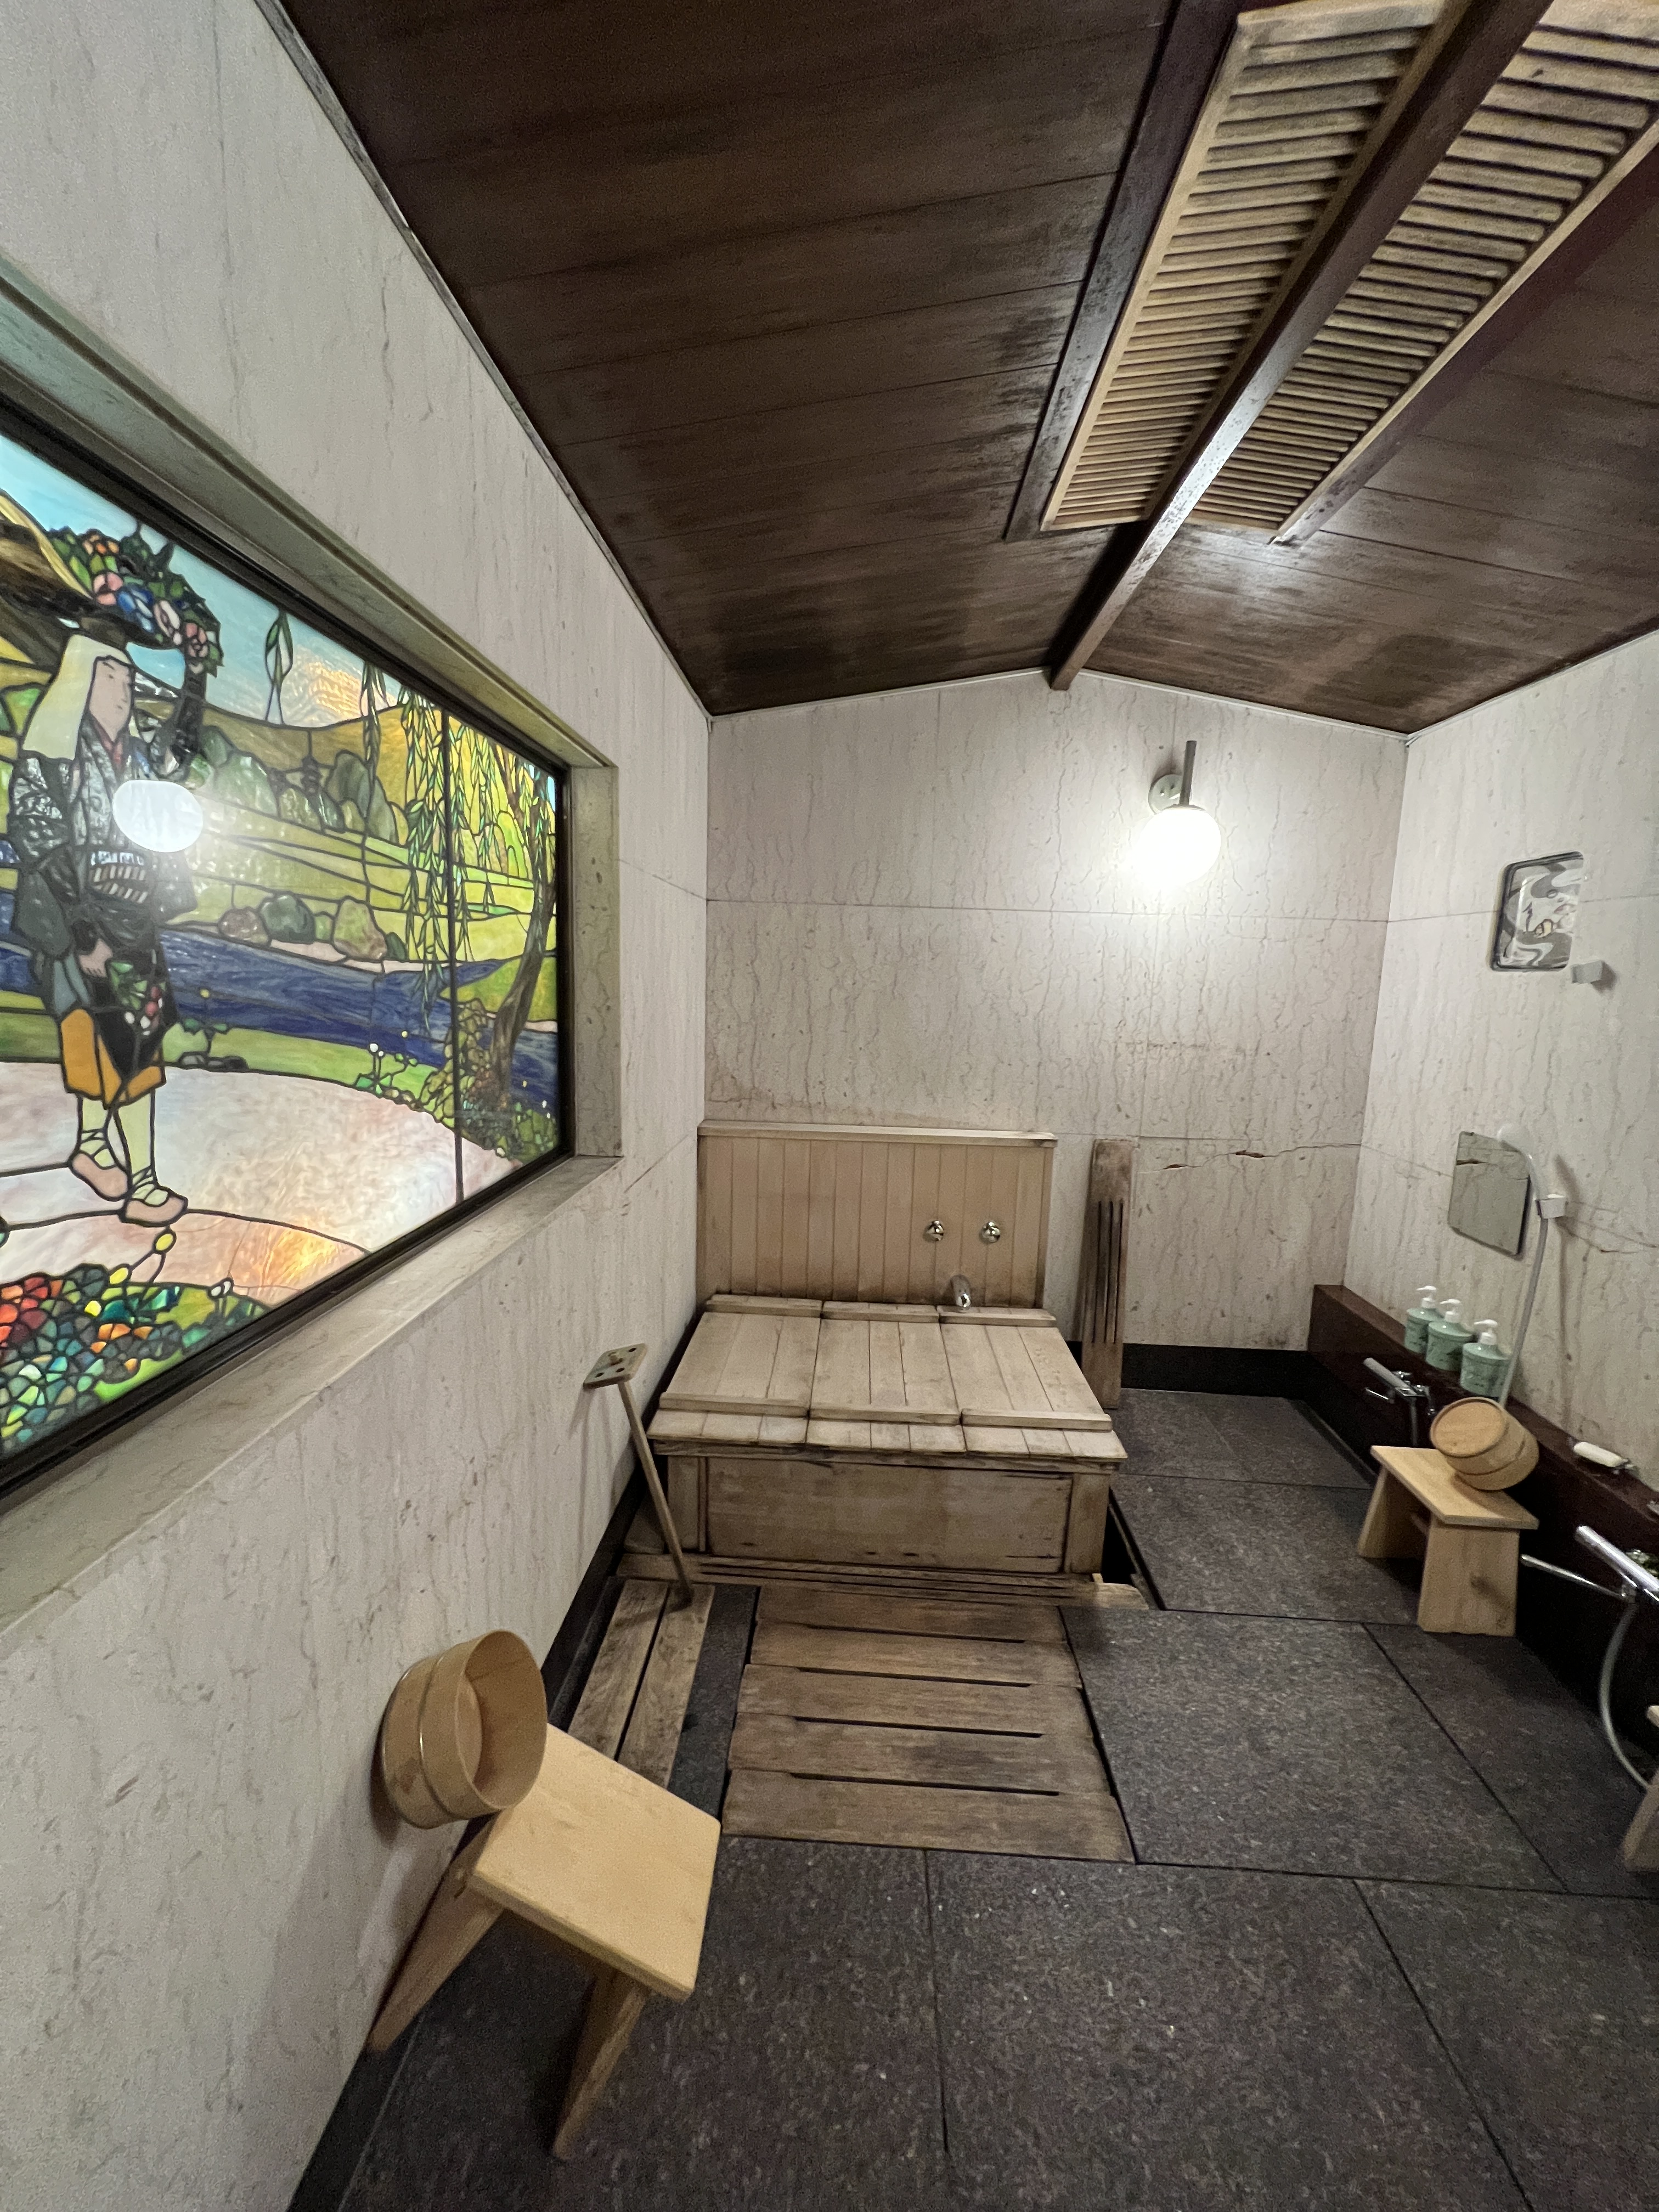
Upon arrival our bags, umbrellas, and shoes were swiftly taken off our hands (and feet) and replaced with some cozy slippers. We did not see our shoes again until we checked out the following morning, and that was totally fine by me! We got a tour of the building including the beautiful dining room that we could choose to have our dinner and breakfast in if we wanted to. We did not, because we wanted the traditional service in our room, but the dining room was so beautiful and surrounded by gardens that we actually considered having breakfast there. We got to select our dinner and breakfast time from the moderately-sized windows that they offered us. They also showed us the communal bathroom which is simply larger than the one in your room, and you can let them know in advance if you want to book it for private use. The bathroom includes a cedar bathtub filled with natural spring water just like the onsens. While this Ryokan did not have a traditional onsen setup (which we figured, since it was closer to the city center for convenience in our itinerary), we still had the opportunity to do a traditional soak before our dinner in the spring water cedar bath.
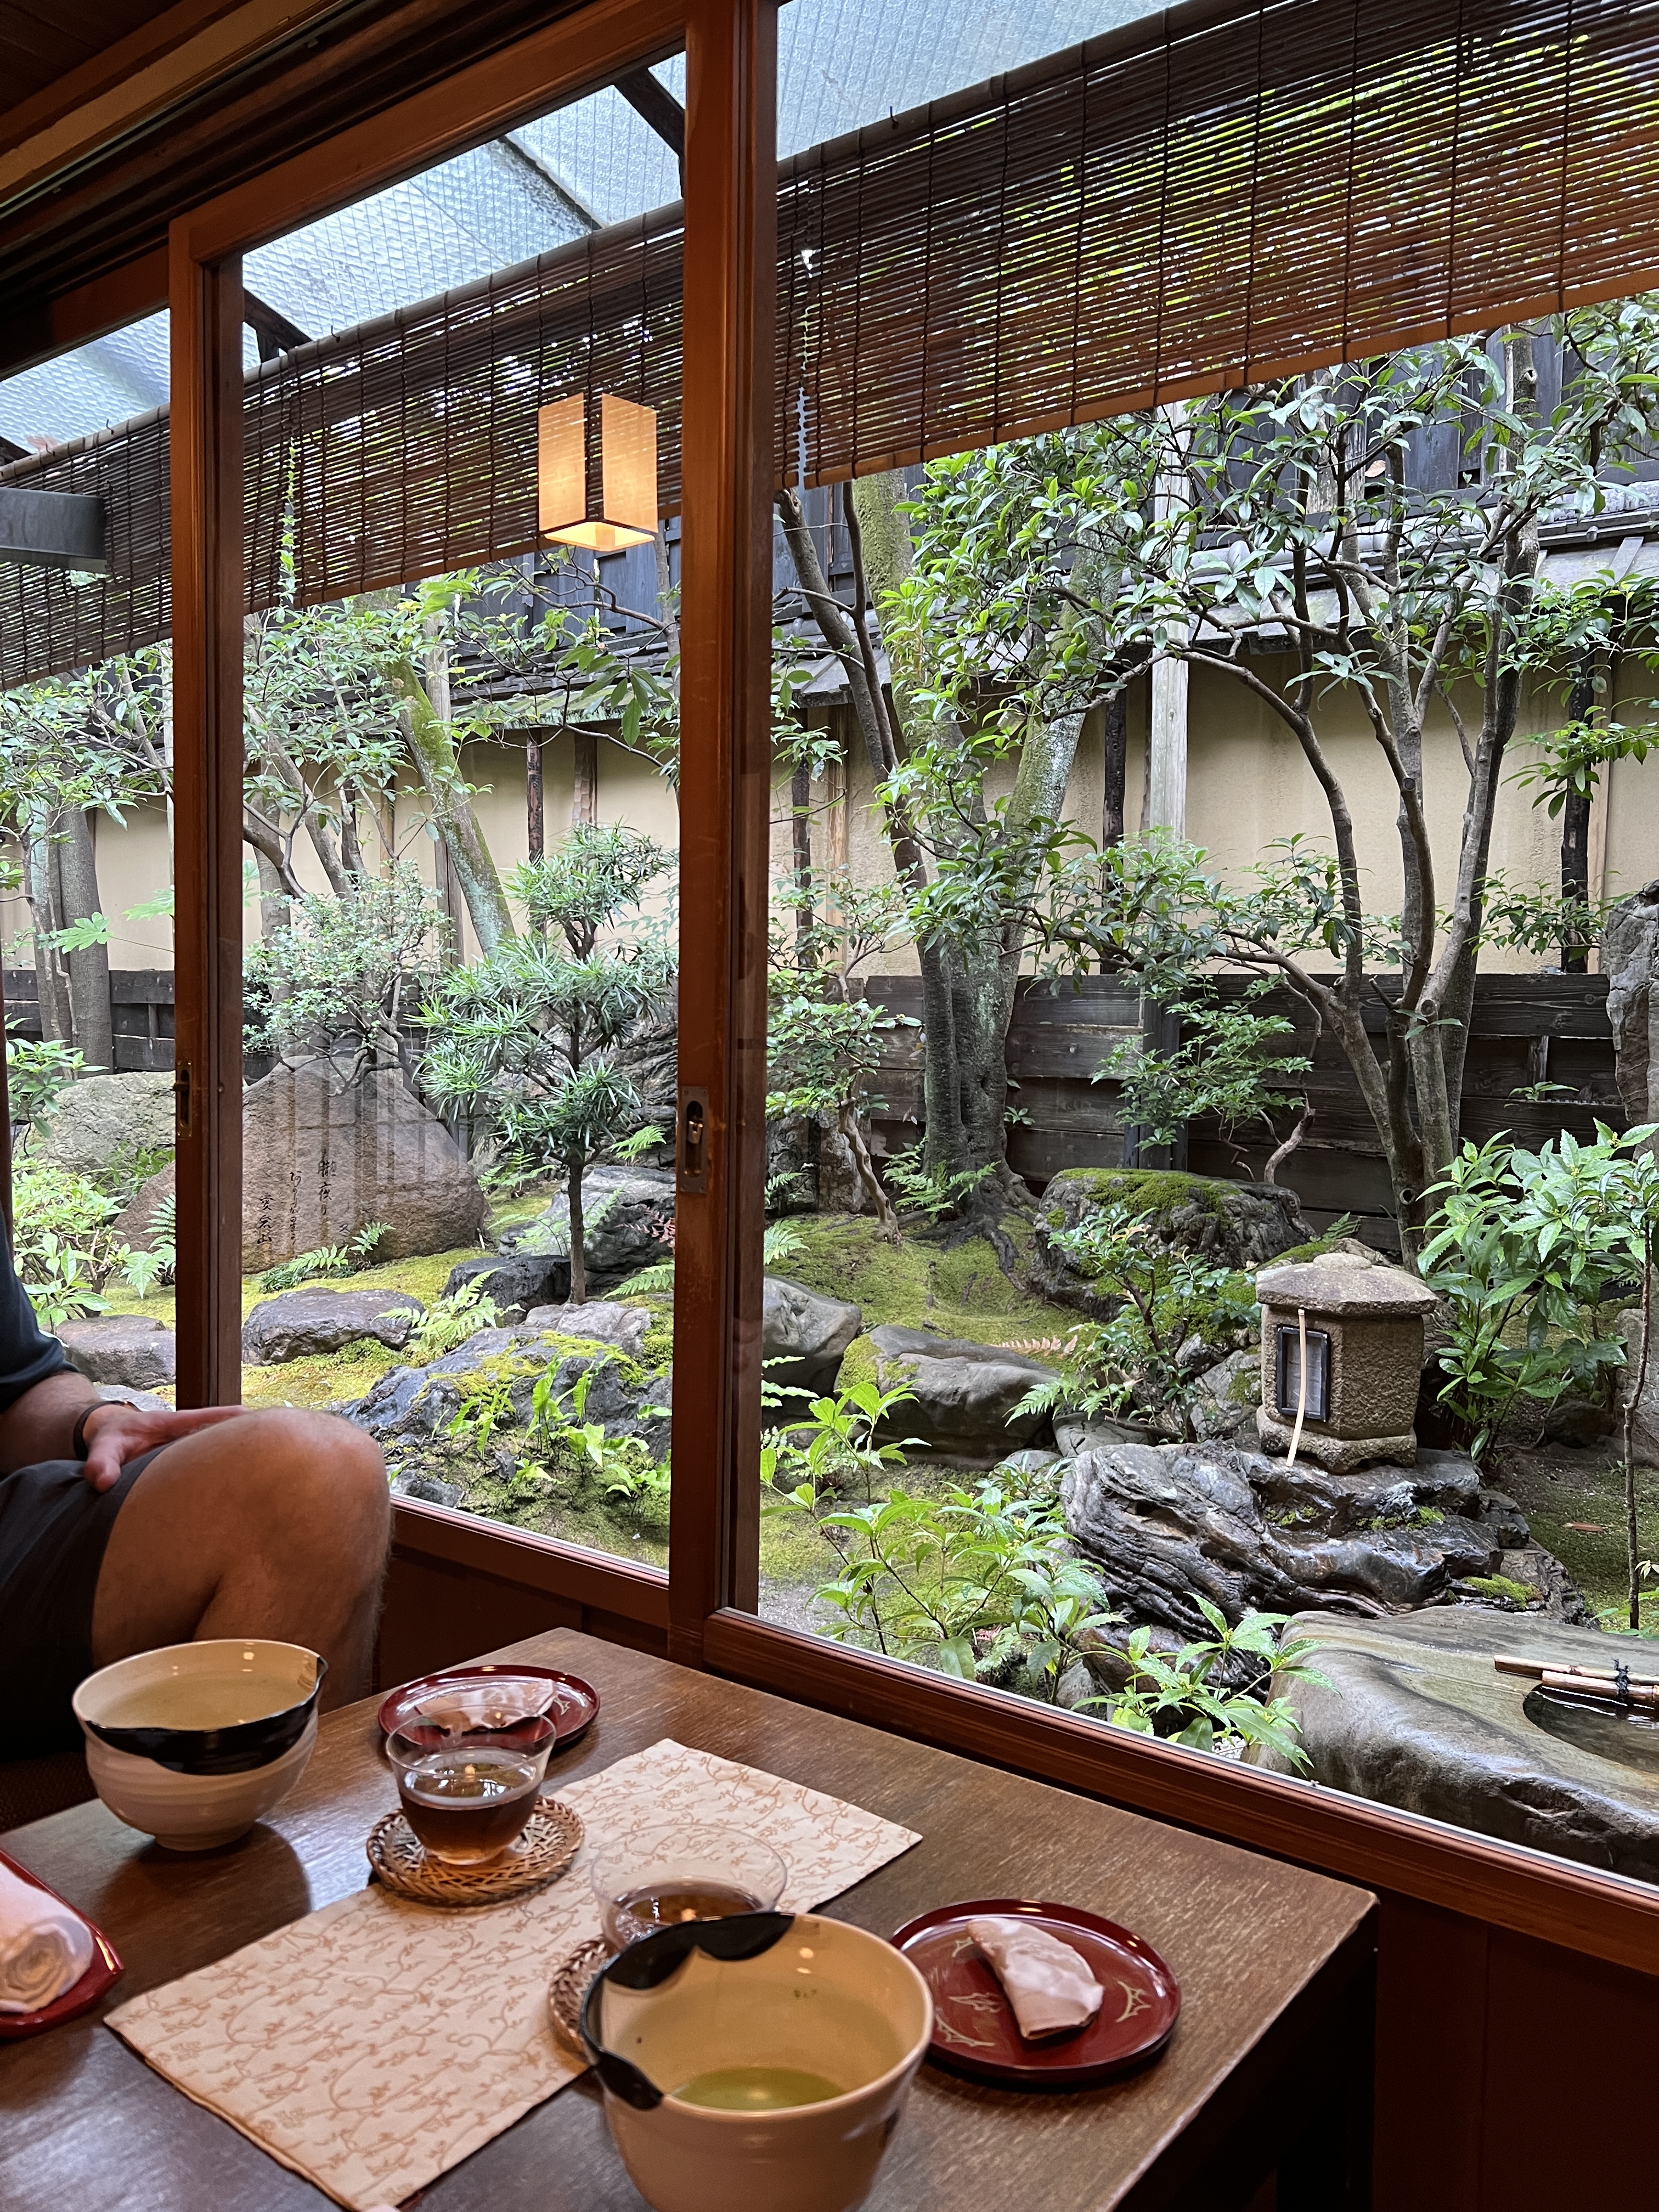
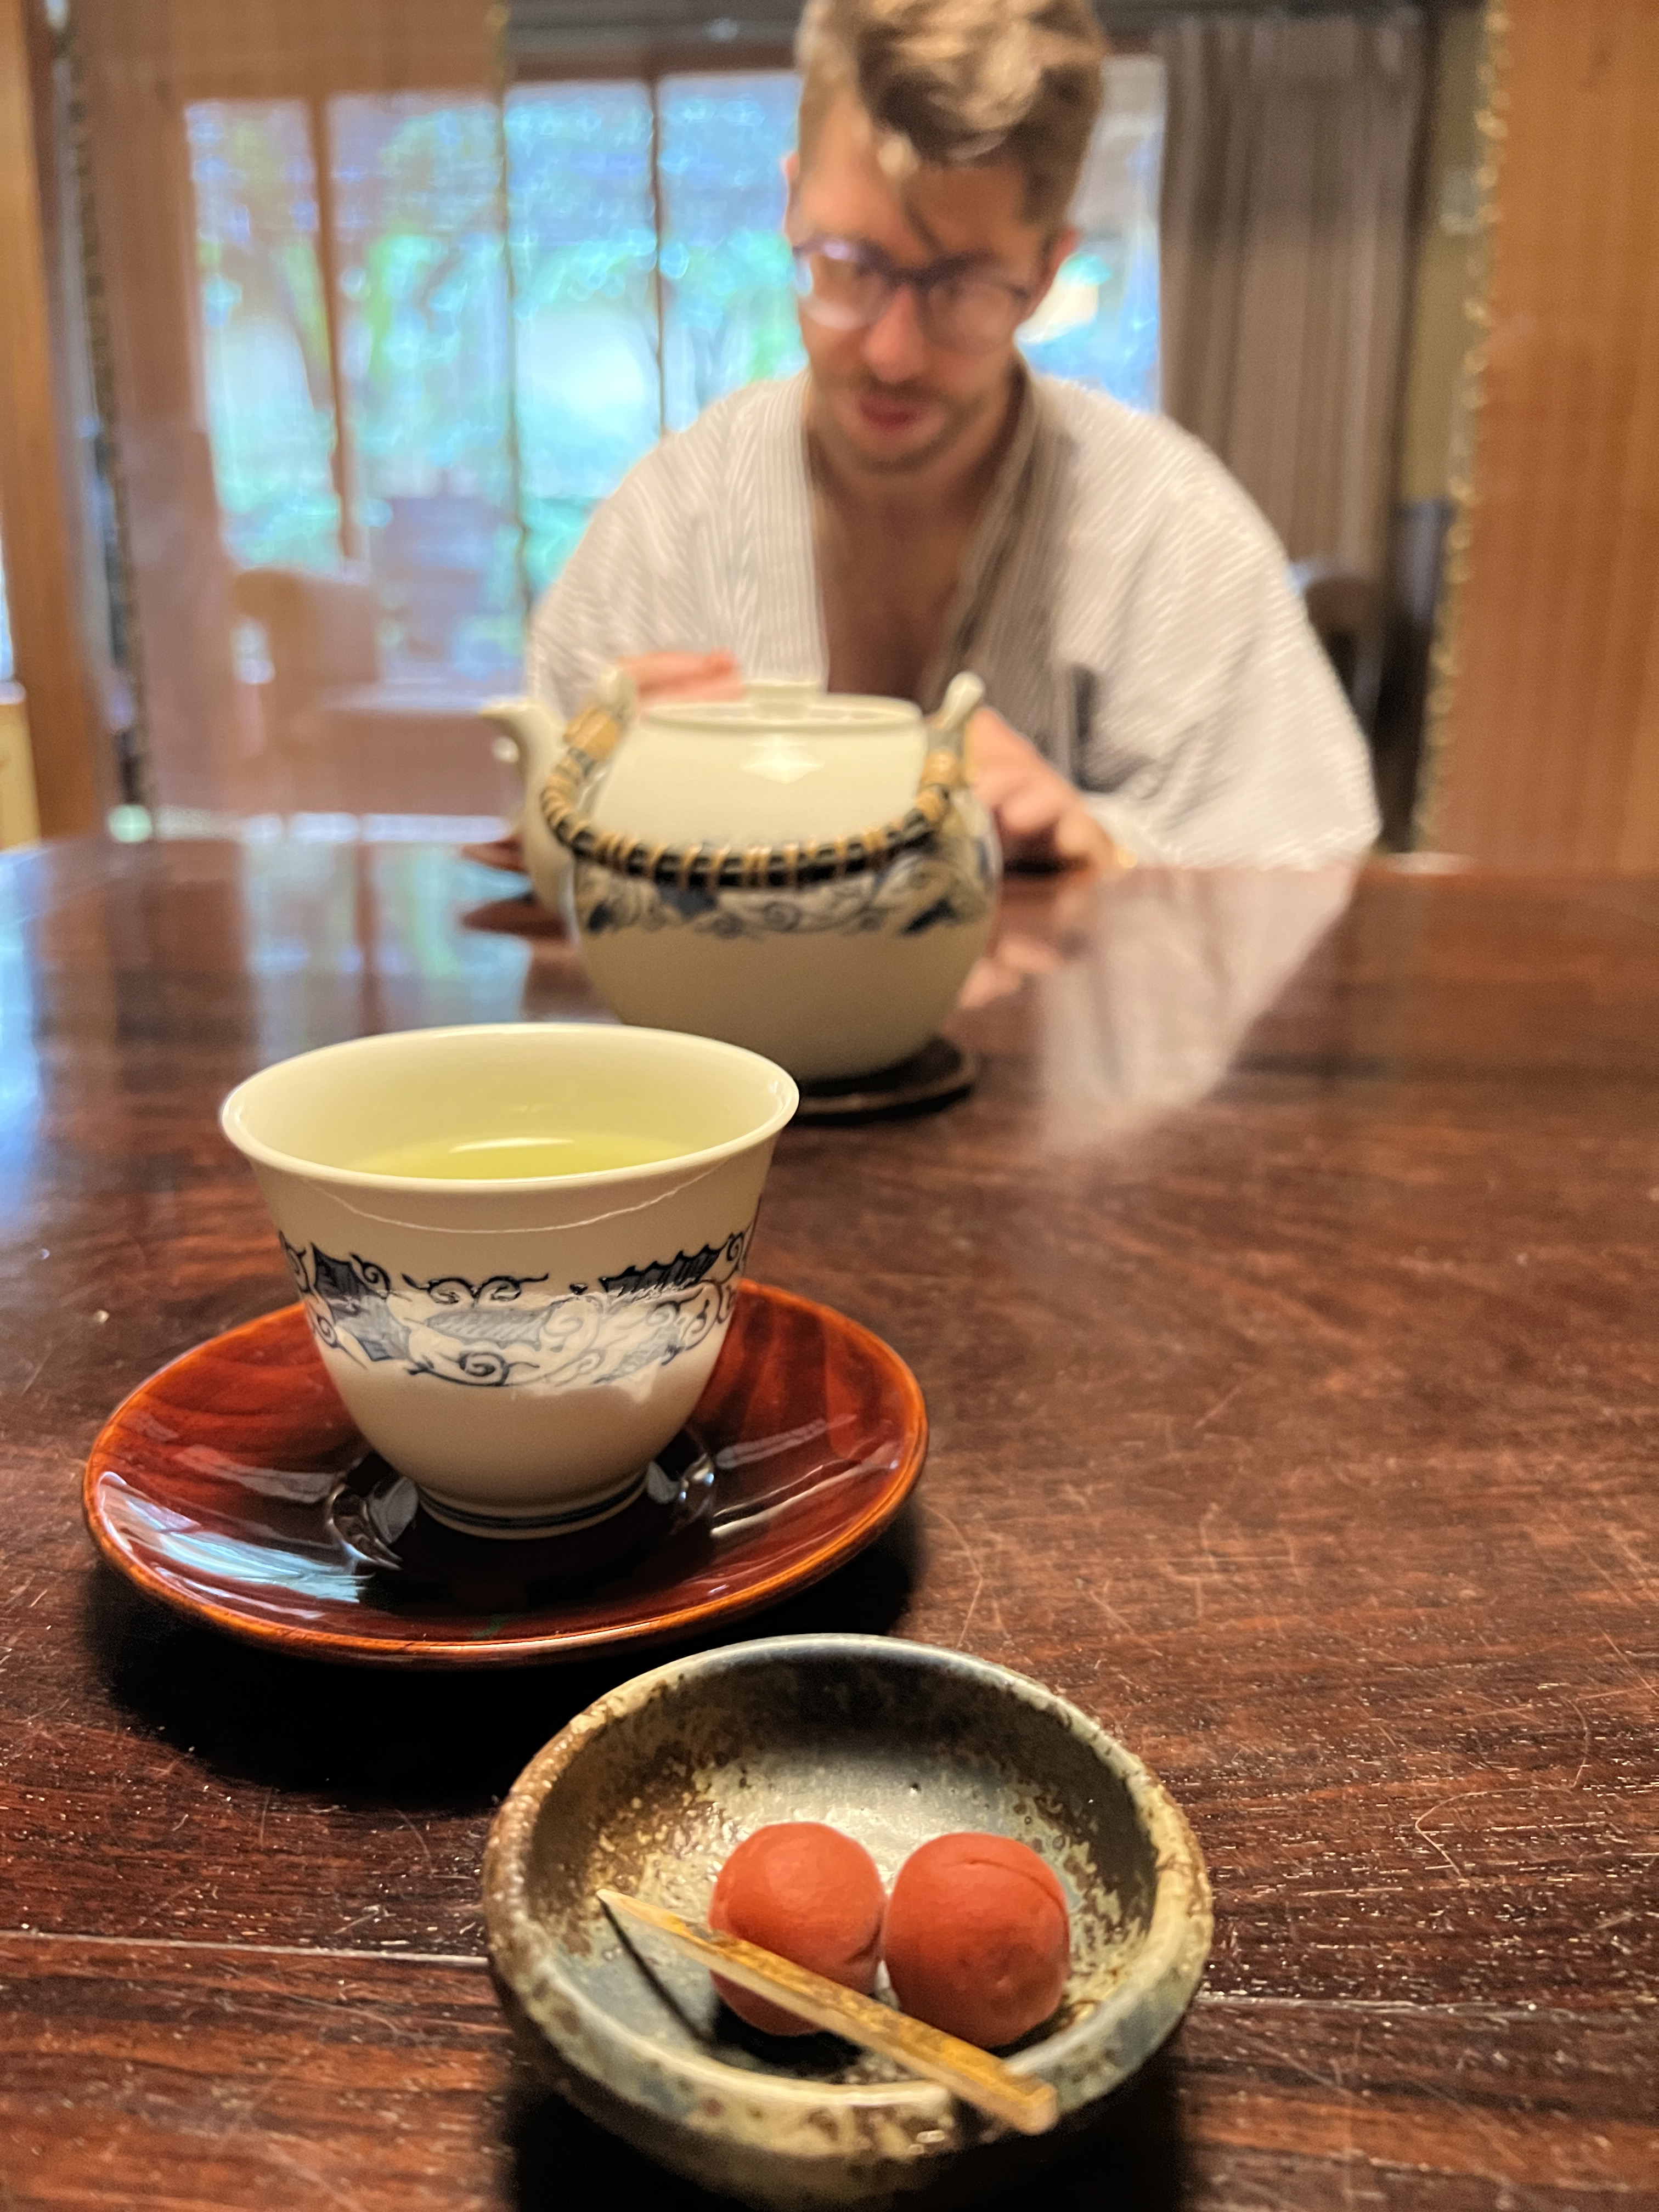
Next, we were showed to our room which was very large, including a bathroom with its own cedar spring water tub and separate shower, and a sitting area with a private garden view. We were brought a dose of matcha and a traditional sweet to begin our stay and then the attendants left us alone until it was dinner time. We enjoyed our matcha while we viewed the garden, utilized the cedar bath for a relaxing soak, and slipped into the yukata robes provided to us.
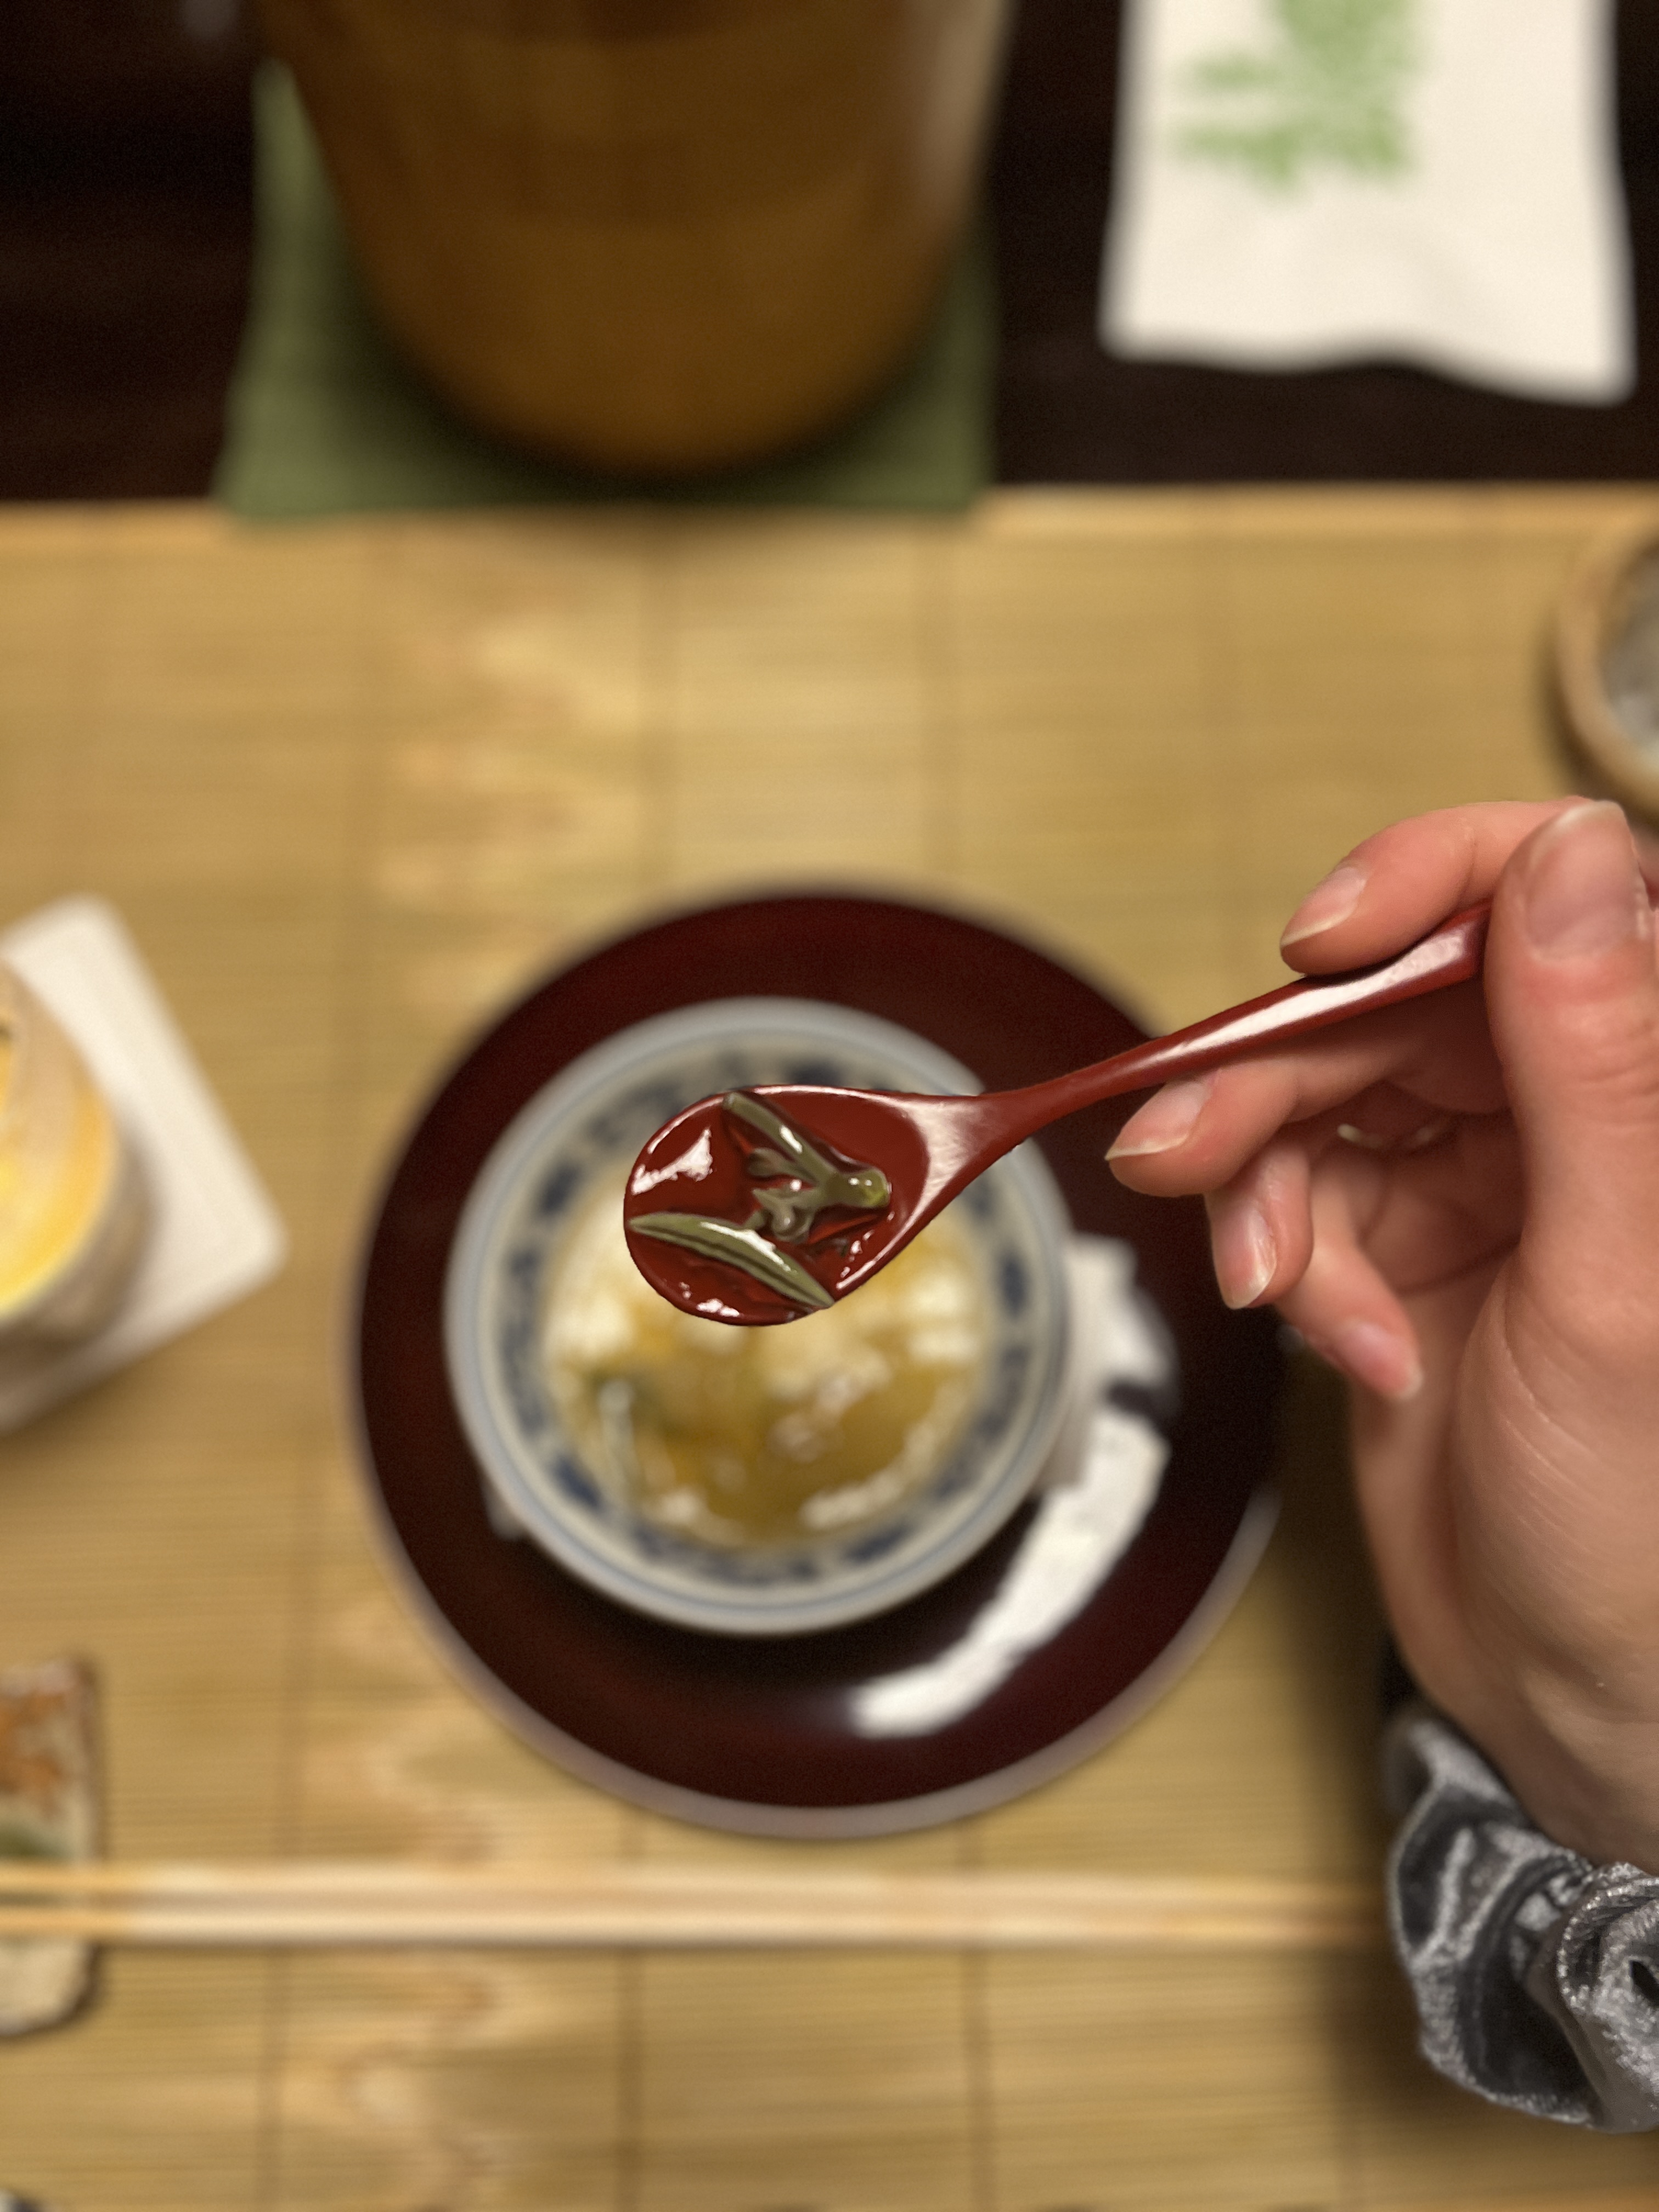
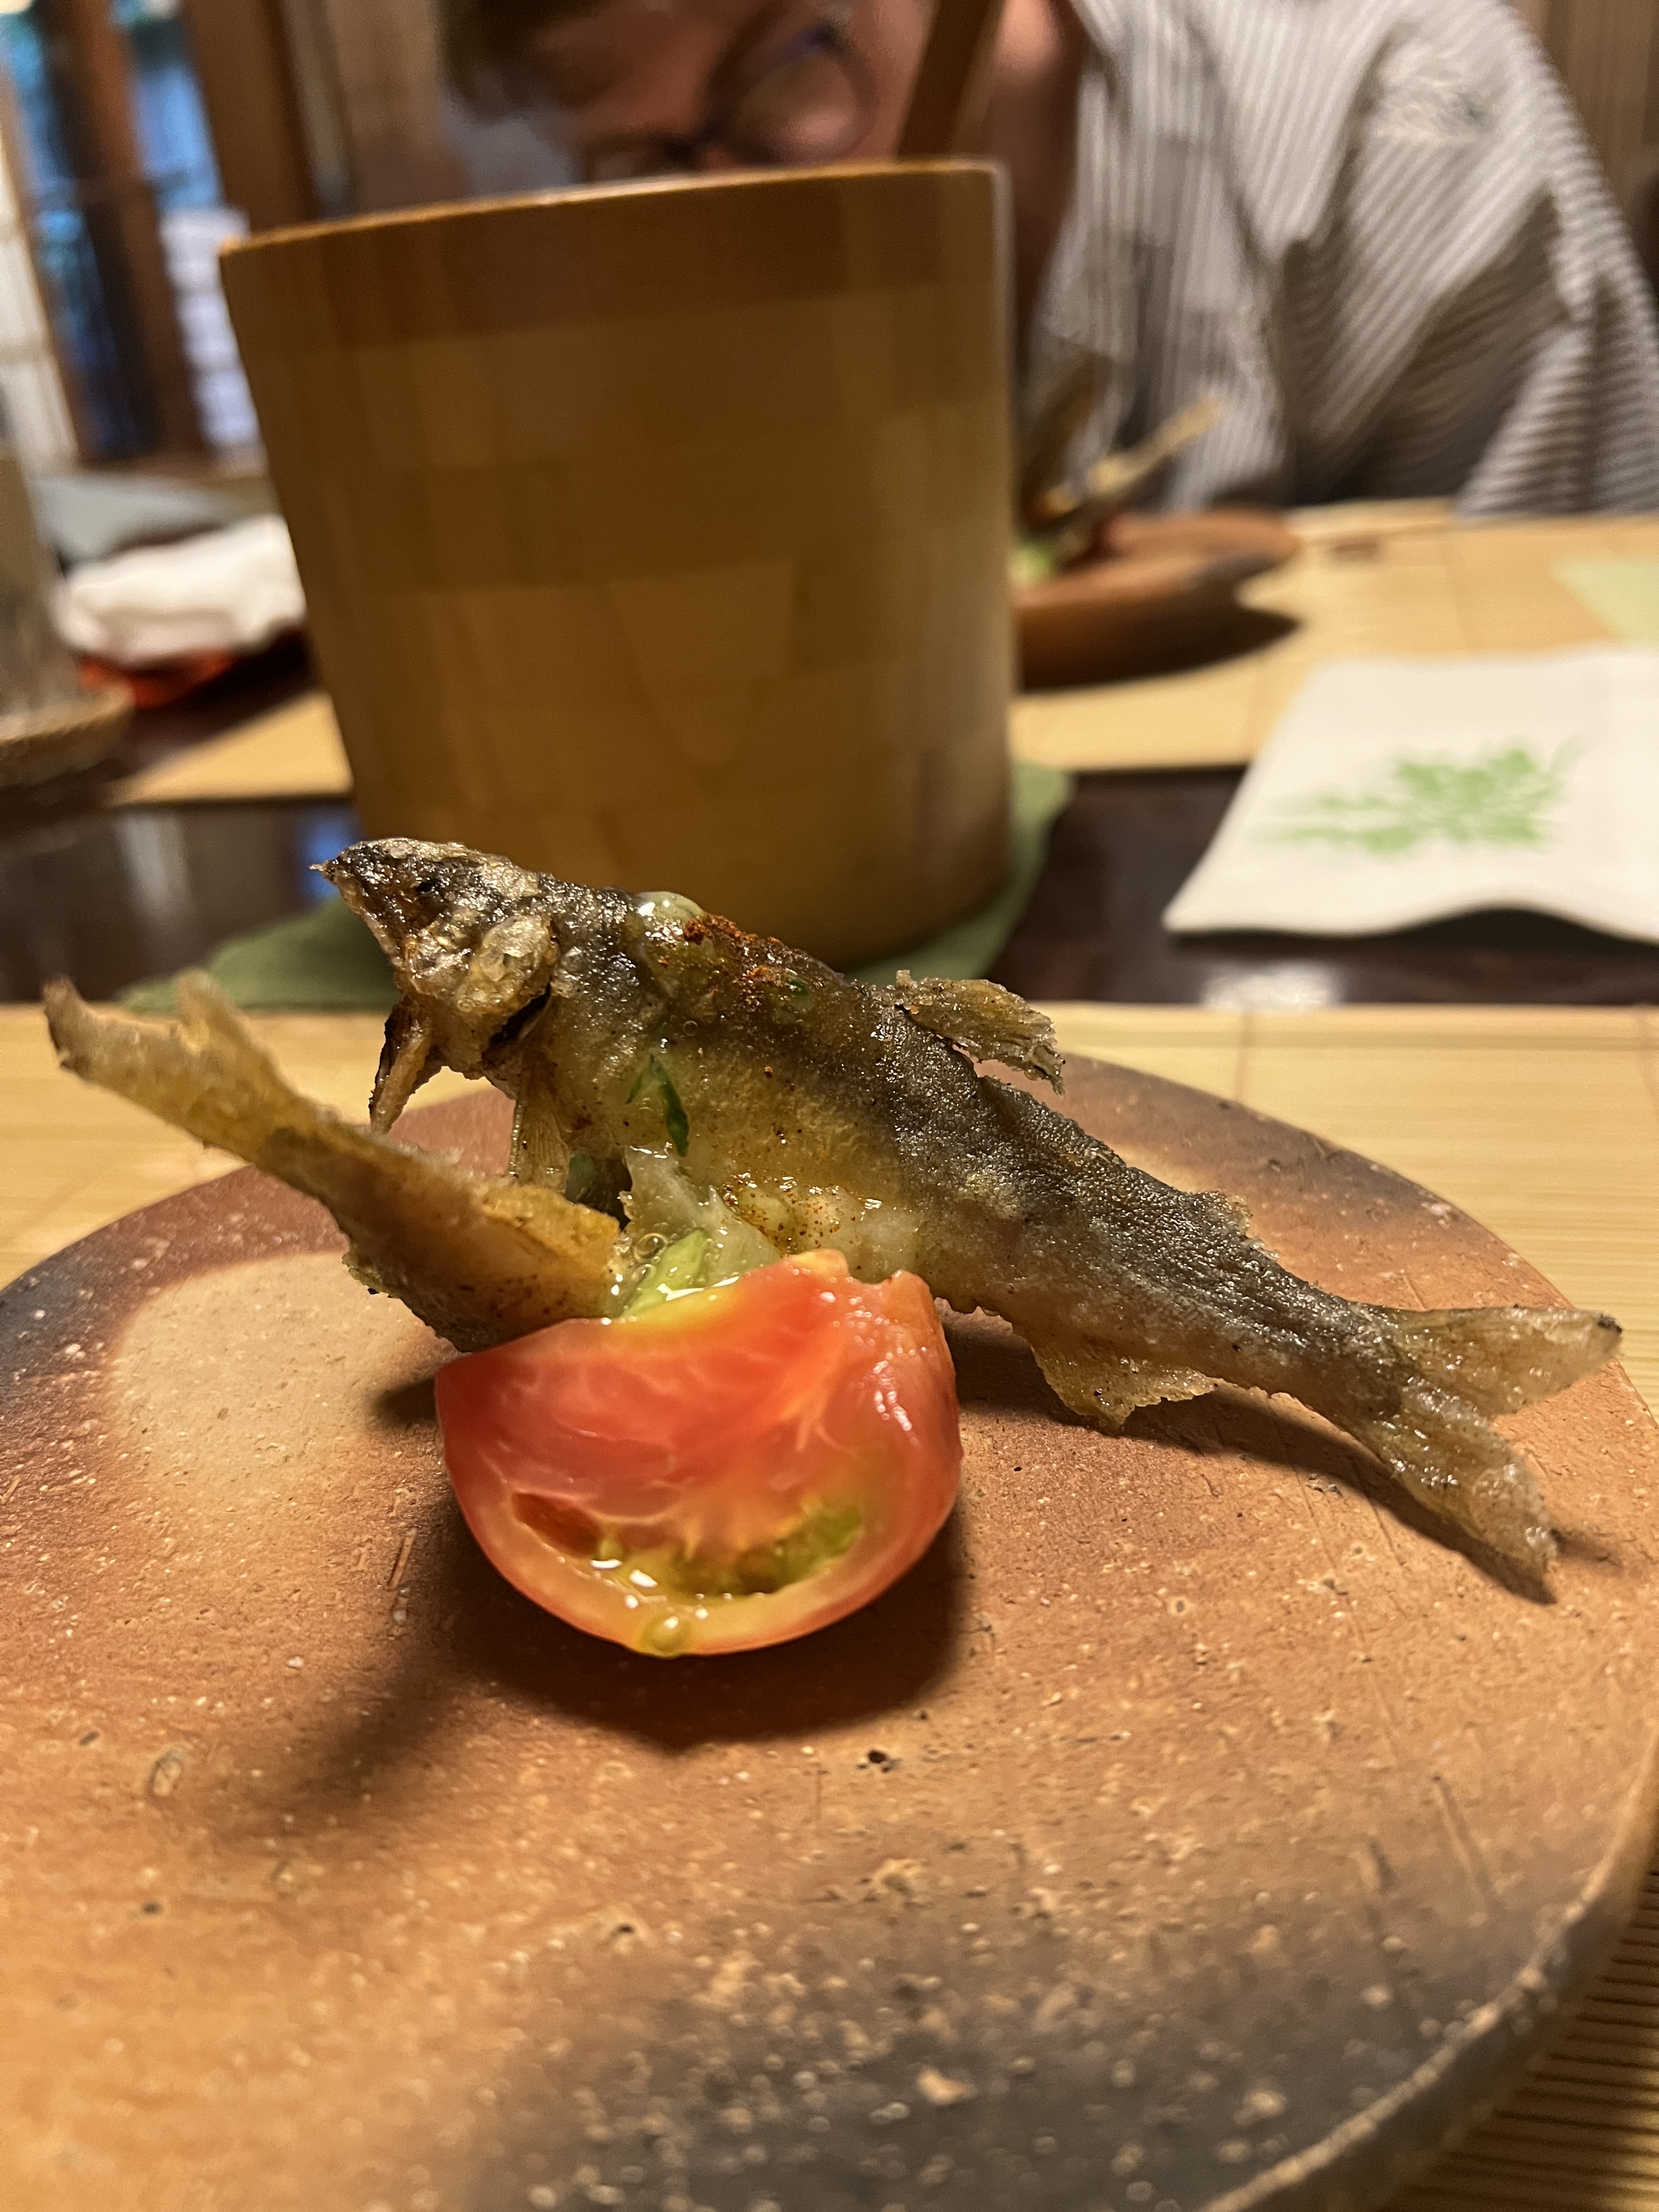
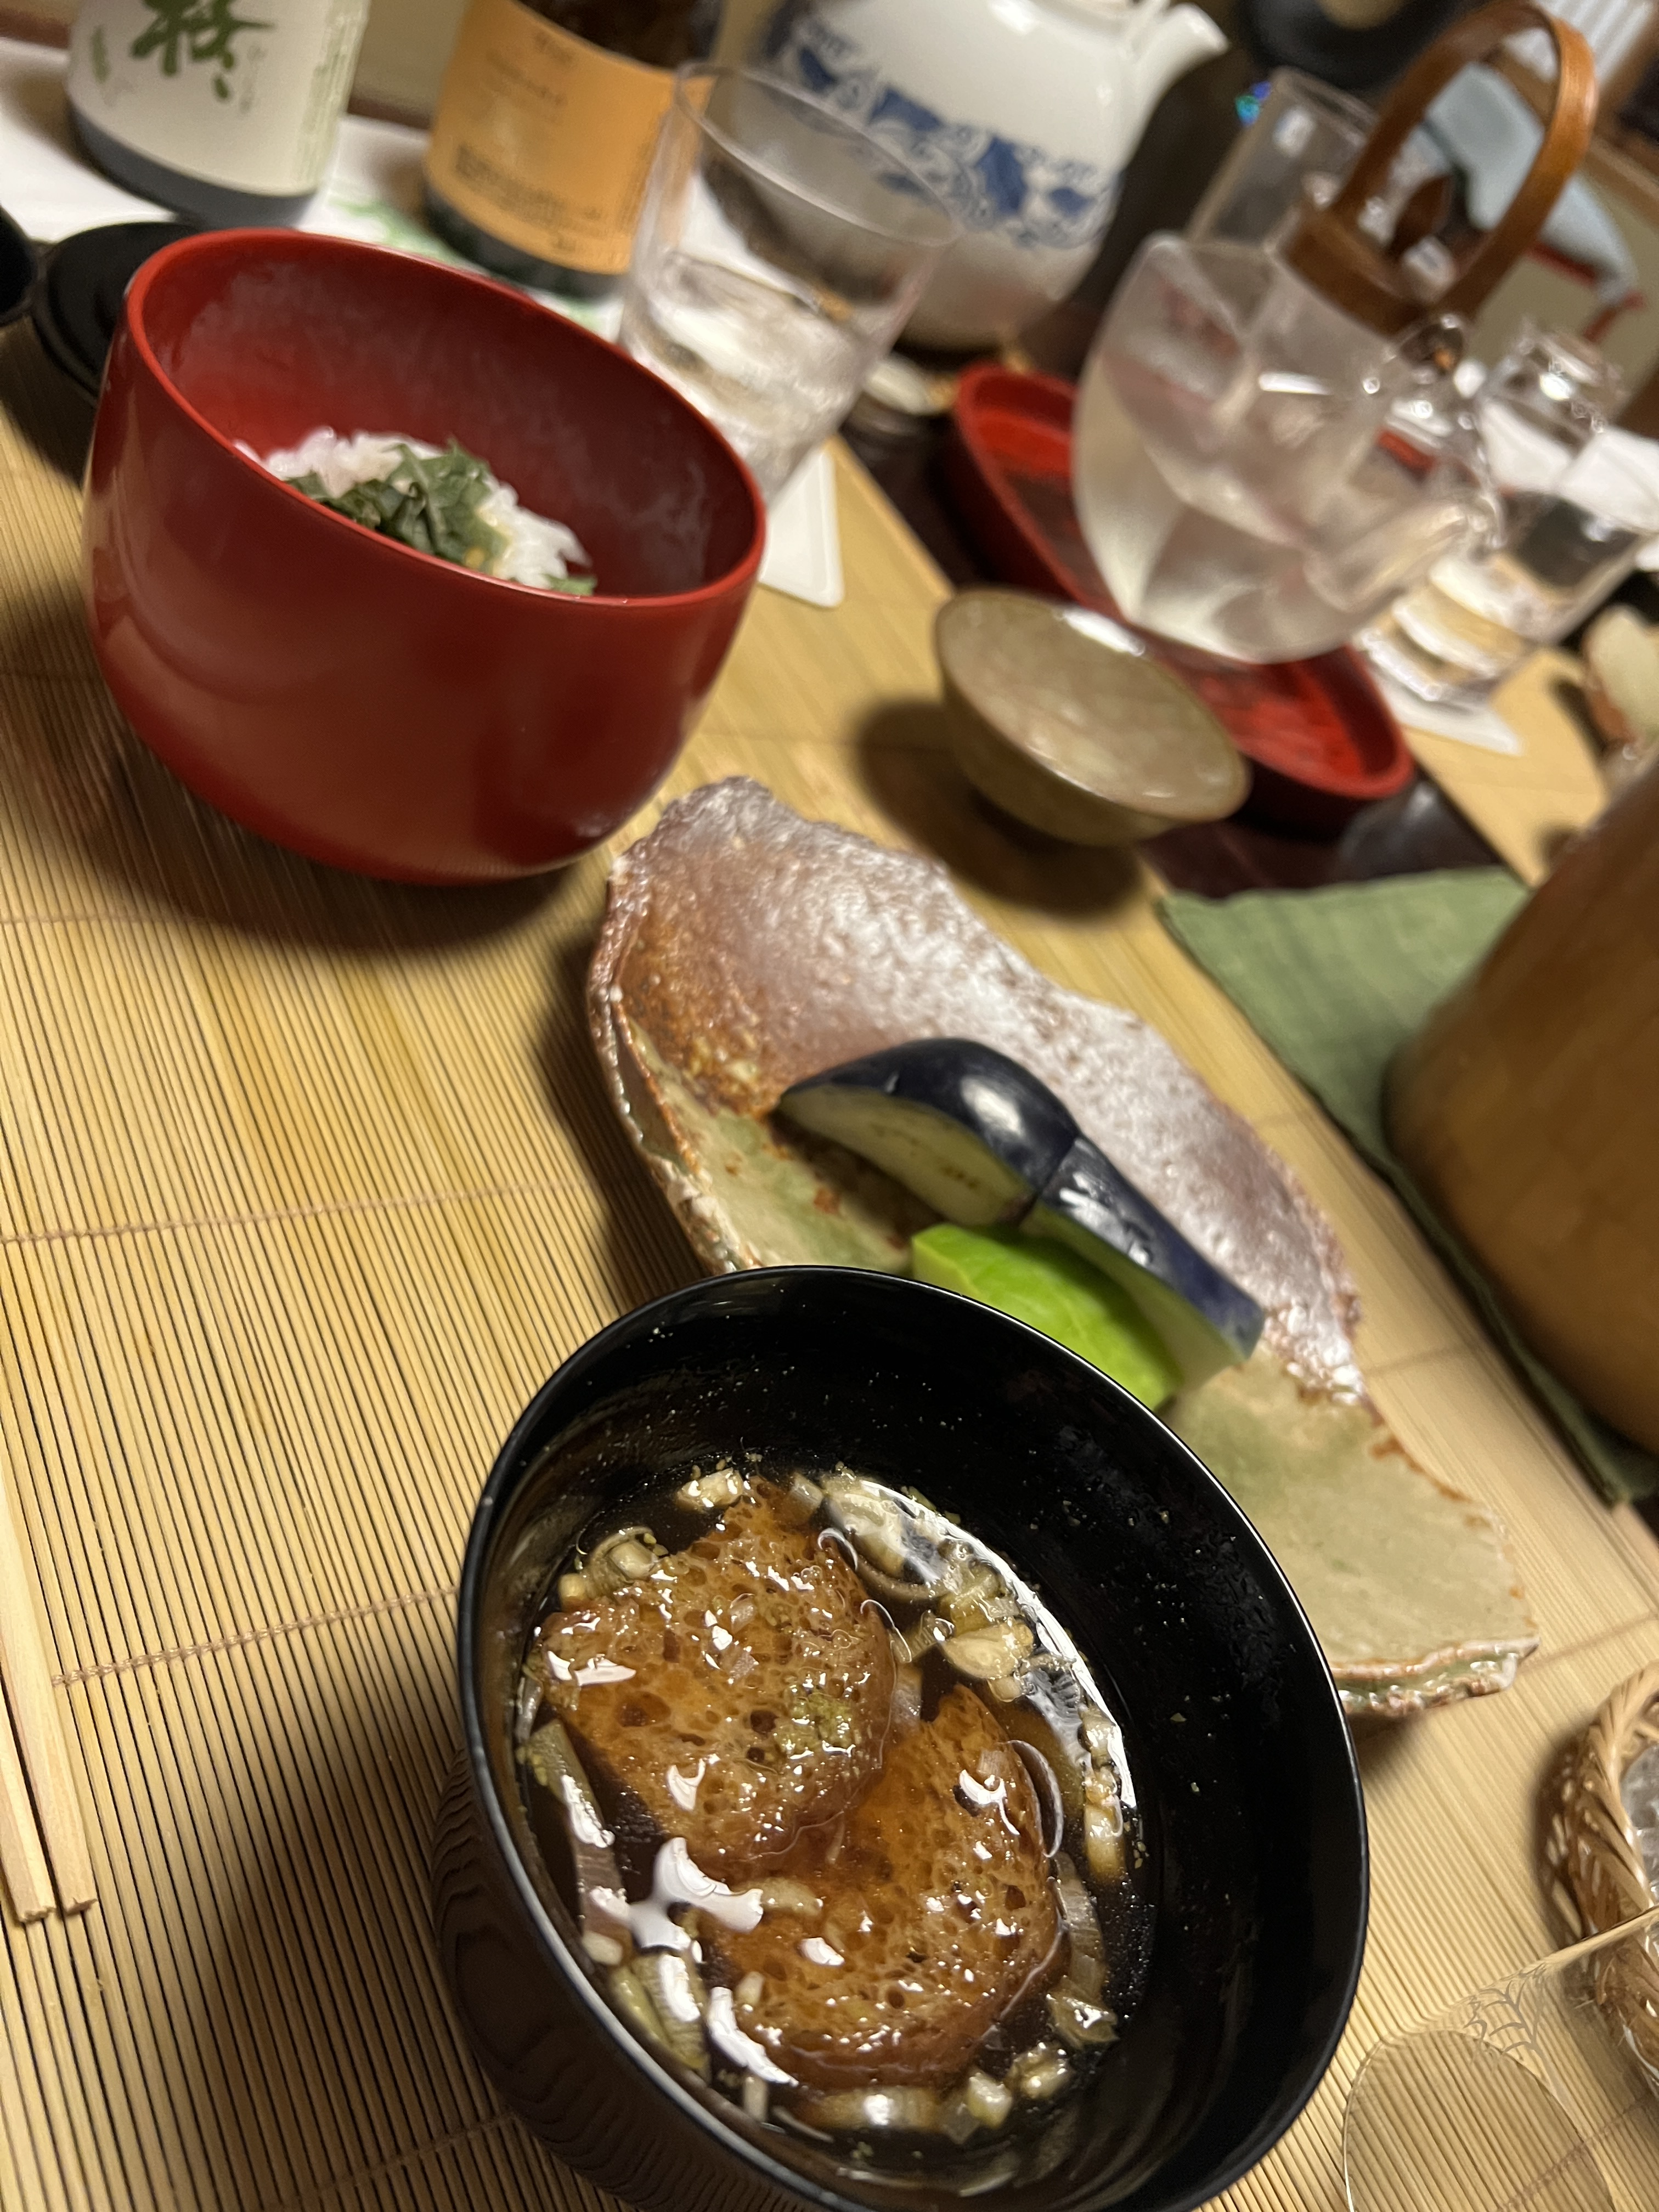
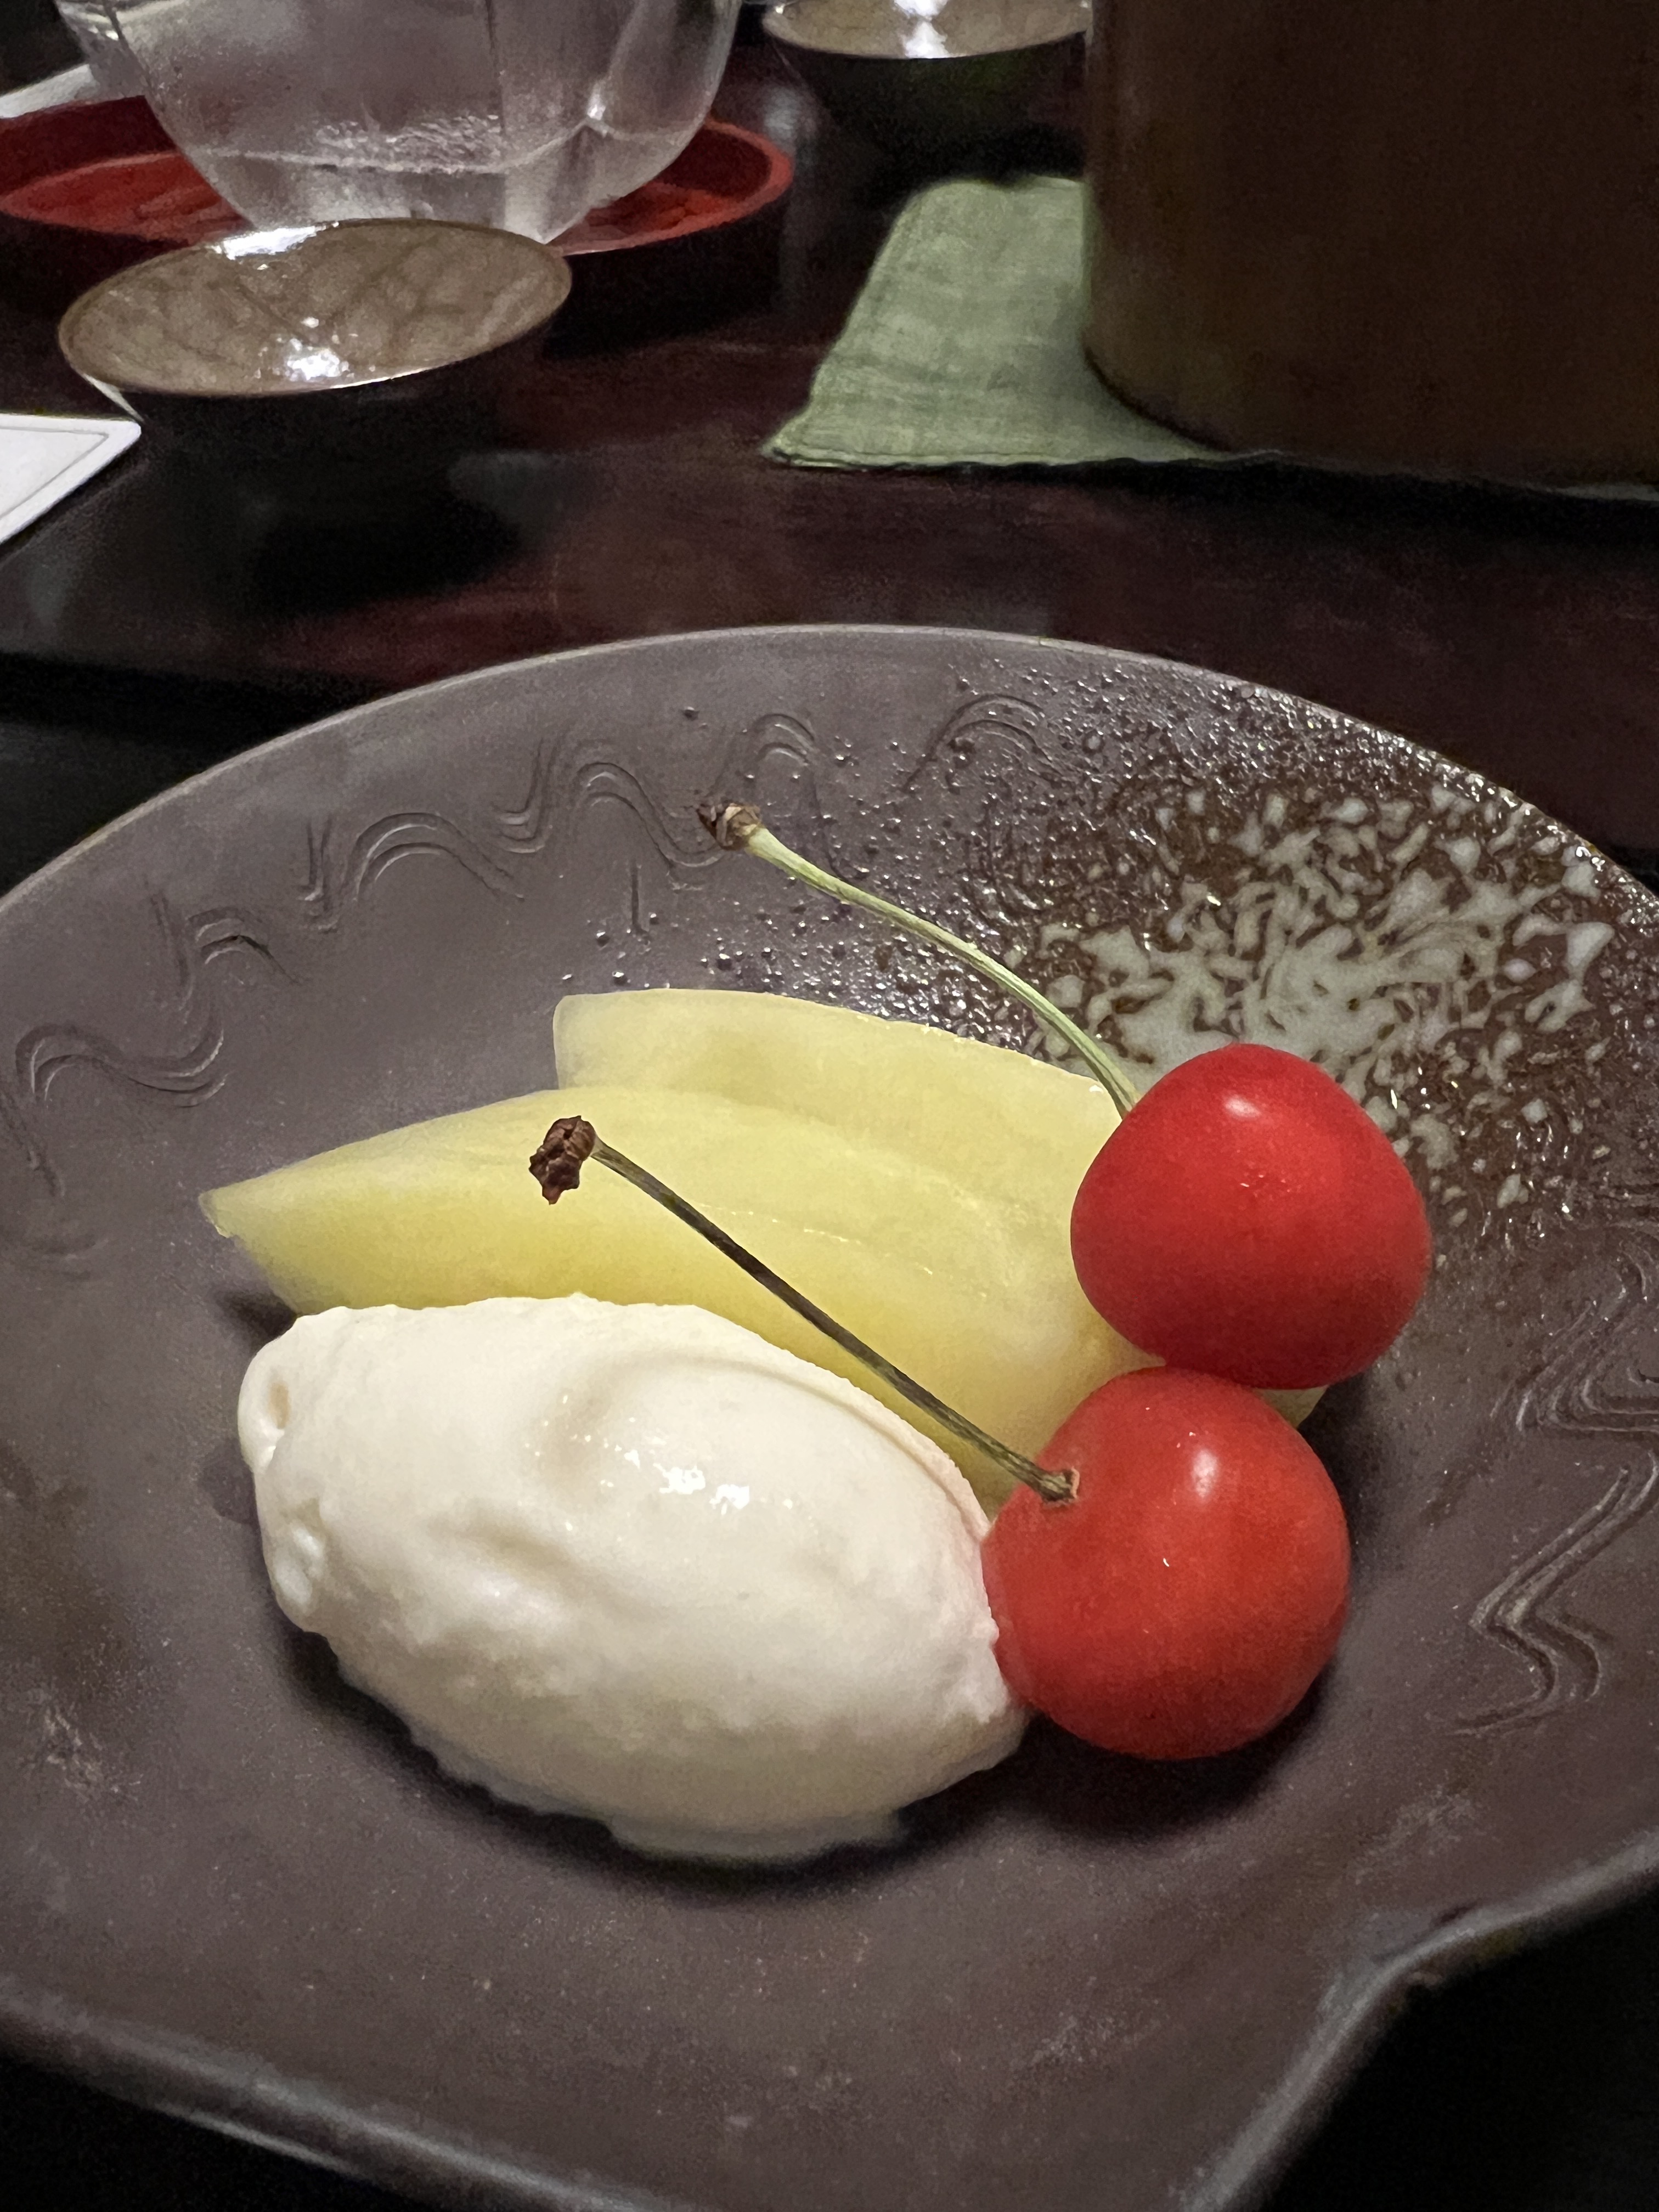
At this point it was just about dinner time so we mentally prepared ourselves for the kaiseki meal, or Japanese “banquet,” that was soon to come. Once it was time, we sat at the table in the center of the bedroom and began. Our attendant provided us the menu for the evening and would come in roughly every 10 minutes to bring us our next course. The meal was exquisite, probably one of the best that we had in all of Japan, and we were certainly quite full by the end of it!
Once the meal was over it was time to flip our dinner table into a bed, so we were asked to move over into the sitting area and the attendants expertly made our bedroom in 10 minutes flat. They even left us a pot of tea and evening cookie to snack on before bed.
For video footage of day 10 in Kyoto, check out my reel on Instagram!
Day 11 – Kyoto
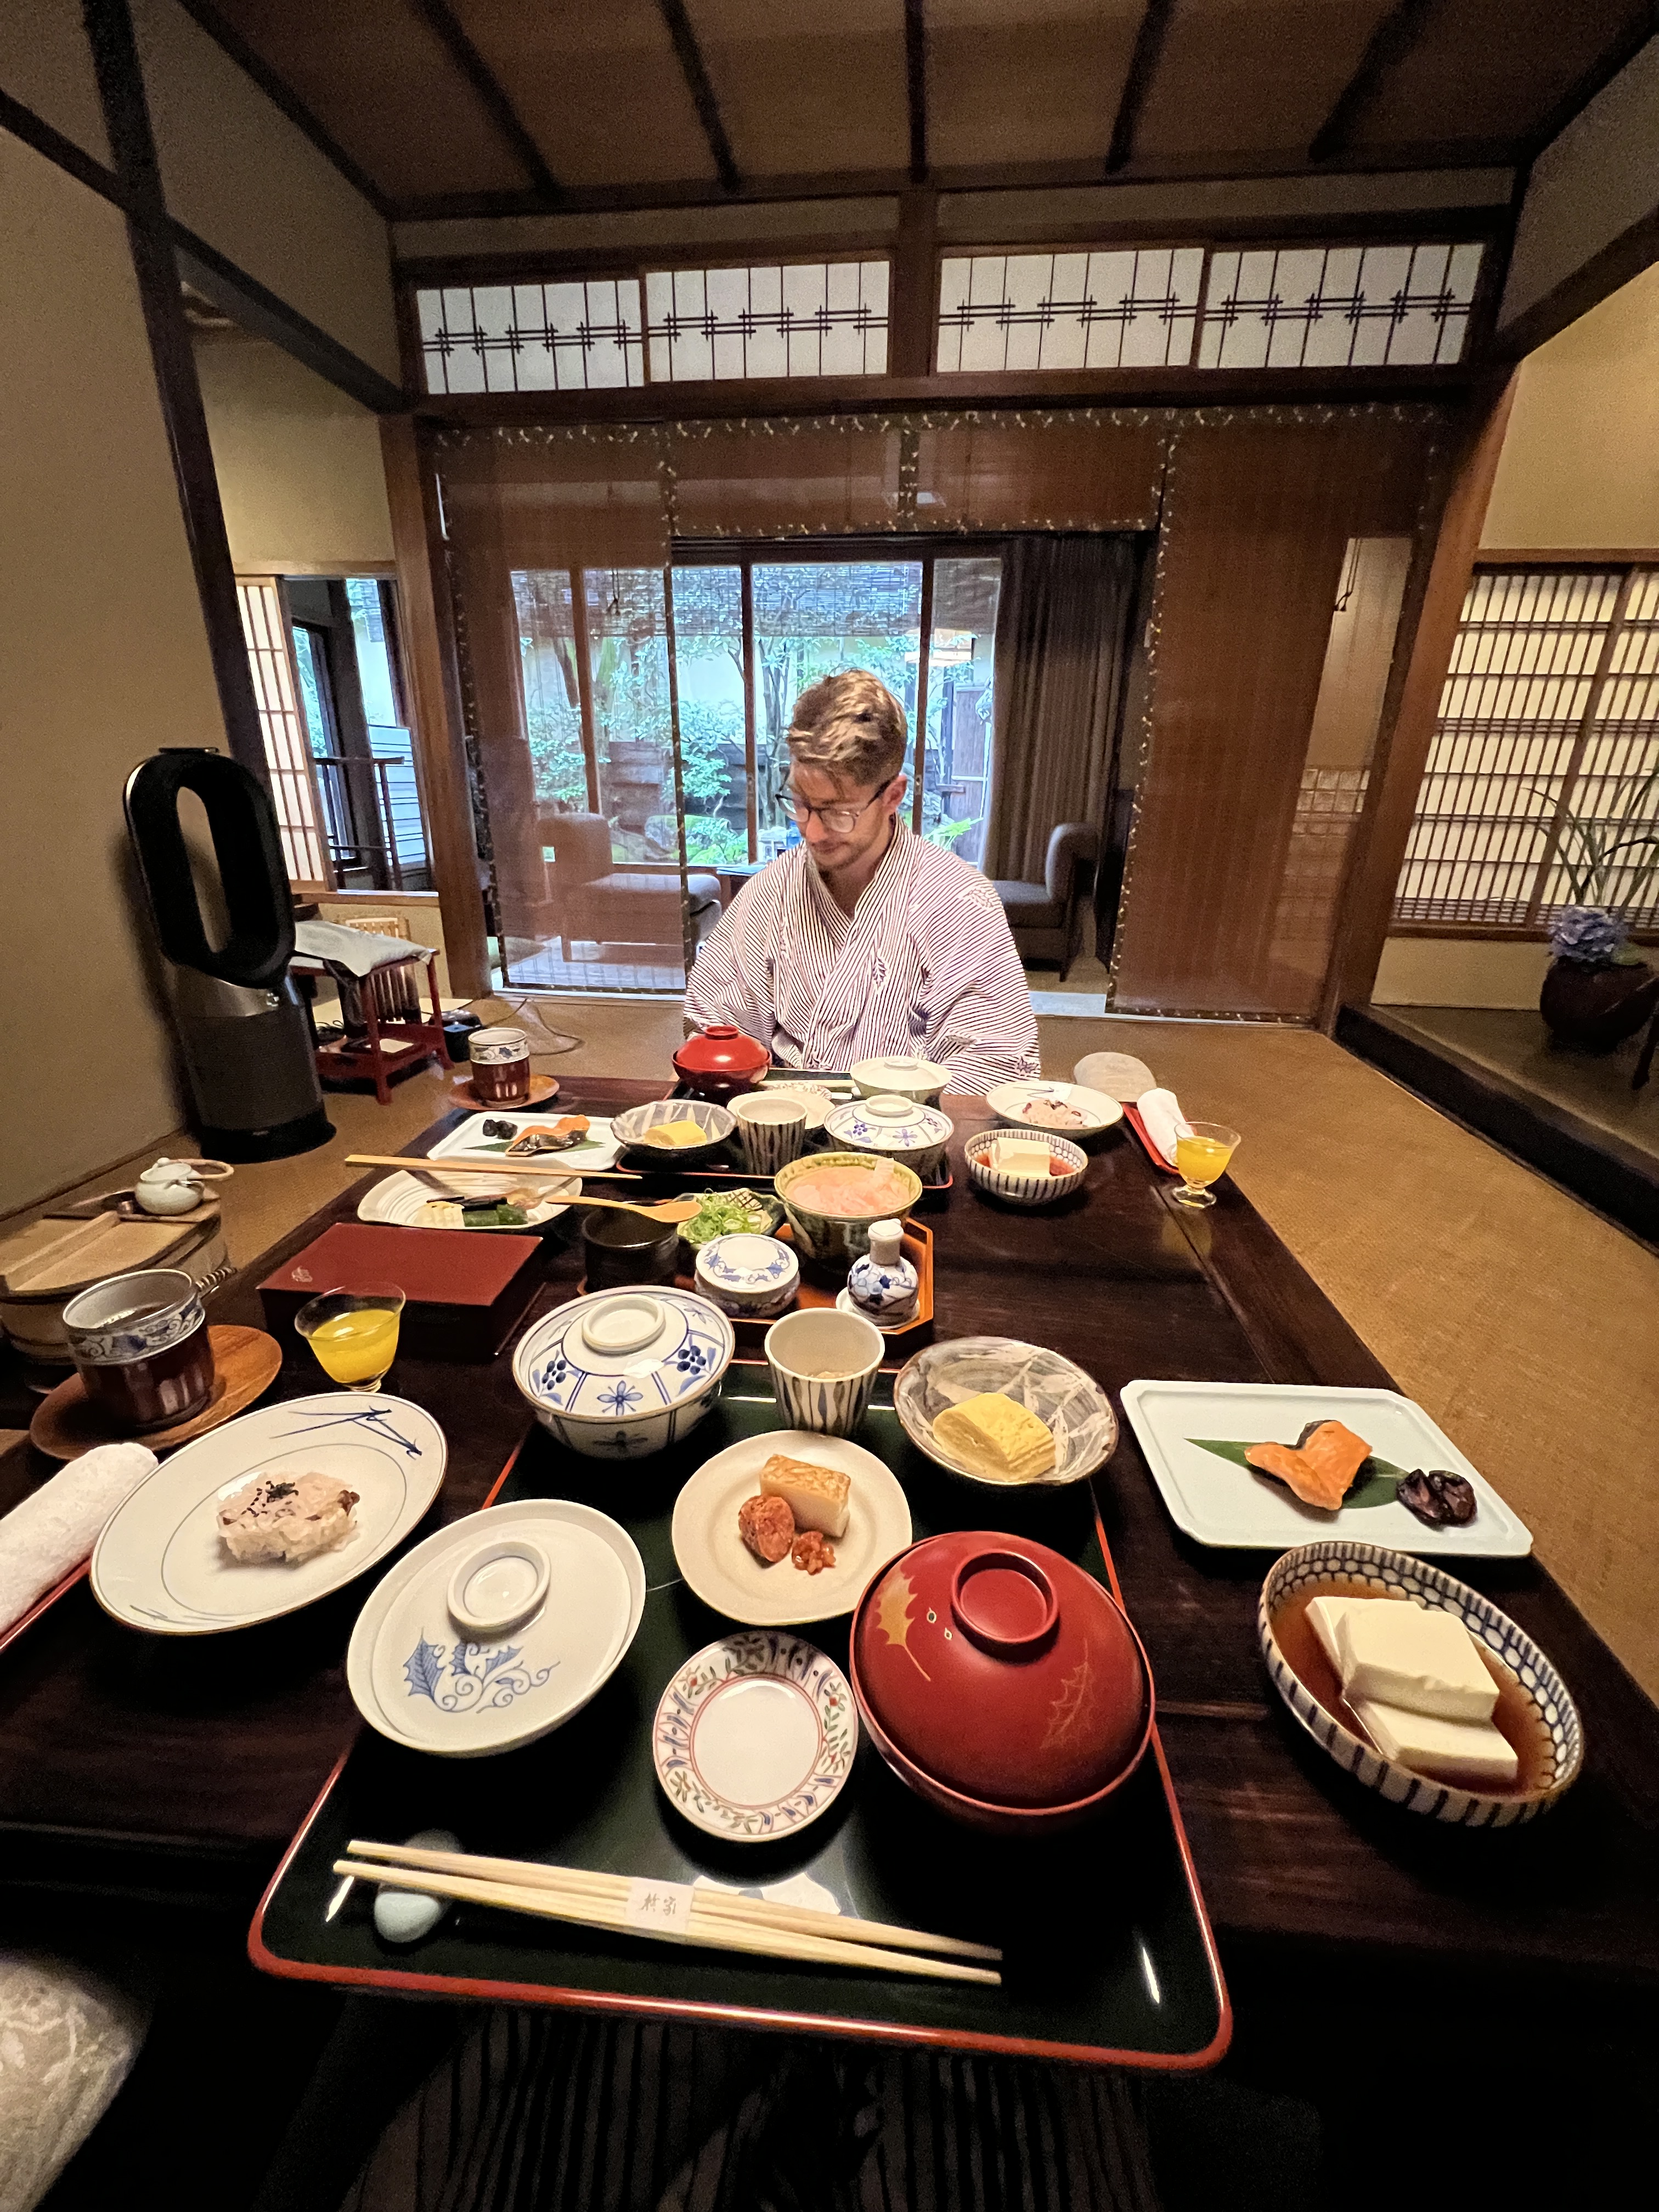
After a fantastic night’s sleep, we woke up bright and early to welcome our attendants back into our room so that it could be flipped into the dining area for breakfast. They also brought tea and a small pickled plum (an acquired taste). 30 minutes later they brought us breakfast – a FEAST, to say the absolute least. There were eggs, various bites of fish, tofu, veggies, soup, rice, pickled veggies, and a few other dishes I am surely forgetting.
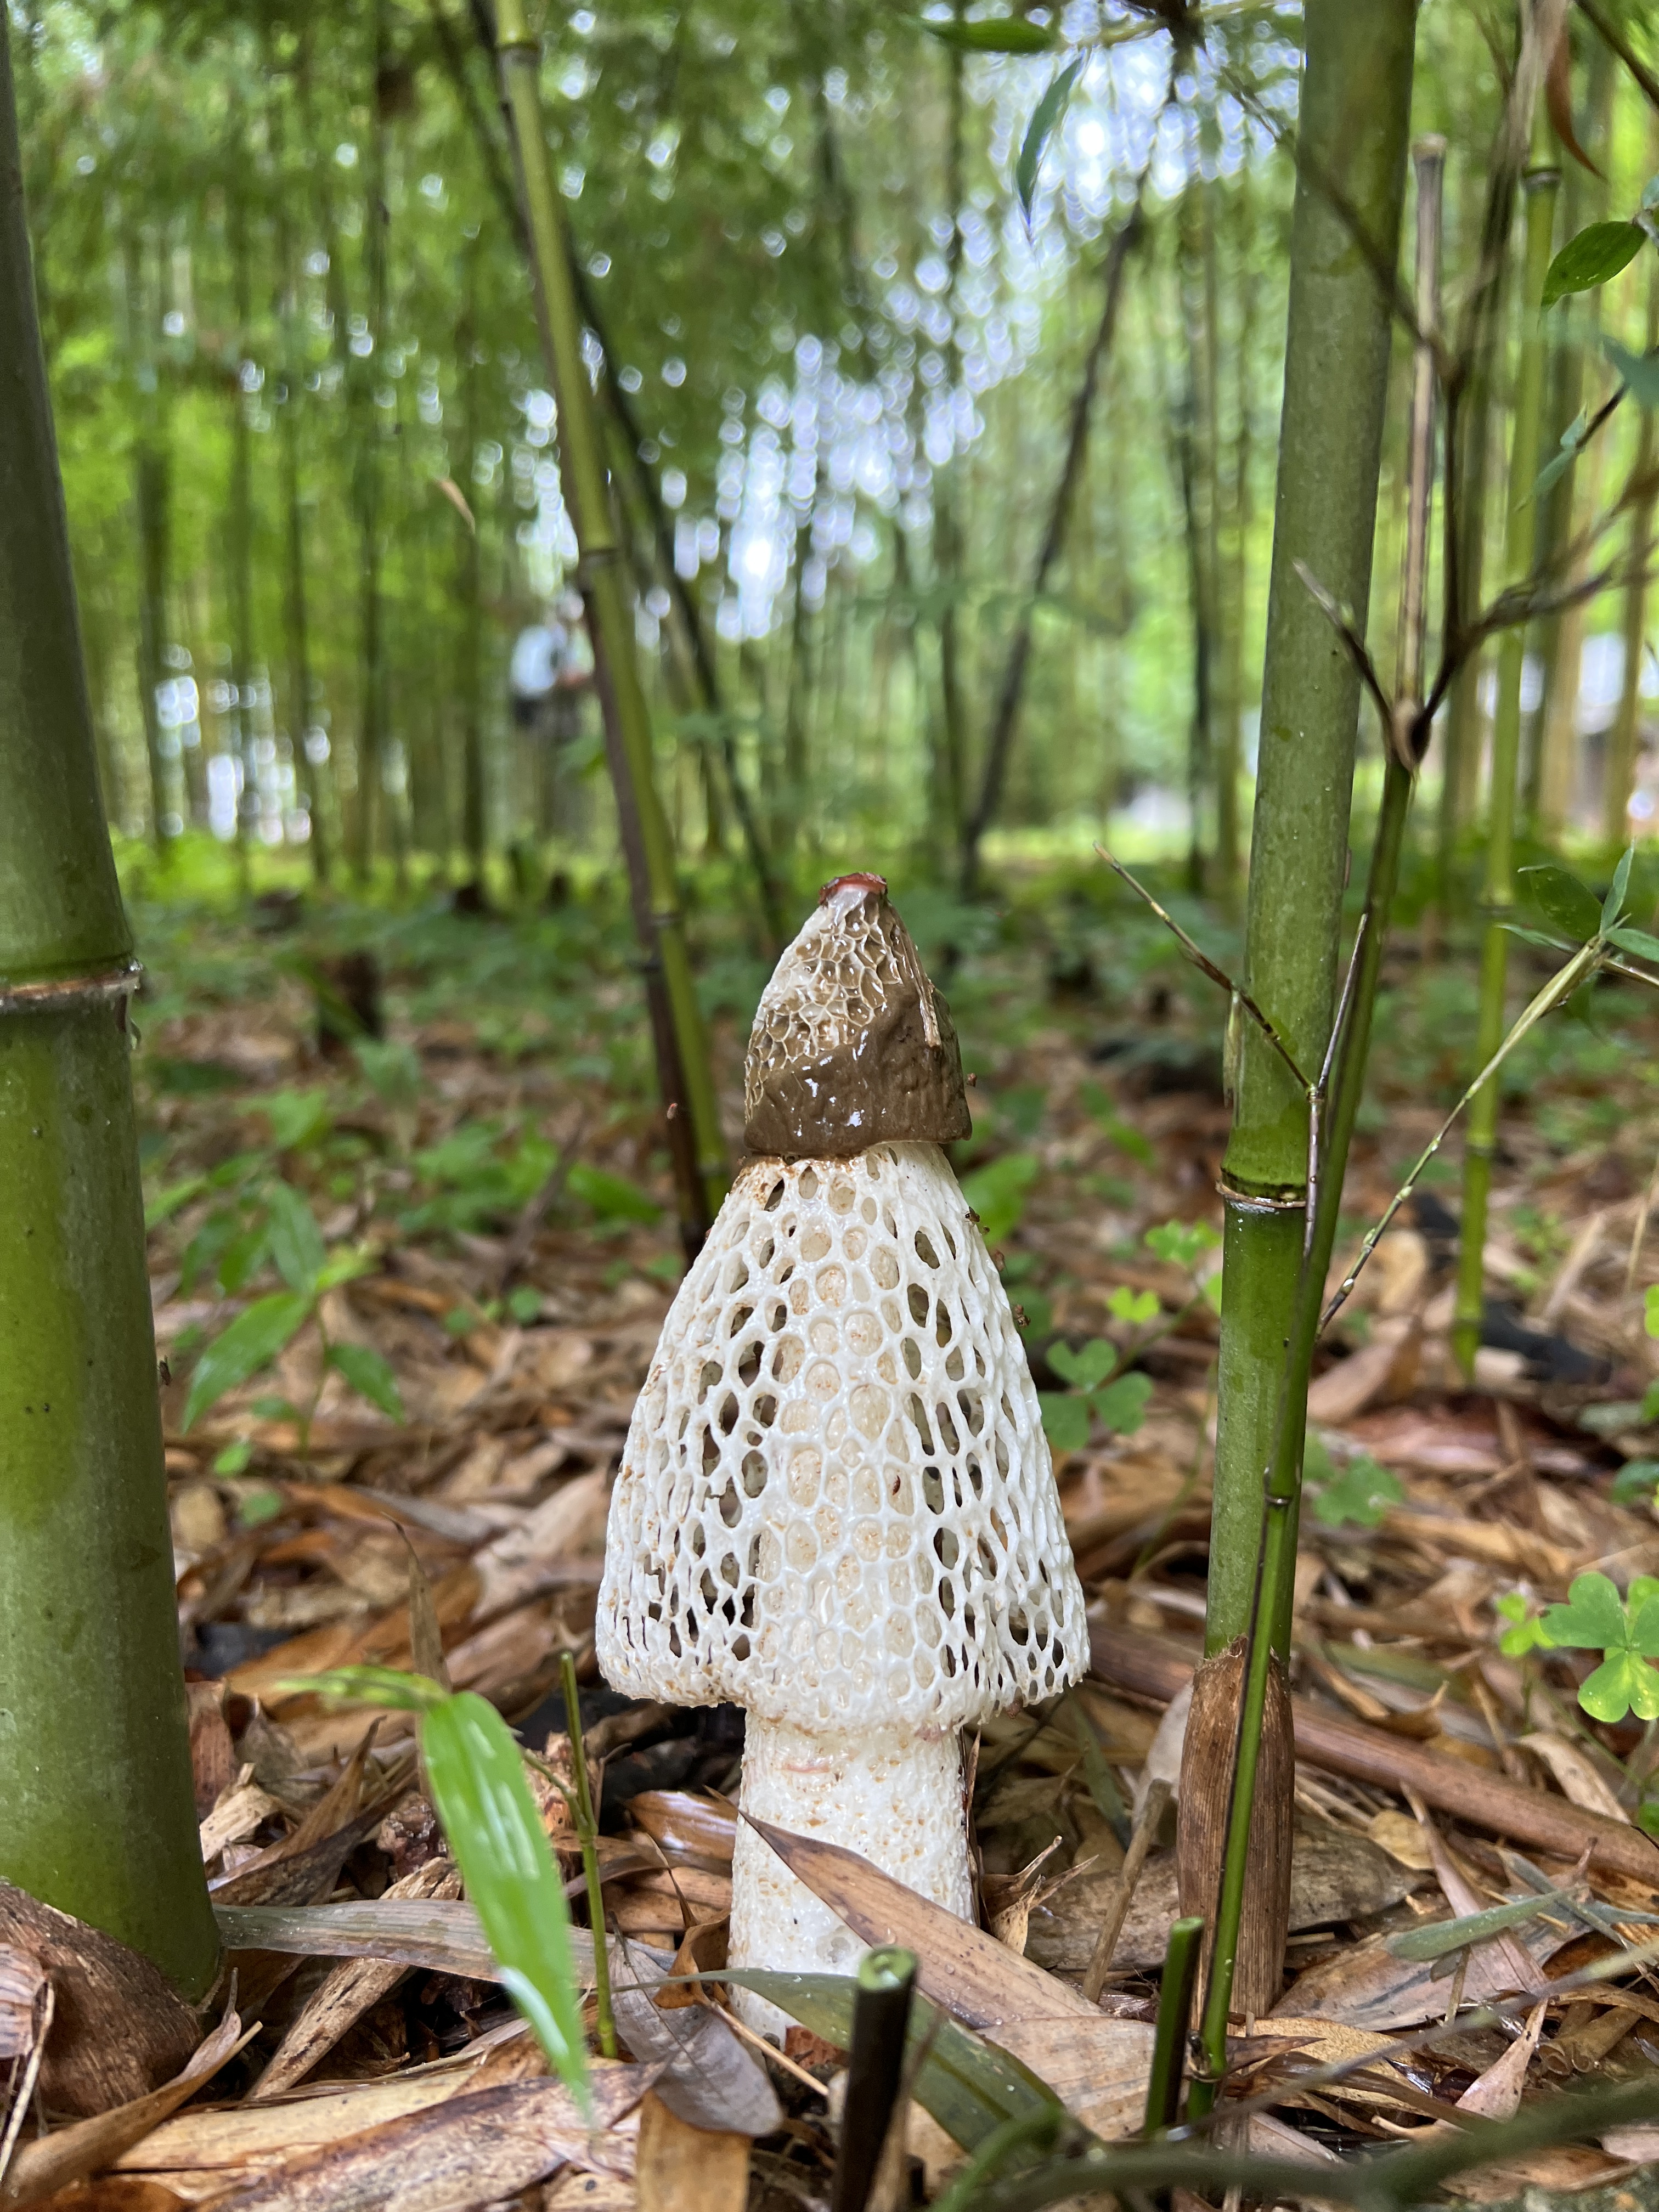
We were ready for another day of sight seeing! The ryokan staff gave us back our shoes, provided us with a parting gift of a beautiful set of chopsticks each, and waited at the doorway until we walked down the block and out of eyesight, bowing the whole time. Our first stop was the Kyoto Botanical Garden where we saw a rare mushroom in bloom along with more hydrangea, lotus ponds, and beautiful gardens.
Next was a tea ceremony through a tour site that we booked in advance (the sites I use most often are Get Your Guide and Viator). The tea ceremony was not only a nice way to enjoy a dose of matcha, but also a really cool way to learn about the history of the drink and to gain a better understanding of the culture of the tea ceremony. One thing that I found really interesting while watching our host perform a 10-minute segment of the 4-hour ritual was the intention of each and every movement. From the way the orange purification towel was perfectly folded and placed into her belted kimono to the direction that water is scooped and poured into the bowl, each and every movement was gracefully controlled. We then got the opportunity to make our own matcha, enjoy a traditional ceremonial sweet, and sip our tea as we chatted with the host and the others in the tour about the experience and any questions we had. This was a great experience, and I do recommend it while you are spending time in Kyoto!
It was time for lunch and we decided on a conveyor belt sushi restaurant called Kanazawa Maimon Sushi, which turned out to be such a fun experience. You are seated at your table in front of a large conveyor belt taking little plates of food all around the restaurant. If you see a plate that you are interested in trying, you simply take it off the conveyor belt and enjoy. You also have a tablet at your table and if there is something you want from the menu that you do not see floating around the belt or if you just do not want to wait, you can order through the tablet and the sushi chef will hand your dish directly to you. At the end of the meal your waitress will tally up your bill based on the number of plates you have in front of you, each color representing a different dollar value, and you then head to the register to pay. This sushi was surprisingly affordable, delicious, and the overall experience was really fun! There is no need to hold out for this restaurant specifically to try conveyor belt sushi, as there are a lot of different ones everywhere in Japan!
We had a hankering for something sweet so we stopped into Inoda’s Café for a coffee, a chocolate orange swiss roll, and a fruit and cream sandwich.
We then hopped on the train bound for the Fushimi Inari Shrine, one of the activities that I was most excited for heading into this trip. My fellow New Yorkers might remember that in 2005 there was an art display in Central Park by artists Christo and Jeanne-Claude of 7,500 saffron colored gates lining 23 miles of winding trails in the park. I was assigned to visit this exhibit as extra credit in my high school art class, and the event even made it into my personal journal (see photos below). I learned later that all of Christo and Jeanne-Claude’s public works of art are temporary, and they have been quoted saying “all of our work is about freedom. Nobody can buy our projects, nobody can sell tickets to experience our projects. Freedom is the enemy of possession and possession is equal to permanence. That is why our projects cannot remain and must go away forever. Our projects are ’once-in-a-lifetime’ and ‘once upon a time.’” It is thought that these saffron colored gates were inspired by the Torii gates of the Fushimi Inari Shrine. That, and the connection with my self-proclaimed theme of the trip “Ichi-go ichi-e,” (the Japanese concept of the “once in a lifetime” experience) made this shrine really personally special for me.
We did this late in the afternoon to beat the heat, but you can also do this first thing in the morning at sunrise or late at night in the dark. The shrine does not close and is free to enter. The main loop takes about 1.5 hours to complete but you can easily spend a few hours here if you take your time or if you do any offshoot hiking trails along the path.
We opted to do an additional trail which you can find if you put “Shiragiku Waterfall Path” into the GPS. It was about a 1 hour detour through the forest. There are very interesting shrines along the way and the trail eventually looped back to the original lower loop of the shrine. Do not worry too much about seeing the actual “waterfall,” as the name of the trail indicates – this is not a real waterfall, and it was not necessary to see in order to make the hike worth it. The hike in and of itself is beautiful!
We got some refreshing candied grapes at the end of the hike (which was at the starting point because it was a loop) and we hopped back on the train towards dinner.
We decided that we wanted ramen so we looked up some good ramen spots while on the train and landed on a place called Hakata-Nagahama-Ramen Miyoshi. This restaurant is incredibly no-frills (there is no AC) and is honestly borderline sketchy, but might have been the best bowl of ramen on the whole trip. If you are looking for a fantastic and cheap bowl of ramen, certainly check out this place. If you are looking for a restaurant with a more comfortable atmosphere, waiter service, and ambience, please skip this one. Consider yourself warned.
From dinner we headed over to the Sanjo Bridge to sit by the river, digest our food, enjoy a small musical street performance, and plan what we wanted to do the next day. It was a beautiful sunset and a relaxing way to end the day.
For video footage of day 11 in Kyoto, check out my reel on Instagram!
Day 12 – Kyoto
We started our last day in Kyoto with one more visit to the hotel buffet breakfast and then were off to the Arashiyama Bamboo Grove by train. When we got off the train we stopped into the Tenryu-ji Temple primarily to use the restroom, but it wound up being beautiful and we spent some time here exploring the gardens.
We made it to the bamboo grove and walkeid through. Of all the bamboo groves we walked through in Japan, this one is by far the most famous, but also the most underwhelming in terms of a nature walk. It s a very short walk and it is also very crowded. The path is wide with wooden railings, separating you from the bamboo. You should absolutely at some point look to walk through a bamboo grove while you are in Japan, but if you can do one of the smaller and less crowded ones it might be more enjoyable than this one.
At the end of the grove we wandered into the Gio-ji Temple, a quiet and peaceful temple with the most beautiful green moss.
From here we put the Otagi Nenbutsu-ji Temple into our GPS and began the walk up the hill. Along the way, we passed through the Saga Toriimoto preserved street (a landmark on Google maps so you would not miss it) which has cute shops and beautiful houses.
Upon arrival at the Otagi Nenbutsu-ji Temple we immediately noticed little statues ALL OVER the place! We got to chat with an attendant at the temple and learned that this temple is only 42 years old and the original goal was to have 500 little statues donated by patrons and laypeople. 42 years later and they surpassed their goal with 1,200 statues now decorating the temple. This place is a truly unique experience and we highly recommend making the trek to visit.
Once we got to speak with the attendant who informed us how young this temple is, all of the statues we had been marveling at made so much more sense. They are on the more modern side, performing actions like holding their animals, hugging family members, and playing sports like tennis or boxing. There are so many of them and it was so much fun to look at each and every one to get a feel for its personality. Nick and I each had our favorites! Which one is yours?
From the temple we then embarked on a ~2 hour hike along the Kiyotaki River, which was nothing short of magical. If you want to do the same hike as us you can put the Jingo-ji Temple in your GPS after the Otagi Nenbutsu-ji Temple and follow the path along the river.
The hike begins at the top of the hill with the riverbed in sight and slowly descends until you are standing right on the river bed, with full access to the water. The water is crystal clear and a perfect blue color in areas that are a bit deeper. We were dressed for a hike and not for swimming so we stayed on dry land, but it was tempting to dip our feet in. There are a number of falls, so be careful if you decide to go in!
The hike winds through the forest following the river – you are not always directly on the riverbed, but it is always in sight! The very cool part of this hike is how vastly different every segment is. It starts in a fairly normal looking forest and then switchse to right along the riverbed. There are patches of bamboo grove here and there in the forest, and then you come upon a forest of cedar trees that grow perfectly straight and very tall. The hike ends at an impressive dam.
The end of the hike marks the beginning of the Jingo-ji Temple, which is very cool for the walk up the hill to a view of a vast valley in which you can toss a clay disk to make a wish come true! There is a cute little shop selling refreshments (mostly beverages) and the clay disks, and then you head to the railing, make a wish, and send the disk soaring.
Once we made our wishes and threw our clay disks it was time for lunch, as we were famished (I can not stress enough how clutch it is to carry snacks around). We found a quaint little shop called Yoshiden, owned by an elderly couple. We got a hearty bowl of rice with chicken and egg on top, and it truly hit the spot. On our ride back down the mountain, we again had a sweet tooth as we typically do after lunch, so we grabbed a coffee and matcha ice cream at Ever Coffee café in between bus transfers.
One thing to note if you decide to replicate this day is that it is a LOT of walking, and once you are at the Otagi Nenbutsu-ji Temple there are no longer options for Ubers or cabs. It is a bit of a walk uphill to get to Yoshiden after the hike and then you have to continue walking towards a bus if you want to have any chance of getting off the mountain. There are a couple of bus options, which is good, but it took a little bit of patience to figure out. Good news is that our eSim worked even on the mountain so we had the ability to look up bus stops and times.
There was only one more temple on our list in Kyoto, and since it was still only mid-afternoon we decided to go for it. We headed over to the Kinkaku-ji Temple which has a golden pavilion. This was out of the way and a very quick visit, but we think it was well worth it.
It was finally time to relax and have dinner! We headed back to the hotel to wash up and went right back out to search for some yakitori near our hotel. We found Yakitori Ichiban Hachijoguchi and had a lot of fun ordering one skewer after the next to try some really unique bites and then re-ordering our favorites. We also accidentally ordered the GIANT beers because we can not read Japanese.
We ended this most perfect (albeit exhausting) day with candied strawberries and taiyaki at Naruto Taiyaki Honpo, which was about a 40 min walk from our yakitori restaurant.
For video footage of day 12 in Kyoto, check out my reel on Instagram!
Day 13 – Osaka
It was time to pack up and head from Kyoto to Osaka! Luckily the trip is only about 15 minutes on the train. You do have to use the local train line, though, so traveling with all of our luggage on the crowded subway was a bit challenging.
Osaka’s motto is “kuidaore” which informally translates to “eat oneself to ruin,” and to respect the city of Osaka, we did exactly that! Our first stop was the Umeda Sky Building where you can head to the observation deck for beautiful views of the city. We had gotten tickets a few hours ahead of time which was not entirely necessary because there were hardly any people when we went anyway.
From the Umeda Sky Building, we walked to the Hankyu Luxury Department Store. We skipped the luxury goods shopping and headed straight downstairs to the B levels for the luxury foods. The B1 level sells prepared foods, both sweet and savory, and of a variety of Asian cuisines. The food is everything you would expect from a luxury department store – absolutely beautiful curated dishes, bowls, drinks, and desserts. From here we bought an eel and rice “depachika”, or lunch bento box, and a fruit and cream sandwich – both so good. The B2 level is more of a grocery store with fresh fruit, produce, and packaged goods. This is where we found the most elite grapes as well as a premium musk melon. This fruit is expensive, but for good cause. There is a special way of farming these fruits that makes them extra juicy, sweet, and delicious. We would definitely recommend trying the grapes. The musk melon is up to you, depending on how much you like honeydew.
Our next stop on the itinerary was technically our next meal with a long walk to get to the restaurant. Along the way we stopped for a coffee at Mel’s coffee roasters. This coffee shop is the craftiest of craft coffee shops – to the level where Nick asked for milk in his coffee and Mel herself came out to explain how milk would ruin the delicate flavor of the coffee and how she does not recommend it. If you are in the market for a really crafty cup of coffee, and are willing to drink it according to Mel’s recommendations, this shop is worth a visit.
We also stopped at Yohaki, a bakery and café with tasty treats, and Mochisho Shizuku, a shop selling beautifully crafted filled mochi (daifuku). The Mochi is really quite impressive – the pieces themselves are works of art and the flavor is unreal. If you make one stop in this area for a sweet treat I would recommend it be for a daifuku (or four) at Mochisho Shizuku.
We eventually hit the Dotoburi strip and snapped a photo by the water with the ferris wheel in the background. We did not stay long because we knew we would be back to explore later on that evening. (Peep the crow photobombing our selfie).
Okonomiyaki Mizuno was our dinner spot, a Michelin star restaurant selling okonomiyaki. This is a pan-fried dish consisting of batter and cabbage. Selected toppings and ingredients are added and the whole thing is very customizable. “Okonomi” literally translates to “to one’s liking,” so it is very aptly named. The dish is akin to a “pancake” in presentation, but not at all in texture or taste. The restaurant is counter-serve so you get to watch them make it right in front of you! The batter and cabbage are mixed together in a bowl and then poured on the griddle, and once both sides are cooked and meat/filling of choice have been incorporated it is topped with okonomiyaki sauce (which tastes a bit like Worcestershire sauce), sometimes mayonnaise, and dried seaweed powder. Sometimes there are bonito flakes as well, and we ordered the most popular one which is topped with noodles. It is a quick process to cook from start to finish and you are given your own spatulas to serve yourself right from the griddle whenever you are ready, so every single bite is “fresh off the grill.” This whole meal idea is fantastic and I absolutely recommend this restaurant while in Osaka. The restaurant does not take reservations so we got here early (around 4:30 PM) and there was no wait time at all. A line did begin to form outside as we were leaving but the whole meal is so quick from start to finish I imagine it moves pretty quickly.
We walked around Den Den Town to digest a little after our okonomiyaki, exploring the shops, playing some games, and looking for a specific camera store called Camera Kitamura. This strip is akin to Akihabara in Tokyo and is a fun daytime activity, especially if you are looking for a reprieve from eating.
After we had shopped and played to our heart’s content we stopped into a bar that was supposed to be very good for sake and cocktails, Sumiyaki Shoten yo Ohatsutenjin. They did not have an English menu here but our waitress was very accommodating despite the language barrier. We pointed to a sake off the menu without having any idea what it was (we chose based on price), and the waitress had a list on her phone in English of some of the most popular yakitori that they have and we used that to order a snack. This bar is a great vibe, the food and sake are tasty, and the wait staff is very helpful – I would absolutely come back here if given the chance!
Our last stop of the day was back to the river walk of Dotonbori to explore. We were captivated again by the bright lights and high energy of this city. We particularly enjoyed seeing the different decorations on each storefront, usually a giant sculpture protruding from the wall. Look out for the billboard of the Glico man which has become an unofficial symbol of Osaka. There are carnival games and plenty of food and sweets to keep you occupied, and there is a ferris wheel that closes fairly early, so plan ahead if you want to ride it. This strip is an absolute must-see.
For video footage of day 13 in Osaka, check out my reel on Instagram!
Day 14 – Osaka
We started our last day in Japan a little more slowly than usual. We stopped in a 711 for an ATM and indulged in a yummy snack, moseyed over to Mel’s again for one last cup of coffee, and headed to Micasadeco & Café (in the Horie District) for fluffy ricotta souffle pancakes. We were drooling at the thought of these pancakes for the whole trip and we saved them for the very last day because this spot is highly rated. Micasadeco did not disappoint us. They were fluffy and jiggly, as soufflé pancakes should be, and the ricotta gave them a cheesy and delicious flavor.
Next we headed to Osaka Castle which I enjoyed way more than I thought I would, to be honest. The exterior of the castle still looks like its original structure, but the inside has been transformed into a museum with multiple floors, each detailing a different piece of Japanese history. The museum focuses primarily on the life of Toyotomi Hideyoshi, a Japanese Samurai and feudal lord, regarded as the “Great Unifier” of Japan. The museum is laid out really well with English blurbs on almost everything so it was very easy to follow. We spent about two hours here and then grabbed a snack of Takoyaki, a traditional Osaka dish consisting of a dough ball filled with octopus. Most must-do stops in Osaka revolve around food, so it was nice to check out the Castle as a non-food activity – we recommend!
For lunch we hopped on a train to a sushi restaurant called Sushi Isshin, recommended to us the day before by a couple visiting from Hong Kong that we met at Mel’s coffee. The sushi was fresh and delicious and it was counter-serve but not chef’s tasting. The eel and the wagyu were highlights. We also grew to love the squid sushi while in Japan. If you are in this area (it is up near the Hankyu Department Store), certainly check out this spot!
From here we took a walk back towards our hotel area, stopping along the way at Hannoc for some beautiful pastries. There are so many to choose from! These are more traditional French-style pastries. The matcha lattes were also delicious, with a wonderful hint of strawberry.
We decided to hop on a train to go to the Tempozan Giant Ferris Wheel which is over in the Minato Ward of Osaka. It is a bit out of the way, but again it was nice to have a non-food activity to keep us occupied for a little bit. The ferris wheel offers amazing views of Osaka and the floor of the car is even see-through so you can see the inner workings of the ferris wheel as your height climbs. The ferris wheel is also right near a mall where we did some souvenir shopping on our way out. This was a fun stop!
We headed back to the hotel to clean up, take a brief rest (we may or may not have taken a nap), and decide what we wanted to do for the rest of the evening. At this point it was around 8 PM and we were not yet hungry, but also not yet willing to end our Japanese vacation. We decided to go back to Dotonburi to walk around and see if there was anything we wanted to do/eat/drink. We were surprised that it was pretty tame compared to the previous night, despite being a Friday. It was also raining which we figure might have played a role. We wanted a little something more, so we found what looked like a fun bar on Google and made our way over. It is called Bar Nayuta, and Google mentioned specifically the unique and delicious craft cocktails. Say less.
This bar wound up serving some of the best cocktails I have ever had in my whole life. It has a speakeasy feel both inside and outside – the location is tucked away in the 5th floor of a building complex with an unassuming entrance. The main room is pretty small with probably no more than 20 customers in there at a time. There is no menu so the bartenders (or their assistants) come around and ask you what flavor profile you are looking for and then some follow up question (sour vs sweet, creamy vs clear) depending on what you responded. The first drink I got was a ginger based mule with a spicy pepper infused special simple syrup, muddled with a few different fruits. The second drink was a chocolate flavor but I asked for something not too sweet and not too heavy with a clear base. The resulting cocktail was the most unique and incredible one I have ever had, and I am actually sad that I have no way of knowing exactly what went into it.
We ended the night with one last trip to McDonald’s, as it was late by the time we left Bar Nayuta but we were starving. Again, the Japanese specific menu items did not disappoint, and we closed the book on our trip to Japan with our bellies full and our faces smiling 🙂
Pro tip – There is absolutely no need to get the macaroons at McDonald’s.
I hope this was helpful in seeing exactly how I organized our itinerary for this trip. Check out part 1 of this series in which I list out the itinerary highlights (AKA our absolute most favorite activities in Japan. This will be helpful if you are planning a shorter trip than two weeks, or if you are simply looking for advice on the must-do activities. Check out part 3 of this series for tips and tricks on prepping for and navigating through your trip to Japan.
“Ichi-go ichi-e” is a Japanese idiom that translates directly to “one time, one meeting.” It describes the cultural concept of treasuring the unrepeatable nature of a moment, or a “once in a lifetime” experience. It is a reminder to cherish the moment you are experiencing currently because it cannot be repeated.
This year has been a whirlwind so far with a lot of “ichi-go ichi-e” moments (although technically every moment should be categorized as such in the spirit of the idiom). To catch you up to speed if you are not already following me on Instagram, I got married this year and my husband and I took our first trip as a married couple (AKA our honeymoon) to Japan!
Planning this trip was challenging, to say the absolute least. I knew very little about the culture, customs, and even the food going into it (there is so much more than just sushi and ramen), so quite a bit of research was required. Even having done days of research up front and putting together a nearly 15 page itinerary, I still learned a ton while attempting to execute the trip. I have organized my monologue into three separate posts:
Itinerary highlights – these are our favorite things that we did in Japan. This will be helpful if you are planning a shorter trip than two weeks, or if you are just looking for advice on some absolute must-do activities.
Our full itinerary – every single thing we did with helpful details and photos, including sight-seeing, tours, meals, whether we got tickets up-front, whether or not we recommend the activity, etc.
Tips and tricks while traveling to and within Japan (the post that you are currently reading) – aka the things that we learned first-hand so that you do not have to
Our trip to Japan was truly a life changing experience, and I hope this post helps you to plan yours. Without further ado, I’ll get started! This is post 3 of 3, tips and tricks.
Before you leave for Japan, you will want to take care of some general prep items. Here are the prep items that really paid dividends while we were away:
An eSIM was an absolute life saver. Purchase this and download it onto your phone before departure. Follow the instructions to switch off your local cellular data and switch on your eSIM upon landing. I used Airolo and was very happy with it. Be sure to watch the Youtube video provided by Airolo when downloading – I had a very smooth experience with my eSIM but Nick had a lot of trouble with it. Since we have the same phone and purchased the same product I would have to assume that something went wrong as he was configuring it. Note that the eSIM does not allow phone calls unless they are over wifi (through web-based applications like WhatsApp) and the eSIM technically works like a hotspot – you can use your phone as if it were on wifi, but you cannot do anything else (that means no green messages if you have an iPhone). The alternative cellphone option is typically paying a fee per day through your cellphone provider, but my research told me that the cell signal in Japan on an American phone plan was not great, so even if I paid per day to be able to use my phone the service could be spotty. The eSIM provided reliable cellphone use whenever I needed it, and was also much more affordable than a daily fee through my provider
When thinking about clothes to pack, especially during the summer season (I was there the last two weeks of June), the important things to know are that it is blisteringly hot and humid, but also that people dress very modestly in Japan (especially the women). I wore linen pants on most days that we were visiting temples and shrines out of respect, and I kept it to short sleeved full length shirts (as opposed to tank and crop tops) in order to fit in better. Women also do not wear low cut shirts so I avoided that as well. For men, almost 100% of the time the locals are wearing pants. If you are concerned with fitting in, definitely pack pants and plan to wear them often (linen is recommended in the summer months). Tourist men wore shorts at shrines and temples though, so if you are less concerned about sticking out and more concerned about being comfortable, go for the shorts. Regardless, you should do some research on the weather at the time you are traveling to get a better understanding of the nuances at that time as the weather changes pretty quickly from one season to the next.
Something we wish we had looked into was a laundry service while on the trip. We instead just packed enough clothes, but it would have been nicer to pack less and use a hotel laundry service a couple of times on the trip. Obviously your need to use a laundry service will depend on the length of your trip, but if you are interested in packing light (which is definitely recommended if you are traveling from one city to the next on the trains) then you can try to book hotels that have a laundry service and at least you have the option to use it should you decide.
When planning your activities, it is worth noting that Mount Fuji is often hidden by clouds (we learned that in the rainy season, which is when we went, Mt. Fuji is only visible 10% of the time). If seeing Mt. Fuji is a really important part of your itinerary, plan to have access to it for more than just one day to increase your chances. For reference, the picture on the left is what Mt. Fuji looked like in the beginning of the day (it would have been visible behind the pagoda) vs. what we were fortunate enough to see for about an hour towards the late afternoon (picture on the right).
If you are a luxurious type of flyer, you can ignore this tip and proceed without judgment… But if you are an economy flyer like yours truly, my recommendation is (if you can) to splurge on a non-stop flight, as this will be better conducive to you getting some sleep and avoiding jet lag. Also, with a non stop flight you will likely find yourself on a giant plane. We wound up selecting seats that seemed trash at the time but wound up being really great – we sat ourselves in the second to last row, but it was a row of two seats directly behind a row of three seats, and where the third seat would have been was just extra leg room and room for stuff so it worked out really well. We were also right near the flight attendants so we could ask them things when we needed to, and we could peek back into their station to see when snacks and drinks were being prepared.
With jet lag in mind, we planned for an early flight on the way there (around ~10AM EST) and didn’t sleep much the night before so that we would be sleepy on the flight. We were able to sleep during the hours that we knew it would be evening in Japan to try to get us on a Japanese sleep schedule and that worked pretty well for jet lag upon arrival. We were not able to plan that as well on the flight home, but we did buffer in a day at home before going back to work to readjust our internal clocks and settle back in – also highly recommend this, because we needed it. It took about 3 days to really feel normal once we touched back down in NYC.
Buy an umbrella while you are in Japan! They have really nice ones with cool designs, or they have their standard clear full-sized one that mostly all the locals use. I found it fun to walk around using the clear one like everyone else, but I am always down to go out of my way to do what the locals do. My clear umbrella was useful during the trip and turned into a cute functional souvenir to bring home (though I do have to say, traveling around with a full sized umbrella was a little annoying).
(Update – I accidentally left my umbrella on the airplane in NY, so I strongly recommend not doing that.)
While in Japan, you will want to be prepared with cash (Yen). Here are some money-related tips that will prevent you from running into any snags while trying to execute the most perfect itinerary:
Always have cash on-hand, and lots of it! In Japan, Yen is the currency used, and it is not uncommon for people to carry around fairly large sums of yen in their wallet (in the equivalent of $500-$1k USD). We did not convert any cash ahead of the trip and relied on ATMs while we were there, which turned out to be a reliable strategy. Whenever we needed cash we just pulled the max that the ATM allowed to reduce on fees and number of trips to the ATM (although there were plenty of convenient ATM opportunities). We used cash for almost everything while we were out and about and for a lot of places cash was required (including some bars, restaurants, and the subways).
Similar to the subways, the bullet trains (Shinkansen) take cash only (unless you purchased a commuter card or rail pass ahead of time). The Shinkansen are more expensive (over $100 to get you from Tokyo to Kyoto, which is a ~2 hour trip), so this is another reason to generally just have cash on hand. In a pinch, you can purchase your Shinkansen ticket at a ticket window and then you can use a credit card.
This is a smaller one and you will learn about it literally immediately (and might already know about it from other trips abroad) but hopefully this saves you a mini-panic attack: not all ATMs are international ones. We went to an ATM immediately upon landing at the airport and it rejected our cards. Mostly every other ATM we found outside the airport (aka all the ones in Family Mart or 711) were international. We had no issues taking out cash outside of the airport.
A coin purse is going to be really helpful, as most of the denominations in yen are coins. We bought cute coin purses a few days into the trip, but you can just as easily bring one from home.
While in Japan, it could be a little bit tricky to get used to getting around the most efficiently. Here are some navigation tips that will allow you to move around Japan as efficiently and comfortably as possible:
Getting subway tickets can be kind of annoying because your ticket is specific to your trip – you have to know which station you are going to (or the cost of your trip since cost depends on the destination), and you have to purchase a new ticket each and every time you enter the subway system. We did not get a rail pass (for the Shinkansen) or a pre-paid transport card (for the local subways) ahead of time but knowing what we know now we might have considered it. This post is a helpful resource to determining whether the rail pass is worth it for you. This post is a helpful resource with more information about the pre-paid transport card. Also noteworthy is that these commuter passes get physically mailed to you so you will need to do this with at least a few days of buffer time to allow for the pass to get mailed to your home address.
Google Maps was very helpful when it came to navigating the subways. There is a lot of information you need to make sure you are getting on the correct train (train line, direction, platform #), and Google Maps will provide all of that information. It even tells you which train car you should enter for the most efficient exit. It is also accurate with regard to train times which was very helpful because the subway system is punctual.
While it was helpful in providing information about what to do underground, Google Maps was not quite as helpful above ground. We found that it would often give us a weird “destination” point to walk to that was not exactly where we wanted/needed to be but it would get us close. We often used Google Maps directions to get us to the general area and then just use the pinpoint on the map of our final destination to get us the rest of the way. This includes subway entrances – just look for the main entrance icon on the map and do not worry about where Google tells you to go underground.
Another area where Google fell short was in determining the open/closed status of eateries. We learned from a local that the best way to determine whether a place is open at the time you want to go is to call ahead of time. We did not have phone call access while we were in Japan so about half the time when we showed up to a coffee shop or restaurant it was either closed or was entirely out of business or under construction.
Regardless, it was still helpful to check Google as it was typically accurate when a place was closed. Restaurants often have specific open/close times (a lot of them close for a few hours in the afternoon). A lot of activities/eateries are also closed on weekends or random weekdays that you would not necessarily anticipate.
An area where Google exceeded expectations was with the translate app! Download this and use the camera feature – this was invaluable when translating menus and street signs.
A lot of coffee/tea shops were sit-down only. The ones that have take-away cups will usually advertise it, but it is not common for people to sip coffee while walking around the street and even less common for people to have it on the train (unless you are on a Shinkansen bullet train). If you are a coffee/tea person, buffer in some extra time in your itinerary to sit down to enjoy your morning/afternoon cup. The good news is that Japan is incredibly efficient in its food service (and everything else for that matter), so unless you are looking to sit and hang for a while, this does not have to take longer than 15 minutes (so long as there is not a line at your coffee/tea shop).
Most eateries/coffee shops in Tokyo (and some in Kyoto/Osaka) are inside department stores or in tall building complexes. We found things fairly difficult to locate, as Google Maps gets you to the building but does not always tell you where to go from there, and the name of the shop and the address are all written in Japanese. Check the address on Google to see if there’s a “#F” designation, because this will tell you which floor it is on. Regardless, buffer time in your itinerary to wander around aimlessly looking for your destination, especially if you have a timed reservation.
There are very few trash cans on the street, and this is attributed partially to the fact that it is discouraged to eat/drink while moving around. If you do plan to make garbage while walking, also plan to carry that garbage around with you for a few hours. The best places to locate garbage cans are near vending machines (which are all over), but most of those are recycling only.
There are public restrooms EVERYWHERE. If you have a tiny bladder like me, you will absolutely love the sheer number of restrooms in this country.
There are vending machines EVERYWHERE. Some of them will have snacks/ice cream, but most have beverages, some of which are really cool! There are very few water fountains to refill your bottles so that is one drawback, but if you are willing to purchase a new bottle then you will never go thirsty. When I got tired of buying new bottles, I would honestly just refill in the bathroom sink – the tap water was completely fine on my stomach in general.
Hopefully these tips and tricks help you make the most of your time in Japan. Remember to check out part 1, which contains our absolute most favorite things that we did in Japan, and part 2 which details our itinerary in full – down the the very last detail plus photos!
While working out at home has been eye-opening (I now appreciate so much more the benefit of bodyweight and low-weight exercise), it is also nice to get back into the swing of things with more complex equipment and heavier weight at a gym! I am so excited to be partnering with Nylo Fitness, Tribeca NYC’s ONLY fully private 1 on 1 personal training studio.
Here’s what you can expect if you choose to work with me. Once we are in contact (you can reach out via email, by filling out my questionnaire, or via Instagram), I will set up an entirely free consultation call. We will talk briefly about your past experiences, any medical/injury history I should know about, your current level of fitness, and your goals. We will discuss whether your goals have any timelines or conditions attached to them. All of this information will help me to plan a fully customized workout that is appropriate for you, your body, and your goals. Then, it’ll be time to hit the gym!
We will meet at Nylo (279 Church Street, TriBeca NY) and head up the stairs where we will be greeted by one of the co-founders, Sean or Elena. Sean and Elena are the perfect balance of professional, knowledgeable, friendly, and downright hilarious – you’re going to love them immediately! Once we are checked in (upon your first visit you will just need to show proof of vaccination), I will give you a brief tour of the facility including the spacious and fully stocked locker room.
Nylo Front DeskWomen’s Locker Room
You will have the chance to change your clothes in the locker room if necessary, hang up your coat in the coat closet, and do any last-minute preparation (whether physical or mental) for the session. We will head over into the fitness studio, taking off our shoes before entering in order to respect the cleanliness of the floors and equipment. You are welcome to wear gym shoes in the studio, so long as they are designated for gym use only and are not used on the pavement outside.
From there, our session begins! It has been specifically curated by me to align with the goals that we discussed, as well as respect whatever nuances your body needs at this moment. My workouts (and subsequently my programs) are thoughtful, and I do my best to make sure things stay fresh and fun for you! After all, I truly believe that health and fitness should not feel like a chore, and that the right workout and nutrition plans can build a very sustainable healthy lifestyle that will put you on the fast-track towards your goals!
Multiple power racksVast selection of kettlebellsA wall full of dumbbellsMultiple power racks, adjustable weight benches, and a large variety of free weights
The studio currently includes 3 power racks (which can be used for squatting, benching, and shoulder pressing), 4 adjustable benches, a rower (erg), an assault bike, a ski erg, pull up bars, multiple pull up bar attachments (i.e. rings), plenty of free weight plates and dumbbells, a full set of kettlebells, foam rollers, TRX cables, multiple different bars including a hex bar, various bands and cables, and so much more!
I am so excited to get started with you and begin setting and achieving goals. There is no better better time than right now to start curating for yourself the healthy lifestyle that you imagine. Even if you are already on that journey, no matter what your experience level, allow me to share with you my experience and learned techniques that can help you be even more efficient and enhance your lifestyle even more!
Curious if it works? Don’t take it from me! Here are some of my success stories 🙂
Nicole L
I started working with Madeline in February 2021. Before the pandemic, I had been doing a decent amount of cardio (3/4x per week) but had really let things go since March 2020 and had started feeling the effects of it on my body. I reached out to Madeline and she put together a workout plan for me, as well as helped me plan out my macros and calories to put me in the best place to reach my goals. The food plan and workouts were very reasonable and fit in my schedule easily. I never felt like the tasks I had to do to reach my goals were not attainable.
Part of my day to day prior to this journey was going out to eat a decent amount of the times, both for social and personal enjoyment reasons. Madeline helped me learn how to continue to do so while also reaching my goals. I was also able to incorporate my favorite foods like pasta and other carbs into my diet as well while going out so I never felt like I was fully restricting myself. She also helped me plan some meals in advance when I knew I would be going out a lot in one week to ensure I had room for all my meals, and helped estimate macros of foods when I went out as well so I could properly track my intake.
I was also traveling a lot when I reached out to Madeline, so I needed a flexible workout routine that I could do whenever and bring along with me. The tools Madeline recommended were transportable so that if I needed to travel with them, it was no problem. Madeline was also available to hop on video chats with me to work on form or any other questions I had about the workouts.
5 months later and I am seeing the best results I have ever seen from working out. As someone who played competitive sports growing up and tried all the workout classes imaginable, this has easily been the best body transformation I have ever gone through.
I went from weighing 141 lbs and feeling very weak, to weighing 117 lbs and feeling stronger than ever! Not only do I look very different, but I feel so much better. The best part about working with Madeline is she gives you the tools to do the work on your own, so that you can make this a lifestyle change that is easy to implement. I highly recommend her services!
Jenna A
I had the opportunity to start working with Madeline in November of 2020. Off the bat I was shocked by her ability to incorporate me and my goals into her lifestyle, making them her goals as well. I immediately felt like I wasn’t alone on this journey, and my biggest supporter also just so happened to be my trainer. We began by speaking very casually about my previous workout history (or lack thereof), and any injuries I previously had as well. Through this she spoke to me about how she was planning to incorporate my goals and experience into a workout plan, while also making sure to be mindful of my injuries. I wasn’t an easy client for her to take on as I had previous shoulder, hip, and knee injuries from playing sports throughout my childhood. She immediately began me on a regimen that pushed my boundaries but was tailored by her to remain within my area of comfort. This allowed me to begin my journey without being extraordinarily intimidated, which was vital to my success. Initially, I was terrified that I was going to give up, and not be able to follow her workouts. She provided me endless support and motivation, making sure I had the knowledge and confidence to move through her program successfully.
I began with Madeline during the heat of COVID, which is something that I was afraid was going to hinder my progress. I feared this would make me a difficult client for her to manage, given that we would never be able to work in person. She quickly proved me wrong and made me feel comfortable and supported by offering video, facetime, text, and phone support at a moment’s notice. She provided me with personalized turf workouts, home workouts, HIIT workouts, ab workouts, and cardio workouts all on top of weightlifting workouts. Any way I needed her; she was there.
Our day-to-day plan usually looked like this; Madeline would set up my workouts weekly by entering them on an excel sheet we shared. This would include the muscle group we would target, the exercise, the reps, the rounds, the weight, and a detailed description of what the actual movement would look like. She would make sure to include cues, form, and safety precautions in her workouts to make sure I did them correctly and was avoiding further injury. Included in my daily schedule was stretching and warm up exercises she had me do to avoid injury and increase my cardiovascular abilities. She would have me review my workouts quickly, and I would follow each day’s schedule when I went to the gym. This was LIFECHANGING to me, because for the first time in my life, I stepped into the gym feeling an extraordinary amount of confidence. Every single day I knew what I was doing, how I was doing it, and what it should look like. This took so much anxiety out of going to the gym for me and gave me the confidence to go through workouts I would’ve never considered doing on my own. Madeline’s attention to detail and knowledge of exercise science was evident from the outset of our relationship.
Being that I had started the journey with injuries, there were adjustments that needed to be made. I had trouble with certain exercises over time because of these injuries and explained this to Madeline. Immediately she began altering my entire workout plan to only include pain-free movements, while not sacrificing progress. Her ability to modify programming and meet her client’s needs continues to amaze me. Because of the skills she possesses, she changed my plan so that I never needed to stop working out, and was able to improve regardless of my injuries. My strength, endurance, and speed skyrocketed over the course of our time training together. I was pushing my body to limits I didn’t even know existed and was moving weight I never thought I could.
Through my experience working with Madeline, I gained a confidence unknown to me ever before, a power I didn’t know I could possess, and a love for fitness I never thought would happen. She changed my life for the better and provided me with skills and knowledge I will be forever grateful for. It was an absolute joy working with Madeline, and I am forever grateful for our journey together.
April D
My experience with weight loss has been a difficult journey until recently. My lifestyle requires me to eat out a lot. My job requires sitting in front of a computer and reading and typing all day. I work from home so I do not walk to a train or walk from a parking lot. When I am done working, I am usually cooking or doing laundry. Needless to say, I don’t get a lot of exercise. I am also in my late 50’s. It’s not surprising that I would have a problem managing my weight. I was at least 40 lbs overweight. You may be thinking that 40 pounds is not much, but I am only 5’1” tall. On a small frame, 40 pounds is a lot of extra weight. I have tried dieting and failed. I joined a well known weight loss organization and managed to lose weight. The meals were expensive considering how small the portions were. I had to supplement the meals with salad or vegetables. I had to go to weekly weigh-ins. When I stopped going, and tried to make my own meals, the weight creeped back on. This was when I knew I needed more than a packaged food regimen that didn’t work well with my lifestyle of eating out. I needed to understand why I was gaining weight so I can be in control. I decided it was time for a weight loss coach.
When I signed on with Madeline, I committed to being honest about my eating habits. I kept a daily log of everything I ate so she could analyze and form a plan for me. I quickly learned how to calculate the calorie content in food and also how to maximize meals for satisfaction. Yes, all of this can be learned on one’s own. What takes years to learn is how to calculate calories in foods prepared in diners and restaurants. I wasn’t about to bring my scale to a restaurant so I can weigh my food. I certainly wasn’t going to ask the chef to measure how much oil, butter or whatever goes into cooking a meal so I can calculate the calories. This was where my hands were tied. Aside from ordering shrimp cocktail and salad (with the dressing on the side) every time I went to a restaurant, there really was no way I could know how many calories were in my meal. This is where having an experienced weight loss coach really comes in handy.
The attention I received from Madeline was the reason I was able to lose the unwanted weight without the stress and disappointment of trial and error failures. When I went to a restaurant, I simply took a picture of my food and would send it to Madeline. She would tell me how many calories were in it. This helped immensely. I was able to decide how much I should eat to stay within the calorie amount I had set for that meal. I would also take a picture of the leftovers that I did not eat. Madeline would let me know how many calories I had actually consumed. If I knew ahead of time which restaurant I would be going to, Madeline would find the menu and give me suggestions as to which items were a good choice. We would discuss why and how to calculate the calorie content. I learned an enormous amount of information in a very short time. This took the stress out of eating out and led to my success in keeping the weight off. I went from a size 8 to a size 2. I get countless compliments on how I look and my husband tells me I look like I did when we first met. I feel satisfied. I eat anything I want. I adjust the portion sizes to fit the calorie content. I never feel deprived. I am now working on an exercise program and Madeline is helping me with that as well. I enjoy making my own meals too.
I highly recommend having an experienced and knowledgeable weight loss coach to help you lose weight. Our conversations were laid back and I never felt as though I was being judged in any way. This was truly the best investment I could make for my health and my self esteem.
Andrea R
I was 197lbs (~30-40 lbs over my normal weight) with postpartum anxiety and depression while managing a 4 month old baby. We had our baby during the peak of the pandemic which meant there was no going to the gym especially with a baby. I felt hopeless and knew something needed to change when I couldn’t even get up off the floor as I held my newborn son. Also, I had a C-section which further weakened my core strength. That’s when I decided to reach out to Maddie to get help! On September 2020, Maddie started me on a plan for both nutrition and exercise to get me back on track. By July 2021, I was back to my normal weight of 165lbs with muscle and flexibility!
Maddie built me a meal plan based on what I like to eat so that I could maintain a healthy and balanced lifestyle. For 3 days I took pictures of what I ate and sent them to Maddie. She then formulated a meal plan that would work with my lifestyle and preferences to lose 1-2lbs of weight a week. The meal plan was easy to understand with the flexibility to choose my carbs, veggies and protein depending on the meal and day. For example, she put lean or non-lean meat with how many grams I could eat for certain meals so that I could still have my steak on certain days! I was also able to eat a little bit of dessert everyday as well! Throughout my journey I would ask Maddie if I could swap certain things and she would always re-organize my plan to fit my needs for that week. She was also my accountability buddy – I would let her know how I did against the plan daily. This helped me to stay on track with my meal plan as I have a huge sweets addiction. As time went along, I learned how to swap certain items in my meal plan and eventually was able to hold myself accountable which was a huge win.
Maddie built me an exercise plan that fit my schedule as a mom of a newborn. I started with basic warm ups and exercises 3x a week while my newborn napped and/or my husband had the baby. I really struggled with all the exercises in the beginning, but I got better at them as I kept my persistence. I even was able to touch my toes by the end of it, which is huge mobility progress for me! Maddie was so supportive and gave me the confidence to keep going despite my challenges. I also sent her videos of my form to see if it needed correction or if I felt like I was having trouble performing the exercise. If I really was not able to handle an exercise, she was able to provide me with modified versions or other exercises to target the same muscles. I felt great and the best part was that I became able to pick up and hold my son anywhere with no issues! I say this now as I sit here crying because that was one of the biggest rewards I could have received! Later on as Covid transmission decreased, I felt confident enough to go back to the gym to work on my strength even further.
Like any change, there were ups and downs and I gave into my cravings on occasion, but Maddie was with me every step of the way to ensure that I stayed on track to hit my goals. I was able to fit back into my jeans and chase my baby who grew to be a happy toddler. I’m happy to say that now we are expecting baby #2 and I know what to do now after birth to get myself back on track if needed. Maddie’s program really gave me the peace of mind I needed without feeling like I was deprived of what I wanted. I feel at peace that I have control over my habits and can look back at her meal plans if I ever get led astray. I really can’t thank her enough and would recommend her to anyone!
Stephanie B
I’ve known Madeline Danza for many years but it wasn’t until 2017 that I asked her for help in the gym. I grew up doing ballet so for a large part of my life I was in very good shape, however, as I got older my schedule was no longer conducive to spending hours at the ballet studio every day. I had a gym membership but I was incredibly intimidated by the weight machines and wouldn’t even think about touching the free weights so I mainly stuck to the cardio machines. But, no matter how much time I spent on the elliptical or treadmill, I was just not seeing the results I wanted – I knew I needed to build muscle if I wanted to look leaner but I really had no idea how to put together any sort of strength training plan or how to do anything properly. Madeline heard my concerns and was enthusiastic about working with me to help me achieve the results I wanted. Madeline’s plan for me can be broken down into three components: 1) weight training, 2) dietary plan, and 3) support.
Madeline knows her way around the gym and is extremely knowledgeable about all things health & fitness – it is evident that this is her passion and she loves helping others reach their goals. What I loved most about working with her is during our first few meetings together she was meticulous about taking the time to teach me proper form. This really appealed to me because given my dance background I knew how important proper form was to prevent injury and since I was already nervous about using free weights I wanted to be certain that I was doing things the right way. I worked with other trainers in the past and they didn’t explain proper form, so I never stuck with it because I never gained the confidence to attempt lifting weights on my own. That was definitely not the case after working with Madeline. My confidence working with free weights has increased tenfold and I even feel comfortable testing out new things on my own now because she gave me the foundation of knowledge that I was desperately lacking before.
The physical training plan that Madeline created personally for me was broken into three phases, with each phase consisting of three weeks. I enjoyed the separate phases because it kept things familiar enough that I felt comfortable, but also provided good variety. She trained me how to do each and every move in the plan and made sure to explain which muscles each exercise should be targeting. This really helped me visualize muscle engagement throughout training. Madeline created a shared document that both her and I could access detailing my workout plan for each day of each week. She included descriptions and notes that we discussed during our in-person sessions so I could easily refer back to them. The document helped me keep track of the weight level I was using each day so I could track my progress over time. I will never forget our first session together, we were using a 20lb barbell so I could learn to deadlift and I was sore the next day even though we weren’t even doing full sets! By the end of phase 3 I could deadlift 60lbs, which was a huge increase for me, and a few more weeks after that I was up to 80lbs. Lifting not only increased my strength but also increased my motivation to go to the gym. I used to dread the gym because I found cardio so tedious, but now that I lift weights I like competing with myself and trying to lift heavier than I did the week before.
For my dietary plan Madeline set me up to be in a mild caloric deficit. I didn’t want to lose a ton of weight but wanted to shed about 10lbs while also building muscle. She had me track my macros and we did high protein, moderate carbs, and low fat. Prior to working with Madeline I had tried to track macros on my own but I didn’t know how to properly set my daily targets and quickly abandoned the plan. Just like with the weight training Madeline explained to me why the targets were set the way they were and she emphasized that I should really listen to my body. What I liked about Madeline’s approach is that she really believes in balance. I’m Italian and love food (especially food involving carbs) so she always stressed that if I felt like I was burning out on my meal plan to have a cheat day or even eat intuitively for a week to take a break from tracking. This really worked for me because if I feel like I’m depriving myself too much it always backfires and then I end up overeating. Even though I was in a caloric deficit I was never ever hungry, in fact, some days I even came in under my targets because I was so full from eating enough protein. I successfully lost the 10lbs but even more satisfying I gained muscle definition. With both the physical training plan and dietary plan Madeline set me up to be largely self-sufficient which I really loved. This also made my results very sustainable because now if I fall off the wagon for a few weeks I know not all of my progress will be lost and I know how to get myself back on track. In the past if I skipped a few days at the gym or caved on my diet I would abandon all my progress because I felt like I had failed. Madeline empowered me to break this self-destructive cycle. I feel like other trainers want you to be dependent on them but that was just not conducive to my lifestyle. While I was working with Madeline I was also working full-time and going to law school at night, so it would have been impossible for me to rely solely on another person to workout with because I was often in the gym really early or late at night. That being said Madeline was always checking in with me to see how I was feeling. She was always immediately responsive to any questions that I had. There were times, especially in the beginning, that I forgot how to do a certain exercise and she would walk me through it over the phone/via text. She shared all her favorite macro-friendly recipes with me and we took a trip to a health food store together where she showed me some good options for protein supplements and BCAA’s. Madeline is a very supportive person in general which made working with her very easy and enjoyable! I was never scared to ask her a question and she was always incredibly patient. Thank you for everything Madeline – I’m so happy with my results and I look forward to continuing to get stronger!
If you’re looking for fitness programming only, look no further! As a NASM Certified Strength and Conditioning Specialist, I specialize in strength programs utilizing free weights, machines, cables, and bodyweight to achieve your strength, performance, and aesthetic goals. I have the ability to train with you in-person at an independent studio in TriBeca, NYC, virtual via video chat, curate programs for you that you can do on your own, or a combination of all three! Training sessions can always be booked ad-hoc (whether in person or virtual), and bundles are available at a discount
Fitness Programming
My programs start at a minimum of 4 weeks long and are fully customized to take into consideration your goals, preferences, experience level, schedule, and equipment available to you. Each week I update the program to include appropriate progression to ensure consistent movement towards your goals. After 4 week, I revamp the whole program to add variety and more advanced and complex movements as appropriate. This package is virtual, in the sense that you will be executing the workouts on your own and I will be available to answer any questions and offer virtual form advice. While largely virtual, I am highly invested in making sure that you are executing the moves with correct form to ensure injury prevention and maximum progress. To become comfortable with your form, in the beginning I highly encourage sharing videos of you executing the movements, or scheduling a couple of training sessions with me (whether virtual or in-person) for a more hands-on experience. You will always have the ability to schedule sessions on an ad-hoc basis, or as a package of their own for a discounted price per session.
Fitness programming packages begin at $150 for 4 weeks. Inquire with me about customizing your plan tailored to your needs and budget. Click here to fill out my questionnaire so we can get started!
Ad Hoc Personal Training Sessions
I offer both in-person and virtual personal training sessions, which can either stand alone or pair with a fitness and/or nutrition program. Not only do training sessions allow for me to assess and correct form so you can benefit maximally from your training and prevent injury, but they also make the training program fun and even more successful! Training sessions will allow me to asses form and difficulty level to make well-informed decisions for the appropriate intensity level of your workouts/program to ensure progress without burnout or injury. Sessions will also help to hold you accountable and push yourself past plateaus.
Sessions can be held at a Nylo Studio (an independent fitness studio in TriBeca), the gym in your apartment building, or outdoors if weather permits. Virtual sessions are $60 per hour, and in-person sessions are $100 per hour (with a potential travel fee of up to $50 depending on the length of travel required). Inquire with me about bundling sessions to get a discounted rate per session. Click here to fill out my questionnaire so we can get started!
Nutrition Guidelines
If you already have your favorite workouts that you are comfortable with, or even if you are just looking to push off starting a workout regimen a little bit longer (I get that!), I offer nutrition programming that can be used independent of a fitness plan. I don’t believe in “diets,” per sei, because I believe that sustainable results come with consistency, and diets by definition are made to be temporary. With my program, we take the lifestyle that you currently have and enjoy, and we modify it to be more in-line with your goals. The nutrition guidelines are highly customized, and the goal is to fuel your body appropriately to energize your workouts and achieve body composition goals (whether that means building muscle, losing body fat, or both)! Building your plan will begin with a week-long assessment (free of charge) to allow me to get to know your current eating habits and preferences. Once I have an understanding of your current nutritional status, I can begin to put together your customized weekly plan based on your flavor preferences, needs, goals, and preferred style of cooking (or not). I refresh the standard nutrition program on a weekly basis to provide for variety and to take into consideration any upcoming events that we should plan ahead for.
As a Certified Strength and Conditioning Specialist, I am informed about nutrition guidelines that couple well with your training, whether it be strength, endurance, cross-training, or training for a specific sports season. I am not a registered dietician, so if there are any particular health concerns that you are looking to solve with proper nutrition, I can help to direct you towards the appropriately specialized professional to help.
Packages range between $150 and $400 for 4 weeks. Nutrition packages are highly customized and there are many different ways we can adjust my level of involvement, so inquire with me about exactly that you are looking for from a nutrition plan and I can give you a more specific quote tailored to your needs and budget. Click here to fill out my questionnaire so we can get started!
Fitness & Nutrition
The most effective way to achieve your health and fitness goals is to attack both fitness and nutrition simultaneously, since the two are so deeply intertwined, Proper nutrition is crucial for fueling your workouts, as well as replenishing your muscles with what they need to recover and get stronger post-workout. The services offered for fitness and nutrition are the same as what’s detailed above, but if you package the two programs together you can save money!
Packages begin at $250 for 4 weeks. Inquire with me about customizing your plan tailored to your needs and budget. Click here to fill out my questionnaire so we can get started!
I am SO excited to announce my partnership with Agogie, Wearable Resistance! I found this brand organically through a wellness email newsletter that I subscribe to. Ironically enough, the email this brand appeared in was an old one, and during the beginning quarantine, I had committed to catching up on ALL of my emails (don’t ask me if my inbox ever hit zero) . In another lifetime, I might have skipped over the headline advertising wearable resistance leggings, but given the fact that we are all trying to get creative with our methods of staying active and fit while gyms are closed and everyone is doing their best to stay home, I was intrigued by the concept. I wound up ordering the pants that week, and fell in love with them as soon as I put them on. I wrote an honest review on my Instagram, which the leadership at Agogie read and liked, and the rest is history!
Agogie has found a way to sew resistance bands right into the leggings, so there is added resistance with every single movement that you make. There are two levels of resistance available, +20lb and +40lb. One of the things I love about the concept of wearable resistance is that it works to activate your muscles and strengthen your natural movement patterns while you are just living your life, so the things you are already doing can simply be done with a little more oomph – cleaning your apartment just became your new favorite workout! As an added bonus, low impact consistent resistance helps strengthen stabilizer muscles, which can rehabilitate tendons and joints.
I will cut right to the chase and let you know that my discount code “MADDIE” will get you $20 off at checkout! I give you ALL the deets below, but check them out for yourself – they have options for both men and women!
It makes sense that Agogie will become a go-to for athletes when they train (to take an example, Agogie is to a track athlete what the baseball donut is to a batter warming up during a game to help with speed), but what about other people? Agogie wants to use its platform to not only enhance training for a variety of existing athletes of all levels, but also bring the concept of fitness to a community of people who wouldn’t normally indulge. I am so thrilled to be a part of this mission since it so closely aligns with my personal fitness goals through my blog! For example, for a long time I have been trying to get my mom into the gym with me. Whether the reason be that she doesn’t have time, she feels uncomfortable with other people seeing her while she works out, or that she doesn’t want to touch communal equipment, I have not yet been successful. Once I discovered Agogie, I decided that I HAD to get my mom to try them. I did successfully get her into the pants (I may or may not have had to bribe her with the promise that she would get a feature on my blog & Instagram), and we started with just a walk around my parents’ upstate house so she could get a feel for them. By the end of our walk, she was doing squats for fun! The pants solved a lot of the barriers to entry for her when it comes to the fitness world:
No need to worry about having extra time, because the pants give you the opportunity to add resistance to your day-to-day activity
No need to worry about the discomfort of entering the fitness world as a beginner and facing judgment from others in a gym
No need to learn and operate equipment, because the bands themselves effortlessly work without you having to do anything other than moving your body as you normally would.
*Less* of a need to worry about the the risk of injury that comes with heavy weight training and use of machines. The leggings are low impact, and are about as risky as body weight activity. I do want to stress that body weight activity is still risky! A wise person (I don’t remember) once said, “treat every weight like it could hurt you.” Whether it’s the 5lb plates that you are adding to your squat bar, or the weight of your own body – always take the responsible precautions because it is important for the health of your body!
After my momma tried the +20lb leggings, I asked her about her experience. Here’s what she said:
“When I first saw the leggings, I thought they might be uncomfortable, but boy was I wrong! I wore them the whole day and they felt like regular yoga pants! The support was evenly distributed and the placement of the resistance bands was so perfect that I couldn’t tell they were there at all. They also looked flattering, and no one could even tell they were different. The following day, after my walk with Madeline, a quick squat workout, and then wearing the pants the rest of that day, I could tell that my legs had been worked out, but not to the point of being uncomfortably sore. I put them in the washing machine and hung them to air dry and they still looked as good as new. I would definitely recommend these pants, and I can’t wait to try the +40 lb version!”
Here’s my review (on the +40 lb resistance):
Function – These do EXACTLY what they promise – create more of a challenge for body weight movements. I immediately noticed the added difficulty on my morning walk and run, but the effect was amplified when I did my stairs workout and body weight leg workout. The leggings are great for moves that have a lot of range of motion in your legs, and also when your leg straightens out entirely at some point during the move. Bonus, they proved excellent for abs (especially leg raises).
Look: I was the most concerned about this, but honestly, I think they look normal! They have a bit of a jogger look and the fabric scrunches, more so at the bottom. The stirrups at the bottom leave a hole by your achilles, and the rest of the pant travels into your show, so it felt kinda like a baseball uniform (not that I know what that’s like at all) (and this is also not a bad thing). You can also wear taller socks if you don’t love the look of the bottom of the pant.
Comfort: They’re obviously not as comfortable as your favorite pair of buttery leggings, but I didn’t find them particularly uncomfortable at all. The waist band is tight to help hold the pants up, but it is also thick enough to properly disperse the pressure so it was very comfortable. The leggings are designed very well. The ankles are also tight to keep them from riding up, and I found the elastic around the ankle to be the least comfortable aspect of the legging. Aside from that, once I had them on for a few minutes, I hardly even noticed the difference (until I started moving, obviously!) The fabric is also light and breathable, so I didn’t feel like I was overheating at all during my workouts.
Overall, I think that these leggings really do add enough resistance to make body weight exercise and day-to-day activity significantly more challenging. I think it’s great that Agogie makes two different levels of resistance, so the +20lb version can be worn all day, to add subtle challenge to daily life, and the +40lb version can be intentionally worn during a body weight workout, bike ride, run, or any other activity that utilizes primarily the lower body. In addition to the weight training that I already do, Agogie has already become another integral part of my lifestyle, and I find myself reaching for them every week as soon as I get them out of the wash!
Don’t forget that my code “MADDIE” will get you $20 off your order at checkout! I hope you love these pants just as much as I do, and are as excited as me to see what this brand continues to revolutionize in the future of fitness!
In my “Part 1” post, I gave a review of each of the parks I visited on my cross country U.S. road trip this summer, and in my “Part 2” post, I gave all my tips and tricks for planning a road trip and/or hiking trip, and my full packing list. As promised, in this Part 3 post I will detail my full itinerary, and give reviews of each and every hike I did and meal I ate on my trip. I’ll spare ya the long intro and just get right to it!
My Itinerary
Day 1 (Travel Day)
From NYC, we made it to Mauston Wisconsin on the first day of driving. We stopped in Chicago to get some takeout Pequod’s deep dish pizza for dinner. Try to get your hands on some cheese curds while in Wisconsin – they’re famous for it there! At this point, We were in the Central Time Zone (1 hour earlier).
Day 2 (Travel Day)
From Mauston Wisconsin, we made it to Billings Montana on the second day of driving. We grabbed another takeout dinner along the way at Black Iron Grill in Miles City Montana, and it was DELICIOUS (recommend the mushroom swiss burger and the NY strip steak. Full disclosure – driving past so much open land and farms made us really curious about the local meat available at restaurants. We ate more red meat on this trip than I have all year! It was all so yummy.) At this point, we were in the Mountain Time Zone (2 hours earlier).
Day 3 (Travel Day)
From Billings Montana we made it to our first official destination near Glacier National Park in the afternoon on the third day of driving!
Tamarack Brewery for dinner – This was one of the best meals and atmospheres we experienced on the trip, so I highly recommend this brewery/restaurant. The beer was unique and delicious, and there was outdoor dining! We ordered the bison tacos, bison burger, and the mac and cheese (mandatory for me whenever I see it on a menu).
*Note that this travel itinerary was aggressive. There were two people in the car, so it was possible to switch every few hours to keep things interesting and allow for naps when we needed it. Plan for an additional day of travel if 10-14 hour days in the car isn’t really your jive, or if you are doing the drive alone.
**We did not have hotels booked for our travel days in advance. We drove all day until we felt as though we didn’t want to anymore. About an hour or two before we wanted to stop driving, we looked for hotels in upcoming towns. We liked the Hotel Tonight app for quick and easy searching of affordable last minute hotels.
Day 4 (Glacier National Park, Montana)
Avalanche Lake via Trail of the Cedars (5.7 miles in and out) – We did this as a late afternoon hike, since we worked in the morning. Trail of the Cedars was a very pretty and easy nature walk. It led into the Avalanche Lake trail, which was more of a hike. There was some uphill through the forest, nothing too crazy, which led you to a beautiful lake that you could swim in (though the water was pretty cold). This trail was one of the best ways to experience the crystal clear water at this park – this was one of the only opportunities to really see it up close and personal and take a dip. On most of the longer hikes, you get more so views of the lakes instead of experiencing them from ground level.
Tupelo Grille for dinner, for takeout since they didn’t have outdoor seating. The food was great, but I think a sit down dining experience would have been better for this menu. We got the shrimp and crawfish crab cakes, the elk meatloaf, and the bison filet. The elk meatloaf we got because we were so curious about elk, but the bison filet stole the show. The fish cakes were tasty, but again, not very conducive to takeout. Sorry for the terrible photos! It was the best I could do at a park bench in the dark…
Day 5 (Glacier National Park, Montana)
Grinnell Glacier Overlook via the Granite Park Trail (11.4 miles in and out) – We were at the parking lot at 7:20 AM and grabbed literally the very last spot in the lot. The hiking in this park is no joke, and the hikers are far from amateur – everyone means business, which means you will be competing with the early birds for parking. Honestly, it was a little bit rough getting out there so early, but it is worth it to beat the crowds and the heat on the trails. The park fills up quickly, and the mid-day sun is BRUTAL. The last 1.5 miles of the Grinnell Overlook hike is a narrow cliffside path, and the final 1/4 mile is very steep, narrow, and rocky. We did see rams along this path, which was exciting, but I personally was pretty frightened along the steep and narrow cliffside portion of this hike.
*The first four miles of this trail (the Granite Park portion) is along the mountain and then through the forest, and brings you to a resting point at the “Chalet.” From here you can choose to stop entirely (there is a pretty view), or you can connect to other trails. This is where the trailhead for the remaining 1.5 miles of Grinnell Overlook begins.
Switfcurrent Pass to Swiftcurrent Lookout (4 miles in and out from the Chalet) – The trailhead for this hike also begisn at the Chalet. This hike gets you to a full 360 degree view of the park with visibility of 14+ miles in every direction. The hike itself is short, technically, but is very steep up the mountain and is not pretty. This hike is a means to an end, but a beautiful end to say the absolute least. Look out for marmots along this trail! They are a cute mix between a gopher and a squirrel, and as you get further up the mountain they get to be pretty big!
*Alternative – doing a small portion of the beginning of the Mini Glacier trail instead at the junction where you can start the Swiftcurrent Lookout will get you an alternative beautiful view of the lakes that are visible at Swiftcurrent. We didn’t do this.
**Note that it was ambitious to do both the Grinnell Glacier Overlook and the Swiftcurrent Pass trails in the same day. If you select one, I would recommend the Swiftcurrent Pass. While the hike itself was less pretty, the views are better, and the hike was overall more enjoyable (mostly because of how scared I was on the Grinnell hike). Don’t forget that you still have the four miles back through the forest and down the mountain (Granite Park Trail) before your day is over, so take this into consideration before deciding to do multiple hikes up at the Chalet.
Lake McDonald – You can drive right to the lake, so no more hiking for the day! The water is crystal clear and the rocks around the lake are beautiful colors. The water was cold, but a dip in this lake was a nice way to cool down and recover from the 19 miles of hiking done this day.
Three Fork Grill for dinner (they had outdoor dining!) We got the elk pasta dish, and two specials of the day for dinner. If you go here, definitely consider the special of the day, whatever it might be, because the chef and staff here are passionate about food, and the dishes are thoughtfully constructed. The specials and the desserts were superb (flourless chocolate torte and huckleberry panna cotta).
Day 6 (Yellowstone National Park, Wyoming)
Today was a full day of travel from Glacier to Yellowstone. We went straight to the park before checking into our hotel, and got takeout for dinner from one of the restaurants in the park.
Old Faithful – We ran immediately into the park in the hopes of catching the next eruption of the Old Faithful Geyser. This Geyser is HUGE, and erupts pretty regularly every 90 minutes. Call ahead of time or check their website for information to determine the next eruption prediction to try to time this correctly – we had JUST missed the last eruption before sunset, so the one we saw was in the dark. It was still cool, but a bit difficult to see, so catching one in the daylight would be a great experience.
Day 7 (Yellowstone National Park, Wyoming)
“Lower Loop” – Begin to drive in the park, and you will essentially be driving from exhibit to exhibit (each has a parking lot) until you loop the whole lower section of the park. If you take a look at a map of the park, this will make a lot more sense.
1 – Firehole Canyon Drive – Turn onto this dead end road when you see the sign, and walk the boardwalk for the best views.
2 – Fountain Paint Pot – Park your car and walk the boardwalk
3 – Midway Geyser Basin – This includes Grand Prismatic, the famous colorful hot spring, and the Fairy Falls Trail, which brings you to an overlook of the Grand Prismatic, a beautiful waterfall, and an active geyser.
Grand Prismatic – This was the best thing that I saw in Yellowstone. Walk the boardwalk to catch the ground level view of this amazingly colorful spring, which will be steamy in the morning from the cool air touching its boiling hot water. The spring transforms and new colors appear as you circle it on the boardwalk. You will have an opportunity to see it from above if you walk the Fairy Falls Trail, which I highly recommend because it was 100% worth it.
Fairy Falls Trail – It’s a pretty short walk and short uphill climb to get to the bird’s eye lookout of the Grand Prismatic Spring. Definitely do this, because it’s a completely different experience from up above. Also, we found that this was a better view in the afternoon once it was warmer out and the steam from the spring subsided. Recommended to skip the overlook on the way into the trail, continue the Fairy Falls Trail until you hit the actual waterfall, and then even further to the Imperial Geyser (this one is constantly erupting so no need to time it). Fairy Falls is an in/out trail (not a loop), so do the Grand Prismatic overlook on the way back to your car for a more delayed view of it later in the day. Also, the trail to the Imperial Geyser is a bit difficult to find once you make it to the waterfall – when you are facing the waterfall, you will basically make a full 180 turn and walk in that direction. You will have to get through some rocks and tree trunks, but you should see the path emerge pretty soon after.
**We saw a grizzly bear on the Fairy Falls trail! It was a little bit scary becuase he/she was blocking the path and we had to wait for it to clear before we could proceed. But, the bear never seemed too concerned with us, and eventually traveled up the mountain to nosh on some berries. Always carry your bear spray!
4 – West Thumb Geyser Basin – Park your car and walk the boardwalk
5 – Yellowstone Lake (Hayden Valley) – You don’t have to get out of your car for this one. Drive through the Hayden Valley and along the shoreline of the lake. It’s really pretty, and you are guaranteed to see bison, up close and personal. You can stop off to see the mud volcano along this road. It’s definitely cool, but be prepared for some smelly sulfur!
6 – Grand Canyon of Yellowstone – While not quite the actual Grand Canyon, this was breathraking. You want to go to the spot on the map called “Artist Point,” because this will get you the best view of the canyon from the South Rim. There is a huge waterfall and river, and the rock is beautifully rainbow colored (including yellow, where the park gets its name from). The good news is that you can drive right up to the lookout. There is hiking around this area though, if you are up for it.
We got dinner from a Mexican food truck in town this night since it was like 10 PM before we were out of the park and back at the hotel.
Day 8 (Grand Teton National Park, Wyoming)
We stayed in the same hotel for this park that we did for Yellowstone.
Jenny Lake to Cascade Canyon Trail – This was an easy and fun hike, totaling about 10 miles. We kind of constructed this one ourselves, just taking part of the Jenny Lake Loop until it connected to the Cascade Canyon trailhead. There is a pretty river along the Cascade Canyon with large rocks, which makes it a great place to stop for lunch. The Cascade Canyon trail connects with a couple of other trails wit more views, if you want to keep going. Honestly, if you are not going to connect with another trail, you can stop on the Cascade Canyon after you pass the waterfall and turn around, because after that point it’s all the same trail with no additional views. You can also splash around in Jenny Lake either before or after Cascade Canyon if you so choose! We saw two male moose munching on some leaves in the woods, two more female moose at the base of the Jenny Lake trail (aptly named Moose Pond), as well as a bald eagle flying overhead while walking the Jenny Lake trail on the way back to the car. This was definitely a big and exciting day for wildlife!
Stillwest Brewery in Jackson Hole for dinner – Beer was great, and the food was pretty good too! We got one of the flatbreads and a salad, and then a burger and the salmon bowl entrees. You can skip the dessert, though (we got the Mississippi mud pie, but it wasn’t really a mud pie – it was more so a large cup of ice cream with oreos on the bottom. Delicious, but not particularly unique).
Day 9 (Travel Day)
It was a full day of travel from Yellowstone to Colorado
Rioja for dinner in Denver. The meal was good, but a bit salty. The signature cocktails were really unique and VERY tasty. We got the sweet breads (tried this for the first time after watching people cook it on Chopped, but full disclosure these are goat brains. They were well done, but the texture a little odd) and ceviche appetizer, and the shrimp gnocchi and octopus entrees. The octopus was some of the most tender I have ever had. Would recommend all of it!
Day 10 (Estes / Rocky Mountain National Park, Colorado)
Twin Sister Peaks trail (7.5 miles in and out) – This trail was both beautiful and very enjoyable from start to finish. It was well maintained, and the last bit up to the two peaks was a fun rock scramble. You can skip the scramble if you want! It’s just the very end, adn you get a good view at the summit even if you don’t do the scramble. However, sitting at the very top of the peak for a 360 degree view of the park and a PB&J make it totally worth it. In Colorado, people often talk of altitude sickness. Honestly, I didn’t feel any while in Colorado, even at the top of the peak, and I also didn’t feel particularly winded on the hike. This seems to be different from one individual to another, but here is a pretty good resource on altitude sickness and how to both prevent and treat it.
Day 11 (Arches National Park , Utah)
Traveled most of this day from Colorado to Arches National Park
Delicate Arch Hike (3 miles in and out) for the sunset – This is a must-do hike if you are visiting Arches National Park – It is the famous image you see on the Utah license place because it is probably one of the more famous and most beautiful arches in the park. You have to do the full hike and not just the overlook viewpoint. The arch plays games with you, and somehow remains completely hidden up until the very last corner you turn, and then presents itself to you suddenly and in all its glory! The photos really don’t do this structure any justice – for reference, can you spot us in the bottom right photo?
This hike would *probably* be better suited in the morning for sunrise, since the arch faces east. We did this for the sunset, however, because it was the perfect length for the amount of time we had, and we had different plans for sunrise the next morning.
Day 12 (Arches National Park / Moab, Utah)
Devil’s Garden Loop Trail (7.8 miles round) – This is MANDATORY if you are visiting this park. The trail is fairly long and there are some steep sections, so start early because it gets HOT in the afternoon. There will be some places that you get to climb over some rock structures, but it was all safe, no steep drop-offs, and the rock is super grippy (it’s called “slickstone,” but it is comparable to sandpaper). As I mentioned in my review of this park in Part 1, it is like a scavenger hunt to find all of the arches on the loop, and a lot of them remain hidden until you turn the corner and are facing them directly. It was fun, playful, and the scenery along the way was breathtaking. Keep an eye out for the section where you walk towards what I liked to call the “skyline.” It was a set of structures that looked like a hundred needles all lined up in a row, almost like the NYC skyline. It was so compelling that this was where I stopped for lunch! Also, this was one of the hikes where cairns came in handy to keep on the correct path.
it gets HOT in Moab in direct sunlight, so in the afternoon we walked around the town, hit up some gift shops, the Moab Brewery (to take a case home), and the food truck park to pick up sandwiches for dinner.
I took my Jeep Wrangler to Moab, so it was only fair to reward her with some off roading. Later on in the afternoon, we did the Potash and Shafer Trails in Canyonlands National Park with the Jeep. We did these backwards technically because we wanted to end up at the Canyonlands visitor center area once we finished the trail. The Potash Trail was rocky and rough, but was just logistically necessary in order to get to the Shafer Trail Shafer had some cool switchbacks to get you up the mountain with incredible views along the way. There were plenty of places to turn off and take iconic pictures of your vehicles with views off the mountain of the Colorado river in the background. Totally safe trail that you can probably do with whatever car you are in, to be honest.
Sunset and Stargazing at Deadhorse State Park – We stayed in the park until after dark because this area is an official dark zone, meaning that stargazing is superb. If you decide to do this at any point, it doesn’t have to be at this park in particular, and you should choose a lookout point wherever you go that is very close to the parking lot (if not the parking lot itself). Bring a flashlight or make sure your phone has a really good charge. Finding your way through a perfectly pitch black park is a lot more difficult than you envision, even if you think you know exactly where you are. “Dark” has a new meaning out here. I wish that photos of the sky could come out on my phone, because the stargazing was like nothing I have ever seen before. We even caught some shooting stars that were leftover from the Perseid Meteor Shower.
Day 13 (Bryce National Park, Utah)
Jailhouse Cafe for breakfast in Moab before we left – This was a pancake house/diner, but the pancakes were not the best I ever had. The best pancake here is the apple ginger. The egg white omelet I got was filling and tasty!
It was just about a full day of travel down to the Bryce/Zion area from Moab.
We stopped at Puffer Lake on the drive down – This was recommended by a friend, who loves to fish. We didn’t fish but recommend it here if you do, and the view of the lake was beautiful. It was chilly and stormy that day so we didn’t go in, but it looks like you could if you wanted to!
Once in Bryce – Navajo Loop and Queens Garden Trails (3 miles round) for the sunset – These were easy trails (dare I call them nature walks?) and the views and structures in the Bryce canyon are very cool! These trails were very interactive and the trail starts you out walking directly down into the canyon, and then you get to explore the little “city” below ground level.
Sol Foods for dinner – By the time we had gotten to the hotel after Bryce, it was after 10 PM and this little deli/grocery was literally the only thing open (one of the less glamorous aspects of this trip).
Day 14 (Zion National Park, Utah)
Observation Point via the Stave Spring Trail (11.2 miles in and out) – This was one of the handful of cool hikes that you could do in the park without having to take the shuttle down into the canyon (which we avoided due to COVID). The path was very well maintained, and the views breathtaking. The hike itself was pretty challenging because you hike into the canyon and then back up the other side for the views and then back in and up the original side to get back to your car. We saw a family of rams on this hike which was awesome! The view of the Zion canyon is the same as the one you would see from the famous Angel’s Landing hike (if not better, because you are actually higher up at Observation Point). This was another hike where we relied heavily on cairns to tell us where to go. We can’t wait to come back to this park and explore more – a lot of trails were either closed due to COVID, or other natural causes happening to affect the area at the time. Take a look at the Zion section of my Part 1 post for the list of additional hikes that I will do when I come back to visit Zion!
King’s Landing Bistro for dinner. The food, drinks, and desserts here were unique, fresh, and DELICIOUS. We got the huge pretzel and tuna tartar for appetizer, and then the pork chop and salmon entrees. For dessert, we got the cherry cheesecake and peach blueberry cobbler, both made in-house. The cheesecake and pretzel were specials that night, but everything else should be consistent on the menu. Also, the drinks were so unique and amazing!! (Try the heirloom tomato based one. No, it is nothing like a Bloody Mary. You can thank me later). You also have a view of Zion’s incredible mountain range from the outdoor patio.
Day 15 (Grand Canyon National Park, Arizona)
Bright Angel Point for lookout (North Rim) – If you have never seen the Grand Canyon before, in person or in photographs, DO NOT LOOK IT UP, and close your eyes immediately and just continue scrolling through. Resist the urge. Going into this totally blind with no idea of what to expect makes it so much more incredible. Also, do the lookout before any potential hikes for the day into the canyon – you will have the best view of the canyon itself at the lookout. Also, even if you HAVE seen pictures or came to visit as a kid, this is still worth the stop. It is really something else when you see it in person.
North Rim Kaibab Trail Hike – This is the only hike on the North Rim that takes you into the canyon. You can do as much of it as you want, and once you get to the bottom it connects with the South Rim trail, which is similarly the only trail that takes you in/out of the canyon from the South Rim. The park highly discourages trying to get all the way to the bottom and back up in the same day (they do offer lodge and camping options along the hikes and at the bottom though, if you wanted to make it an overnight experience). We hiked about 3 miles down into the canyon until we got to the bridge before heading back up. The hike back up is challenging – slow and steady will get you there, but it is harder than it seems it will be when you are heading down, so keep that in mind when you are trying to figure out where to stop for the day. Allow yourself 1.5-2x the amount of time (and exponential effort) to get back up as it did to go down.
Jacob Lake Inn for dinner – It was probably the only thing open (again) on the way back to the hotel from the canyon, but the sandwiches here really hit the spot! The grilled chicken club was my favorite. Also, this restaurant is attached to a pretty lit bakery with some high quality cookies – get the chocolate parfait (fat and round chocolate chip cookie base with HUGE chocolate chunks) and cloud cookies (chocolate cookie base covered with marshmallow fluff and covered again with chocolate icing). We also got the raspberry lemon cookies and snickerdoodles, which were both fabulous.
Day 16 (Travel Day)
Meteor Crater Natural Landmark – This is the first confirmed site of a meteor crash in the world! IT might not seem like much, but this thing is HUGE, and has quite a scientific history. This is worth the stop into. Read the brochure for some mindblowing facts!
Petrified Forest – I had no idea what to expect going into this, but I am SO happy I wound up stopping here. The “forest” is comprised of old tree trunks that soaked up lava and minerals, and the plant matter was slowly replaced by minerals and the trunks became beautiful colorful fossilized rock. The colors are wild and almost look man-made, and seeing them in the shape of the tree with bark intact is really something else!
Painted Desert – You can easily drive through this while on your way out of the Petrified Forest, because the two parks are connected. The painted desert portion of the park has beautiful dunes which are made of different rock layers, so they have many different layers of color.
Los Pollos Hermanos – For my fellow Breaking Bad fans, the Los Pollos building is actually a real fast food chain, called Twisters! They serve Mexican food, and it is actually really good. We came in for a photo op and stayed for a burrito 🙂
Walter White’s House – The house that they used in the Breaking Bad show for Walter is actually a real house. The current owners don’t seem to find it amusing that a ton of breaking bad fans frequent their house for photos though, so the front is not longer inviting, but we still did a drive-by just to see it. It still looks pretty much the same!
Day 17 (Travel Day)
We drove all day and ended up in Amarillo Texas for the night. We stopped in Saunt Louis for some BBQ for dinner at Iron Barley, and were NOT disappointed. The BBQ was delicious, and so were the signature cocktails! If you are in the area, this is definitely worth a stop into. We were really blown away by the pulled pork raviolis – pulled pork filling inside the pasta, smothered with a brown gravy, and covered with melted cheese. We finished our meal with the maple bourbon cheese cake, which was probably one of the best cheesecakes I have ever had. The consistency was so thick and creamy, and the flavor was superb with layers of bacon laced within. The menu is always changing here, which in my opinion is testament to a talented chef and passionate chef/staff.
Day 18 (Travel Day)
Our last day of travel brought us back home to NYC! We stopped into Waffle House for a single waffle, because this is mandatory almost-done-with-your-road-trip food, and we had Cracker Barrel for dinner, to round out the trip correctly.
I really hope that this road trip series was helpful for you in planning your road trip, or plain entertaining if you’re just here for the read! Be sure to check out Part 1 (full review and ranking of each National Park we visited) and Part 2 (tips, tricks, and packing lists) for even more information that might help (or entertain)!
In my “Part 1” post, I gave a review of each of the parks I visited on my cross country U.S. road trip this summer. As promised, in this Part 2 post, I will give you all of the COVID precautions I took, all of the hiking and road trip tips and tricks that I have (and learned while on this trip), and a list of EVERYTHING I packed with me – categorized, of course. If you are in it for my full itinerary and a full review of each of the hikes I did and meals I ate, check out Part 3!
Apologies in advance – this post has a lot of words and not a ton of photos! Part 1 and Part 3 are LOADED with pictures, so be sure to check those out as well!
Hiking and Road Tripping Tips
When planning a trip that revolves around driving and hiking, you have to have a good resource to rely on to locate trails, be prepared with food/snacks, and know a little bit about the parks before you arrive. It might require a bit of extra planning up front, but here are the things that helped me a TON when planning and executing my own trip:
Download the All Trails app. You can see my itinerary in Part 3 of this series, but everyone hikes and travels different, and enjoys different natural wonders, so I invite you to look at available trails and choose whichever ones suit you best! All Trails was my lifeline on this trip because it is really easy to use and search within, it provides a very reliable map and exact coordinates for trailheads, and the reviews are really accurate and include pictures. I am the kind of person who wants to know EXACTLY what I am getting myself into before I do anything, and all Trails made that 100% possible. I had very few surprises (aside from the beauty of nature itself, of course) while I was on each of the trails.
I had gotten the annual pass for National Parks – it’s $80 and was totally worth it for me since I was going to so many. If you are going to only one or a small handful of parks, you can alternatively look into the entrance fee for each park and see what makes the most sense. *Note that the National Park pass does NOT work at State Parks as well, so if you visit any of those you will have to pay a separate entrance fee.
Look at the park website before you visit each. Some parks require a timed reservation to enter (I will let you know in the itinerary when this applied for me, but the rules are always subject to change so check ahead of time). Additionally, trail availability is often changing due to natural and biological events, so it is a good idea to make sure the trails you want to do are currently available.
I would suggest putting together a shell of an itinerary regarding which trails you want to do before booking hotels. Then, plan your hotels near the trailheads (or near the entrance of the park closest to the trailhead) that you want to hike. Some of the parks are so large that you can drive 1-2 hours once you are inside to get to your trailhead. This will save you a lot of travel time, which actually really adds up in the grand scheme of your trip. It also helps when you are trying to get a good spot in a limited parking lot in the morning.
The trip turned into more of an educational excursion than I originally thought it would be. If you are the kind of person who is into wildlife and geological phenomena, you can check out the history of the parks beforehand in order to be able to fully appreciate it while you are there. If you are like me and like to learn in real time, you can hold off. The brochures they hand you upon entrance to the parks makes for great reading to pass the time while driving through.
Something that helped a lot on travel days with timing of sunset hikes was planning to arrive at the park first, and checking into the hotel afterwards once it was too dark to be in the park. Call your hotels ahead of time to become familiar with their check in policy.
Google Maps will become your best friend. Make sure your phone software is fully updated and test this out before you leave, but my Google Maps works even if I have no cell service, or am on airplane mode – even the little blue dot telling me where I am. This was incredibly helpful on hikes if I was ever confused about where the path was. Check your hikes ahead of time to see if they are programmed into Google – a lot of times they are, as skinny dotted lines! Also, directions will continue to work even if you lose cell service, but it will not be able to re-route you if you go off the original route. Map your long driving stretches ahead of time, including potential rest stops (you will come across large stretches of land with no gas stations, so while you have service, know where your next rest stop will be).
Be prepared to have no cellphone service for a lot of the more remote sections of your drive – you will have blips of service when passing through populated towns and cities, but a lot of the midwestern driving was through farms, mountains, and forests, and sell signal was unreliable. Again, program Google Maps ahead of time to ensure you have direction even if you lose service.
Keep an eye on time zones. You will be passing through multiple, and in order to time your driving and your subset hikes, you have to know what time it is! Traveling west grants you additional hours of daylight because you literally travel backwards in time, but then coming back east is rough because you lose an hour with each time zone change. Also, Arizona is technically in the Mountain Time Zone, but does not participate in daylight savings… so half the year it follows the other Mountain time states, but half the year it has the same time as Pacific. This made timing in Arizona a bit of a wild card because I didn’t know this going into it.
Keep a close eye on your gas gauge. There will likely be stretches of a few solid hours during your trip where there are no gas services, and since cell service is spotty you really don’t want to get caught running out of gas.
Get an oil change right before you leave, and try to use synthetic oil if possible. Depending on the length of your trip, you will likely need another while you are on the road. This isn’t too much of a pain, most places are quick!
Don’t forget to fill up your windshield wiper fluid right before you leave! bugs exploding on your windshield is real, and if you don’t have enough wiper fluid you might have trouble with visibility. Lots of gas stations off major highways have the windshield washer and squeegee, which helps a lot.
Be comfortable eating a peanut butter and jelly sandwich for lunch every day for the duration of your trip. If you can think of a more creative way to eat on the road, please let me know!
Don’t underestimate the power of good hiking gear! If you don’t already have good hiking stuff (my full list of hiking-related stuff is below), you will want to make a few purchases.
Become familiar with what cairns are, and how they are helpful on a hike. Basically, a cairn is a pile of stacked and balanced rocks, and they are put together by the park in order to guide you in the correct direction of your trail. You are not supposed to tamper with the already existing cairns in the park or create your own. Most hikes do not require you to follow cairns (because they have signs, or the paths are in a cleared section of the forest), but some of the hikes I did required the use of cairns instead of signs or arrows. The hike should warn you up front if this will be the case (always study and take a photo of any information or maps provided at the trailhead so you can reference it during your hike), and you can also check the All Trails reviews ahead of time to see if they mention following cairns as guidelines.
Know the things you can prep the night before a hike, and the things you need to make the morning of. I would fill up water bottles and mix up my electrolytes the night before and stick it in the fridge. I would also put Cliff bars, jerky, and pour some cereal in a Ziplock and put it in my hiking backpack the night before. Lastly, I set up the PB&J station the night before – basically line up the PB, the bread, the knife, and the dish (jelly stayed in the fridge). The morning of, I would make my sandwich, grab my water from the fridge, finish packing up my bag, and hit the road.
COVID Precautions
If you plan to take a trip during the pandemic, I am sure you will look to take additional precautions, as I did as well. Remember that I am just a regular person who has NO information aside from what is publicly available, and all of you are perfectly capable of being either more/less cautious than me, depending on your personal preferences and life situation. The following is certainly not a fully exhaustive list, but just the things that I did when planning and executing my trip:
Packed aerosol Lysol (any household cleaner with disinfectant would work, but the aerosol spray can made this process so much easier) and sprayed down every hotel room I checked into – including ALL surfaces and the floor. I made sure to not forget light/lamp switches, doorknobs, toilet and flusher, shower and faucet knobs, coffee machine, air conditioner/thermostat, and refrigerator, both inside and out. Again, this is not an exhaustive list – I really just sprayed everything.
Packed my own pillow and pillowcases. I didn’t have room in the car for my sheets and blanket, otherwise I probably would have packed that as well. I also avoided using the top layer of blankets provided by hotels (though this isn’t COVID specific for me – I feel like hotels don’t always wash the top decorative layer blanket, so I never use it. A good rule of thumb is to only use things that are white in a hotel, as these are the things they can wash with bleach. Decorative or colorful linens will not be as sanitary).
Packed aerosol/spray travel sized alcohol. This was really helpful when outdoor dining, because I would spray down the table/chairs and any communal condiments like ketchup/syrup, etc.
I had a strict “no indoor dining” policy, and did takeout probably 2/3 of the time, and sat on a patio the remaining 1/3 of the time. The good news is that 99.9% of restaurants are doing takeout, so many times I selected the restaurant I wanted to go to (without worrying about whether they had outdoor seating), and if there was no option to sit outside I just did the takeout option. I would eat either in the car or at a park bench nearby (using that alcohol spray out here too). This also might have been more so due to the nature of the trip itself, but I only purchased 1 meal per day from an eatery. All of my other meals were snacks that I had brought with me from home (I will get into all of this later), and most of the day I didn’t have access to a restaurant anyway because I was either hiking or driving.
Used my mask 100% of the time in public places. It might be a good idea to research ahead of time which states currently maintain a mask policy, especially for the drive, so that you can plan pit stops accordingly, avoiding states that don’t enforce masks. I also brought a box of disposable masks for hiking and switched those out every day, and brought a few real ones for when I wanted to look a bit nicer.
Packed a TON of road snacks. This limits the number of times you are eating food prepared by others, and the number of times you are in gas station stores or touching vending machines. As I said before, I bought 1 meal per day, and it was usually dinner. This does not include the occasional coffee.
I did a significant bit of research on my hotels before booking. I read recent reviews on multiple different platforms (Google, Hotels.com, Tripadvisor) to make sure I was choosing lodging that was COVID-conscious. I stayed away from anything that had a less than stellar rating, and if any recent reviews mentioned that the hotel was dirty or that the staff didn’t wear masks. I also avoided Airbnb for this trip, and stuck to only hotels and inns.
I called some of my hotels ahead of time to get a feel for their capacity policy, and whether they were booking rooms at a lower than 100% capacity to minimize crowding. I also asked them if they could give me a room that hadn’t been inhabited for a few days. Some hotels will be able to make this accommodation for you, and some hotels will not. Regardless, it’s worth the ask.
I requested no services once I checked into each hotel and placed the “do not disturb” sign on the door for the entirety of my stay. I didn’t want anyone in my room that wasn’t me, and you can always request additional soaps/shampoos/towels at the front desk.
This will be a no-brainer, but I avoided all public places as much as possible. While in the hotel, no pool, gym, or communal recreation areas. In the parks, I frequented mostly restrooms obviously, but I stayed away from visitor centers as much as possible (most of the parks hand you maps on your way in), and cafeterias. In one park (Zion) there was also a public shuttle to get you down into the canyon where there are a number of trailheads – I also avoided this and only did trails I could get to with my car.
I planned to be off the typical tourist schedule. For example, I got into the parks either really early in the morning, or just before sundown to avoid the busiest times of the day.
I brought way more hand sanitizer than I thought I needed, and it wound up being the exactly perfect amount. I had brought a number of travel sized bottles and kept them in all of my bags and pockets, and then I brought a larger bottle that I kept in my luggage to refill the little ones. I used public hand sanitizer stations if for some reason I didn’t immediately have access to my travel sized one, but I always used my own hand sanitizer afterwards because you never know if the public one is a lower % or watered down.
Packing Lists
Hiking
Backpack (mine is discontinued, but it’s similar to these!)
Benadryl (you never know when you will get a bug bite that doesn’t agree with you or rub up against a plant that makes you itchy. I wound up not using this, but I felt good having it in my hiking pack)
Ziplock bags (really handy for peanut butter sandwiches, and also as garbage bags for on the trails)
Sunscreen. I have really sensitive skin and HATE sunscreen, but the zinc based sunscreens worked like a charm! Here’s the spray bottle and cream tube that I used on the trip.
Food
Cliff bars (at least 1 per day of hiking) (any energy/protein bar would work here. I opted for Cliff because they are higher in carbs for sustained energy)
Peanut butter (2 people killed a jar in about 2 weeks. I packed 2 jars for the whole trip)
Nutella
Jelly
Bread (I brought 4 loaves, and we had tapped into the fourth during the last few days of the trip)
Utensils (I brought a fork, knife, and spoon for each person on the trip. I really only used the knives when making sandwiches)
Plates (these are necessary.)
Paper towels (I wound up only using 1 roll)
Electrolytes (Bought this powder off Amazon so I didn’t have to carry around a case of Gatorade. Definitely recommend a powder! Not married to this brand or flavor though)
Nuts (I wound up not actually eating any of these)
Twizzlers (don’t question this one. They’re necessary.)
Clothes
Hiking outfits (1 per day in the parks)
Pajamas (I planned to rotate these out every few days)
Long sleeve shirts (I didn’t use these, but your decision to bring them should depend on the time of year you go)
Sweatshirts (I packed 1 that remained clean for lounging in the hotel or at dinner and on travel days in the car, and a few in varying thicknesses that I used on my hikes.)
Jacket (I packed my ski jacket just incase but didn’t actually use it. A thin puffer would likely be more appropriate, but it depends on the time of year that you go.)
Beanie and gloves (I didn’t really use these either, but it will depend on the time of year that you go)
Sneakers (for anything we did non-hiking)
Ankle socks
Lounge outfits (for the car rides and hotels)
Real outfit (i.e. jeans) for going out to dinner (I honestly didn’t really use this either, because most of the time we grabbed a quick meal on the way out of the parks so I was still in my hiking clothes).
Long pants/sweats (I didn’t use these, but always pack long pants on a trip just because you never know how cold it will get at night or in the mornings.)
Delicates (duh, right? But if they’re not on my list, I always forget to pack them)
COVID Specific
Masks and filters to put inside (I packed a box of disposables to use on the hikes, and then a few real cloth ones to use on travel days and at dinner)
Hand sanitizer (I packed a number of small travel bottles that I put in every bag, pocket, and cup holder of the car. I also brought a larger bottle to use to refill when the smaller ones ran out.)
Toilet paper (to take on hikes just incase. I wound up not needing this at all – the hikes are pretty well-equipped with bathrooms at nearly every trailhead.)
Electronics (computer, computer charger, phone charger, fitbit/activity tracker and charger, camera and charger, speaker and charger)
Hopefully my tips and tricks and packing lists will help you in planning your trip! To see my reviews for all of the parks, check out Part 1 of this post! For my detailed itinerary, and reviews of each hike I did and meal I ate, check out Part 3!
Hello hello! Another hiatus from a blog post broken by travel updates! Before we get started, let me set the scene for you: it is June 2020, you have been in your 700 square foot NYC apartment exclusively for the last four months, and you have long since given up on your plan for a European vacation this summer. Chatter of “should we even try for something this year?’ is entertained, and then the borders close officially for international travel. You are highly discouraged from even thinking about breathing within ten miles of an airport, but your stir-crazy-fueled desire for a new experience is really starting to set in. So, what’s a girl to do?
Disclaimer: a lot of research and deliberation went into the decision to take a trip this year, and I almost threw in the towel and called this year a wash for travel. Please do NOT view this post as a recommendation to take a trip this year, especially if you are on the fence or uncomfortable. The decision to travel during the COVID pandemic is a completely personal decision that depends on your lifestyle, your comfort level, and the comfort level or other people in your life. Please DO view this post as an informative guide if you have already decided to take a trip similar to mine 🙂
So, what’s a girl to do? (Spoiler alert, it’s in the title of this post!) A cross country road trip! It has always been a bucket list item of mine to take my Jeep Wrangler across the country, and to take it on some sweet off-roading trails along the way. I ultimately decided that a road trip was the safest way to go this year, because I am avoiding flying at all costs. Additionally, I wanted to avoid major cities and the allure of highly populated areas with popular restaurants and sight-seeing. The final decision became a cross country road trip to explore the National Parks along the Rocky Mountains. National Parks are a great way to get out and have fun, and are within the recommendations of social distancing, when done smart and correctly.
I want to speak briefly about the concept of a road trip. I personally love them – I love to drive, and I love the car I drive, and I think they are whimsical and inherently fun. I know a lot of people who, in contrast, hate everything about them – from concept to execution. So, going into the trip I was excited for the drive regardless. Coming out of it, I think the drive was absolutely NECESSARY, no exaggeration. Yes, you can fly to the Rockies once it is safe again to save a few days of travel, but I have learned that there is no better way to experience America than to drive through each of the individual states. On the drive alone, I feel like I learned so much about each state I passed through, and I was always surprised at the stark difference from one state to another as soon as you cross the state line. This was an experience completely forfeited by hopping in a plane and zooming across the earth from 30,000 feet in the air. Ultimately, choose a method of travel that works for you, your friends, and/or the family that you are traveling with. However, if you are considering skipping the road trip part of the experience just because you don’t have an affinity for driving, I would invite you to reconsider if you have the time – it might be cooler and more enriching than you think!
In this post, I want to take you through a review of each of the parks I visited, ranked least to most favorite. In my “Part 2” post, I will spell out all of the tips and tricks that I used to help me plan and execute this trip, including detailed COVID precautions that I took, detailed tips that are hiking/road trip vacation specific, and lists of EVERYTHING I packed on my trip. Lastly, in “Part 3” I will give my detailed itinerary with reviews of each trail I hiked and meal I ate. Without further adieu, here are my opinions 🙂
National Parks Reviewed and Ranked
(Least to Most Fave)
Ok, so, I understand that ranking the parks I visited is 100% entirely subjective, and you should take my rankings and even reviews with a single solitary grain of salt. While the rankings here go from least to most favorite, the chronological order of the parks that we visited is in my next post I mentioned, in the itinerary section. Please understand my bias as you read through these reviews, and again, take everything with a grain of salt. While I do give an honest review (which includes negatives), I still think that every park is worth a visit at some point in your life, so don’t take my negative comments as advice to avoid any park in any capacity.
My Bias: I am a NYC gal, so most of my hiking experience is among the mountains of the Catskills north of the city. Each of the parks I visited on this trip offers its own unique natural wonders, but the mountains are something that I see on a regular basis back home. Additionally, each of the parks offers hiking trails of varying degrees of difficulty, but I did notice that each park had a general overall difficulty level. I would say that my personal preference for difficulty level is moderate to hard, so this will impact my rankings. I also have a *crippling* fear of heights and falling, and I consider myself to be generally not very coordinated. I grew up with little to no hiking experience, and really got into hiking in college with my roommate at the time. Over the years, I have built up my hiking skills because I love nature and am a sucker for a good view, but I still get jelly legs when high up or on uncertain ground and narrow paths. I try my very best to not let my fears limit me, but my ambition to push my comfort zone gets me into my own head sometimes. You’ll see.
9. Glacier National Park (Montana)
I will start off by saying that this park has some of the most beautiful and unique scenery that I have ever experienced (where else can you see a legitimate glacier?) The streams and pools in this park have the most beautiful crystal clear blue water that I have ever seen (think real life Glacier Frost Gatorade), and seeing a glacier in real life was pretty awesome. The tops of the peaks are cold and windy (even in the summer), so bring a thick sweatshirt or puffer jacket and maybe even a beanie for when you sit down for a PB&J at the summit!
I am ranking this park last for a couple of reasons, one of which is pretty personal and has to do with my bias. The park is definitely…rugged. I did two of the larger and more popular hikes in the park, and both were very difficult and technical. The first one, Grinnell Overlook, was cliffside for about a mile and a half, and the last 1/4 mile was very steep, narrow, rocky, with not much to hold onto for balance. Having trekking poles would be useful on this one (I didn’t have them at the time, but I bought them later on in the trip). To put it into perspective for you, though, very few people on the trail were really struggling that much. Everyone was taking it slow, but many people were walking through fearlessly. Taking my own drama aside, the views at the top are spectacular and I am really glad I finished the hike, despite the fact that I was afraid. I found that the hiking paths themselves to be a means to an end, but if you’re in it for the views, don’t mind (and are prepared for) a more rugged and technical hike, and don’t fear heights, Glacier will be a lot more enjoyable for you than it was for me.
There was no requirement for a time slot or extra permit to hike in this park – the annual pass got me wherever I wanted to be! Check out my itinerary for a more detailed review of each of the hikes I did, and some food/beer suggestions in Montana!
8. Grand Teton National Park (Wyoming)
The first thing you notice about Grand Teton on the drive in is the imposing nearly 14,000 ft mountains steadily approaching you. You will be amazed, like I was, as they relentlessly get bigger and bigger! The whole mountain range is massive, but the Teton peaks are the tallest in the park and are easily distinguished from the other mountains due to their three individual sharp peaks. The park itself is really well maintained, and the hike I did is an easy one, both beautiful and enjoyable. The sheer existence of the Grand Teton mountain peaks remains to me the most breathtaking aspect of this park.
The only real way to fully experience the Grand Tetons mountain peaks is on a 31 mile loop hike, which requires a tour guide and camping overnight, and would be considered very difficult (though an unforgettable and worth-it experience). There are some other shorter hikes in the park, but none that I could find that would get you onto the Grand Tetons, and most of recommended hikes I saw were on the more challenging side. My next time at the park I would like to try the Surprise Amphitheater Lakes trail – this one is supposedly a more challenging trail than the one I did, with a swimmable lake at the end. You can also continue onto an extension of the trail for an uphill climb to a breathtaking view of the Grand Teton peaks.
If you are in it for either a leisurely day in the valley of an impressively imposing mountain range, or alternatively an extreme overnight hike to 14,000 foot peaks, Grand Teton will have something for you!
There was no requirement for a time slot or extra permit to hike in this park – the annual pass got me wherever I wanted to be! Check out my itinerary for a more detailed review of each of the hikes I did, and some food/beer suggestions in Wyoming!
7. Bryce National Park (Utah)
I feel the way I feel about this park only because I visited it after already visiting Arches, which is also a desert sculpture park. The structure and canyons within Bryce are incredibly unique, and the park itself is fun and interactive. The hikes are easy (more like nature paths than hiking), and it is small enough to really explore in one day. If you are in the area, it is worth a stop into. In my opinion, the park is not a destination in and of itself, as I think you could get through most of it in one day. The park is super kid friendly. If you want to see beautiful canyons and stone sculptures on an easy walking path that could take a few hours or less, this park should definitely be on your list!
There was no requirement for a time slot or extra permit to hike in this park – the annual pass got me wherever I wanted to be! Check out my itinerary for a more detailed review of each of the hikes I did, and some food/beer suggestions in Utah!
6. Estes / Rocky Mountain National Park(Colorado)
The review for this park will be comparable to Grand Teton, however ranked a bit higher because I think there is more accessibility to mountain peaks through more moderate hikes. The park itself is beautiful, the scenery lovely, and the hike I did is well maintained, family and child friendly, and just the right amount of challenging. Again, there was a decent bit of variety in the hikes to choose from at this park, including a 14+ mile trip (with optional guidance and optional camping overnight) to the top of Longs Peak, which seems like a very challenging but also super fun experience. The rock scramble on the Twin Sisters Peak hike that I did is both fun and challenging, and gives the day just the right amount of thrill. I don’t really have any glaring negatives for this park, but it just ranks in the middle for me because the scenery is one note (mountains) and that happens to be the note that I get the most on the east coast. Similar to Grand Teton, if you are in it for a challenging hike and an excellent mountain view, this park will satisfy your needs!
Arrival between the hours of 6 AM and 5 PM required a timed permit that you will have to purchase in advance. You could enter the park and parking lots with no permit anytime before 6 AM and after 5 PM (I didn’t have one, so I got to the parking lot before 6 AM for my hike). Note that the park contains a major road to get you into and out of this state, so if you are trying to drive through and not even stop in the park, you will not be able to access that road during the day without a permit, so plan accordingly!
Check out my itinerary for a more detailed review of the hike I did in Estes / Rocky Mountain National Park, and some food/beer suggestions in Colorado!
5. Zion National Park (Utah)
I have really high hopes for future visits to this park. I was super excited about it coming into the trip, but a lot of the hikes I wanted to do were inaccessible when I got there, for a few reasons. The number one hike that I wanted to do, Angel’s Landing, has a chains section to get you to the final peak (you hold onto the chains for balance as you travel out along a narrow cliffside trail). The chains section was closed due to COVID, so I didn’t want to do this hike without being able to travel the final piece to the views. Second, there was a rock fall on Cable Mountain that knocked out another trail I was looking at, Hidden Canyon. Lastly, there was cyanobacteria found in the Narrows River which made the Narrows Trail largely unwalkable because it takes you through the river, and it was not recommended to walk through the water at the time. Most of the park is only accessible via a park-supplied shuttle, which you did have to purchase a ticket for a time slot (it was $1 per person, and you had to purchase these tickets 1-2 days in advance.
I wound up doing an amazing hike up to the Observation Point, which has the same views of the park that can be seen from Angel’s Landing. The hike is challenging and the path is very well maintained, especially the piece that led you up the mountain to the summit. Never did I feel like I was in danger or that the path was uncomfortably narrow, there was a rock ledge at all times making you feel enclosed on the path, and it was not so steep that it felt unreasonable (though it was steep). Also, the nature in this park is incredibly diverse. In one 11 mile stretch, I was able to hike through a meadow, through a forest, and into a canyon. I am very excited to come back to this park again and do some of the more popular hikes. Honestly, if you go here and are able to do any of the hikes I mentioned that were not available at the time of my visit, this park will absolutely rank higher than it did for me. Until next time, Zion.
Check out my itinerary for a more detailed review of the hike I did in Zion National Park, and some food/beer suggestions in Utah!
4. Grand Canyon National Park (Arizona)
I will start by saying that the Grand Canyon is absolutely worth the hype. There is no way you can understand what this looks like and feels like until you come see it for yourself. Coming into this park, I was torn about whether I wanted to try a hike down into the canyon. I knew that the view was going to be the best at the top, which would have been at the start of the hike anyway. I do recommend going to one of the lookout points before actually starting a hike, because that will be your best view of the canyon. However, the hike down into the canyon is also worth the experience! The hike itself (there is only one trail that gets you down there) is not technical at all – it is a wide dirt path that is shared with mule rides down to the bottom – but there is something to be said about the feeling you get as you hike further and further down into the depths of the canyon. I didn’t make it too far down, because I had been driving earlier that day and only had a few hours before sundown, but it definitely left me wanting more. There are a couple of things you should note about this park:
There are two rims – north and south. the North Rim is the one that I visited, but the South Rim is the more touristy one, and the one with arguably better views of the canyon (so I have heard). To drive from the North Rim to the South Rim is a 5 hour drive, as there is no way to travel across the canyon in your car. Plan accordingly – I did the North Rim because it was on the way of the trip, learned once I got there that the South Rim was a worth-it stop, but didn’t actually have time to fit it in.
There is one hiking trail that takes you to the bottom of the canyon on each of the rims, and the trails connect at the bottom. Hiking (or taking a mule) is the only way to get to the bottom of the canyon – there are no roads for vehicles! You are highly discouraged from trying to go all the way down and back up in the same day. There is a lodge at the bottom of the canyon, but to get into that you likely have to plan a year in advance. There are some campsites along the way which are more accessible, and would require a few months of planning ahead to be safe.
You can absolutely hike either of the trails down to your personal comfort level for the day and then back up There are vista points and milestones to look for at many reasonable intervals along the trails, and even a portion of them is totally worth it for the experience! The trail is STEEP, so just know that it will take 1.5-2x the amount of time (and an exponential amount of effort) for you to get back up as it did to get down. Bring snax and ample water!
I would love to go back to the Grand Canyon very soon and do the hike all the way down to the bottom, spending a night in a campsite. I would even love to hike down to the bottom of one rim, back up the other rim, and then back down and up the original rim. I met a Grand Canyon true vet who had done the hike down to the bottom multiple times, and said that rim to rim to rim (what I just described) would probably take four days of hiking and three nights of camping, but it would be an unforgettable experience!
Check out my itinerary for a more detailed review of the hike I did in The Grand Canyon National Park, and some food/beer suggestions in Arizona!
3. Yellowstone National Park (Wyoming)
This park ranks fairly high for me for a unique reason. It is is not a park that I see myself going back to anytime soon, but I do believe that you need to see it once in your life. The park sits atop a volcano, and the thermal underground activity causes a number of natural wonders that I didn’t even know existed in the world. There are geysers that explode boiling hot water at regular intervals, hot springs that develop the most beautiful colors around their edges, and sulfur mud volcanoes, which are less glamorous and quite smelly, but the science behind them is fascinating. The first time you visit this park, you will feel like you are walking through a giant nature zoo. I recommend the “Lower Loop” itinerary (check out my itinerary for a more detailed look at the “Lower Loop” exhibits), which contains all of the main attractions of the park within a drive able distance from each other – this whole loop can be completed comfortably in one day. There is very minimal hiking on this loop, however there will be a significant amount of walking through each exhibit. Due to the dangers of a very thin layer of the earth’s crust covering piping hot water beneath, there are boardwalks that you are required to walk on in the park. I think that the phenomena of this park is incredible and there is so much to learn and see, but the inability to interact with the nature took away just a little bit from the experience for me. There is apparently more hiking that can be done in the park outside of the Lower Loop, so perhaps that would make for a more interactive and hands-on experience. This park is EXTREMELY kid and family friendly. If you want to see and learn about incredible natural wonders of the earth on easy walking paths, this park will make a perfect stop on your trip!
There was no requirement for a time slot or extra permit to hike in this park – the annual pass got me wherever I wanted to be! Check out my itinerary for a more detailed review of each of the hikes I did, and some food/beer suggestions in Wyoming!
2. Yosemite National Park (California)
I know that I didn’t actually visit this park on this particular trip (I went last year in summer 2019), but it is a National Park, and I believe it deserves a spot in my National Park rankings. I had spent a few days in the park, and on the long hiking day had created a full-day itinerary combining a few trails, including the Mist Trail, the John Muir Trail, and the Nevada Falls trail. It was ambitious, and the last leg of the falls is basically a stone staircase leading straight into the heavens, but the view are absolutely gorgeous the whole entire time. The paths are also VERY well maintained, and though it is cliffside along the waterfalls for a lot of it, I never felt unsafe or that my footing was unreliable. The paths are so much fun to hike, and the surrounding nature is constantly changing, so every thirty minutes of the hike feels like a brand new experience. Stick with me for the rest of this monologue, because I’m going to hit you with a plot twist… I had visited Yosemite in late May, and the area was experiencing uncharacteristic harsh and cold weather for the season. It was consistently rainy all of the days that I was there, and there was snow on the ground in the morning. I would say that during my time in this park, I saw the WORST weather I had ever experienced for hiking. Ready for the plot twist? Despite my awful luck with Mother Nature, this park is still ingrained in my brain as one of the most magical places on earth. The best picture I have ever taken in my whole entire life (so far) has been in this park – during a period when the rain happened to clear, a rainbow appeared right in the waterfall, and the moment was so surreal that I almost expected a unicorn to come trotting out of the forest. There is something about this place that is pure magic, and I would get the annual pass every single year if I lived closer to it.
1. Arches National Park (Utah)
Hands down, the most impressive place I have ever been to in my whole life is Arches National Park. The whole Moab area is incredible, and it was an easy decision making this natural playground #1 on my list.
Arches really blew me away because of the natural structures formed out of the salmon colored sandstone by salt deposits. I knew what they looked like before visiting, and I was most excited for this park going into the whole trip, but seeing them in person is even more breathtaking than I imagined. And there are so MANY of them! Everywhere you look, there is another – it’s like a scavenger hunt walking through the park to see if you can find them all. The Devil’s Garden Loop trail is one of my favorite trails from this trip. It is the perfect balance of thrilling and challenging, but also safe and well maintained. There are plenty of places to lounge around and have a snack, and also plenty of places to play around and just climb on rocks. The sandstone is comparable to sandpaper, which makes for excellent footing – you can play around on steeper grades than you normally would on regular rock. You truly feel like you are on the moon! (or what I imagine that would be like). It would be a shame to travel anywhere near this area and not make time to visit this park. Arches is technically in the desert, so bring a TON of water and sunscreen, as there is really no shade to help you out. Getting in as early as possible is going to make it better, and plan to just relax in the afternoon. There are some lakes you can swim in nearby the park, and a ton of off-roading trails you can explore in the comfort of your own air conditioned car. The latter is what I wound up doing during my afternoon in Moab.
I will caveat my stellar review of the Devil’s Garden hike with the fact that it is rated as “hard” for good reason. It is fairly technical in some portions, requiring you to scramble up or down rock structures, and at some points is high up and cliffside (nothing too narrow though). I will forever defend this hike, though, by reminding you that I am the world’s biggest weenie and I still found this to be one of my favorites. Again, the sandstone makes for such great footing that I never ever felt like I would slip once, even if I was on a very steep grade.
I have to also mention Canyonlands National Park. The Moab area is full of off-roading opportunities, and that is what I did in Canyonlands with my jeep in the afternoon. The Canyonlands park has incredible hiking too, though I did not do any of the hikes in the park. Canyonlands is organized into three sections, and you should view these as three separate parks for planning purposes. It could take hours to drive from one side of Canyonlands to the other, so buffer in driving time if you are trying to hit multiple parts of this park. I got great recommendations from locals about the “Needles” section of the park, which looks like it has moderate to advanced hiking options. Another section, the “Islands in the Sky,” seems the most friendly for beginner and moderate hikers. Lastly, the “Maze” section looks more conducive to very advanced and extreme hiking. Check out the website for more information, and see for yourself which trails will be best for you!
The last thing I will mention about the Moab area is that it is a notable “dark” area, which means that it is excellent for stargazing. I did this in one of the parks one night, and got to see a few shooting stars leftover from the height of the Perseid Meteor Shower. This was the best showing of stars I have ever seen. Just another thing to add to the list of why Moab is a magical place!
If I could have done anything differently on this trip, it would have been to schedule a couple of extra days in Moab to explore more. There was no requirement for a time slot or extra permit to hike in this park – the annual pass got me wherever I wanted to be! Check out my itinerary for a more detailed review of the hikes I did, and some food/beer suggestions in Utah!
Again, I want to say that I would recommend any and all of these parks to anyone who is able to visit! They are absolutely spectacular, and if you have the chance to visit, please do! If you want some more visuals from my trip, check out the reels on my Instagram – I made one every single day on my trip! Now that you have a good general overview for each of the parks, Part 2 details every single item I packed, the COVID precautions I took, and some tips I follow for planning and executing road trips and hiking excursions (some of which I learned on this trip and felt compelled to share), and Part 3 is the full itinerary of my trip, including detailed reviews of each hike I did and meal I ate along the way!