
I recently bought my sister a book about Mason Jar lunches for her birthday, because I thought it looked healthy, trendy, and something she would love. The day I bought it, however, I leafed through it on my subway ride home, and began to regret not getting myself a copy! Since then, I decided to try and make myself my own Mason Jar lunches for work, and here’s my first attempt.
Before getting into the recipe, it’s good to know a couple of the benefits of jarring your lunch instead of using a plastic container. For one, the Mason Jar seals your lunch tight and keeps it fresher for longer, especially salad which always seems to get brown and wilty too soon. Second, since Mason Jars are made of glass, you don’t run the risk of having unwanted chemicals leech into your food, especially if you bring a lunch that you want to microwave. Also, glass is not porous, making it less likely to hold the aroma of your salad after you’re done eating.
The book provides more information about Mason Jar lunches, including step-by-step instructions and tips on how to most efficiently jar your lunch. Check it out at Barnes & Noble here. Here’s my Mason Jar lunch recipe. It made three servings.

What you’ll need:
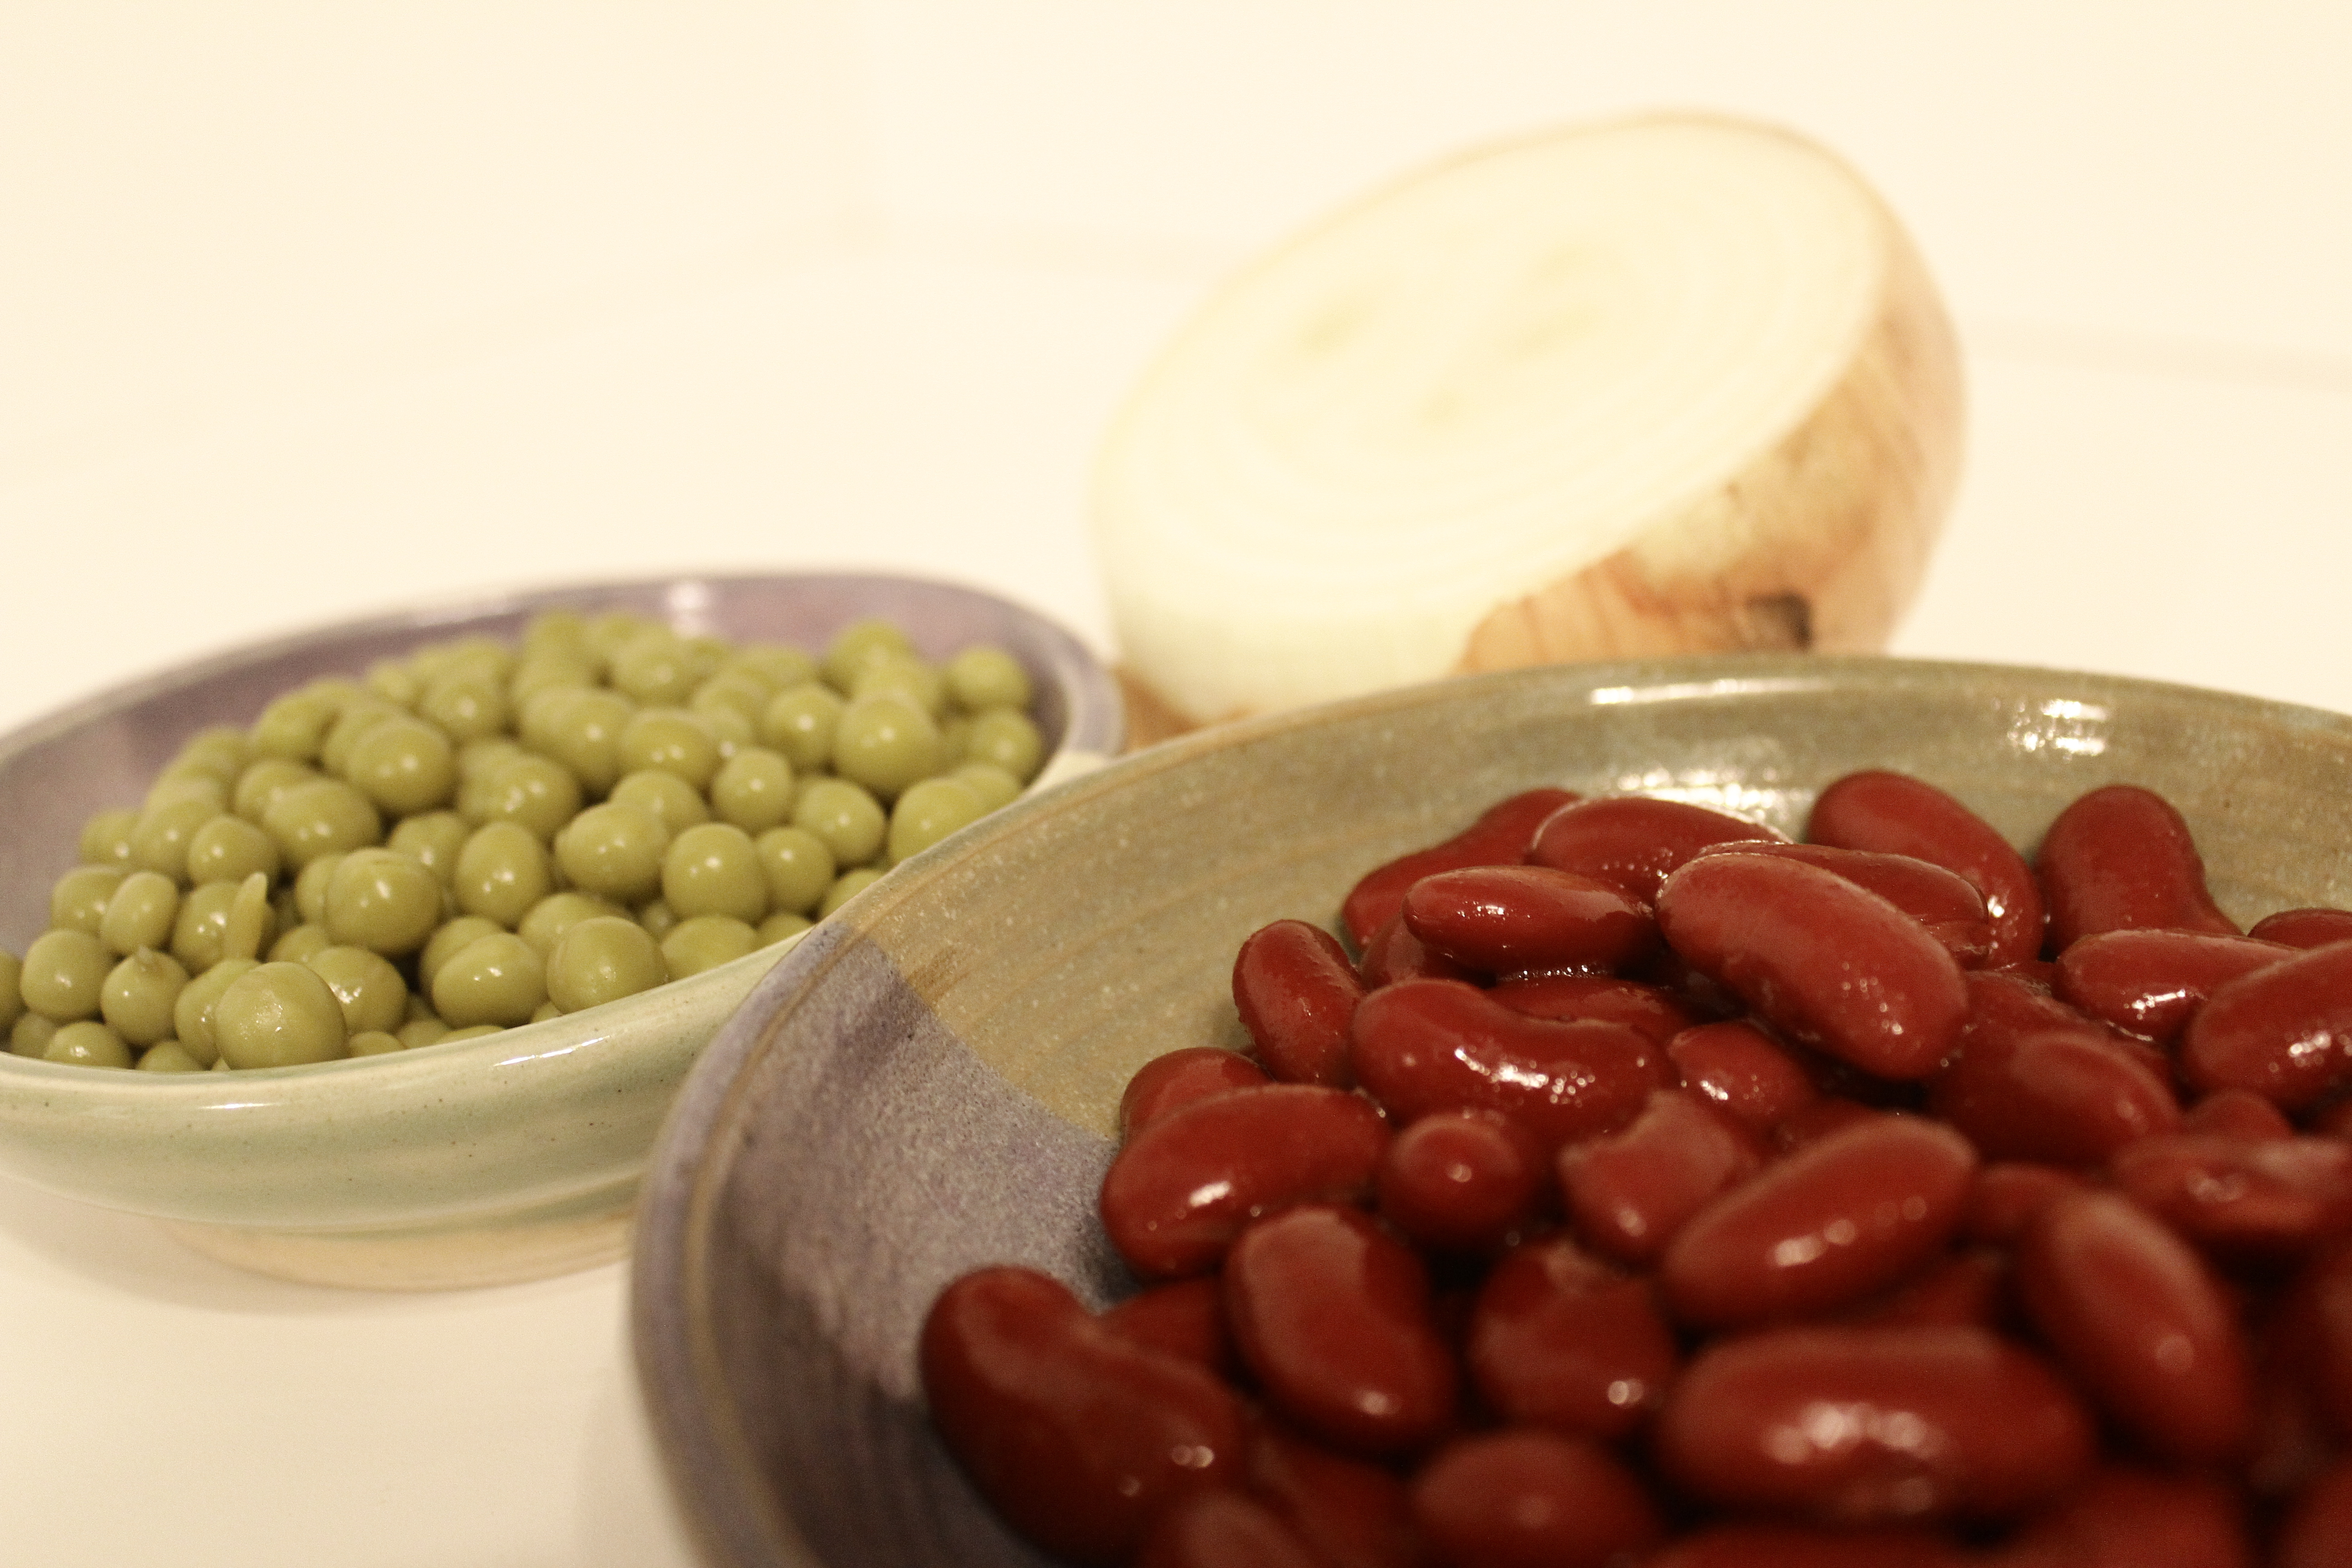
1 cup Kidney beans (super nutritional)
1/3 of an onion
3 servings of Quinoa (check your bag or box)
1 zucchini
Green olives (I used whole olives, unpitted)
Artichoke hearts
Less than 1 cup of peas
Olive oil
Mason Jar
Note that these measurements (and even ingredients) are very much subjective to my own tastes and preferences. You can add more of less of something, or replace certain items with other veggies/grains/carbs. The sky is the limit with these lunches!
Here’s what you have to do:
Chop up the onion and saute it in a little oil. Also, cook the quinoa according to the directions on the packaging. Peel and slice the zucchini. You’ll have to cook this one, too. As soon as you have a free pan and an open stove top, saute the zucchini in a little bit of oil and you can sprinkle with salt and pepper as it cooks.
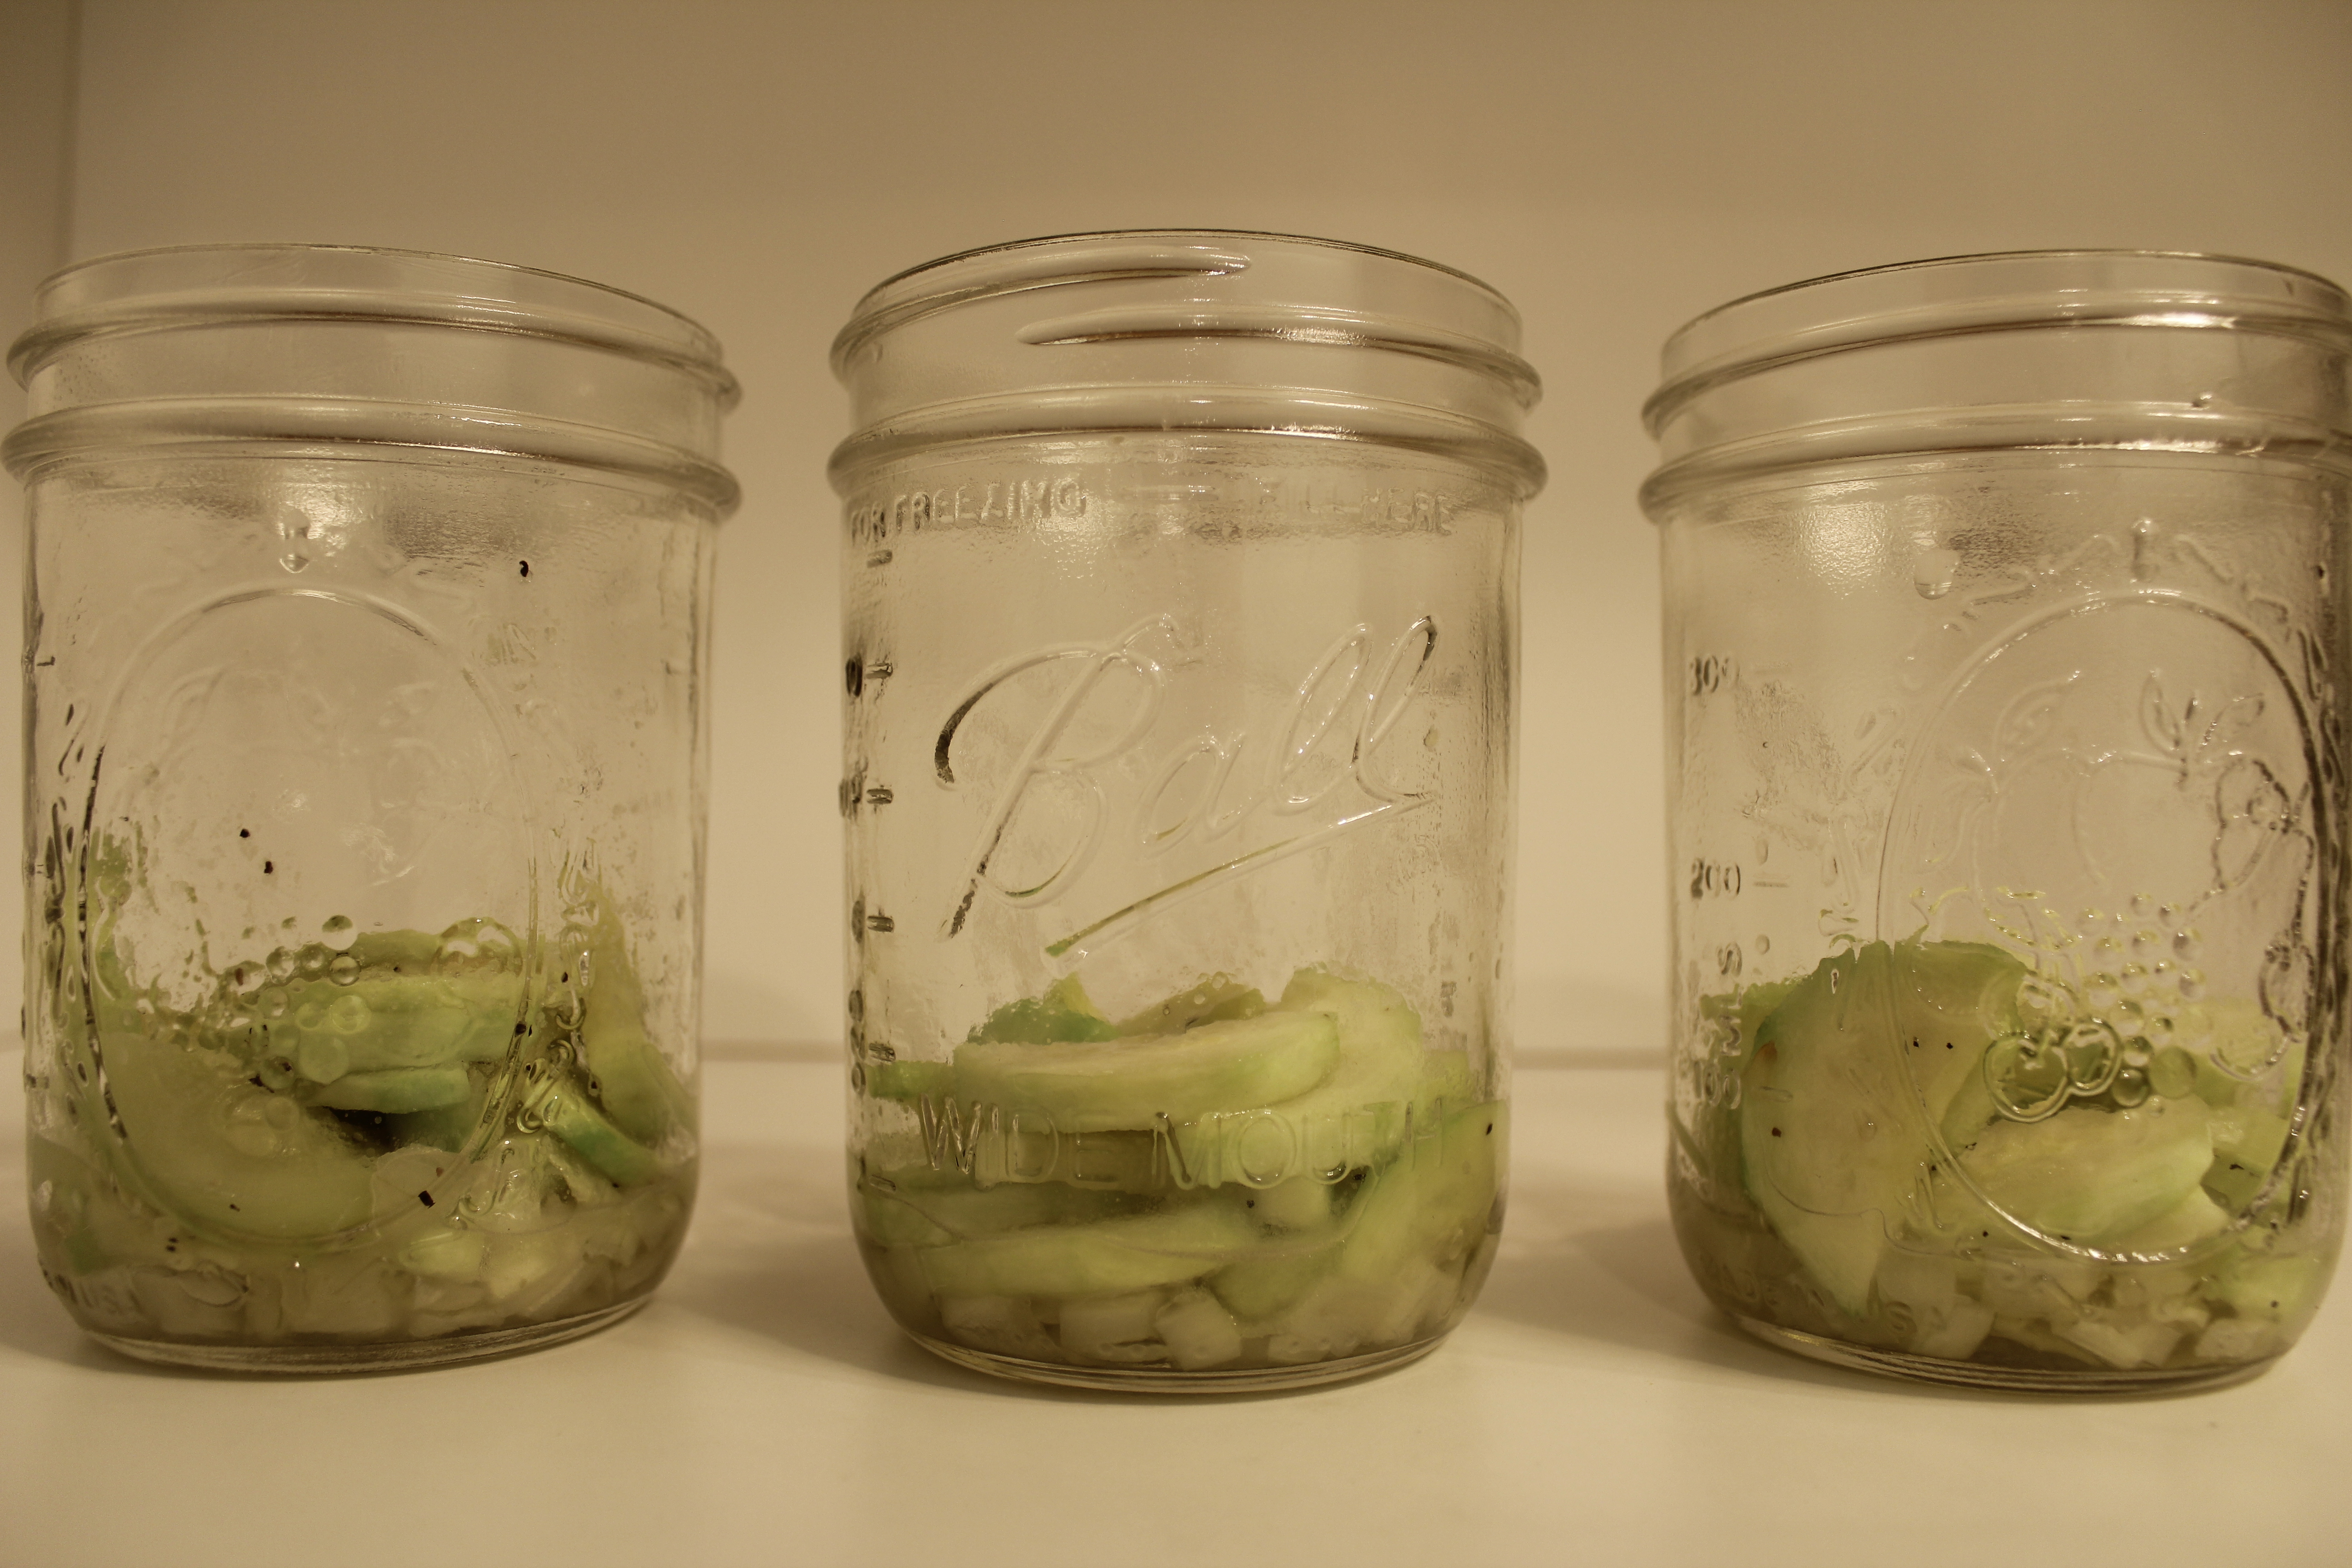
Once your onions are done cooking, you’re ready to begin jarring! I put a little bit of oil at the bottom of my jar, but I learned after I ate my lunch the next day that this step was unnecessary. At the bottom of the jar you want to put whatever liquids will be in your lunch, such as dressing or oil. (The book also gives a neat trick for packaging your dressing inside the jar in such a way that it doesn’t touch your food at all!). I layered the onions at the bottom in the oil.

Next, I layered in the zucchini. As a general rule, things that are already wet and have a low risk of getting soggy in the fridge overnight should go towards the bottom, and the more delicate items (such as lettuce) should be towards the top.
Next came the quinoa. I drained the quinoa in a strainer before I put it in the jar to remove all excess water.

Next came the kidney beans and peas…

And last but not least, the artichoke hearts and olives on the very top. Keep your lunch at its freshest by minimizing the amount of air in the jar by packing it tight with as much food as you can fit.

This recipe turned out delicious, and it made three lunches for the upcoming week. If you are taking these lunches with you on the go, I advise that you make sure there’s a bowl you can use at your destination. I like to leave a bowl and fork on my desk at work so I never have to worry about packing that one extra thing in the morning.
Jarring my lunches this week was quick and easy, but if you don’t have jars yet or you just aren’t into the idea, I suggest that you still consider bringing your own lunch to work, school, or wherever it is that you spend most of your time. A pre-prepared lunch is a smart lunch because it is not subject to impulsive purchases that one would only crave at lunch time. It’s also a lot cheaper than buying your lunch every day.
Comment your favorite Mason Jar recipe!

Stay fit and fresh, all!
