
“Ichi-go ichi-e” is a Japanese idiom that translates directly to “one time, one meeting.” It describes the cultural concept of treasuring the unrepeatable nature of a moment, or a “once in a lifetime” experience. It is a reminder to cherish the moment you are experiencing currently because it cannot be repeated.
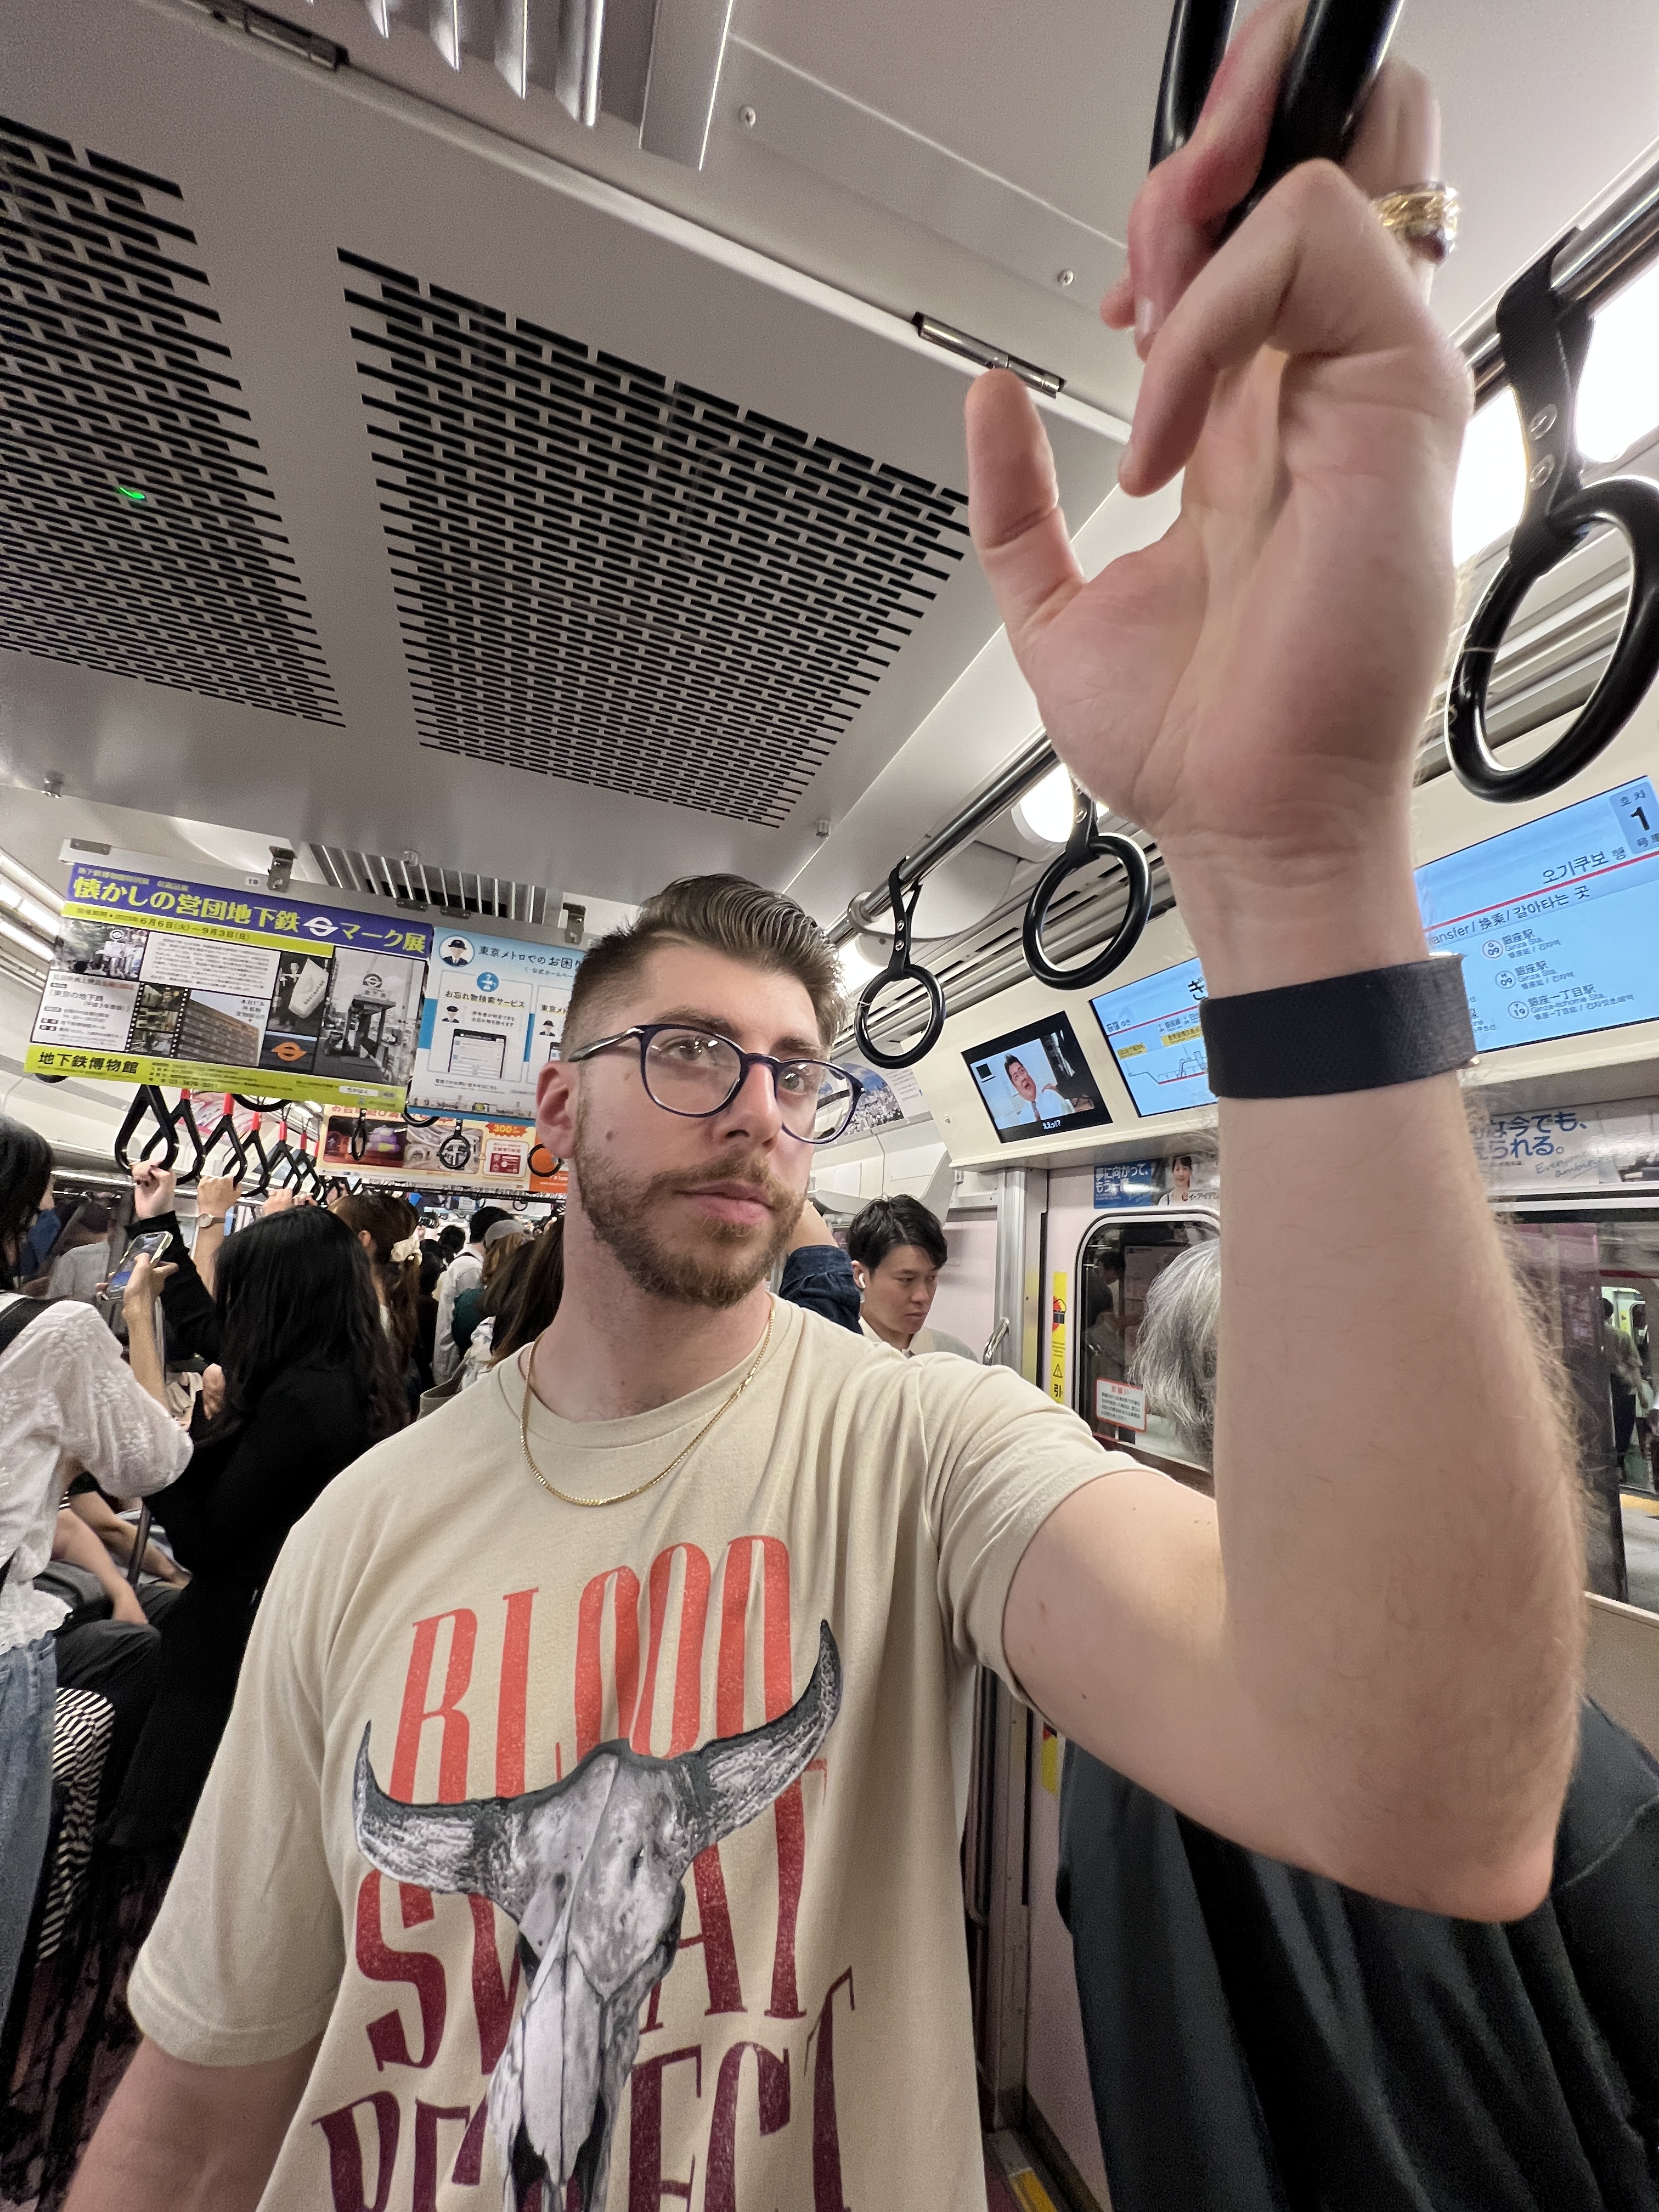
This year has been a whirlwind so far with a lot of “ichi-go ichi-e” moments (although technically every moment should be categorized as such in the spirit of the idiom). To catch you up to speed if you are not already following me on Instagram, I got married this year and my husband and I took our first trip as a married couple (AKA our honeymoon) to Japan!
Planning this trip was challenging, to say the absolute least. I knew very little about the culture, customs, and even the food going into it (there is so much more than just sushi and ramen), so quite a bit of research was required. Even having done days of research up front and putting together a nearly 15 page itinerary, I still learned a ton while attempting to execute the trip. I have organized my monologue into three separate posts:
- Itinerary highlights – these are our favorite things that we did in Japan. This will be helpful if you are planning a shorter trip than two weeks, or if you are just looking for advice on some absolute must-do activities.
- Our full itinerary – every single thing we did with helpful details and photos, including sight-seeing, tours, meals, whether we got tickets up-front, whether or not we recommend the activity, etc.
- Tips and tricks while traveling to and within Japan (the post that you are currently reading) – aka the things that we learned first-hand so that you do not have to
Our trip to Japan was truly a life changing experience, and I hope this post helps you to plan yours. Without further ado, I’ll get started! This is post 3 of 3, tips and tricks.

Before you leave for Japan, you will want to take care of some general prep items. Here are the prep items that really paid dividends while we were away:
An eSIM was an absolute life saver. Purchase this and download it onto your phone before departure. Follow the instructions to switch off your local cellular data and switch on your eSIM upon landing. I used Airolo and was very happy with it. Be sure to watch the Youtube video provided by Airolo when downloading – I had a very smooth experience with my eSIM but Nick had a lot of trouble with it. Since we have the same phone and purchased the same product I would have to assume that something went wrong as he was configuring it. Note that the eSIM does not allow phone calls unless they are over wifi (through web-based applications like WhatsApp) and the eSIM technically works like a hotspot – you can use your phone as if it were on wifi, but you cannot do anything else (that means no green messages if you have an iPhone). The alternative cellphone option is typically paying a fee per day through your cellphone provider, but my research told me that the cell signal in Japan on an American phone plan was not great, so even if I paid per day to be able to use my phone the service could be spotty. The eSIM provided reliable cellphone use whenever I needed it, and was also much more affordable than a daily fee through my provider
When thinking about clothes to pack, especially during the summer season (I was there the last two weeks of June), the important things to know are that it is blisteringly hot and humid, but also that people dress very modestly in Japan (especially the women). I wore linen pants on most days that we were visiting temples and shrines out of respect, and I kept it to short sleeved full length shirts (as opposed to tank and crop tops) in order to fit in better. Women also do not wear low cut shirts so I avoided that as well. For men, almost 100% of the time the locals are wearing pants. If you are concerned with fitting in, definitely pack pants and plan to wear them often (linen is recommended in the summer months). Tourist men wore shorts at shrines and temples though, so if you are less concerned about sticking out and more concerned about being comfortable, go for the shorts. Regardless, you should do some research on the weather at the time you are traveling to get a better understanding of the nuances at that time as the weather changes pretty quickly from one season to the next.


Something we wish we had looked into was a laundry service while on the trip. We instead just packed enough clothes, but it would have been nicer to pack less and use a hotel laundry service a couple of times on the trip. Obviously your need to use a laundry service will depend on the length of your trip, but if you are interested in packing light (which is definitely recommended if you are traveling from one city to the next on the trains) then you can try to book hotels that have a laundry service and at least you have the option to use it should you decide.
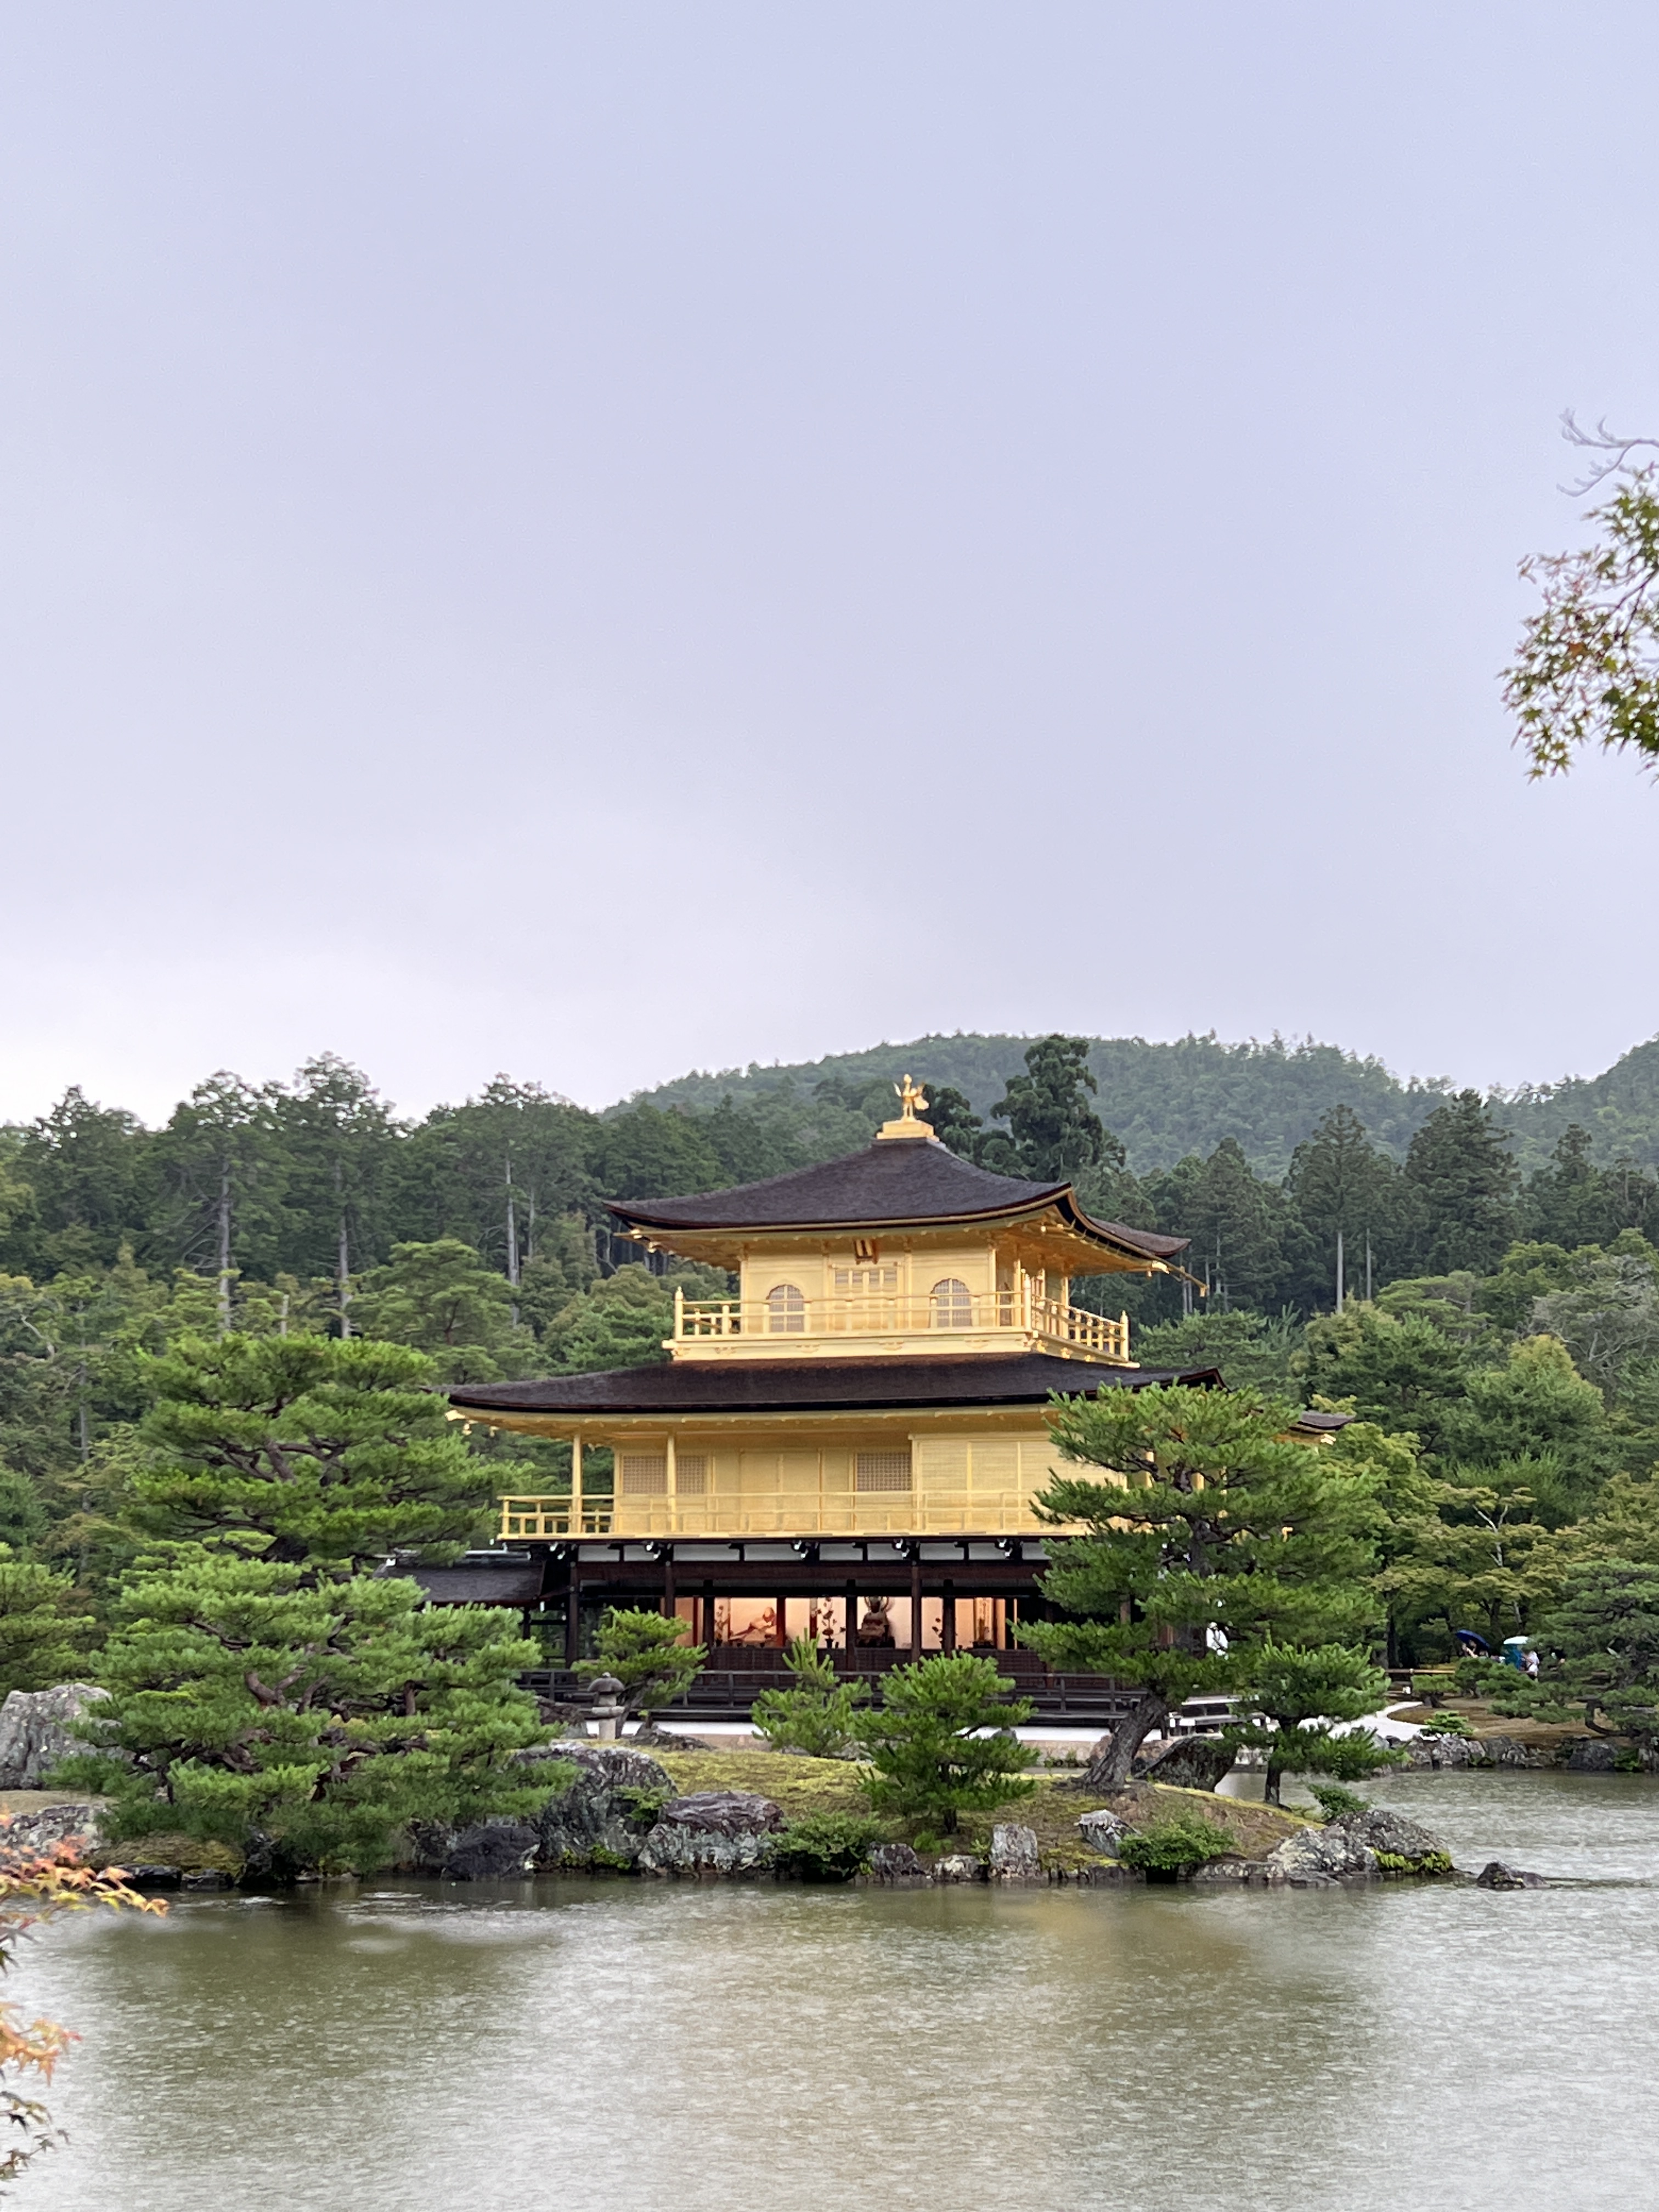
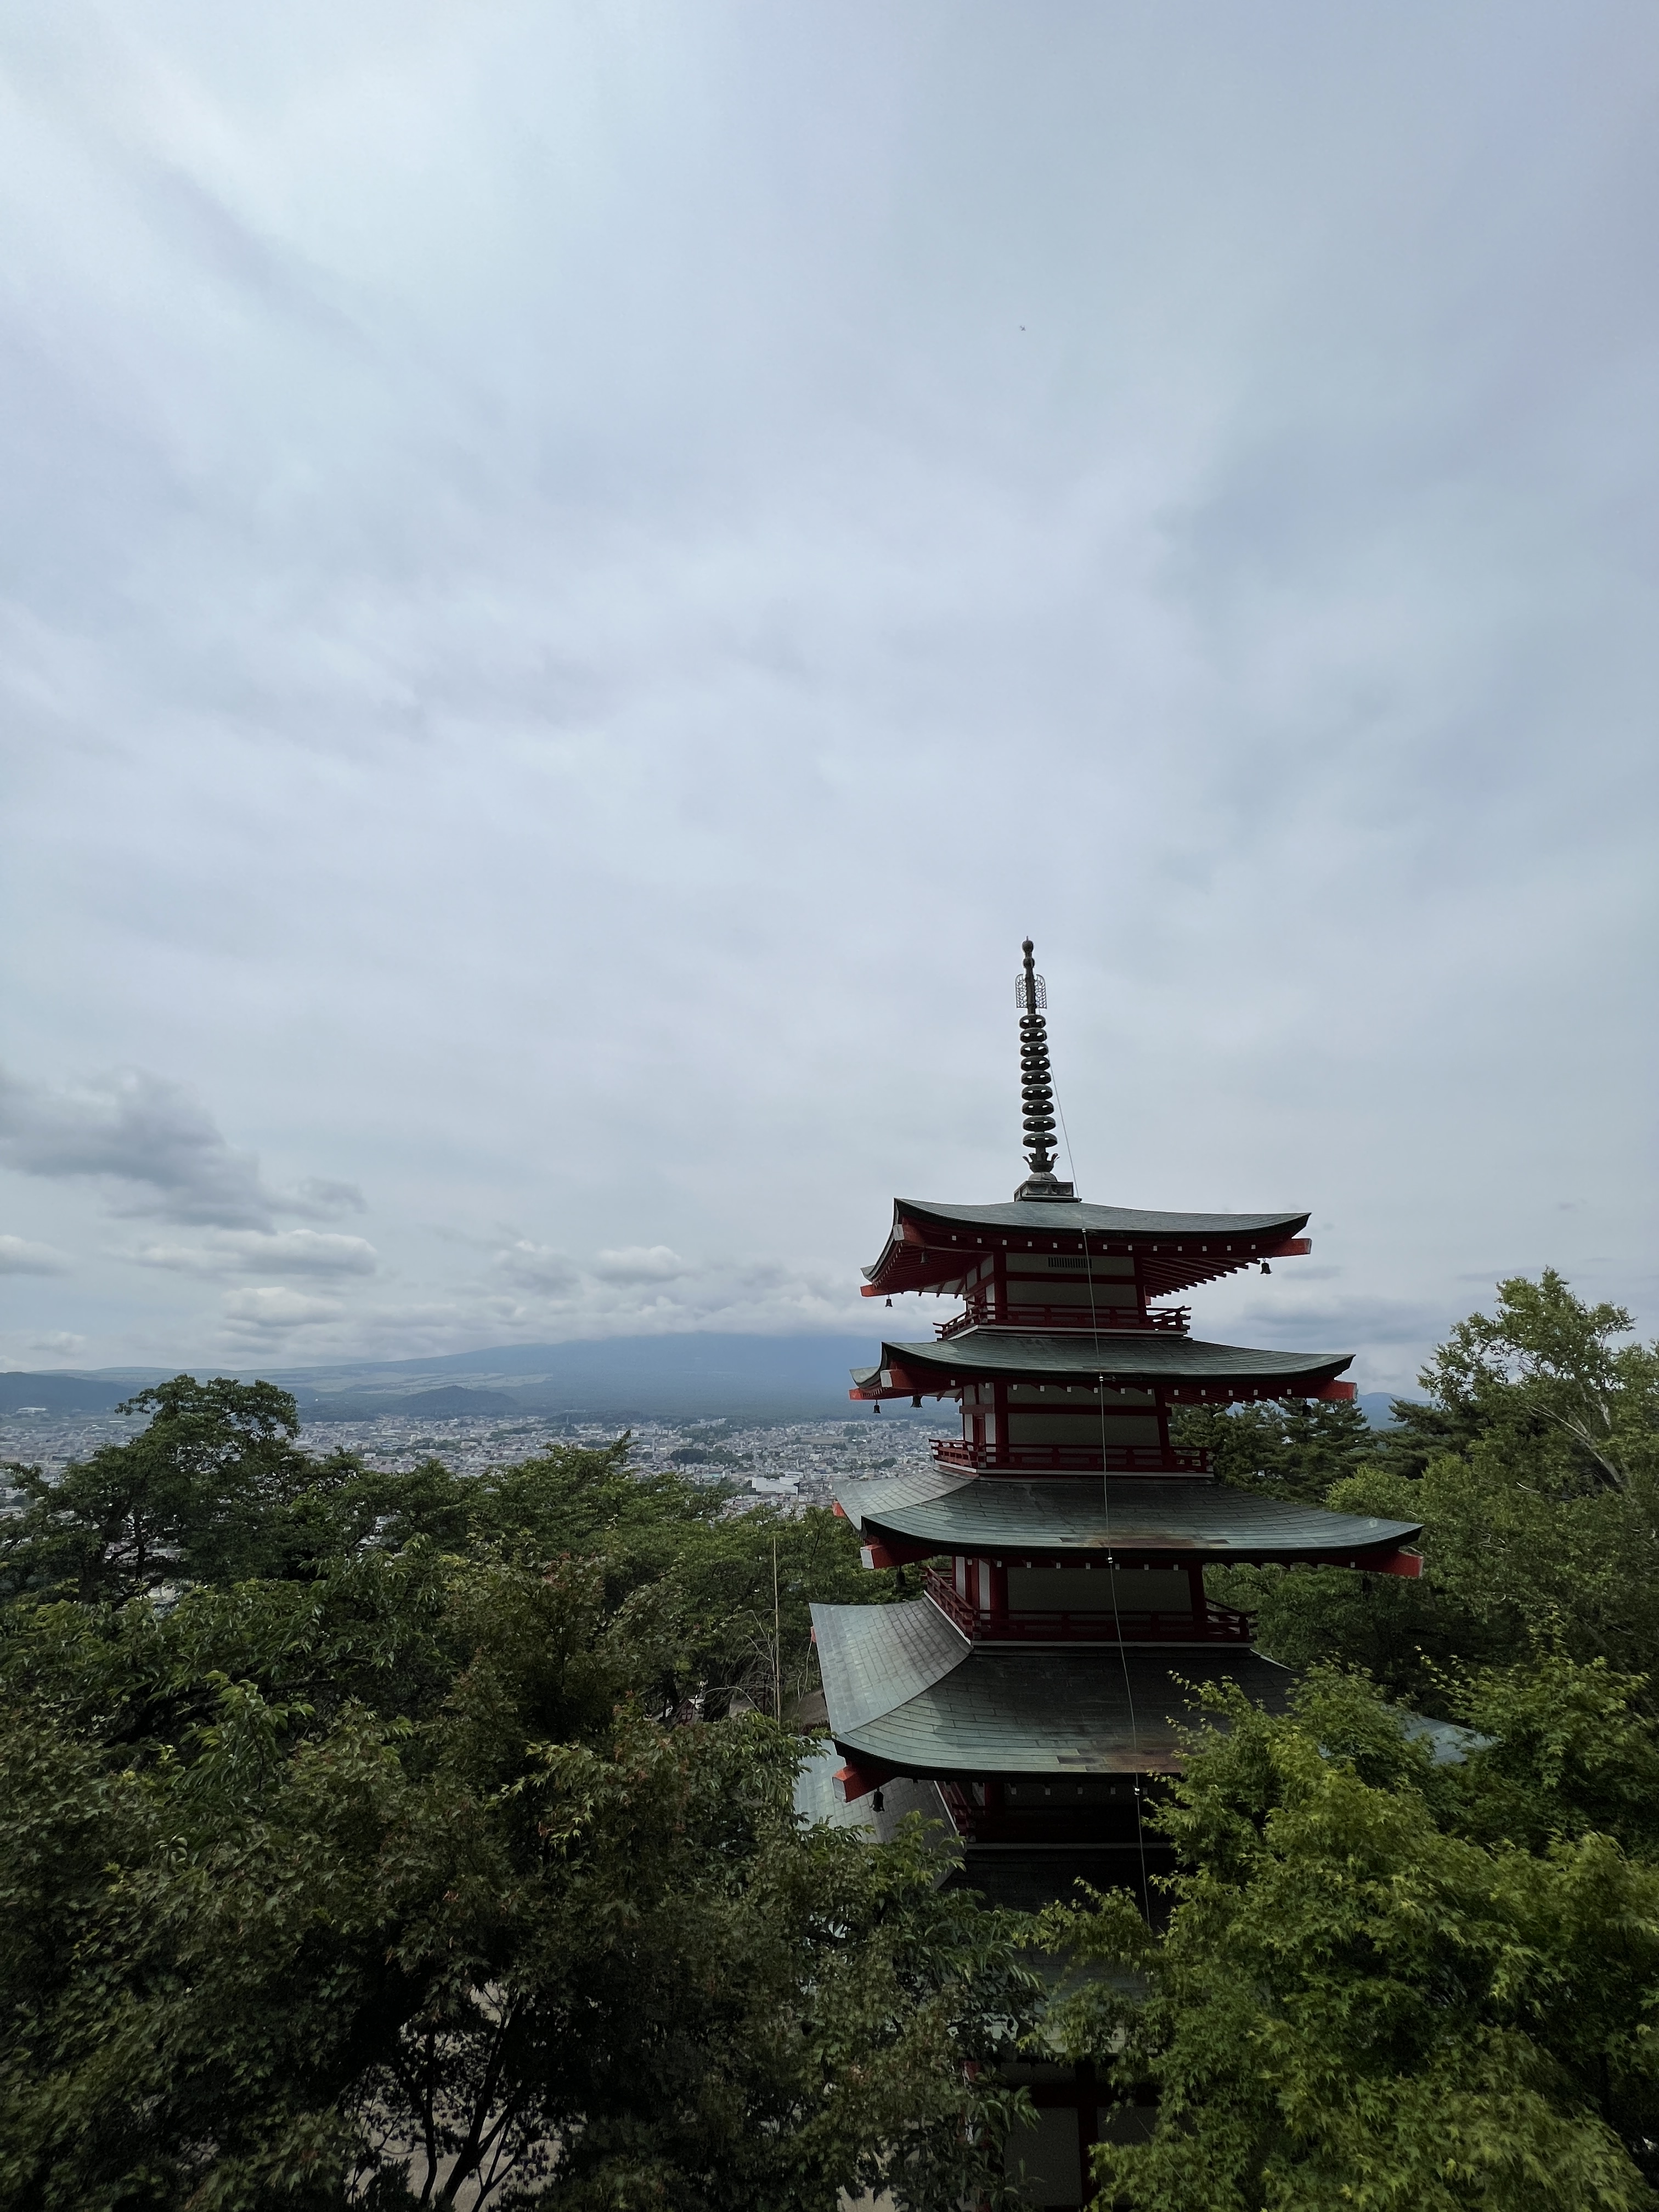
When planning your activities, it is worth noting that Mount Fuji is often hidden by clouds (we learned that in the rainy season, which is when we went, Mt. Fuji is only visible 10% of the time). If seeing Mt. Fuji is a really important part of your itinerary, plan to have access to it for more than just one day to increase your chances. For reference, the picture on the left is what Mt. Fuji looked like in the beginning of the day (it would have been visible behind the pagoda) vs. what we were fortunate enough to see for about an hour towards the late afternoon (picture on the right).

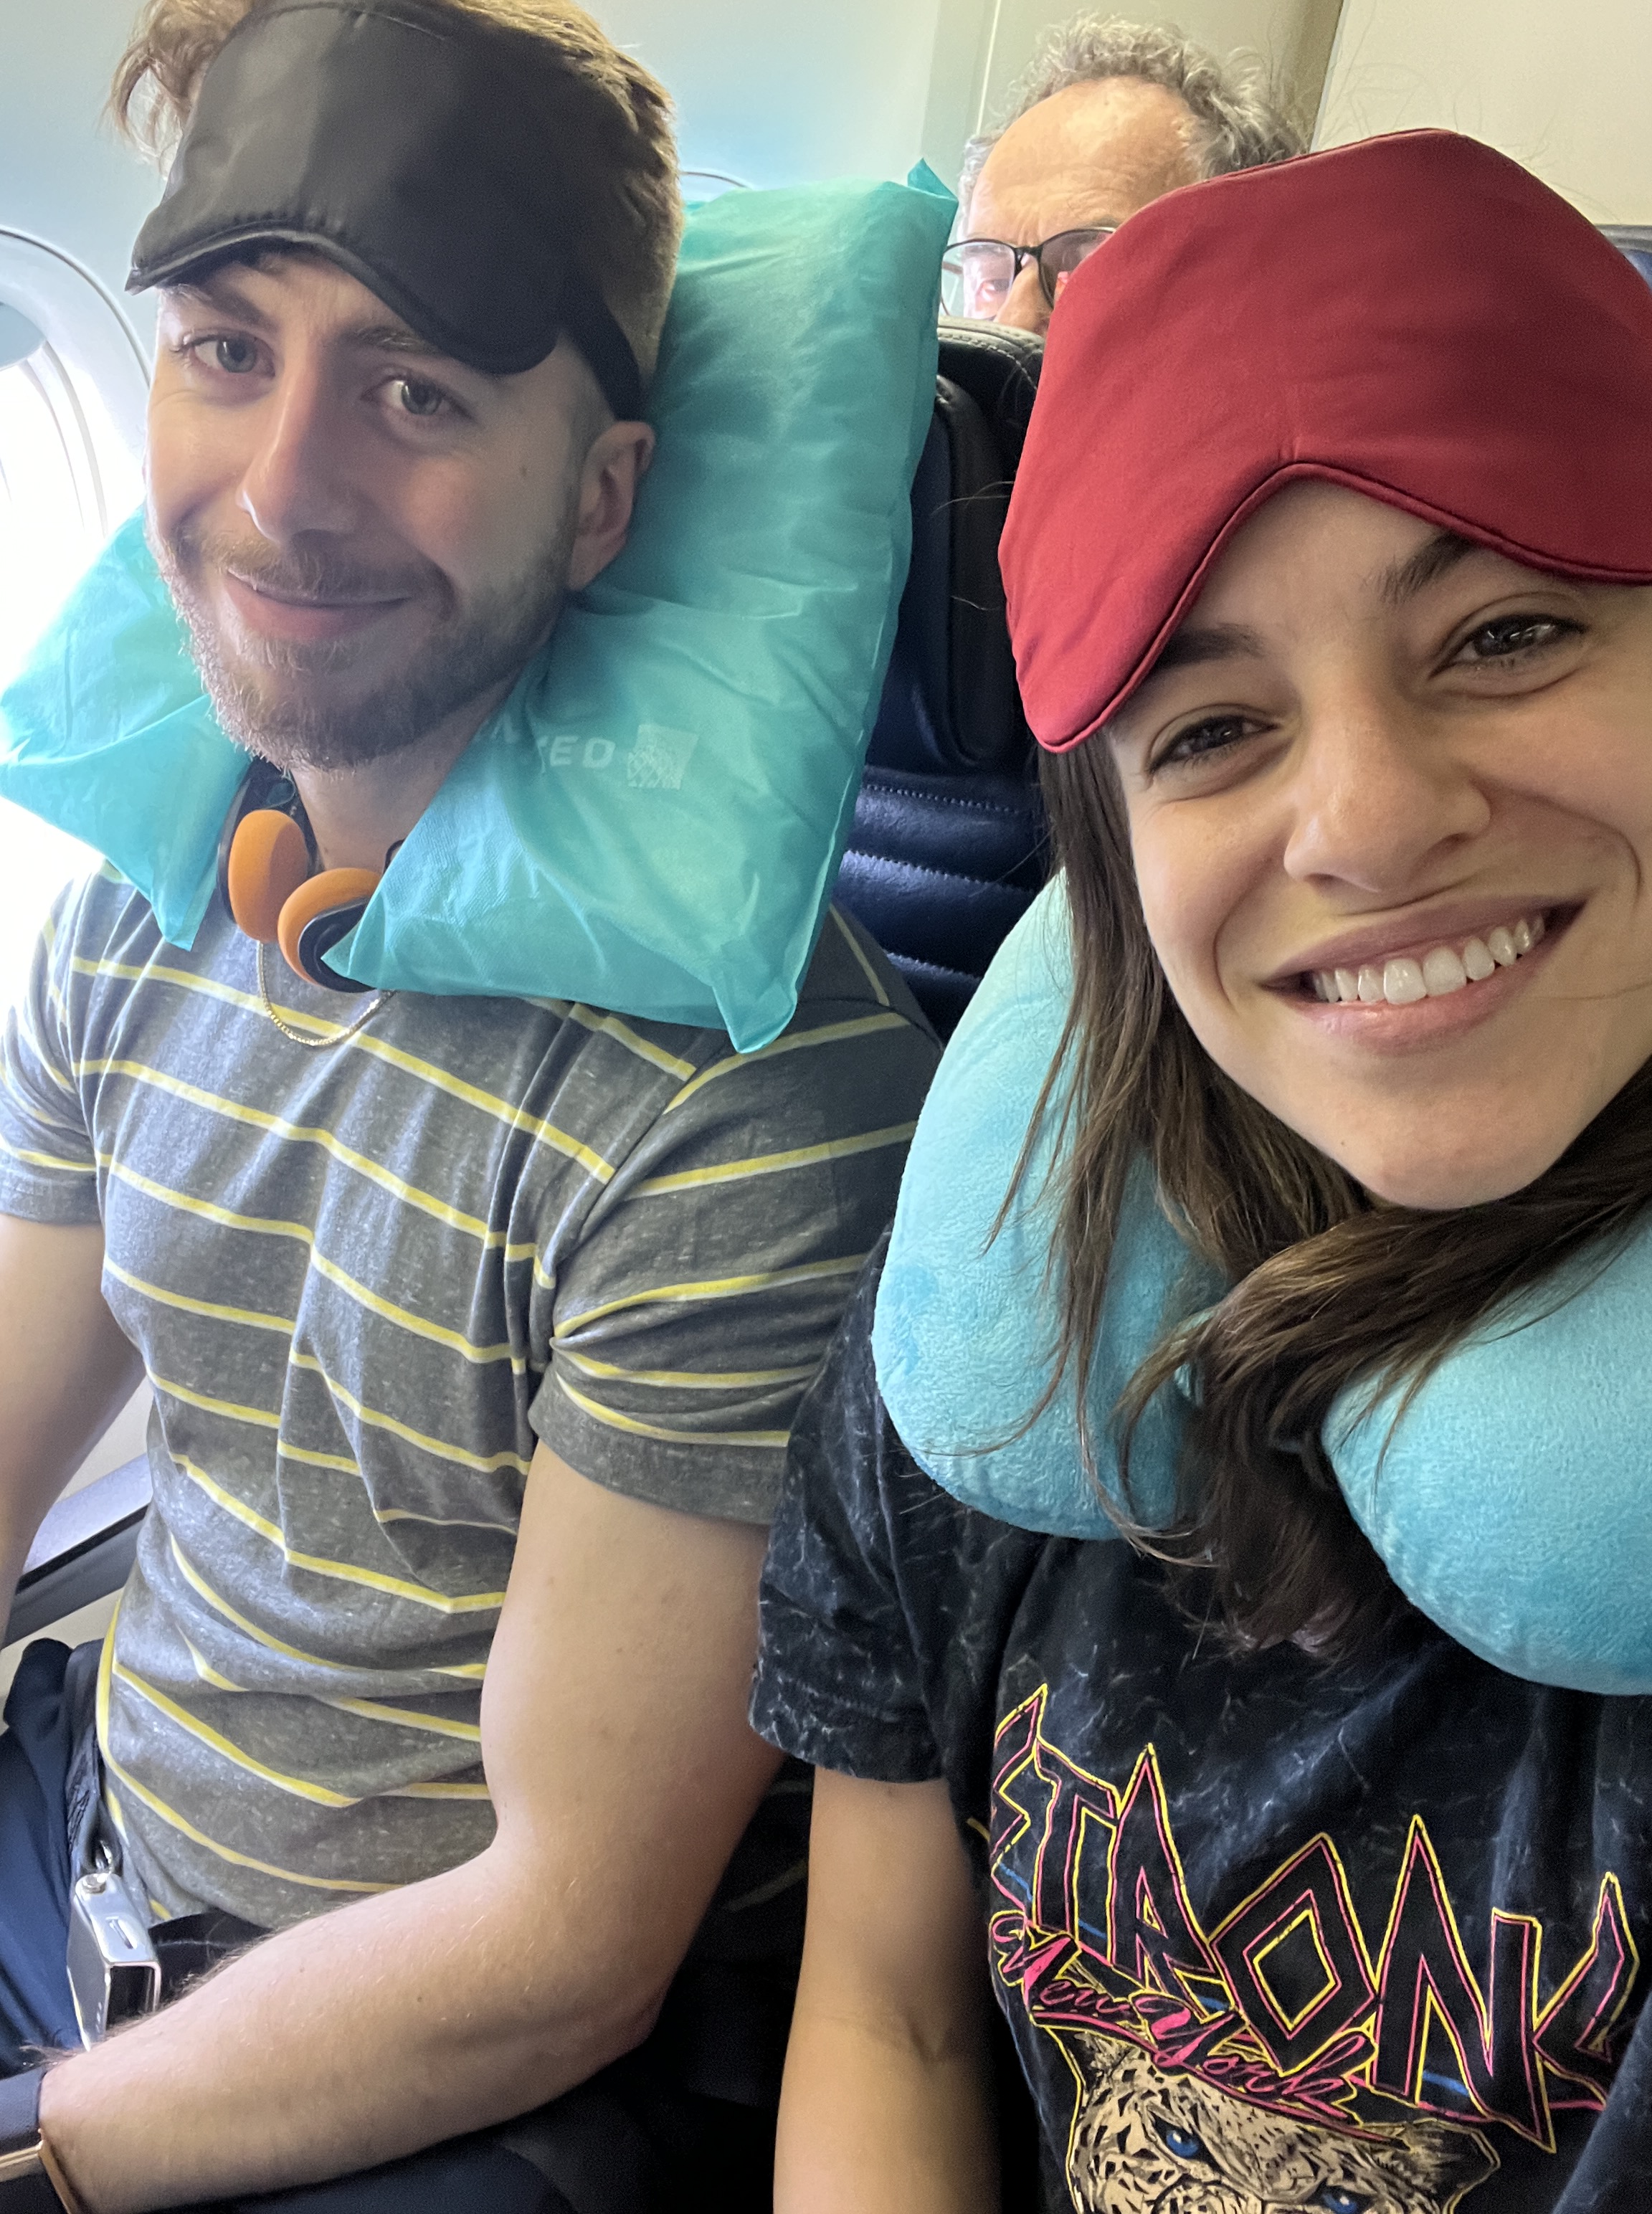
If you are a luxurious type of flyer, you can ignore this tip and proceed without judgment… But if you are an economy flyer like yours truly, my recommendation is (if you can) to splurge on a non-stop flight, as this will be better conducive to you getting some sleep and avoiding jet lag. Also, with a non stop flight you will likely find yourself on a giant plane. We wound up selecting seats that seemed trash at the time but wound up being really great – we sat ourselves in the second to last row, but it was a row of two seats directly behind a row of three seats, and where the third seat would have been was just extra leg room and room for stuff so it worked out really well. We were also right near the flight attendants so we could ask them things when we needed to, and we could peek back into their station to see when snacks and drinks were being prepared.
With jet lag in mind, we planned for an early flight on the way there (around ~10AM EST) and didn’t sleep much the night before so that we would be sleepy on the flight. We were able to sleep during the hours that we knew it would be evening in Japan to try to get us on a Japanese sleep schedule and that worked pretty well for jet lag upon arrival. We were not able to plan that as well on the flight home, but we did buffer in a day at home before going back to work to readjust our internal clocks and settle back in – also highly recommend this, because we needed it. It took about 3 days to really feel normal once we touched back down in NYC.
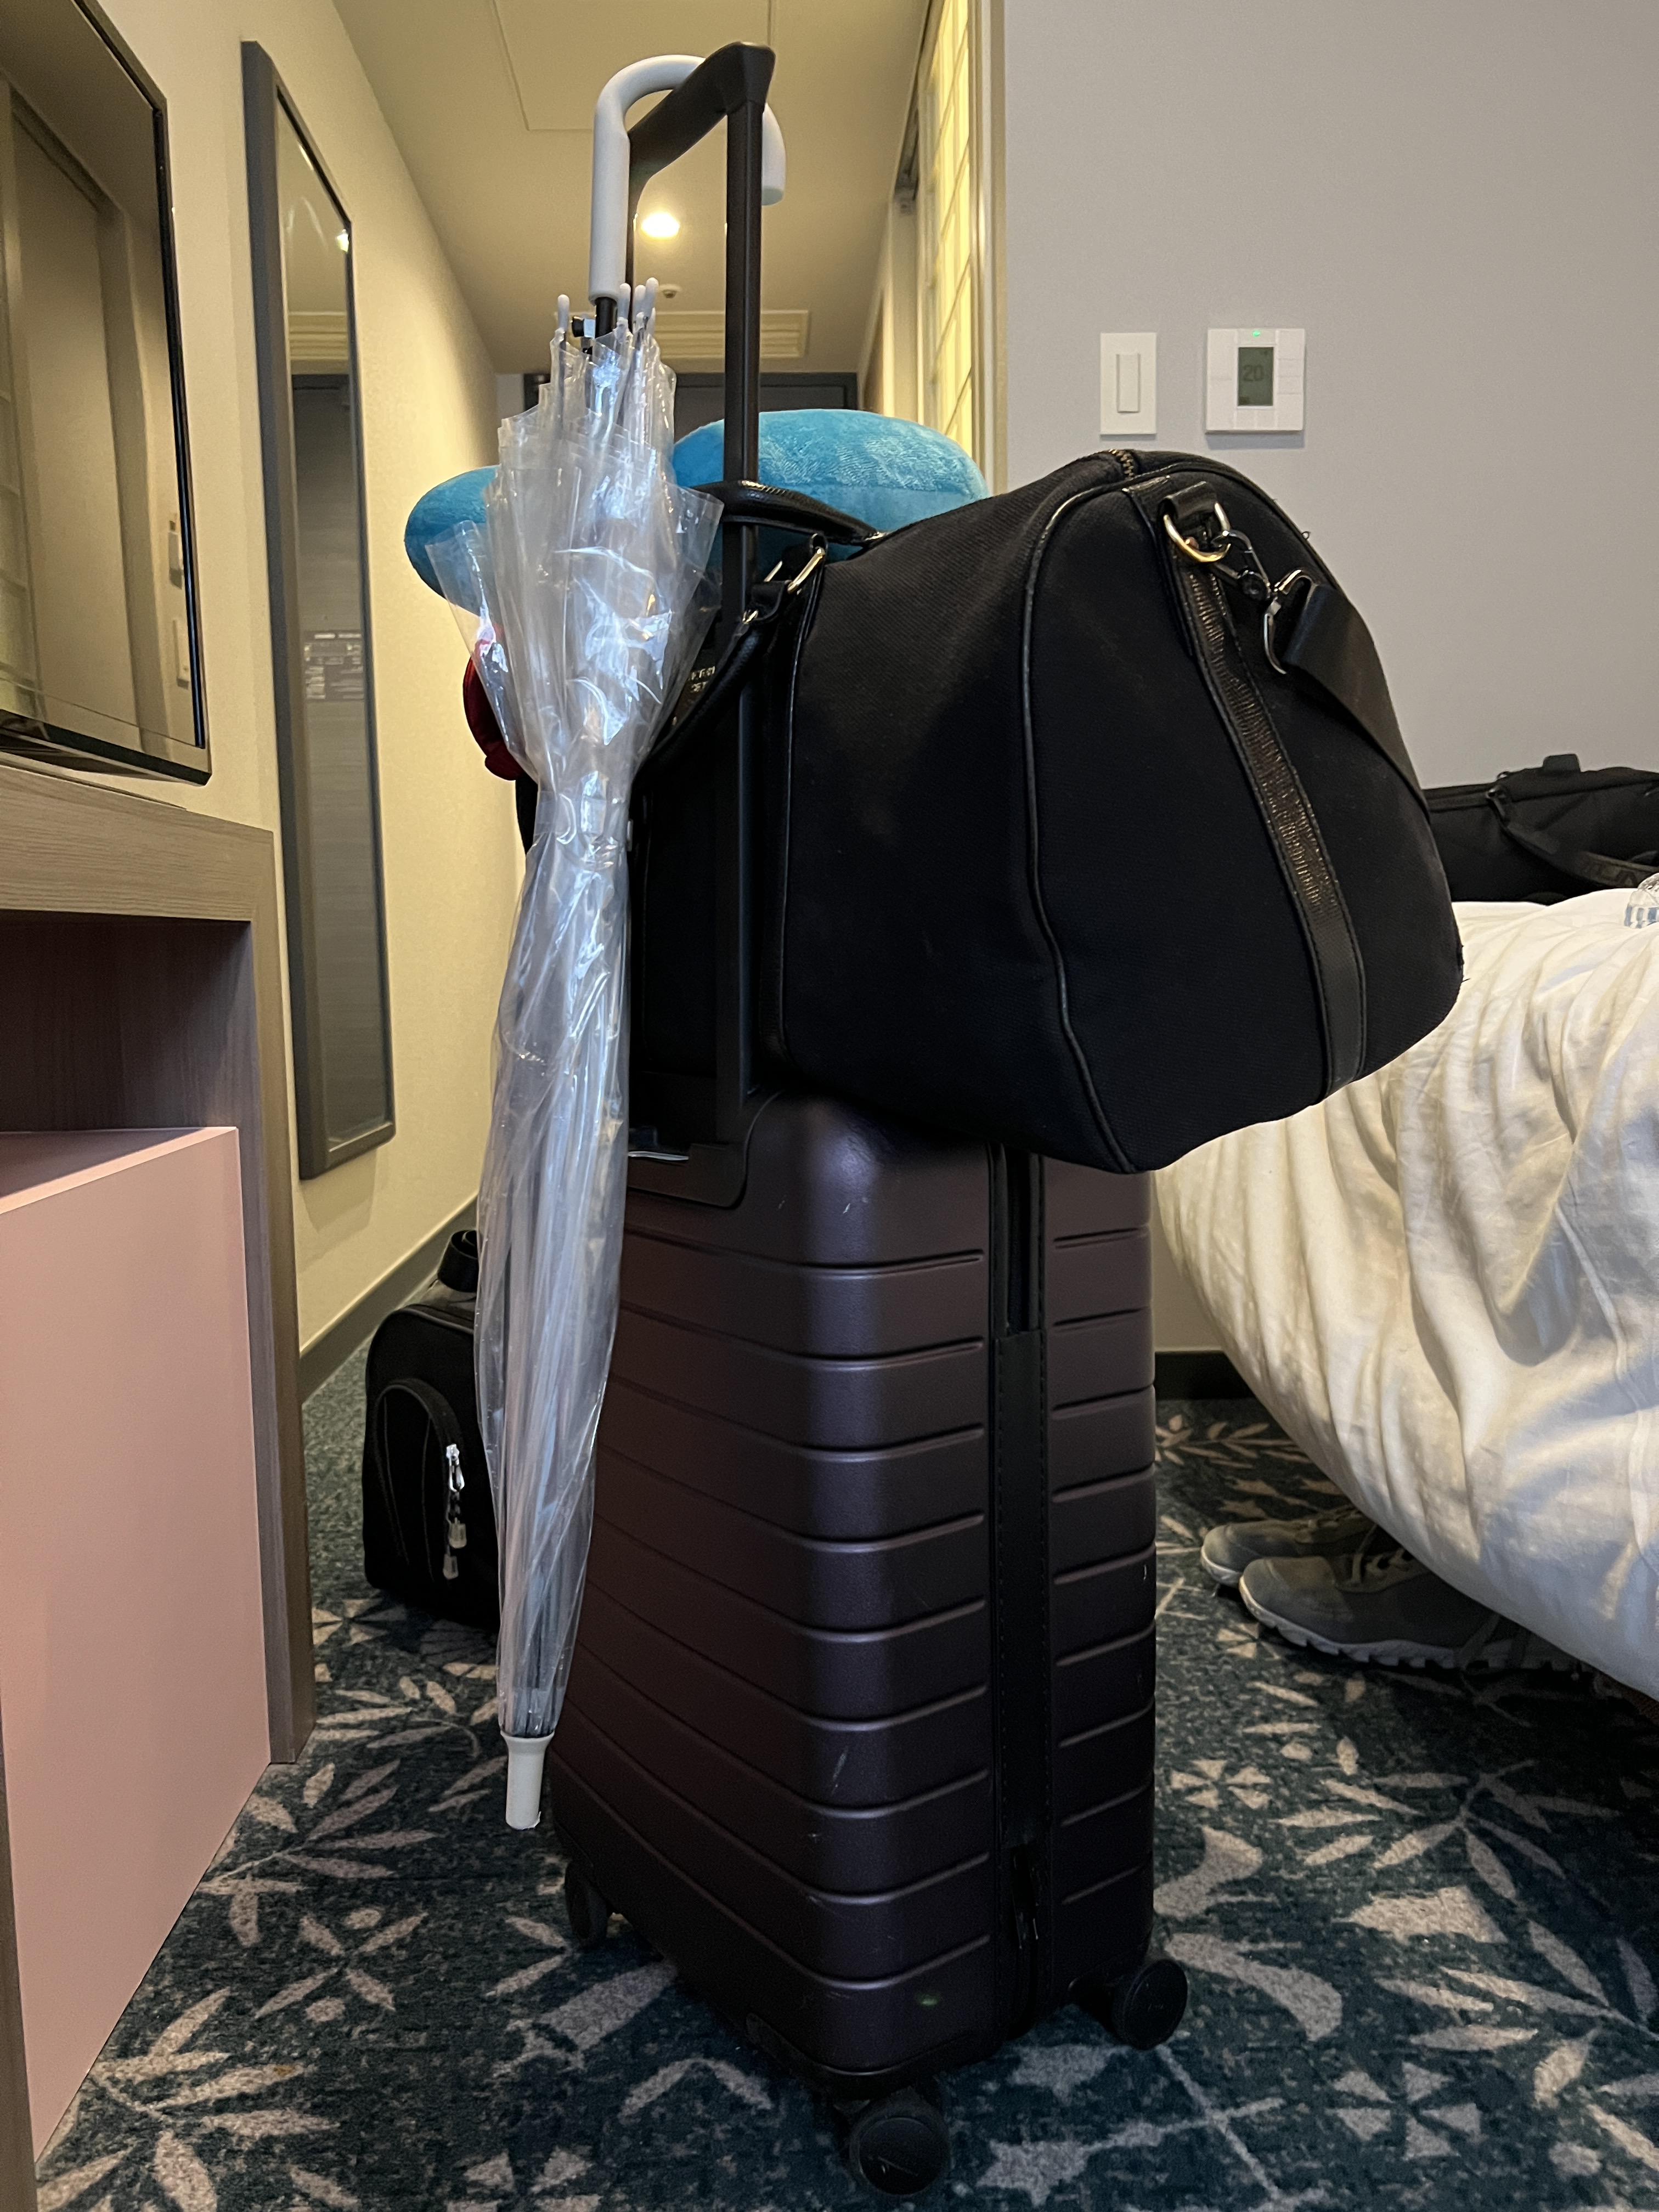
Buy an umbrella while you are in Japan! They have really nice ones with cool designs, or they have their standard clear full-sized one that mostly all the locals use. I found it fun to walk around using the clear one like everyone else, but I am always down to go out of my way to do what the locals do. My clear umbrella was useful during the trip and turned into a cute functional souvenir to bring home (though I do have to say, traveling around with a full sized umbrella was a little annoying).
(Update – I accidentally left my umbrella on the airplane in NY, so I strongly recommend not doing that.)

While in Japan, you will want to be prepared with cash (Yen). Here are some money-related tips that will prevent you from running into any snags while trying to execute the most perfect itinerary:
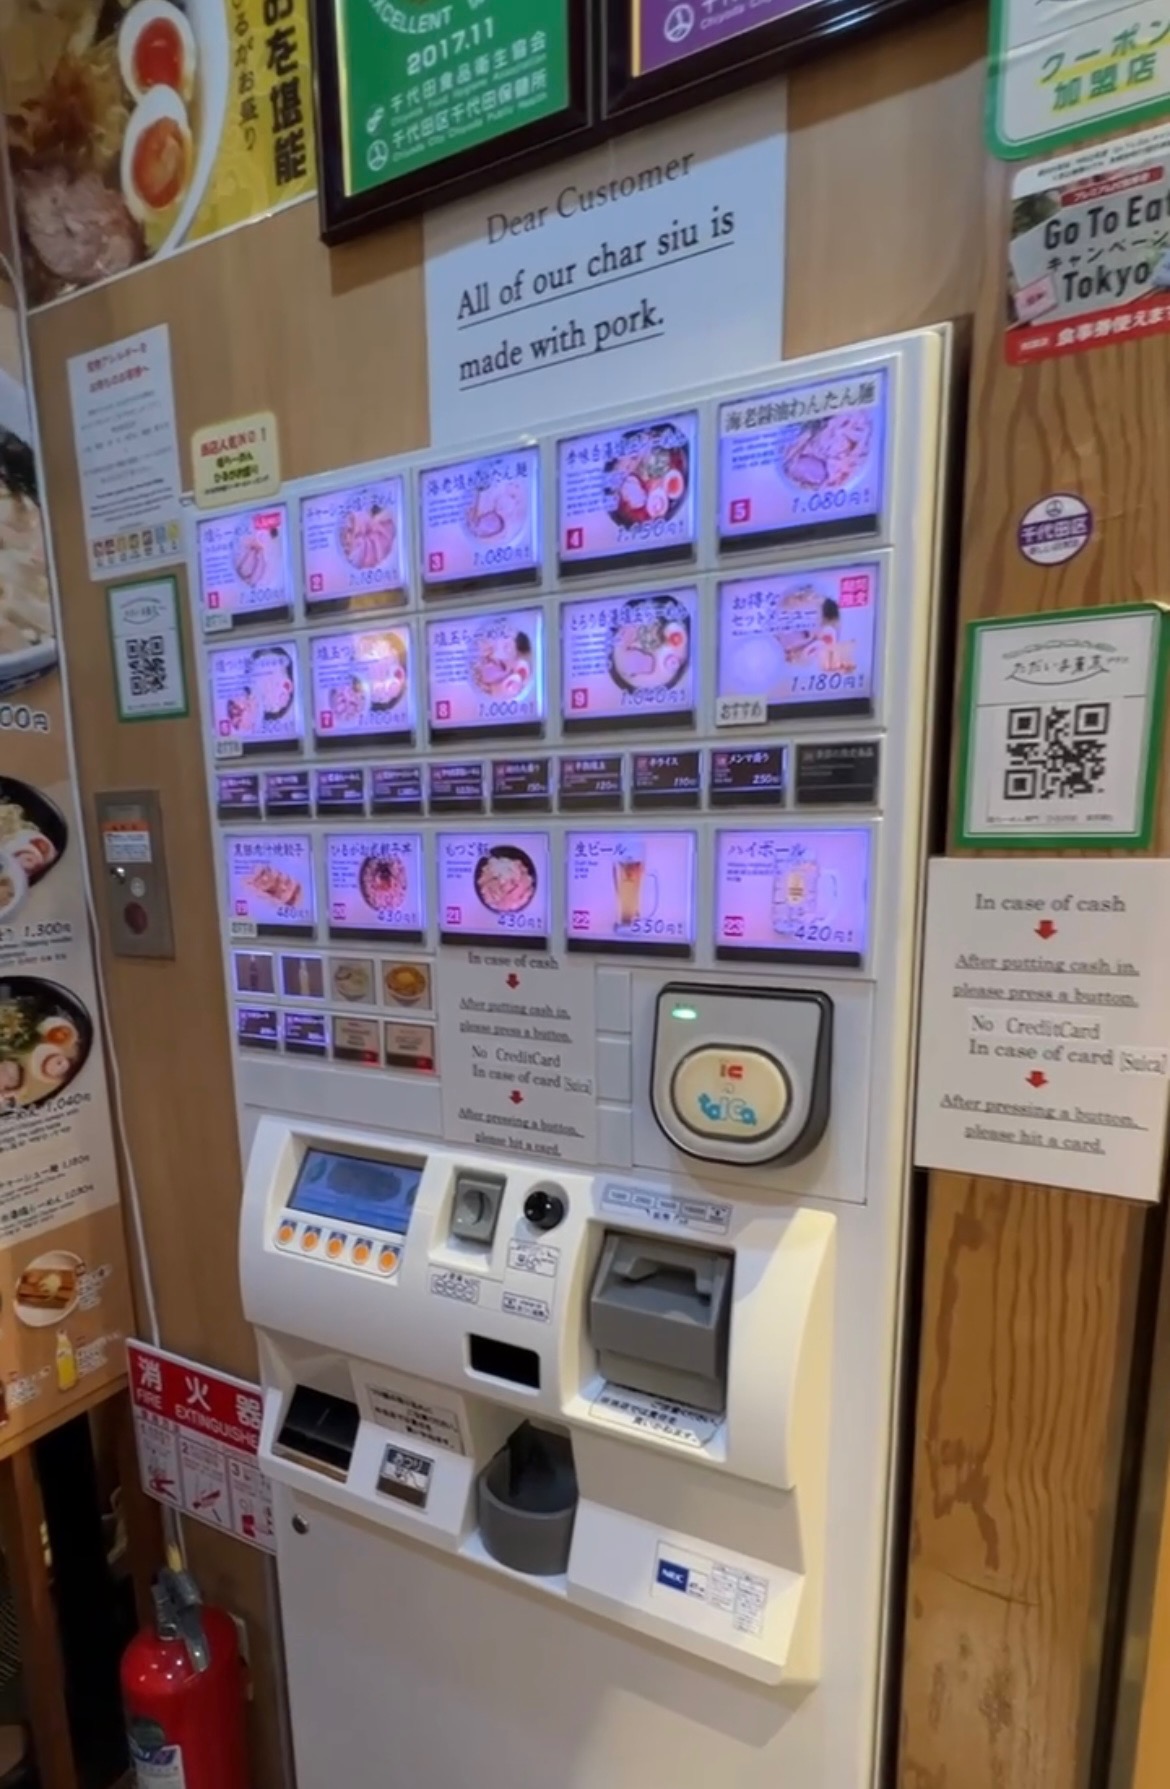
Always have cash on-hand, and lots of it! In Japan, Yen is the currency used, and it is not uncommon for people to carry around fairly large sums of yen in their wallet (in the equivalent of $500-$1k USD). We did not convert any cash ahead of the trip and relied on ATMs while we were there, which turned out to be a reliable strategy. Whenever we needed cash we just pulled the max that the ATM allowed to reduce on fees and number of trips to the ATM (although there were plenty of convenient ATM opportunities). We used cash for almost everything while we were out and about and for a lot of places cash was required (including some bars, restaurants, and the subways).
Similar to the subways, the bullet trains (Shinkansen) take cash only (unless you purchased a commuter card or rail pass ahead of time). The Shinkansen are more expensive (over $100 to get you from Tokyo to Kyoto, which is a ~2 hour trip), so this is another reason to generally just have cash on hand. In a pinch, you can purchase your Shinkansen ticket at a ticket window and then you can use a credit card.


This is a smaller one and you will learn about it literally immediately (and might already know about it from other trips abroad) but hopefully this saves you a mini-panic attack: not all ATMs are international ones. We went to an ATM immediately upon landing at the airport and it rejected our cards. Mostly every other ATM we found outside the airport (aka all the ones in Family Mart or 711) were international. We had no issues taking out cash outside of the airport.
A coin purse is going to be really helpful, as most of the denominations in yen are coins. We bought cute coin purses a few days into the trip, but you can just as easily bring one from home.


While in Japan, it could be a little bit tricky to get used to getting around the most efficiently. Here are some navigation tips that will allow you to move around Japan as efficiently and comfortably as possible:
Getting subway tickets can be kind of annoying because your ticket is specific to your trip – you have to know which station you are going to (or the cost of your trip since cost depends on the destination), and you have to purchase a new ticket each and every time you enter the subway system. We did not get a rail pass (for the Shinkansen) or a pre-paid transport card (for the local subways) ahead of time but knowing what we know now we might have considered it. This post is a helpful resource to determining whether the rail pass is worth it for you. This post is a helpful resource with more information about the pre-paid transport card. Also noteworthy is that these commuter passes get physically mailed to you so you will need to do this with at least a few days of buffer time to allow for the pass to get mailed to your home address.
Google Maps was very helpful when it came to navigating the subways. There is a lot of information you need to make sure you are getting on the correct train (train line, direction, platform #), and Google Maps will provide all of that information. It even tells you which train car you should enter for the most efficient exit. It is also accurate with regard to train times which was very helpful because the subway system is punctual.

While it was helpful in providing information about what to do underground, Google Maps was not quite as helpful above ground. We found that it would often give us a weird “destination” point to walk to that was not exactly where we wanted/needed to be but it would get us close. We often used Google Maps directions to get us to the general area and then just use the pinpoint on the map of our final destination to get us the rest of the way. This includes subway entrances – just look for the main entrance icon on the map and do not worry about where Google tells you to go underground.
Another area where Google fell short was in determining the open/closed status of eateries. We learned from a local that the best way to determine whether a place is open at the time you want to go is to call ahead of time. We did not have phone call access while we were in Japan so about half the time when we showed up to a coffee shop or restaurant it was either closed or was entirely out of business or under construction.
Regardless, it was still helpful to check Google as it was typically accurate when a place was closed. Restaurants often have specific open/close times (a lot of them close for a few hours in the afternoon). A lot of activities/eateries are also closed on weekends or random weekdays that you would not necessarily anticipate.


An area where Google exceeded expectations was with the translate app! Download this and use the camera feature – this was invaluable when translating menus and street signs.
A lot of coffee/tea shops were sit-down only. The ones that have take-away cups will usually advertise it, but it is not common for people to sip coffee while walking around the street and even less common for people to have it on the train (unless you are on a Shinkansen bullet train). If you are a coffee/tea person, buffer in some extra time in your itinerary to sit down to enjoy your morning/afternoon cup. The good news is that Japan is incredibly efficient in its food service (and everything else for that matter), so unless you are looking to sit and hang for a while, this does not have to take longer than 15 minutes (so long as there is not a line at your coffee/tea shop).
Most eateries/coffee shops in Tokyo (and some in Kyoto/Osaka) are inside department stores or in tall building complexes. We found things fairly difficult to locate, as Google Maps gets you to the building but does not always tell you where to go from there, and the name of the shop and the address are all written in Japanese. Check the address on Google to see if there’s a “#F” designation, because this will tell you which floor it is on. Regardless, buffer time in your itinerary to wander around aimlessly looking for your destination, especially if you have a timed reservation.


There are very few trash cans on the street, and this is attributed partially to the fact that it is discouraged to eat/drink while moving around. If you do plan to make garbage while walking, also plan to carry that garbage around with you for a few hours. The best places to locate garbage cans are near vending machines (which are all over), but most of those are recycling only.
There are public restrooms EVERYWHERE. If you have a tiny bladder like me, you will absolutely love the sheer number of restrooms in this country.
There are vending machines EVERYWHERE. Some of them will have snacks/ice cream, but most have beverages, some of which are really cool! There are very few water fountains to refill your bottles so that is one drawback, but if you are willing to purchase a new bottle then you will never go thirsty. When I got tired of buying new bottles, I would honestly just refill in the bathroom sink – the tap water was completely fine on my stomach in general.

Hopefully these tips and tricks help you make the most of your time in Japan. Remember to check out part 1, which contains our absolute most favorite things that we did in Japan, and part 2 which details our itinerary in full – down the the very last detail plus photos!
Happy planning 🙂

2 thoughts on “Japan Bucket List Vacation – Everything You Need to Know! (Part 3 of 3)”