If you’re following me on Instagram, you might know that I recently started the ketogenic (keto) diet. I had been thinking of trying this diet for a while now, but was never able to jump on board with its restrictive nature. I am all about balance, especially finding the balance in a nutrition plan to incorporate all foods that you want to eat. However, after doing some more research about the keto diet and reading a few articles that particularly caught my interest, I decided to take the plunge and give it a try.
What is the ketogenic diet?
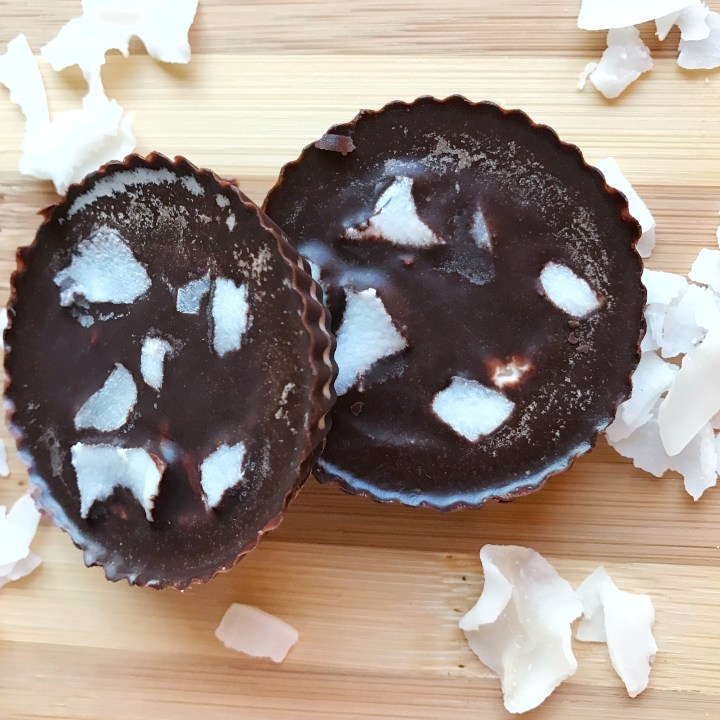
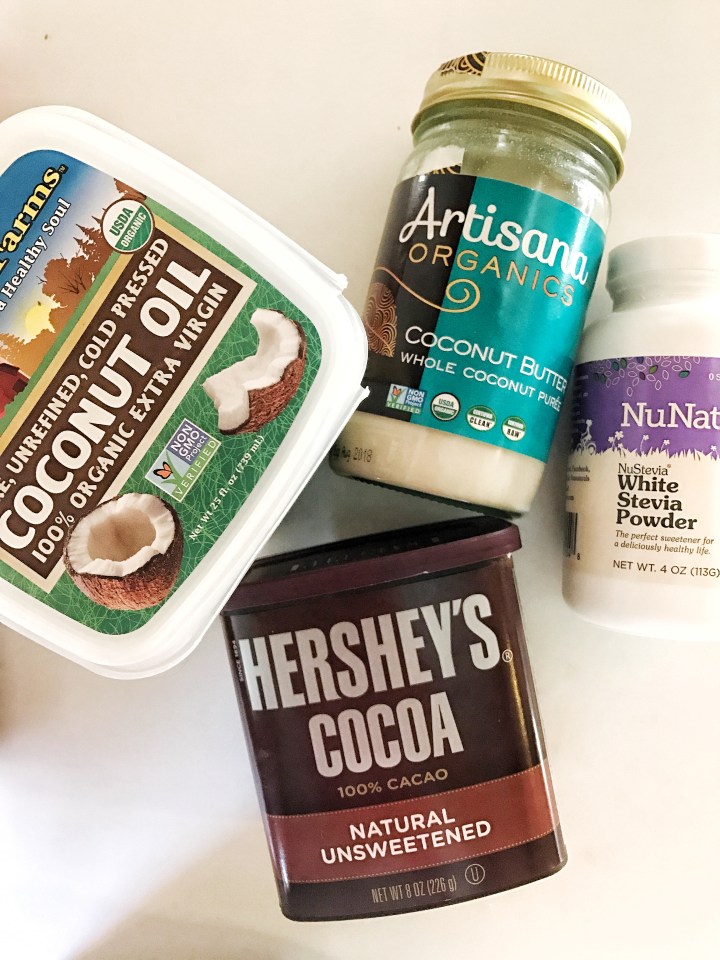
Boiled down to the very basic of basics, the ketogenic diet is one in which you eat very few carbs (ideally 20g net per day, or 50g total), moderate protein, and high fat (>70% total daily calories). Normally, the body uses the glucose it produces from carbs as a source of energy, because it is a quick and easily created source of sugar. The body can alternatively use ketones for energy when glucose is in short supply, and these are produced from the breakdown of fats by the liver. The goal of the ketogenic diet is to put your body into a state of ketosis, in which it is consistently producing ketones, and actually prefers to use ketones for energy instead of glucose. Since ketones are produced by breaking down fat, your body looks towards your diet for fats it can use to produce ketones, but also to the fat you already have stored on your body. This is why fat loss is a typical benefit of the ketogenic diet. Other rumored benefits include stabilization of blood sugar, a decrease in sugar cravings, increased mental focus, and clearer skin.
My personal decision to try keto…
I think that one of the main reasons I recently have been seriously considering trying keto was that my regimen at the time (high protein, moderate carbs, low fat) was starting to feel very unsatisfying. I tend towards low blood sugar, so I often feel insatiably hungry, but I was also starting to have unique cravings, mostly for fatty things. And I wasn’t simply craving greasy foods, but I wanted nuts, avocados, and red meats – things I historically don’t enjoy indulging in. I had to assume that my body needed something I wasn’t giving it enough of, namely healthy fats. Also, the keto diet claims to stabilize blood sugar, so I thought maybe I could get those hunger pains under control once and for all! Once I started doing more reading on the diet, I learned that it is known to increase energy/brain function throughout the day, and who doesn’t want to be more energized and productive? Lastly, I have always been curious about how the keto diet would affect my body fat percentage and in general the way I look.
Once I had done the research that I considered to be sufficient, I started to get really excited about starting up. I always enjoy a good challenge, and to say this would be a challenge is an understatement! The keto diet basically broke everything I understood to be true about nutrition, and it was almost the exact opposite of how I had been currently eating. My entire grocery list would need to be revamped, and I’d have to figure out a whole new store of recipes. Challenge accepted!
I decided to start on a Monday, and I had three days consecutively off from work (for the July 4th holiday), so I figured that would be enough time to get through the first few days of side effects while I was in the comfort of my own home. And, I had a bacon egg and cheese bagel the day before (Sunday) so I felt as though this was the absolutely correct decision to make the Monday after.
Day 1 – Monday
I woke up this morning super excited, not only because I had the day off from work, but also because I had resolved to commit to a very involved and challenging nutrition regimen. In addition to adopting the keto diet, I also decided that I wanted to try intermittent fasting as many days as possible. For me, this meant choosing a roughly 8 hour window in which I would eat, and the other 16 hours I wouldn’t consume any calories to allow my body to process whatever I had previously put into it.
I wasn’t feeling too hungry, and hadn’t gone to the gym in the morning, so I wanted to try intermittent fasting on this first day. My fridge was completely empty, so I went to the grocery store to stock both my fridge and pantry with keto friendly food and snacks. Here’s what I bought:
- Eggs. Lots of them.
- Avocados. Lots of them.
- Chicken thighs
- Grass fed butter
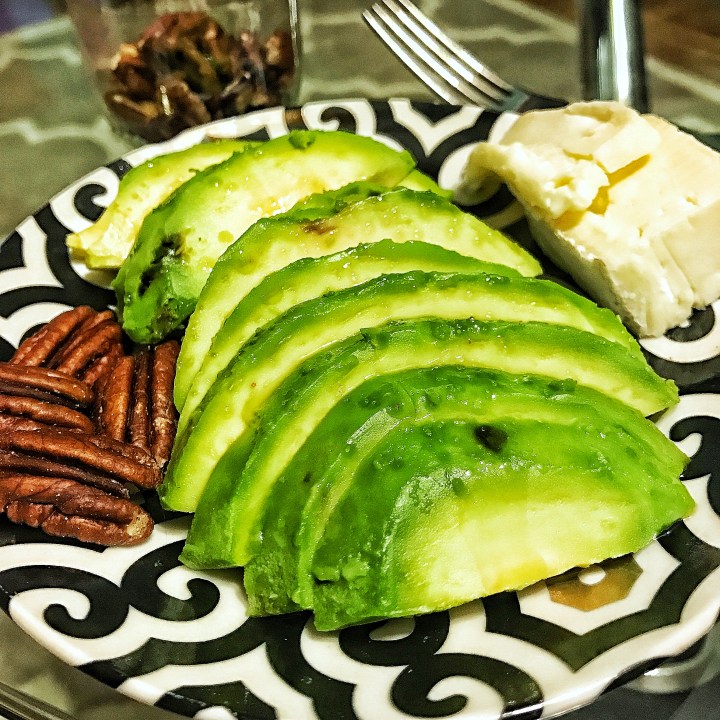
- Brie cheese
- Mozzarella cheese
- Monterey jack cheese
- Cottage cheese
- Mini cucumbers
- Fresh baby spinach
- Lettuce
- Pecans
- Olive oil

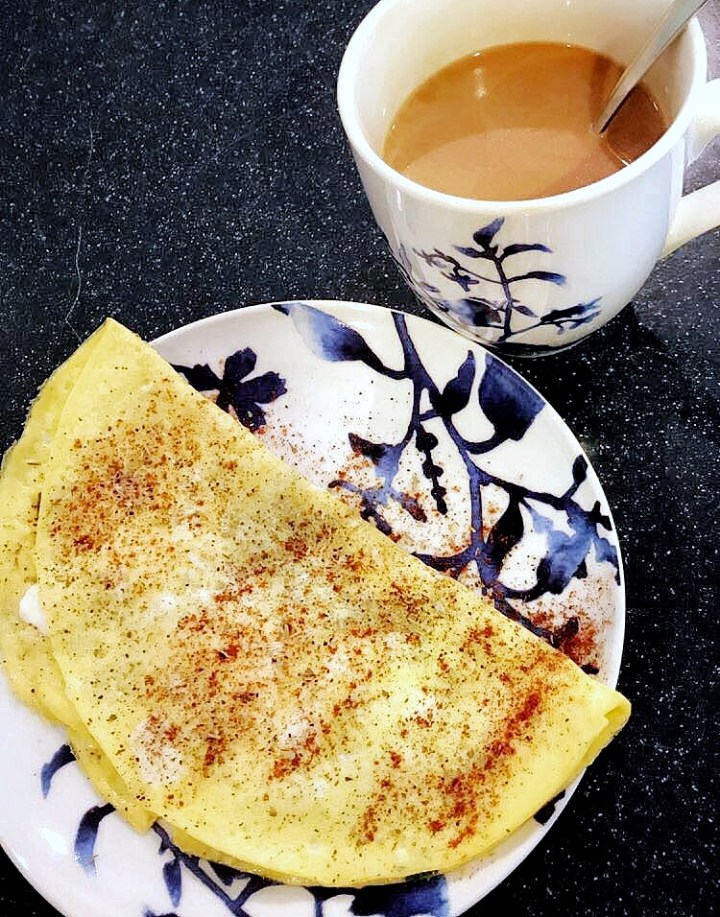
I had my first meal at 1:30 PM and it was: 2 eggs, 1 oz monterey jack cheese, 100g avocado, and 14g (1tbsp) butter. I also added salt, because I read that this diet tends to dehydrate you, and you should add salt to your food for electrolytes. You don’t need to tell me twice to eat salt, so I seasoned to my heart’s content. This was my first time eating butter and cheese in my eggs in YEARS and omg was it delicious. It was like flavor overload. It did feel heavy, though, and I almost couldn’t finish it all (and if you know me, you know how uncharacteristic this is). As soon as I was done eating I was very aware of how full I felt, and wondered if I’d be hungry again in an hour, like I typically would be after a meal.

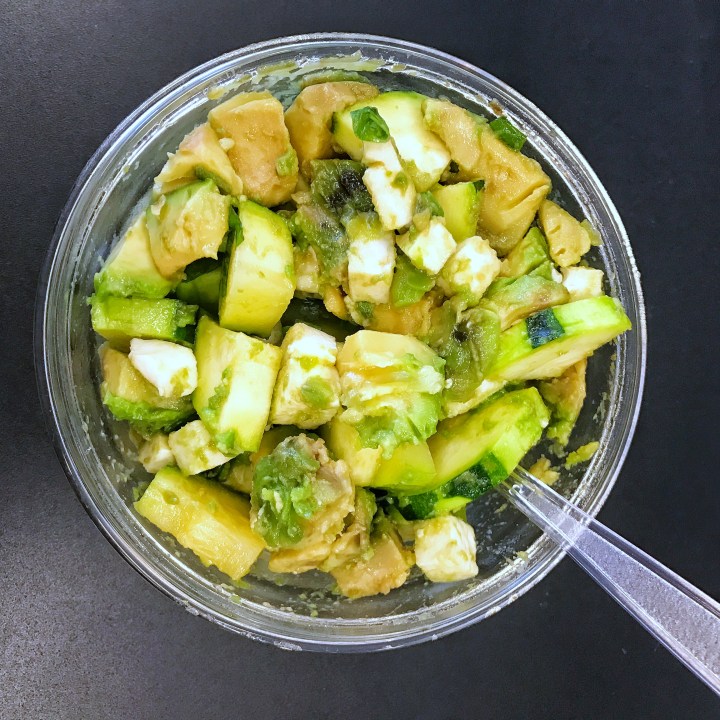
Well, I was full for HOURS. I did some chores and went to the gym for an incredible lift. I didn’t need to eat again (not even a snack) before the gym, and my next meal wasn’t until 6:30 PM. I made myself a salad with 100g of spinach, 100g cucumber, 100g avocado, 1 oz monterey jack cheese, 1 oz pecans, 1 tbsp olive oil, and 1 oz of brie on the side. Added salt to this as well. This was also as filling as it was tasty, and kept me full until my 9:30 PM bedtime snack of 1/2 cup of cottage cheese.

Overall, this day wasn’t bad. I wasn’t hungry at all between meals, food felt a bit heavy, and by the end of the day I was really tired. I went to sleep pretty early in the hopes of sleeping off the grog.
Day 2 – Tuesday
Another day off from work, because it’s the Fourth of July! And what better way to spend the holiday than planning out your meals for your new diet? I intermittent fasted again today so I had my first meal (snack?) at 1 PM of 100g of a bratwurst. Surprisingly, just that one sausage made me feel full and I didn’t have the urge to have another, or to keep snacking. The brat held me until dinner, which was at 5 PM. I put 100g BBQ’d skirt steak in a salad of 100g spinach, 100g cucumber, 100g avocado, 1 oz monterey jack cheese, with 1 tbsp of olive oil. Meals today felt less heavy, but I wasn’t really feeling too great all day. I had a headache and in the afternoon before dinner I was exhausted. I actually reclined in my lawn chair and fell asleep for a bit outside. I had a snack before bed at 9:30 PM of 100g avocado with a drizzle of 1 tbsp olive oil, 1 oz pecans, and 1 oz brie and was satisfied. I spent some time logging my meals for the next day in my app, and then went to sleep pretty early.

Day 3 – Wednesday
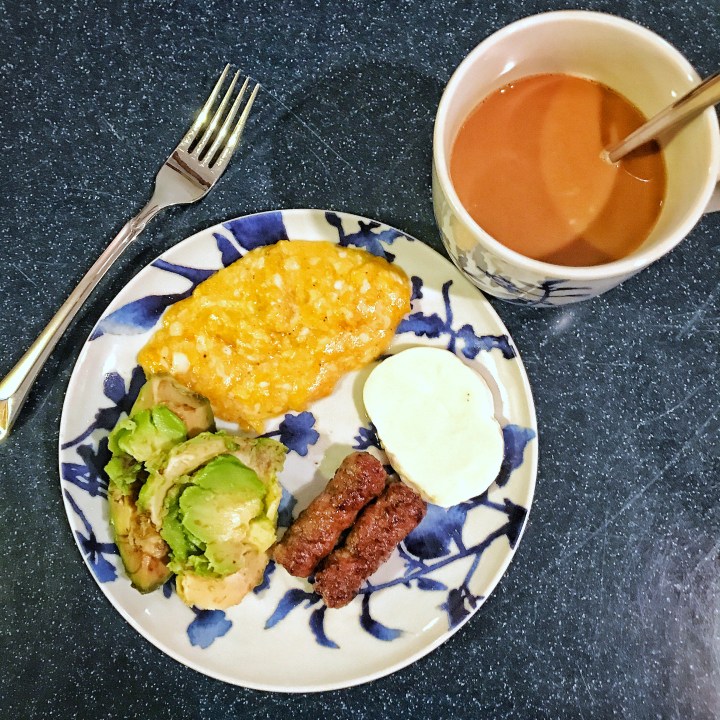
Last night’s time spent planning out my meals for the day went out the window when I woke up at 5:30 AM (on another day off from work, so I did NOT need to be up this early) and felt too awake and alert to fall back asleep. I layed in bed trying to go back to sleep until around 7, but wound up getting out of bed because I was starving. I ate breakfast at 7:30 AM, so I did not intermittent fast today, of 100g avocado, and 1 egg cooked in 14g (1 tbsp) of butter. I’m still not sure why, but today I was consistently a little bit hungry all day. I had a snack at 12:30 PM of 1/2 cup of cottage cheese and 1 oz pecans. I had dinner at 5:30 PM of 100g leftover skirt steak and 50g leftover bratwurst in a salad of 100g spinach with 1 tbsp olive oil and 1 tbsp parmesan cheese. I had 100g avocado at 10:00 PM as a snack before bed. Overall, this day was not extremely pleasant. My mouth was dry, and I tracked my water all day to make sure I was getting enough (my goal was 1 gallon for the whole day). I also had some muscle aches, which I read could be a symptom of dehydration and lack of electrolytes. Today I also bought ketone strips to test the level of ketones in my body, and in the early afternoon my levels were “trace.” By mid afternoon, I had drank most of my daily water goal, I was feeling less sleepy because of my snack, and the muscle aches had subsided a bit. By the time I went to sleep my ketone levels were “small,” which is one step up on the scale from “trace.” This was my first physical sign of progress (asides from my keto flu symptoms) so even though I wasn’t feeling so great, I was still pretty excited!
Before you decide that I’ve made an awful decision…
These three days sound terrible, right? Headaches, muscle aches, fatigue… What was I thinking? Well, before you let this write-up deter you from even considering this diet for yourself, rest easy knowing that it’s currently Saturday afternoon (day 6 of the diet), my keto flu symptoms have completely subsided, and I’m feeling great! My next post will detail days 4-7 of my first week of keto, so stay tuned for that before drawing conclusions based on my experiences.
Lastly, here’s a few keto tips I’ve picked up on so far from my experience
- Do your research prior – I generally go overboard on research before I start something new. That said, it’s definitely good to thoroughly understand a thing that you decide to participate in, especially if it involves health and nutrition. There are things you’ll need to know and understand in order to make sure you’re doing the best thing for your body, since every single person is different. Also, it’s good to understand the rules of the game, this way you’re not in the grocery store every minute googling ‘is [food item] keto friendly?’
- Know the symptoms and side effects – This goes hand in hand with doing your research, but it really helped that I got myself familiar with the side effects and symptoms of transitioning into this diet. It made me way less nervous when the symptoms started to affect me, and it also kept me motivated because it meant I was on the right track (even though the symptoms were unpleasant)
- Get the test strips – It’s nice to see your progress in front of your eyes. Again, do some research. These test strips aren’t 100% accurate, and your results will vary depending on different factors (how much water you’ve drank, when you last worked out, what time of day it is, etc..)
- Log your meals and track your macros – With a diet like this, it’s incredibly important to know exactly what you’re putting into your body. Your macro ratio has to be favorable for achieving ketosis, and in my opinion you need to count macros to achieve this.
- Log your entire day’s meals ahead of time – Especially in the very beginning. Counting macros is a tedious process if you aren’t used to it, and it becomes even more tedious on this diet because you can’t easily borrow across the macro categories. You need to hit your targets without going over your carbs, and it’s a game of Tetris to get you there. It helps to log everything in advance, because if you don’t you’ll likely end up in a situation where it’s dinner time and you have 5g protein left, you’ve already gone over carbs, and you have 67g of fats left. You could make yourself one lonely egg swimming in a pool of butter… or you could plan ahead and avoid this whole situation in the first place.
- Maintain flexibility – Don’t let the stigma on fat get into your head. If you’re hungry, please eat. Count your macros to make sure you’re at a comfortable number of calories. But if you’re hungry and all that fits in your macros is half an avocado, then by all means eat it guiltlessly.
- Drink a TON of water – I can’t stress this enough. A lot of the keto flu symptoms can be greatly reduced by just staying hydrated.
- Salt is your friend – I will be talking more about electrolytes in my next blog post (detailing the remaining days of the first week of keto) but it’s really important to make sure that, as you hydrate, you’re also replenishing your electrolytes. Sodium is important, and it’s easy to get this by simply salting your meals. I learned later that other electrolytes I was likely deficient in are potassium and magnesium, so I got supplements for those at my local health store.
- Do it on a weekend – Or whenever you have a couple of days off from work, if possible. There are symptoms that you will deal with, and it’s a lot easier to deal with them if you are in the comfort of your own home.
- Stick to it – Achieving ketosis can be finicky, and the last thing you want is to do all of this and not actually achieve ketosis because of a small evening affair with some Oreos.
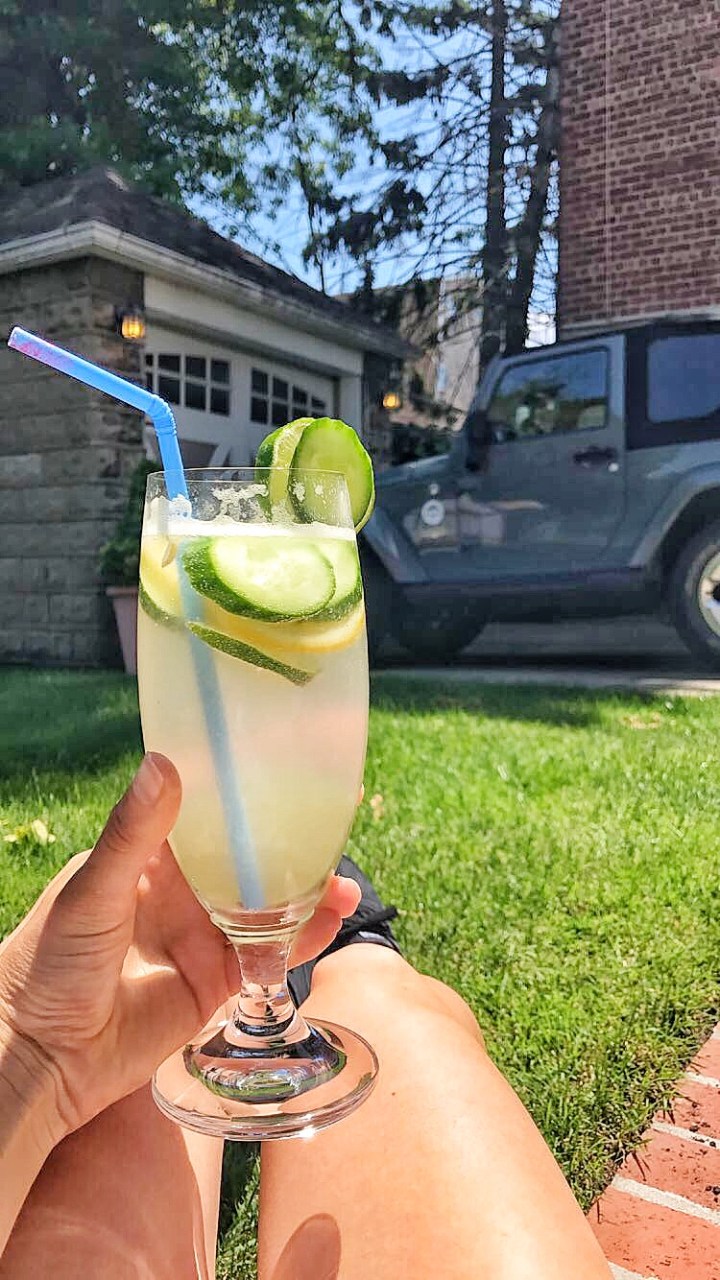
This has been a really long post, and there’s even more I could have said! As always, DM, comment, or email me any questions you have! Stay tuned next week for a post detailing the second half of my first keto week! (Also, while the rest of my family was sipping yummy summer cocktails, I made myself a refreshing keto friendly mocktail on the Fourth of July made with water, lemon juice, lime juice, and a splash of seltzer. Yum, right? It’s pictured below.)
Stay fit and fatty, all! 😉