Being on the ketogenic diet for a little while now, bread has definitely been something I miss. I was never a big carb person, and bread was always something I could take or leave, but I never realized how convenient bread made things. I’ve had to get creative these past couple of months when trying to sop up the last of my runny egg, or eat a cheeseburger at a barbeque. This past Labor Day, my parents got the most amazing specialty burger patties from the smokehouse upstate, so I decided that I wanted to enjoy a cheeseburger like a regular person, and so I committed to finding a recipe for keto bread that didn’t, frankly, suck.

I did some research online, and found a recipe for keto bread/buns that looked really promising. The first time I made the buns I followed the recipe exactly (because I really wanted them to work), but the second time around I experimented with different seasonings and methods. The original website, which you can find here, was really helpful and thorough, with great tips and tricks to make sure your keto rolls come out perfectly! You check out the website for a couple of different variations on how to prepare this recipe, but if you want to see what worked best for me and how I modified the recipe, keep reading!
The original website mentions this, and I will too – It helps to be the most accurate for this recipe, so try to measure in weight, rather than volume. Also, the original website states that it makes 10 buns, but I easily made 12 out of the dough. As such, the nutrition facts that I’ll mention later is reflective of a yield of 12.
With that said, let’s get started!
Ingredients:
- 150g almond flour (1.5 cup)
- 40g psyllium husk powder (2/3 cups psyllium husks or 1/3 cup psyllium husk powder
- 60g coconut flour (1/3 cup)
- 75g flax meal (1/2 cup)
- 2 tsp garlic powder (optional – my second time making this recipe I subbed this for nutritional yeast)
- 2tsp onion powder (optional – my second time making this recipe I subbed this for nutritional yeast)
- 2 tsp apple cider vinegar (can also use 2 tsp cream of tartar)
- 1 tsp baking soda
- 1 tsp salt
- Sesame seeds (Or any seeds you like. This is for sprinkling on top, so any amount you want is fine)
- 6 large egg whites
- 2 large eggs
- 2 cups of boiling water

Directions:
- Preheat your oven to 350 degrees F. Prepare a large baking sheet (you might need two) with parchment paper.
- Make sure your psyllium husks are in powder form. If you’ve purchased whole psyllium husks, blend them (I used my magic bullet) until they are a powder. Do the same with the flax – if you have flax seeds, just grind them until they become a meal.
- Mix all dry ingredients (except for the sesame seeds) in a large bowl. (You can use your stand mixer’s bowl and use a dough hook to mix everything together later. Using a rubber spatula to mix in your wet ingredients also works.)
- In two separate bowls, separate the egg whites from the yolks. (In one large bowl you should have 8 egg whites, and in the other bowl, two egg yolks). Whip the egg whites until they are light and fluffy, and have soft peaks. In the other bowl, beat the yolks and apple cider vinegar until combined and bubbly, but you don’t have to beat them too much. (If using cream of tartar instead of apple cider vinegar, make sure you’ve added it to the dry ingredients.
- Mix the egg yolks into the dry mixture. Then add the egg whites and fold gently. You want to mix this dough as little as possible to keep it as light and fluffy as possible.
- Pour the boiling water into the mixture and mix until just combined. Don’t over mix!
- Once combined, separate equal sized balls of the dough and set them down on the parchment lined baking sheet about an inch or two apart. This dough will spread, but it will also rise a fair amount, so press down the balls so they look almost like hamburger patties (I didn’t do this the first time around, and the rolls came out too spherical)
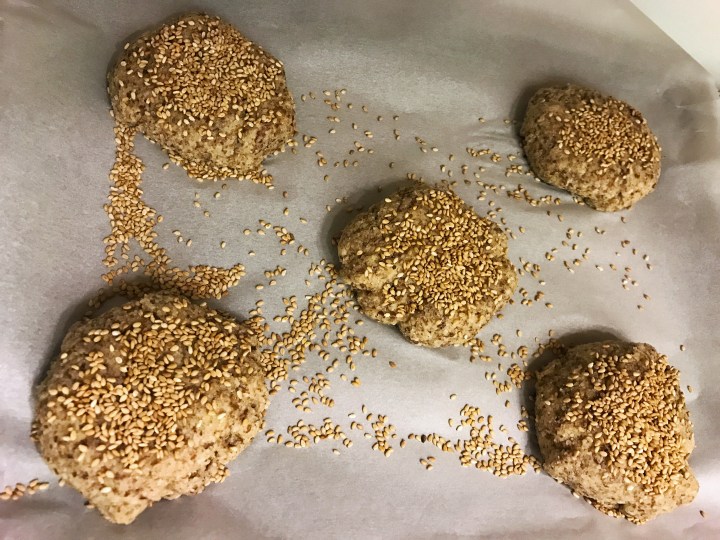
- Sprinkle sesame seeds (or whatever seeds you like) on top of the rolls, and press down so they stick.
- Place into the oven and bake for about an hour. Set the tray high enough so that the bottoms don’t burn (I like to place my baking tray on the top shelf, and put another empty tray on the bottom shelf to diffuse the heat in my oven). I also like to rotate my tray halfway (after around 25-30 minutes). You can start checking for doneness after 45 minutes. The thing with this dough is that it crisps nicely on the outside, and they almost seem like they are done after 30 minutes of baking, but the inside takes a little longer to cook, so trust and leave them in for at least 45 minutes as long as the bottoms aren’t burning.
- Once cooked, allow to cool completely before wrapping up for storage. Wrapped in saran wrap or in an airtight container, these will last about a week, and I have been storing mine in the fridge.
(Macro information below)

Macros per bun (yield 12) is as follows:
- Protein – 8g
- Carbs – 10g (3.5g net)
- Fat – 12g

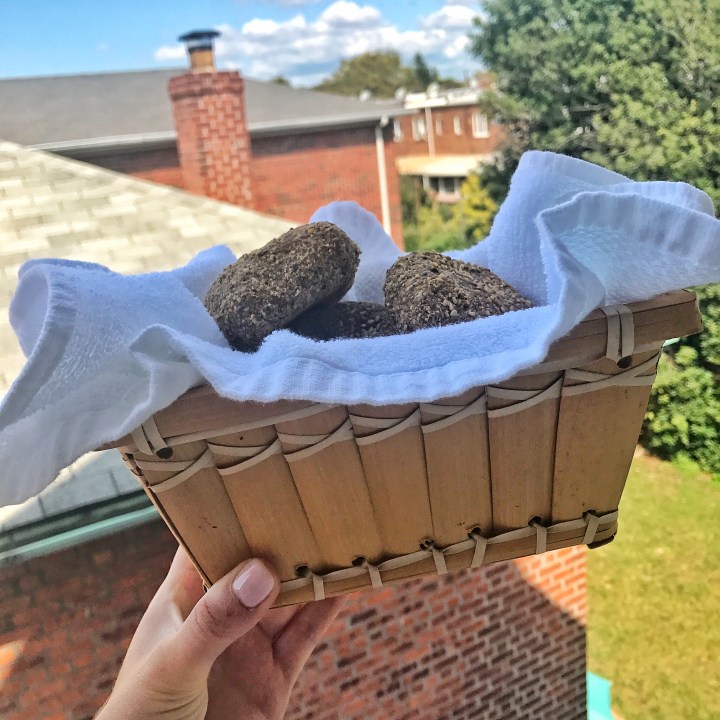
When you beat the eggs fluffy and are careful not to overmix, the buns come out light and fluffy, almost like english muffins. They are perfect for catching the yummy yolk from your runny egg, making a sandwich, dipping into your red sauce, or just having with some butter or cream cheese! One night this week I toasted up the bun in my oven with some parmesan cheese on it, spread some vodka sauce on top, and then topped with more parmesan cheese. I paired this with some almond meal crusted chicken and cauliflower. On another day, I took the roll to work and dipped it into olive oil and balsamic vinegar, seasoned with some salt and pepper.
The ketogenic diet doesn’t mean kissing your favorite foods goodbye! I have learned that there’s a keto-friendly substitute for just about any food you love, and I’m excited to see the creative ways you use these rolls in your meal prepping! Remember to comment/message me with any questions, and tag @liftinluxe #liftinluxe in your posts!
Stay fit and fluffy, all!


