The Easter holiday has always held a very special place in my heart. Growing up, it was the one day of the year when I got to see basically my entire huge Italian family because my grandparents would open their home the whole day for anyone who wanted to stop by. And EVERYONE stopped by. It was a day full of pigs in a blanket, socializing, and playing out on the lawn despite being in our nicest clothes. Our Easter celebrations have changed a lot since those days, but the holiday still holds that same nostalgic charm.
Now my parents are the Easter holiday hosts, and we open our home to the rest of the family for our own Easter brunch tradition. With family time being my favorite part of any holiday, a close second is the unique food traditions involved, and of course, the adorable desserts! Check out these Easter treats that I tried out this week to share with you guys for the coming holiday!
Carrot Garden Dirt Cups

These are really easy to make, super cute, and even include fruit! (OK, the amount of fruit to chocolate in this recipe is negligible, but still..) Added bonus, these would be a really great activity to do with kids. With minimal mess and no use of the oven, they’re basically fool proof!
Ingredients:
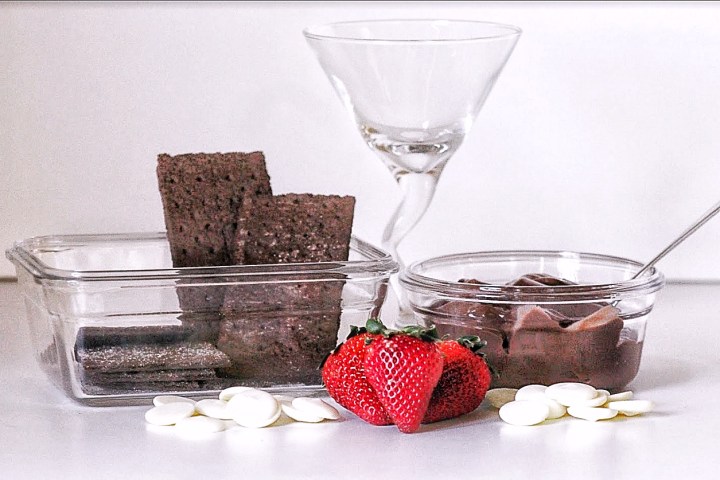
- Chocolate pudding (I used a pre-made pudding, but feel free to use whatever kind of pudding you prefer)
- Chocolate graham crackers (or chocolate cookie of choice as long as you can crumble it up)
- Strawberries
- White melting chocolate (about a cup will coat 6 strawberries)
- Orange food coloring (or red and yellow)
Instructions:
I made the amounts in the ingredient list above pretty vague, because it really depends on the size of your cups and how many you want to make. 2 cups of pudding and 1.5 graham cracker sleeves made 3 dirt cups for me (8 oz glasses).
- Using the instructions on the bag, melt the white chocolate.
- Using the orange food coloring, color the chocolate to your desired level of pigment you want your carrots to be. (If you are using red and yellow food coloring, the ratio is 1:2 red to yellow).
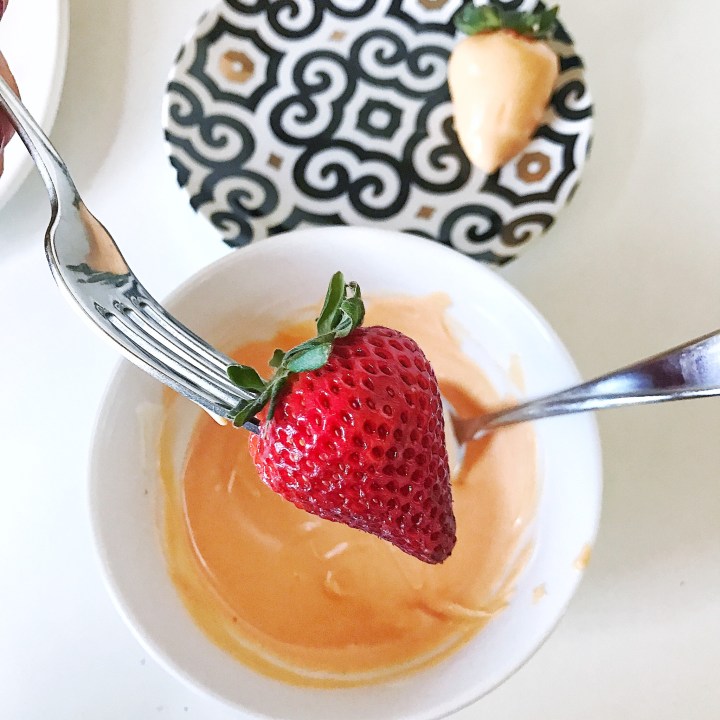
- Take your strawberry (wash it and dry it really well) and fold up the green leaves at the top carefully. You want them to remain intact, but you also don’t want to get chocolate on them.
- Using a fork, stick straight down into the strawberry, just under the leaves (don’t pierce the very top of the leaves). This will help you dunk them in the chocolate without getting your hands messy, and without leaving fingerprints on your chocolate carrots.
- Dunk the strawberries into the chocolate, being sure to cover as much of the fruit as possible without getting chocolate on the leaves.
- Slide the strawberries off the fork onto a parchment lined plate. Make sure you use the parchment here (or some type of non stick barrier) because otherwise the chocolate will stick to the plate instead of your strawberry.
- To make the ridges in the carrot, once all of the carrots are coated, add more orange food coloring to the remaining melted chocolate for contrast. Then drizzle stripes across the carrots. Once done, put the strawberries into the fridge or freezer to set.
- While the chocolate is setting, it’s time to assemble the dirt cups! Alternate layering chocolate pudding and crumbled graham cracker into the cups. The top layer should be the graham cracker crumbles.
- Once dirt cups are assembled, take the strawberries out of the fridge (make sure the chocolate has hardened completely) and carefully remove from the parchment paper and place on top of the dirt cups.


Keep these refrigerated until ready to serve!
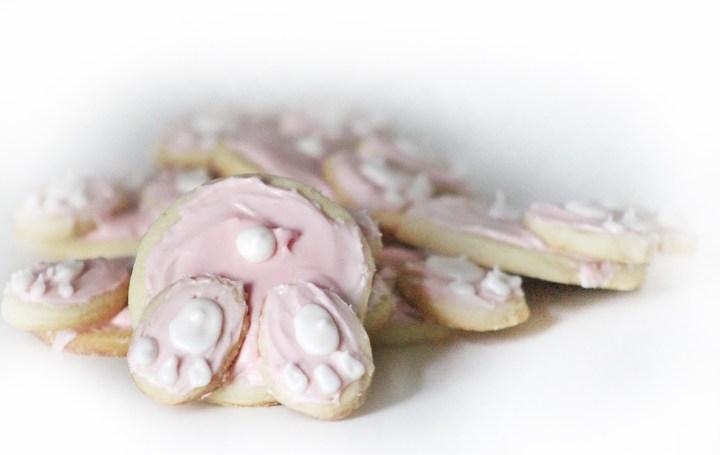
Bunny Butt Sugar Cookies

I can’t even deal with how cute these turned out. I used my go-to sugar cookie recipe from In Katrina’s Kitchen, and decorated with royal icing. You can serve these as they are, or you can get creative with them and use them as toppers for cakes or cupcakes. You can even combine them with the Carrot Garden Dirt Cups recipe by making a garden cake, full of carrots and bunny butts galore! (If you do this, you can use coconut flakes died with a drop of green food coloring to look like grass!)
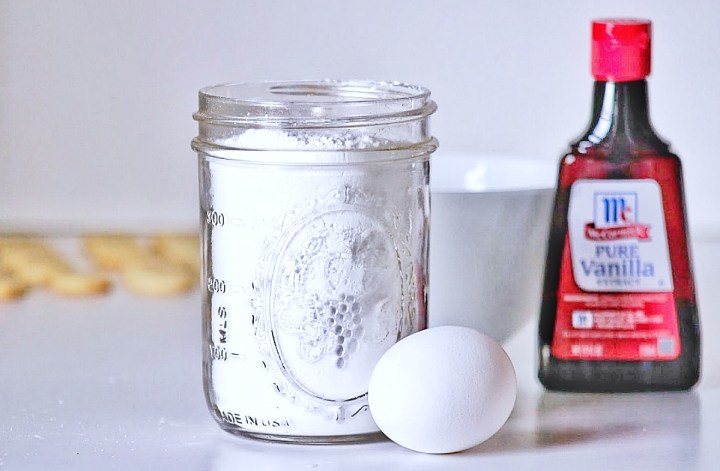
Here are the ingredients for the sugar cookie dough, taken directly from In Katrina’s Kitchen:
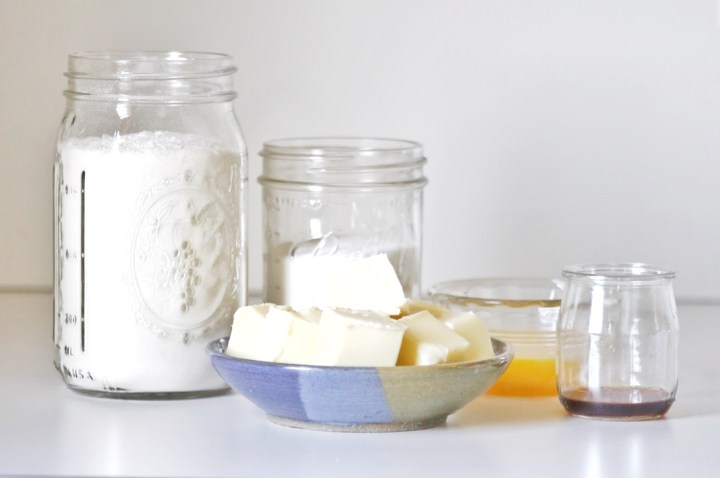
- 1 cup of unsalted butter
- 1 cup of granulated white sugar
- 1 tsp vanilla extract
- 1/2 tsp almond extract (this adds a really nice layer of flavor, but I have made this recipe without this ingredient and they turn out just fine)
- 1 egg
- 2 tsp baking powder
- 3 cups of flour
Here are the ingredients for the royal icing:
- 2 egg whites
- 4 cups confectioners sugar
- 2 tsp vanilla extract
- Red (or pink) food coloring (or whatever color you want to make your bunny butts!)
Directions to make the cookies:
- Preheat your oven to 350 degrees.
- Using a mixer or hand mixer, cream the butter and sugar until smooth (at least 3 minutes)
- Beat in the extracts and egg
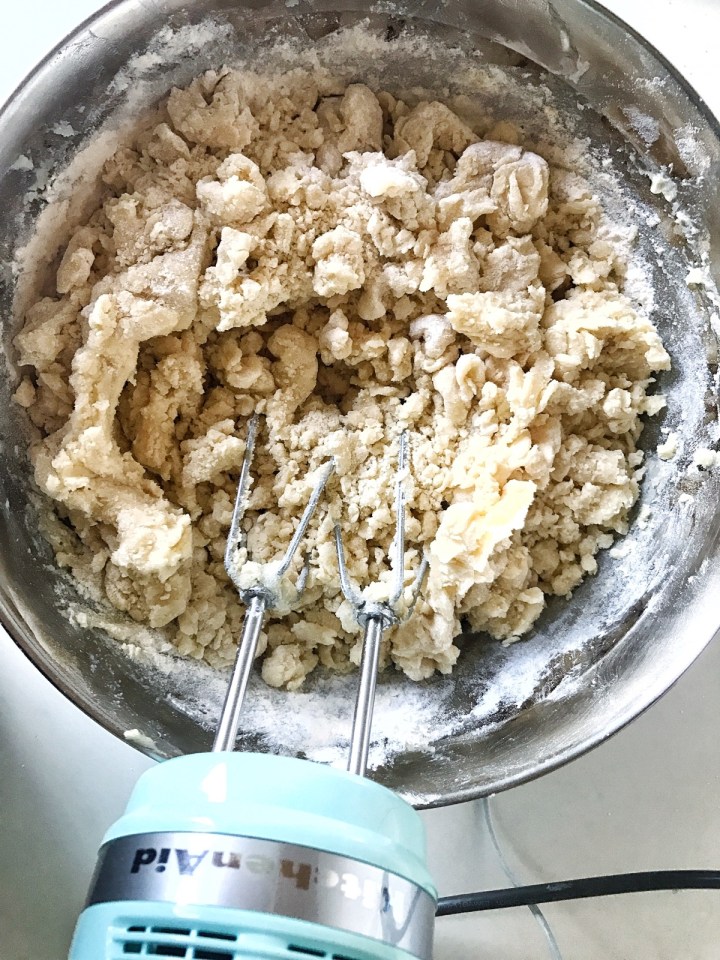
- In a separate bowl, combine the baking powder with the flour and add a little bit at a time to the wet ingredients. Once all of the dry ingredients have been added to the wet, you might have to knead the dough by hand to get it all combined. Be patient with this dough because it’s very stiff, but it’s the best sugar cookie dough you will ever work with I promise!
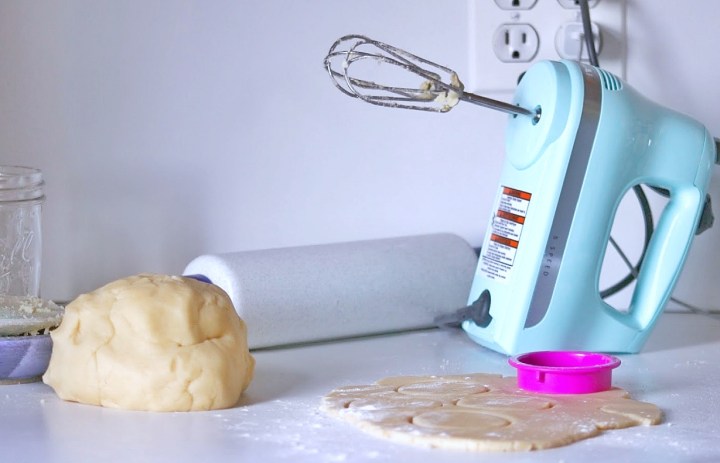
- Divide up the dough into workable batches (I usually cut it in quarters) and roll it out onto a floured surface (flour the top of the dough as well, the side that is touching the rolling pin). The dough should be about 1/4 inch thick once rolled out.
- Using a medium circle cookie cutter, cut out the circles that will become the bunny butts.
- Using a small oval cookie cutter, cut out the ovals that will become the bunny feet. If you don’t have a small oval cookie cutter (which I didn’t), you can get creative. I actually used a BCAA scoop that I had in my drawer (lol), and then used a butter knife to shave that small circle into an oval. Remember you’ll need twice as many little ovals as you do medium circles.
- Bake the medium sized cookies for 6-8 minutes, and the smaller ovals in a separate batch for 5-6 minutes.
- Allow the cookies to cool on the baking sheet until firm enough to move to a cooling rack, and then allow them to finish cooling on the rack.


Directions to decorate:
- When the cookies are just about cooled, make the royal icing by manually mixing with a spoon the confectioners sugar into the egg white and vanilla extract. It might take some time to get it all combined, and it looks pretty unappealing at first, but it all will come together the more you mix and the more sugar you add. The icing should be fairly thick when you’re done.
- Set aside some of the white icing, which will be used for the details of the tail and feet.
- Dye the remaining icing the color you want your bunnies to be.
- Using a spoon or icing spatula, ice two of the small ovals, and then ice one medium round cookie. Add two small dollops of icing at the bottom of the circle cookie, and place the two ovals onto those dollops of icing, allowing about 1/3 of the ovals to hang off. The icing will act as glue to stick the ovals onto the main cookie. Repeat this process with the rest of the cookies. Make sure you stick the ovals on the main cookie before the royal icing begins to harden.
- Take the white icing that was set aside before and spoon it into a piping bag. Alternatively, you can use a Ziplock or sandwich bag if you don’t have a piping bag.
- Using a very skinny tip, pipe a circle at the middle of the main cookie, to be the tail of the bunny. Then pipe an oval in the middle of the little oval pieces, as well as three dots running along the bottom of the ovals. These become the feet of the bunny. Repeat for all of the cookies.

The decorating possibilities of these cookies are endless! I hope you really get creative with this one and tag me on Instagram with a super cute bunny burrowing carrot garden Easter paradise.
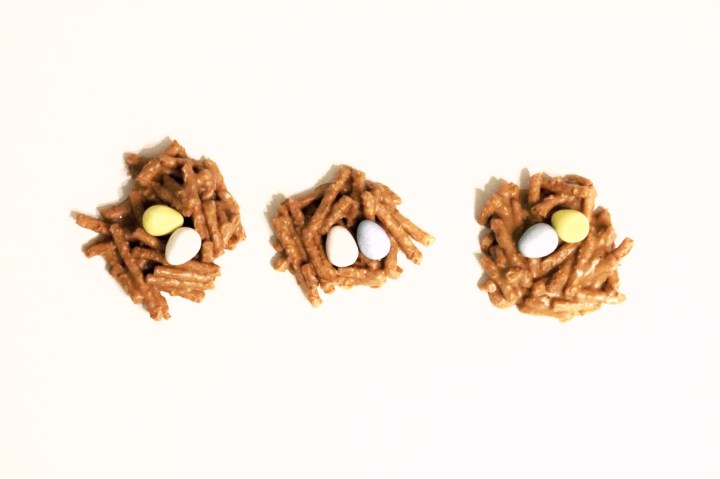
Peanut Butter Pretzel Egg Nests
This one’s another dessert that also doubles as a craft to do with kids! These are arguably even easier and more fool proof than the Carrot Garden Dirt Cups. They are no-bake and even customizable (see below the recipe for additional ingredient ideas that can be incorporated).
Ingredients:
- 1 part peanut butter of choice
- 1 part butterscotch chips
- Pretzel sticks, broken
- Mini candy eggs (chocolate ones will taste best)
- Cinnamon to taste
Directions:

I made the amounts in the ingredient list really vague, because it really depends on how many of these you want to make. I used about a cup each of butterscotch chips and peanut butter, and 3-4 handfuls of pretzels, and it made about 8 nests. You can also adjust the peanut butter to butterscotch ratio a bit if you like, but try not to reduce the butterscotch too much because it will help to hold the nests together.
- In the microwave (or over the stove) melt together the peanut butter and butterscotch chips (increments of 30 seconds) and stir intermittently until smooth.
- Stir in the cinnamon.
- Place your pretzel sticks into a large Ziplock bag and using a bowl or rolling pin, break up the pretzels into roughly 1/2 inch pieces.
- Add broken pretzels to the peanut butter mixture until all pretzels are completely coated, but there is still a bit of excess peanut butter mixture. (This excess will help the nests to stay together
- Stay with me, this is going to get a little messy now. Using your hands, take a small handful of the coated pretzels and drop them onto a parchment lined baking sheet or serving tray. Mold them into the desired nest shape that you want, making sure that there are no loose or straggling pretzels, or blaring holes in the nest (you want them to be fairly tight so that they don’t break apart later on).
- Press down on the top of each nest to create a well where the candy eggs will sit.
- Once all nests have been formed (make sure to wash off your hands because you don’t want the peanut butter mixture to get all over the candy eggs), take the candy eggs and place them on top of the nests.
- Place in the fridge to set. Once hardened, these can be stored at room temperature.
My ingredient list above is really the most plain version of these snacks. You can also add dried fruit, Chex mix, chopped nuts, or oats.
Peanut Butter Eggs
The peanut butter egg is such a classic, how was I not going to include it here? This recipe stands the test of time, because when it’s not Easter you can just shape them like circles and they’re delicious peanut butter snacks!
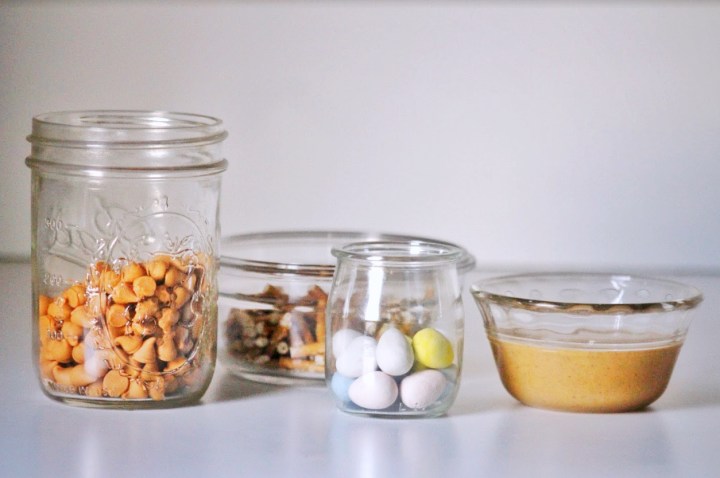
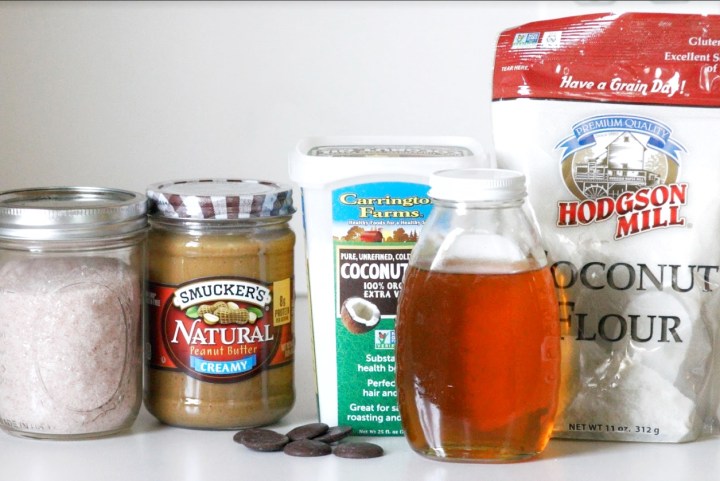
Ingredients:
- 1 cup of peanut butter (your favorite variety)
- 1 tbsp coconut flour
- 1 tbsp honey (optional)
- 1/4 tsp salt (if your peanut butter is unsalted)
- 1/2 cup of chocolate of your choice (it can be any variety melting chocolate, or you can melt dark chocolate with 1 tsp coconut oil)
Directions:
- Combine the peanut butter, honey, coconut flour, and salt (if applicable) in a bowl.
- Using a spoon, scoop 6 balls from the mixture and use your hands to roll and shape them into the desired egg shape.
- Place the shaped eggs on a plate lined with parchment paper and place into the freezer to set (20 minutes minimum)
- When the peanut butter middles are almost set, begin melting the chocolate. Either use the directions on the packaging (if you use melting chocolate), or combine dark chocolate and coconut oil and either microwave or melt over the stove.
- Once the chocolate is nice and melty, remove the peanut butter eggs from the freezer, carefully remove from the parchment paper, and dunk in the chocolate. You can use a spoon or fork to move them around to make sure they get evenly coated, and then remove them from the chocolate and place back onto the parchment paper. NOTE that if you put the eggs directly onto a plate, the chocolate will stick to the plate instead of the peanut butter and your eggs will be RUINED. Speaking from experience here, so trust me!
- Once the eggs are coated, you can decorate them by adding sprinkles or chopped nuts, or drizzling different colored chocolate over the tops.
- Once they’re all finished and decorated, place them back into the freezer or fridge to let the chocolate set. These will be best served directly from the fridge, as they might get messy if they sit out for too long.


I hope you all try one (or two, or all!) of these recipes over the Easter holiday season. Don’t forget to leave a comment, share my page, and like me on Insta for more recipes and fun fitness stuff!
Stay fit and floppy all!

