There’s nothing that seems more official to me in the kitchen than cooking on the stove in your cast iron skillet, and then throwing it in the oven to roast. I don’t know why, but the whole process reminds me of being on a fast-paced cooking show.
Cast iron skillets are an extremely versatile tool to use in the kitchen, and I just purchased my first one last weekend. They’re a little bit high maintenance, because you do have to keep up with oiling it regularly and seasoning it occasionally, and you can’t exactly just leave it in the drain board to dry (nor can you put it in the dishwasher), but I still think it’s worth having one. The whole thing is a great conductor of heat, so it cooks your food fast and evenly, and offers the opportunity for a picture perfect sear.
Here are my top three favorite meals I made this week using my brand new skillet (no other pots/pans necessary!). Also note that I cooked each of these recipes in a 10 inch skillet, and each recipe made two servings.
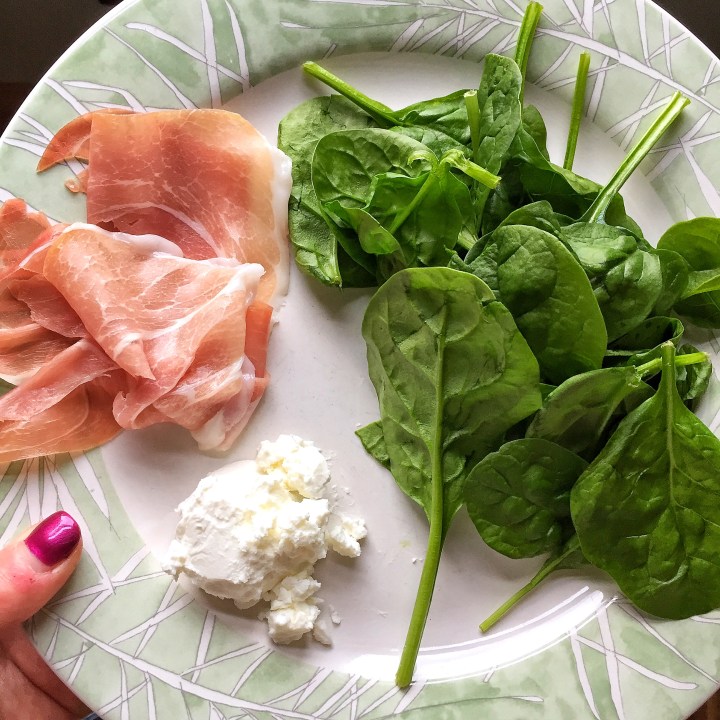
I. Stuffed Chicken

Ingredients
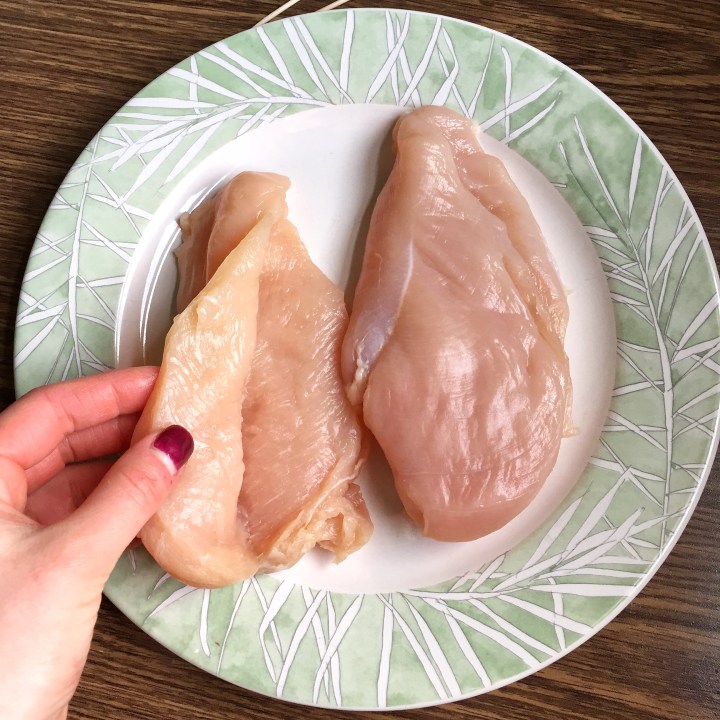
- Two chicken breasts
- Prosciutto (2 slices)
- Raw whole spinach leaves
- Goat Cheese (2 oz)
- Salt/Pepper/Spices of Choice
- Coconut oil
Instructions
- Preheat your oven to 400 degrees F.
- Take your chicken breasts and cut a slice into them without cutting completely in half (this makes the pocket you will use for the fillings)
- Take the goat cheese and spread it along the inside of the pocket (1 oz per chicken breast)
- Take the prosciutto (1 slice per chicken breast) and fold it so it fits inside the pocket of the chicken breast, on top of the goat cheese
- Take some spinach and stuff the remainder of the chicken breast, using just enough spinach so that you can still close up the chicken
- Close up the chicken and use toothpicks to secure the pocket shut.
- Heat up your skillet with about 1 tsp coconut oil in it
- Place your chicken in the skillet and brown the outside of the chicken (about 5 minutes both sides)
- Place the skillet into the oven and cook for another 15-20 minutes (depending on the thickness of the meat). Cut into the thickest section and make sure the meat is white before removing from the oven.
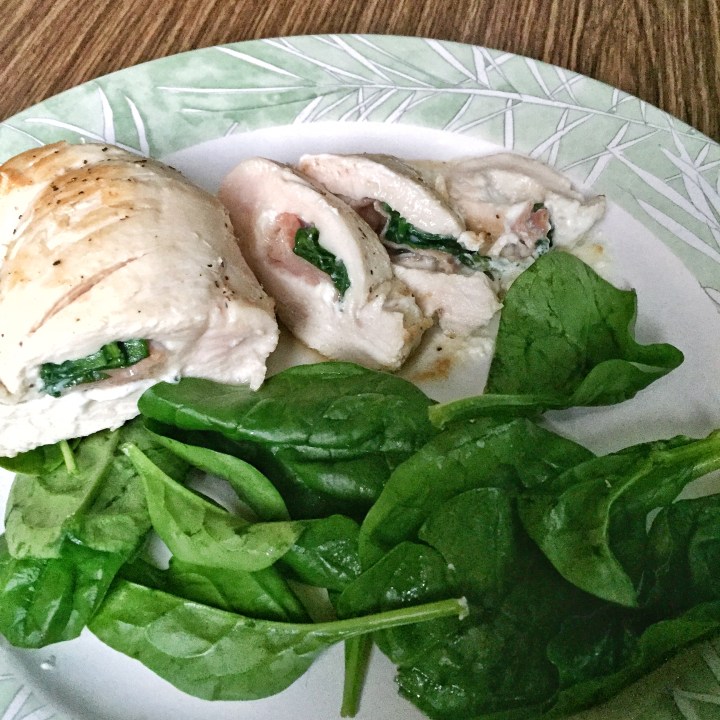
- Once the chicken is cooked, take the skillet out of the oven but allow the meat to rest for about 10 minutes before cutting it. (Otherwise you’ll lose all the goat cheese on your first slice!)
- Slice up the chicken, remove the toothpicks, and serve with whatever sides you like! (A side salad and/or veggies and/or sweet potato would go great with this dish).


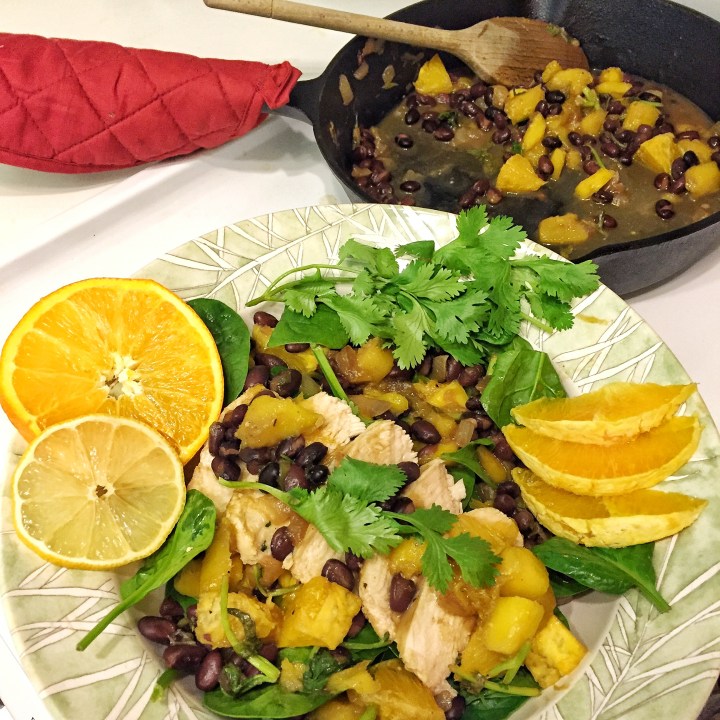
II. Baja Chicken

Ingredients
- Two Mangoes
- Two Oranges (One used for juice, one used for meat)
- Juice from one lemon
- Juice from 2 limes
- Half of a sweet onion
- One cup of black beans
- Handful of Cilantro
- Chicken (1 or two breasts, about 350g total)
- Fresh spinach (for salad)
- Coconut Oil
Instructions
- Preheat your oven to 400 degrees F.
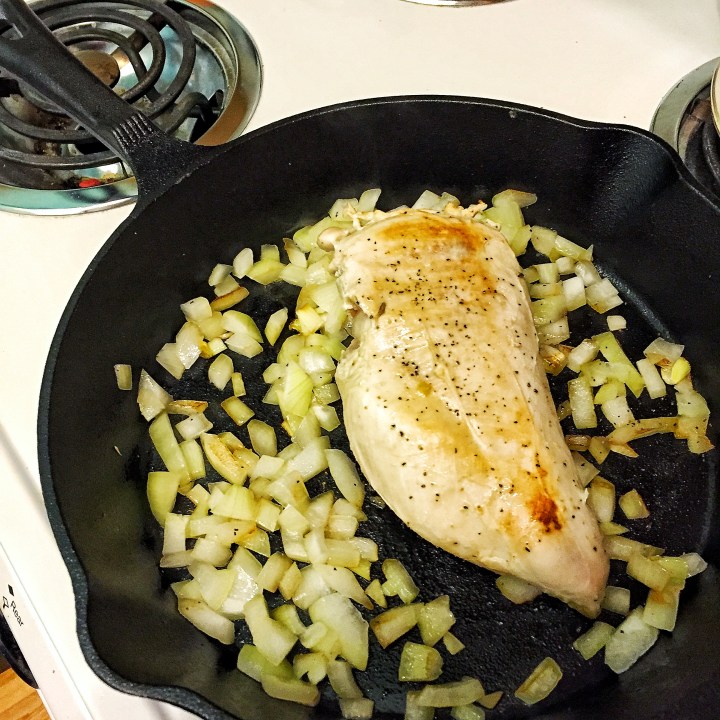
- Heat up your skillet with about 1 tsp of coconut oil in it.
- Dice the onion and place it into the skillet and cook until they begin to become transparent.
- Place the chicken into the skillet (feel free to season the chicken as you like it prior to placing it in the skillet) and allow to brown on the outsides (about 5 minutes each side)
- Juice the lemon and orange and put all of the juice into the skillet, put the beans into the skillet, and place the skillet into the oven. Allow to cook for about 10 minutes.
- While the chicken is cooking, remove the skin of the mango and dice into small cubes, and peel the remaining orange and cut up into chunks. Juice the two limes and pour the juice over the fruit.
- Roughly chop the cilantro and put into the bowl with the fruit and mix it all together.
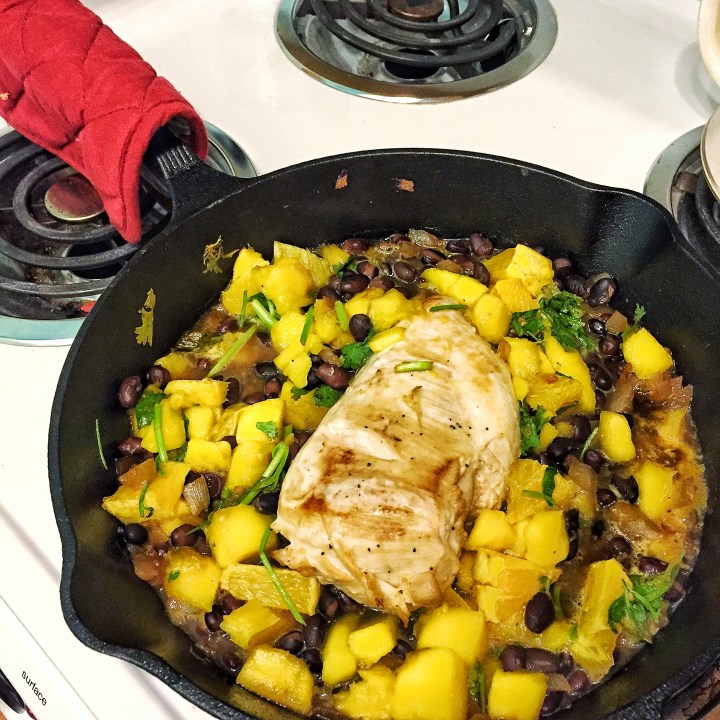
- After the chicken has been cooking for about 10 minutes, take half of the fruit mixture and put it in the skillet surrounding the chicken. Let the chicken cook for another 10 minutes, or until no longer pink.
- While the chicken finishes cooking, wash some fresh spinach and place it in a bowl as the base of your salad. Pour the remaining fruit mixture over the spinach, dressing the leaves with the juice of the fruit and the limes.
- When the chicken is cooked, take the skillet out of the oven, slice up the chicken breast and place it over your dressed salad. Use a spoon to take the cooked fruit, onions, and beans from inside the skillet and place that in your salad as well.

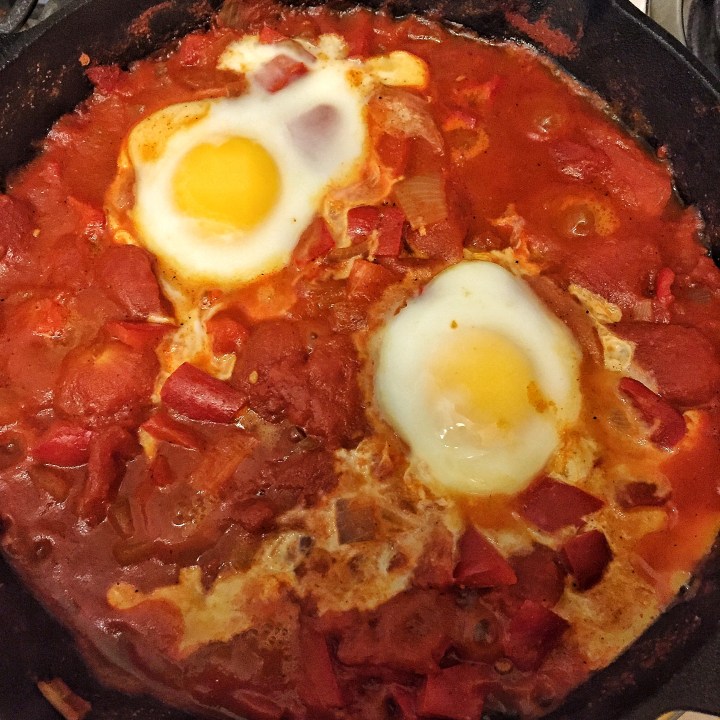
III. Shashuka

This is something I’ve been wanting to make for a while now, but had just never gotten around to it. Now that I’ve done it once, though, I’m totally hooked! Since the whole thing is basically veggies, it’s fine to eat the whole skillet, right?? Also, the instructions below are pretty vague regarding amounts of spices and timing, but that’s because this is a really easy recipe that you can cook as much or as little as you want, depending on your preferences. Stick with me to the end on this one, guys – this dish isn’t the most photogenic but I promise you it’s delicious!
Ingredients (I cooked this recipe in a 10 inch skillet, and serves two)
- One can of peeled tomatoes
- Two red peppers
- Half of a sweet onion
- One tsp ghee
- Four eggs
- Paprika
- Cumin
- Chipotle Chili Pepper seasoning
- Chili Pepper seasoning
Instructions
- Preheat your oven to 350 degrees F.
- Heat up your skillet with ghee in it on medium heat.
- Dice the onion and place into the skillet. Cook until golden in color, fragrant, and starting to become translucent.
- Dice the peppers and add to the skillet. Cook until softened (or whatever texture you enjoy!)
- Open the can of tomatoes and pour them into the skillet. I used whole tomatoes, so I also used my wooden spoon to break them up a bit. You can also use diced tomatoes if you like.
- Add spices to taste. I find that the paprika and chili pepper seasonings are very strong, so a little goes a long way. Add a little bit at a time, and taste the sauce as you go to make sure it’s seasoned to your liking!
- Cook the sauce for about 20-30 minutes, stirring occasionally. You can add tomato paste if you want a thicker sauce.
- Create little wells in your sauce where you want your eggs to go. Crack the eggs into the wells, and immediately place the entire skillet into the oven. BE CAREFUL BECAUSE EVEN THE HANDLE OF THE SKILLET IS VERY HOT!
- Bake in the oven until the eggs are as firm or runny as you like them. I baked mine for about 10-15 minutes. The whites were no longer clear, but still a bit runny. They firmed up once I broke the yolk and spread the whites around the rest of the sauce, though.

Using my skillet this week was seriously fun, and a great learning experience because I had never used one before! I hope you guys try out these recipes, and if you do please tag me in your photos 🙂
Stay fit and fab, all!
